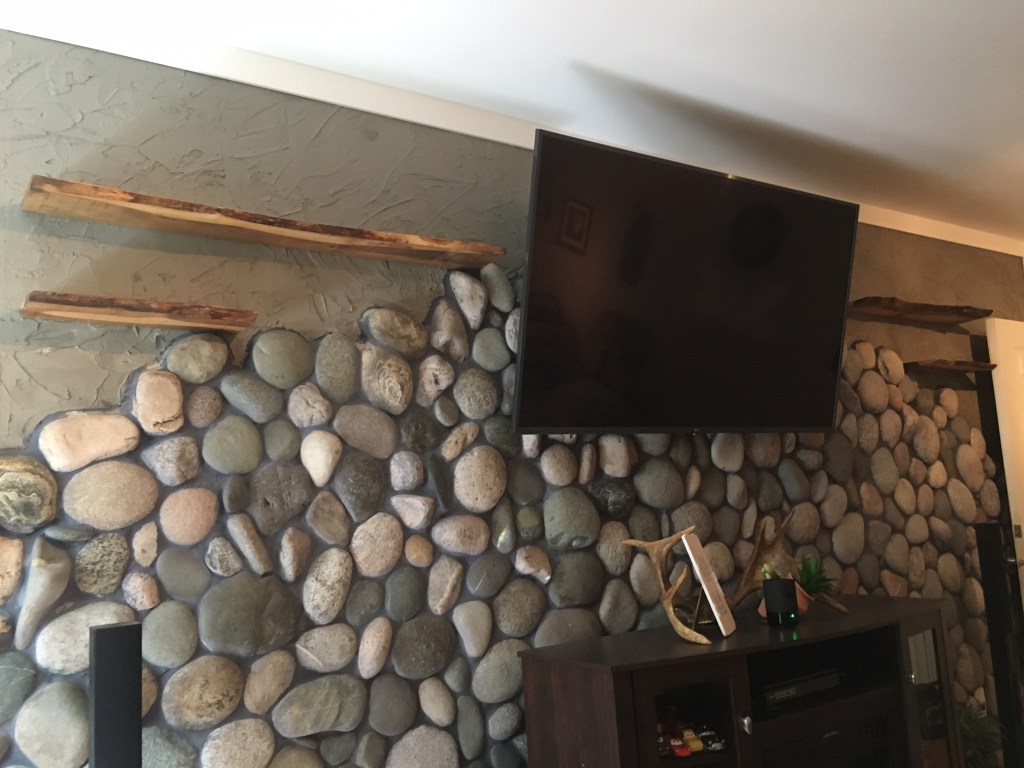
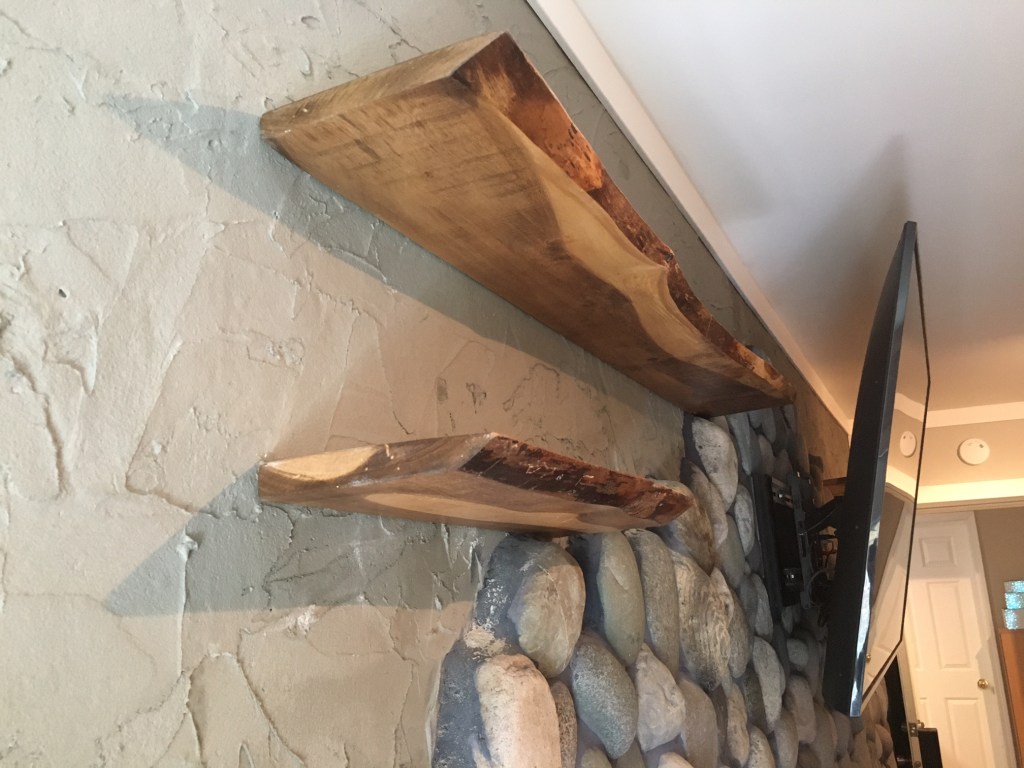
Josephine asked for some live-edge shelves for DVDs.
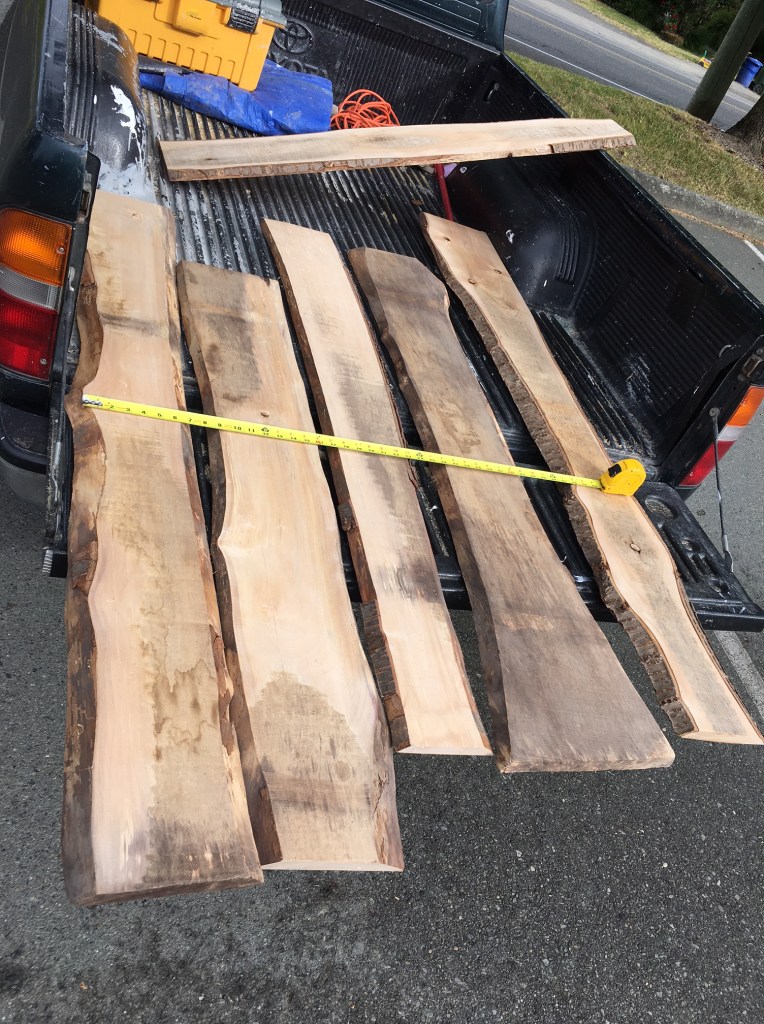
I found some nice birch planks on Craigslist:
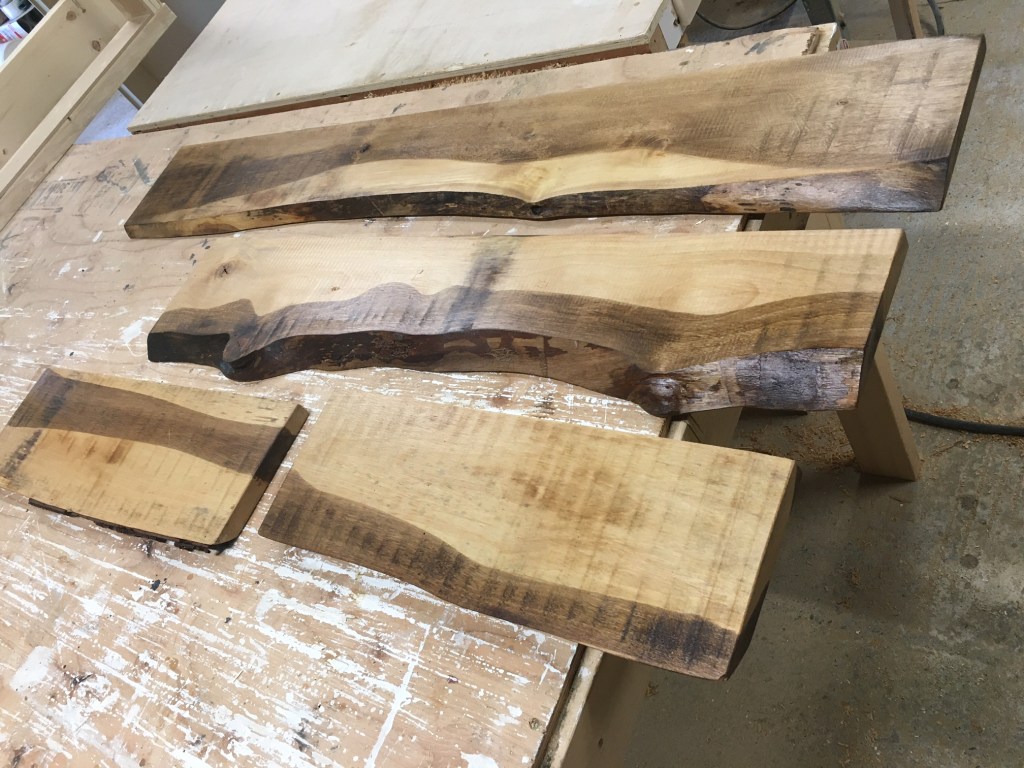
Then they needed a little more dressing up/contrast. So after planing off the back edge and sanding them a little bit, I cut them to size and applied stain to about half of each board. Then I varnished them, which unfortunately yellowed them a little, but they still looked good.
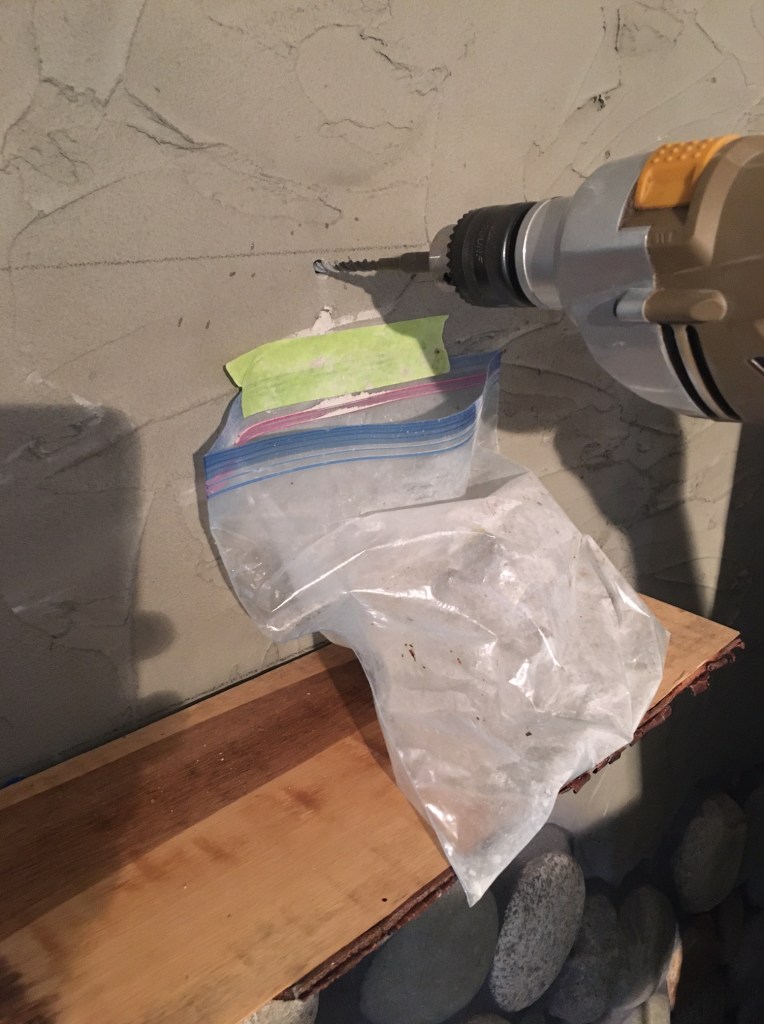
To install them as floating shelves on a concrete wall, I inserted 1/4″ lag bolts into the wall, cut off the heads, drilled matching holes in the back of the shelves, and slid them onto the bolts. I put a bead of silicone along the back too.
Tip: tape a bag underneath drill holes to cut down on dust
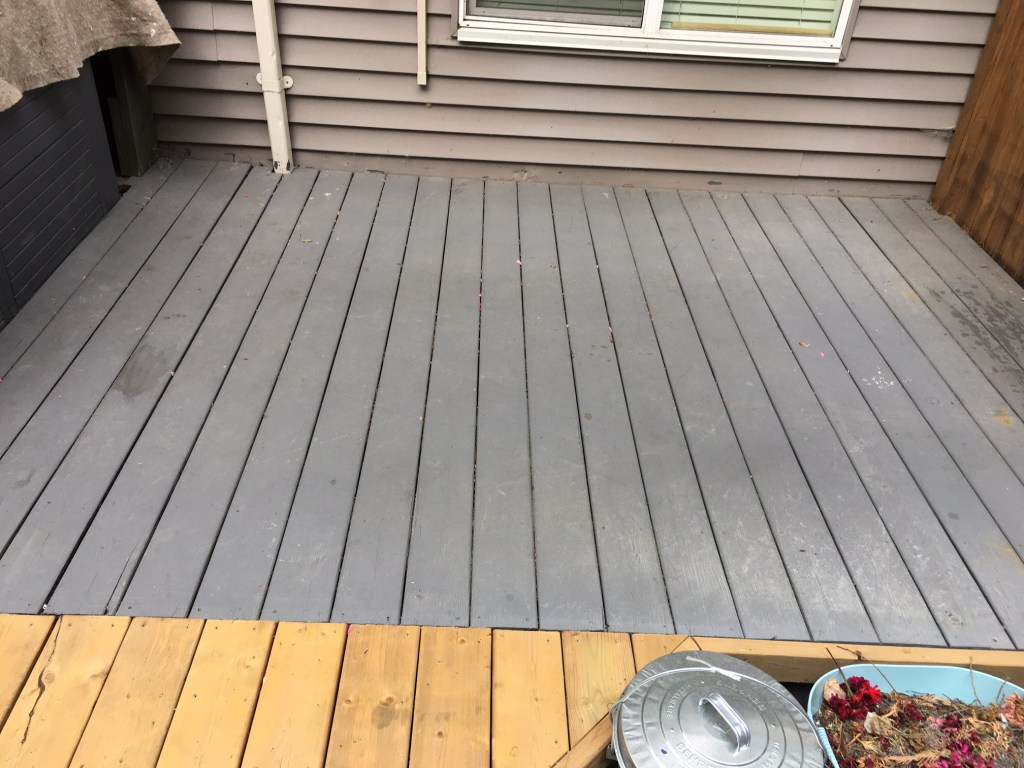
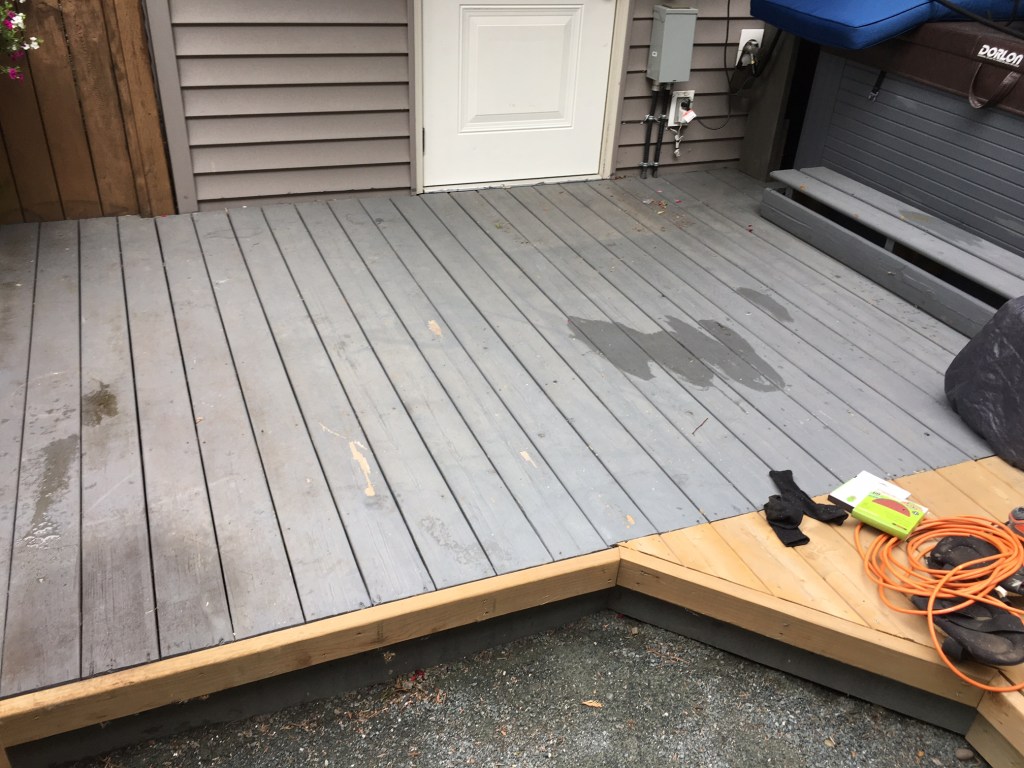
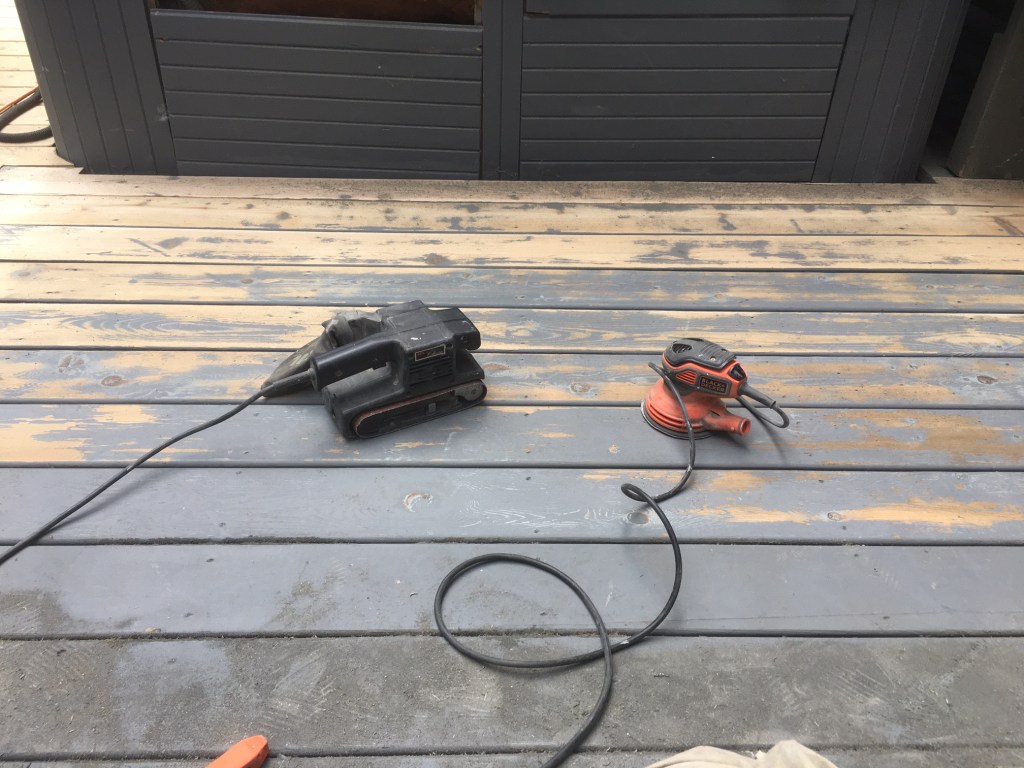
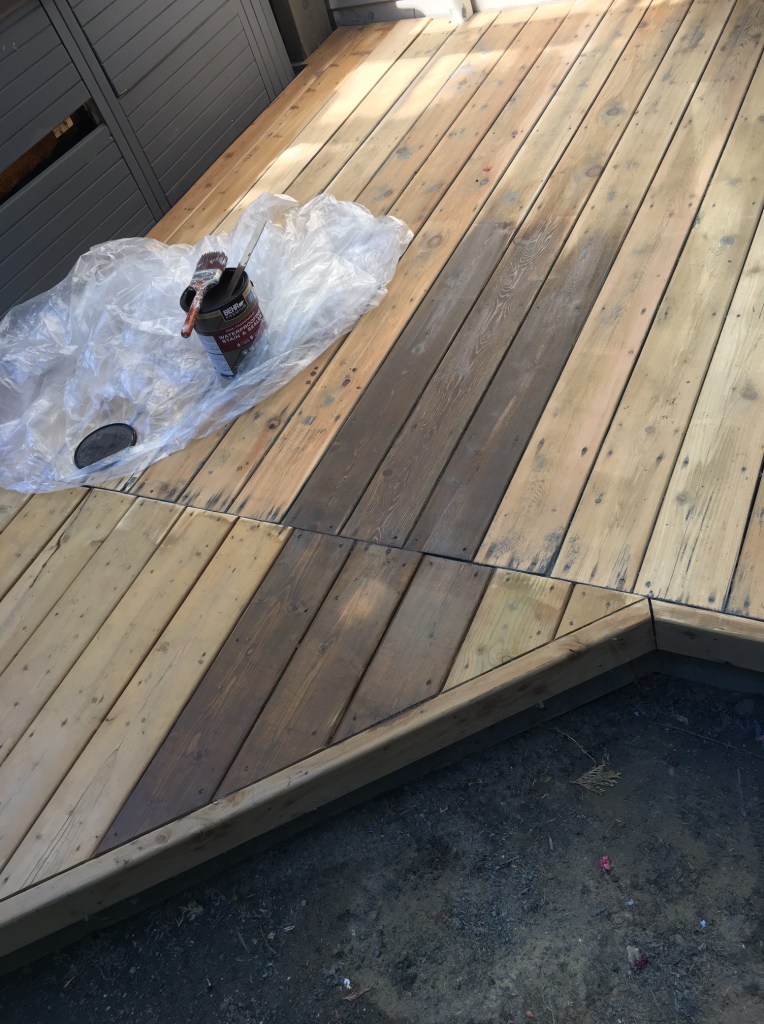
Marnie hired me to sand (part of) her deck. Over the phone I quoted 1-2 days. When I showed up and saw the tiny thing, I thought I had it beat. But sanding was very slow.
solid blue stain
In the past I had sanded a deck and it had been easy. The only difference was that I had spent a day or two pressure washing and using stain stripper. At the time pressure washing seemed like a waste of time…maybe it wasn’t. I decided to try the stain stripper. It got a bunch of gunk off (a layer of stain?) but not all of it. I was back to sanding…
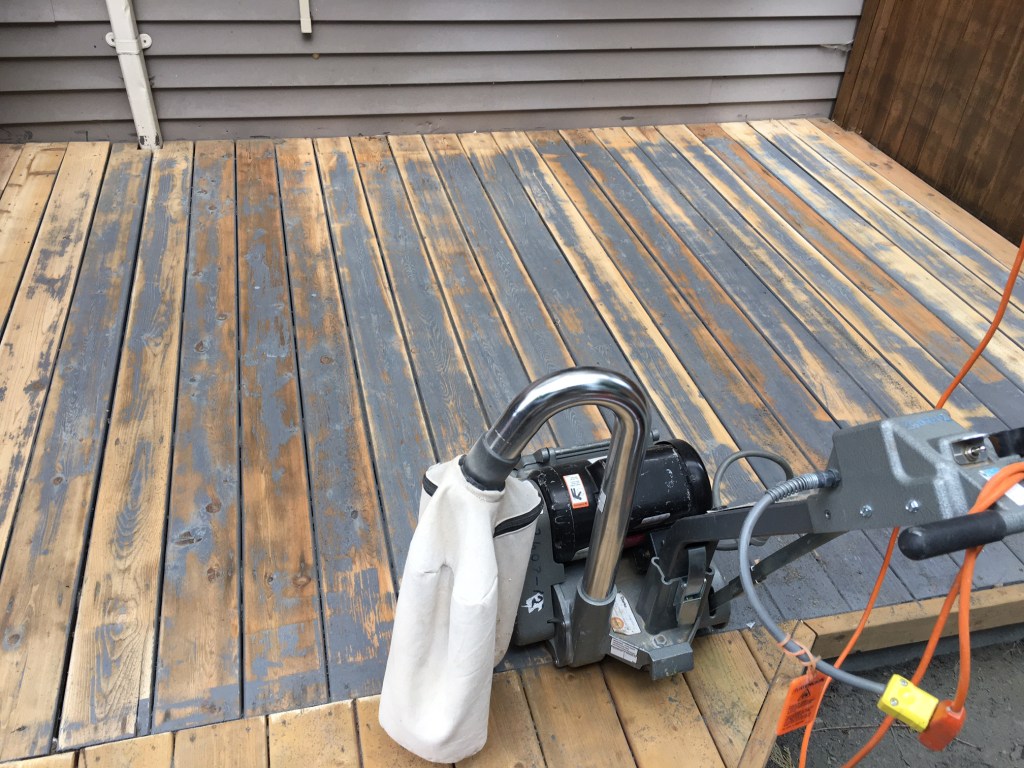
I rented a drum sander. It did in 10 minutes what my belt sander did in 4 hours.
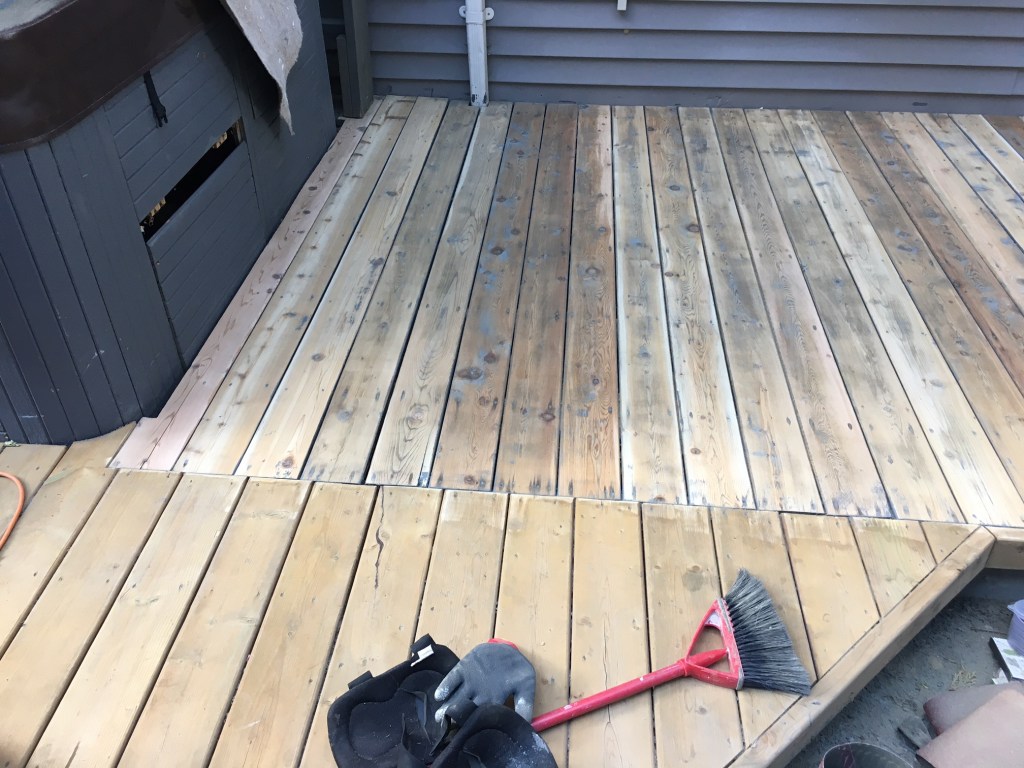
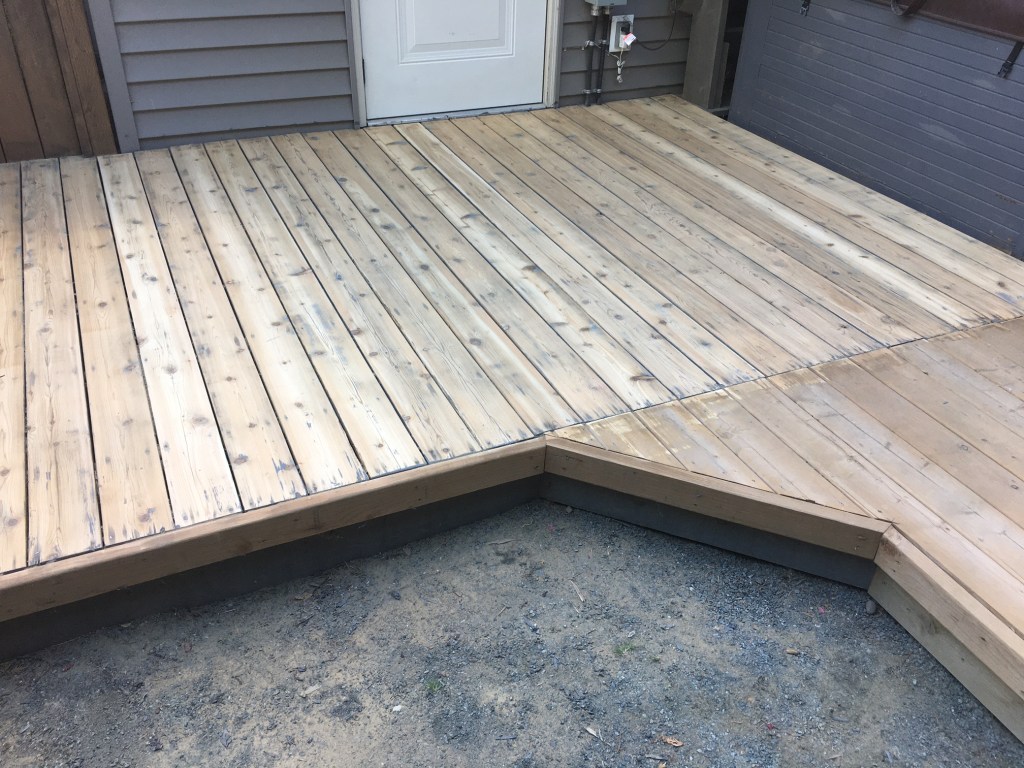
There was still a lot to do by hand – deck boards aren’t level – and I had to sand between them by hand as well. But it turned out ok.
Sanded deck meets 1-year old unfinished deck
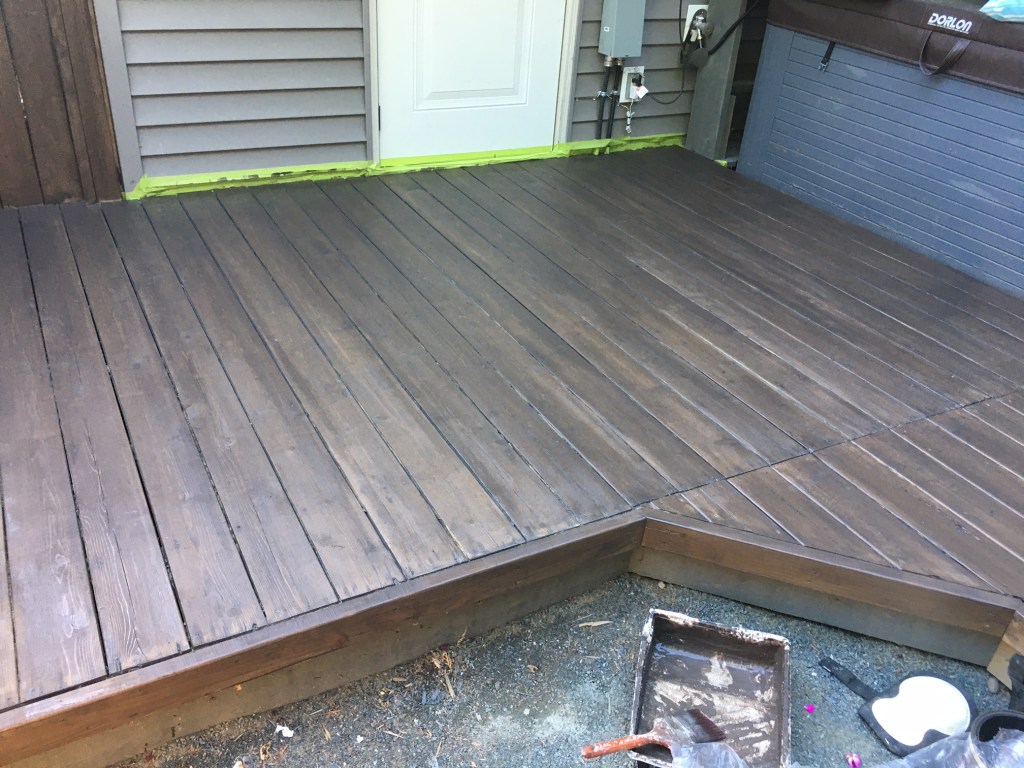
Now for the coffee part. The homeowner chose a semi-transparent stain called “Coffee.” I stained it the following week on a warm day. The fence got a quick coat too.
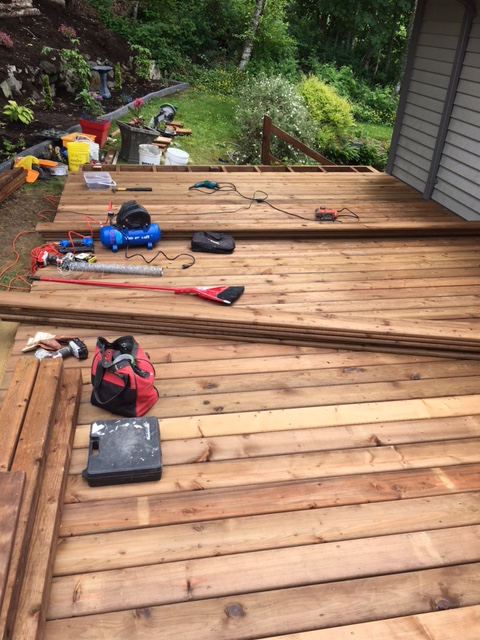
About 6 weeks ago Carolyn called me about building a deck. I had a wait time and the price of lumber was going sky high so we bought the lumber right away and left it in piles until I was able to get to it.
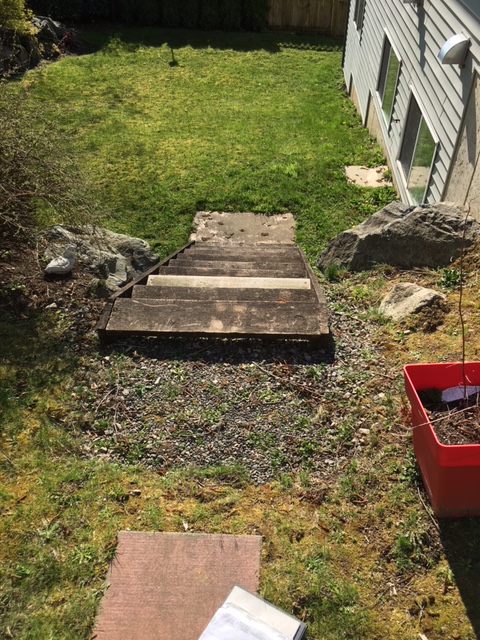
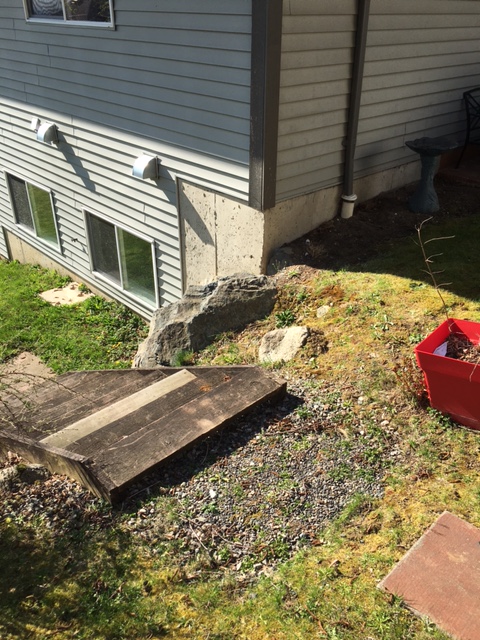
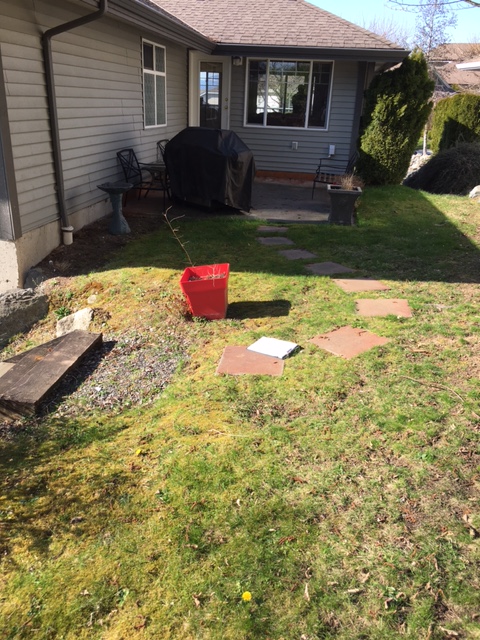
Before pictures: steps were old and unsafe and deck also requested
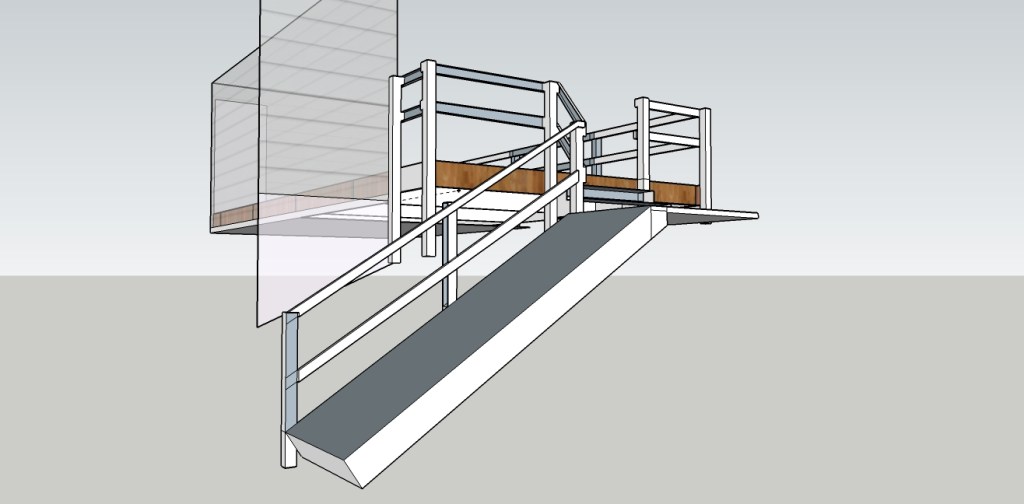
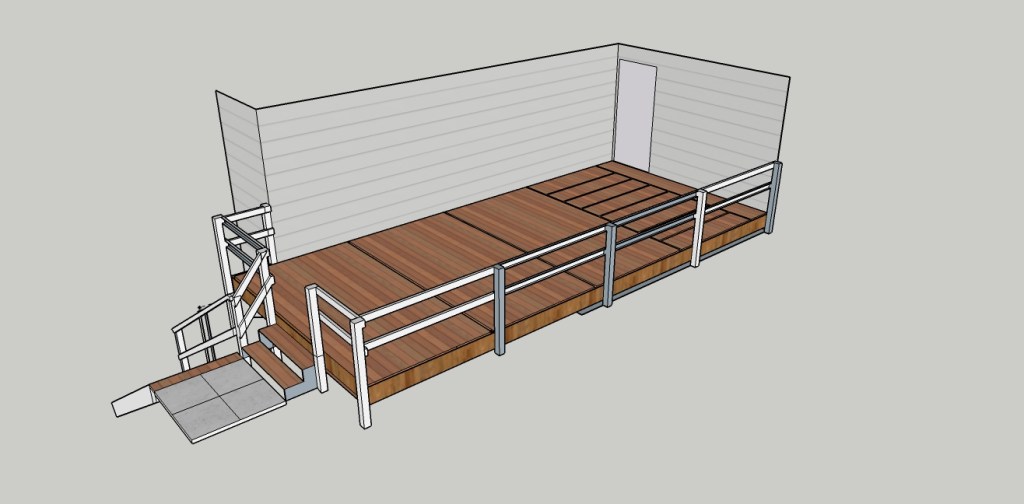
Drawings
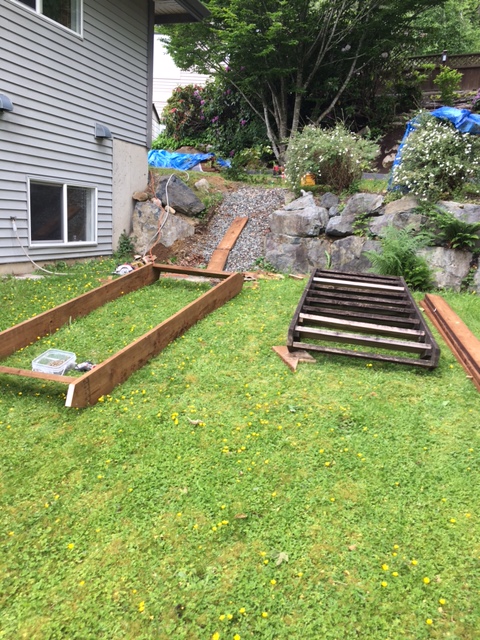
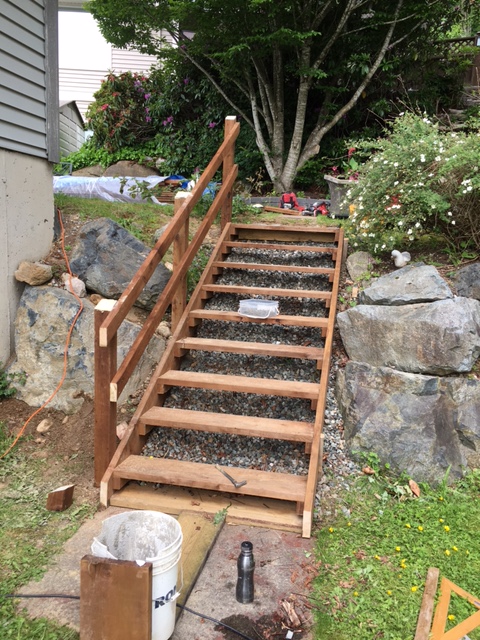
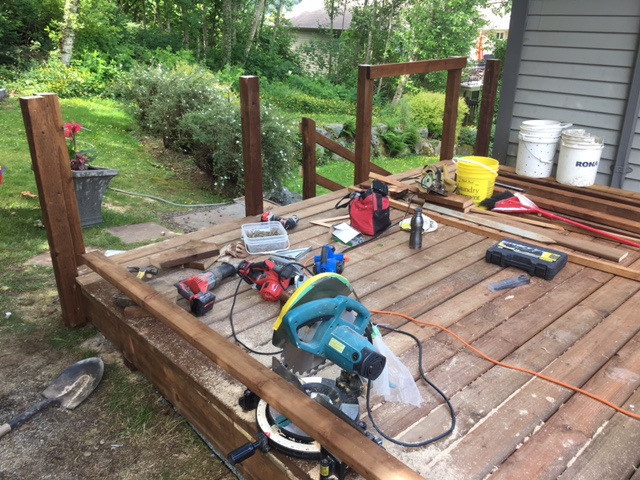
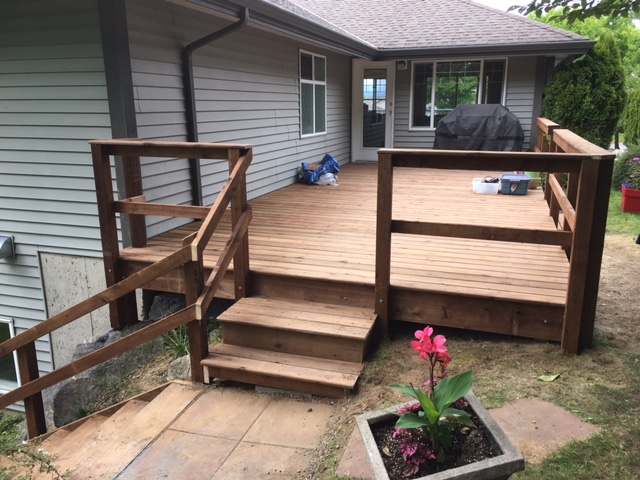
I spent a week building. First I replaced the old stairs. I made them almost exactly the same except I added some posts for a railing.
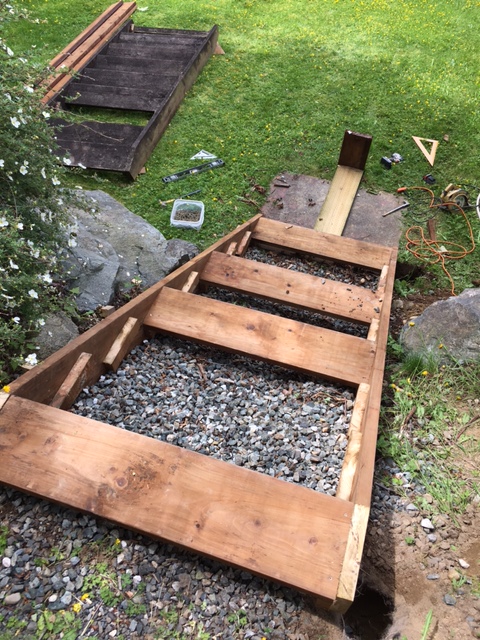
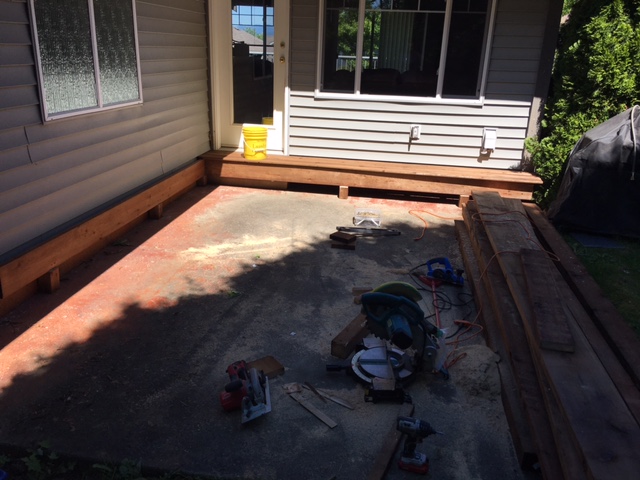
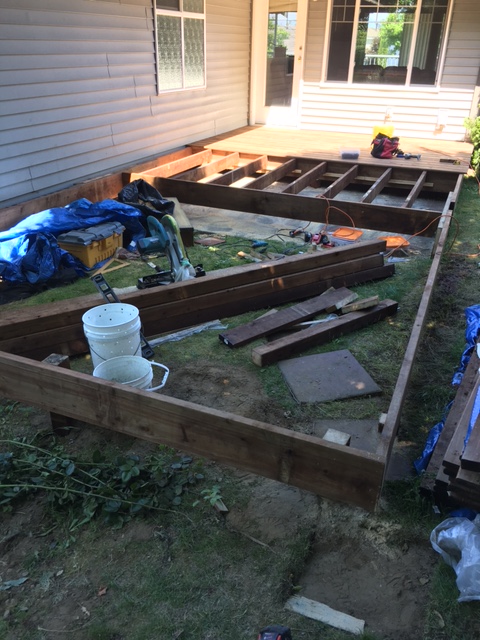
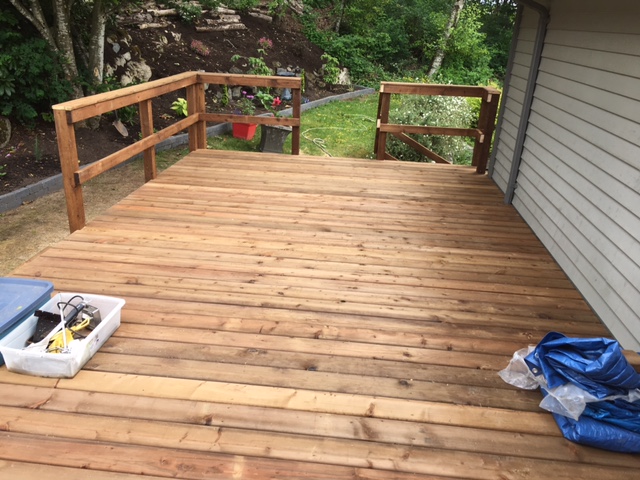
Next I started on the deck. I worked my way away from the house in sections so that my customers could still access the backyward without climbing over framing. It is 12 feet wide by 25 feet long.
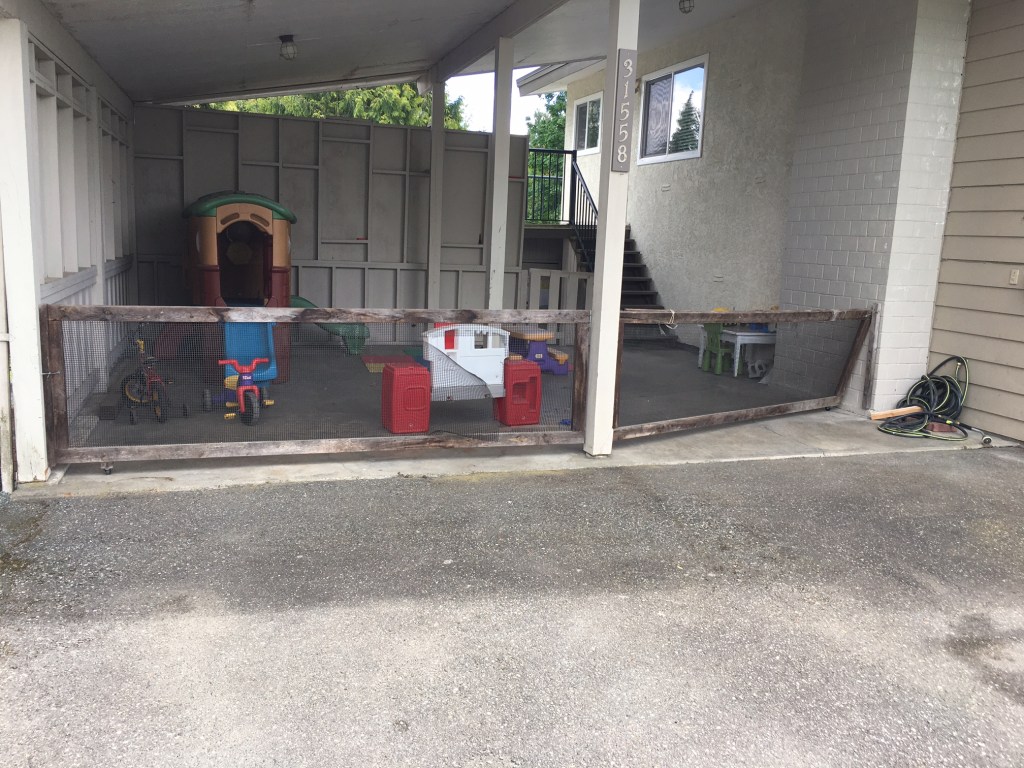
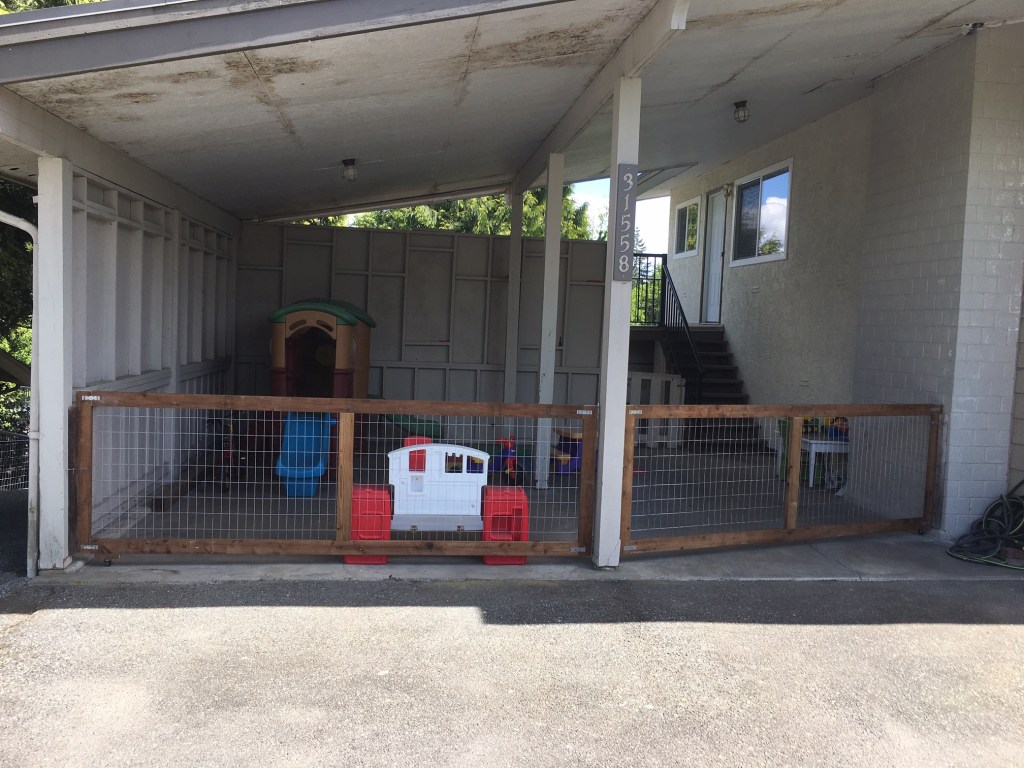
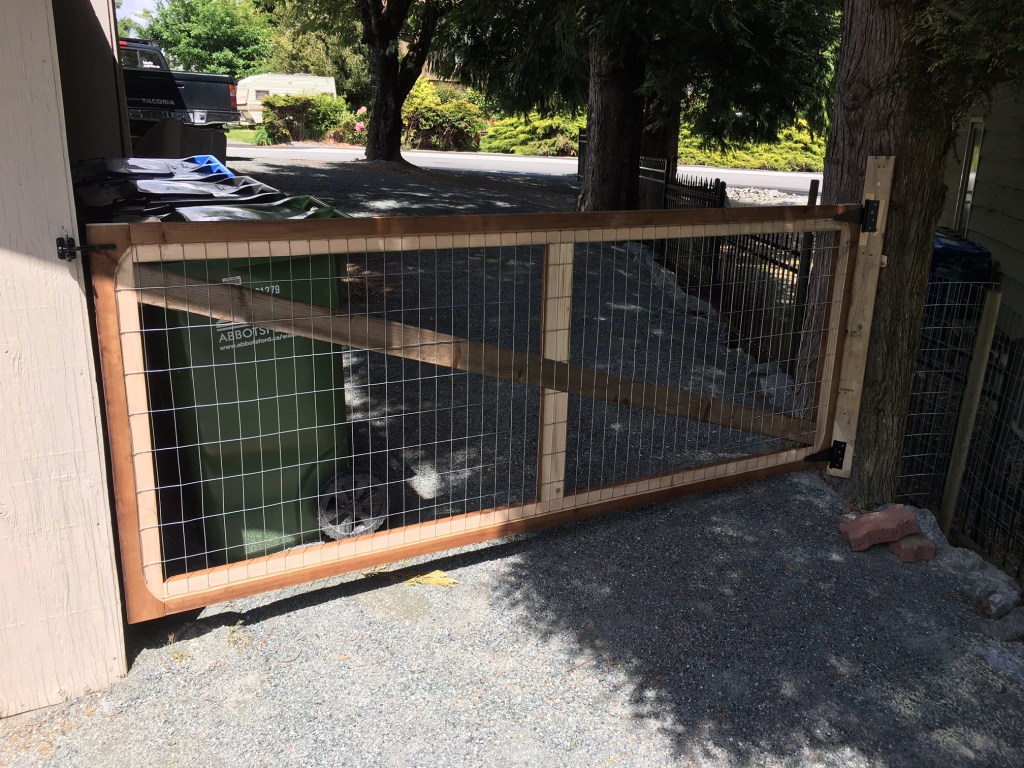
This one is for a daycare; I spent a fair bit of time with the customer designing with new, simple, and robust materials. (Of course with 2x4s going for $20+ each it doesn’t mean it comes cheap!)
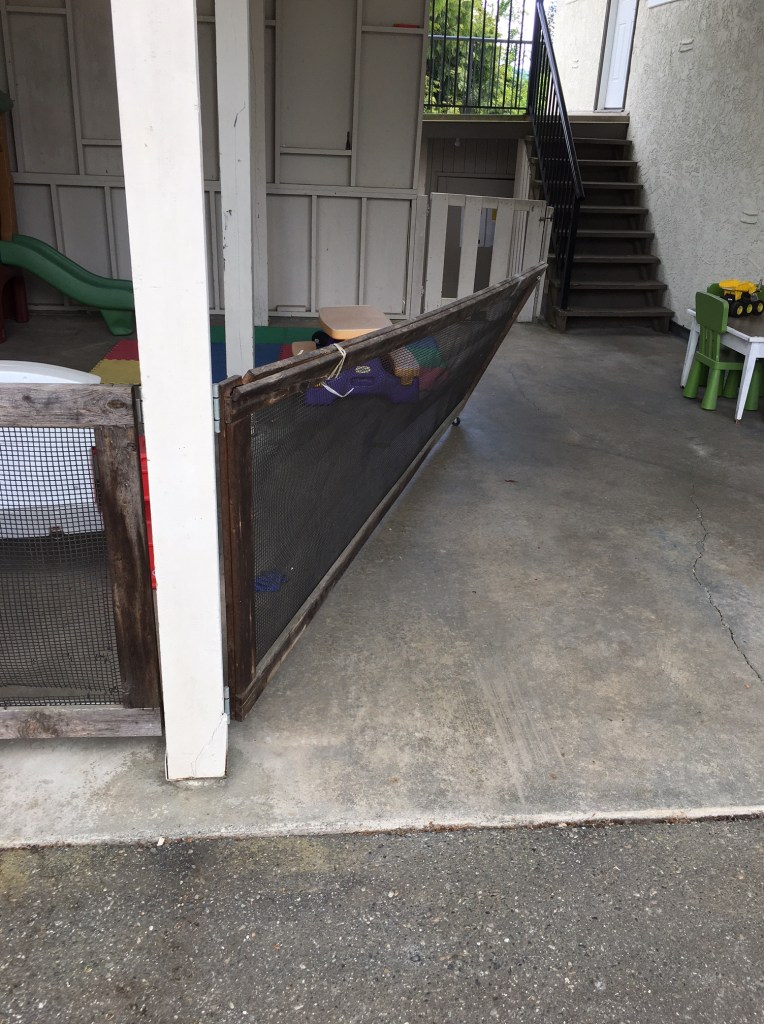
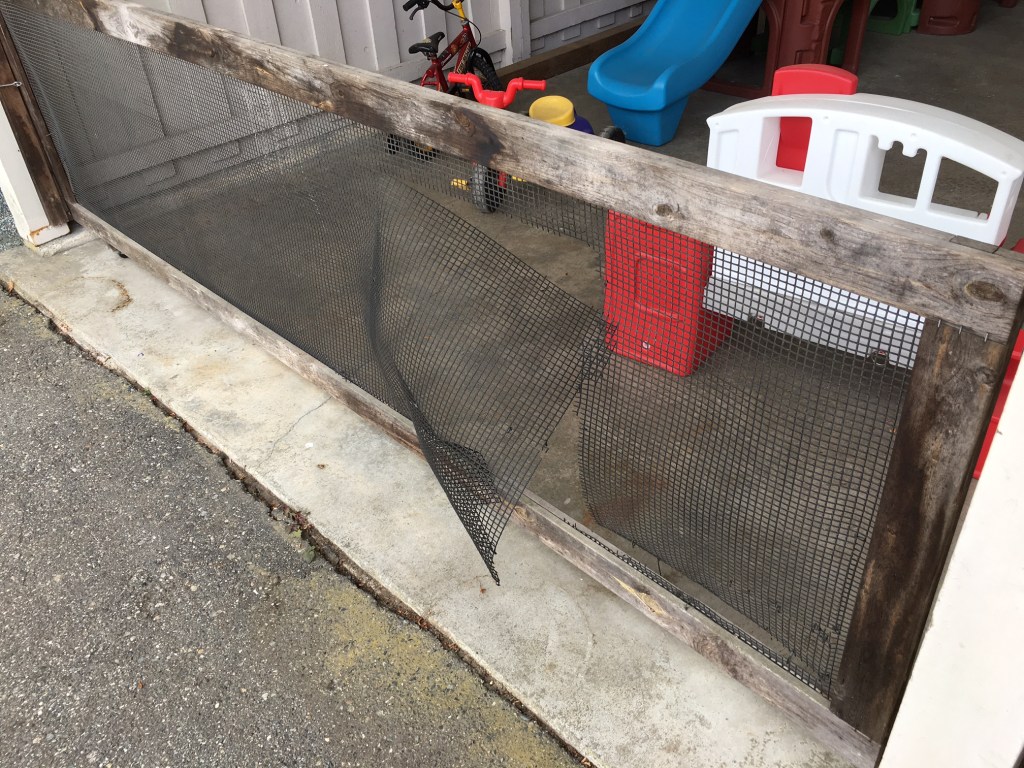
original gates – wearing out
new gates
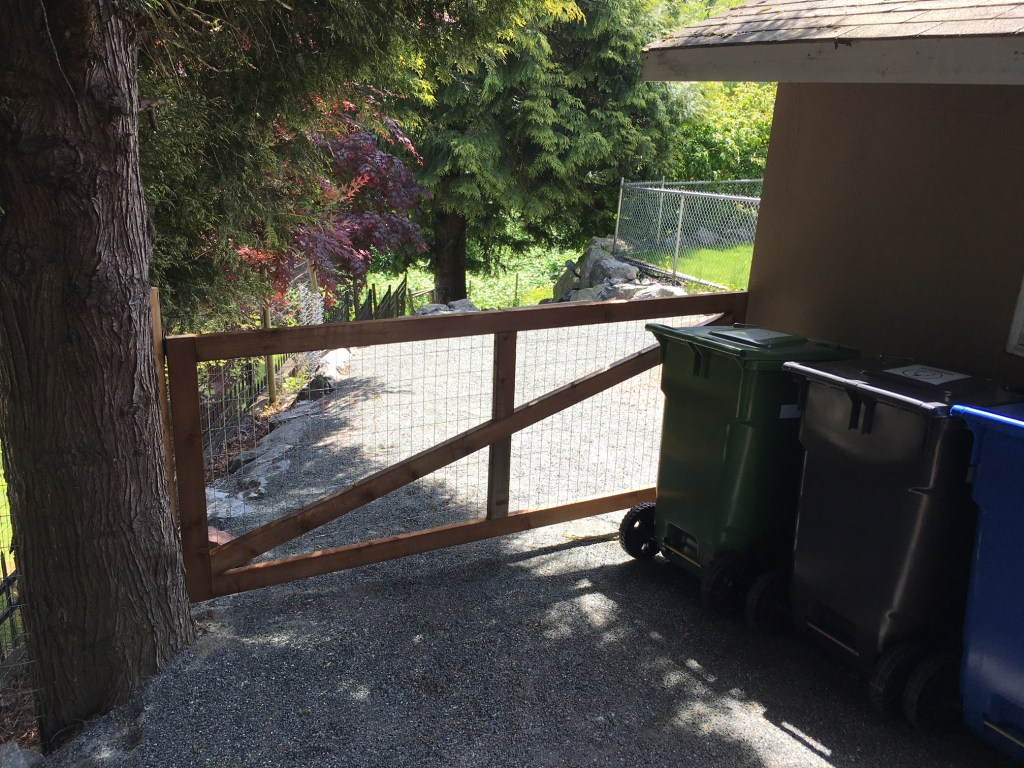
Then I made a new one on the side of the house as well. This one did not have caster support like the previous ones, so it needed a crosspiece:
front and back of new gate. Swings from a “tree” post
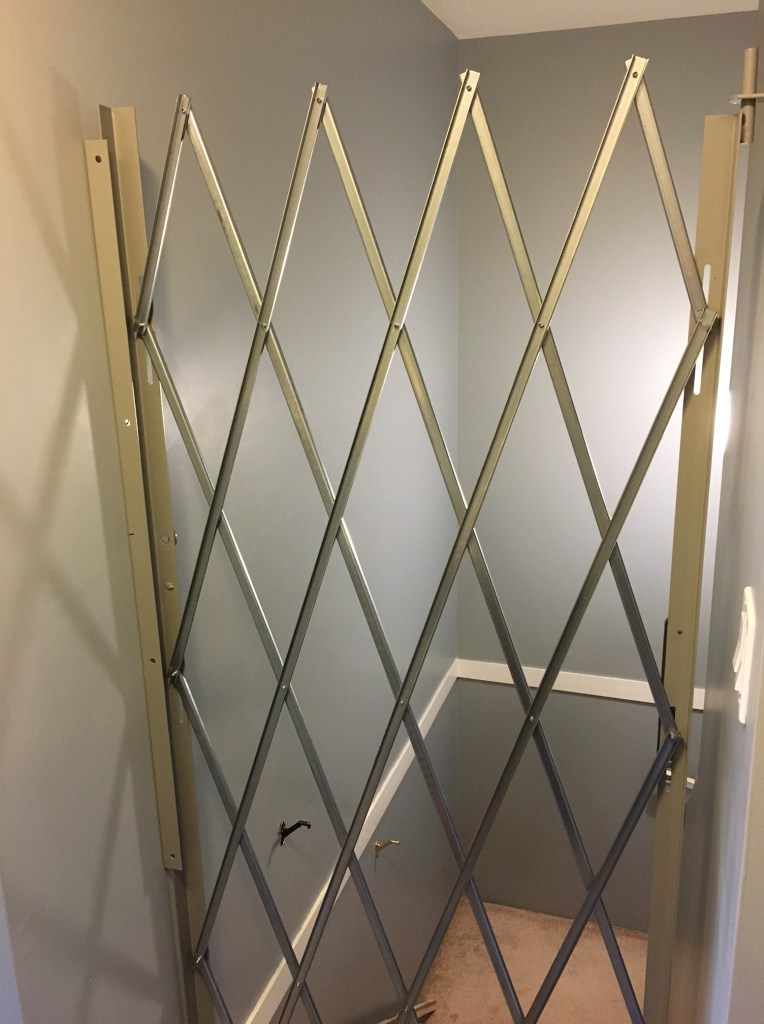
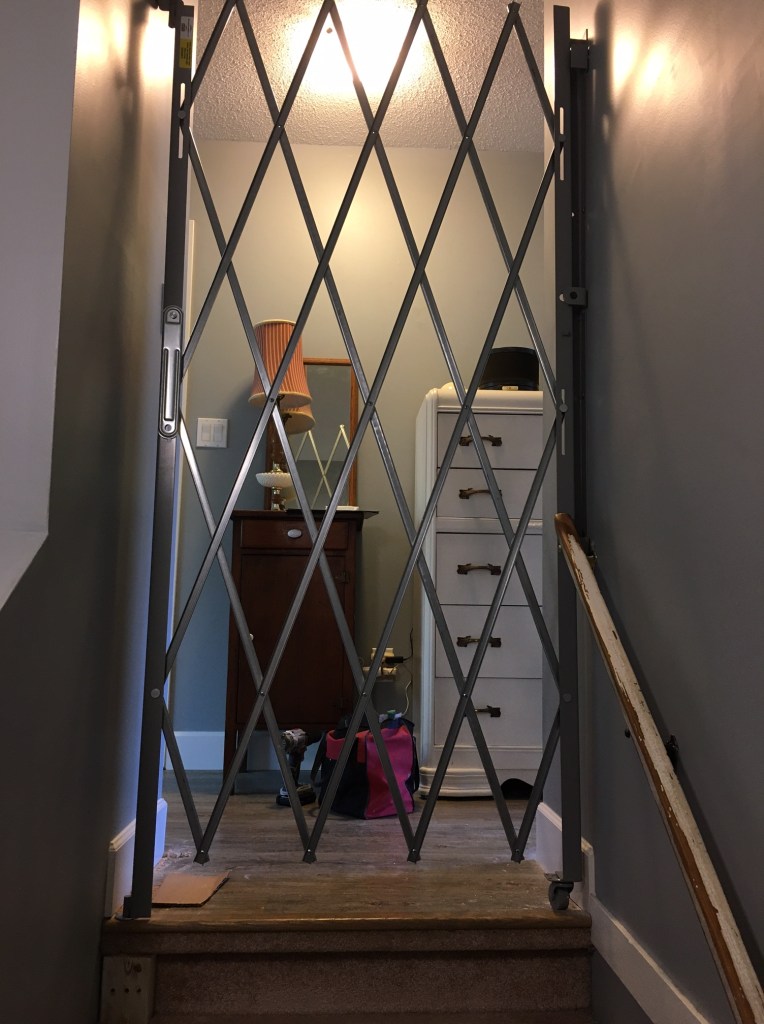
Then I installed a metal security gate for Shelley. She measured and ordered it and it is a great product from ULine. Luckily the wall studs were in a pretty good place so there wasn’t much modification needed. It folds up and swings out of the way into a small 6 inch bundle when not in use. (It is not for security, but for safety.)
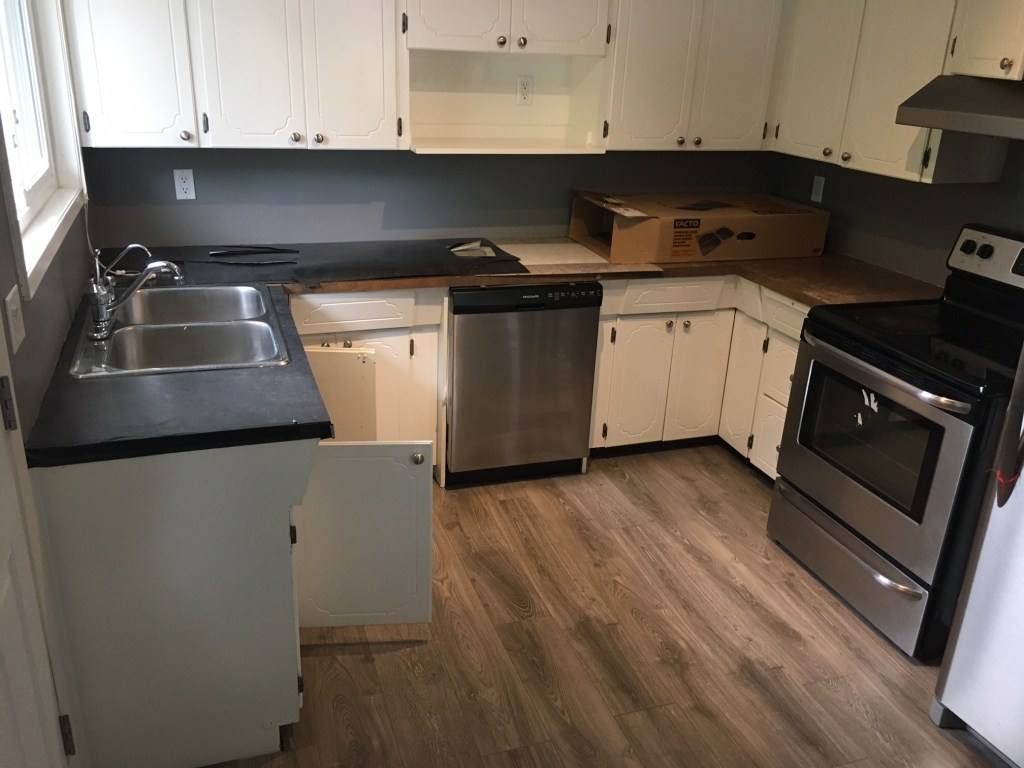
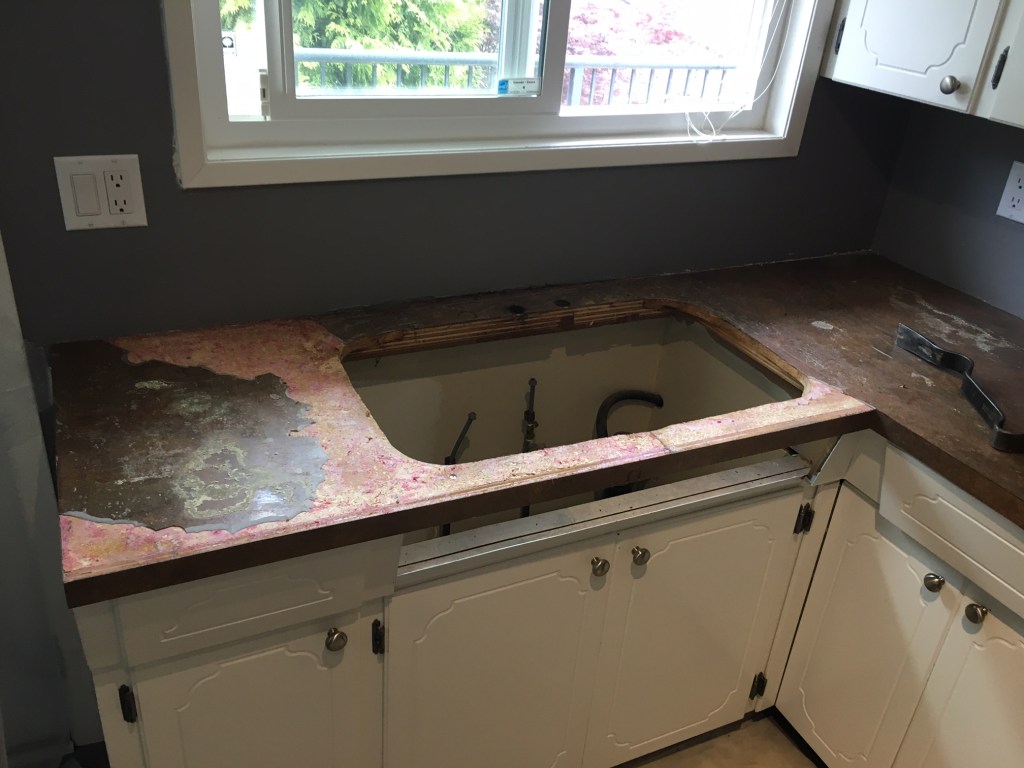
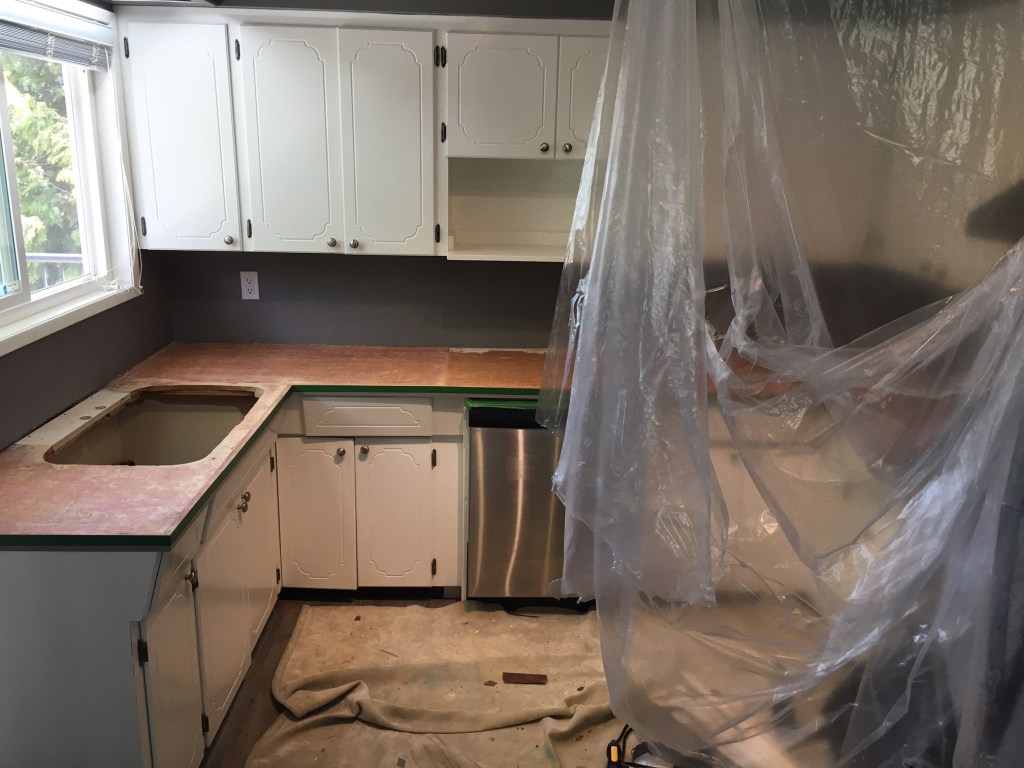
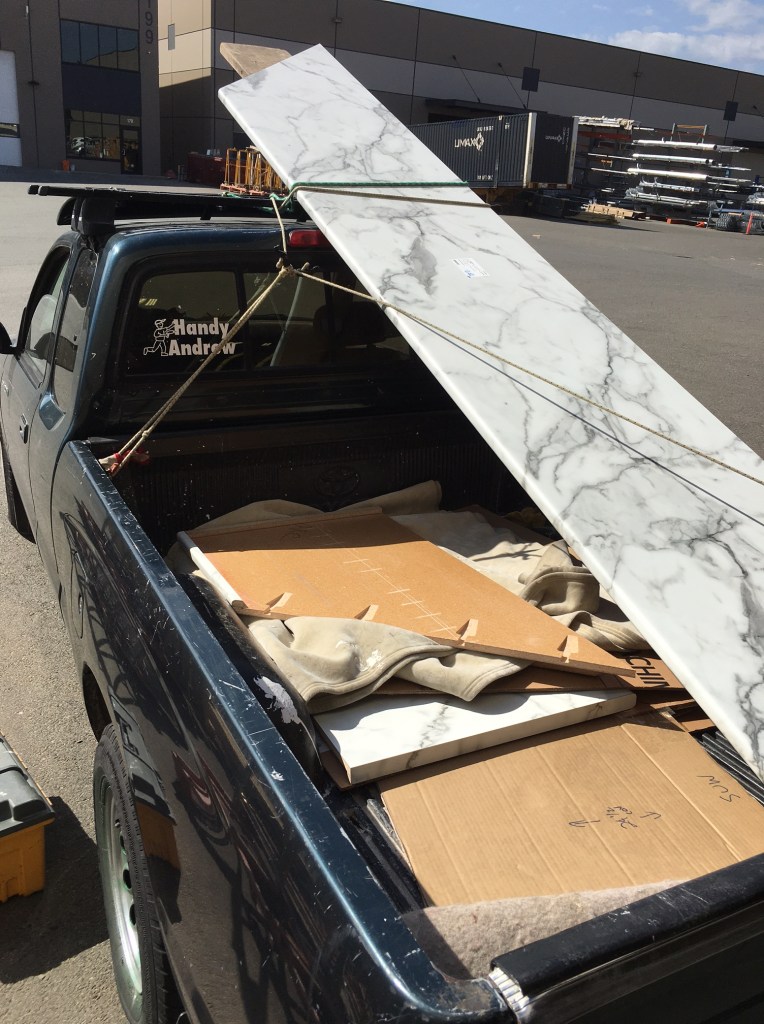
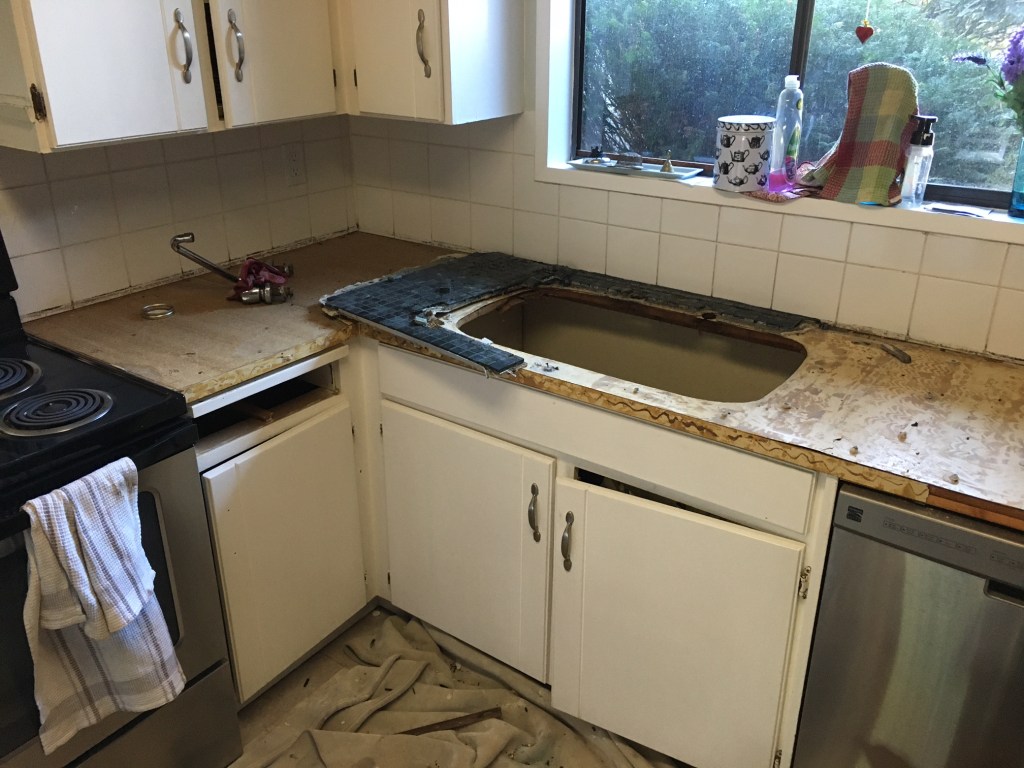
Pomi asked me to re-do the kitchen countertops in her rental house as they looked terrible and she was listing it for sale. There were 2 layers of laminate and the second layer was peeling off (and was not done properly). The edges had fallen off too and one had been fixed with tape.
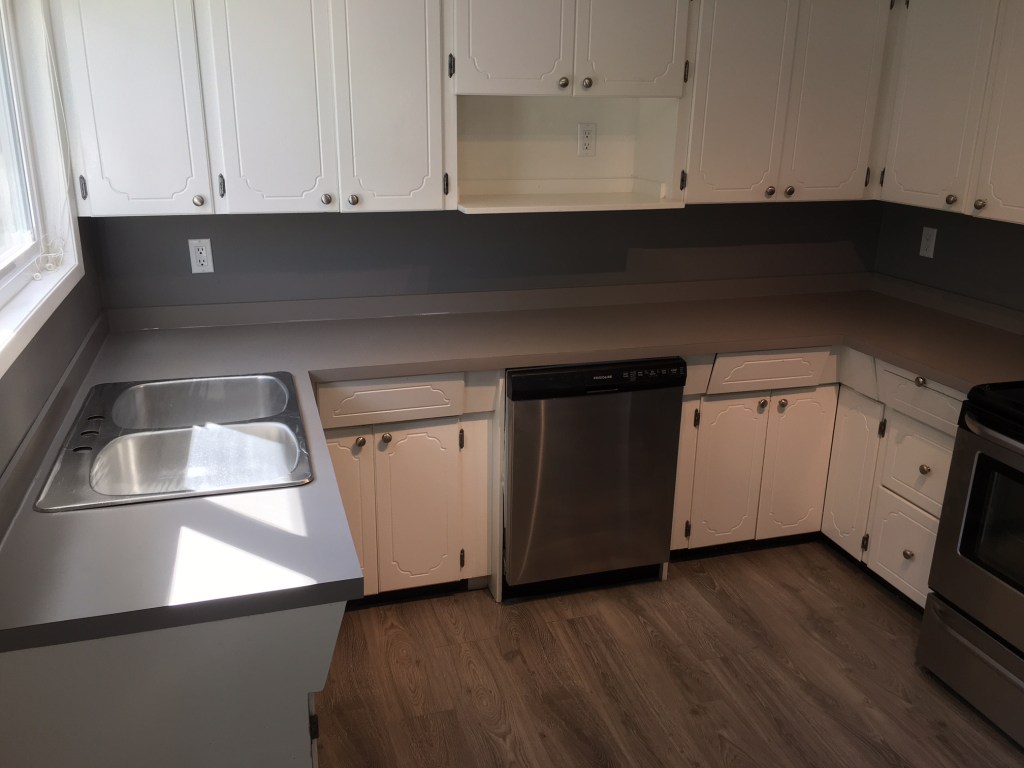
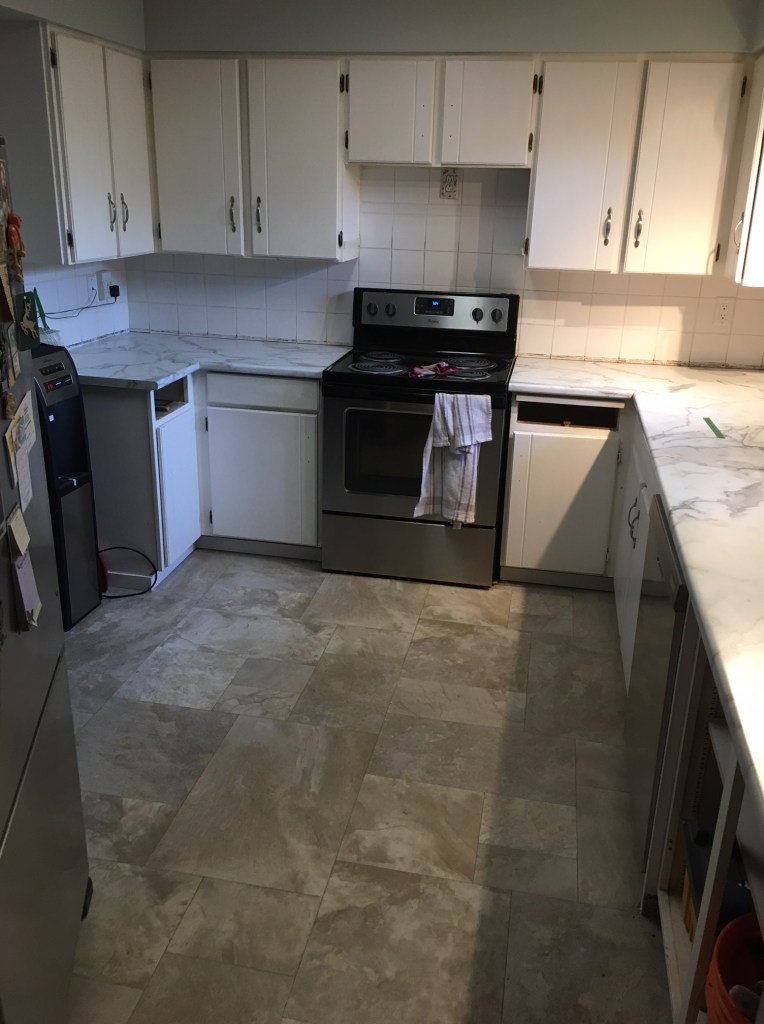
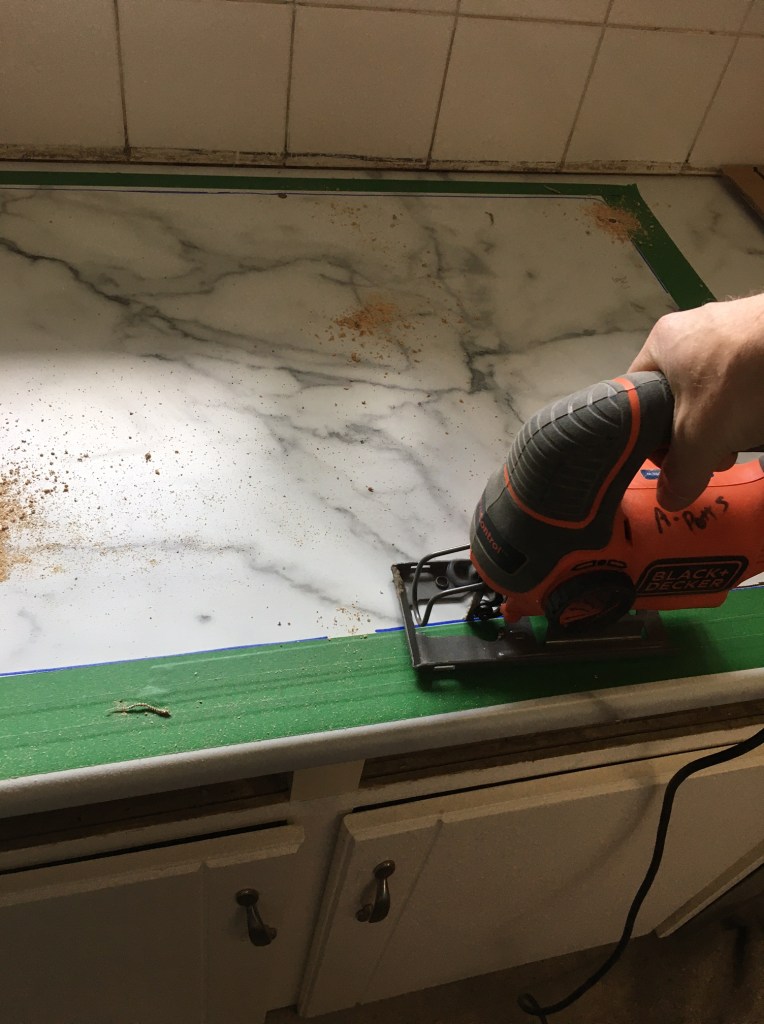
The problem was that she needed it done ASAP before a showing. So I checked with my supplier and there was only one 5×12 sheet available, a solid grey colour. So we went with that.
I also made splashes which finished it off nicely and add protection from future water damage in the sink area.
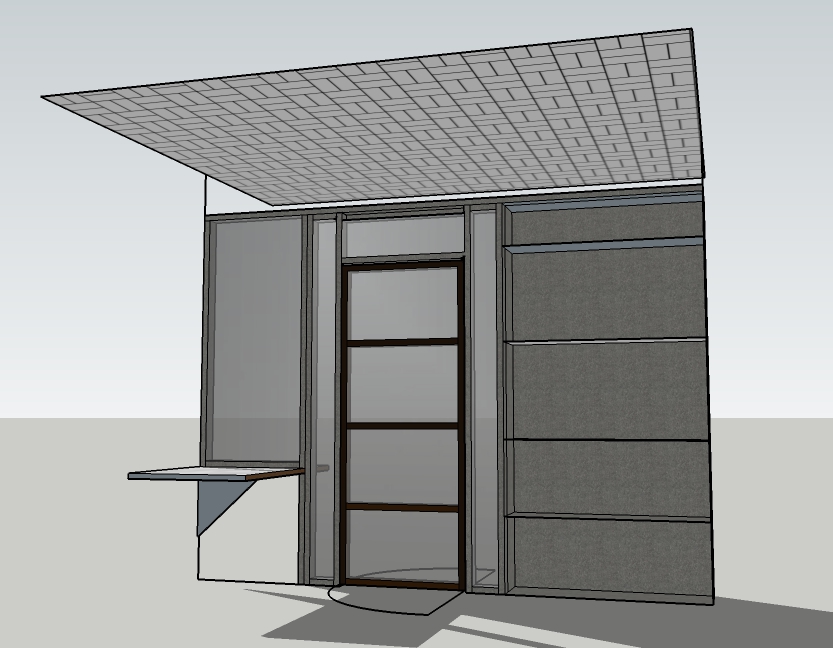
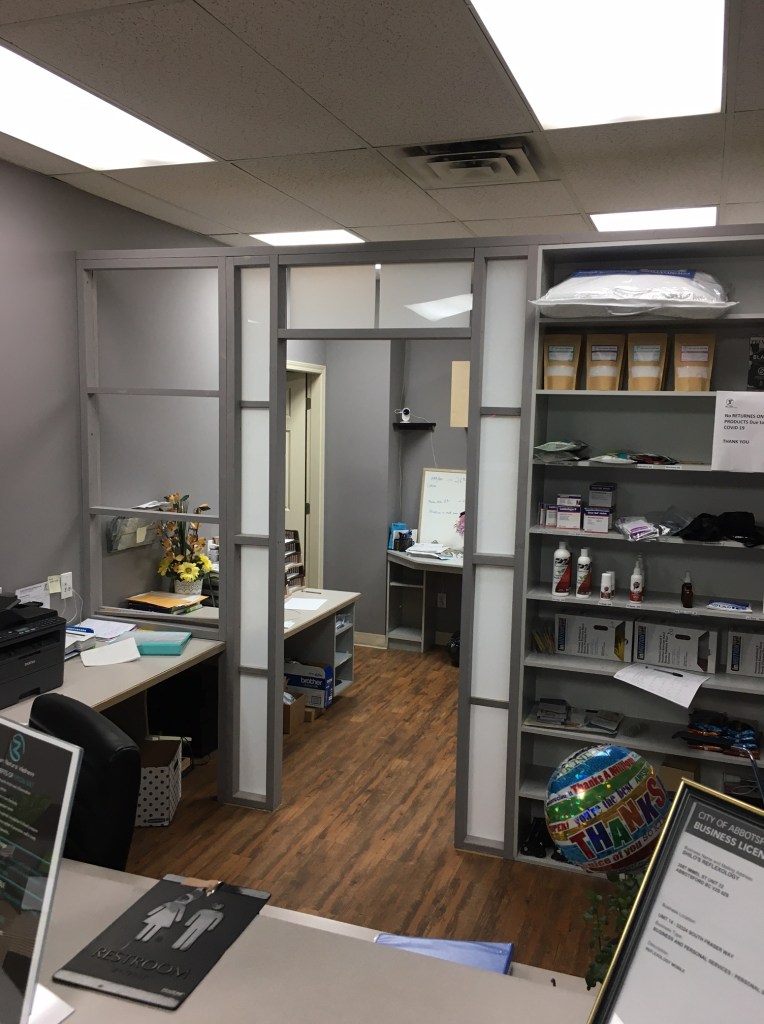
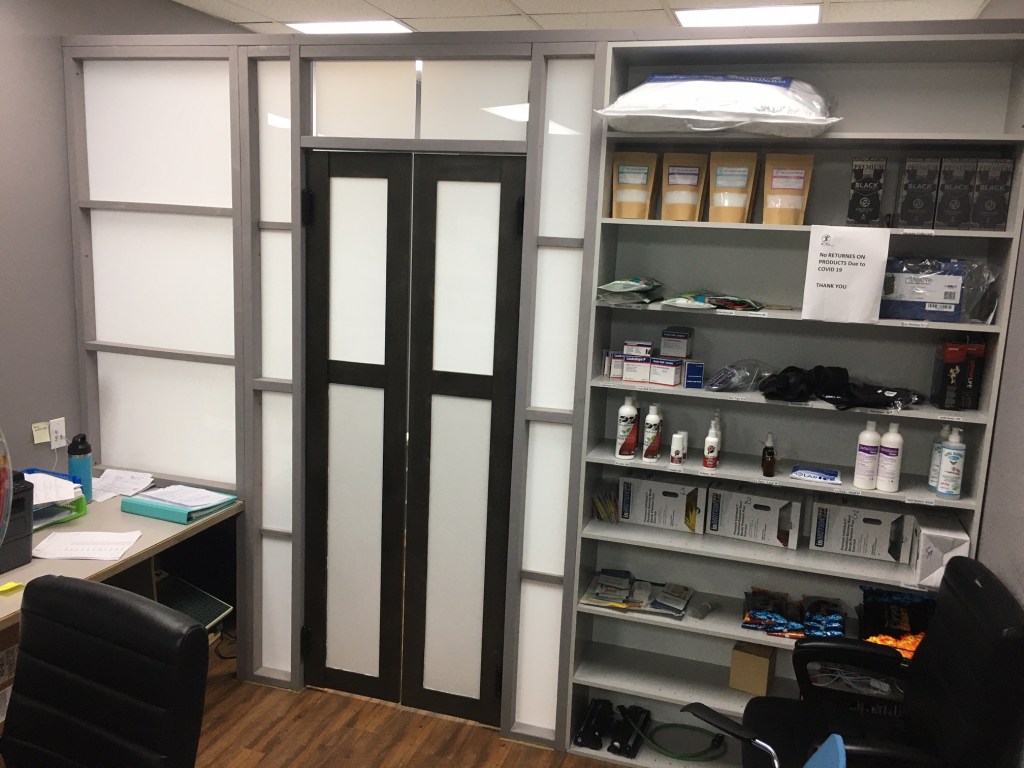
Get Well Physiotherapy hired me to divide the office/reception in half. Basically they wanted a private space behind the reception area. (We experimented with one-way (mirror) window film but it didn’t work too well, so went with frosted film.)
I measured the space and made a drawing:
First I built a frame out of 2x4s:
Frame integrates with existing shelf and desk
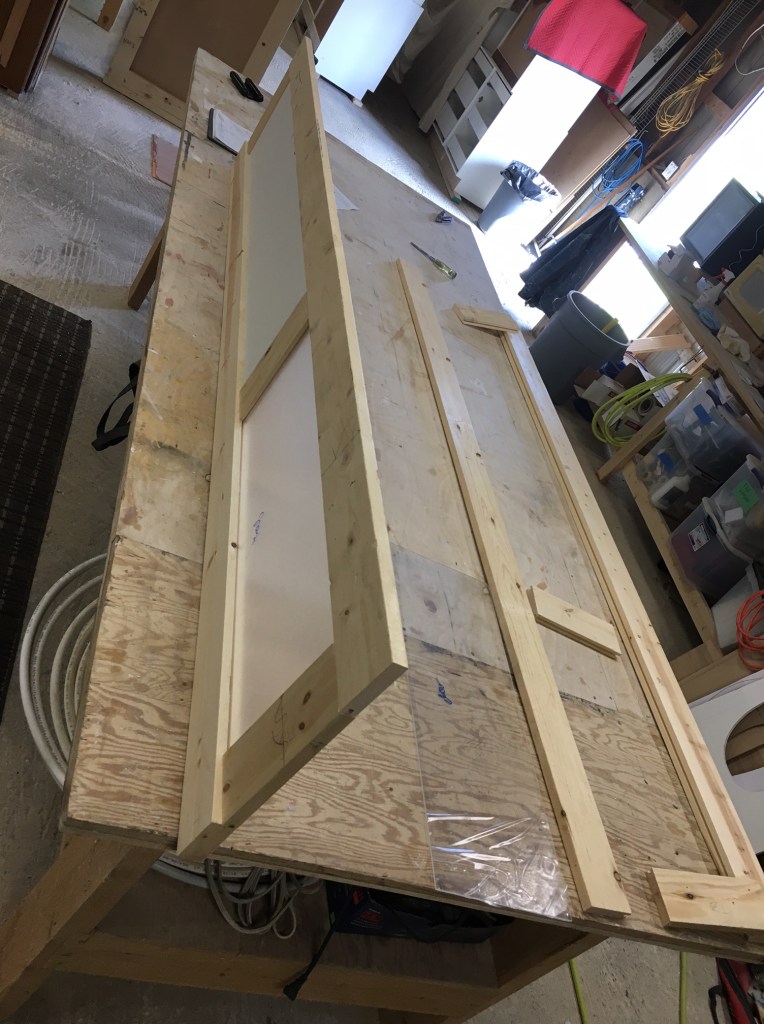
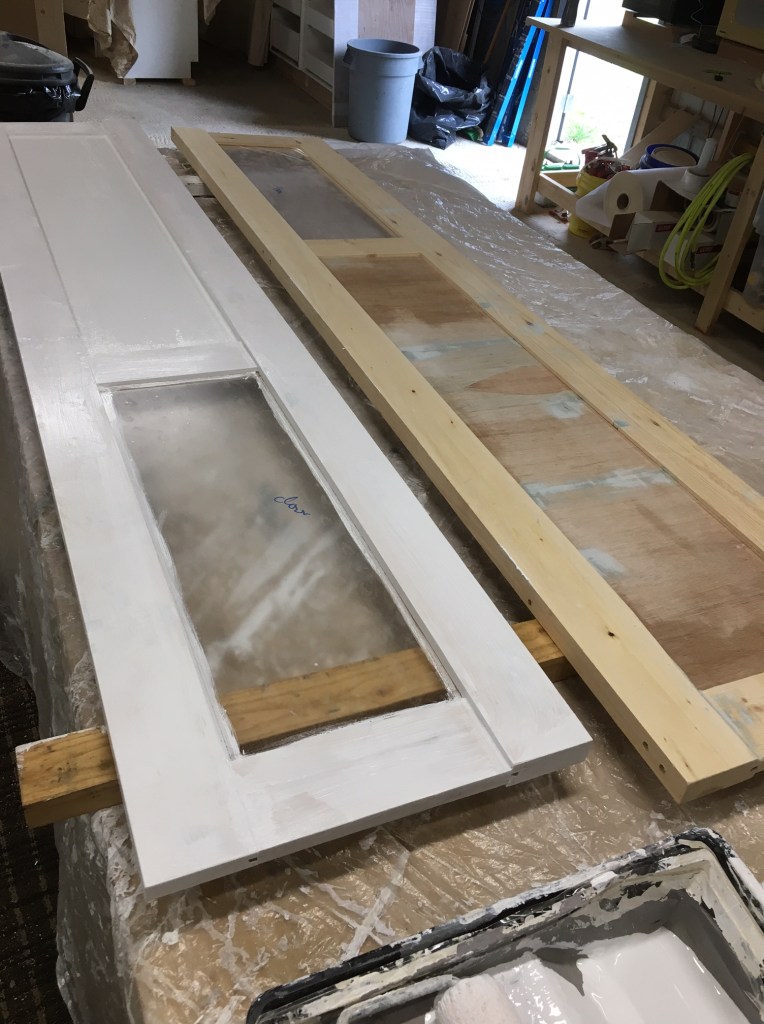
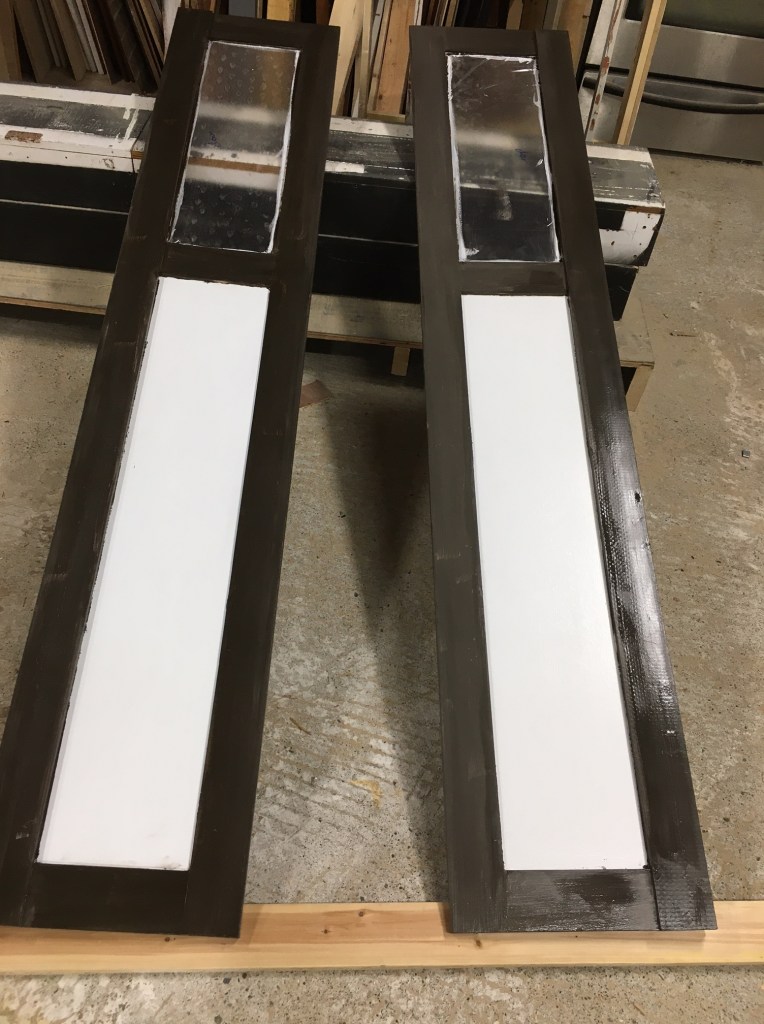
Next I worked on the doors. I made them out of 1x4s and 2x4s.
plexiglass panel on top and plywood panel on bottom for stability
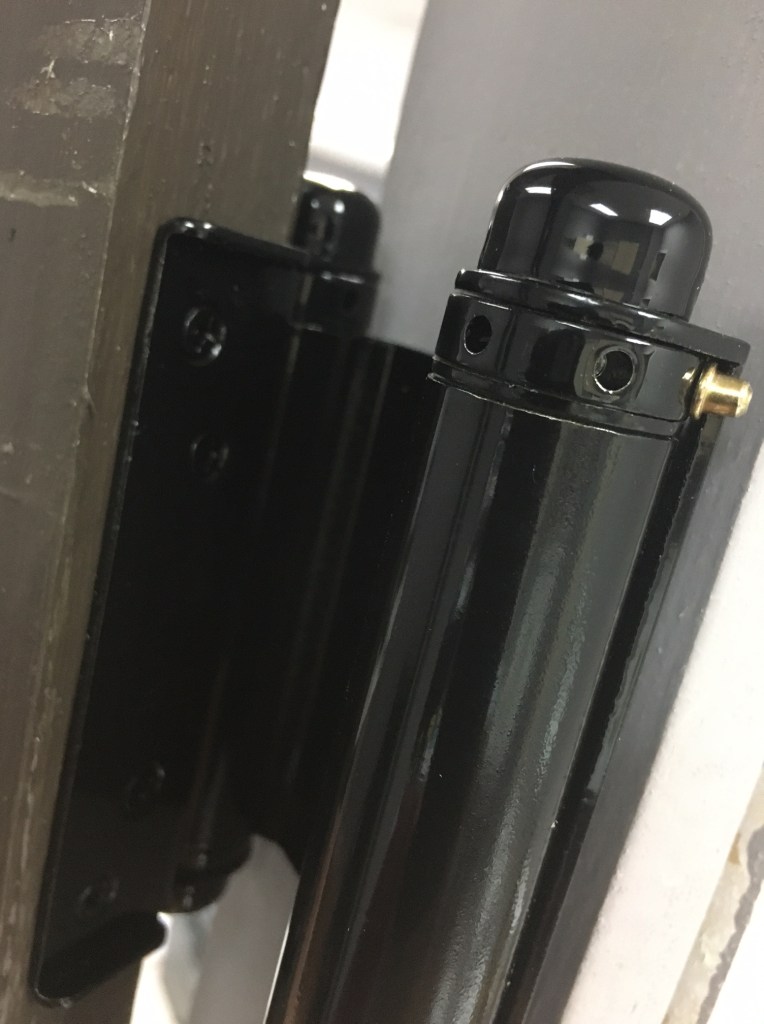
Lastly I installed the doors with double swing hinges.
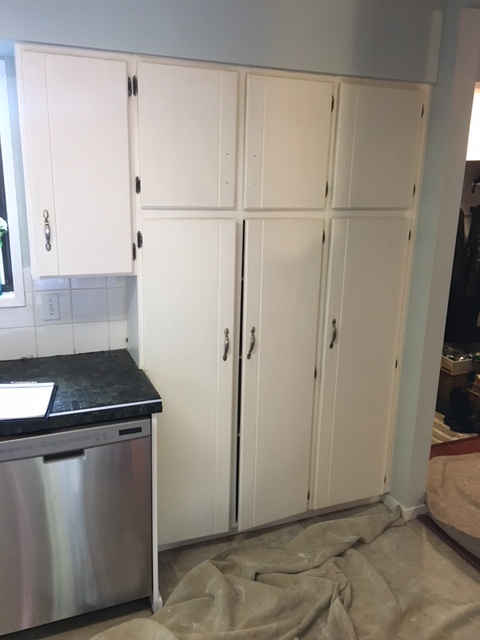
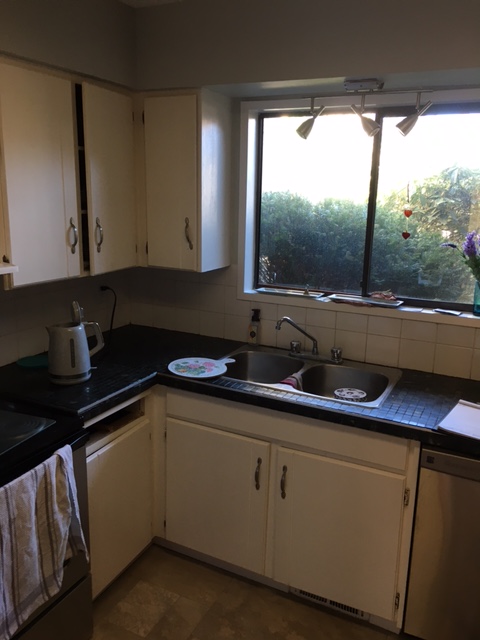
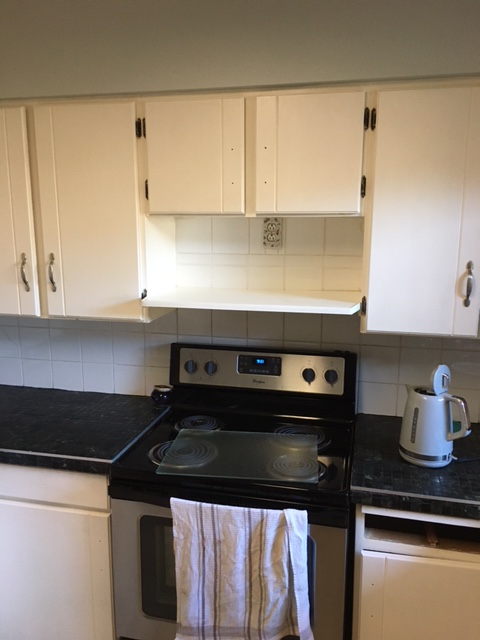
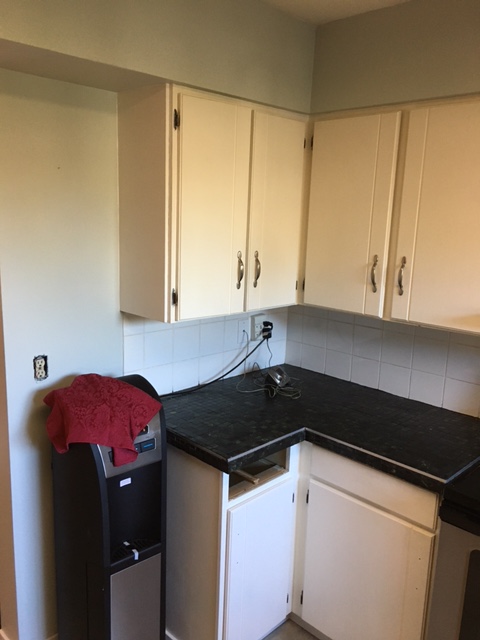
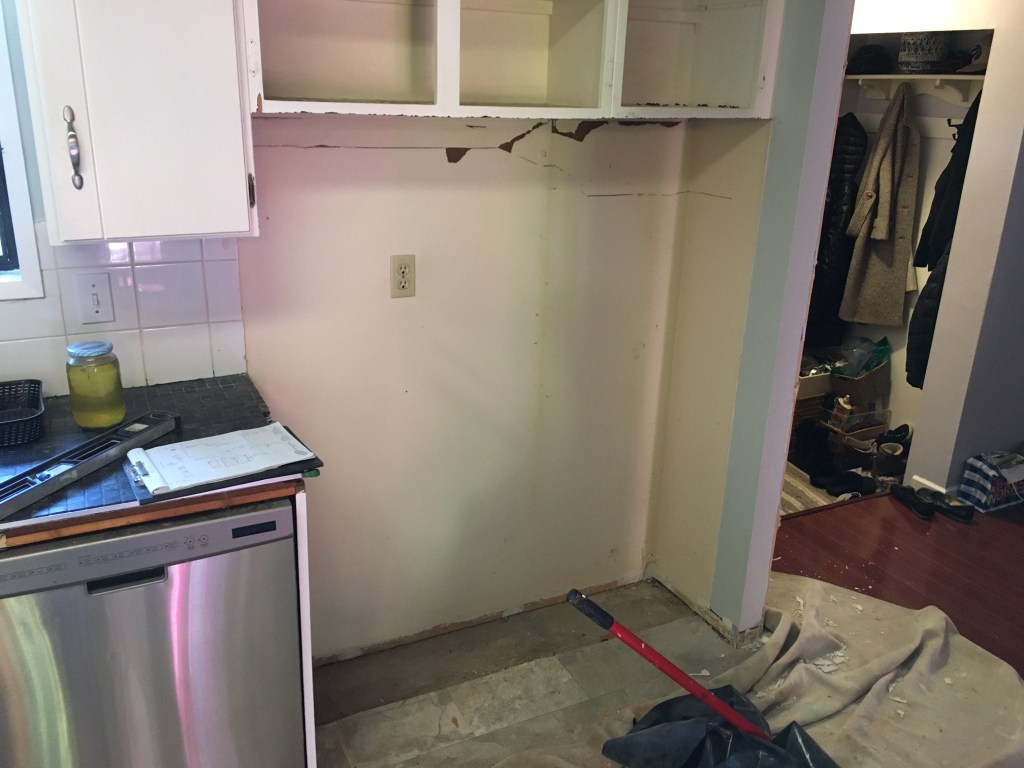
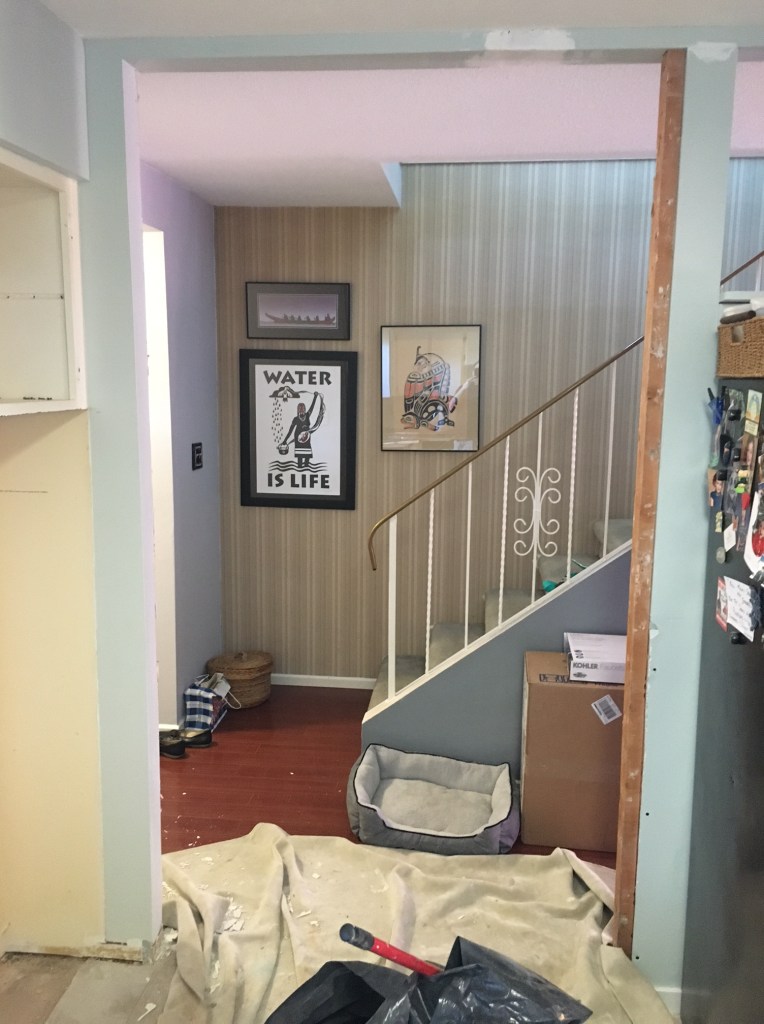
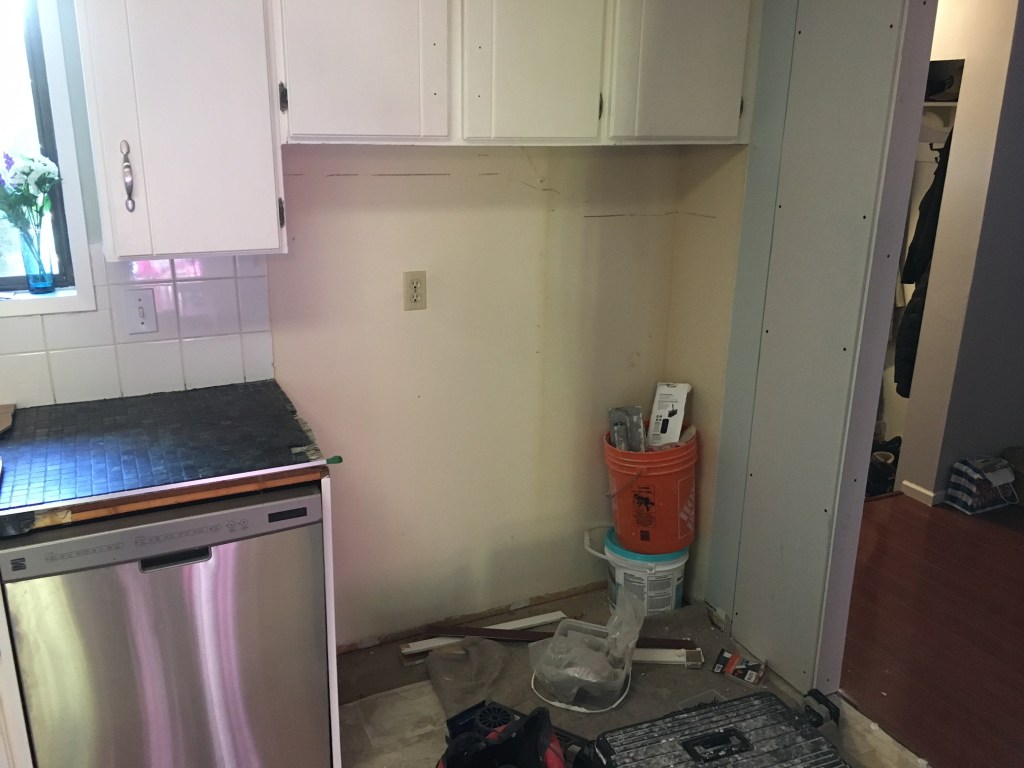
Hilary hired me to re-do part of her kitchen. To save space she wanted to remove a skinny, tall pantry and replace it with cabinets and countertop space. To do so, a wall had to move a little bit. New countertops and tile backsplash would finish it off.
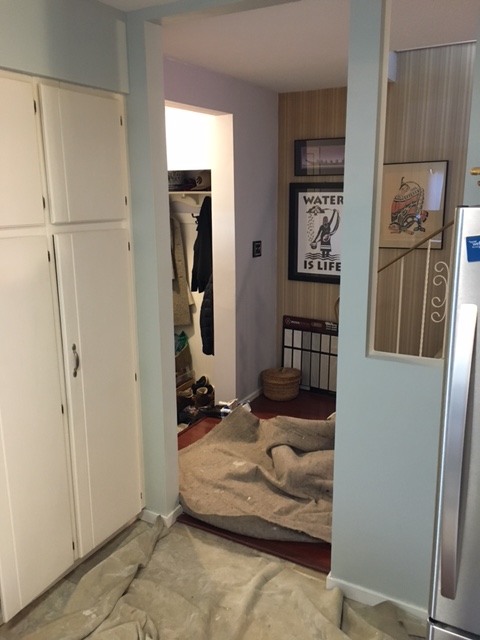
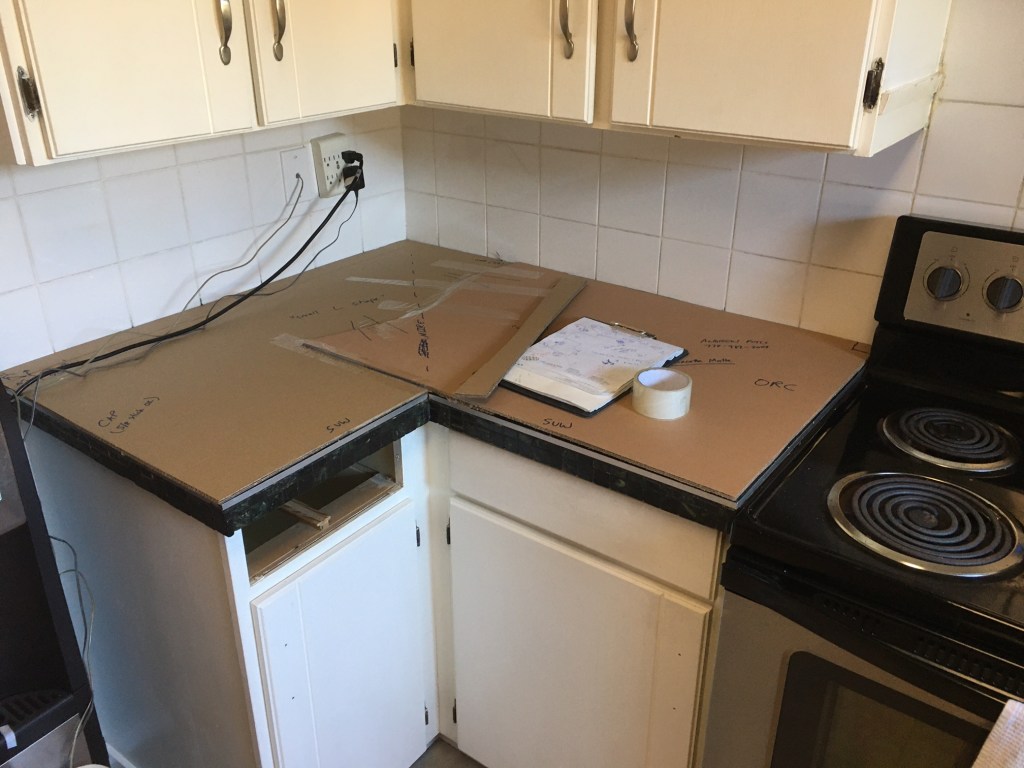
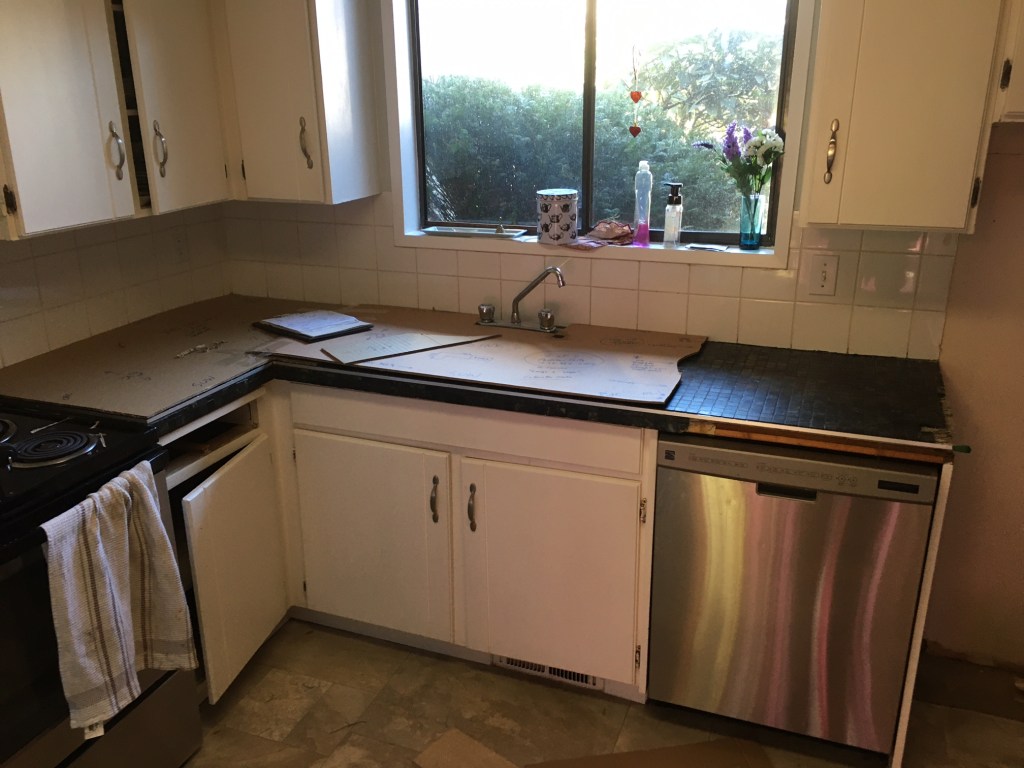
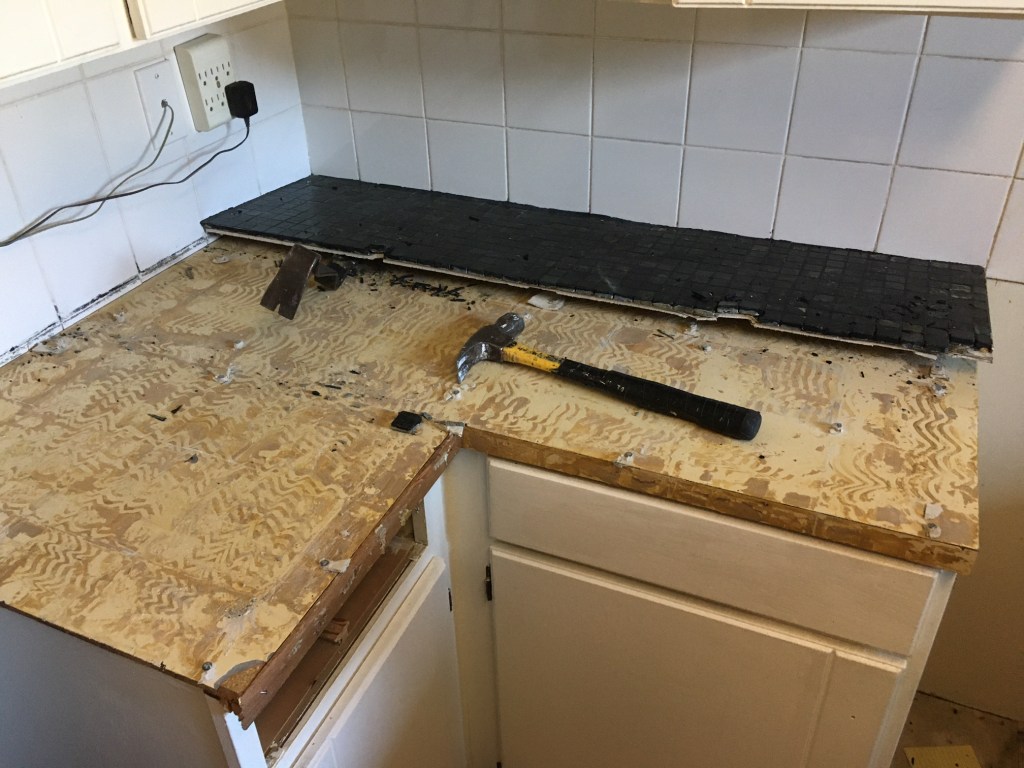
Here are some ‘before’ pictures:
The old countertops were tile, which was overlaid over the original tops, which were “flatlay” (laminate), screwed to the cabinets from above.
First I moved the wall (kitchen entrance) – it was not a supporting wall so that made things easier. There was some floor patching and baseboard changes as well.
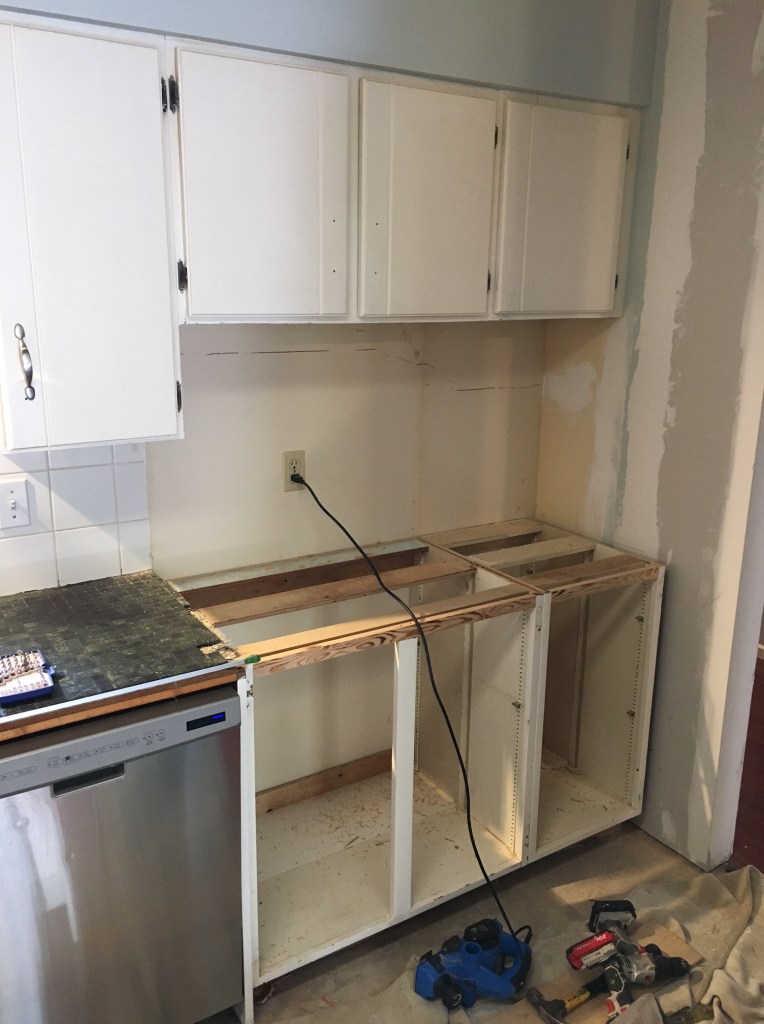
Next I cut the existing pantry in half and removed the bottom half for later.
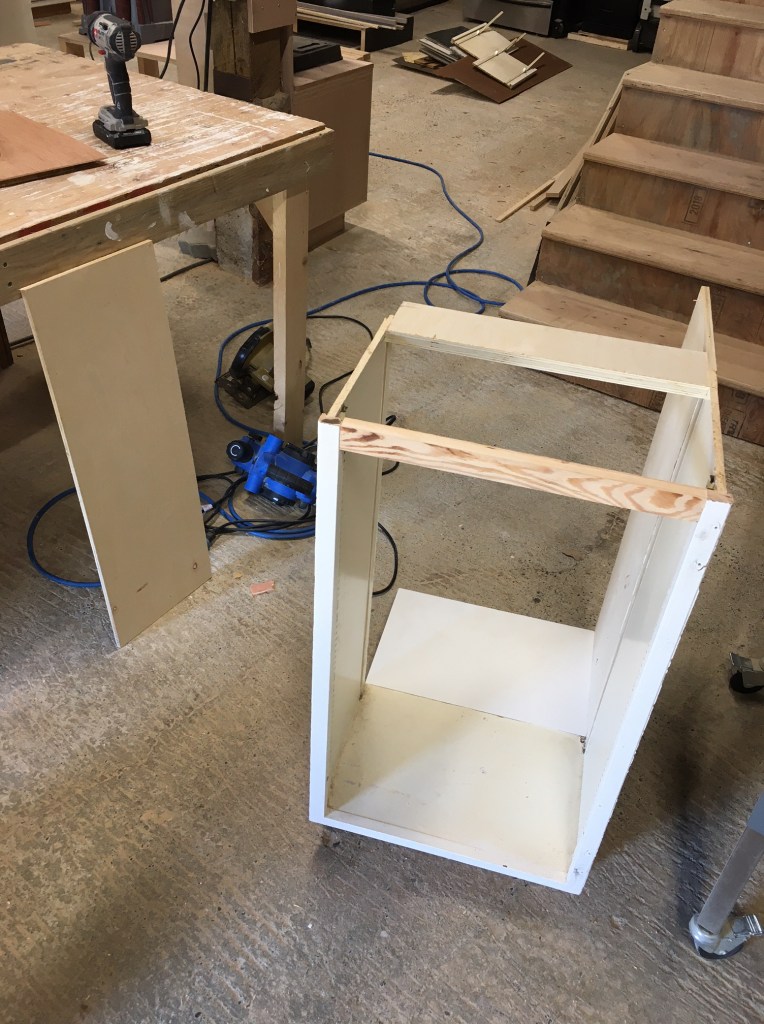
Once I knew where the new wall was, I templated the countertops so that they could be ordered for cutting, and arranged for a plumber. I extended the old pantry cabinets and shortened them to kitchen cabinet height.
Once I had cabinets installed, I picked up the countertop and installed that as well. The customer was without a kitchen sink overnight.
Once the countertop was in, the plumber came and hooked up the new sink and tap. Then it was time to start tiling.
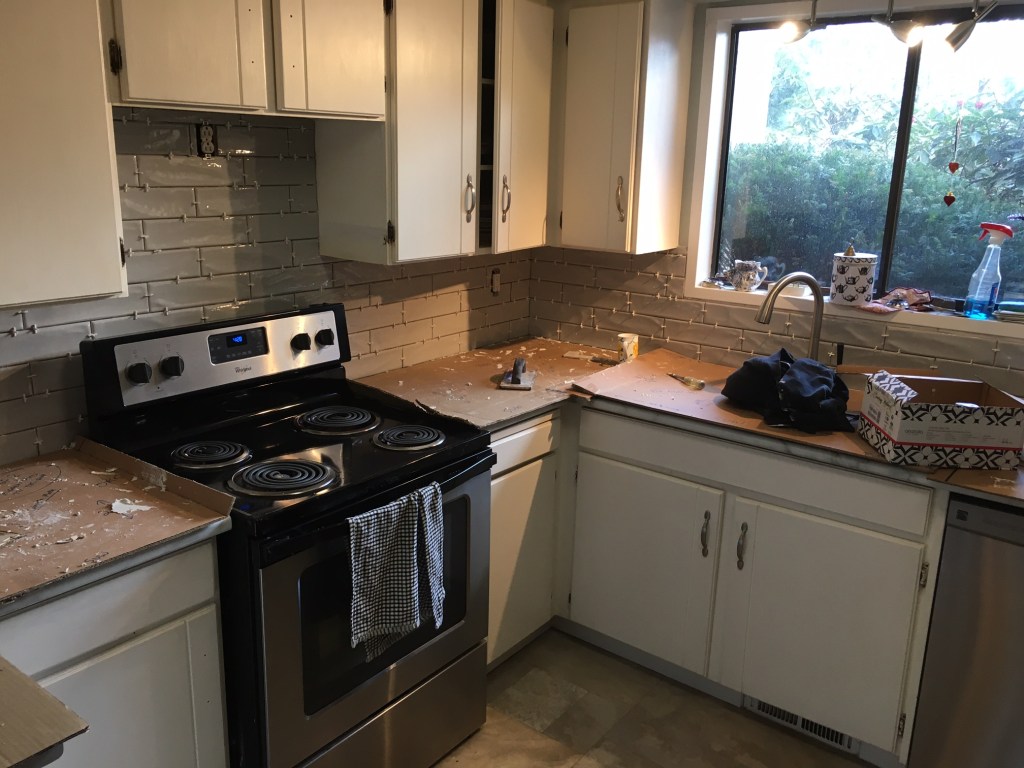
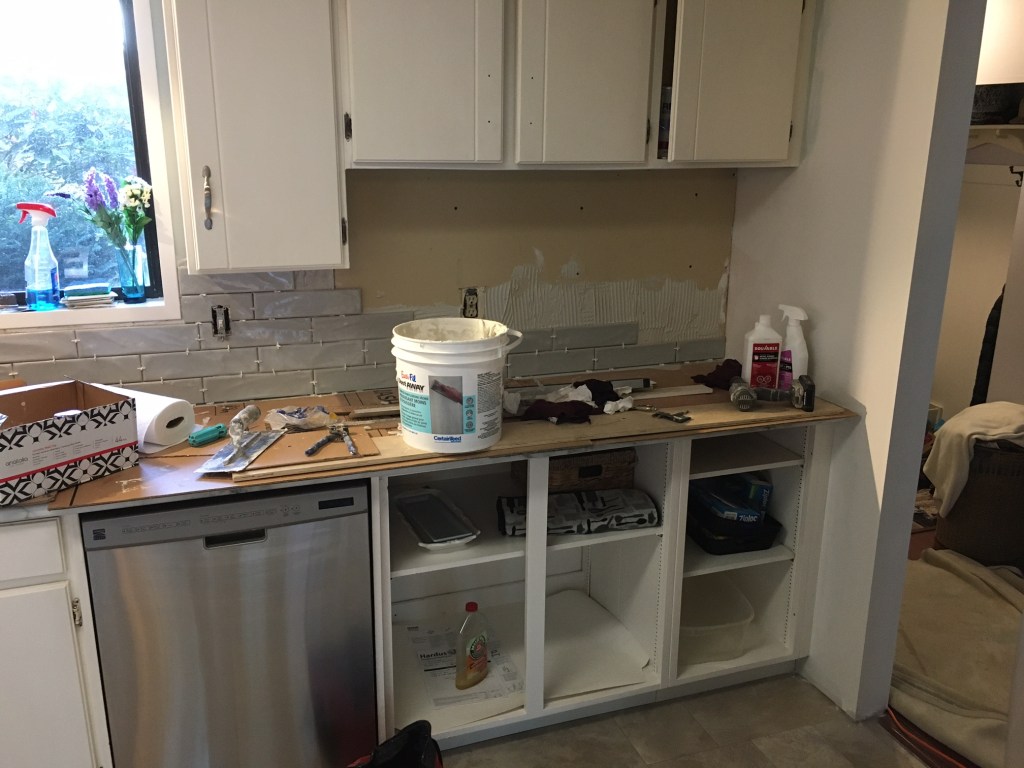
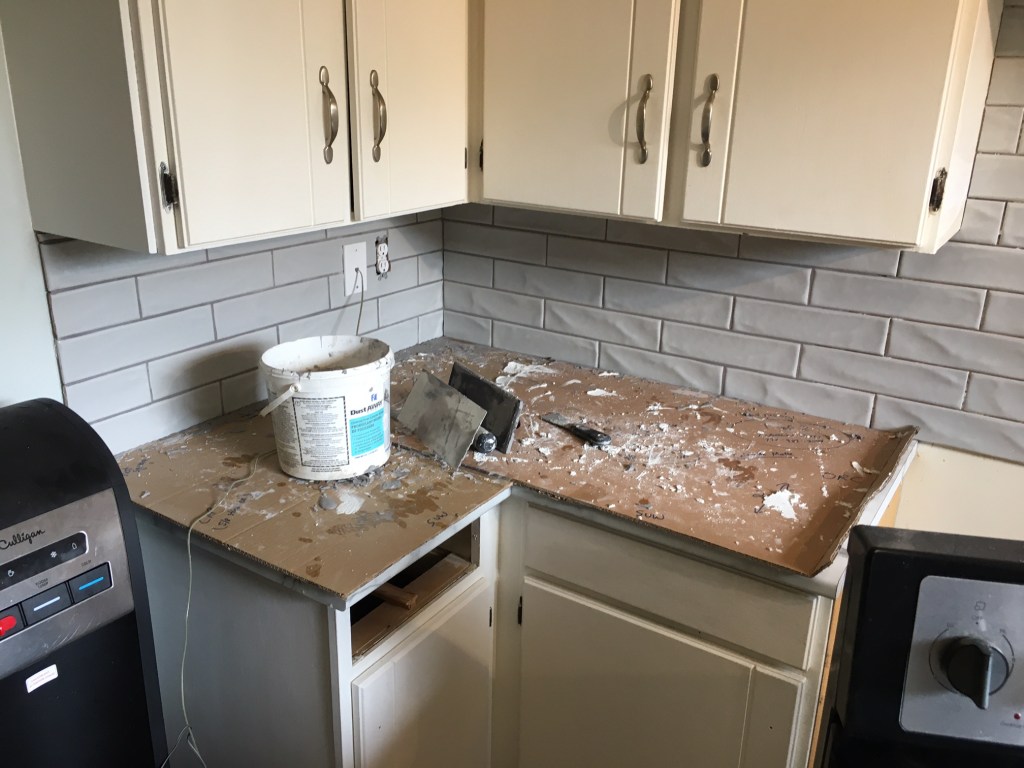
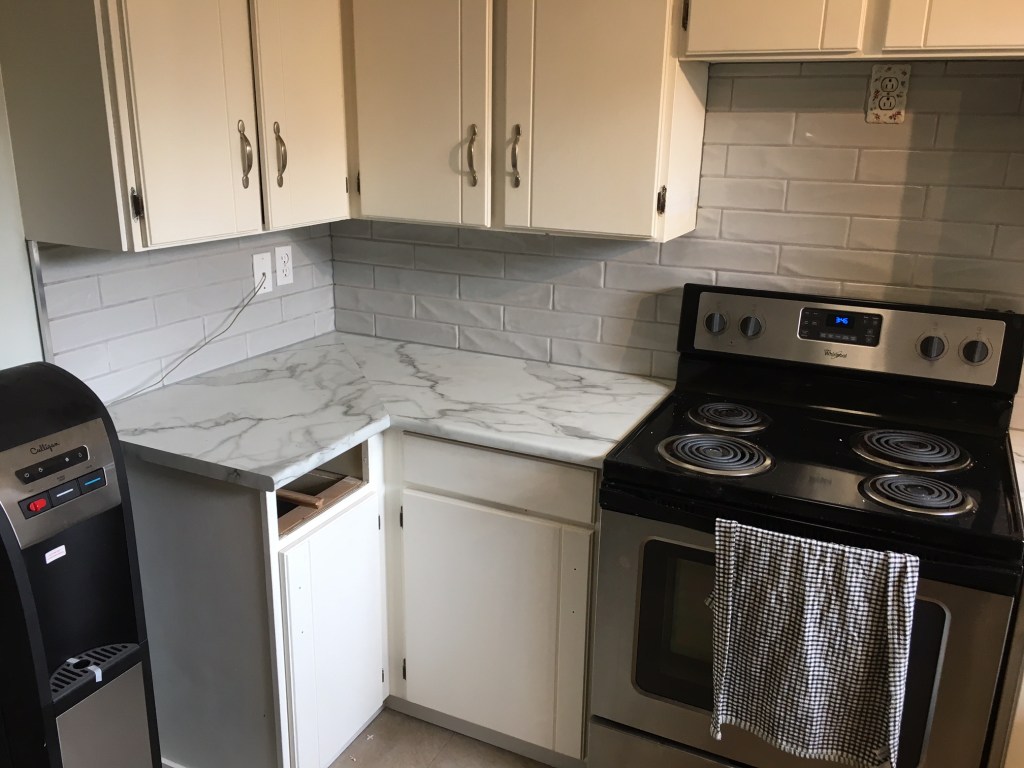
I always ask the customer to choose and purchase the tile and the grout. It usually takes me about 2 days to install and grout a kitchen backsplash. These were ceramic subway tiles with a raised wavy surface.
Here are some “after” pictures. The customer is going to do all the painting (yay!). – a bit on the wall, and she is also planning to paint the cabinets.
Overall, everything went pretty well and my customer is happy. It took me about 7 days (not all full days). The kitchen has a lot more useable space now and looks very nice.
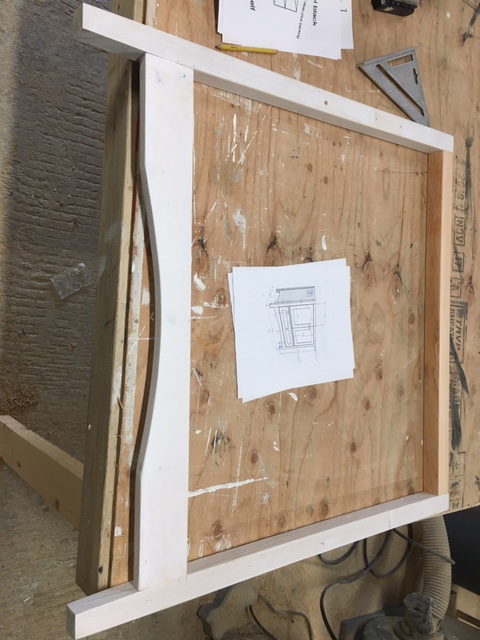
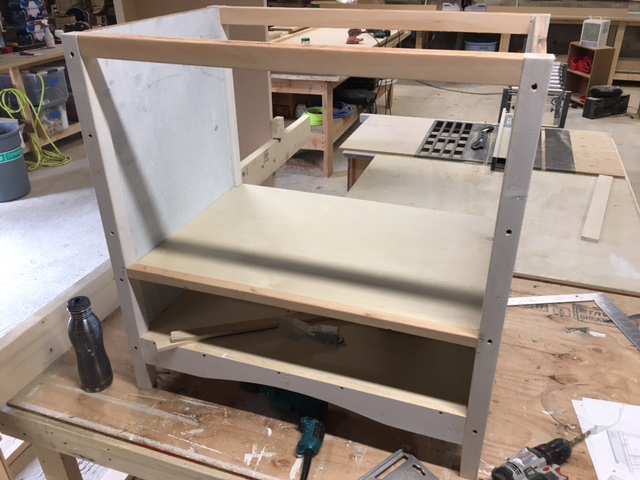
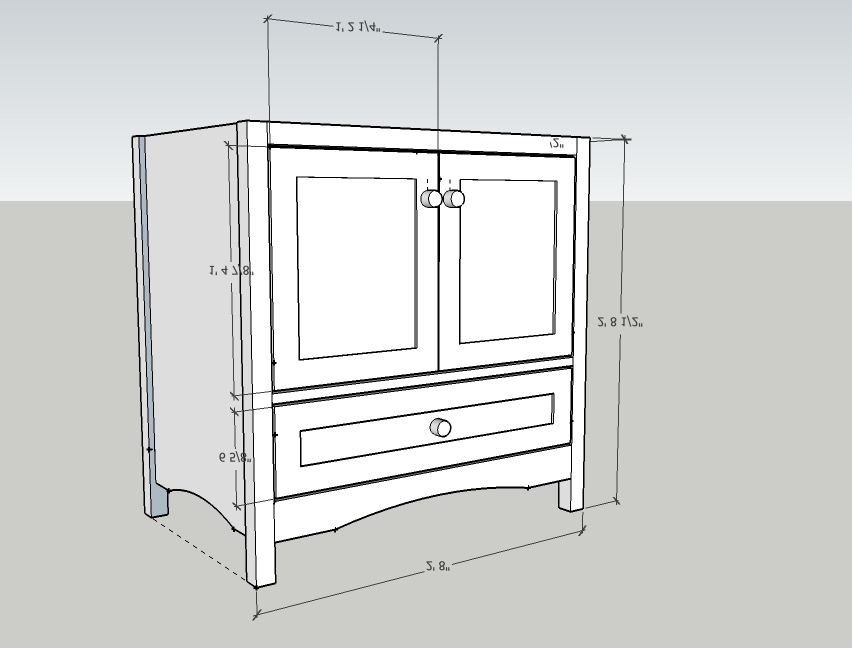
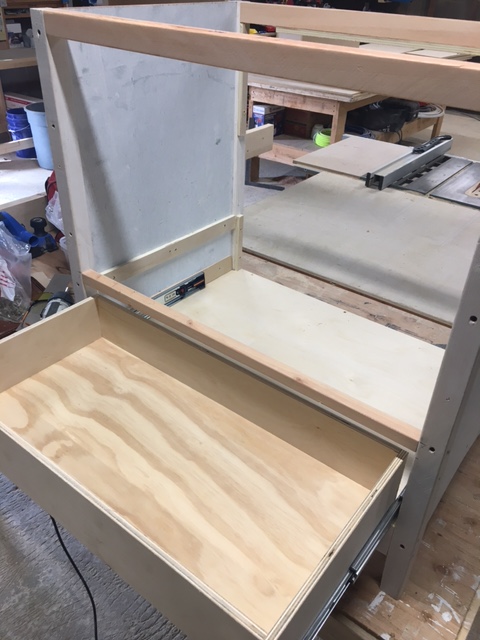
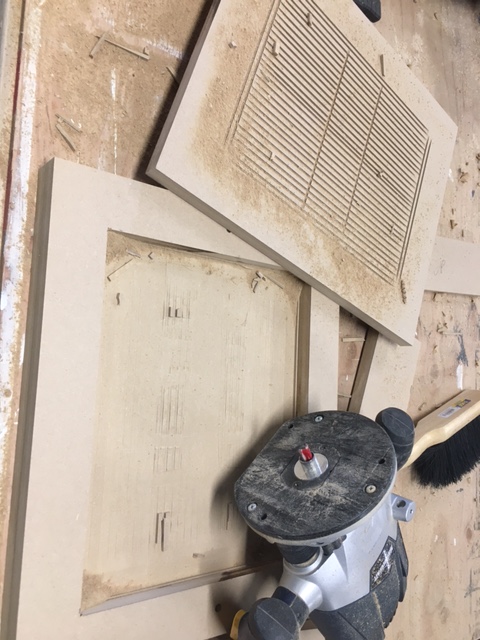
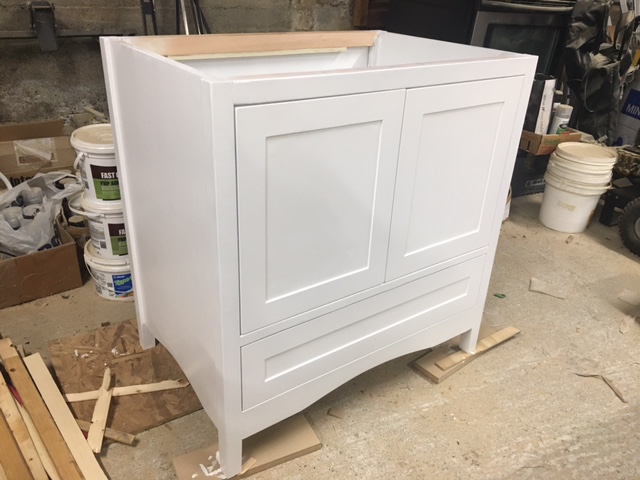
A couple of years ago I made a vanity for Kate and Derik; they are renovating another bathroom in their house now, so asked for another cabinet. This one was smaller but in some ways more complex. The doors and drawer are flush mount to the front frame, and the corner posts are made out of real wood! Here are a few photos of the process.
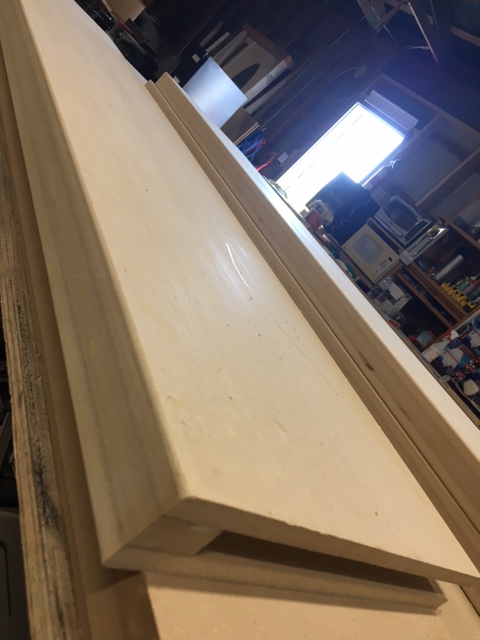
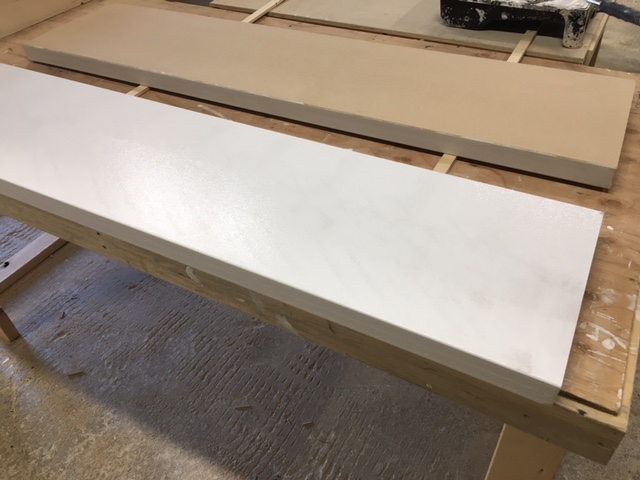
The drawer is soft-close and not very deep to accommodate water lines. The doors are also soft-close. The doors were made out of one-piece routered 3/4 MDF. It took a fair bit of time to spray paint them. It is very difficult to make perfect, as the pearl-finish cabinet paint shows every single sanding mark when sprayed. However, I was pretty happy with the final product.
The final step was delivery. They had bought some handles which I put on when I arrived. The bathroom was not quite ready for the cabinet so it may be awhile before I see a picture of it in its new home!
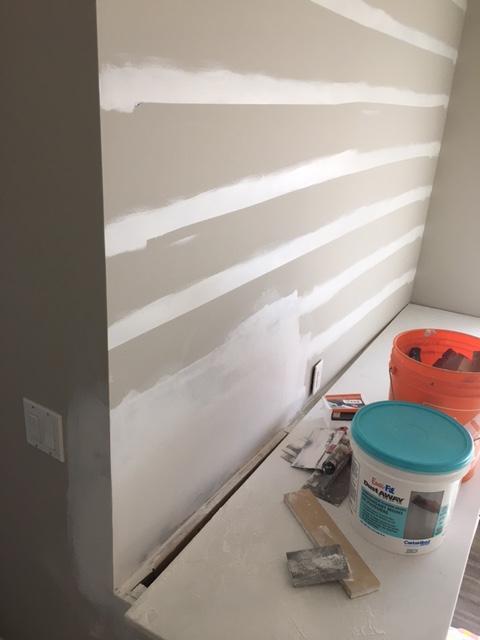
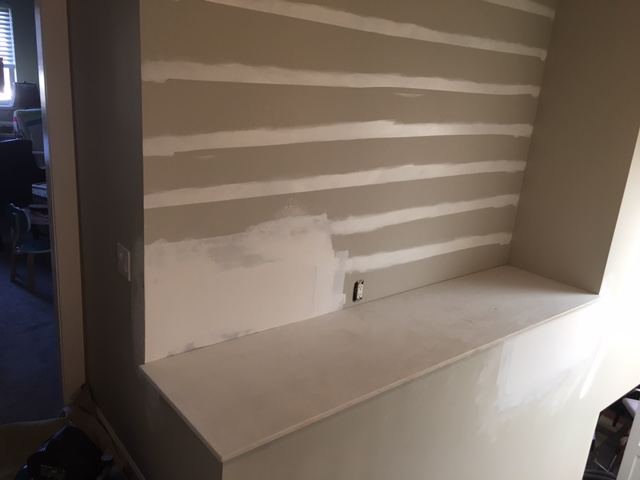
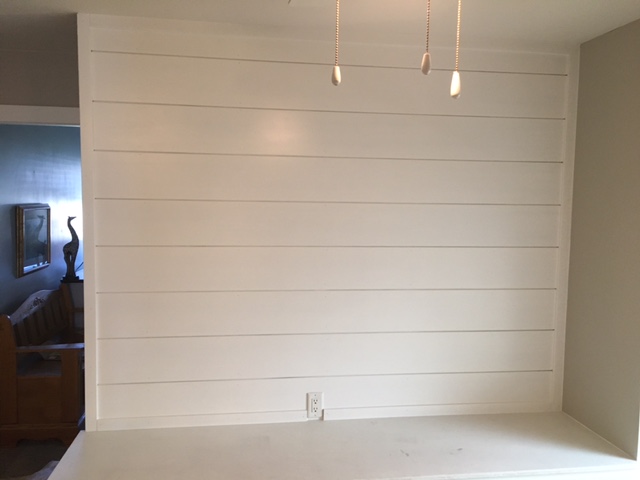
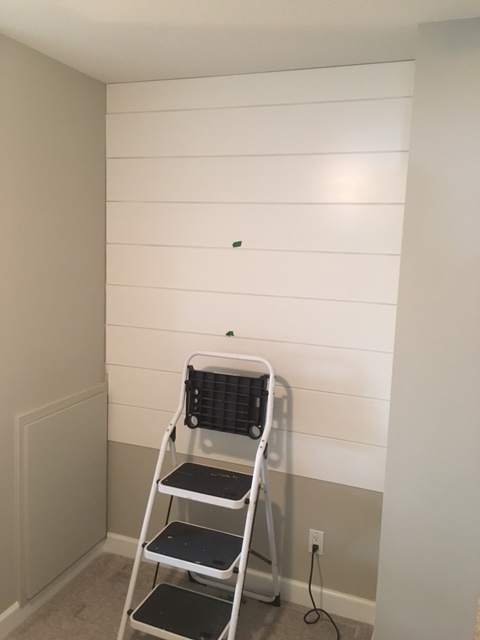
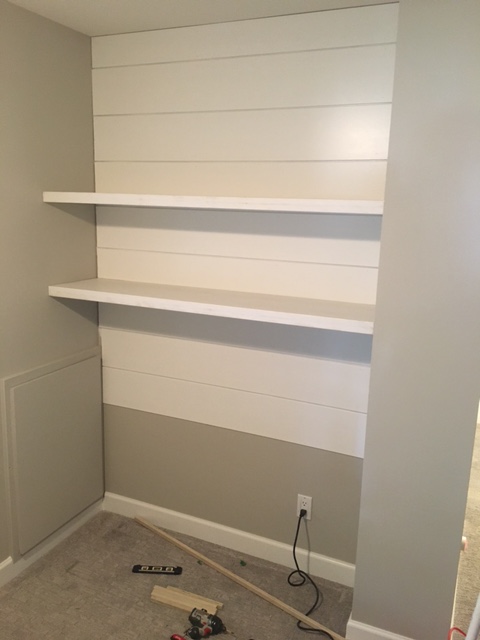
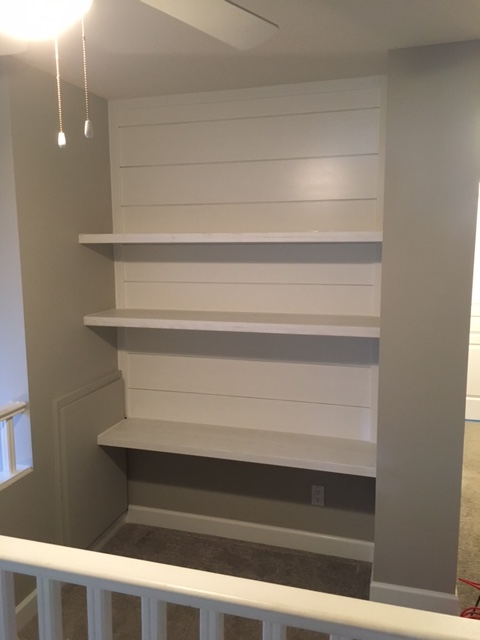
Joan and Tom hired me to change a drywall step that was kind of awkward. I flattened out the step and put a long, flat shelf in. (The wall needed patching in a couple of places.) Then I made “faux” shiplap out of 1/4″ MDF. Tom painted everything and then I tacked it up on 2 walls. There are also some shelves: they are hollow inside so they can slide into the wall alcove without support brackets.