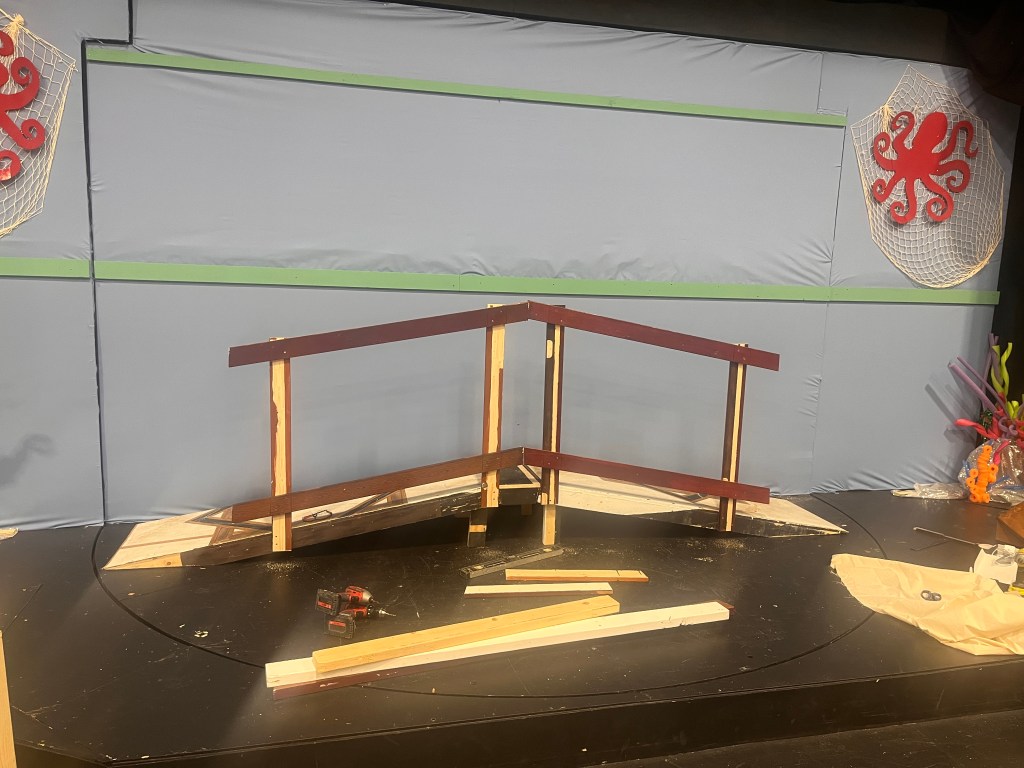
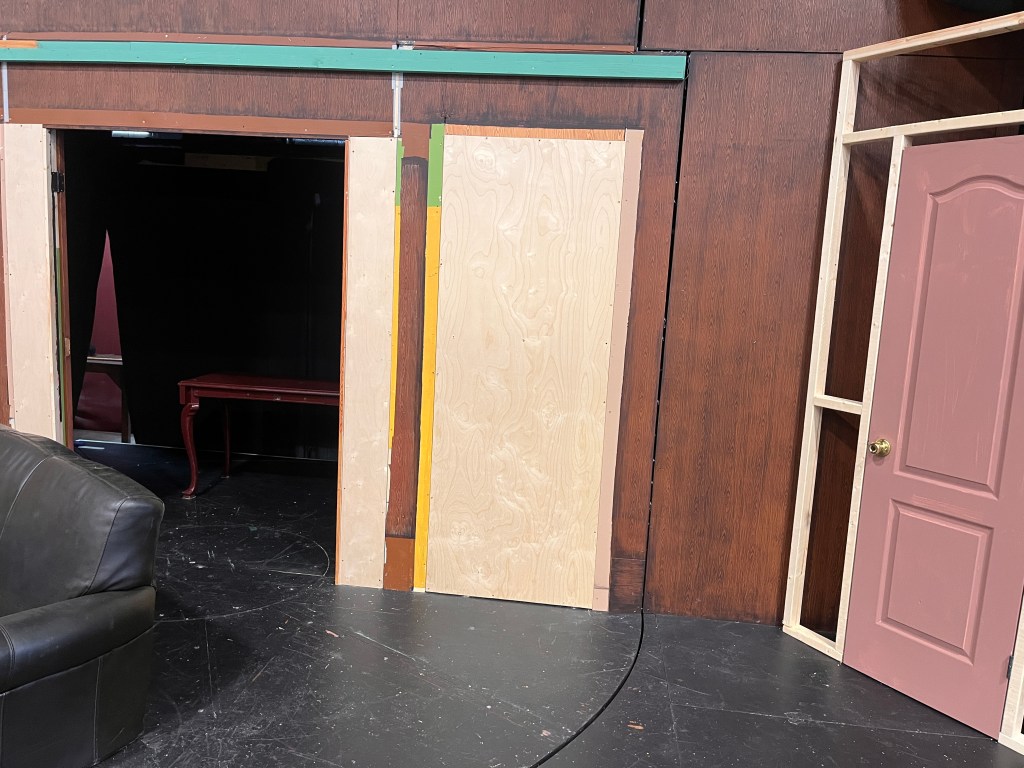
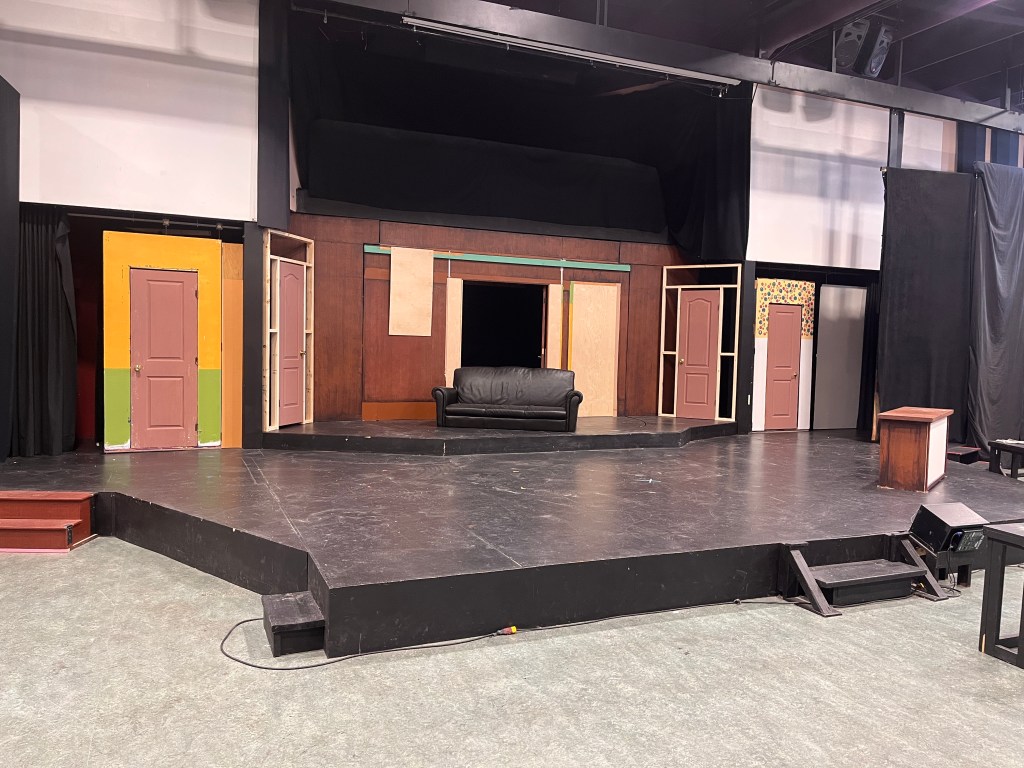
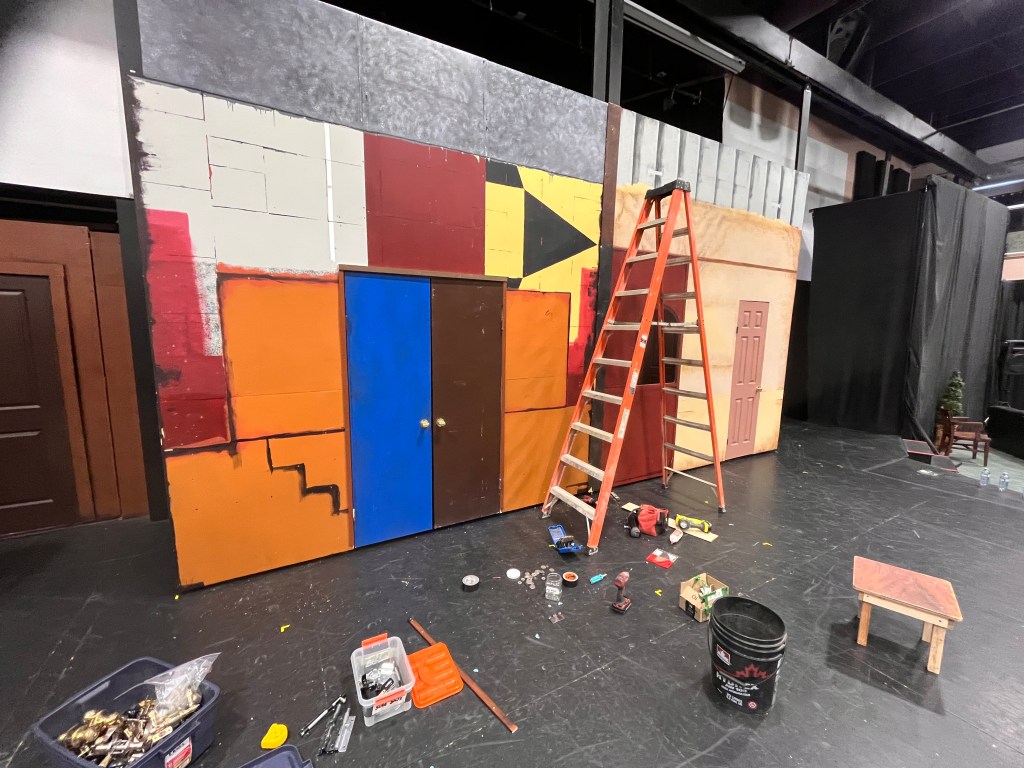
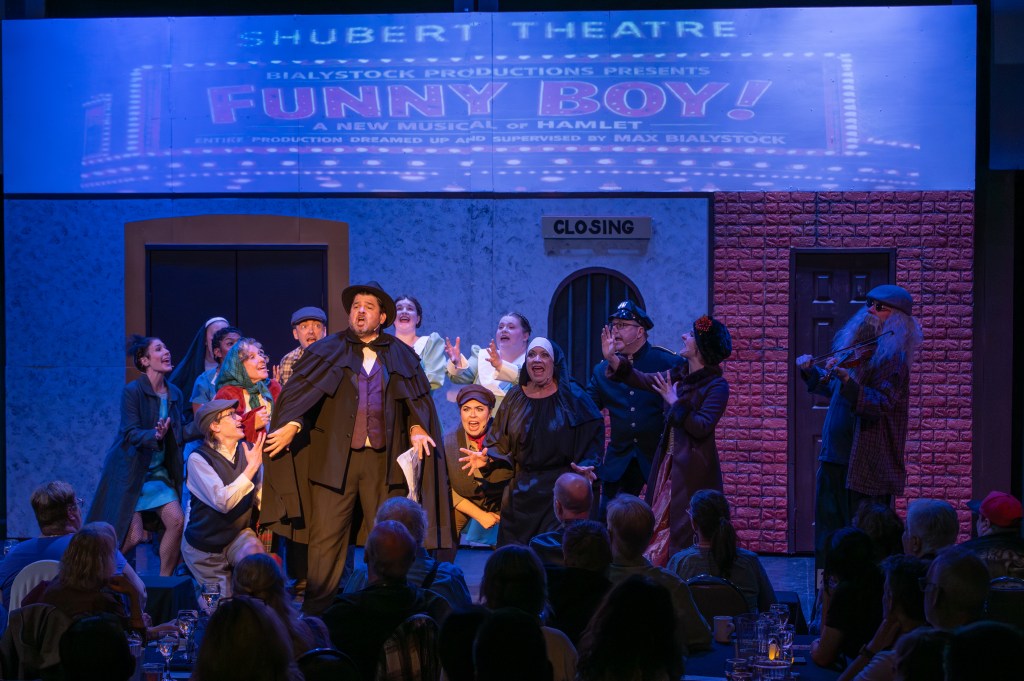
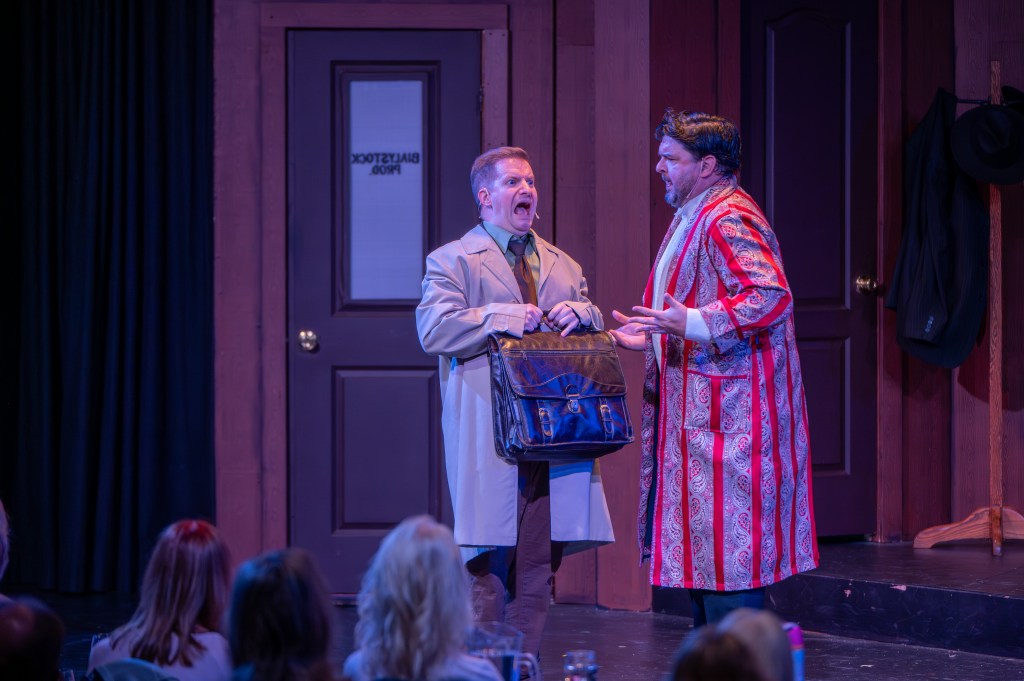
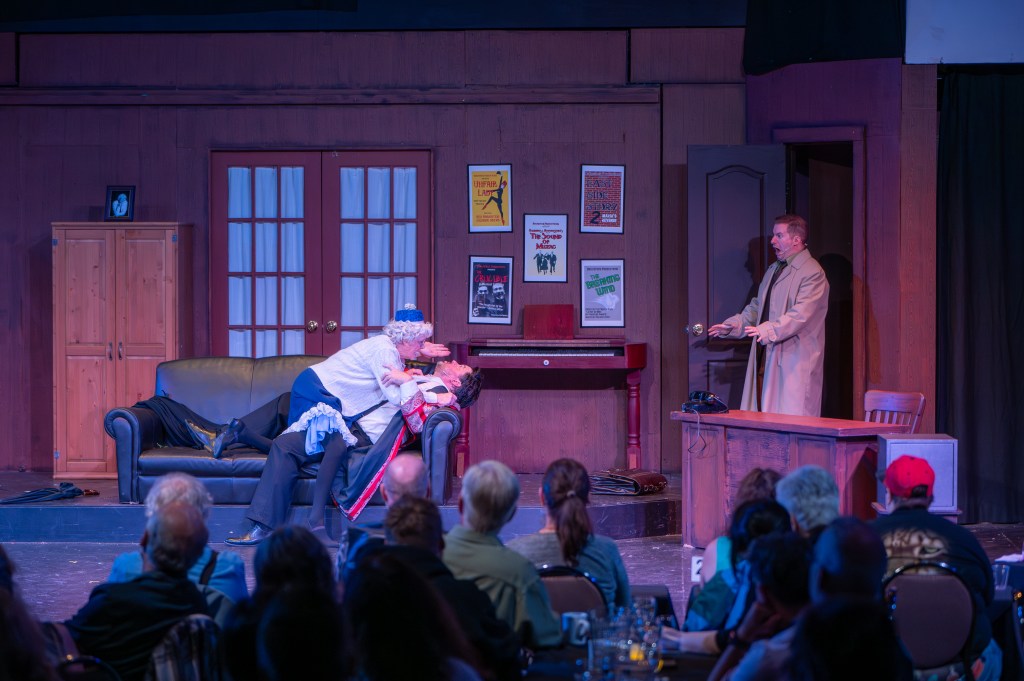
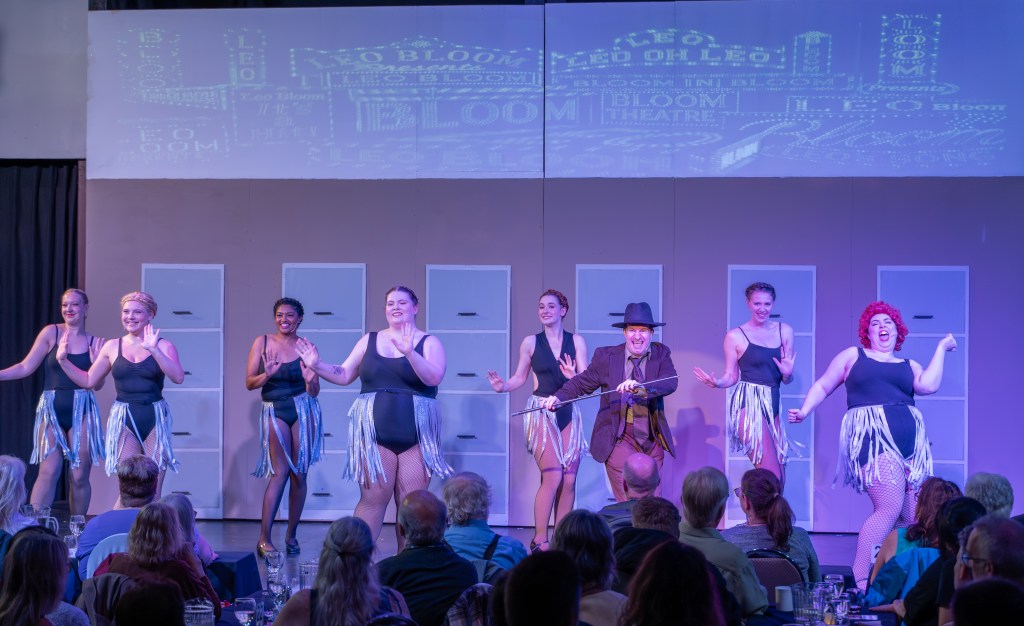
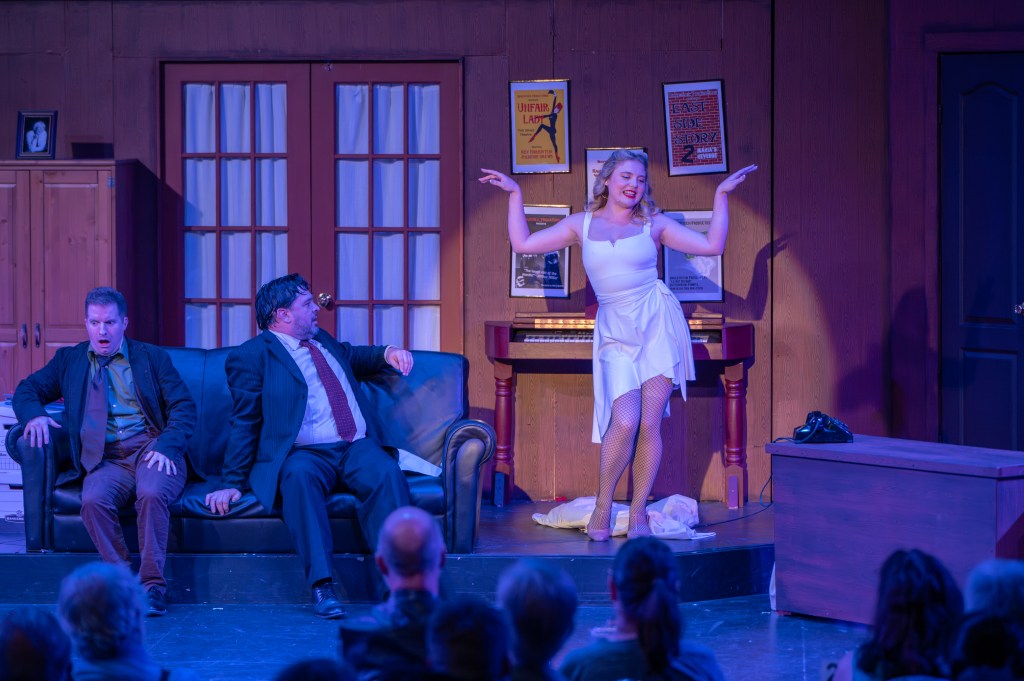
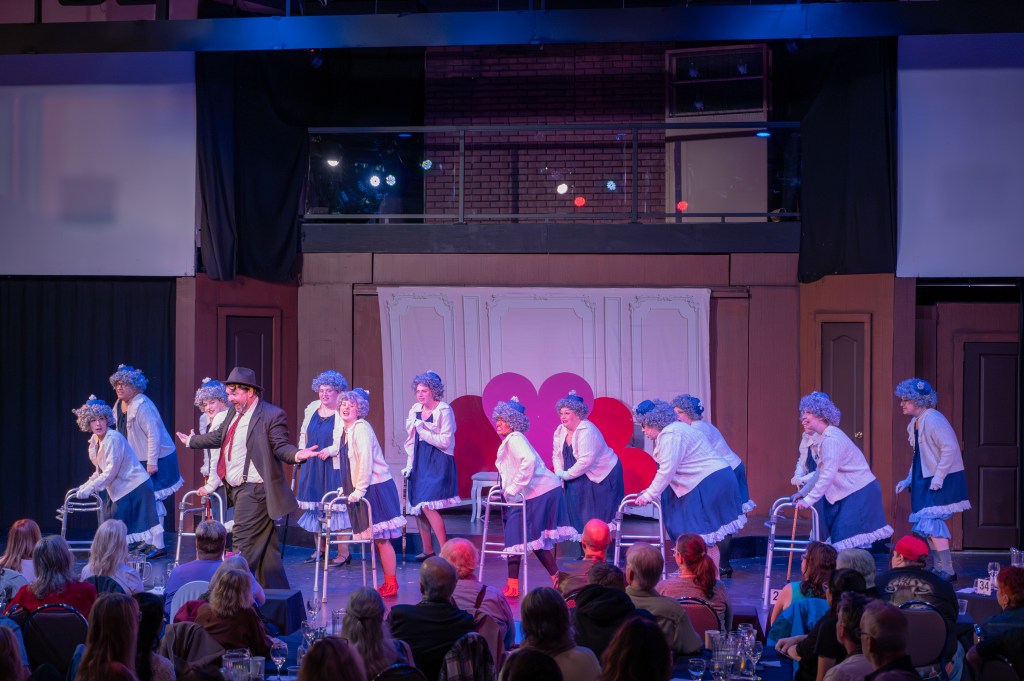
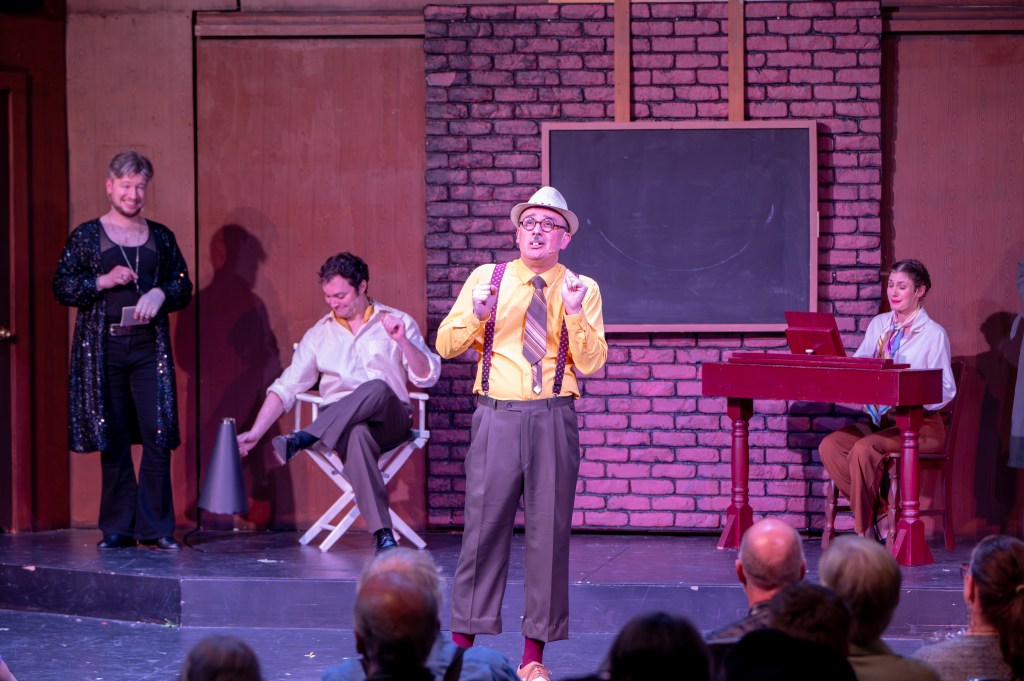
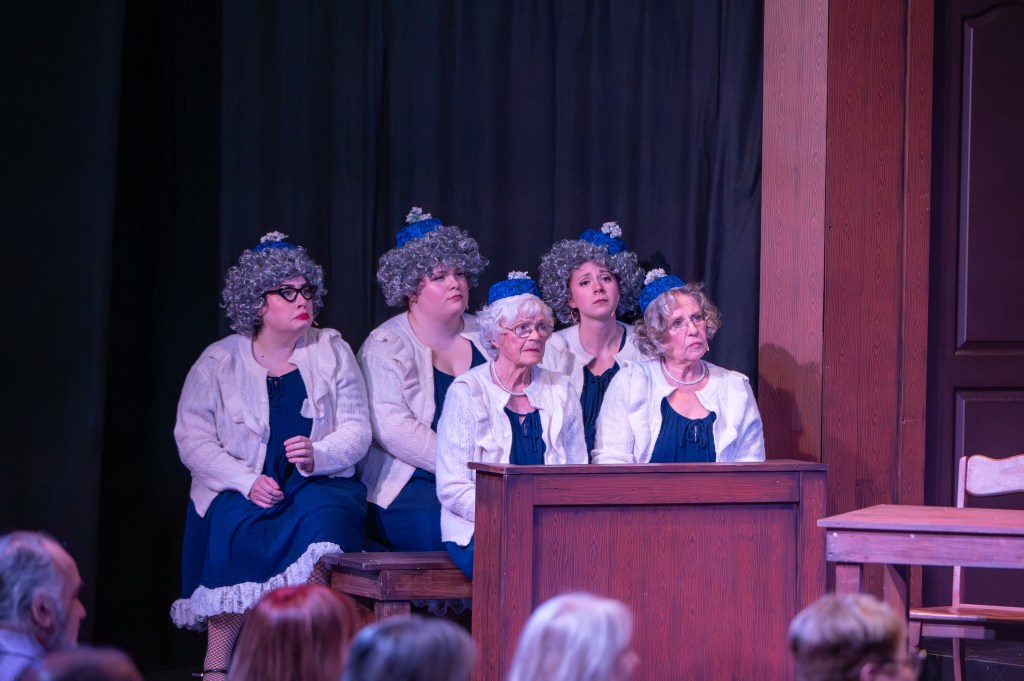
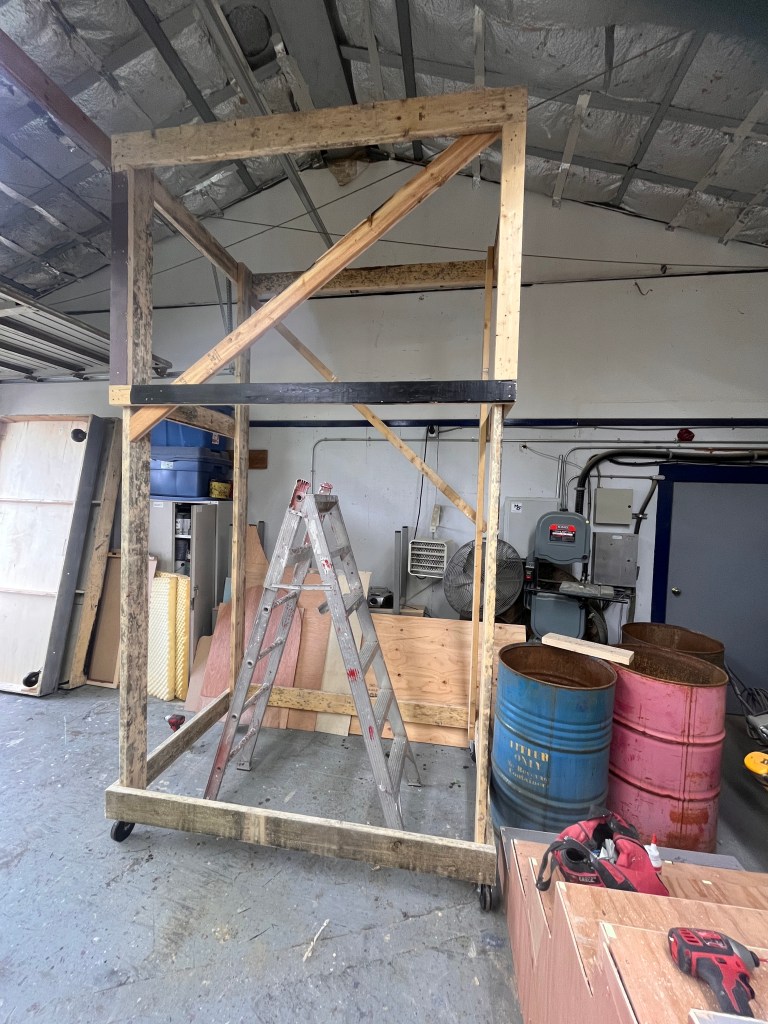
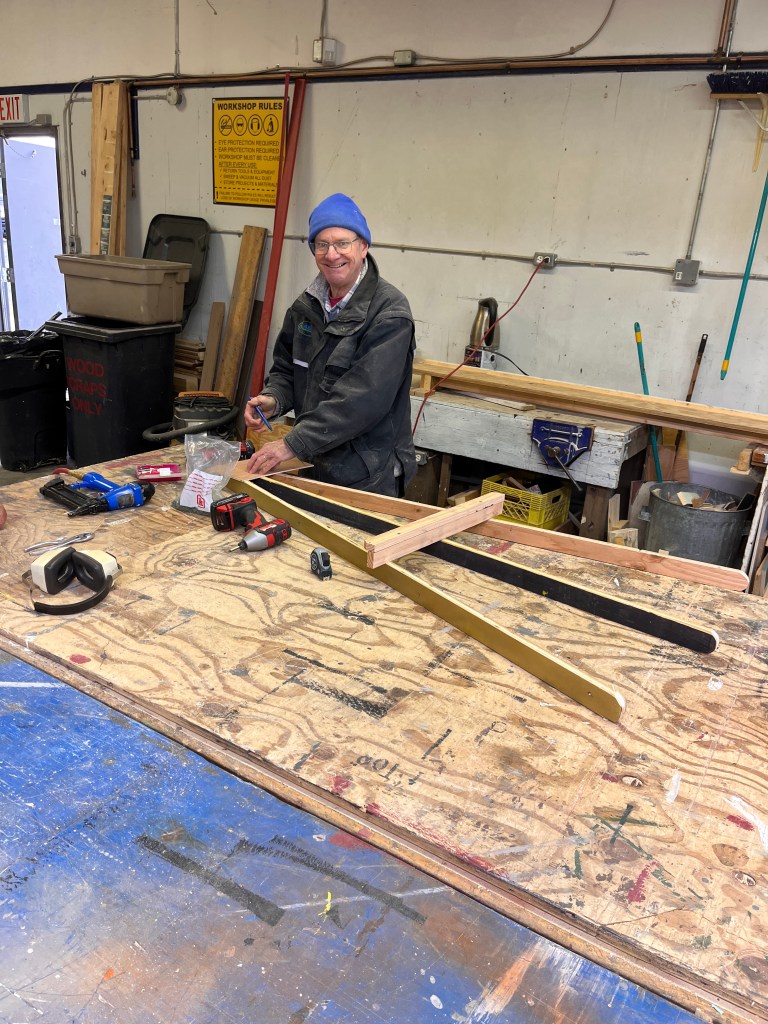
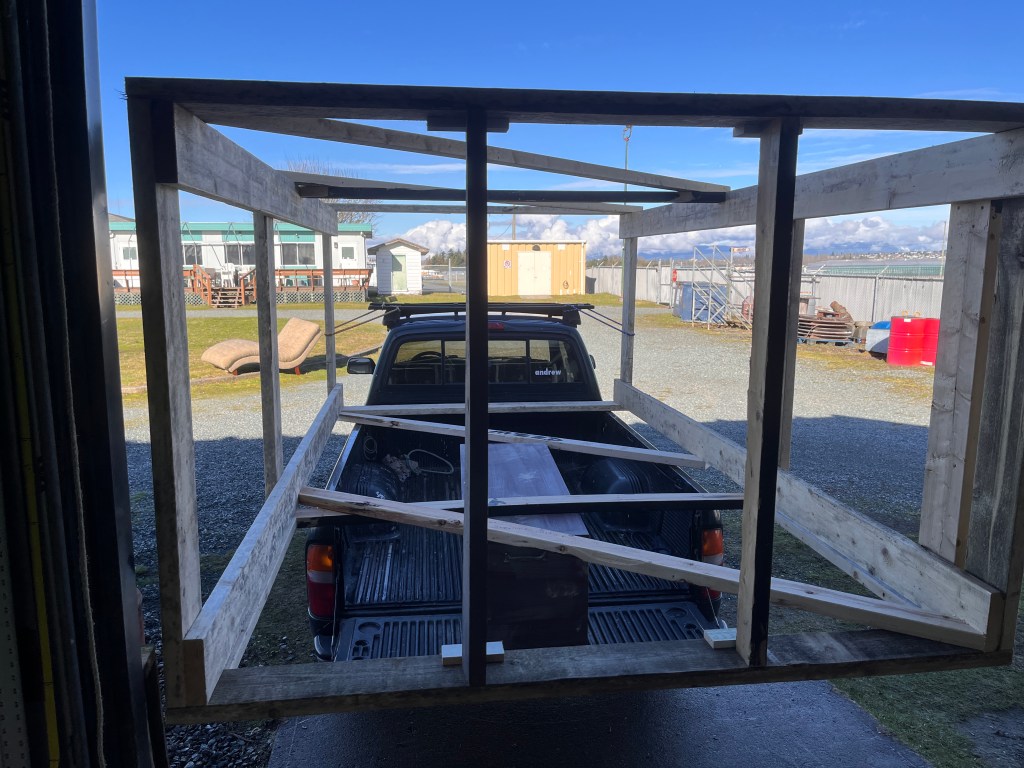
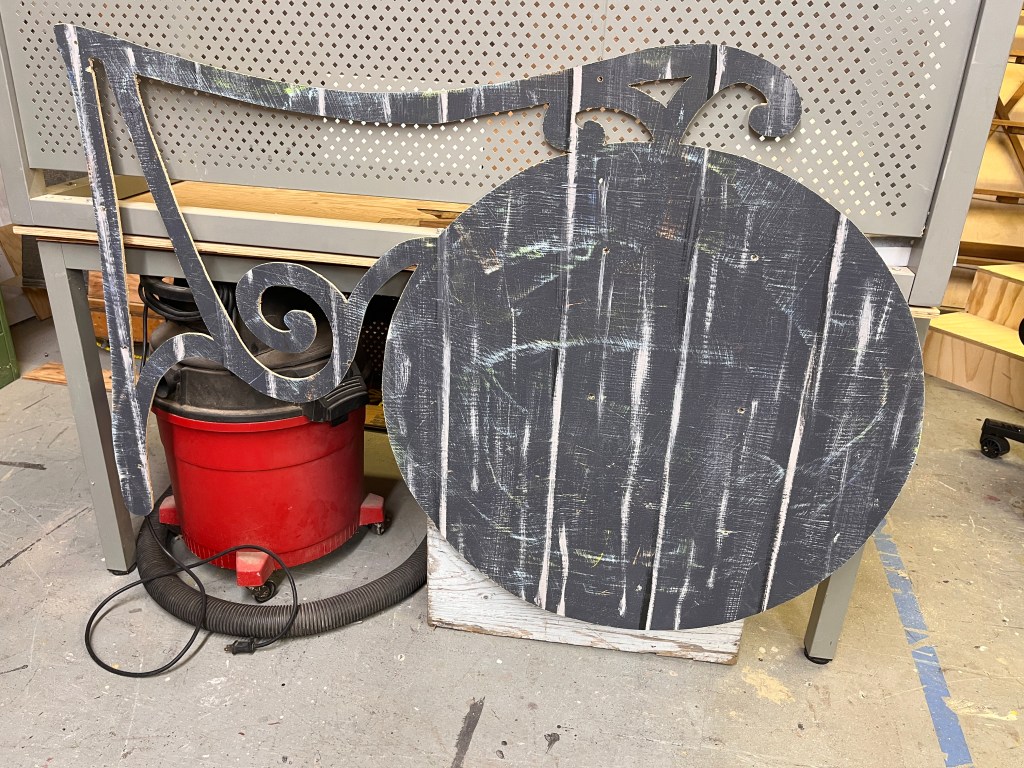
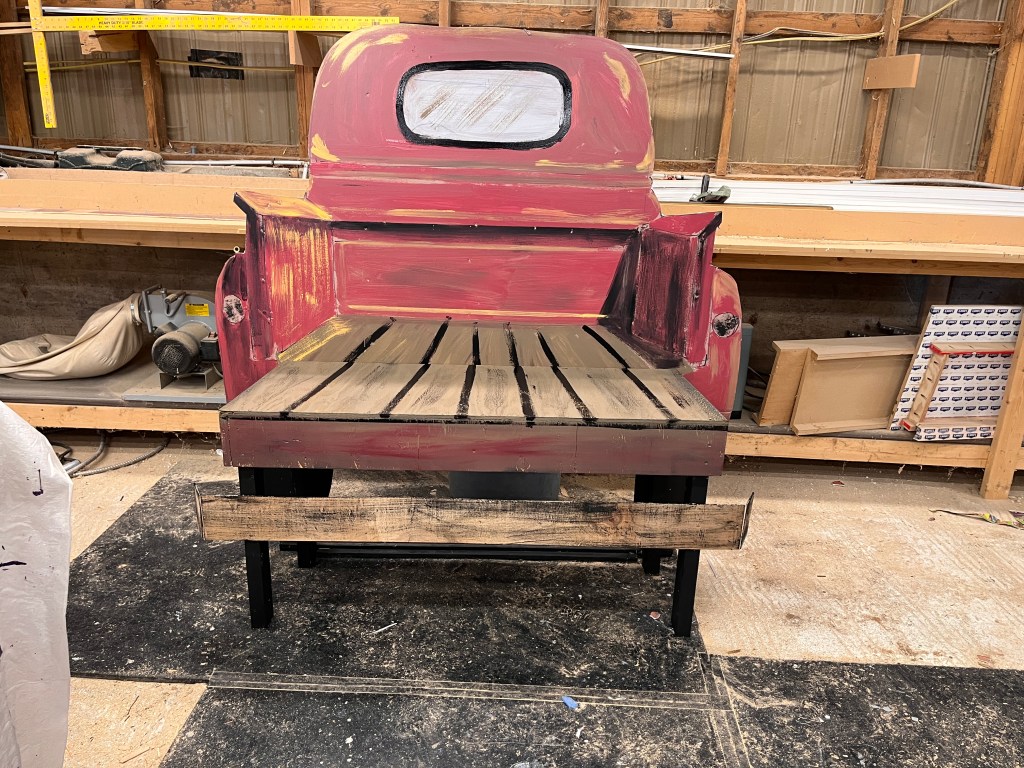
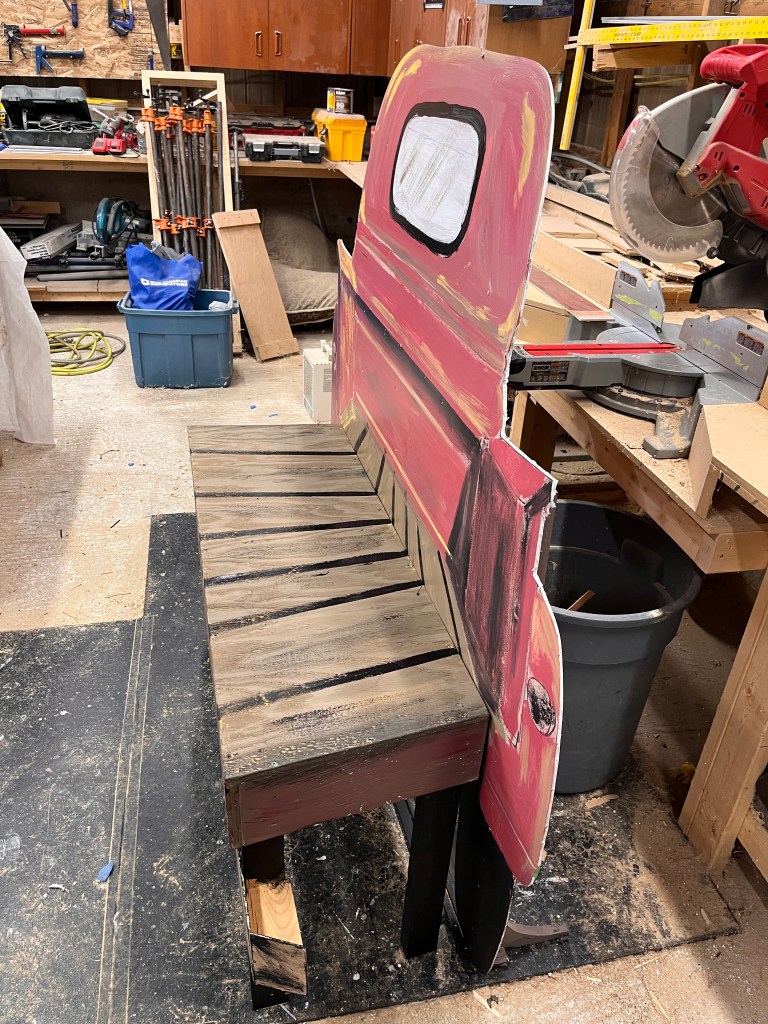
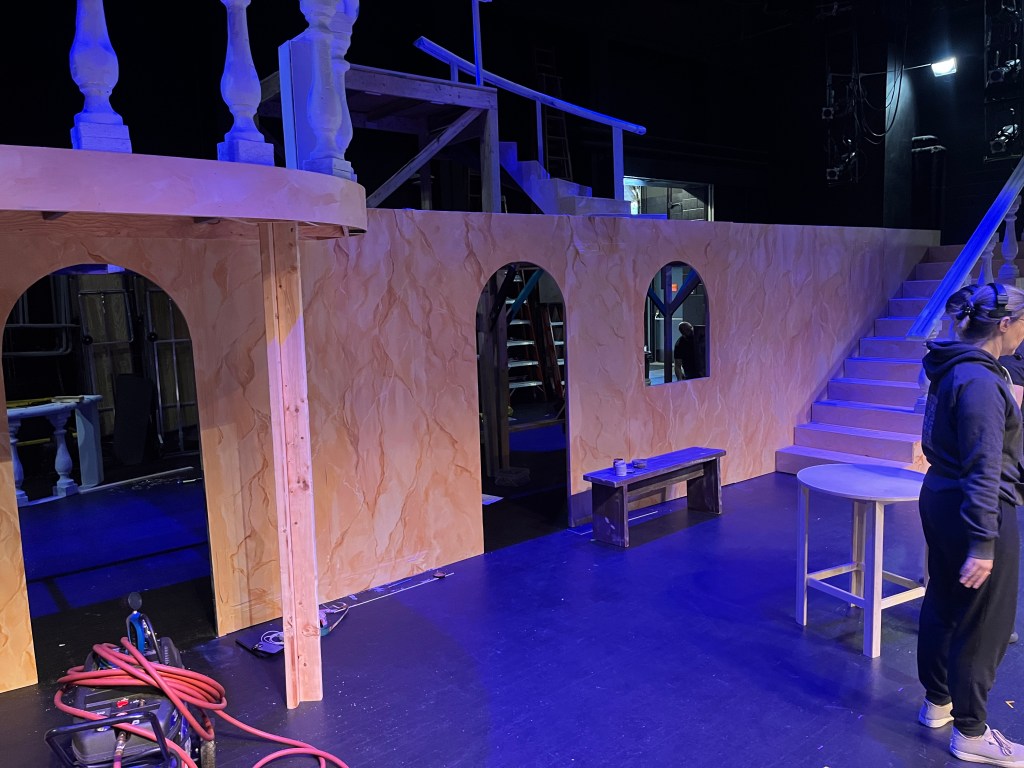
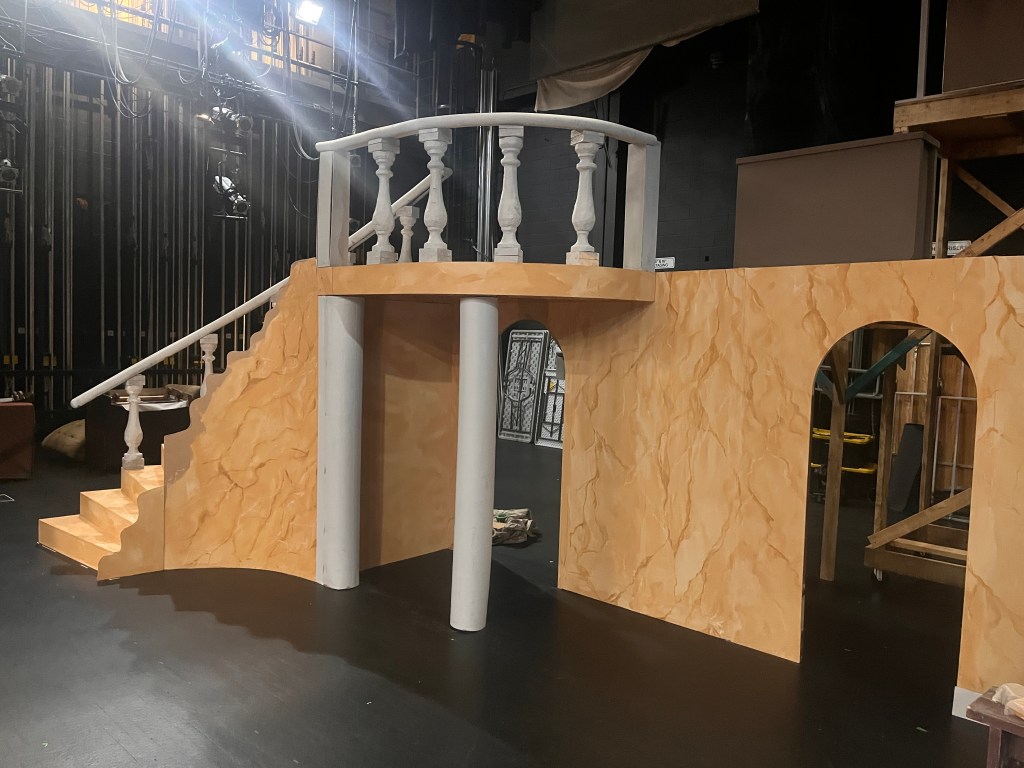
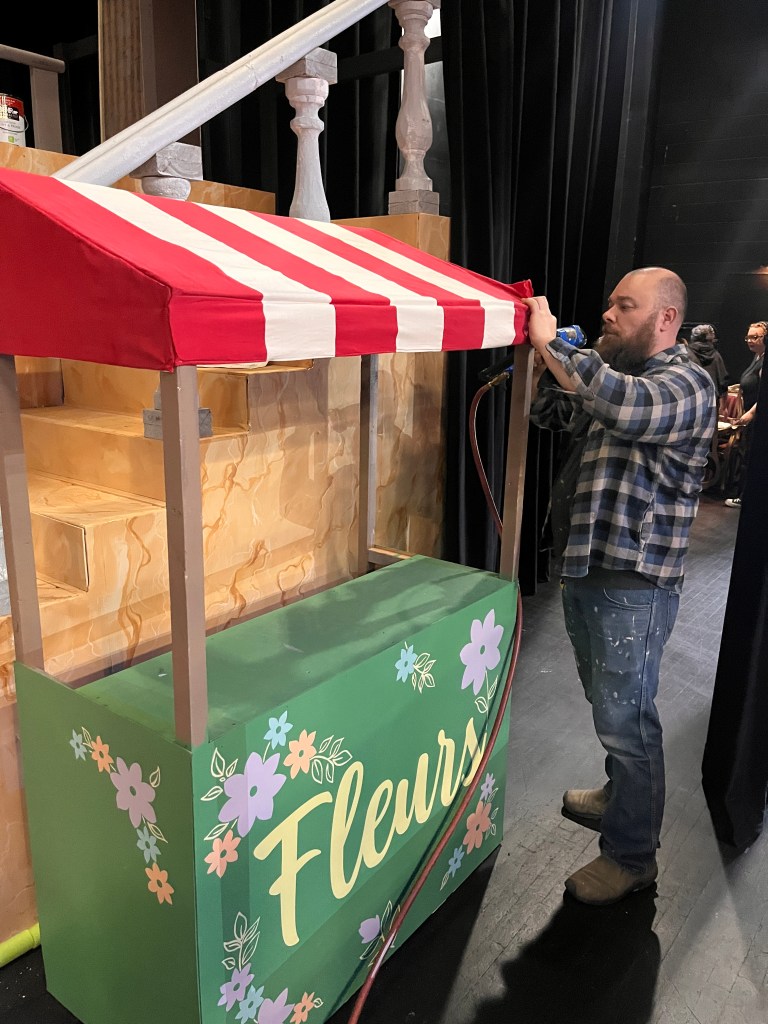
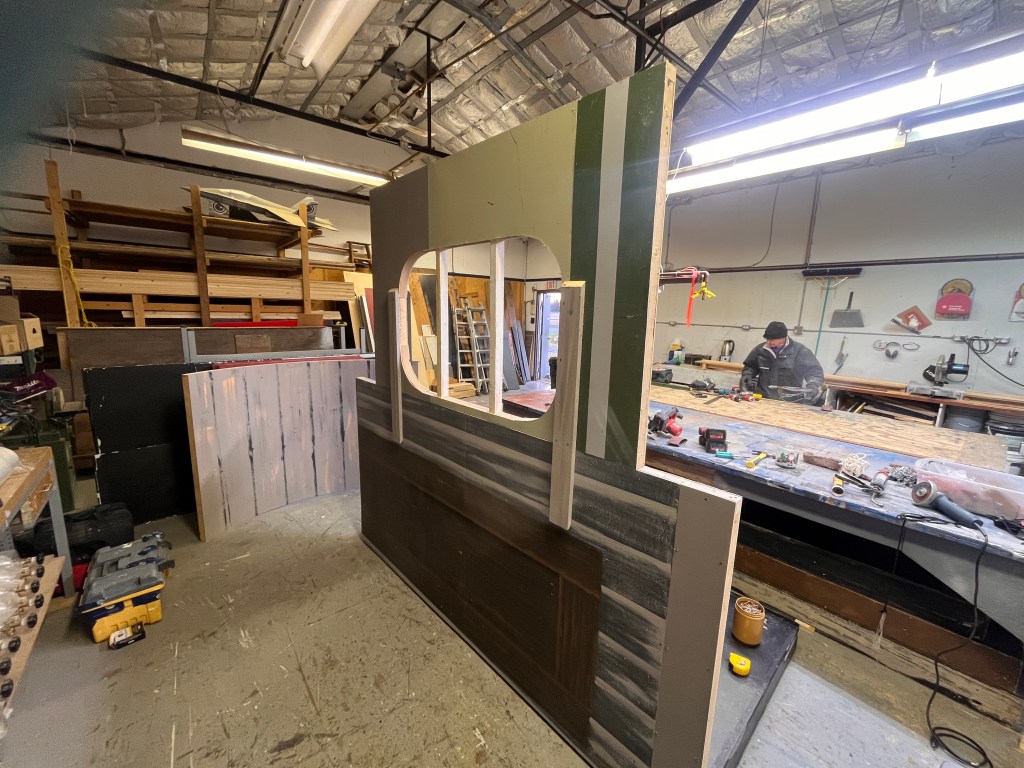
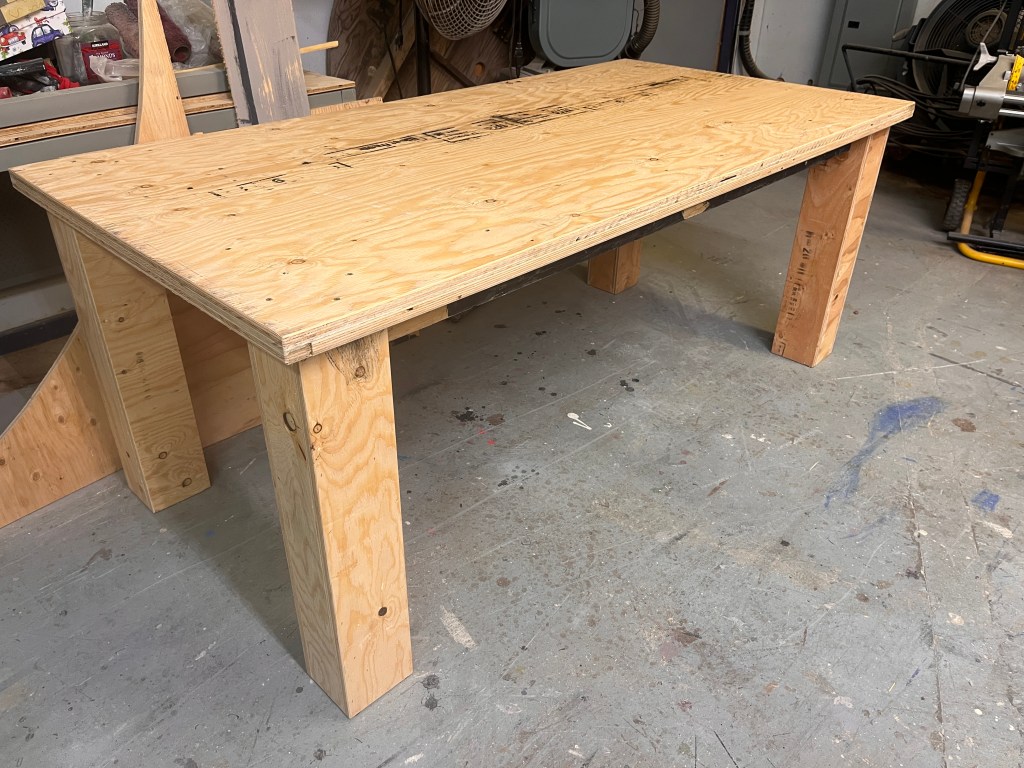
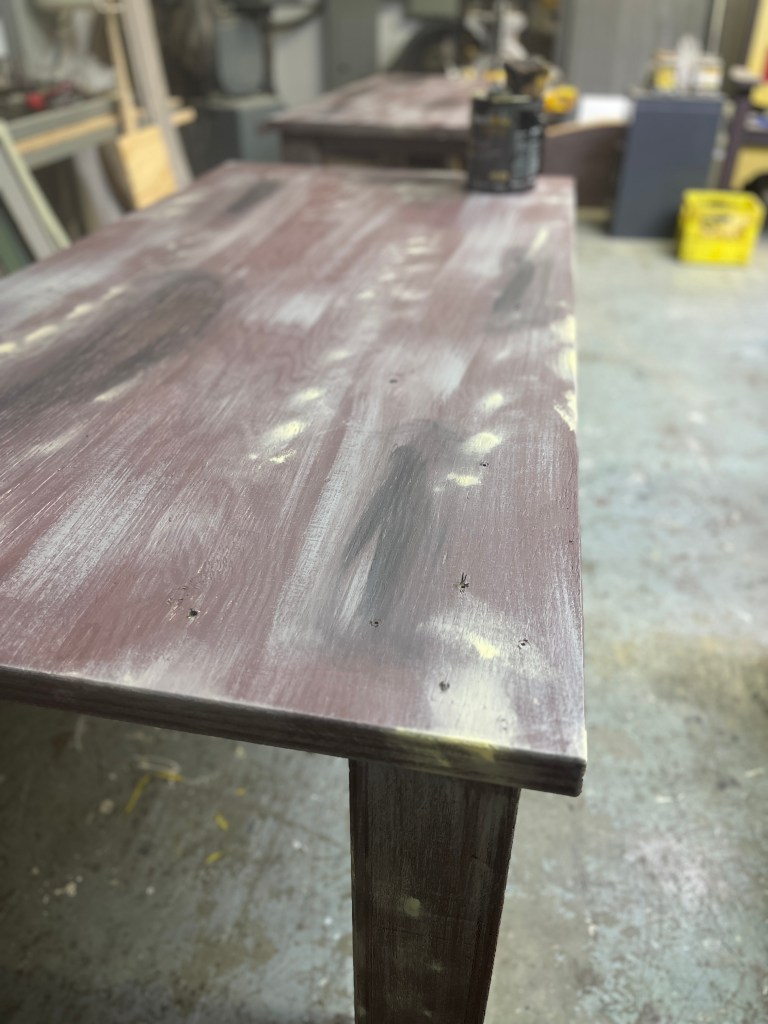
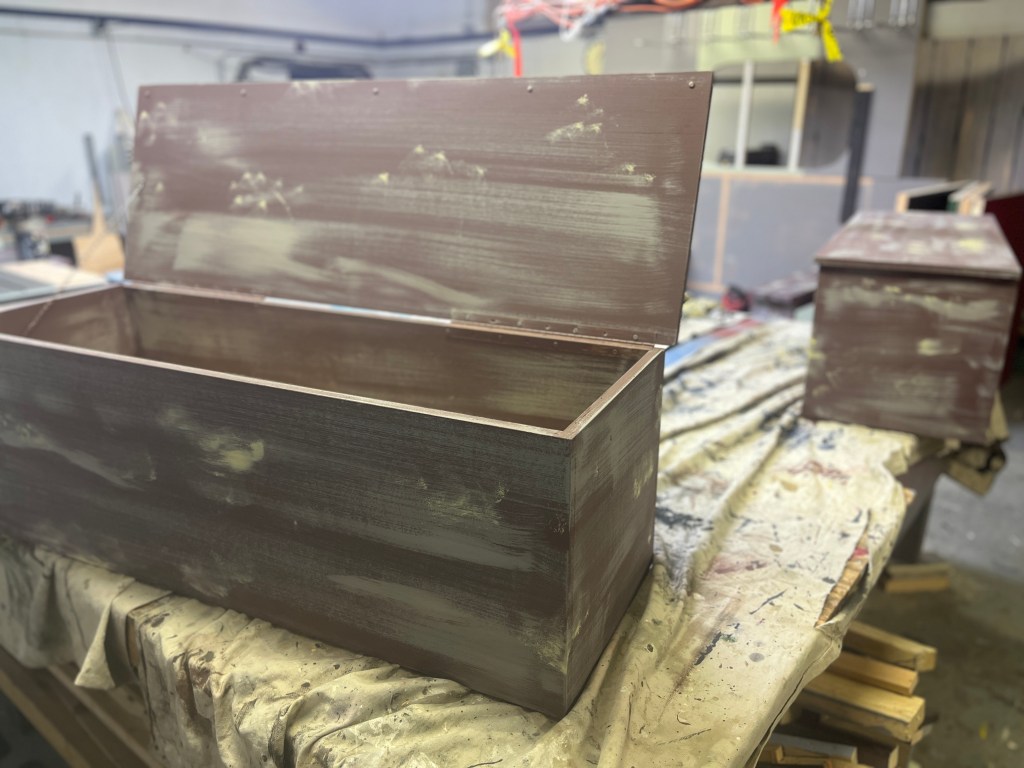
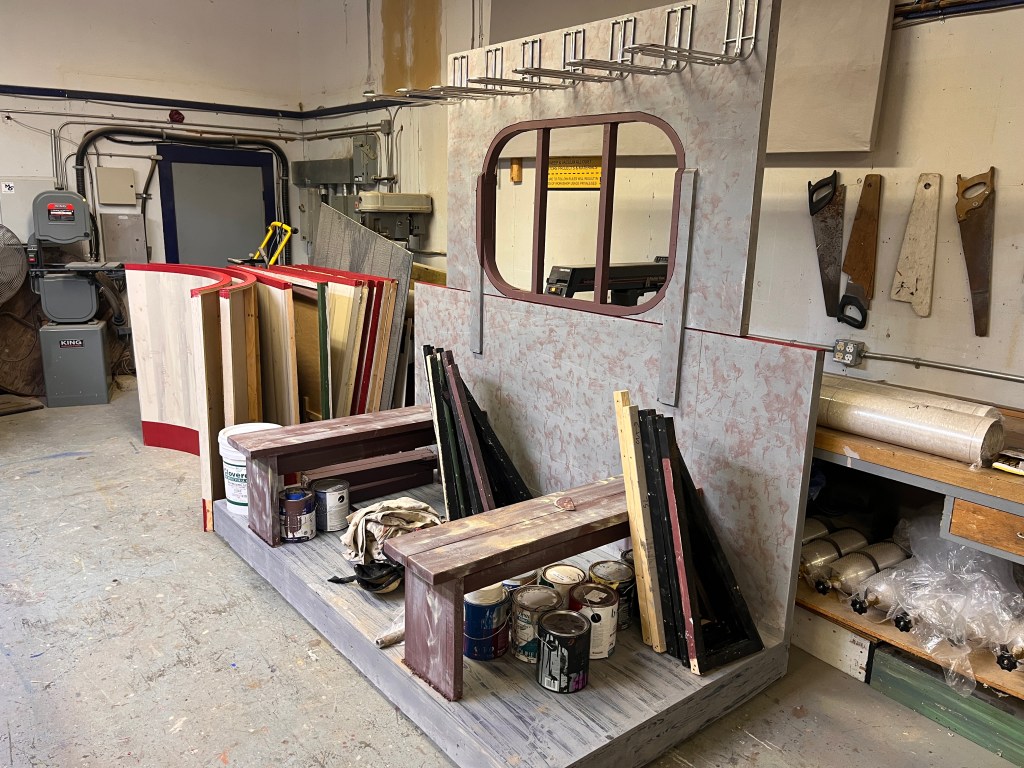
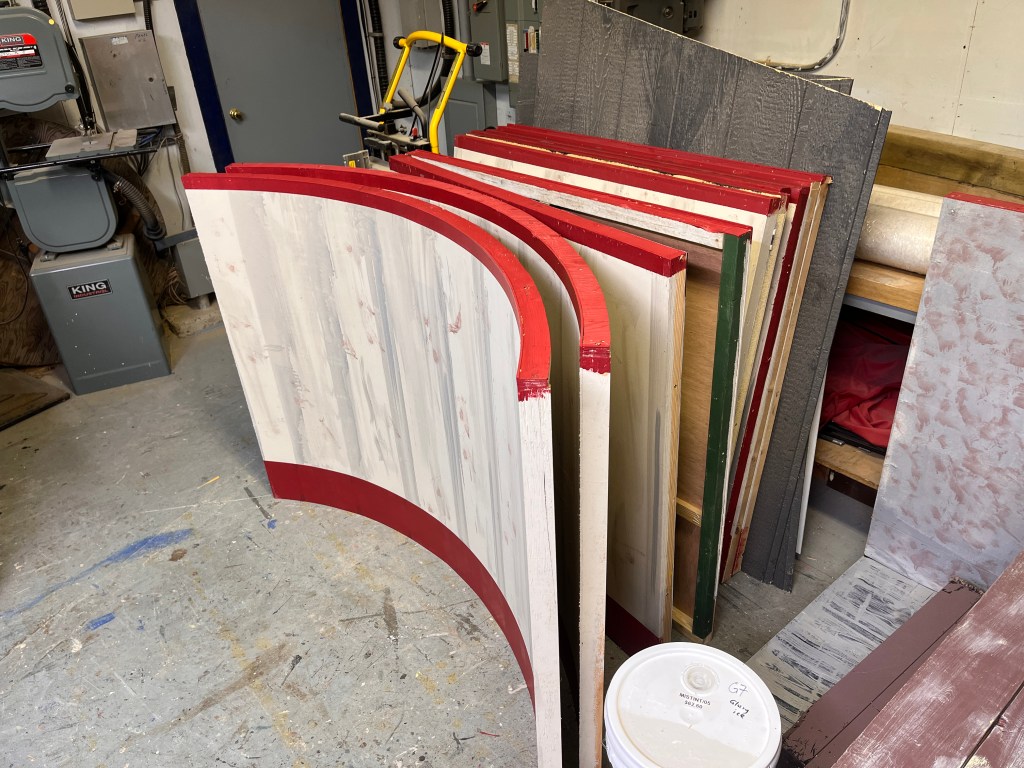
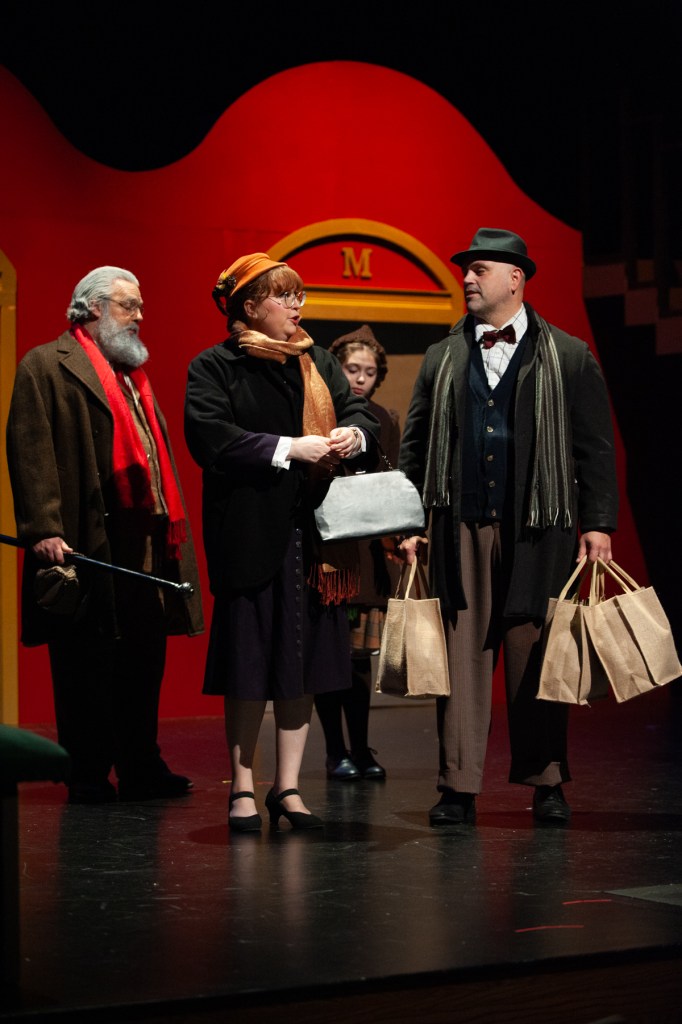
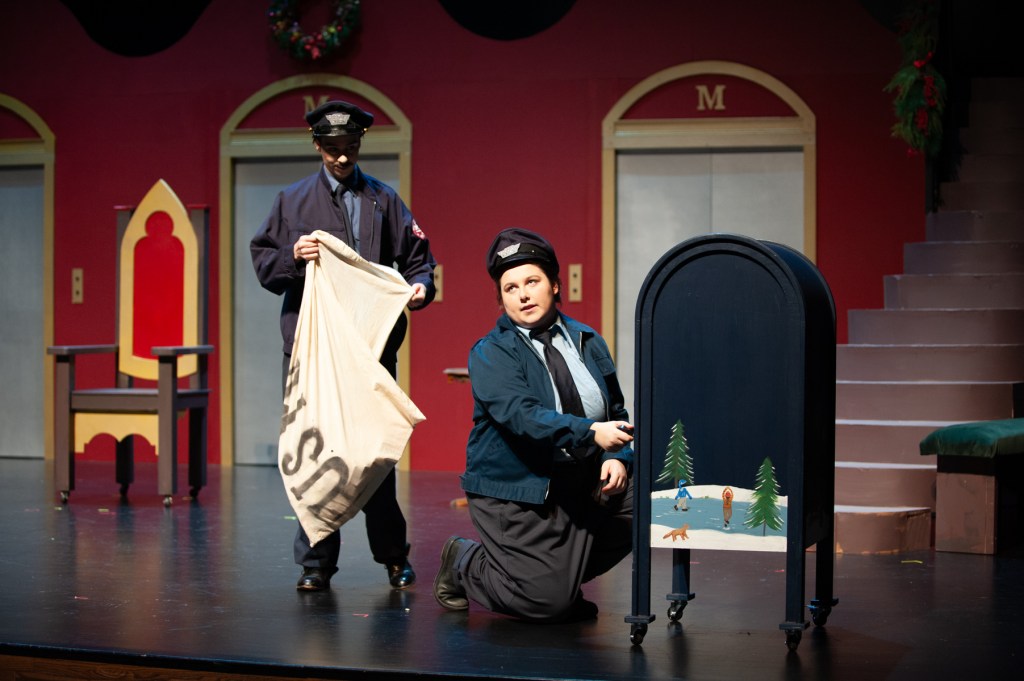
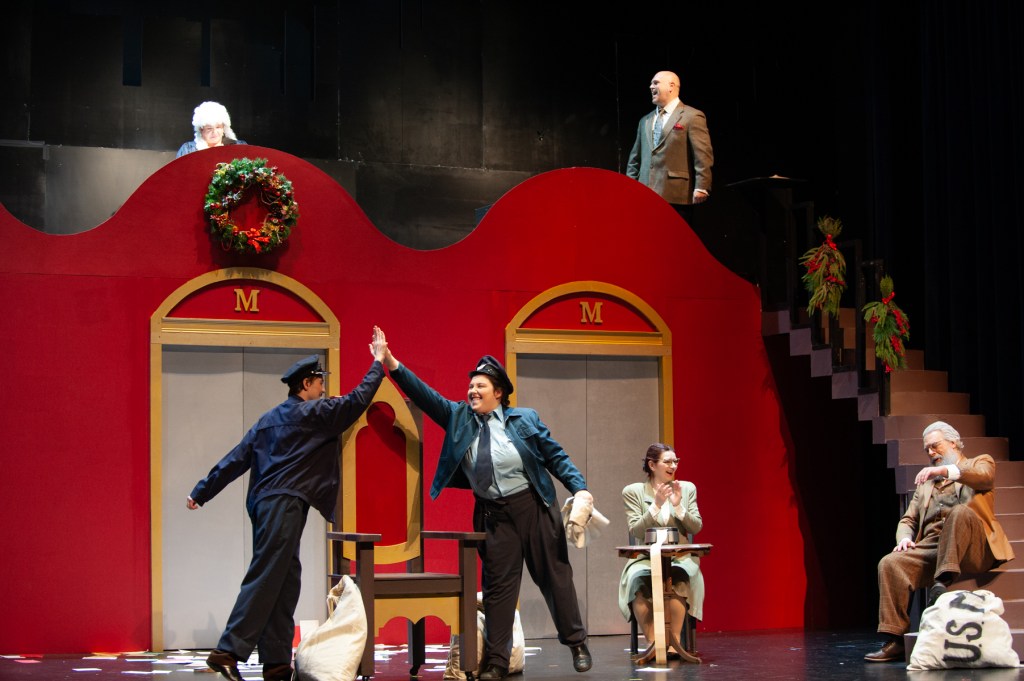
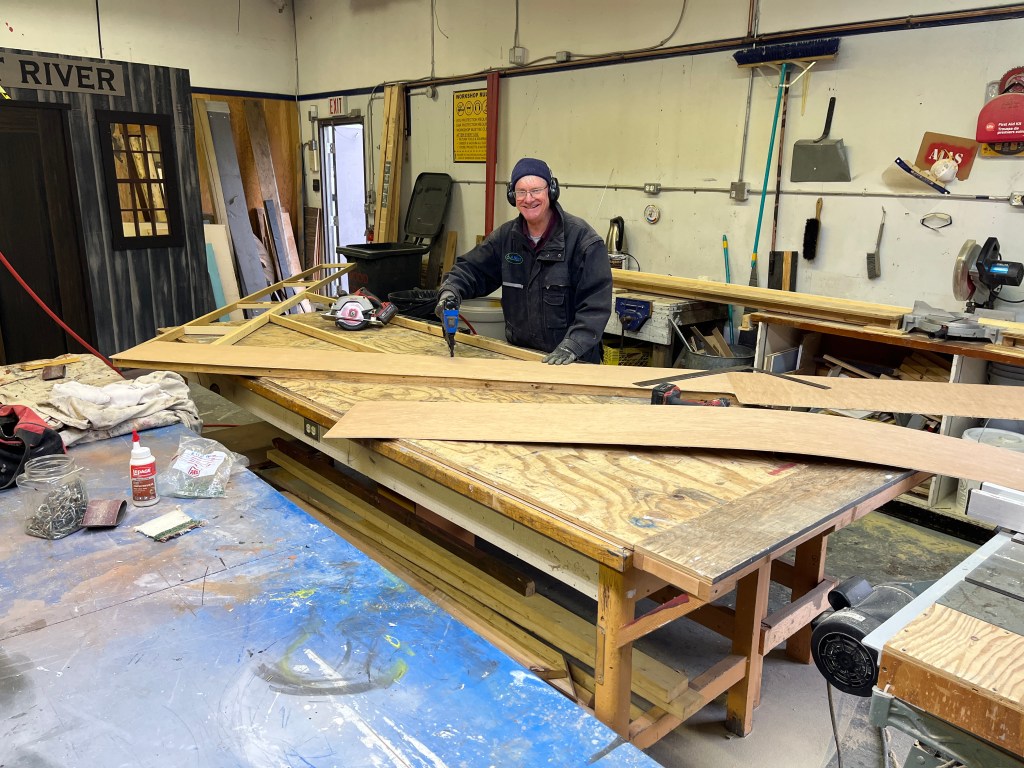
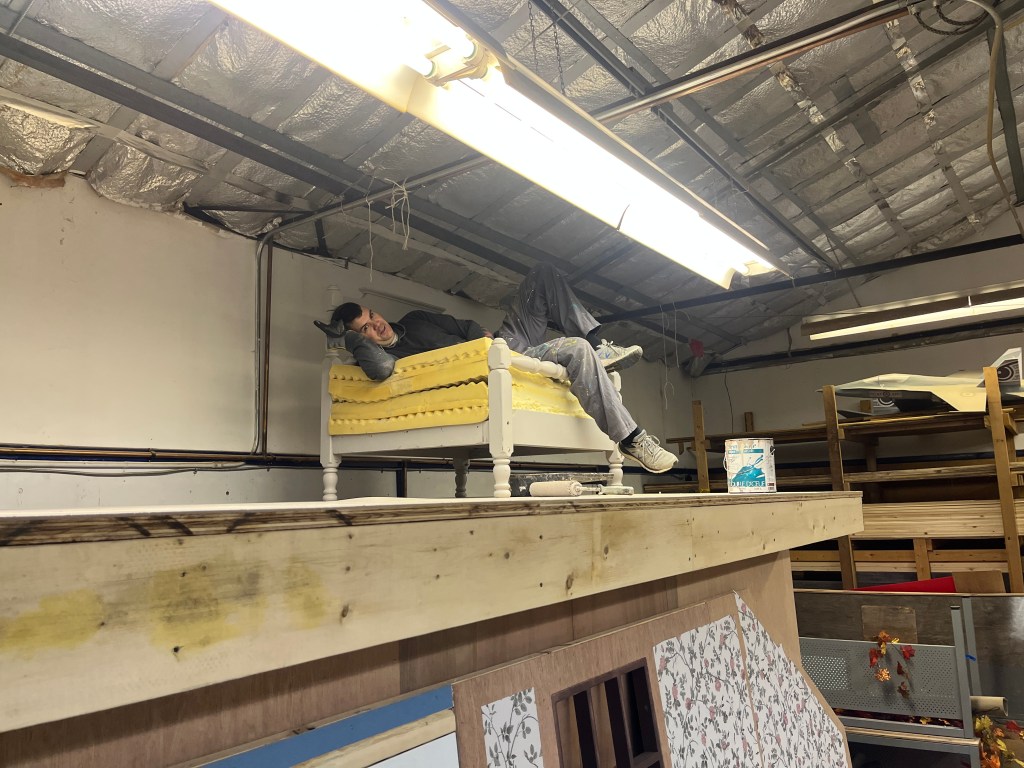
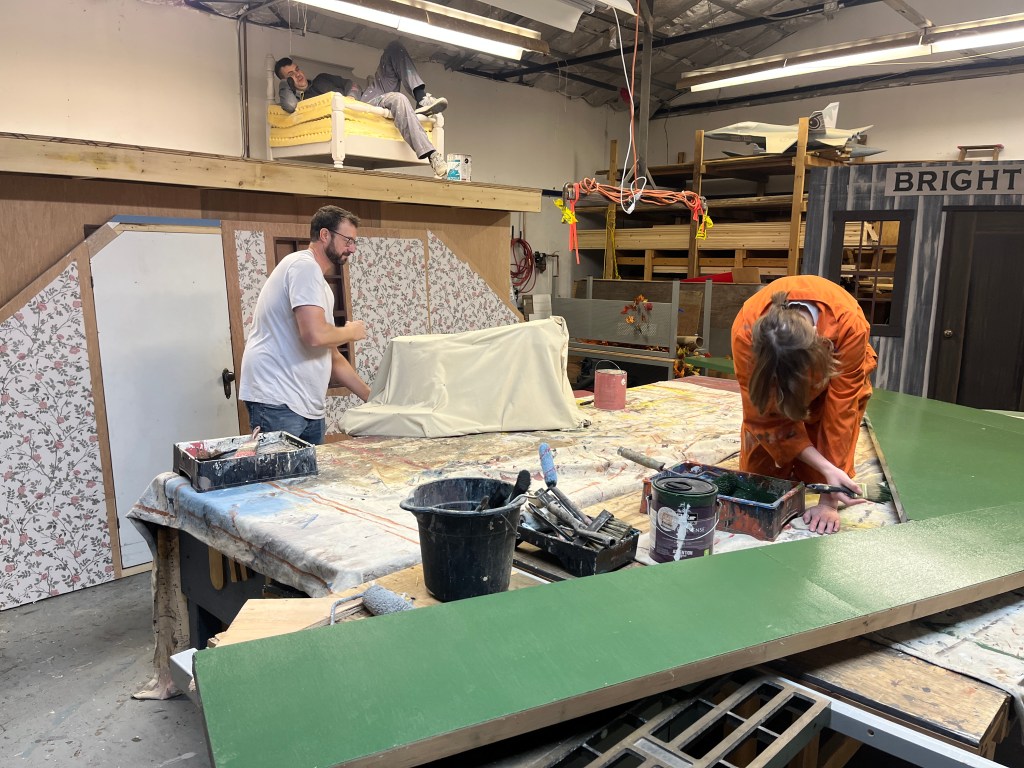
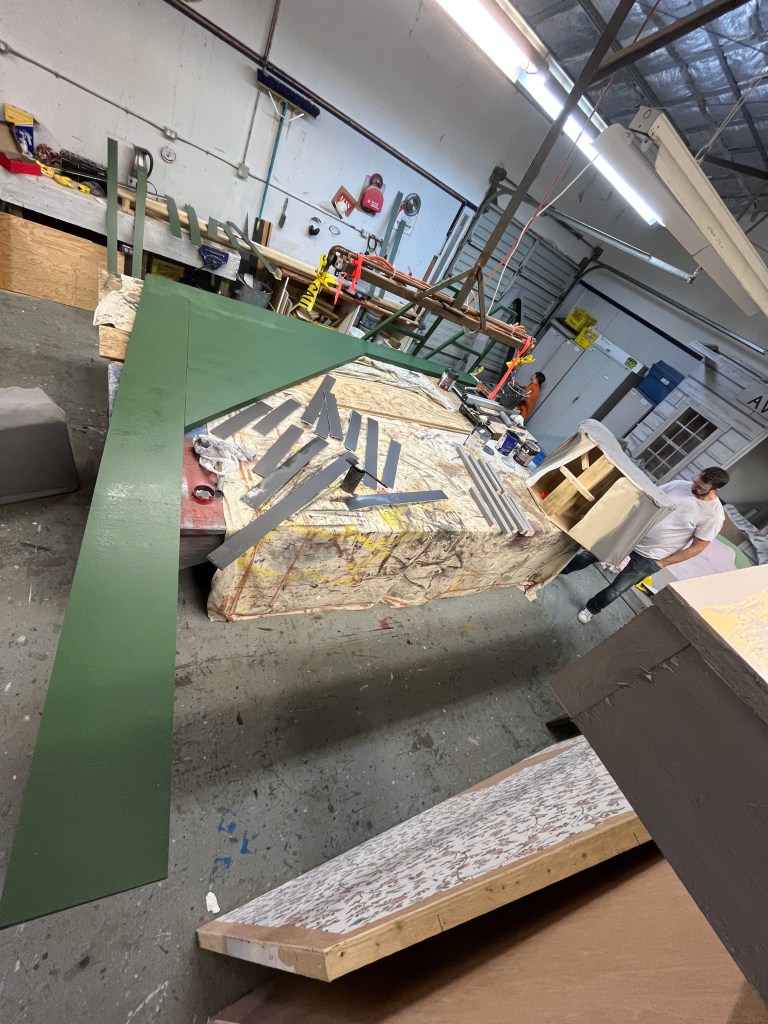
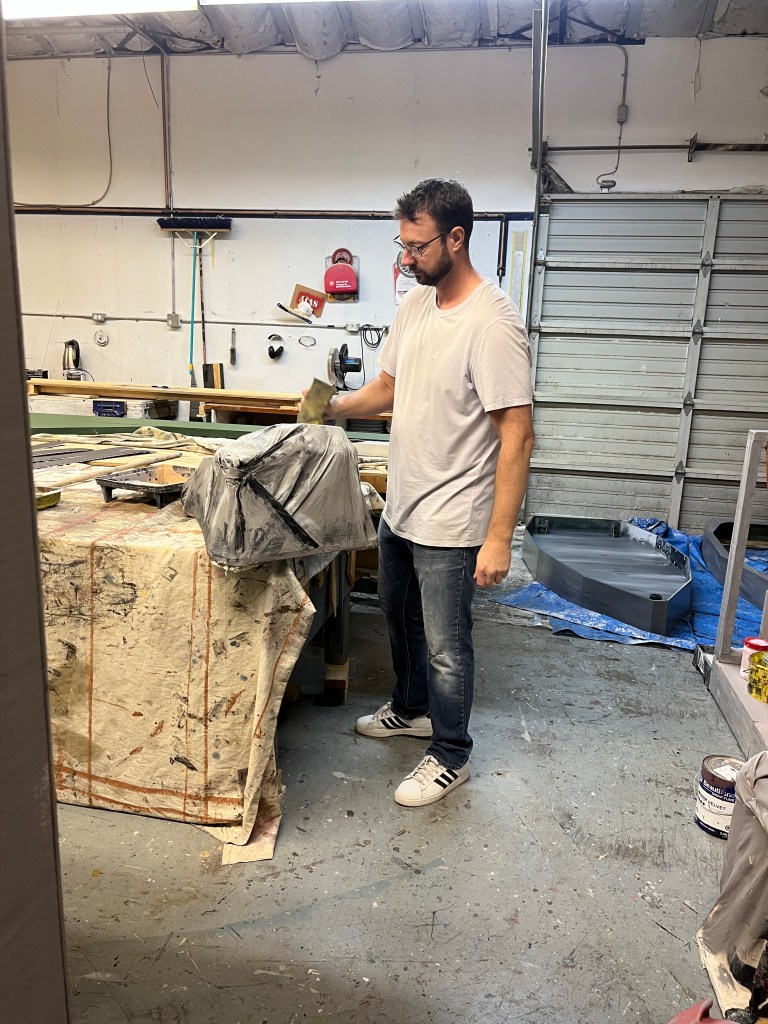
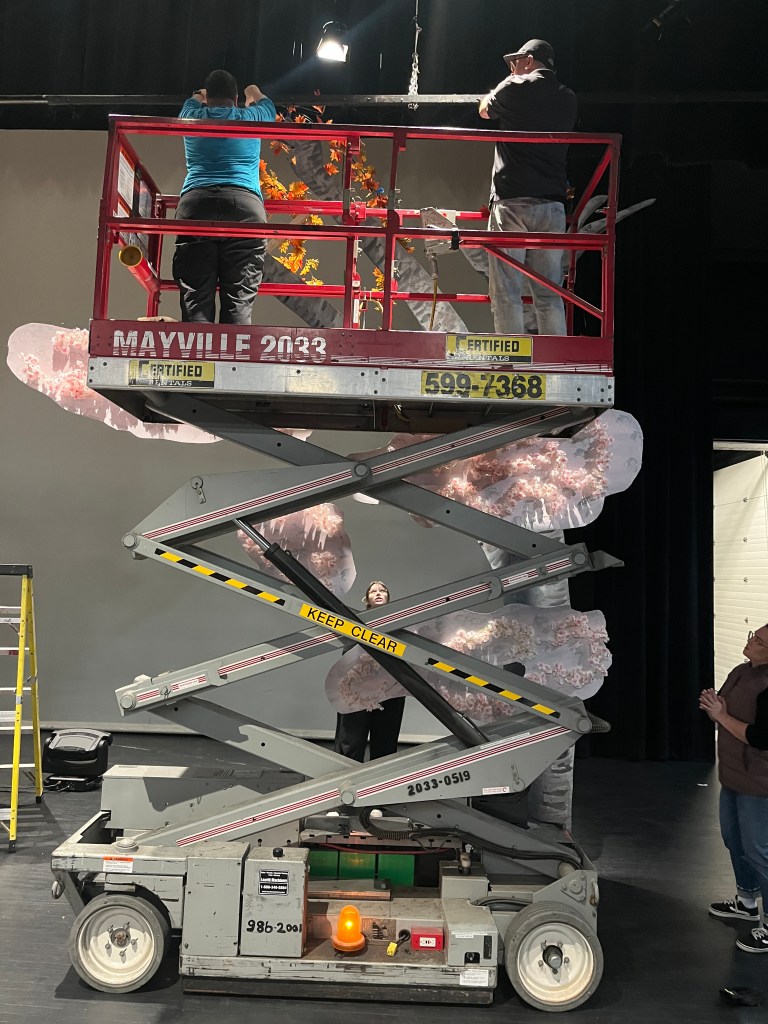
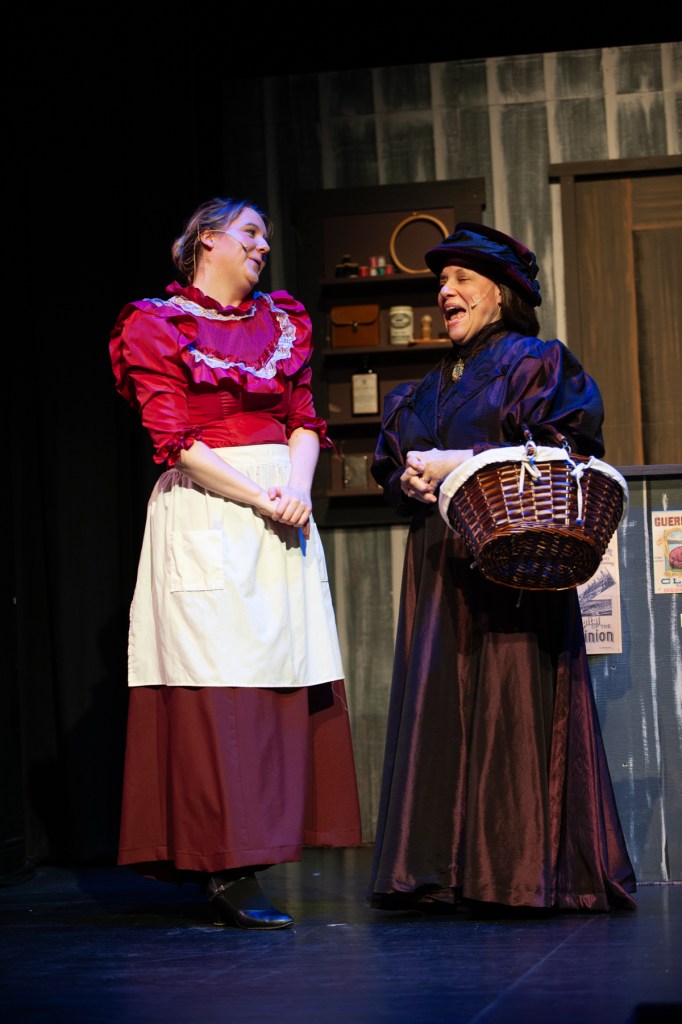
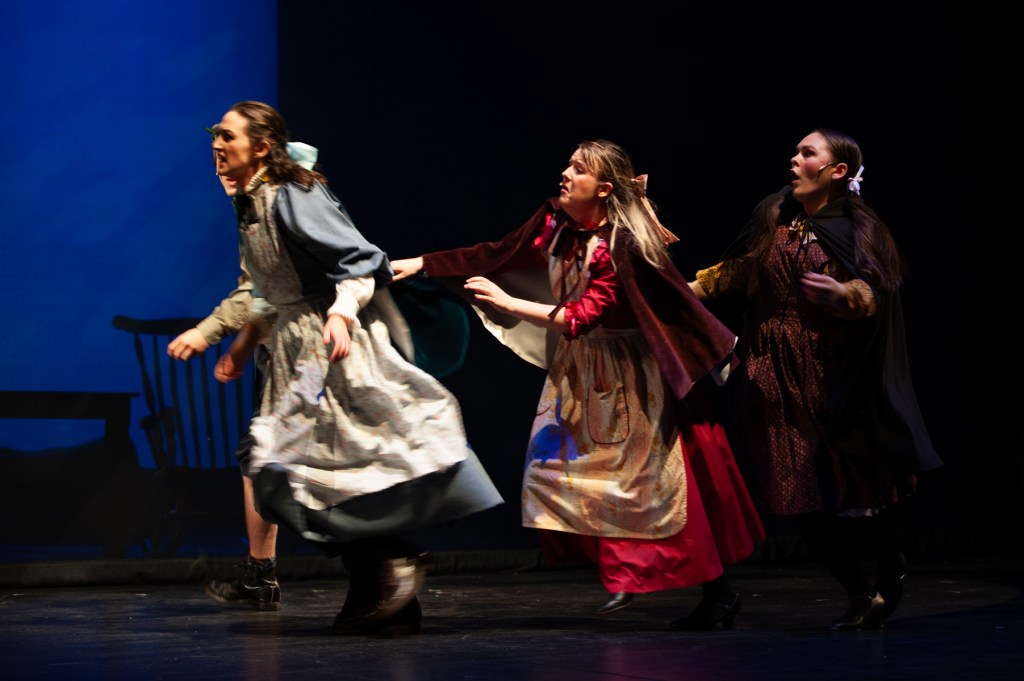
TIC kept me very busy during my weekends in May (plus a few other days during the week too) overseeing the build for The Producers, a Mel Brooks Musical. (Now playing at Theatre in the Country) Here are some photos of the build plus some production photos. It is a very funny and will done Broadway Musical. Just be aware of some of the audience advisories before you go in!
There were 2 or 3 other productions happening on the stage during the build which complicated things a bit. A highschool production of Clue was the major one, so we helped to get that one going kind of at the same time (and Reg the set designer had some clever ways of combining the two sets in many ways). Also the TIC Academy had 2 shows near the beginning, so I helped get their backdrops for The Little Mermaid and Grease ready, but otherwise I wasn’t needed.
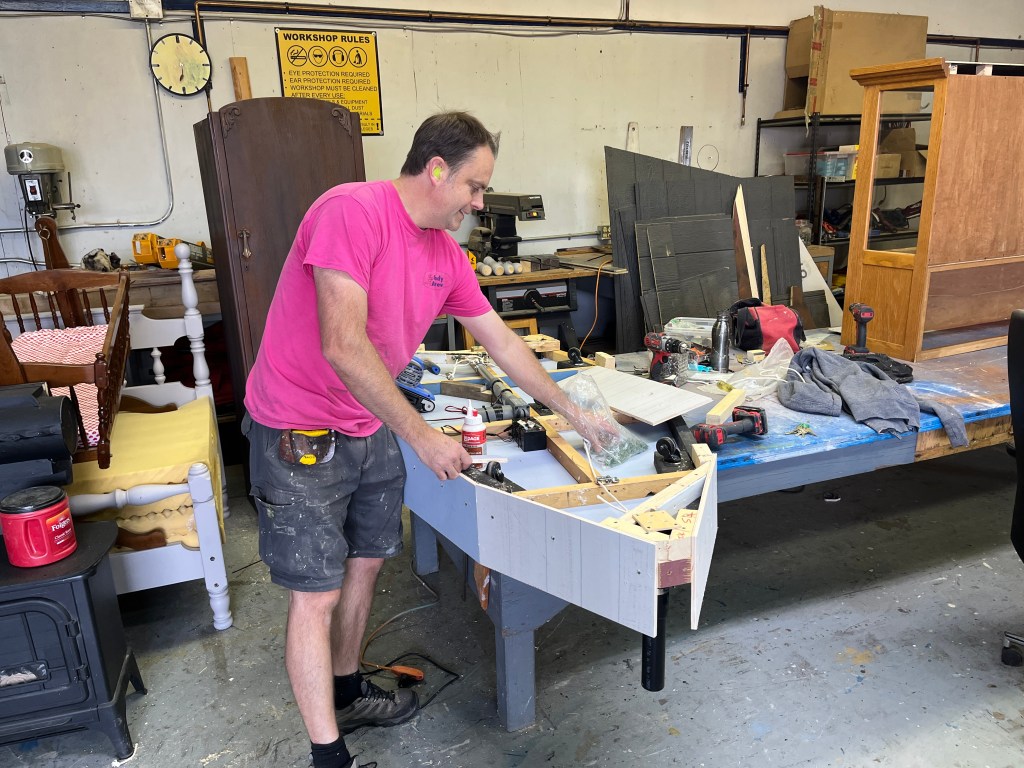
I’ve only been working with TIC for a few months but I’m starting to get to know where things are, how things work, and who some of the regular volunteers are. Much thanks to Darren, Nicola, Simon, Robbie, John, and Zander for their expert help with the set! Many of the cast members helped too, especially Joyce with much of the painting… as our regular painter wasn’t available for this show. Jenny from Props also lent us a lot of support with painting.
(Director: Dann Wilhelm; Set Designer: Reg Parks; Lighting: Alex House; Costumes: Kevin Kreisz)
Here are a few official production photos: credit/copyright Shannon Pauls:
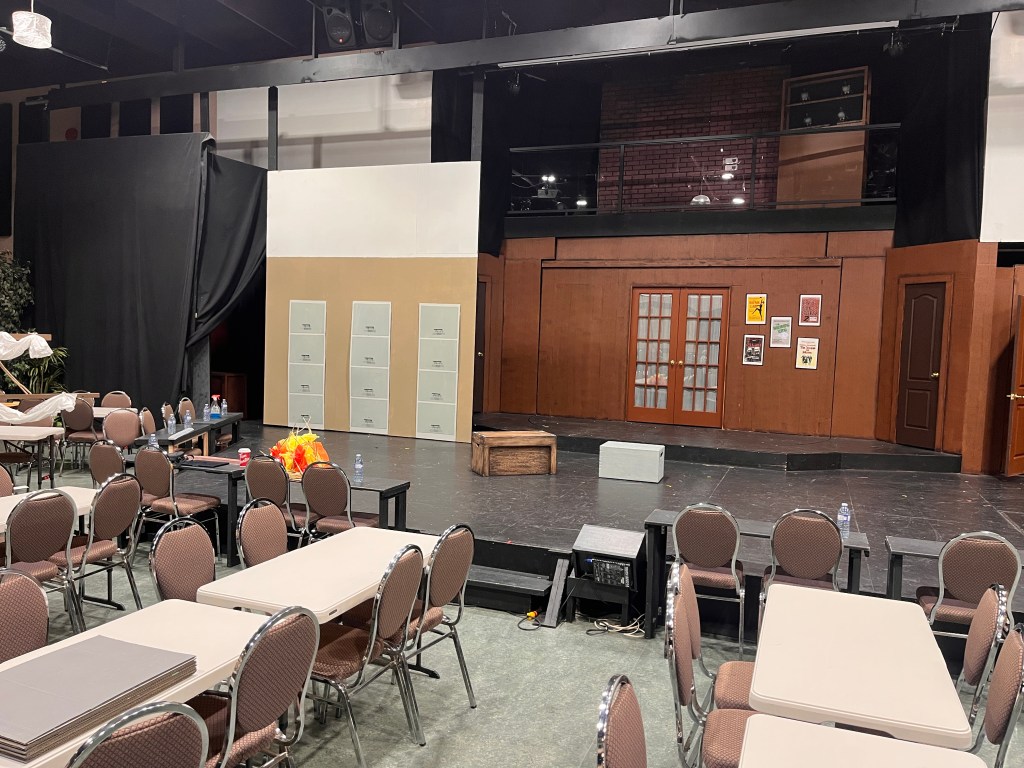
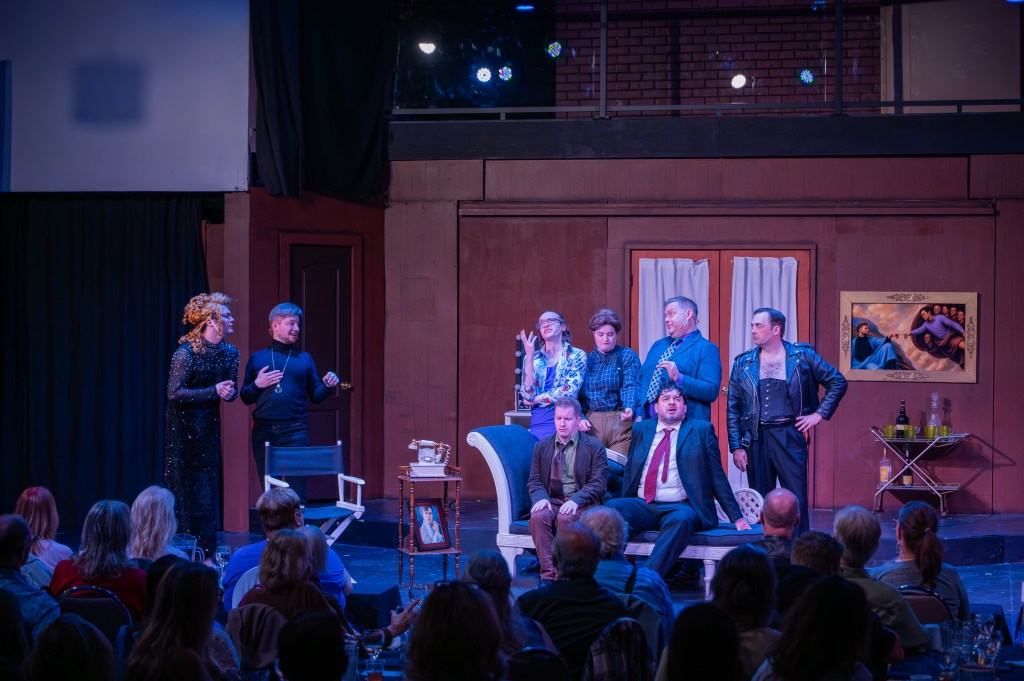
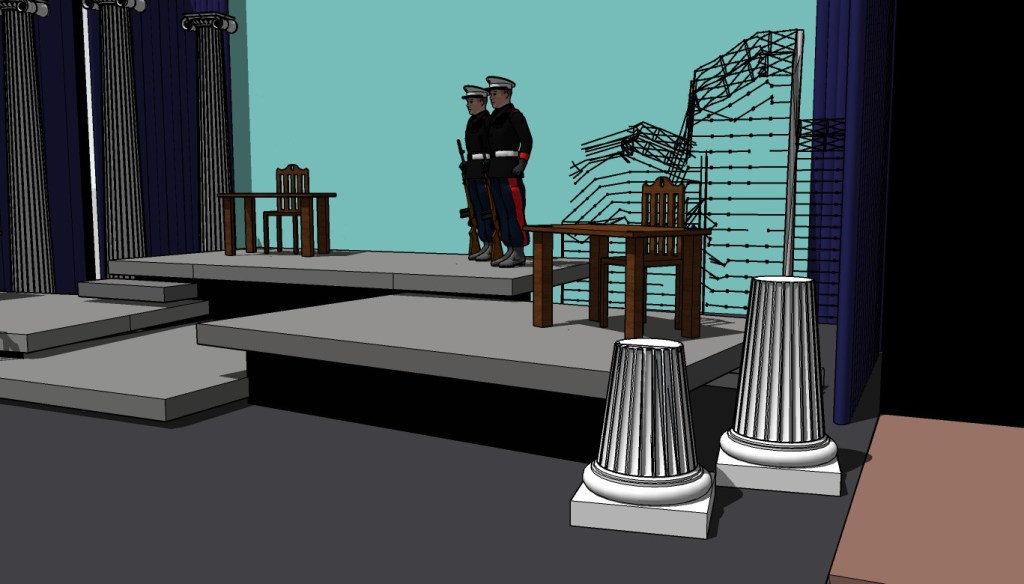
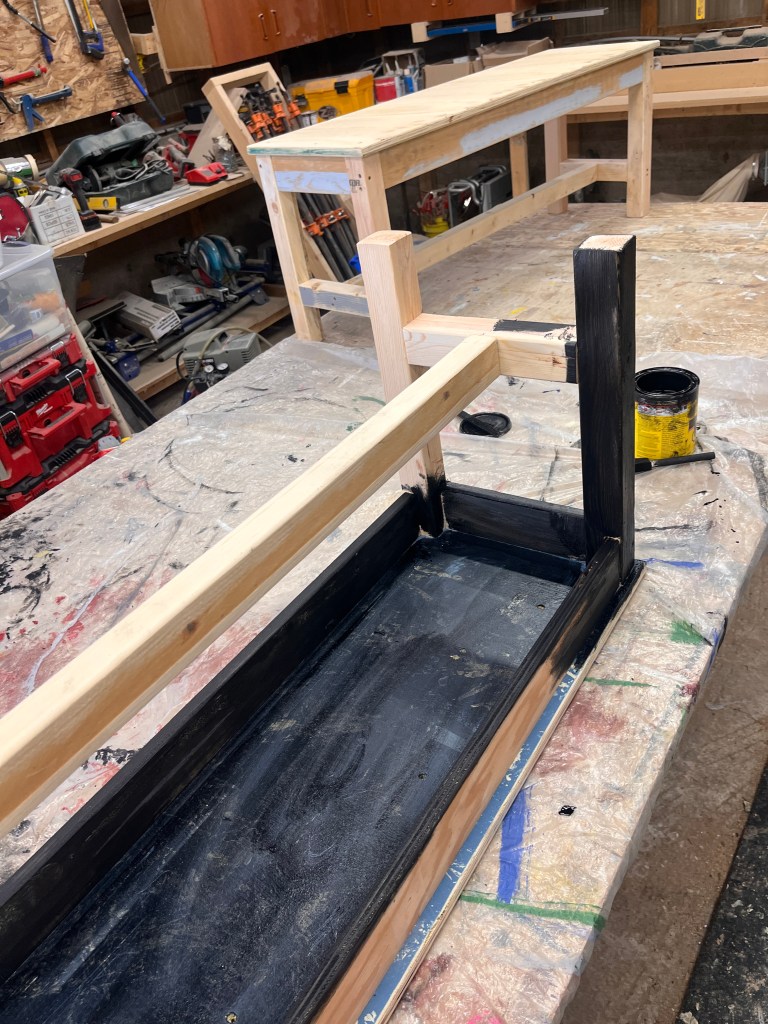
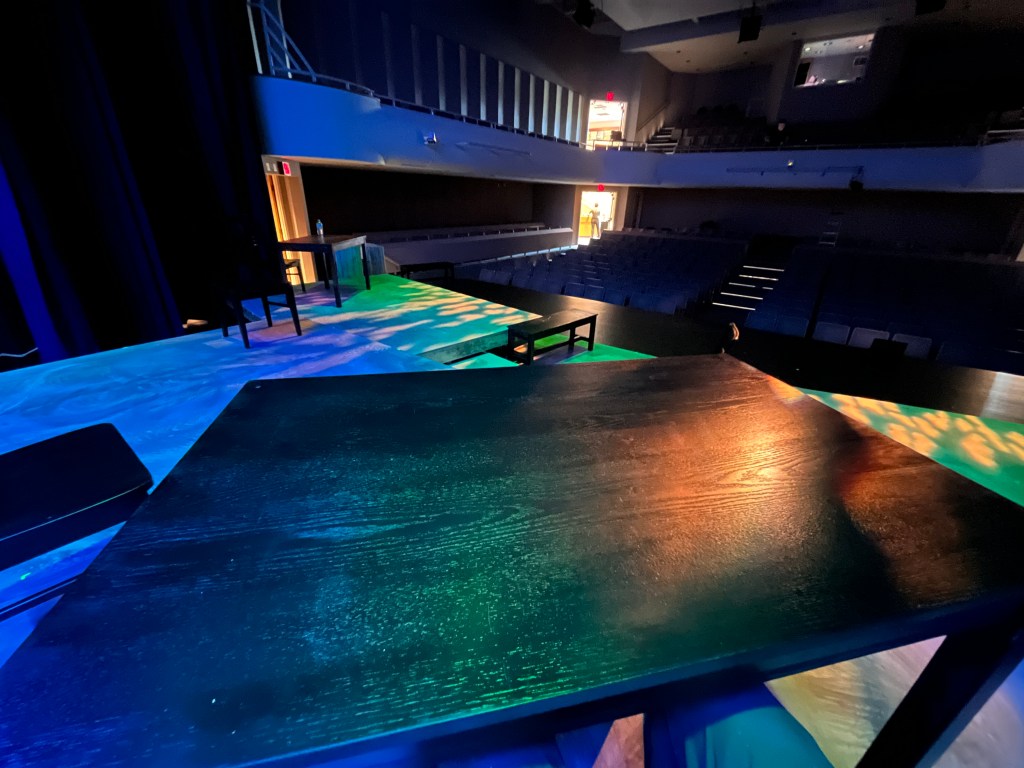
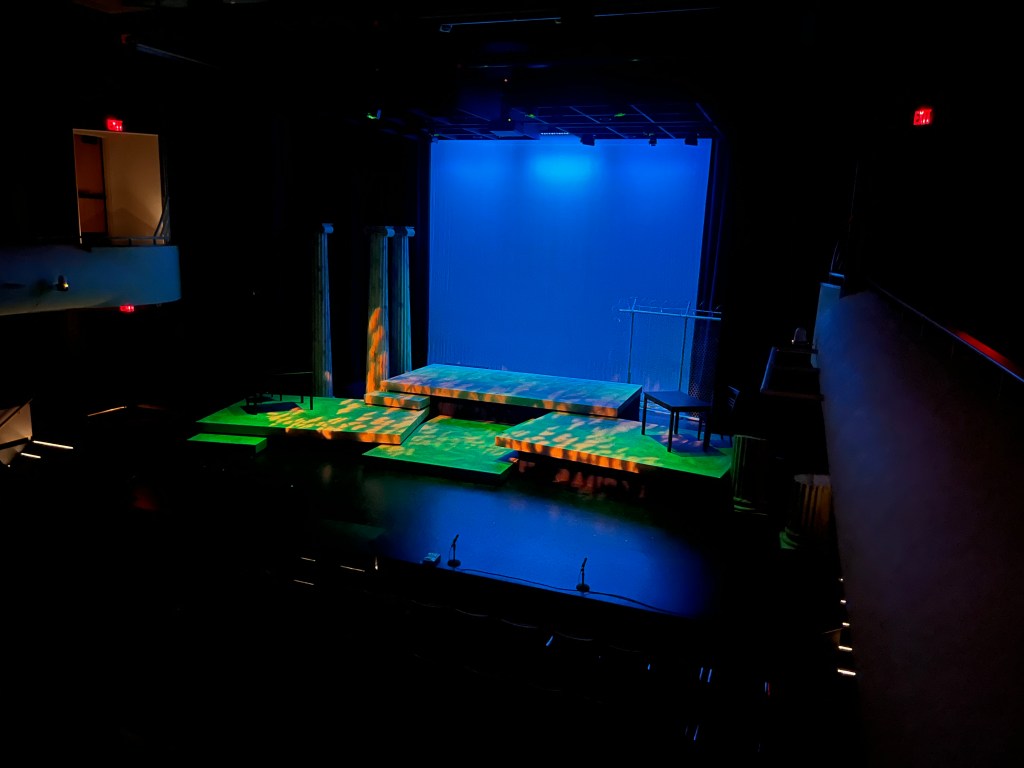
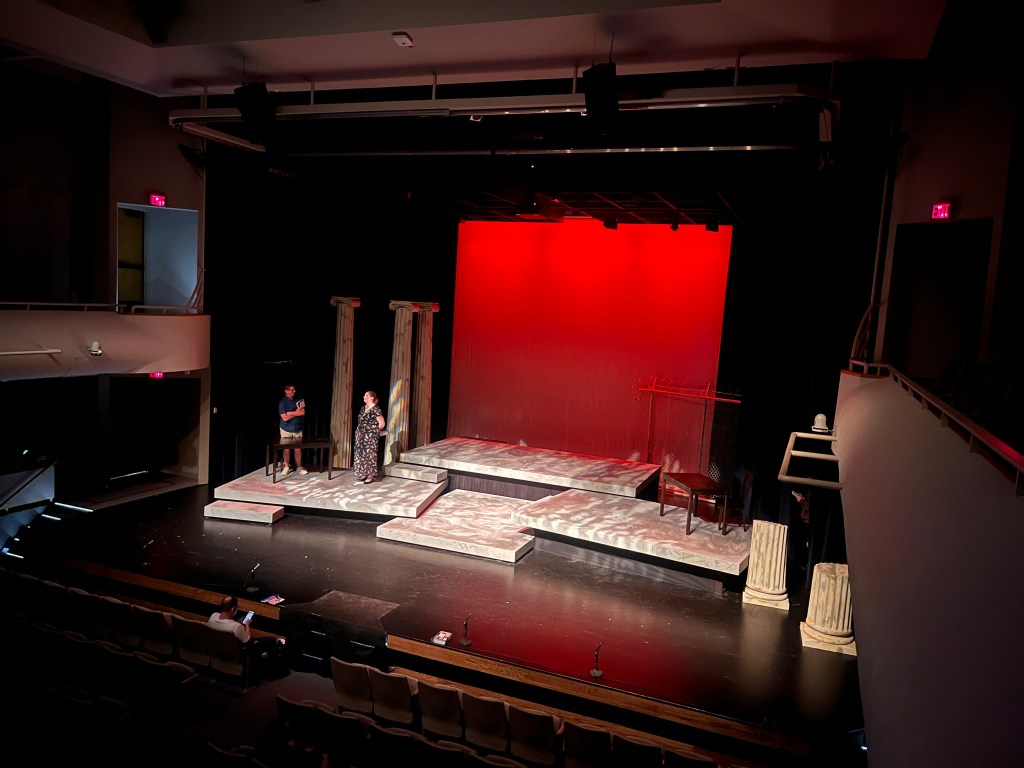
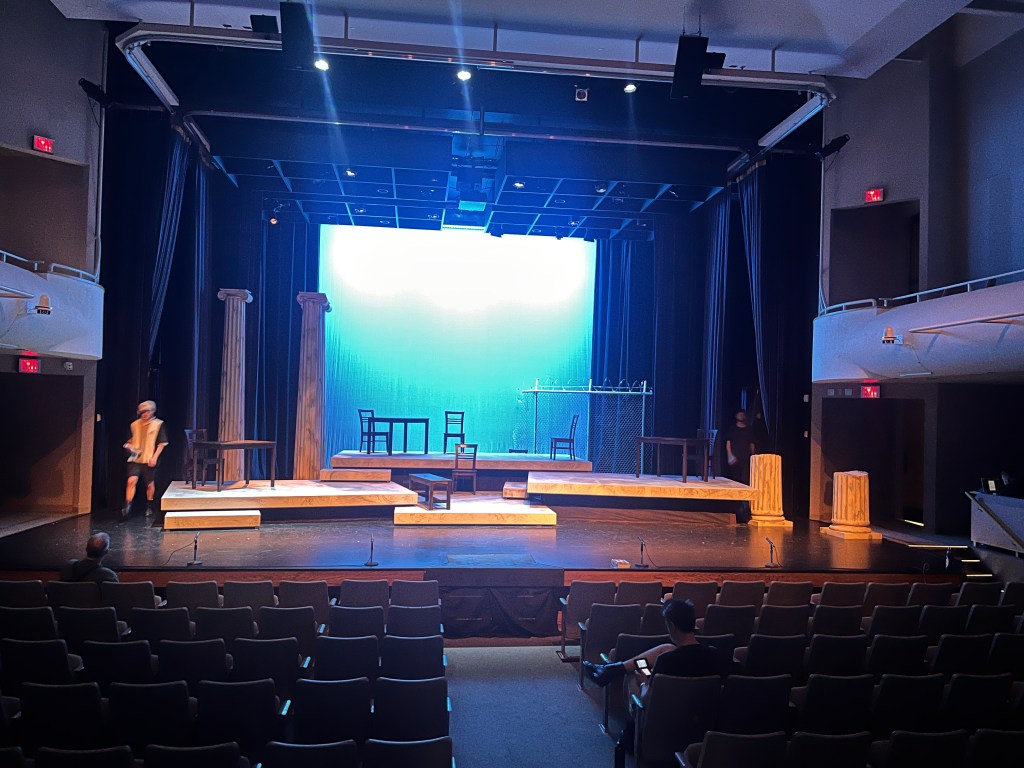
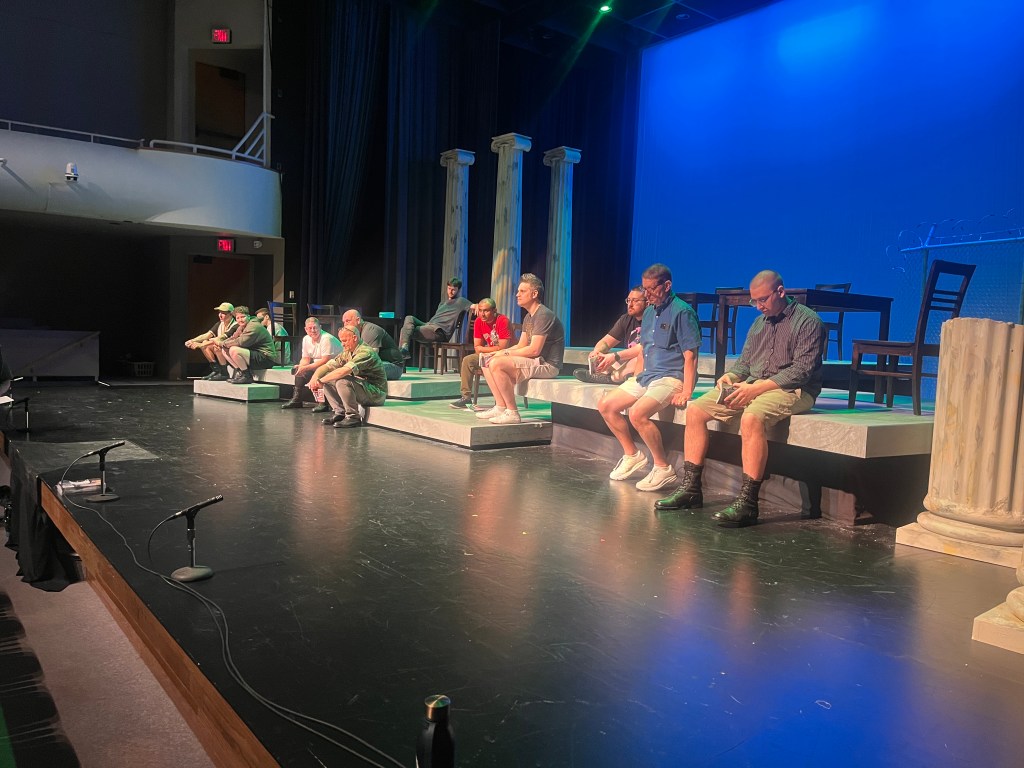
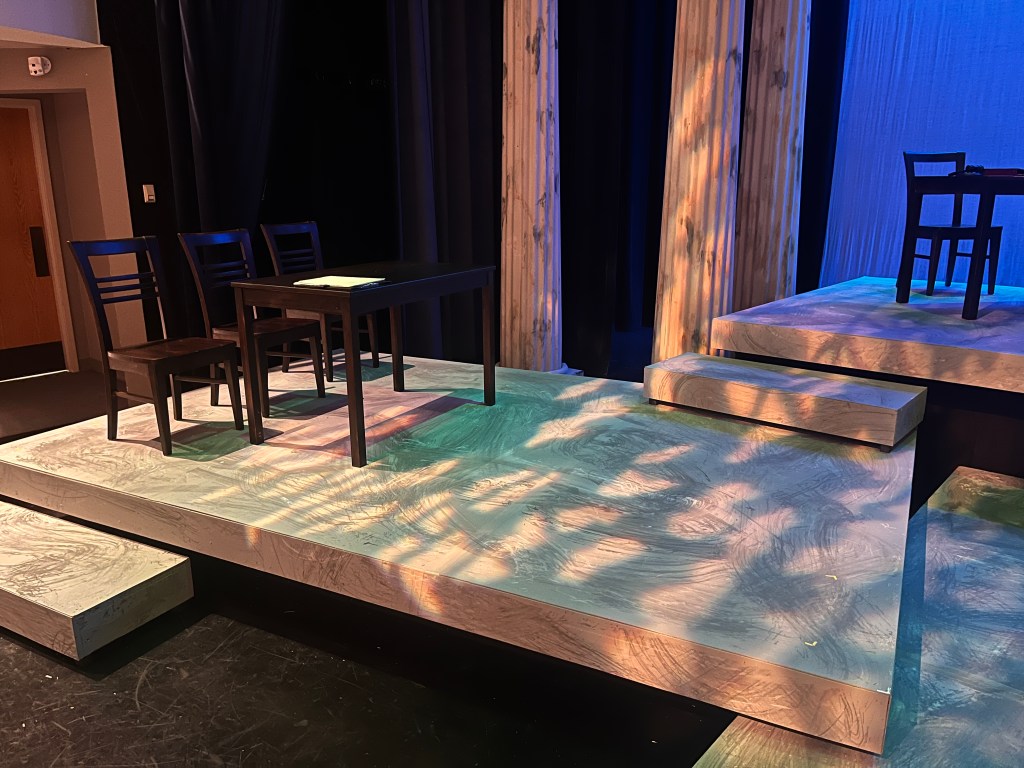
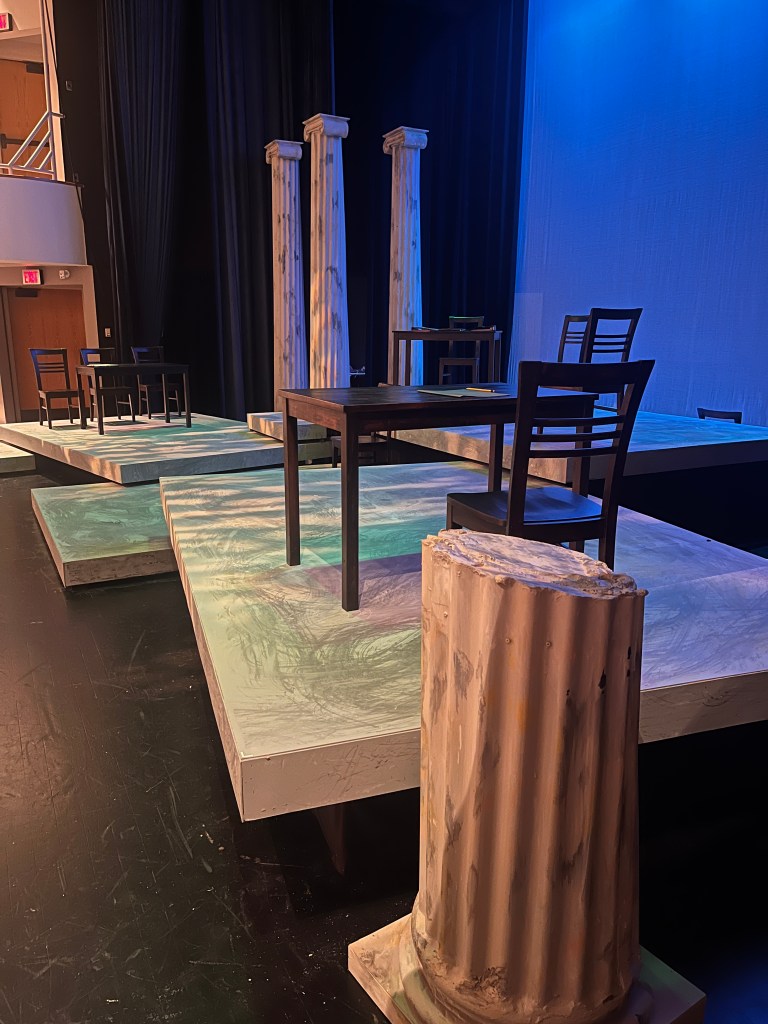
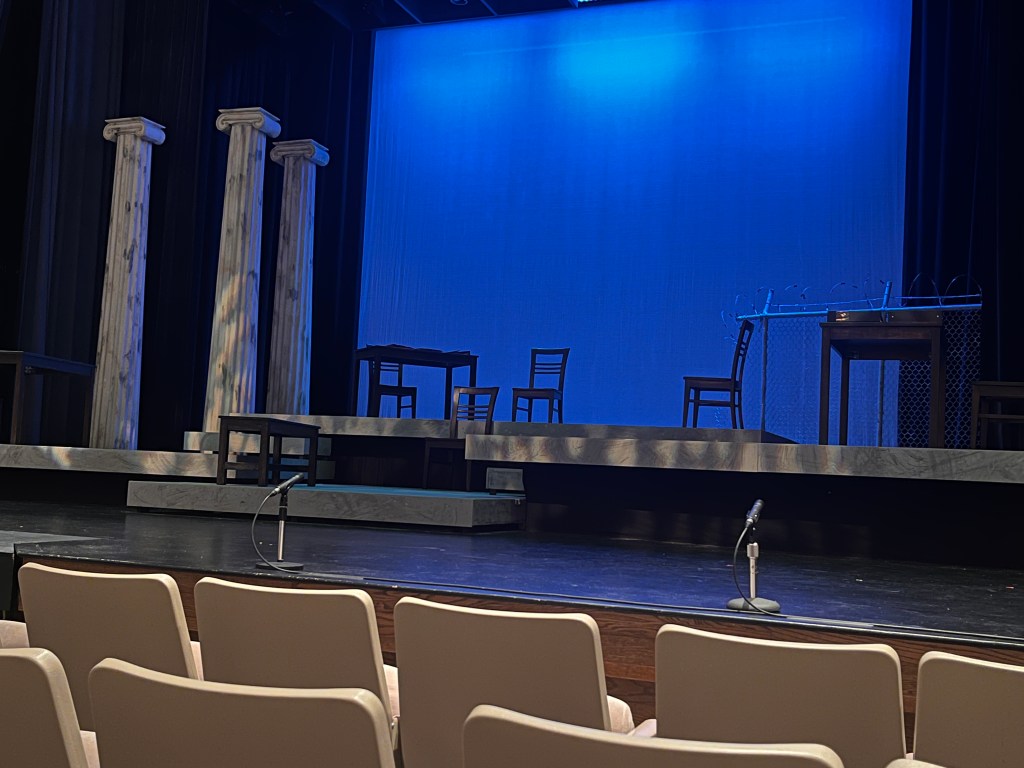
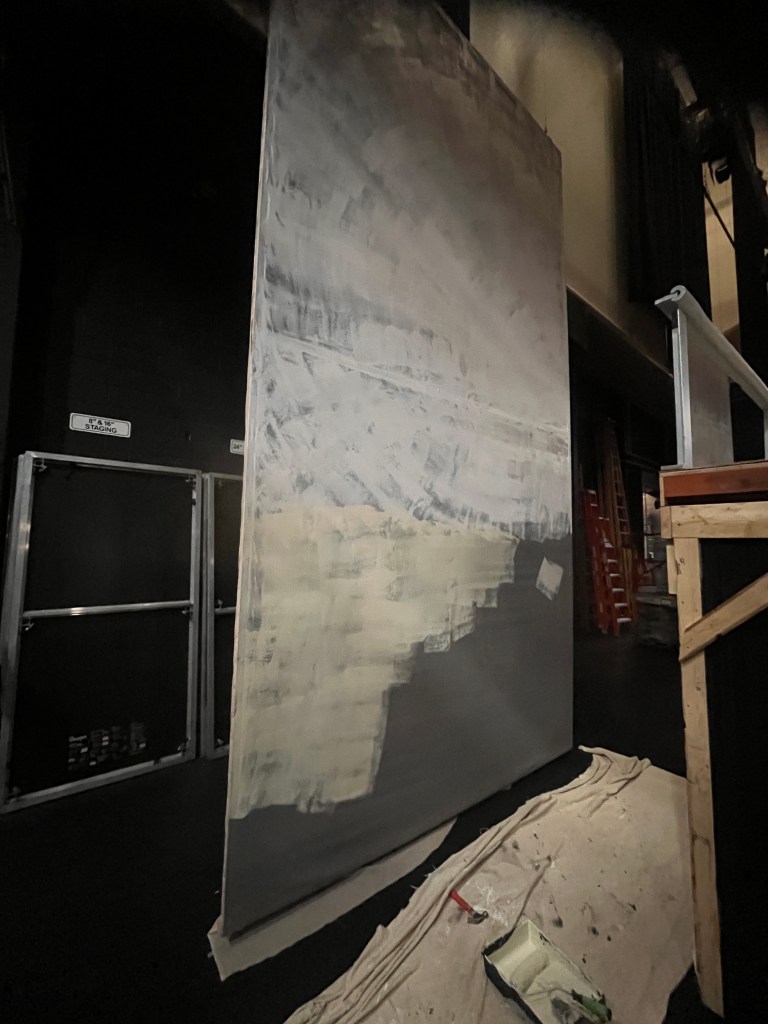
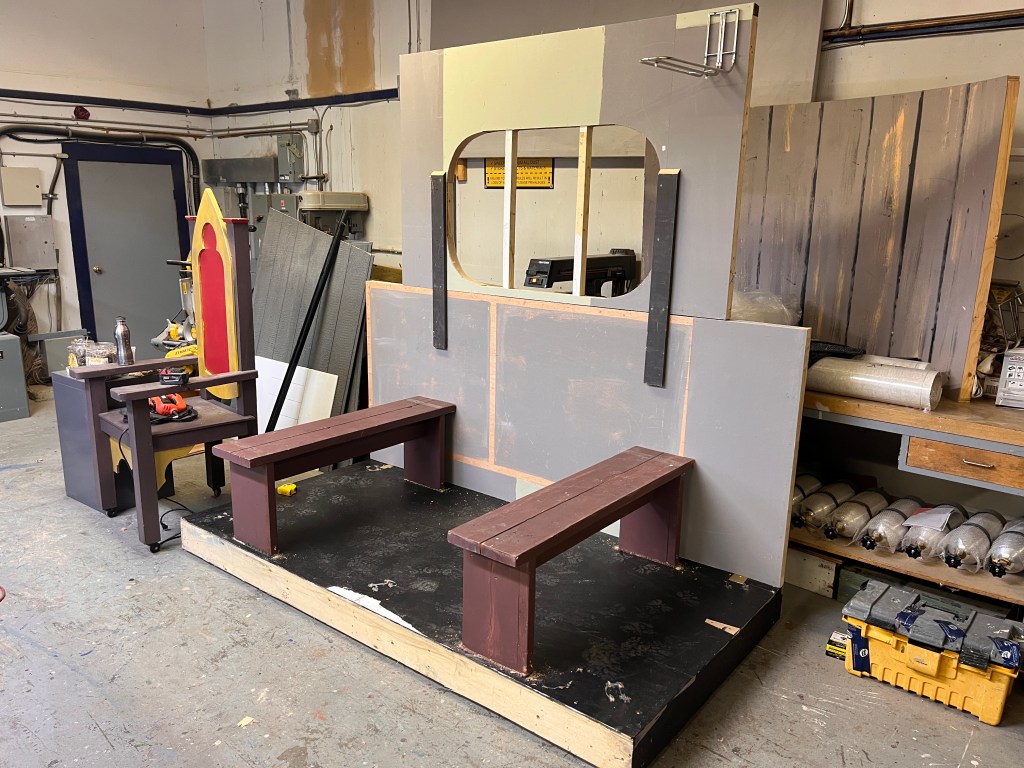
Gallery 7 recently closed their production of A Few Good Men. Here are some pictures of the design, build, and finished set.
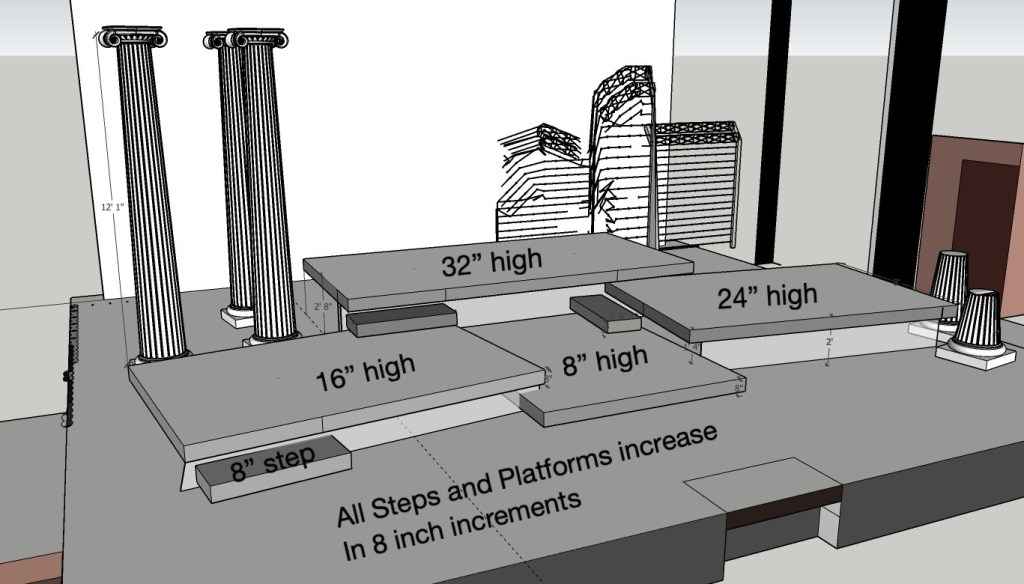
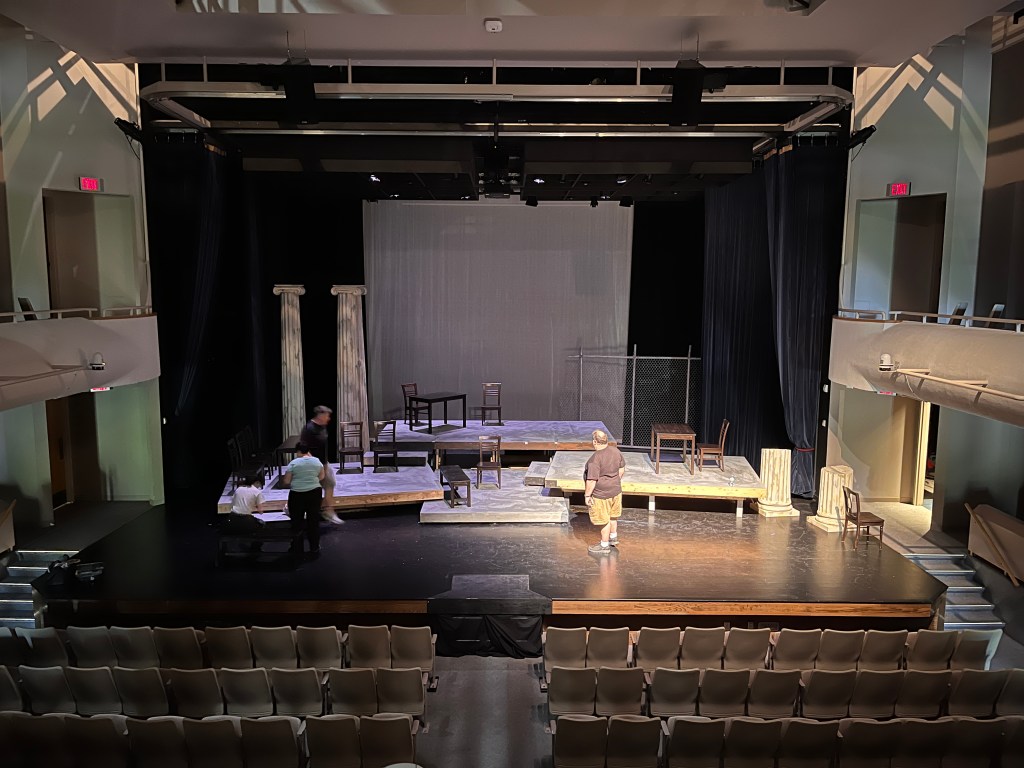
Design: this set felt sort of easy. The layout was fairly clear in the director’s head and I was able to translate that into drawings early on, which saved a lot of time. It was also a simple, abstract set with zero complicated set changes – just the movement of tables and chairs fluidly throughout the show.
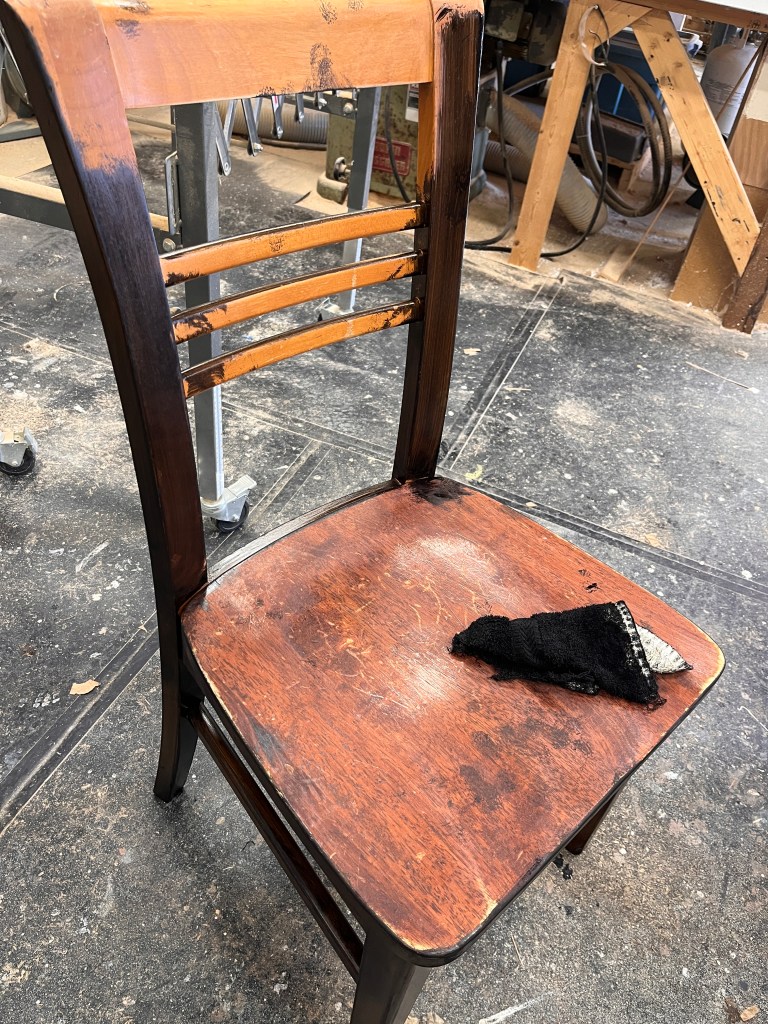
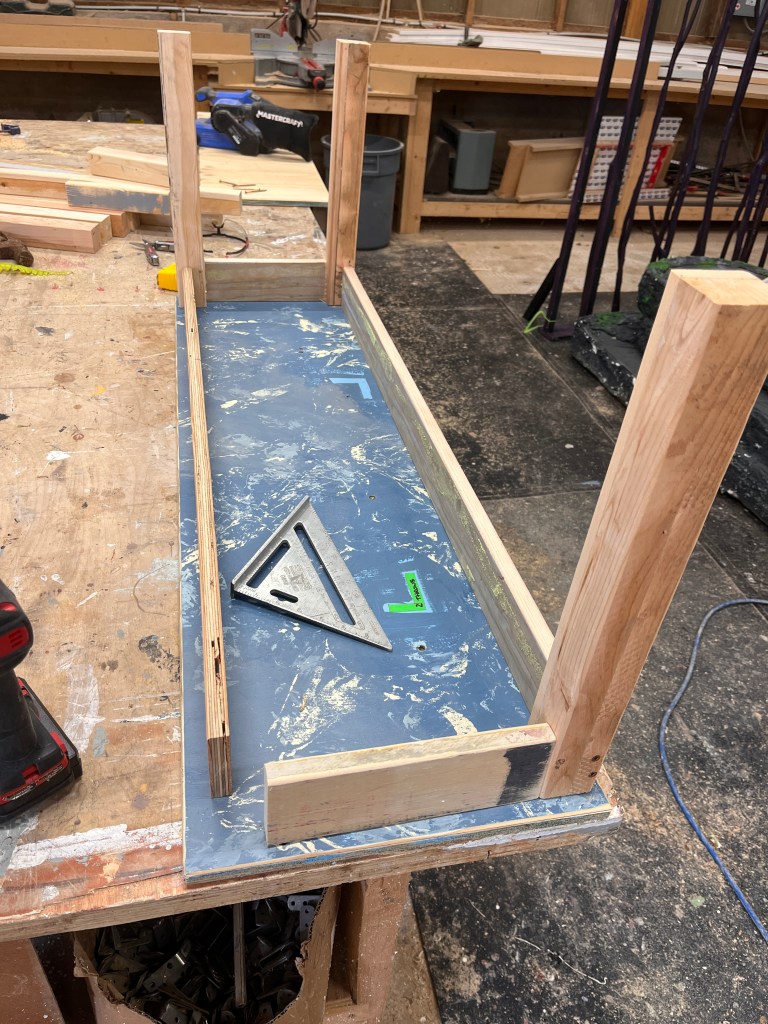
However one thing that was a necessity with this set was the quality. Sometimes as the builder I do get away with some “shoddy” work: handles showing in the ends of risers, beaten up plywood covered with six layers of paint, etc. But this play is about Marines, and they don’t tolerate shoddiness… so I spent a lot of time considering how to make the risers appear to be suspended in mid-air–it took some extra construction and masking–and just generally being careful to make everything look crisp and clean.
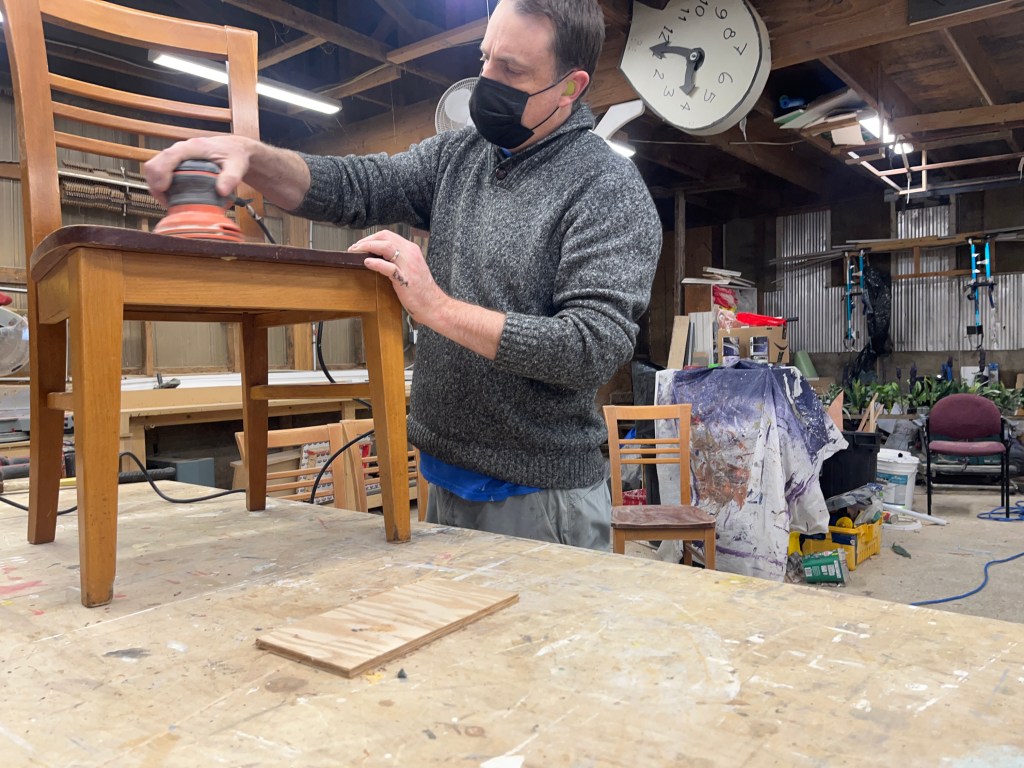
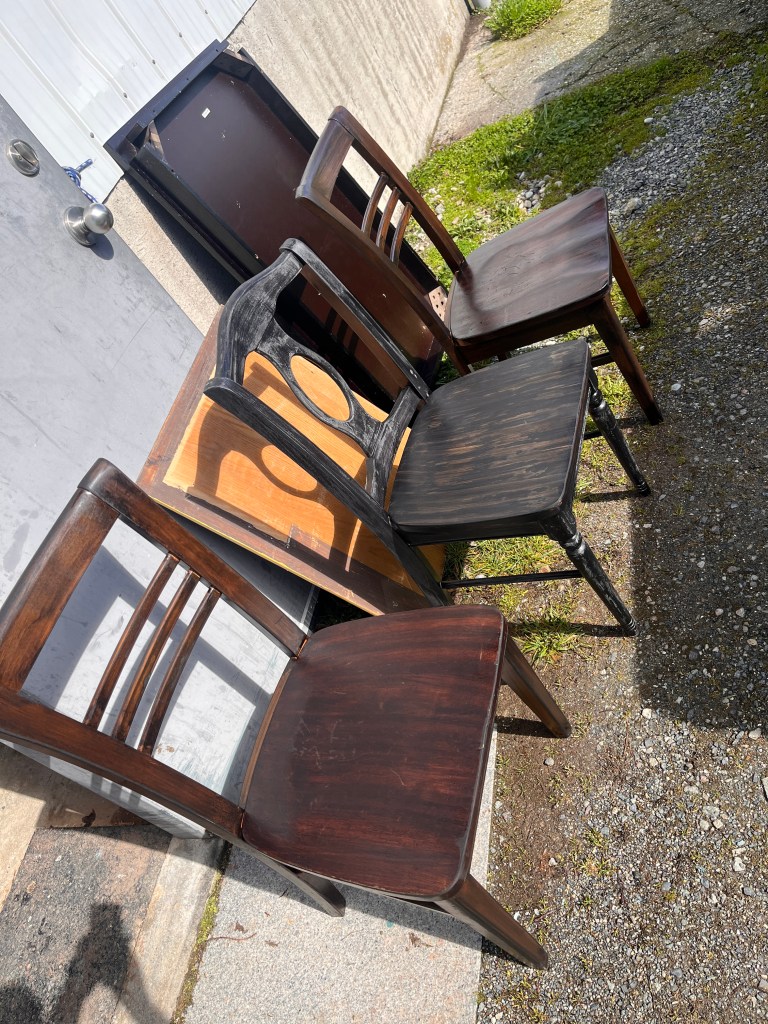
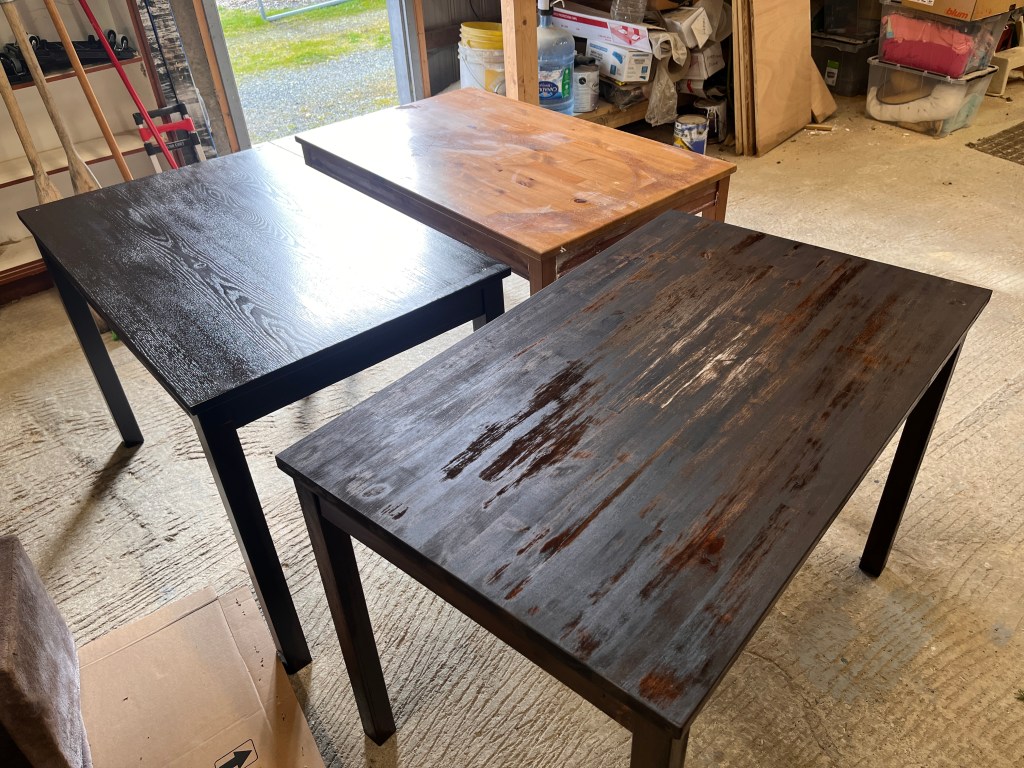
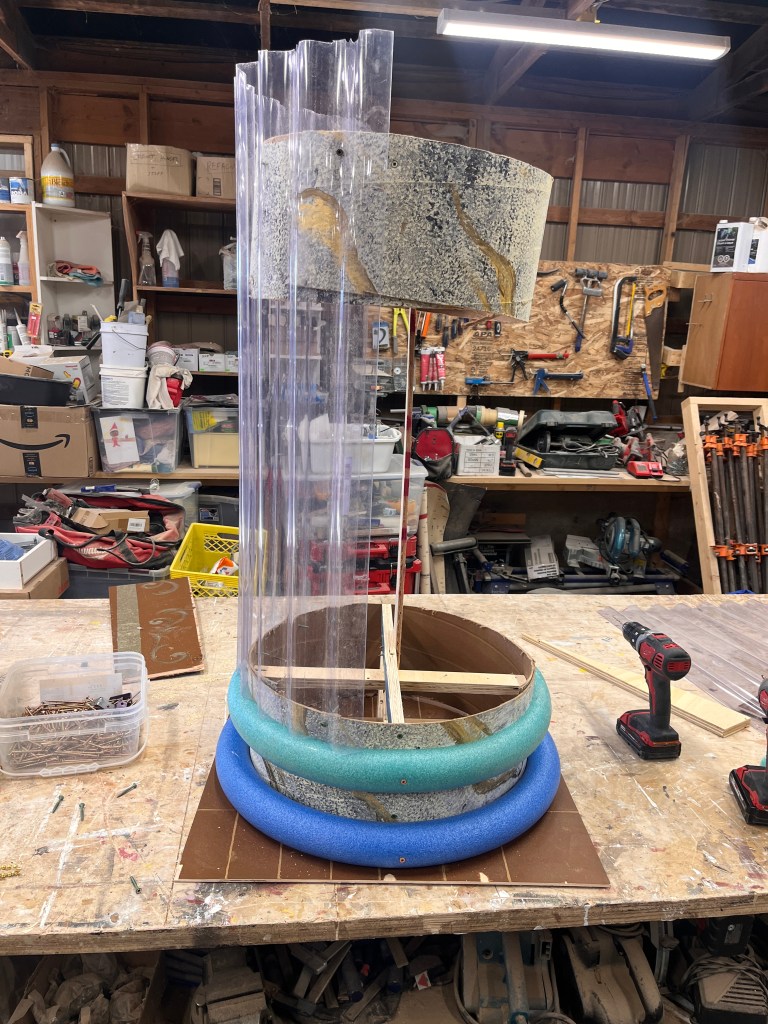
It also required a fair number of chairs, and I wanted them all to match – so when I found a style that we liked on FB Marketplace, I bought as many as I could (nine). We also wanted 3 matching lightweight tables. So I bought them secondhand and modified them all to be the same size, colour, and style. And of course going with this exacting theme, they all needed to be refinished and stained the same colour!
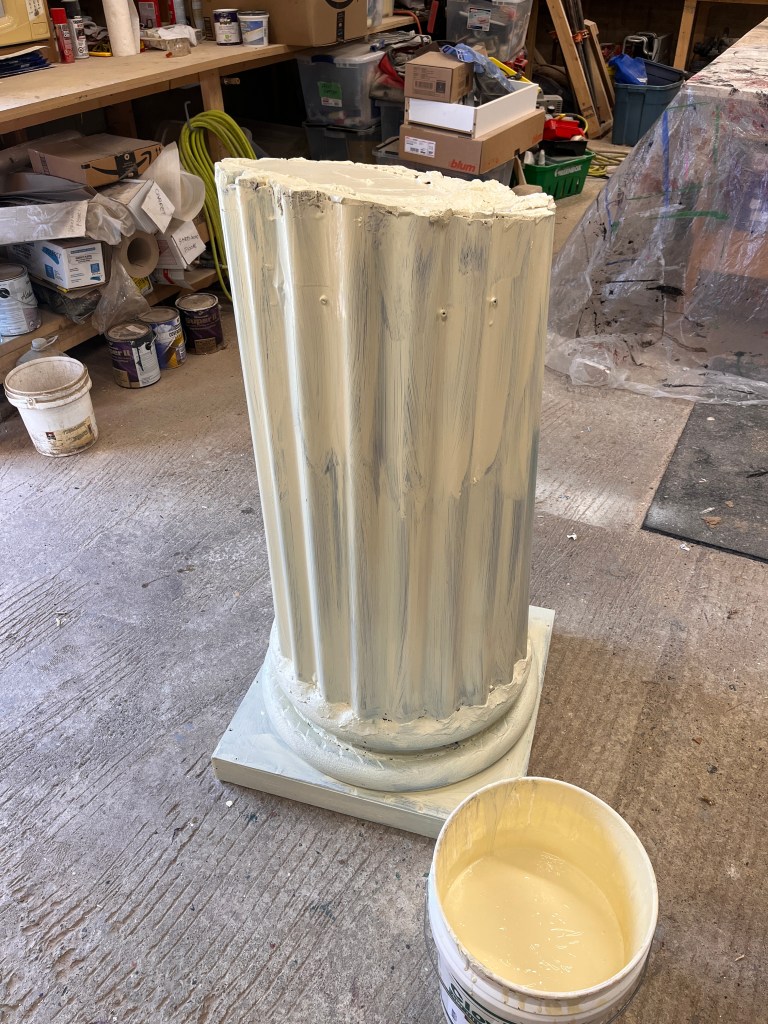
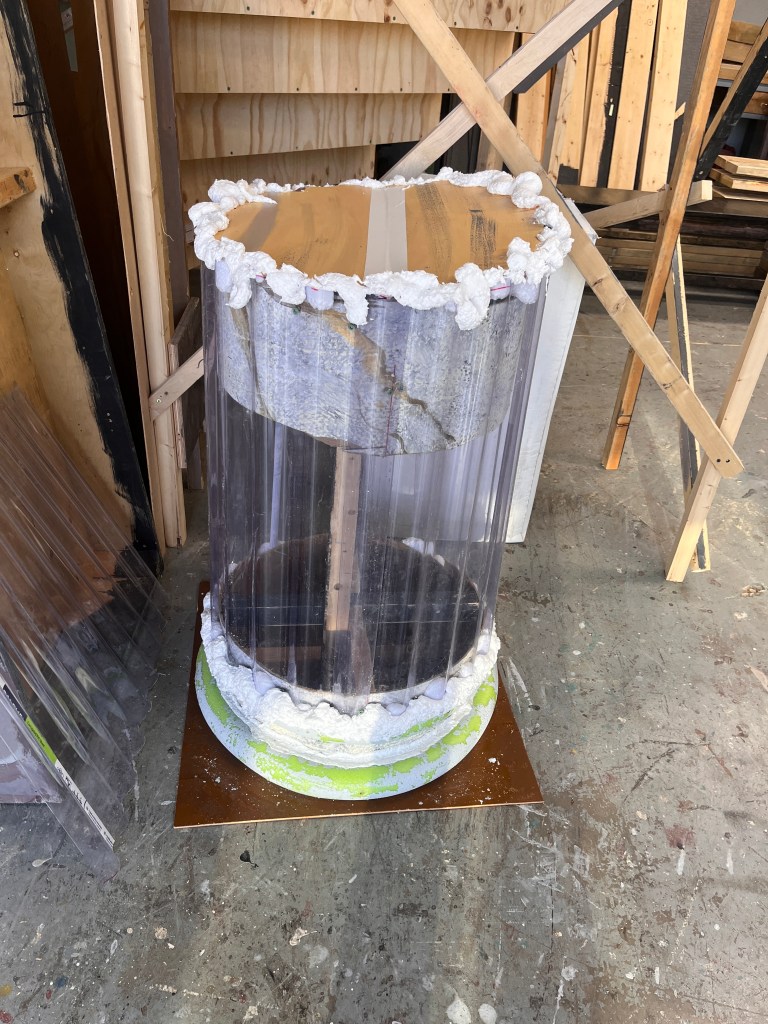
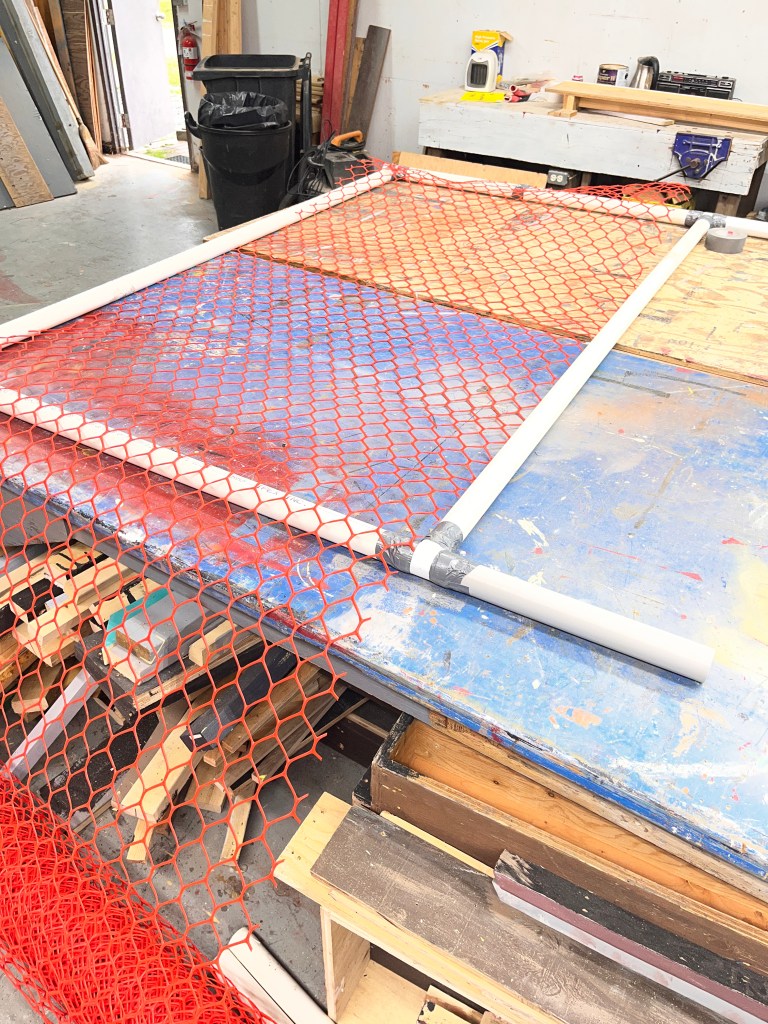
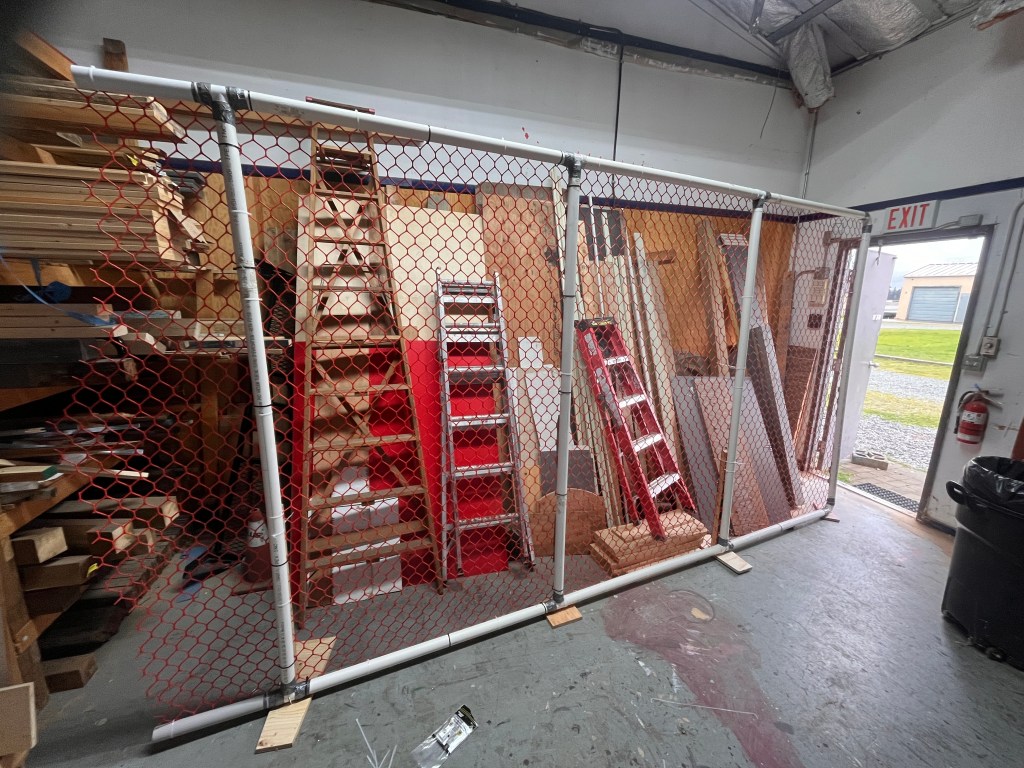
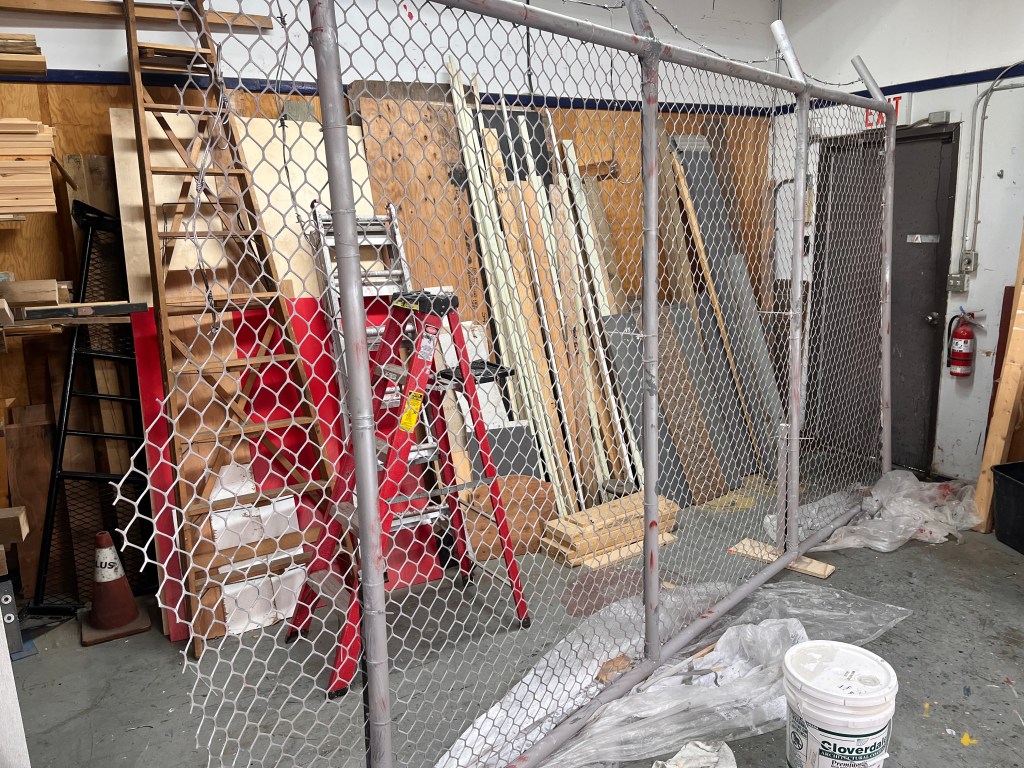
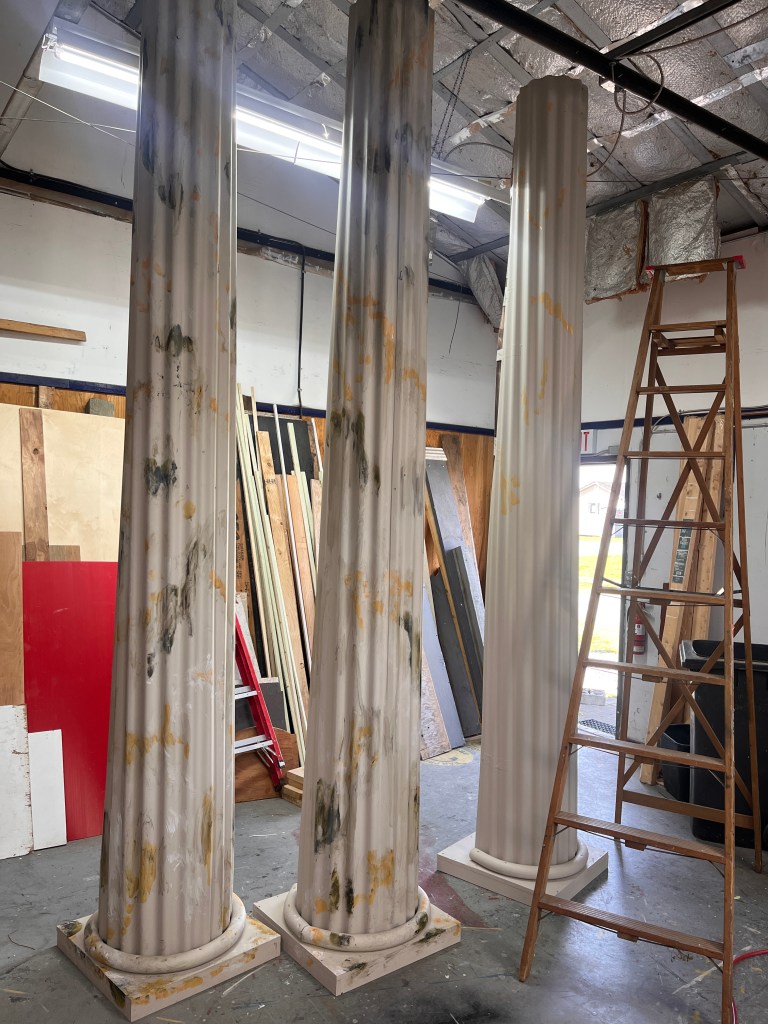
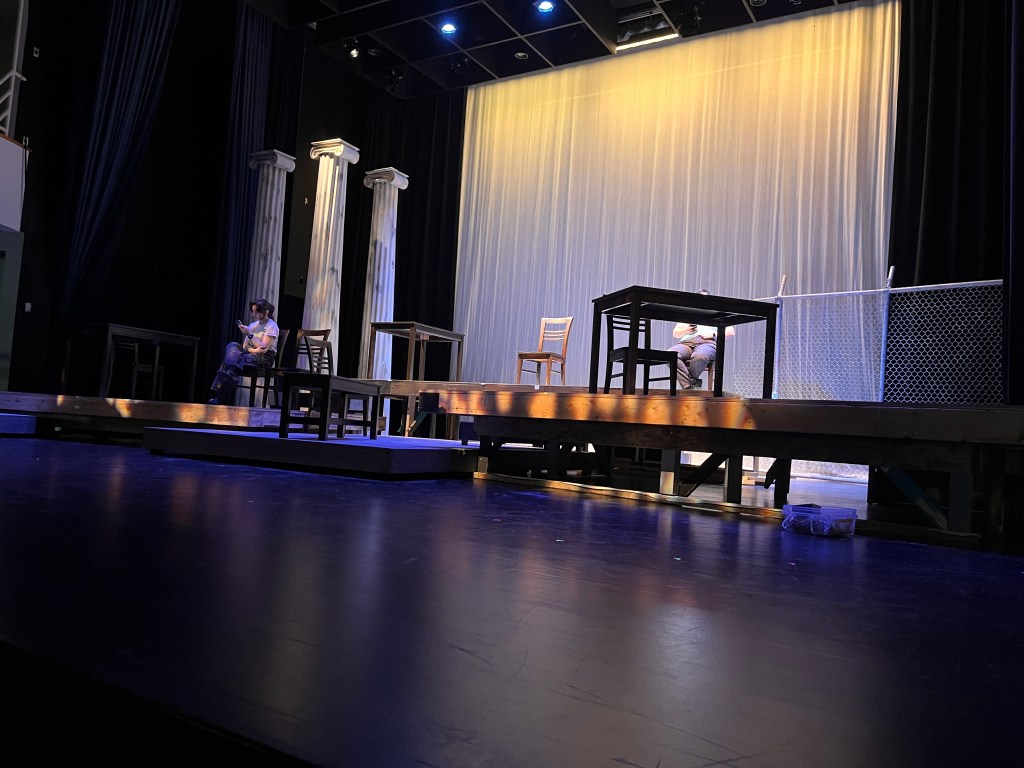
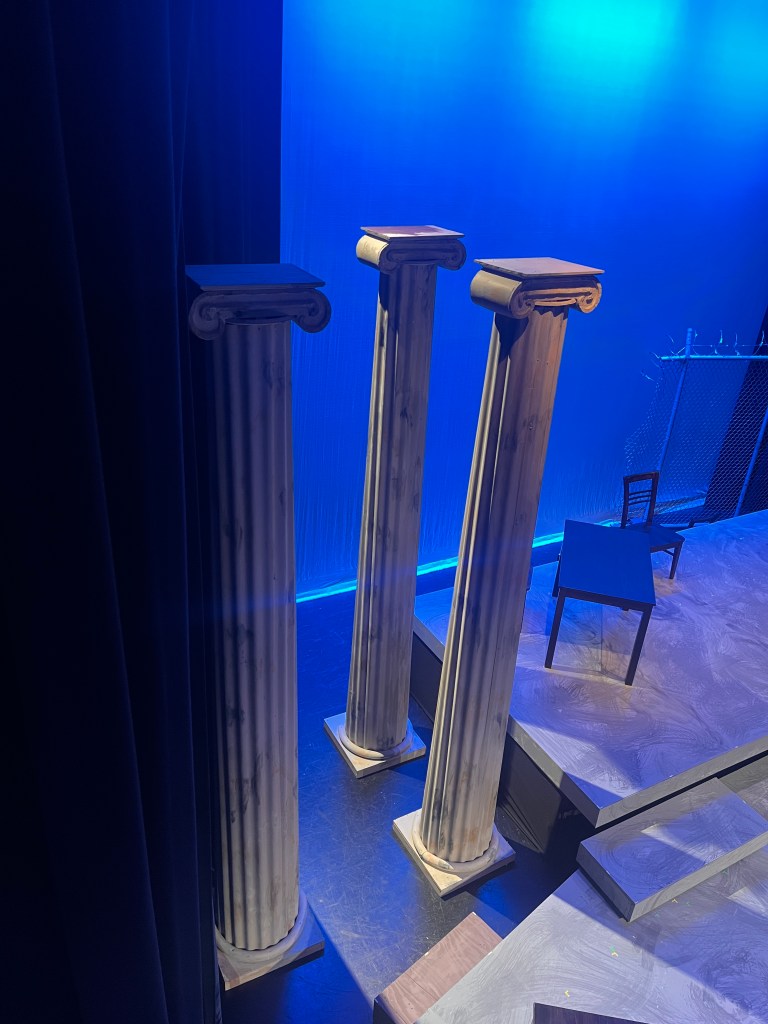
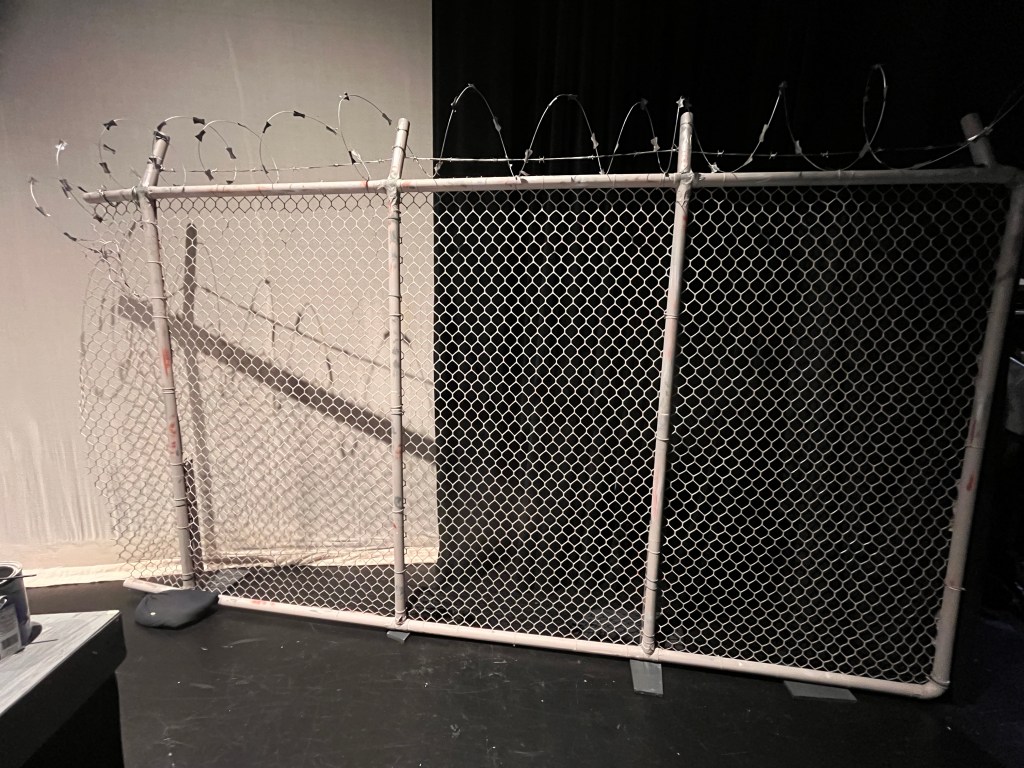
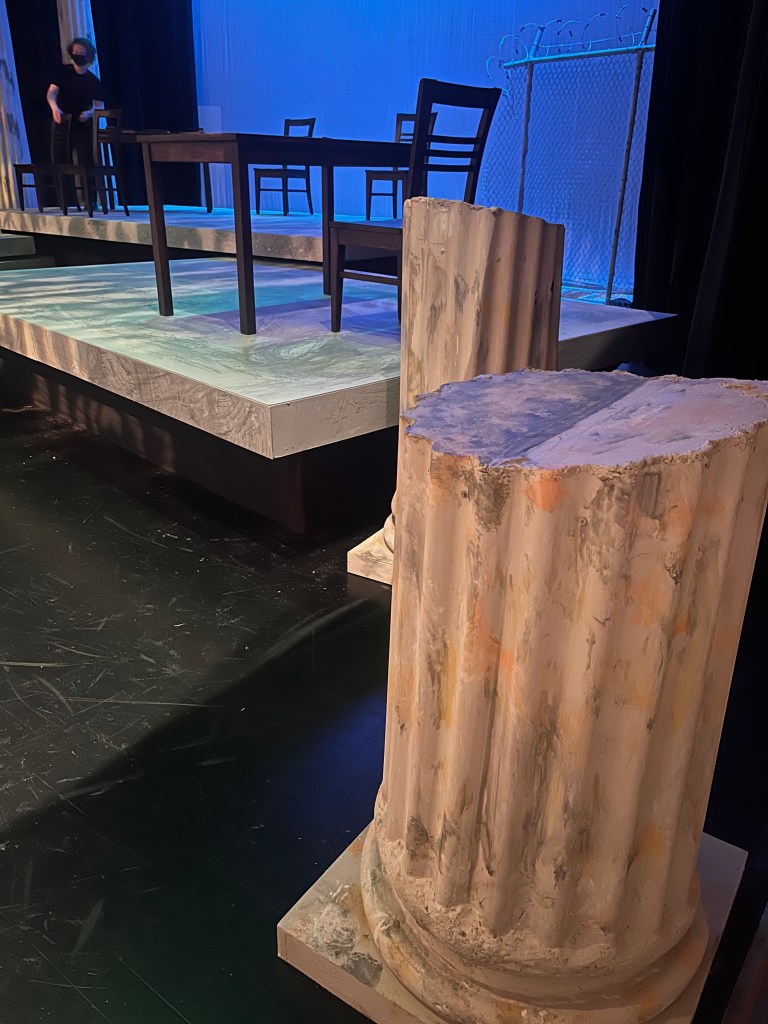
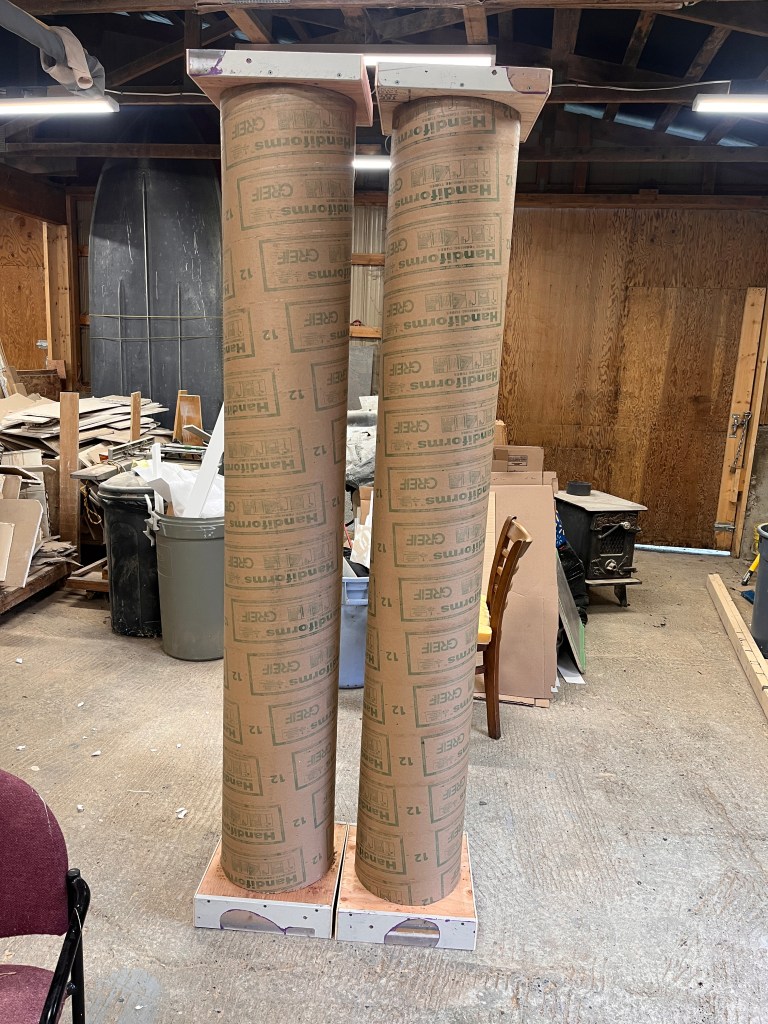
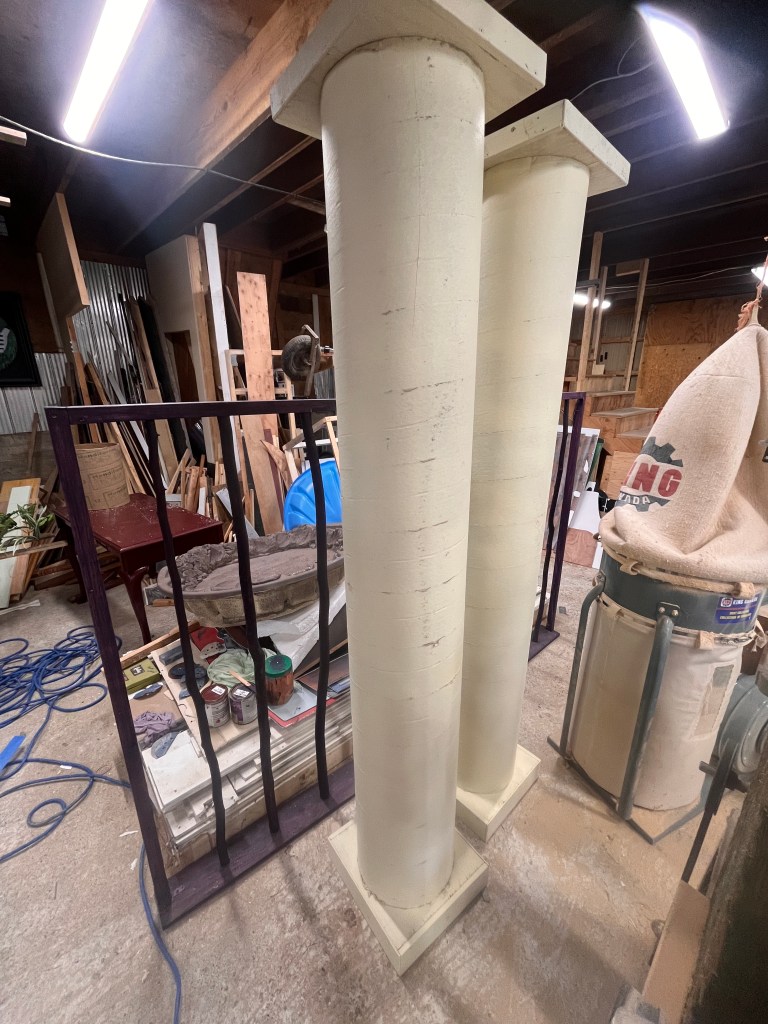
Once I had the furniture ready, I gave it to the cast to use, and focused on the columns and fence, which were fun artsy projects!
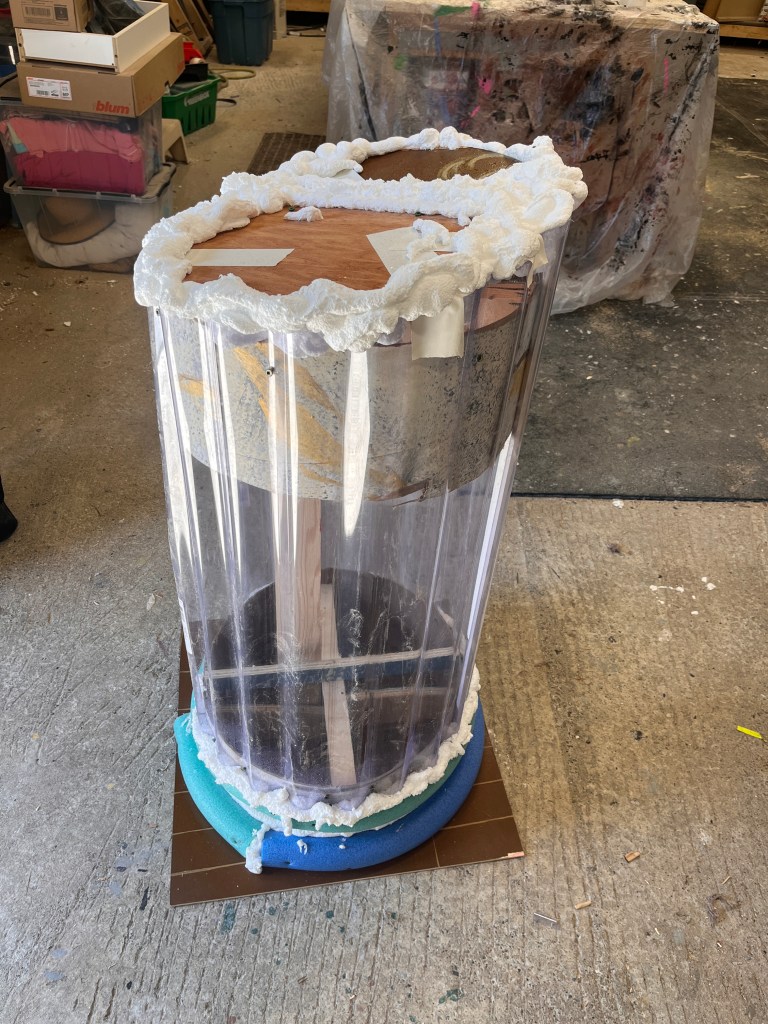
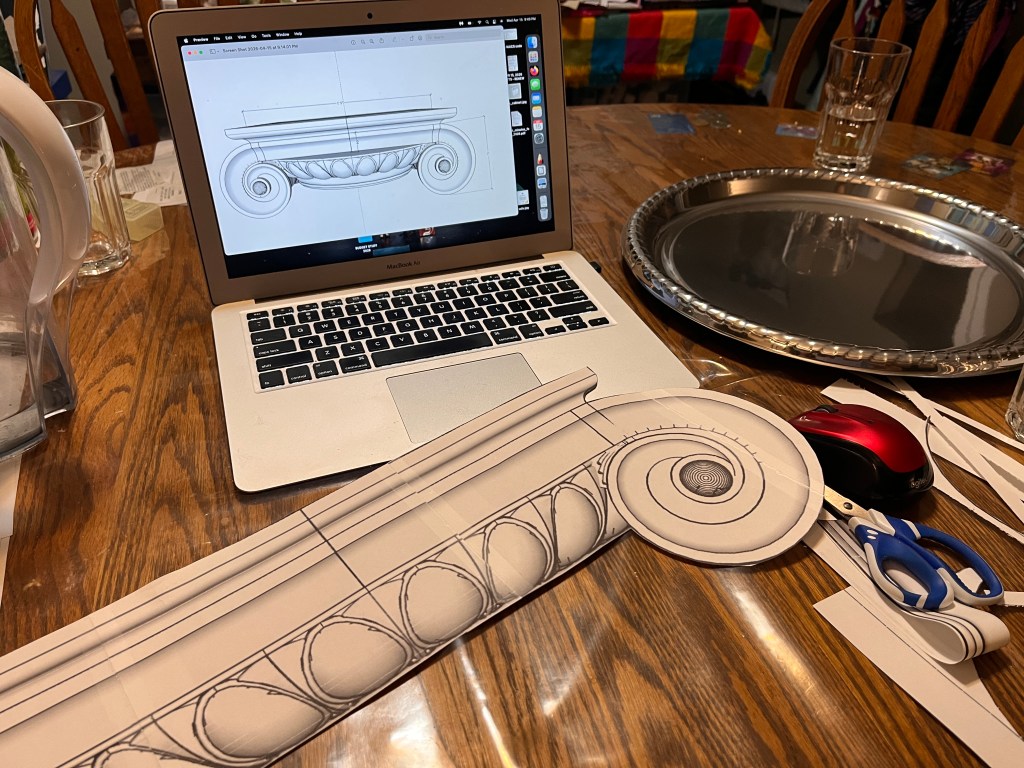
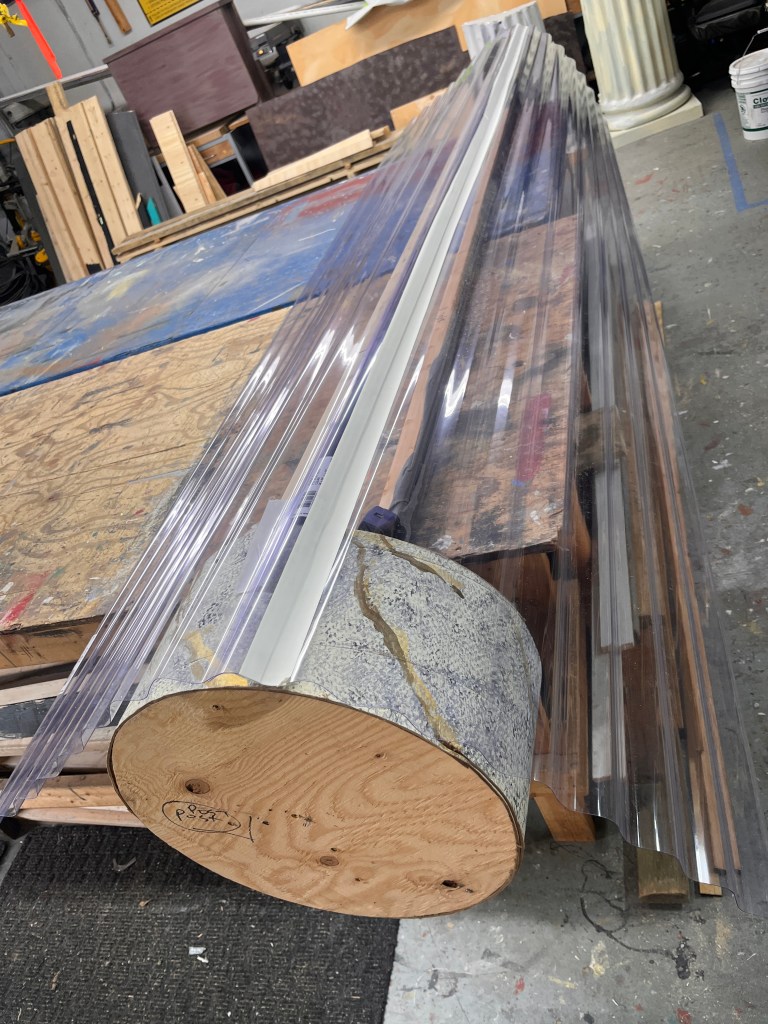
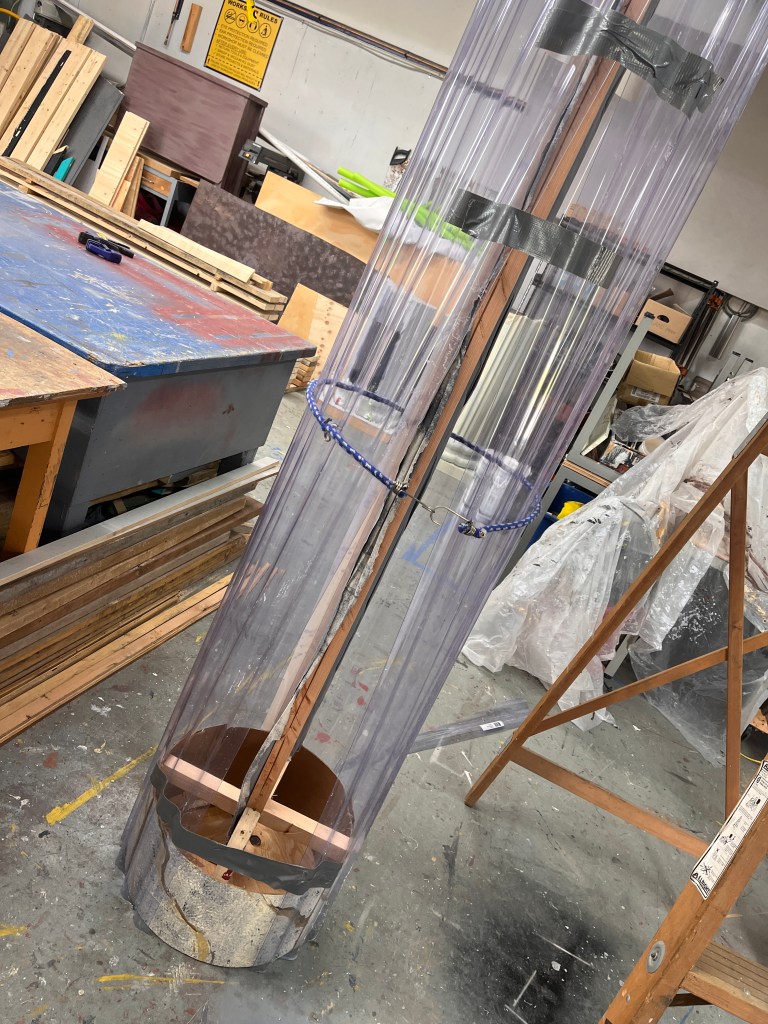
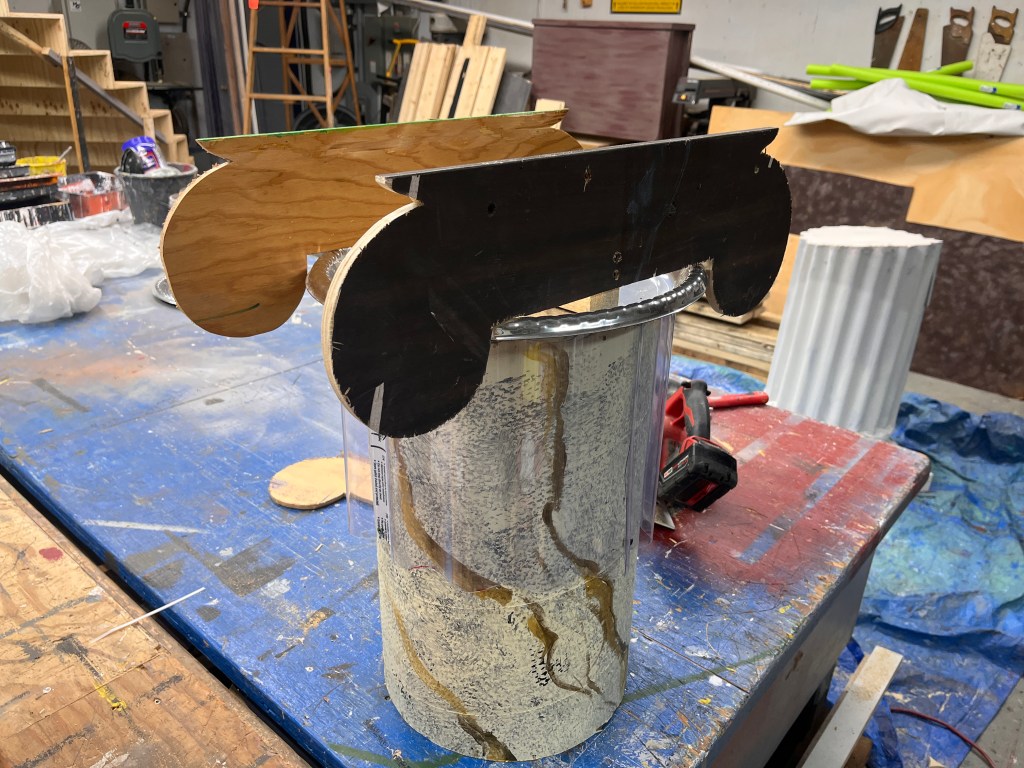
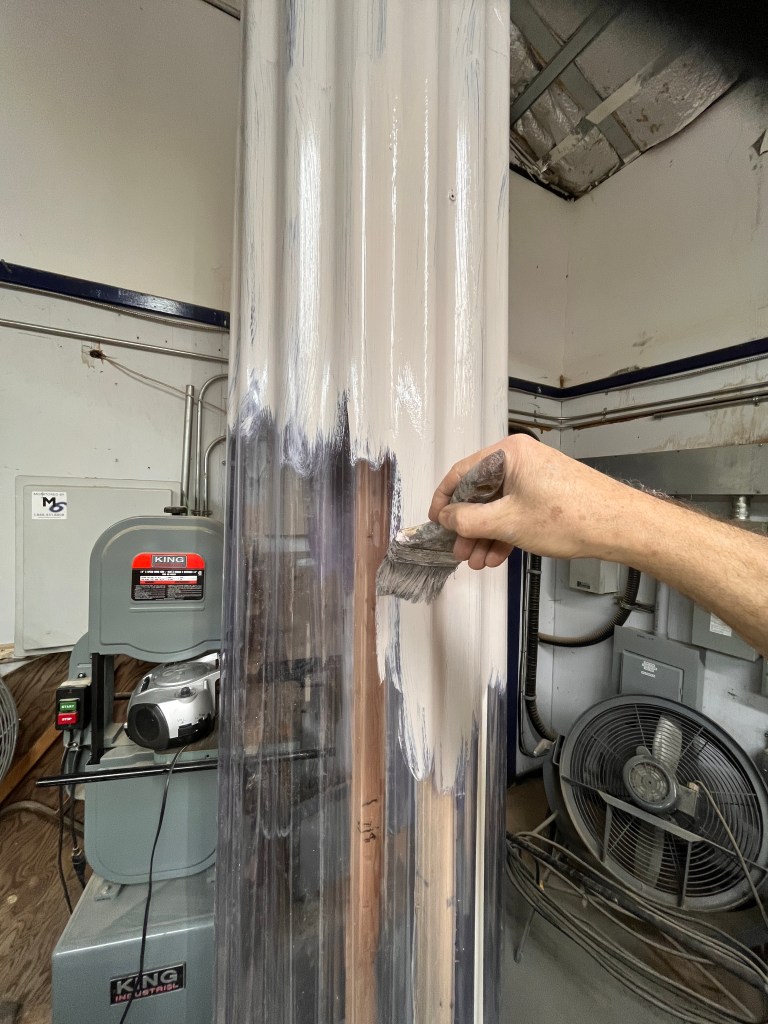
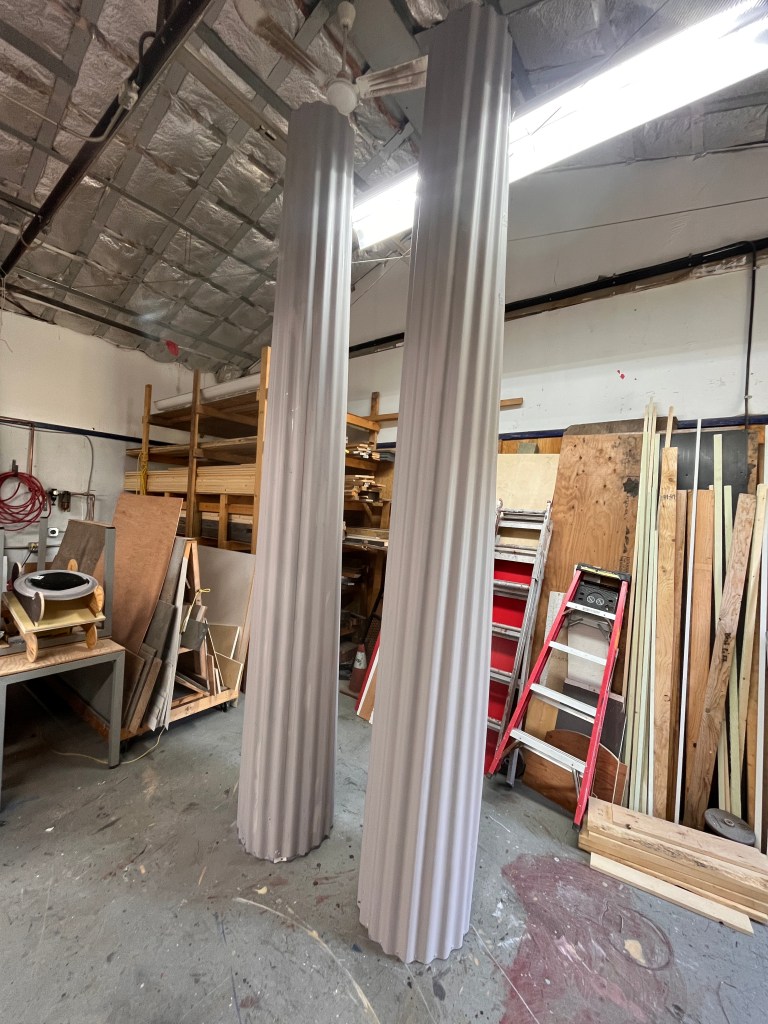
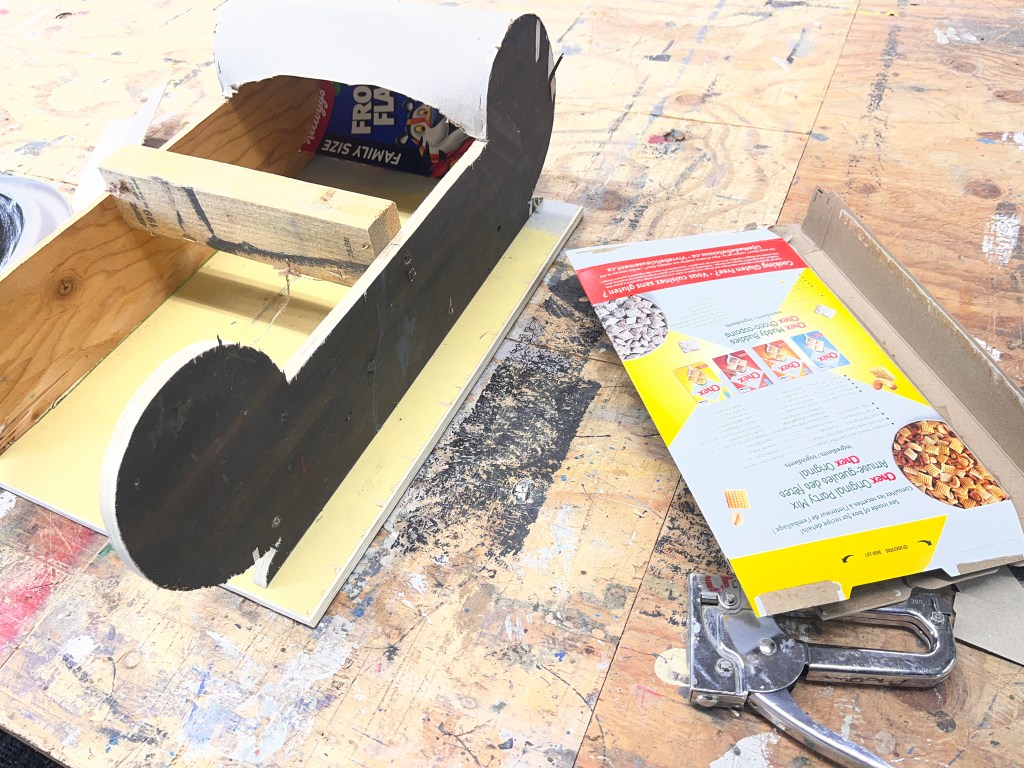
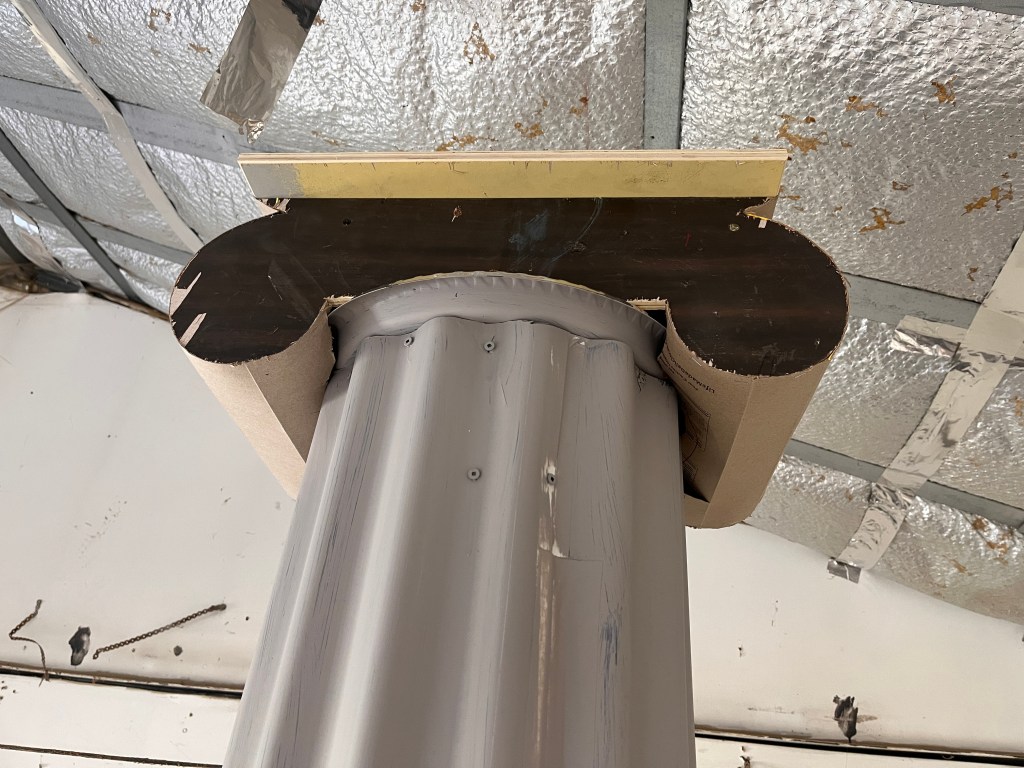
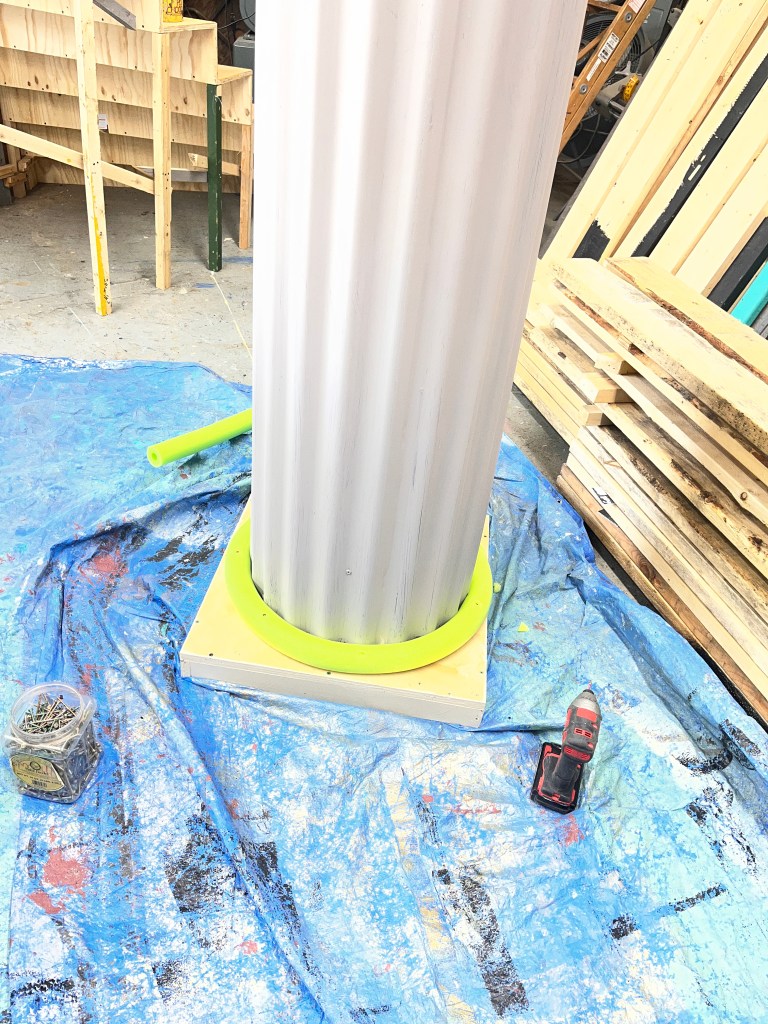
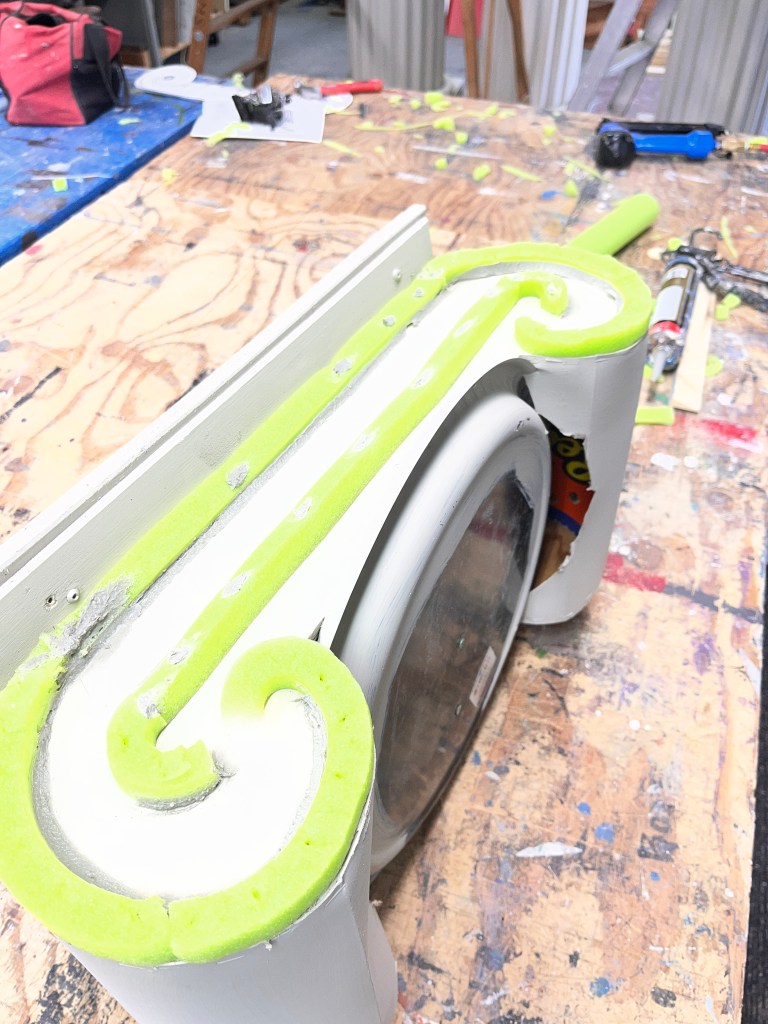
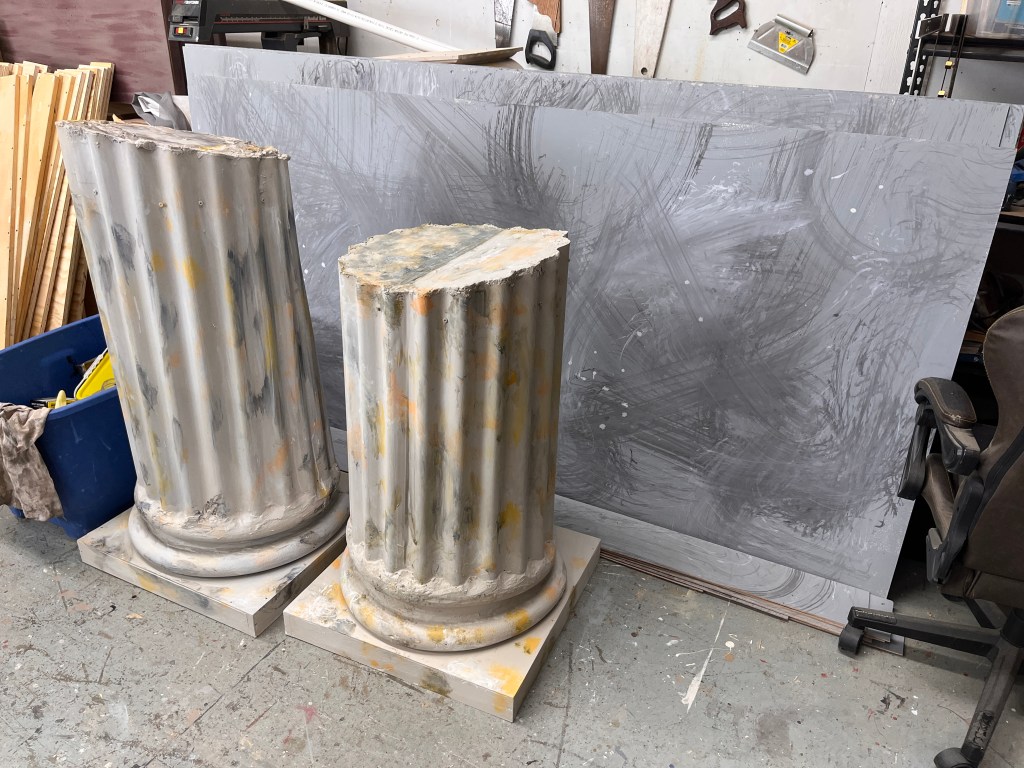
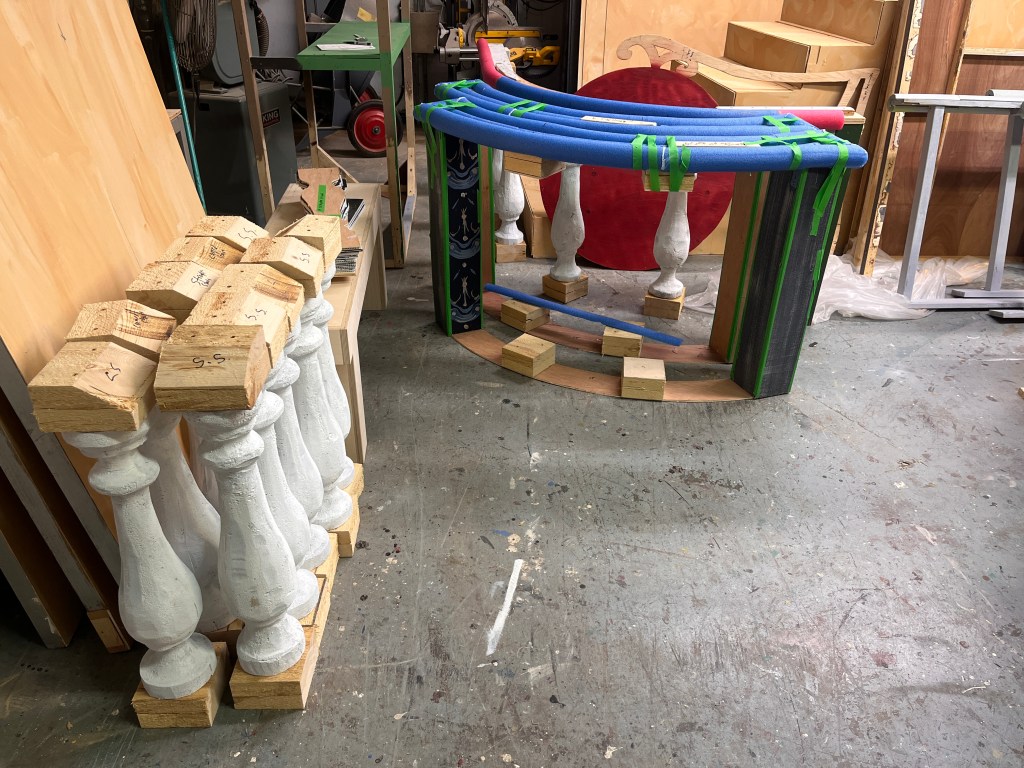
I was able to taper the ionic columns using clear corrugated roofing. Of course there was no way they would meet in the back, but we didn’t need to see the backs. The toppers were a combination of dollar store plates, plywood, cereal box cardboard, and foam.
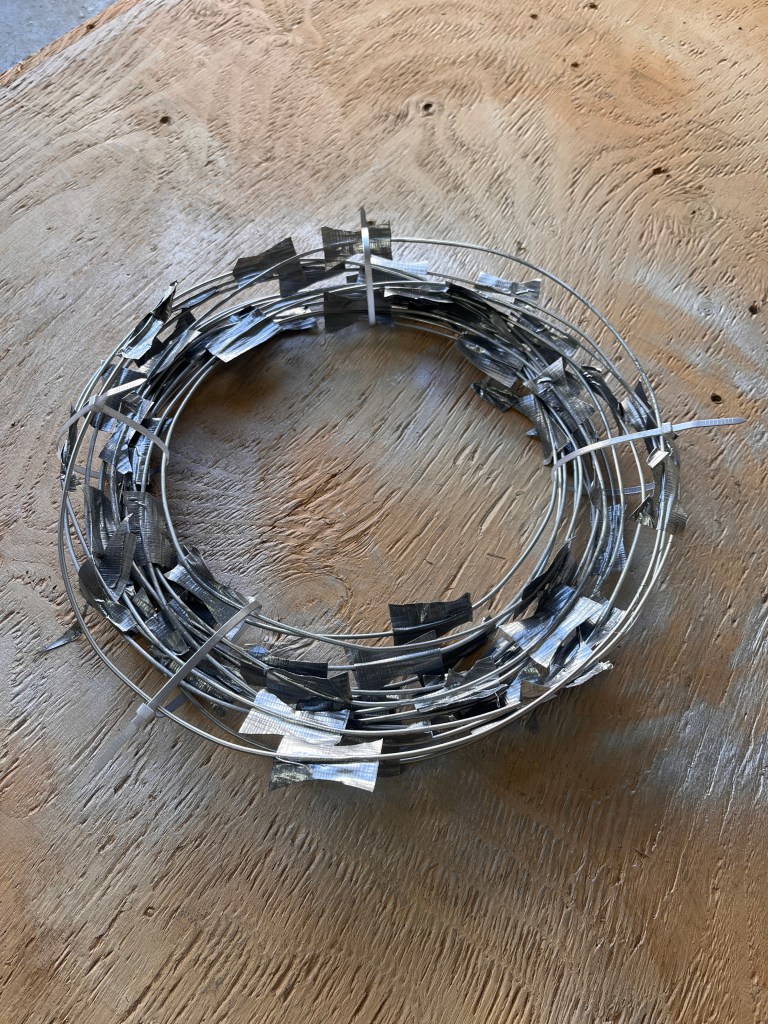
The fence was plastic fencing, PVC pipe, rubber barbed wire, and homemade razor wire (galvanized wire and duct tape). I wish I could have made the fence look taller or more imposing, but I was restricted partly by budget, and also by the fact that my research of Gitmo’s fencing actually looked pretty much like what I made.
Then it was time for load in and a long day assembling and bracing risers. We had a few great helpers!
A few shots of the set. Set design (c) Andrew Potts. Directed by Ken Hildebrandt. Lighting by Nigel Brooke.
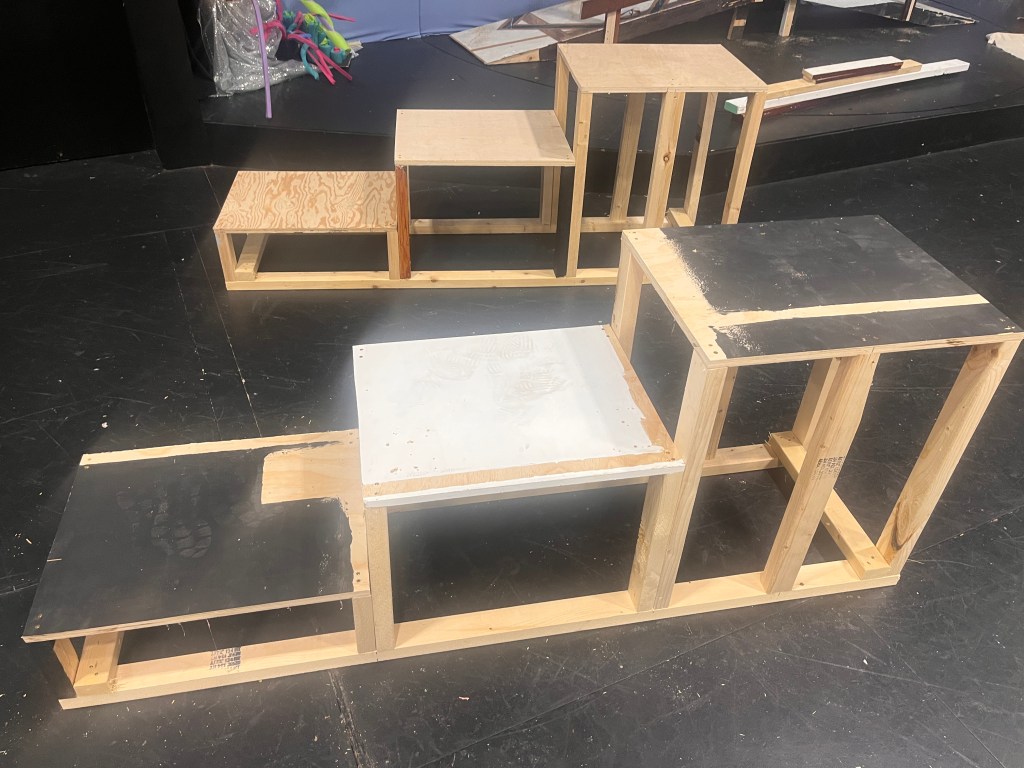
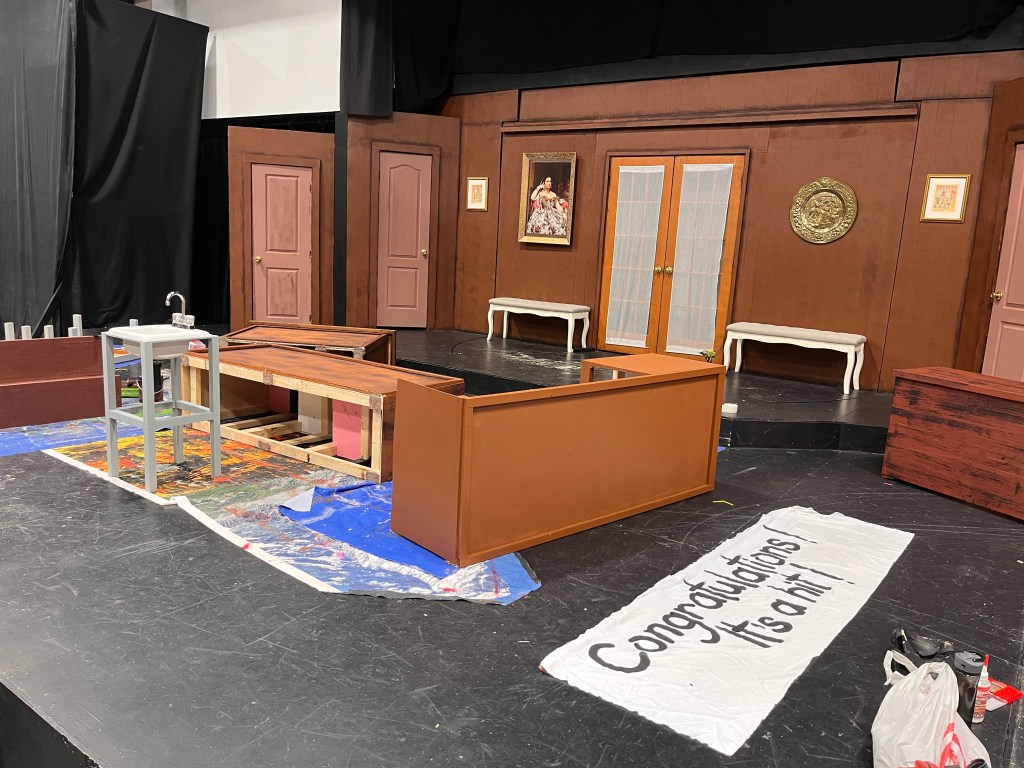
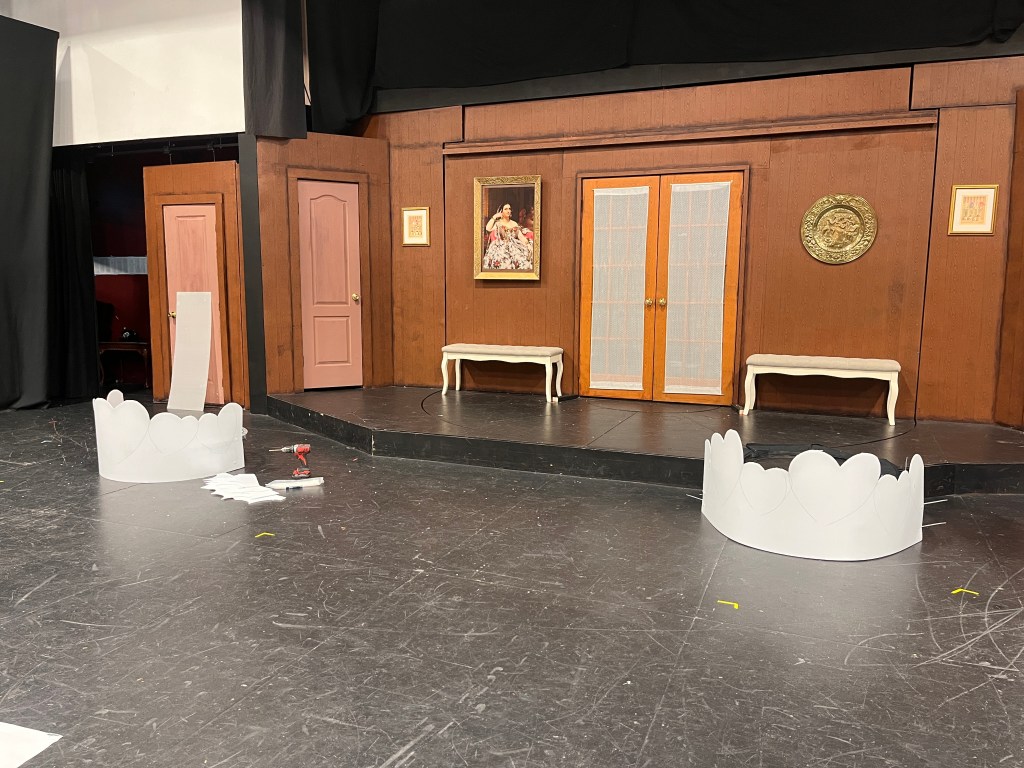
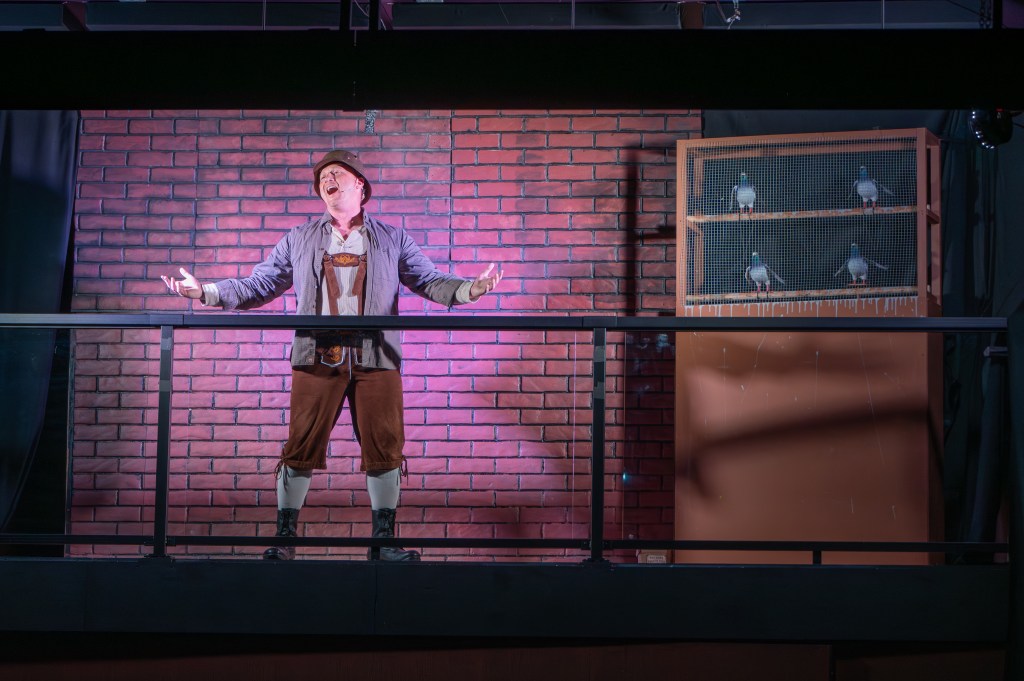
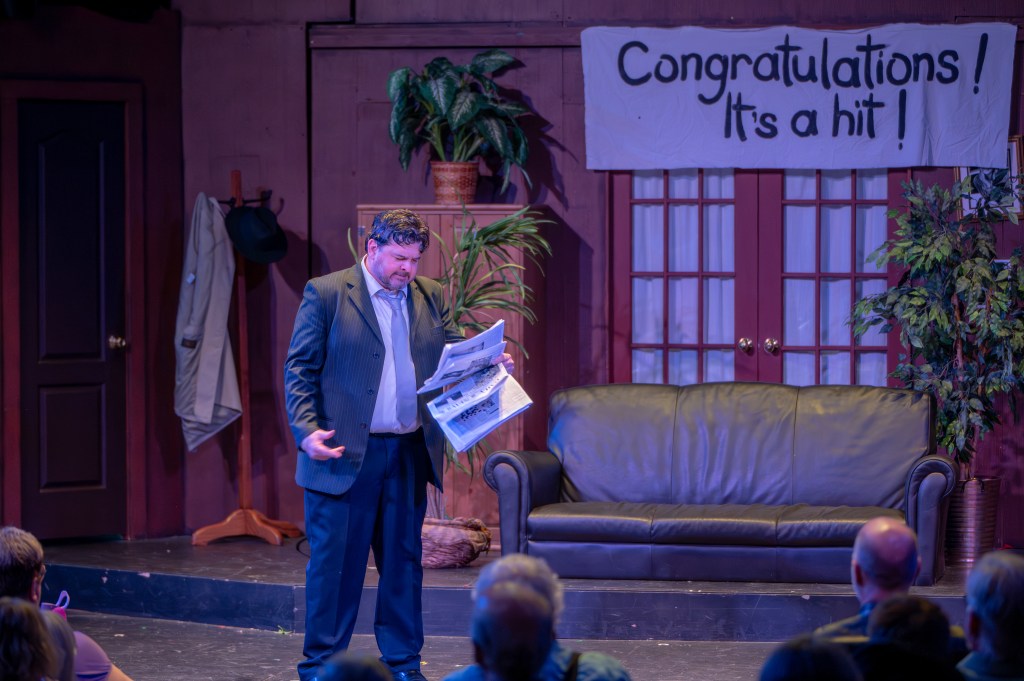
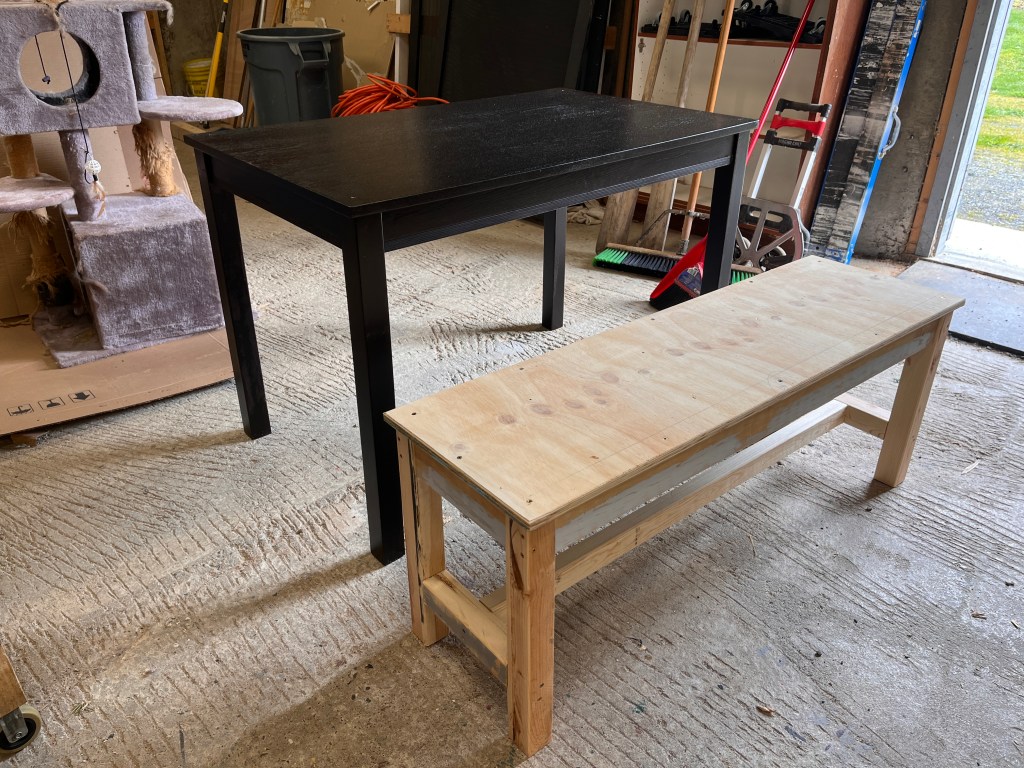
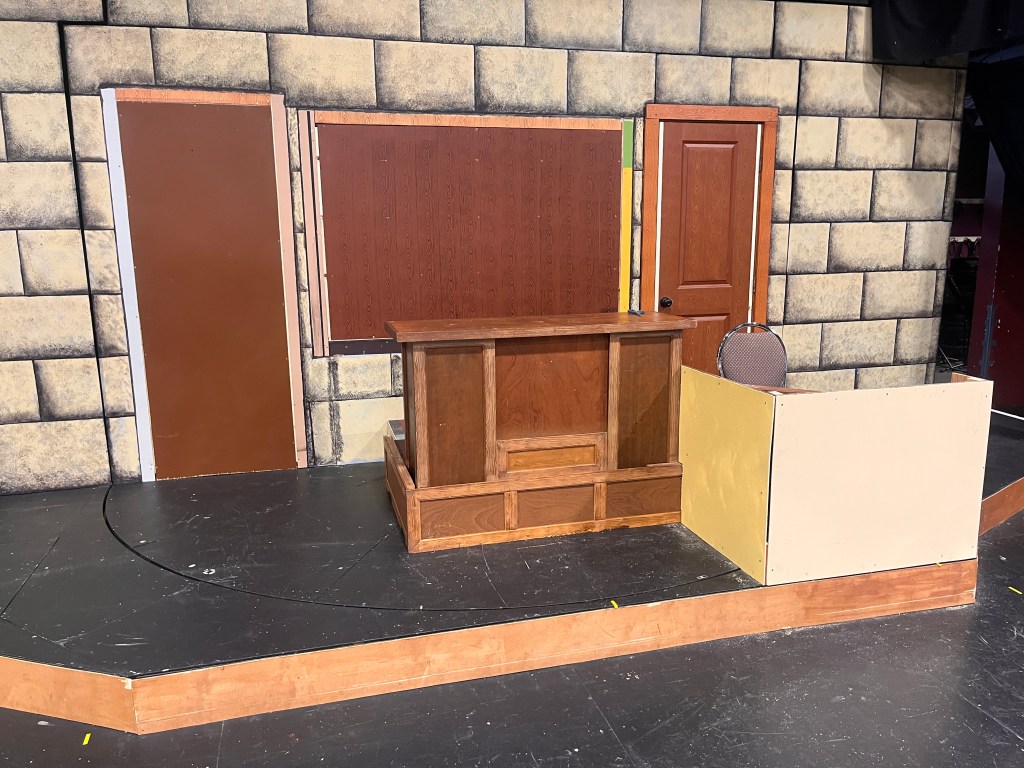
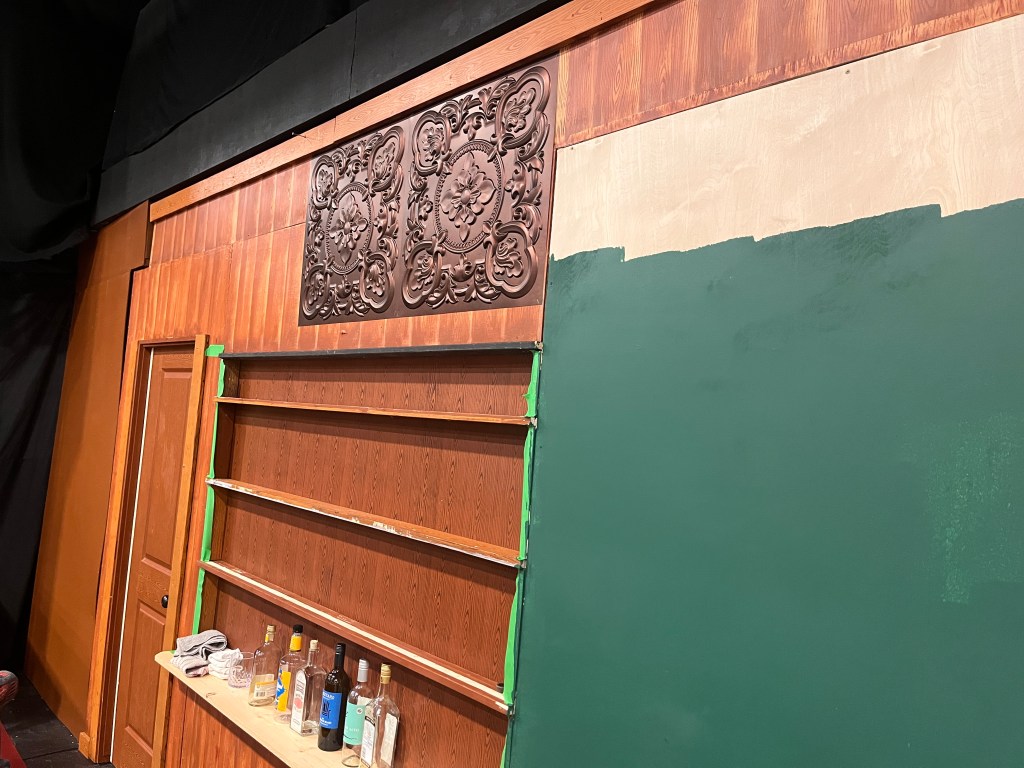
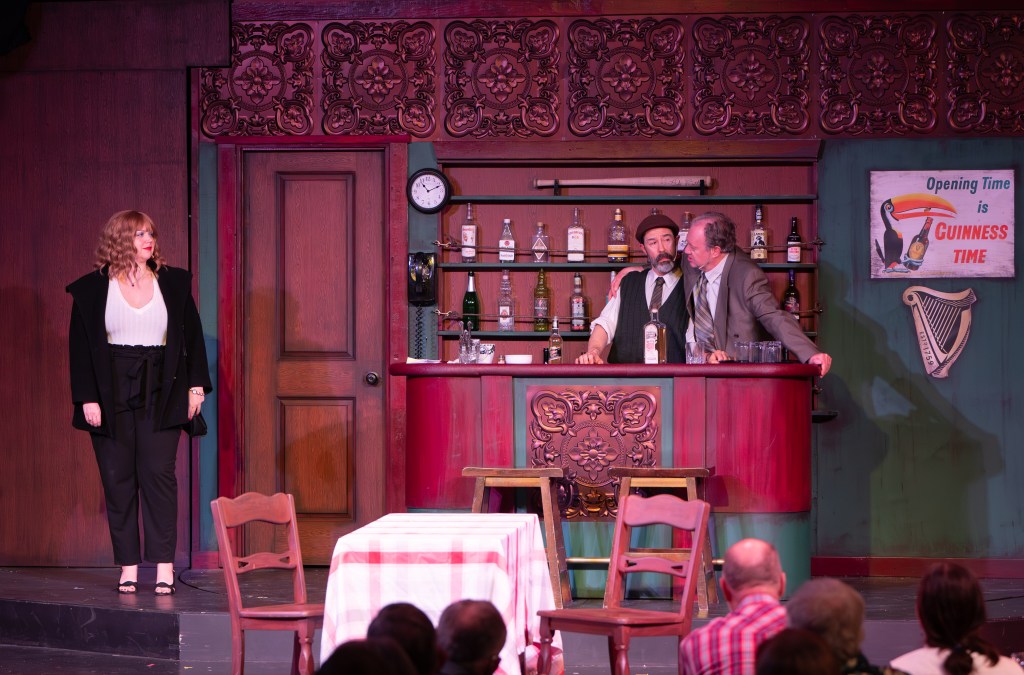
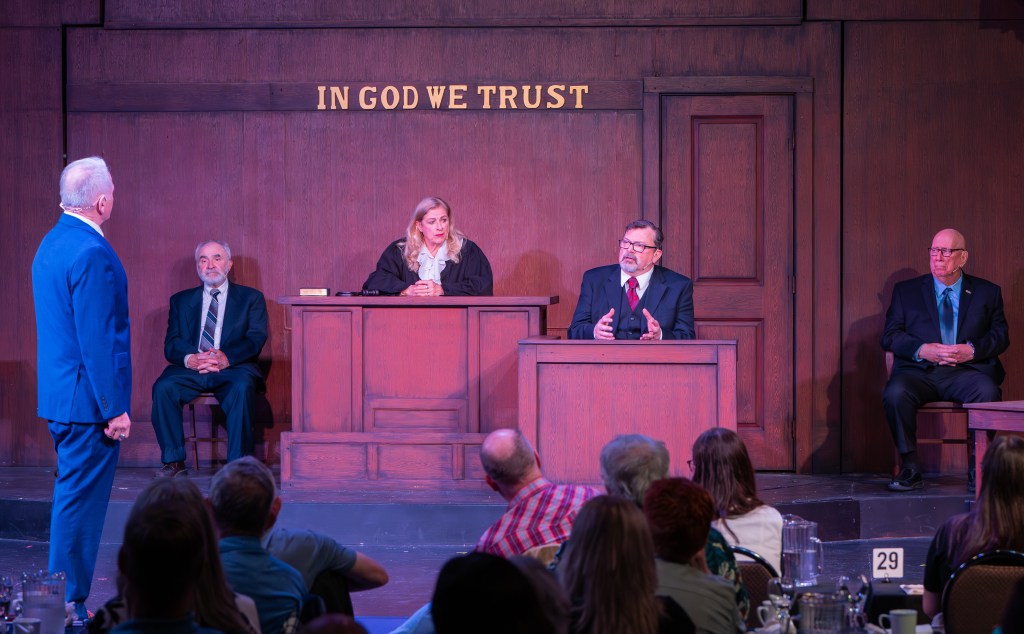
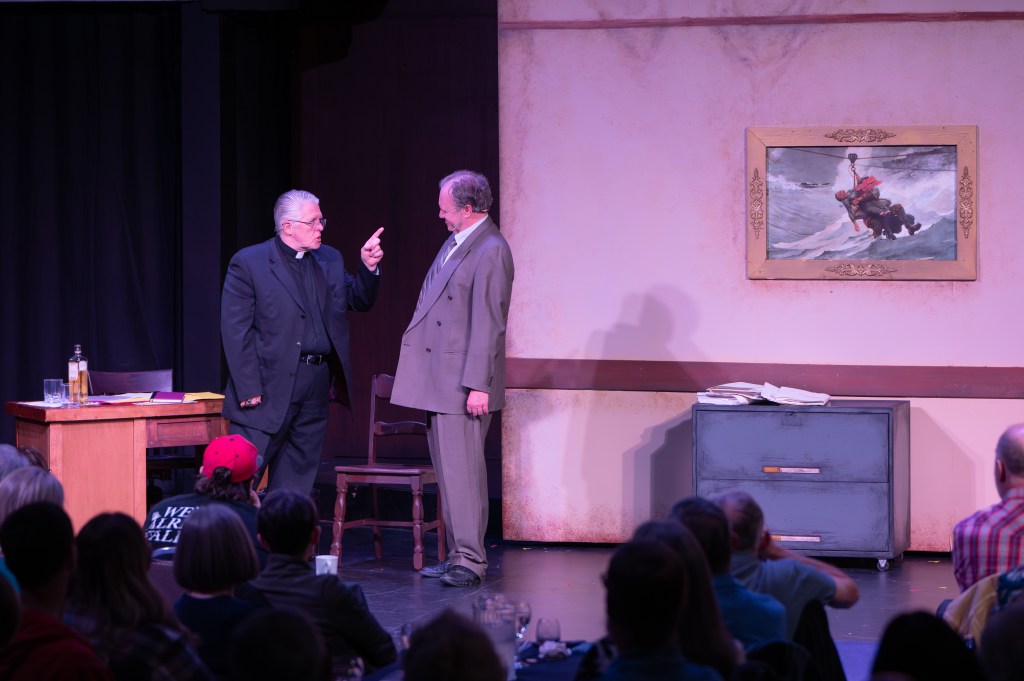
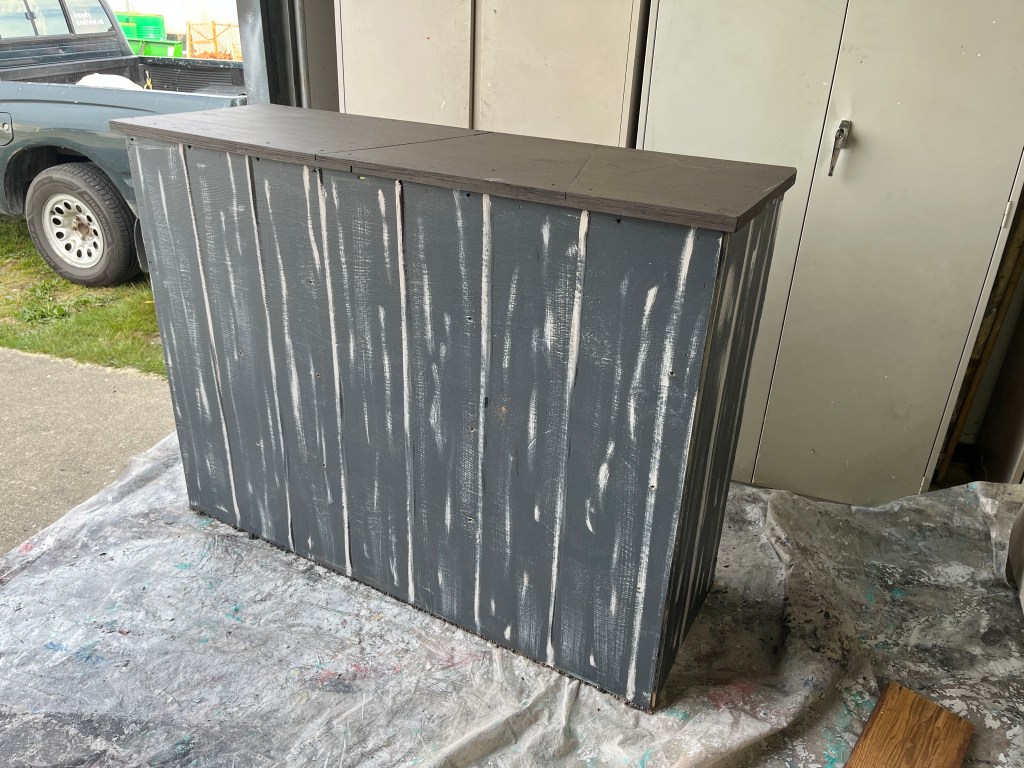
The Verdict played at Theatre in the Country in April. It was a fairly simple set build, I think I was there maybe 5 days, as we were able to repurpose much of the set from Charley’s Aunt and spent more time on painting and set dec than new building. The main 3 scenes were a bar, a courtroom, and an office.
Build photos:
Some production photos (c) by Shannon Pauls:
Director: Simon Challenger; Set Designer: Reg Parks; Set Painter: Lori Rippin
It was a well-done show, great characters and acting.
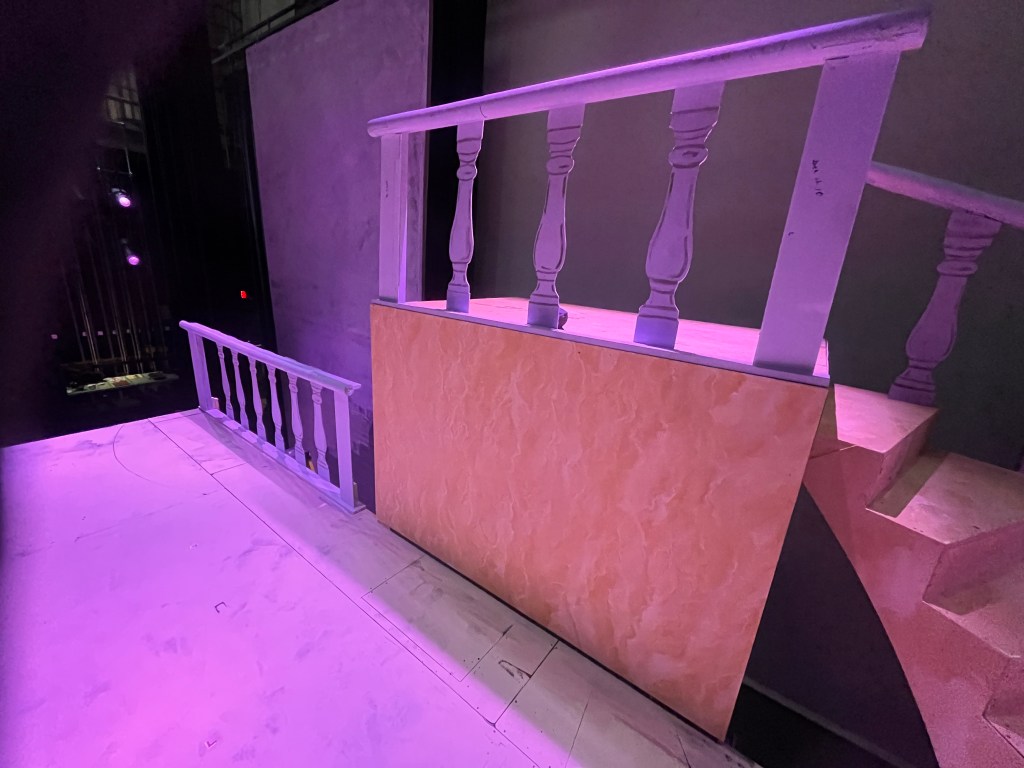
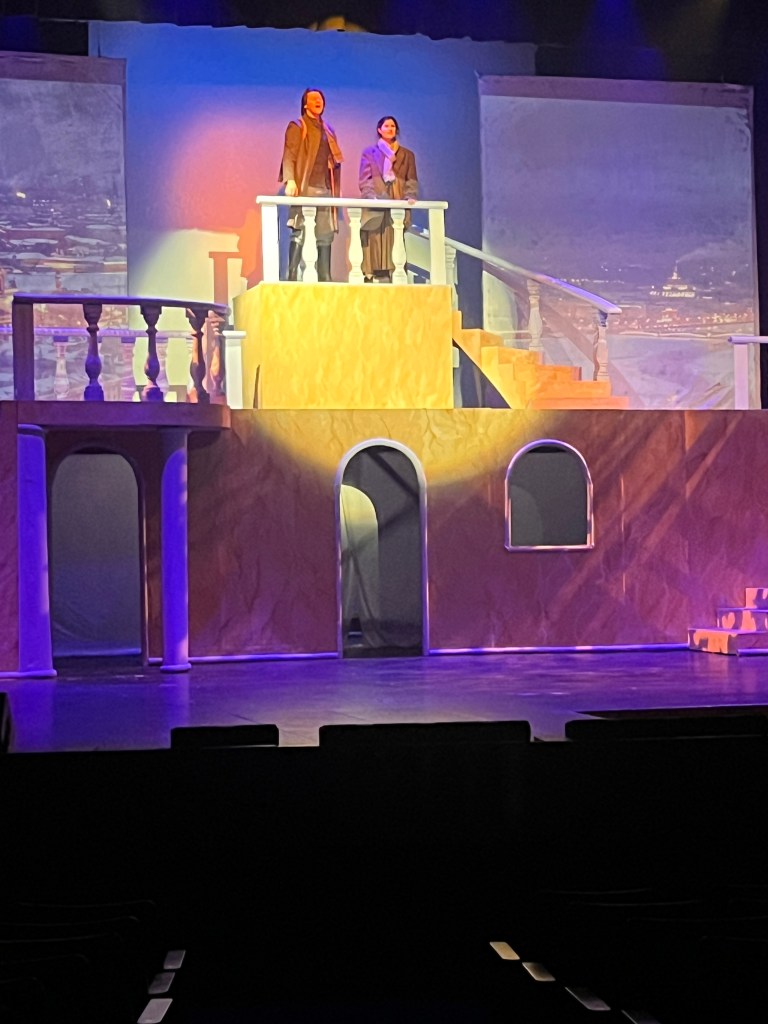
Anastasia closed recently at Gallery 7 Theatre. Here are a few build pics. It was a large set with lots of locations; despite being enhanced by projections there was still a large set stretching across the stage.
Set was designed by Hayley Bamford and was built by me, with help from several volunteers.
Load in Day came and went and we got everything together and painted. The 11-foot high truck with curved stairs attached worked better than expected. Re-painting the 12- and 18-foot high screens took a lot of my time (to help the projections pop better).
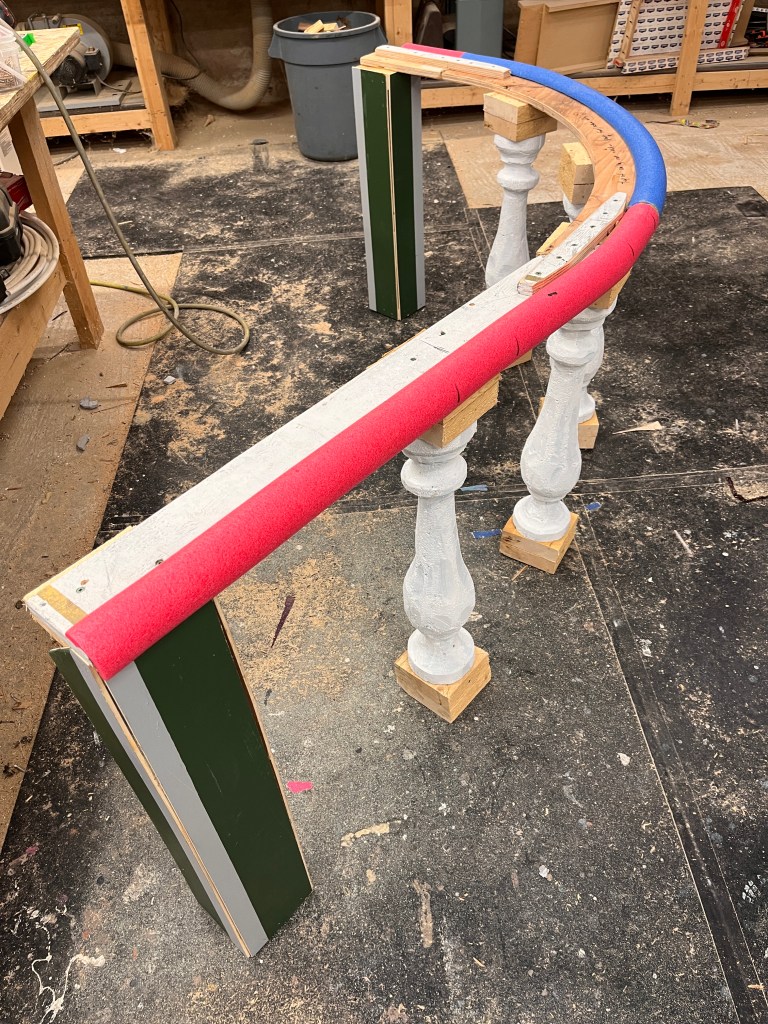
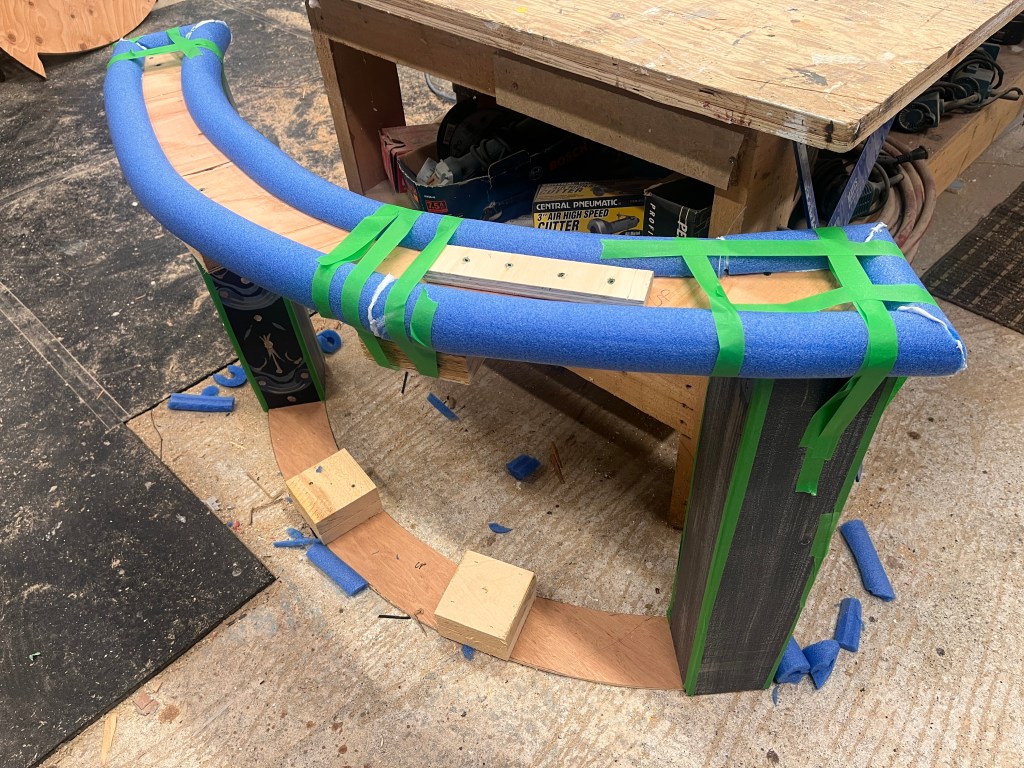
Here is a video I made for Gallery 7 about the process of carving custom foam balusters for Anastasia railings. Most of it focuses on the work of my dad, Chris, who did the lion’s share of the work. (Note: set design and painting was done by Hayley Bamford.)
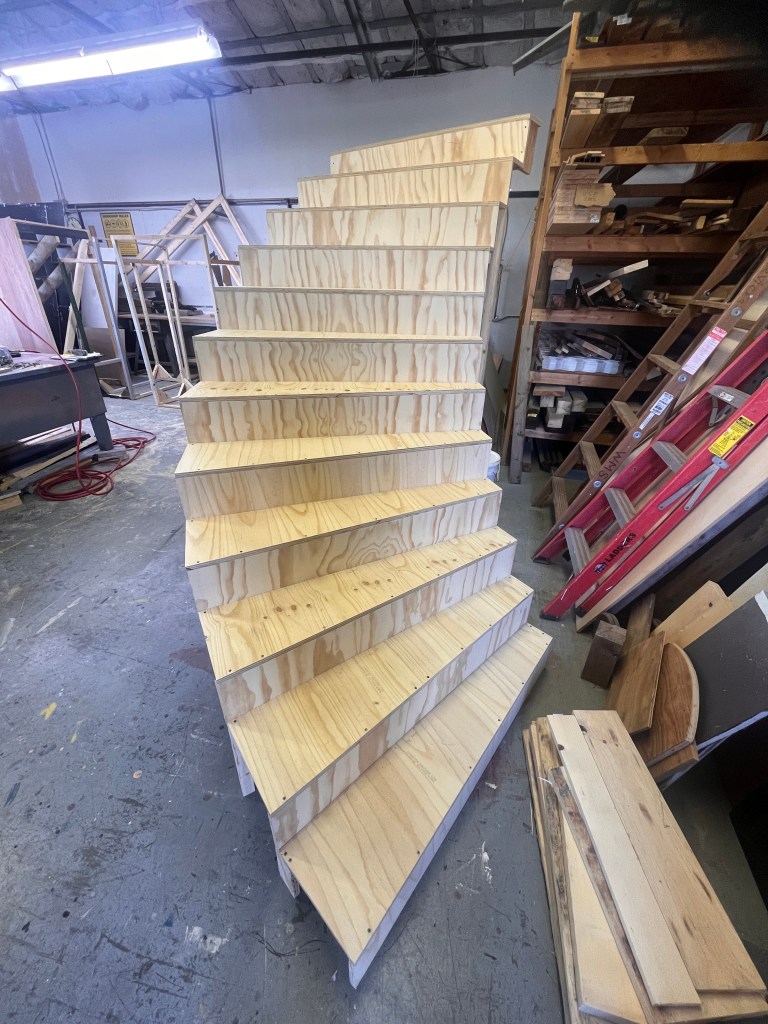
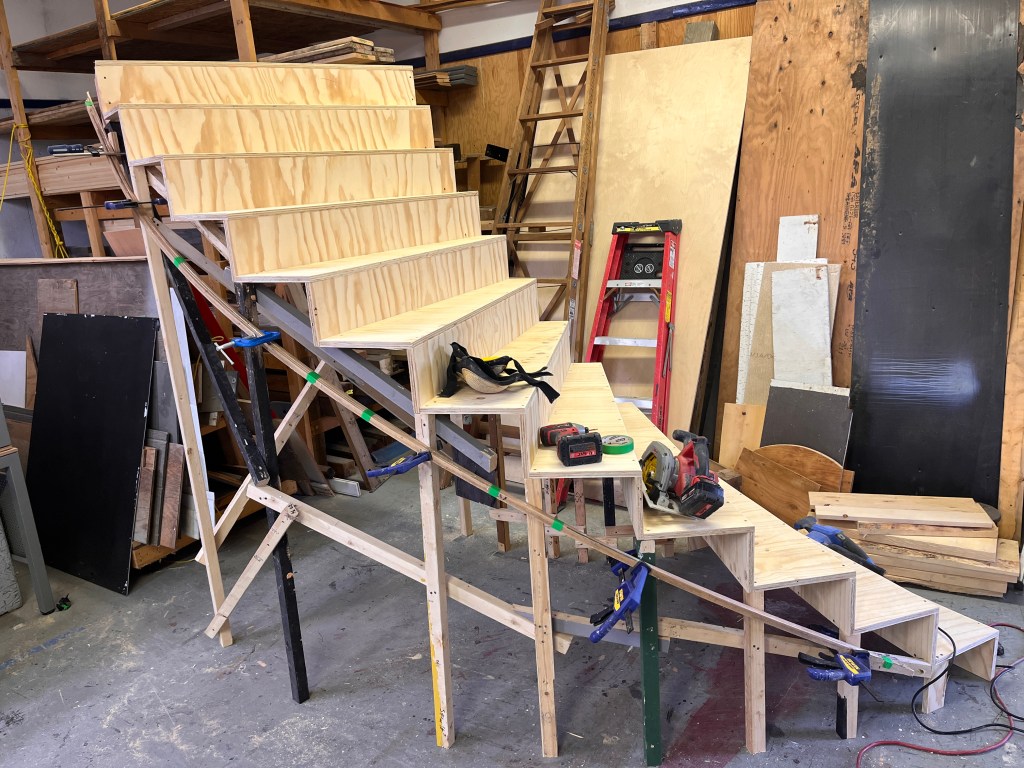
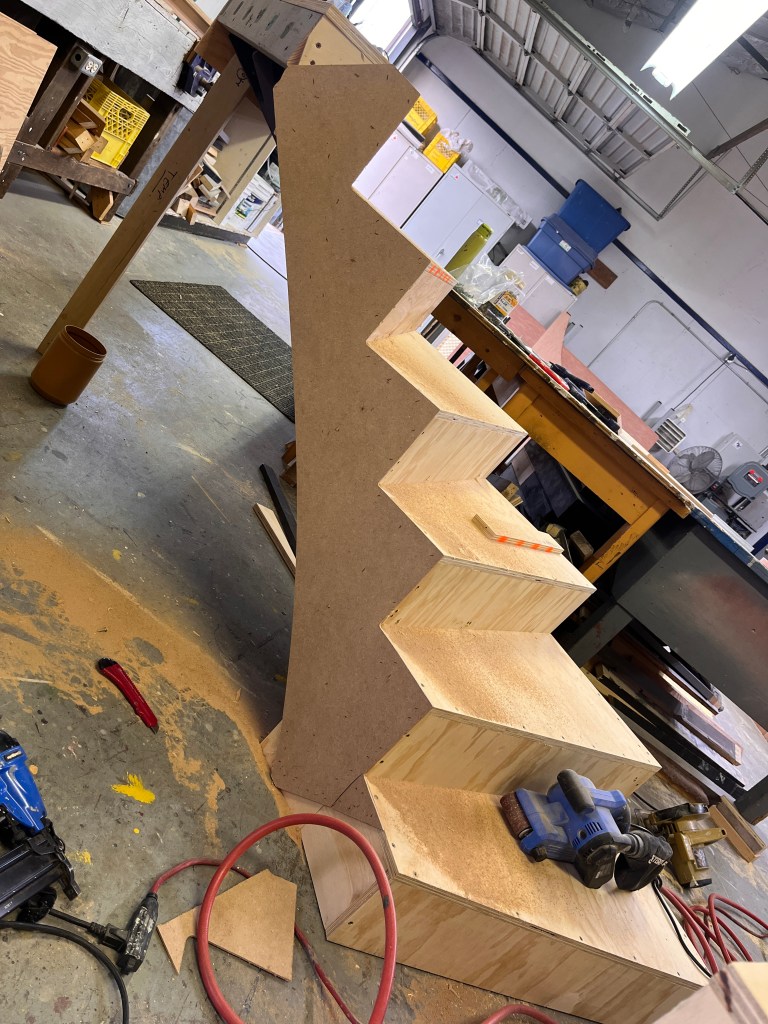
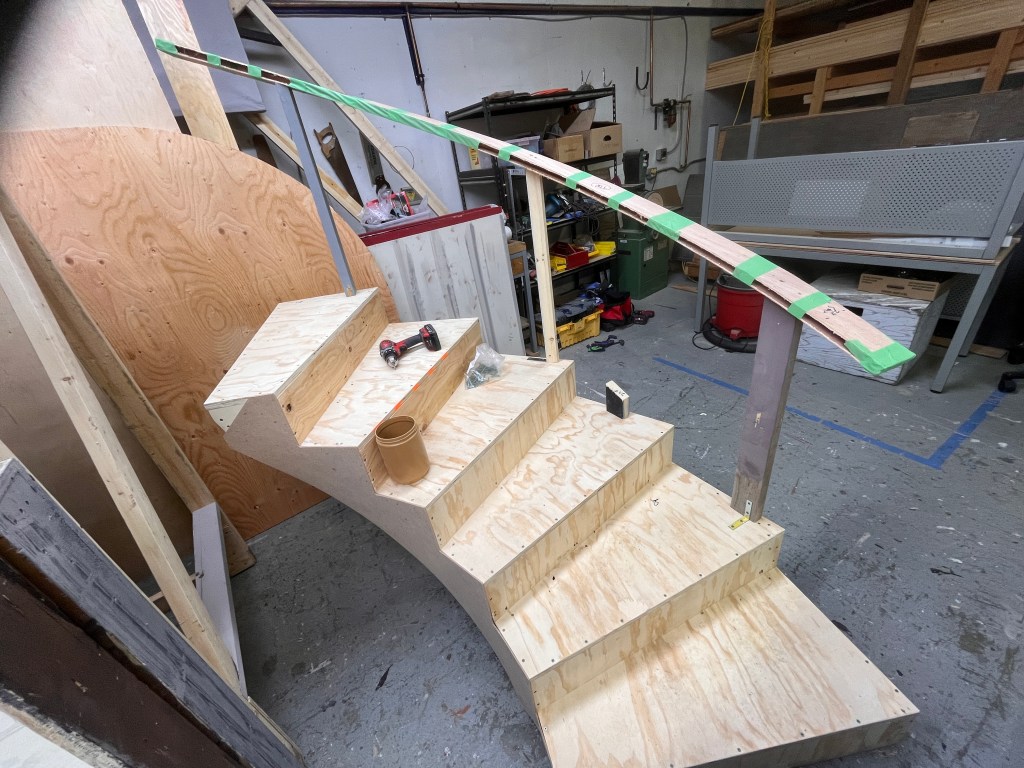
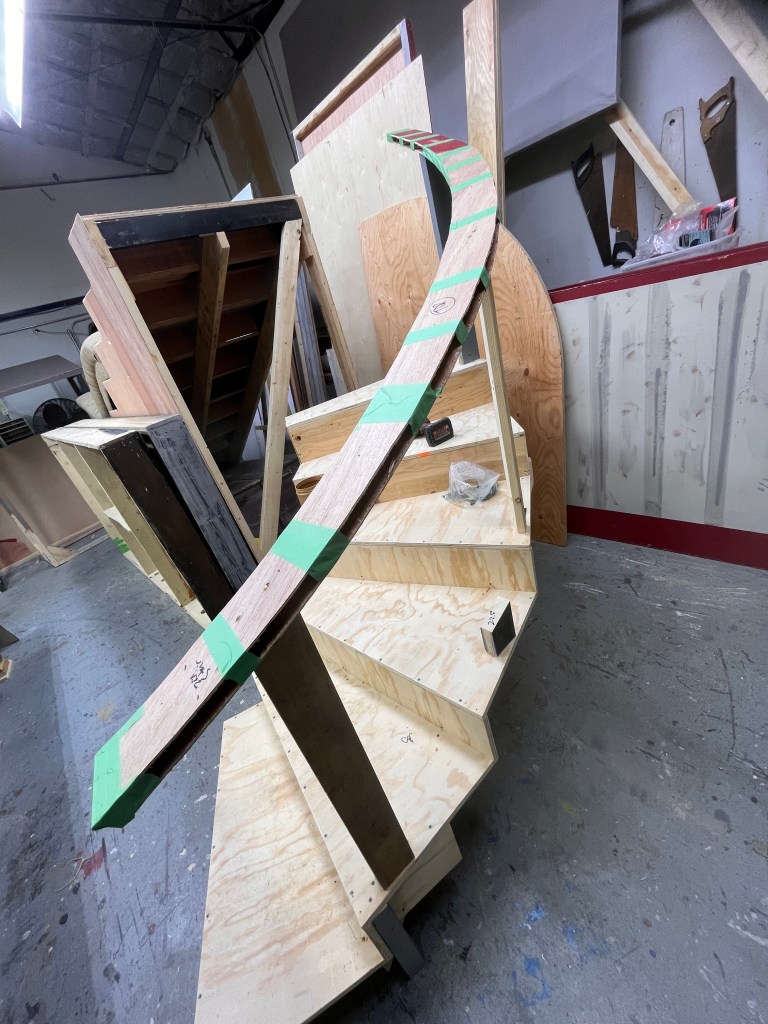
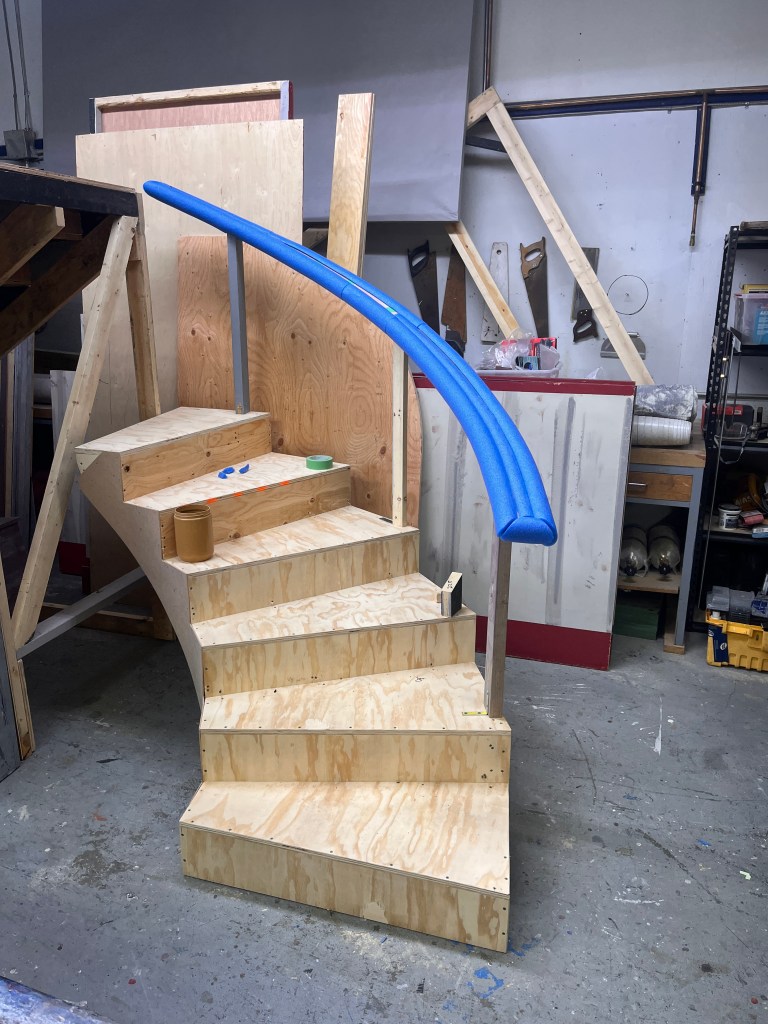
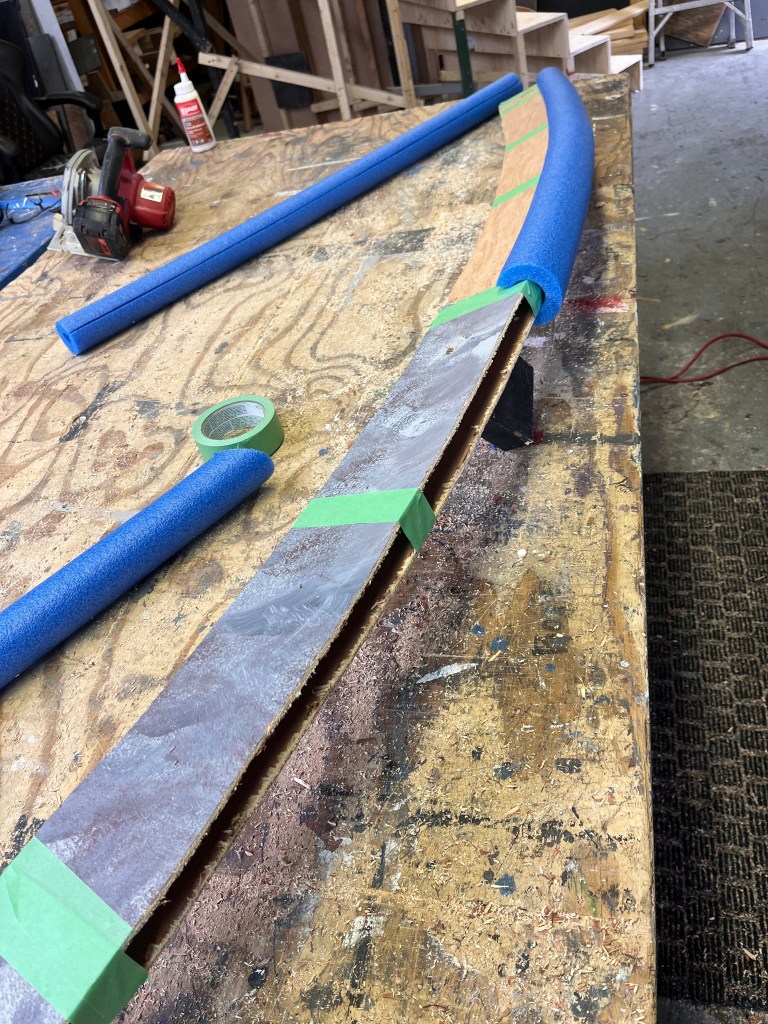
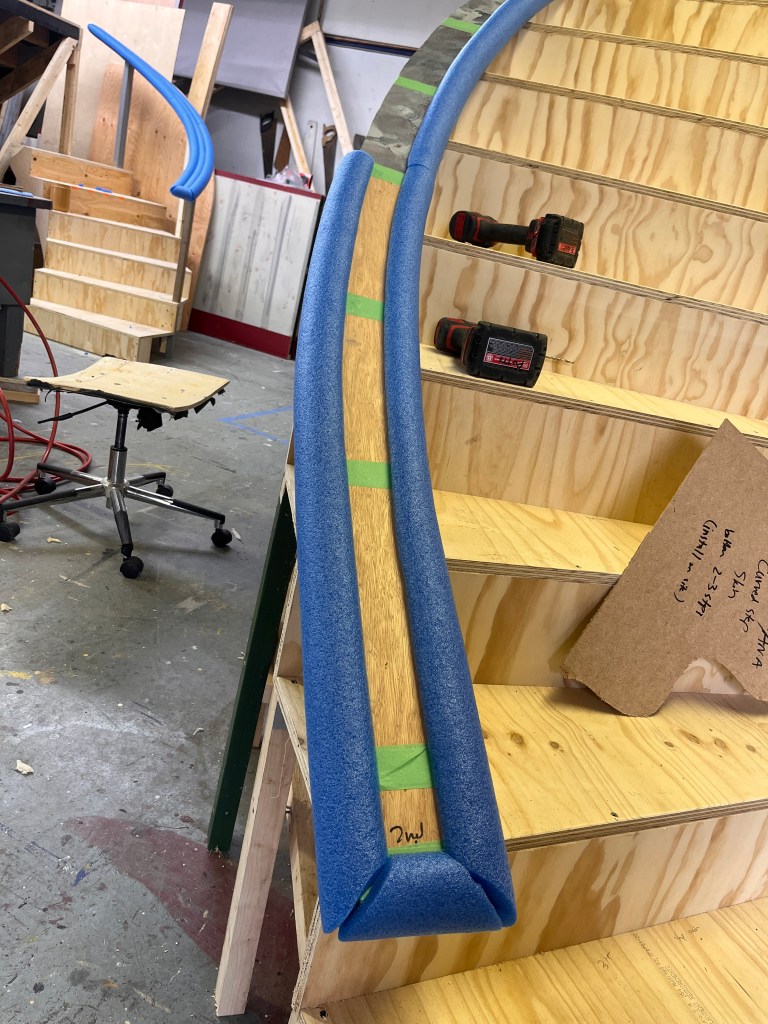
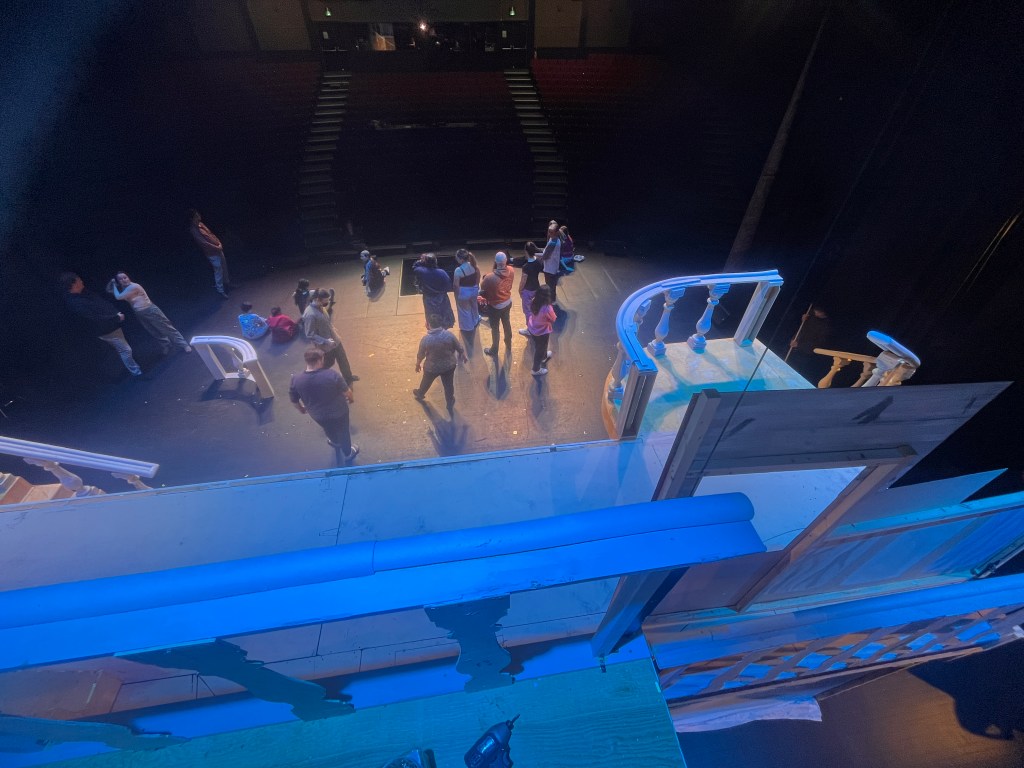
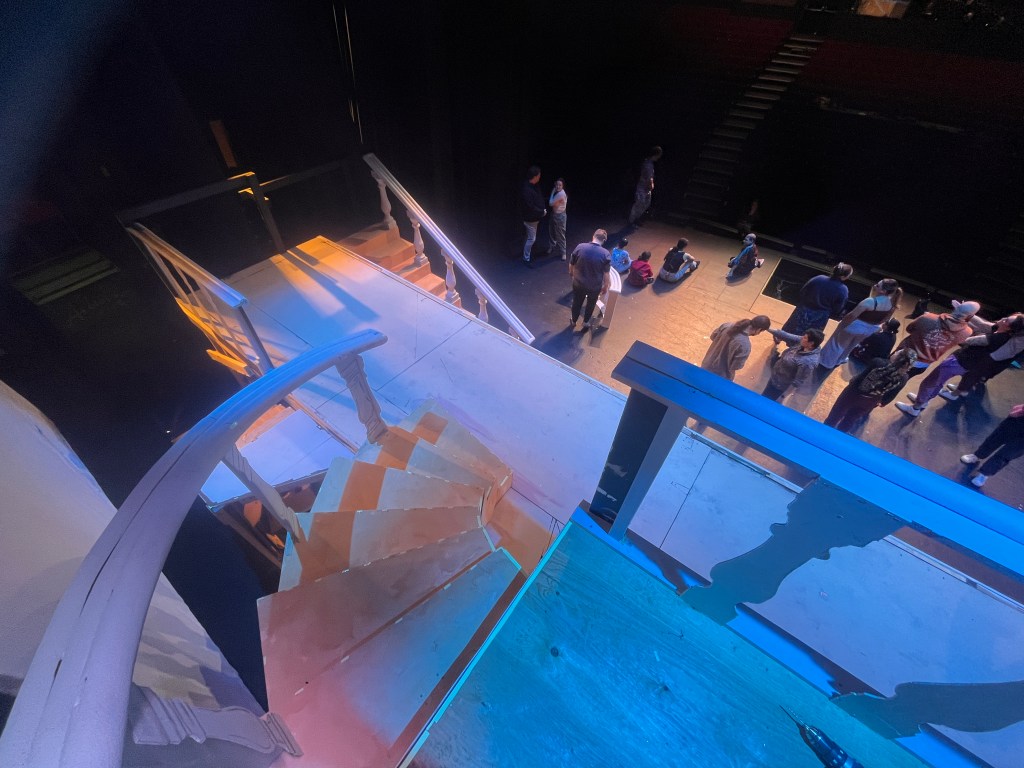
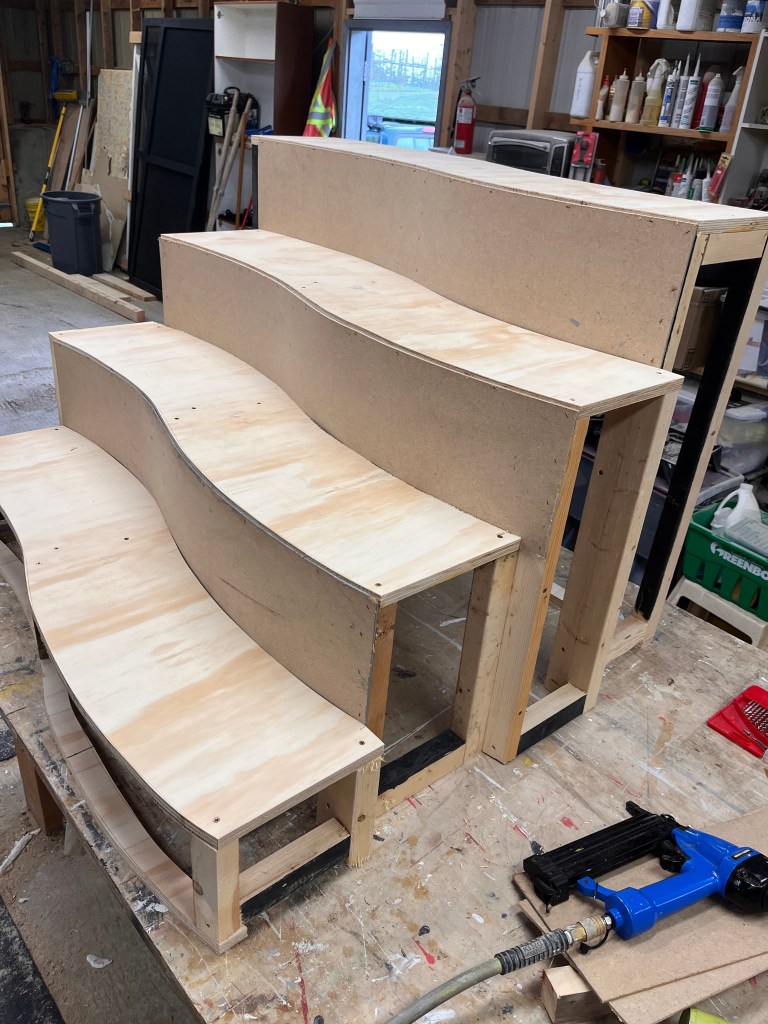
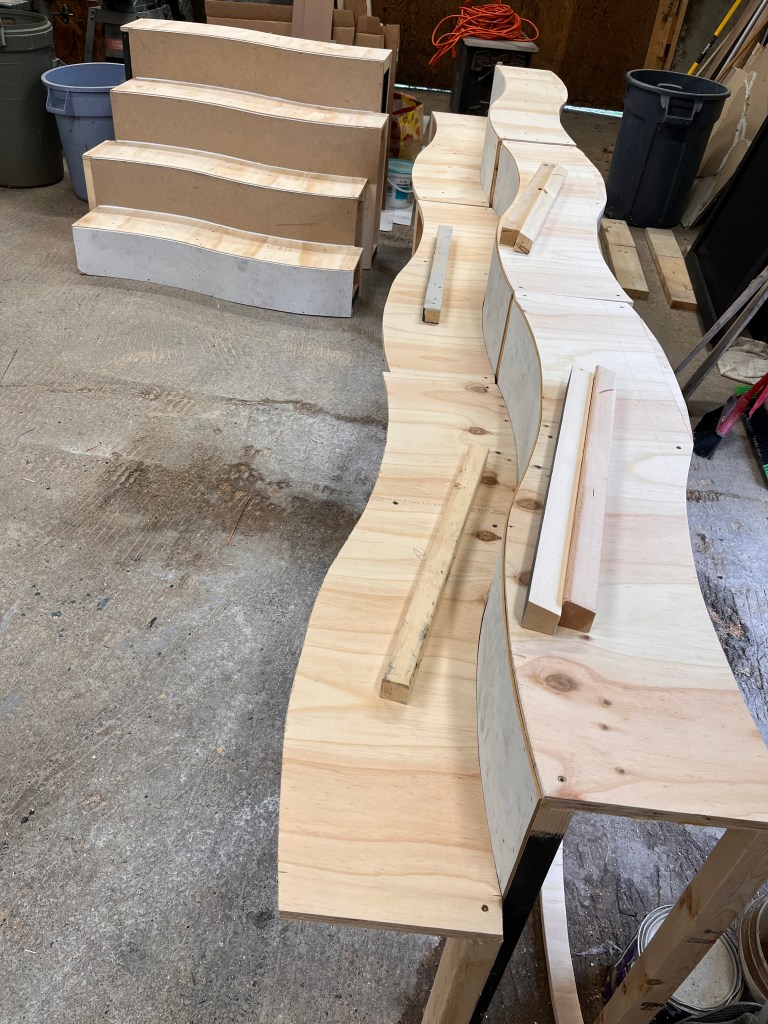
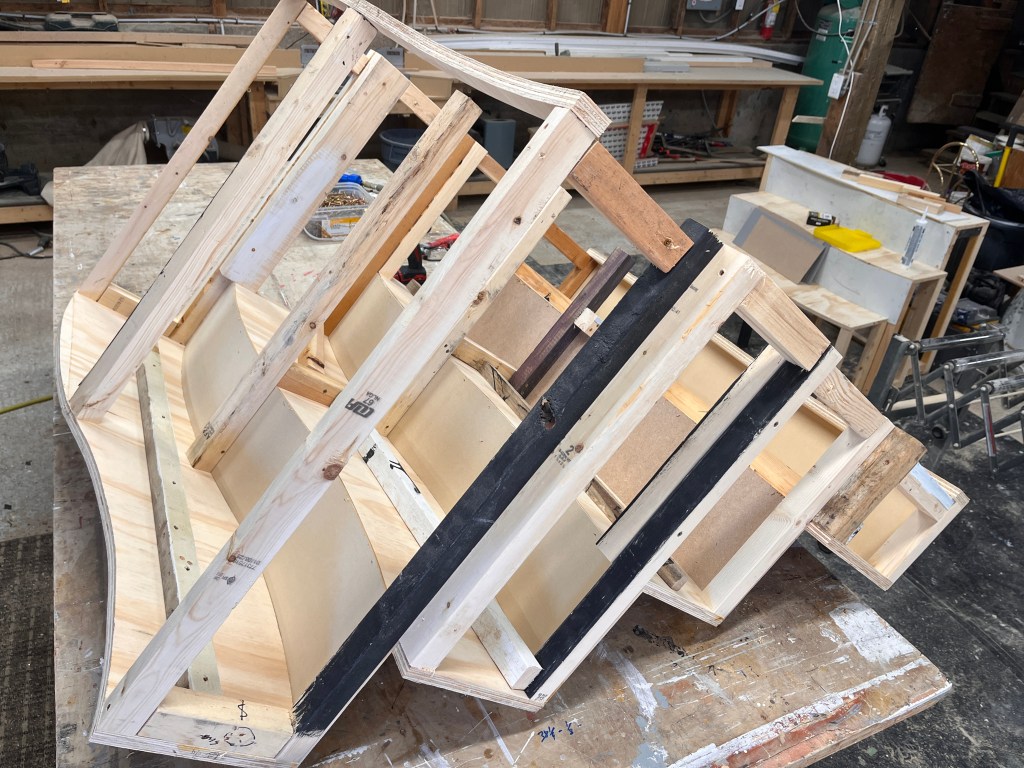
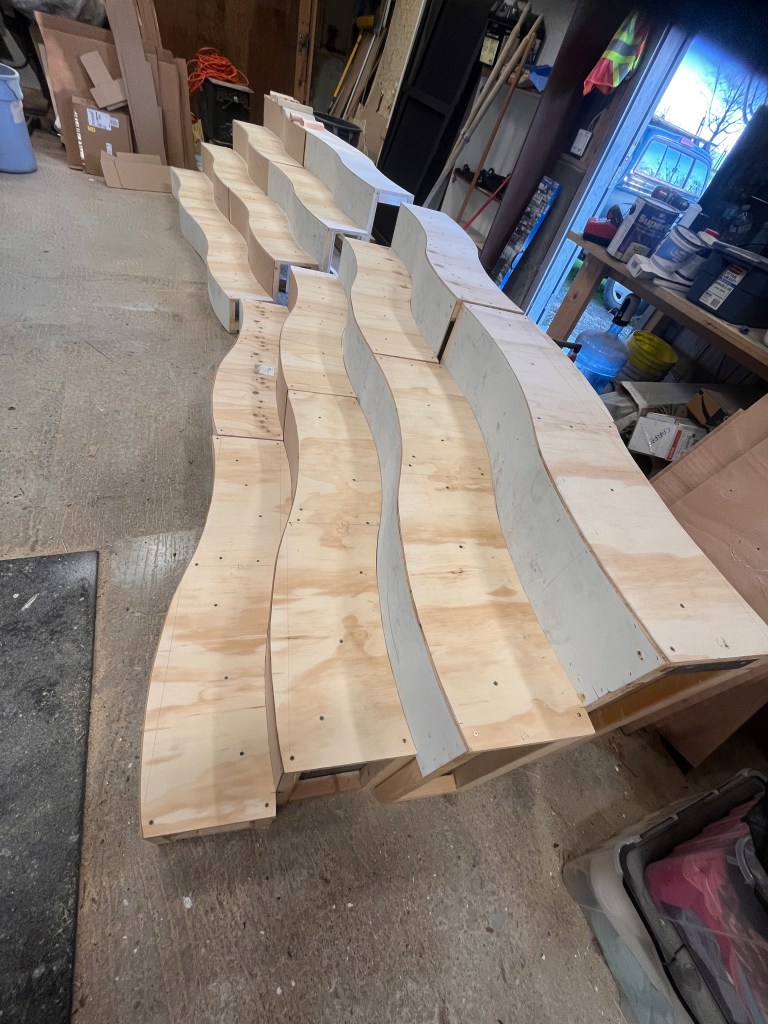
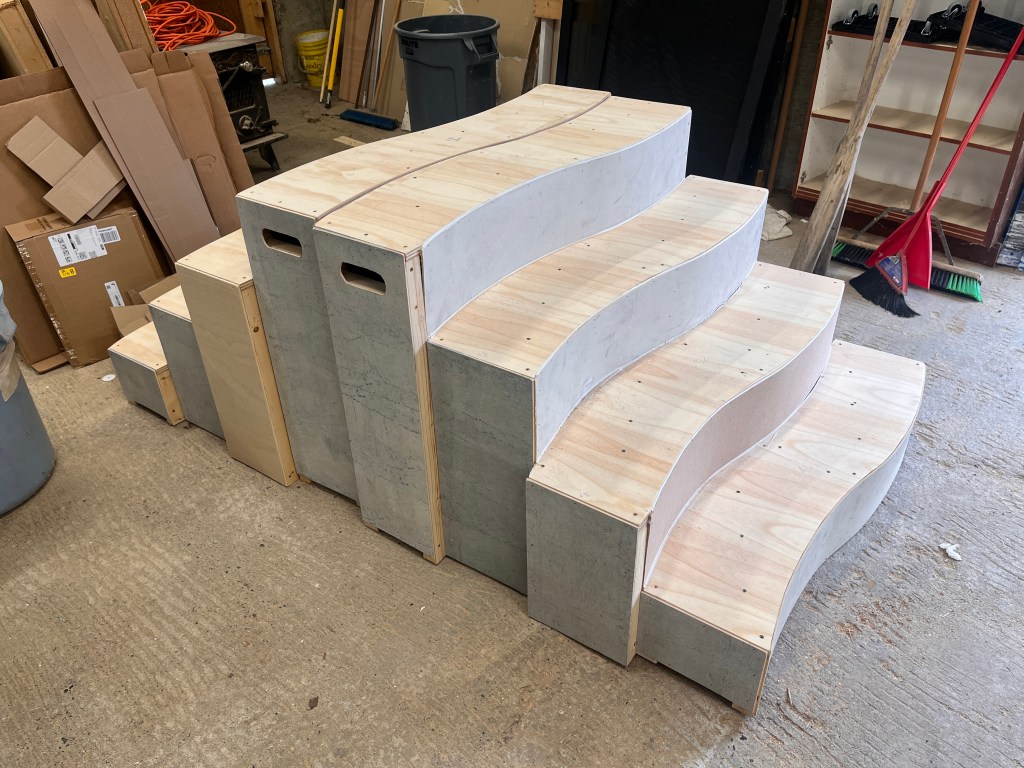
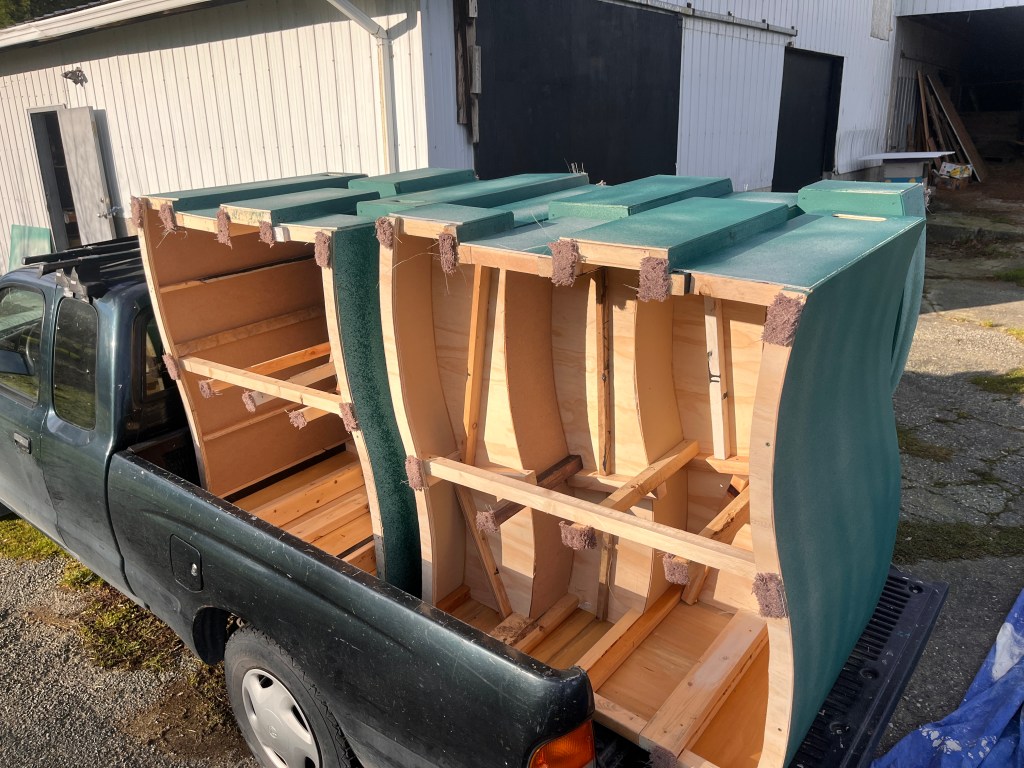
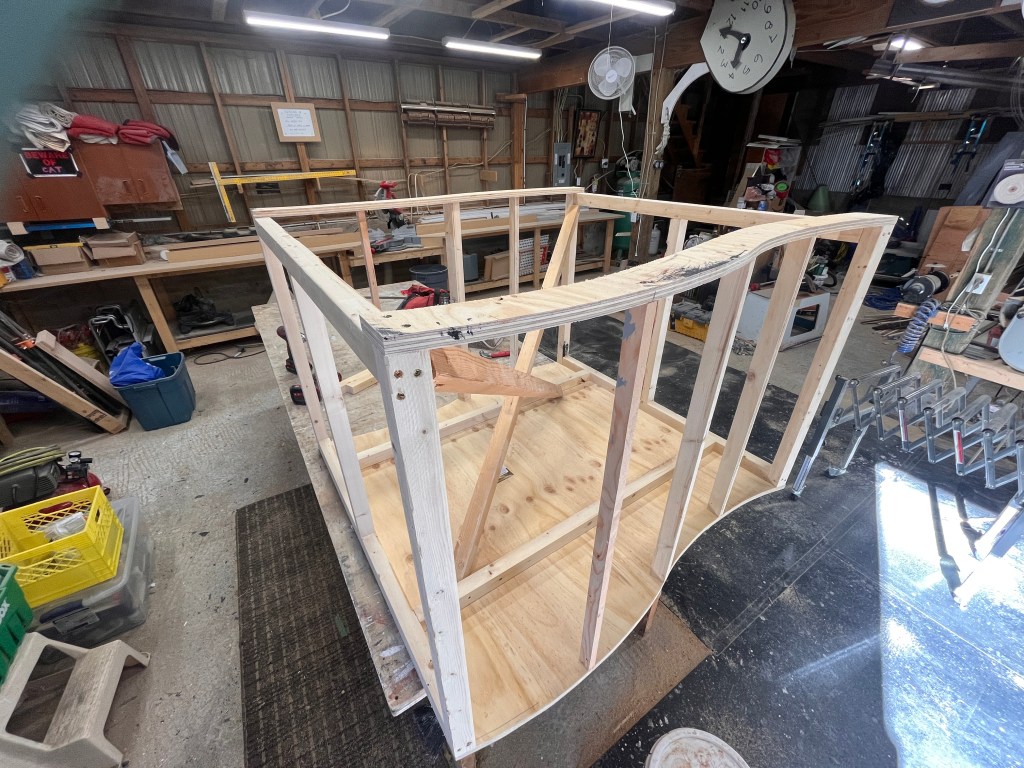
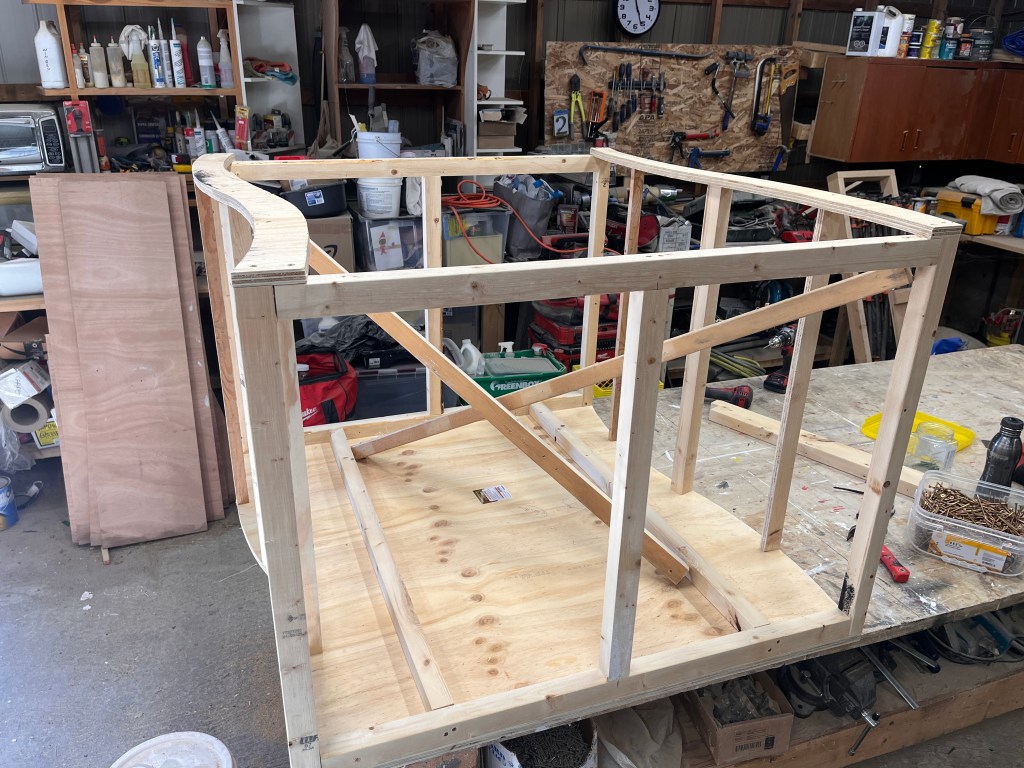
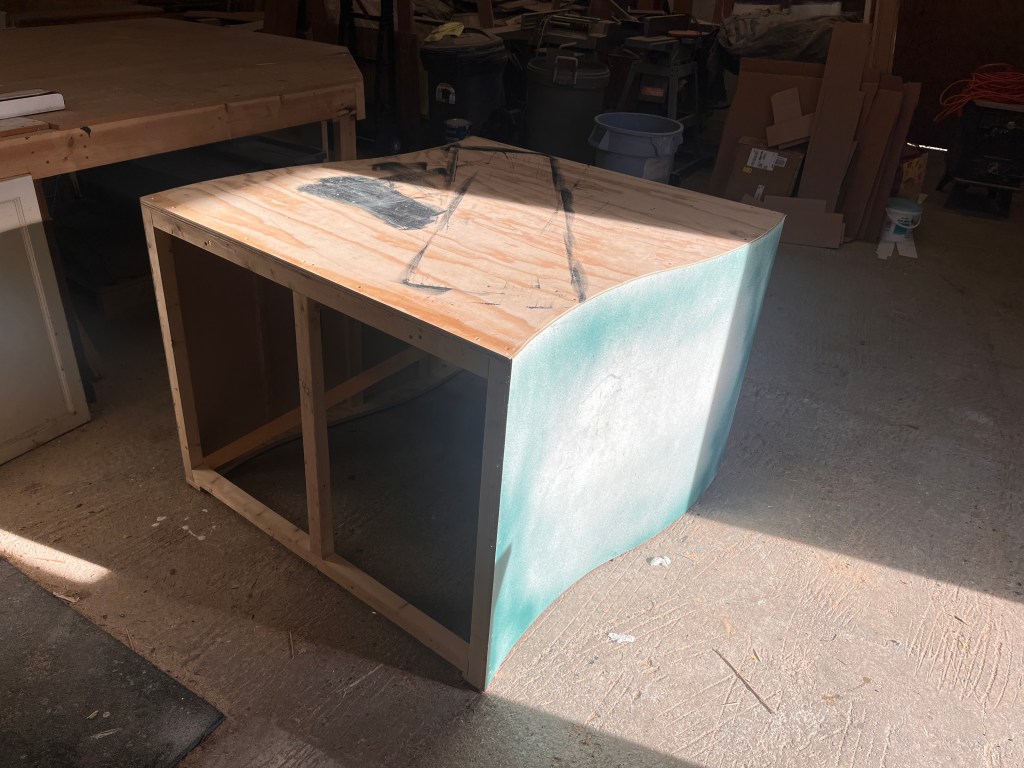
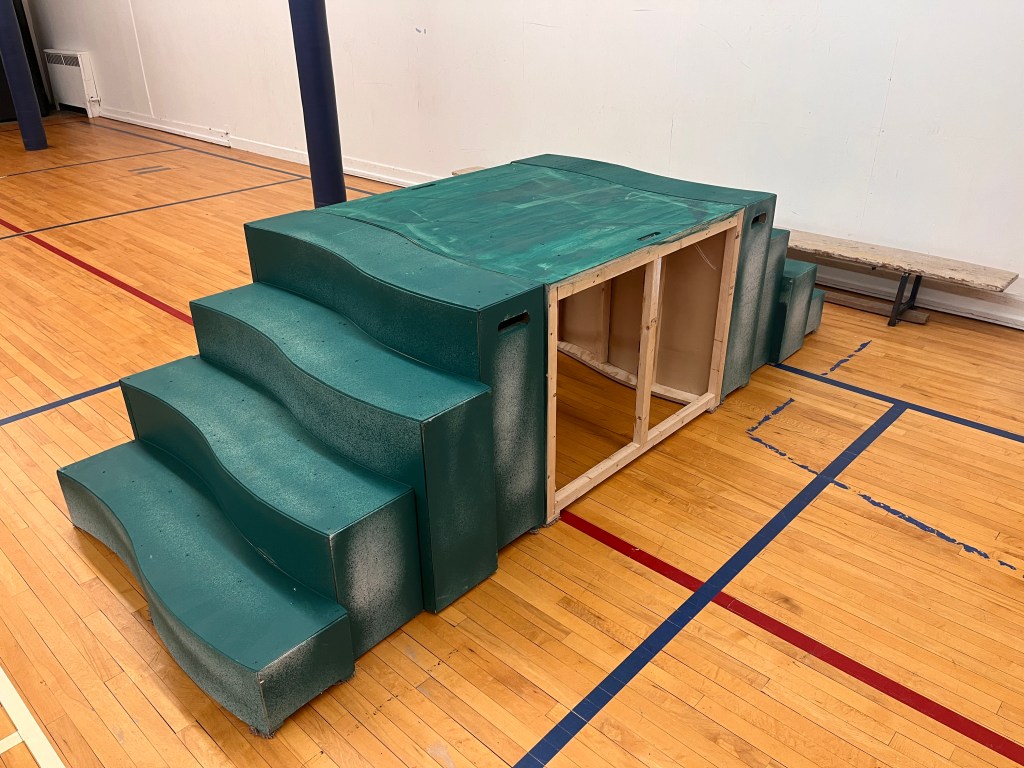
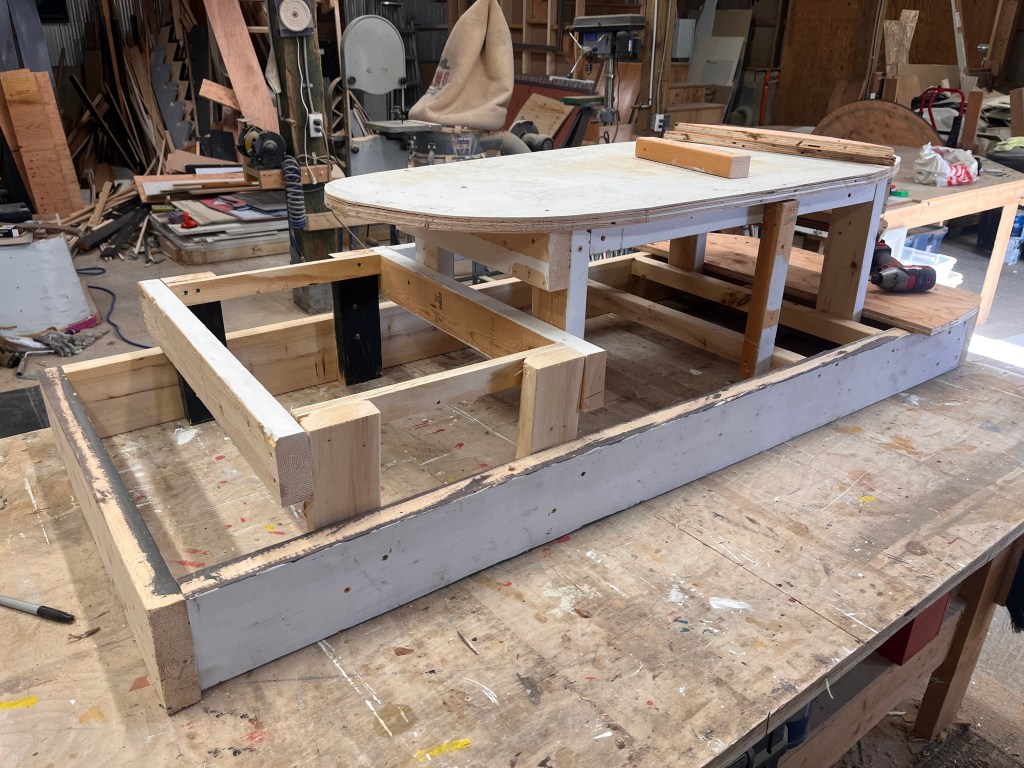
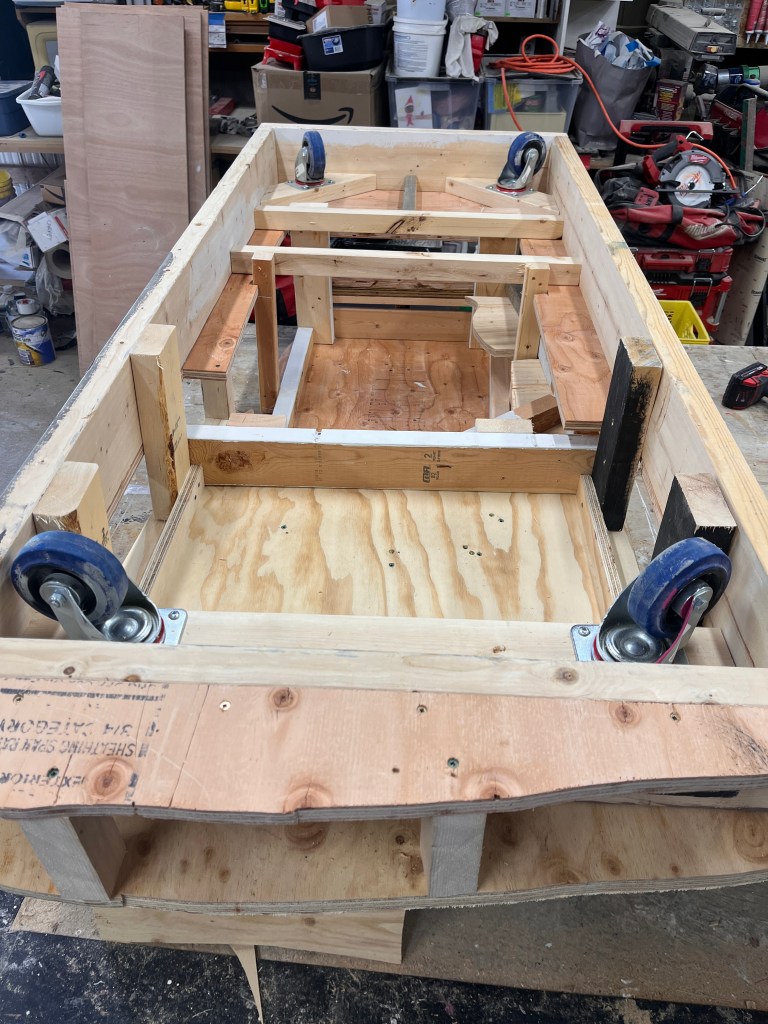
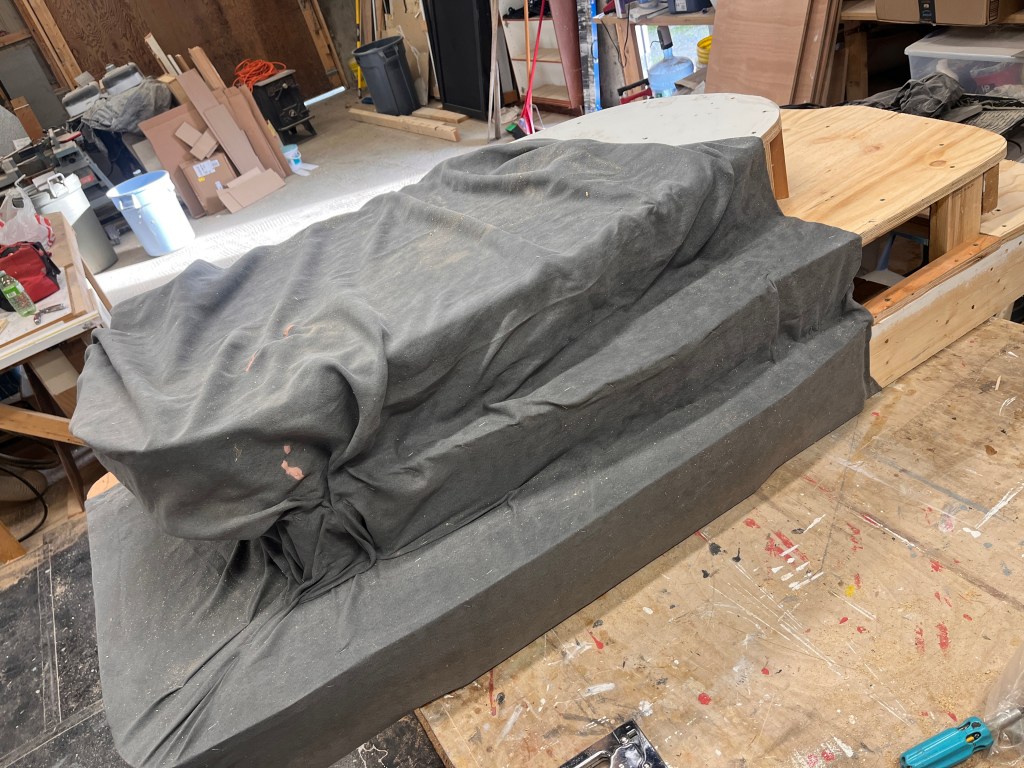
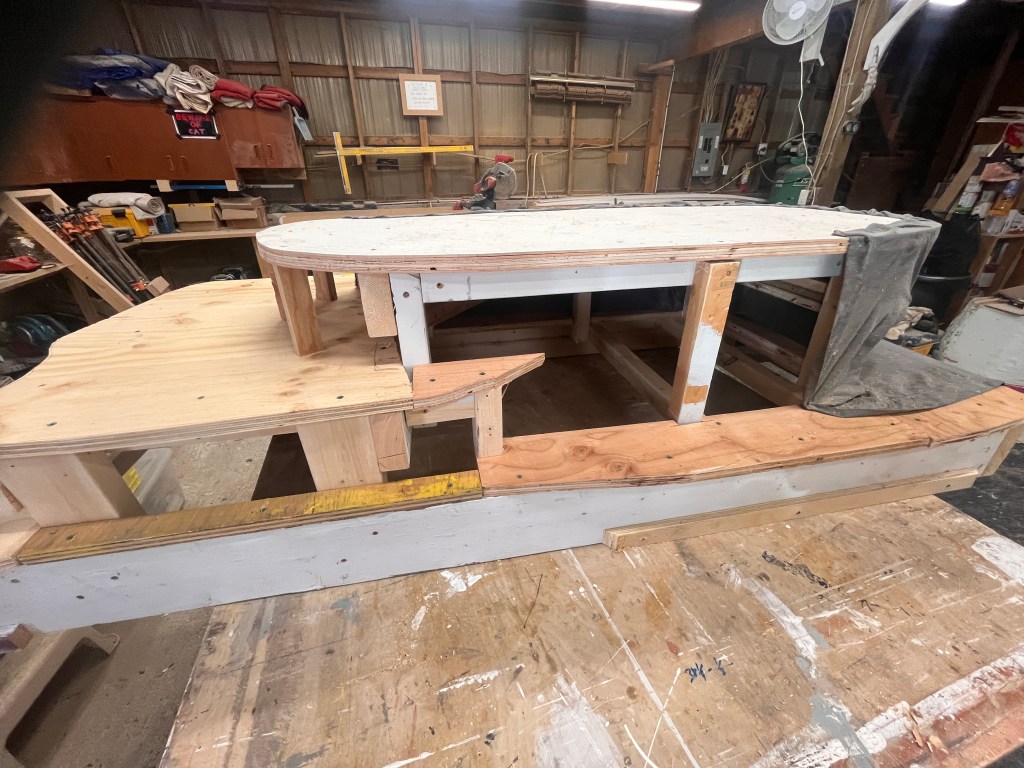
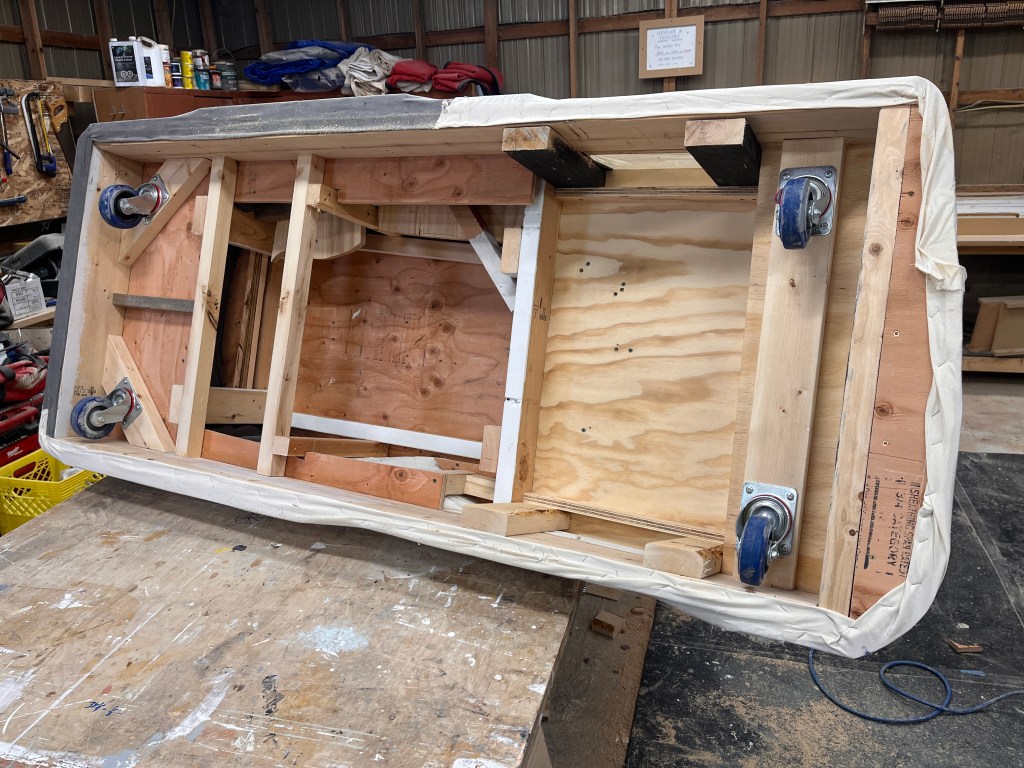
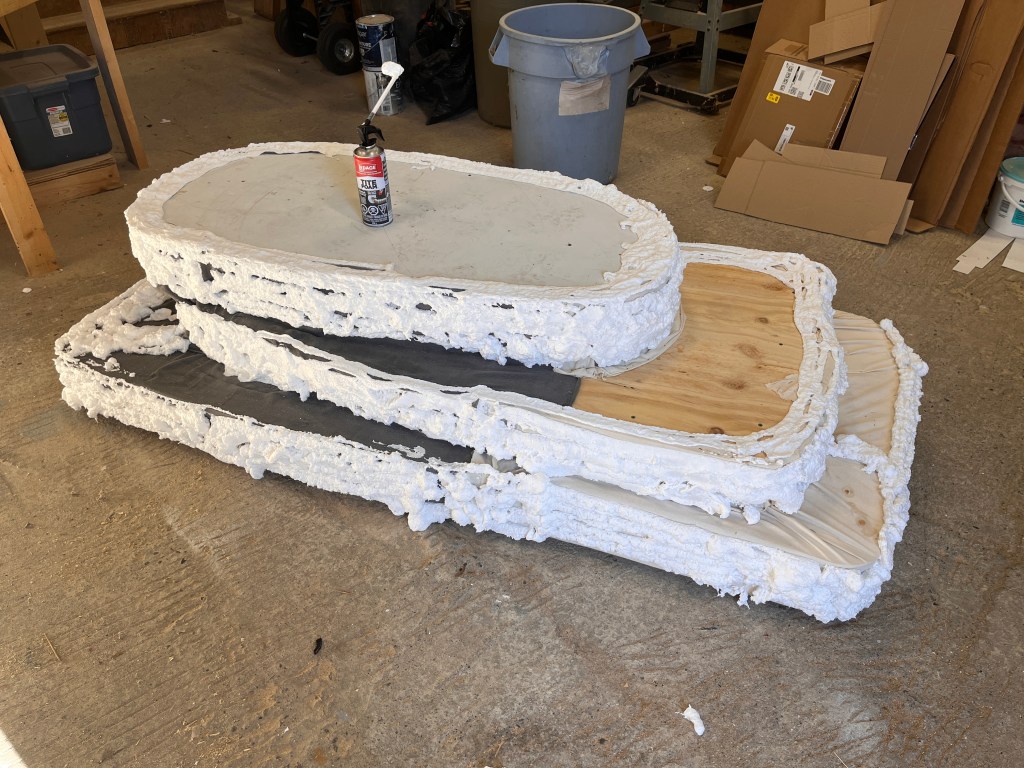
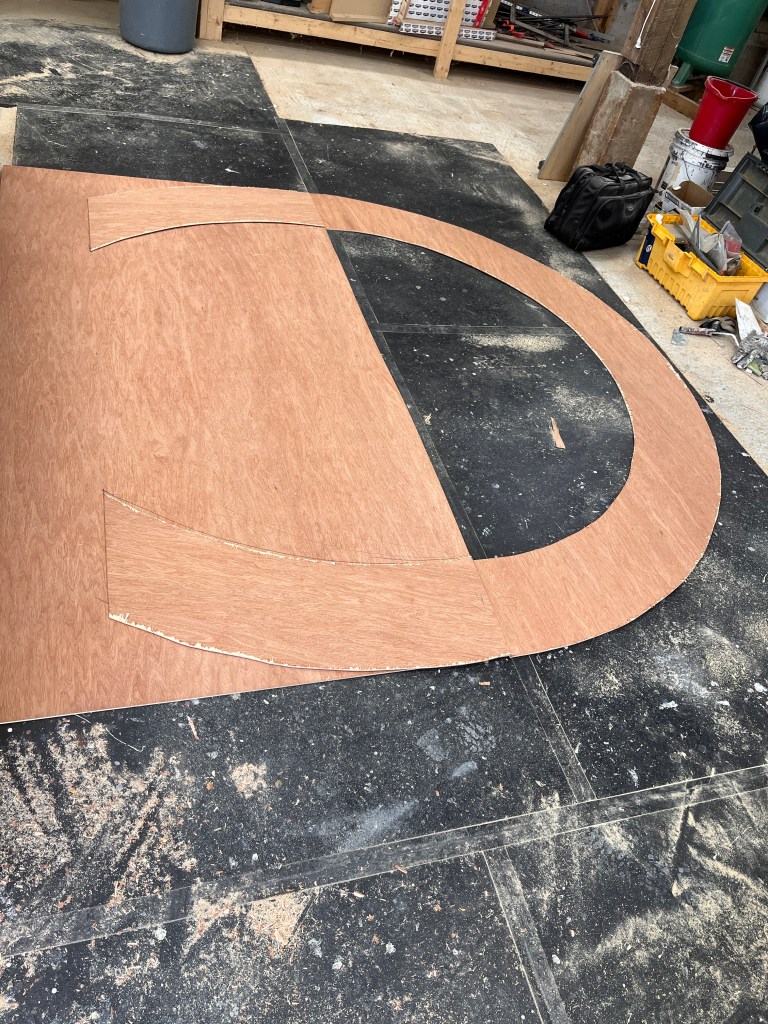
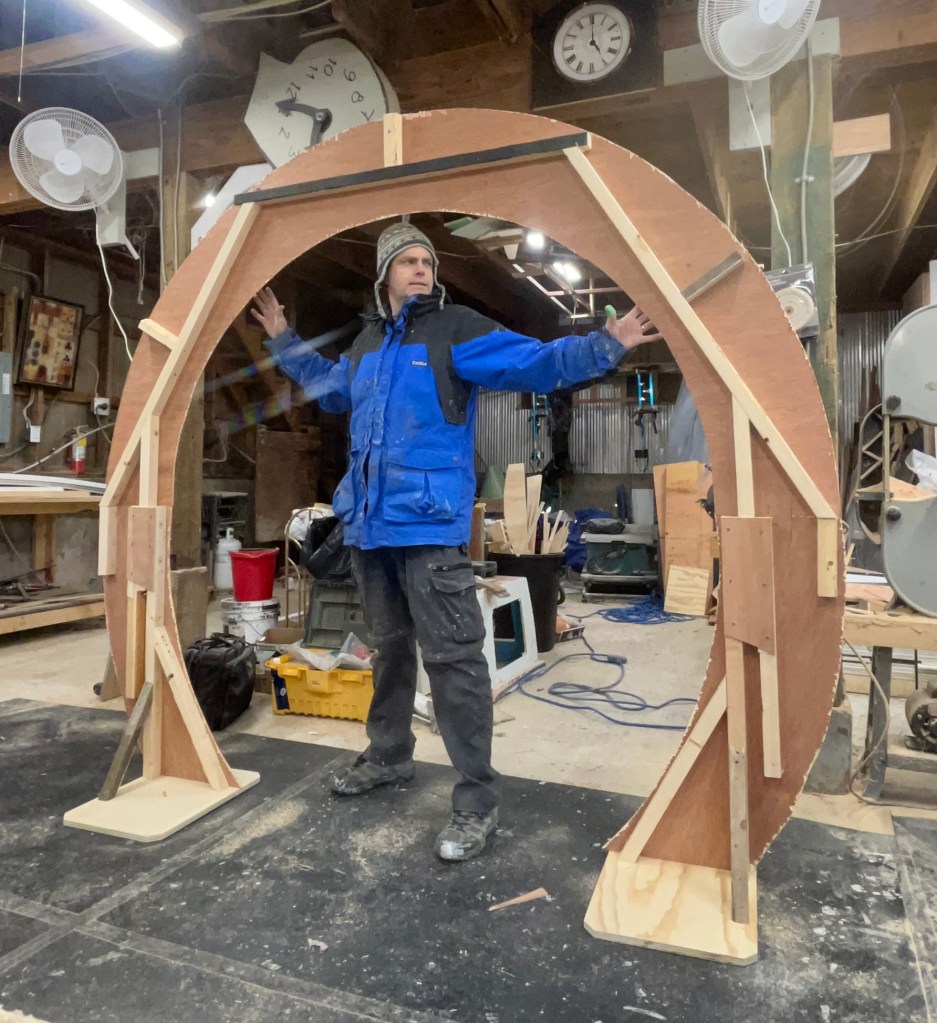
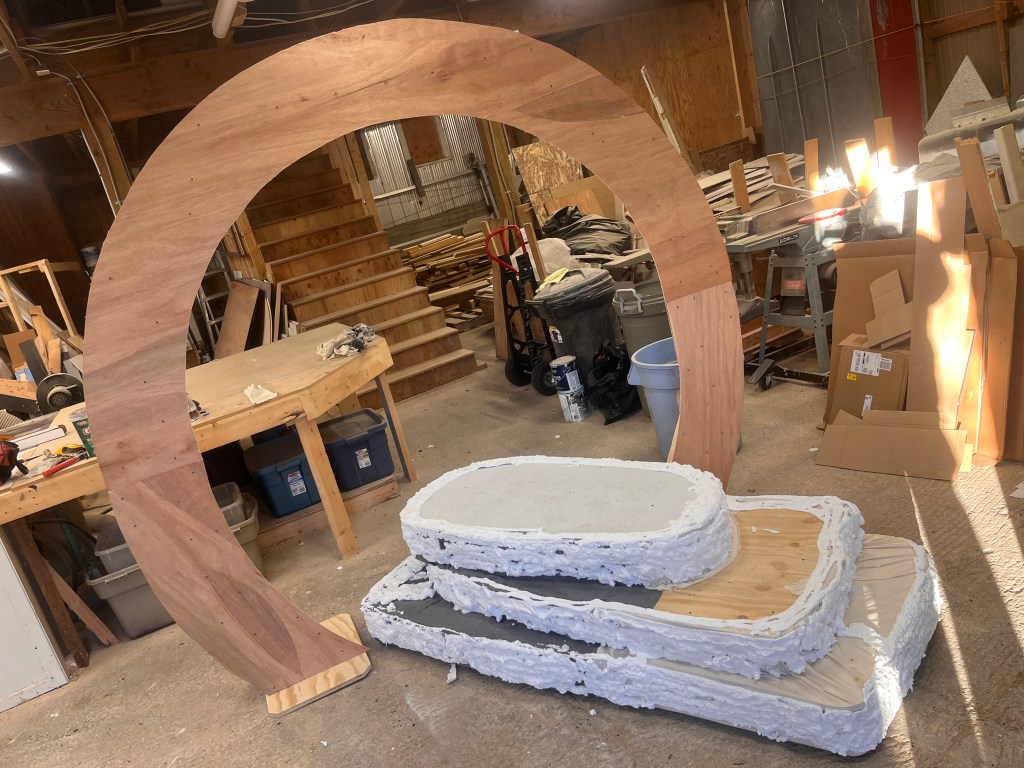
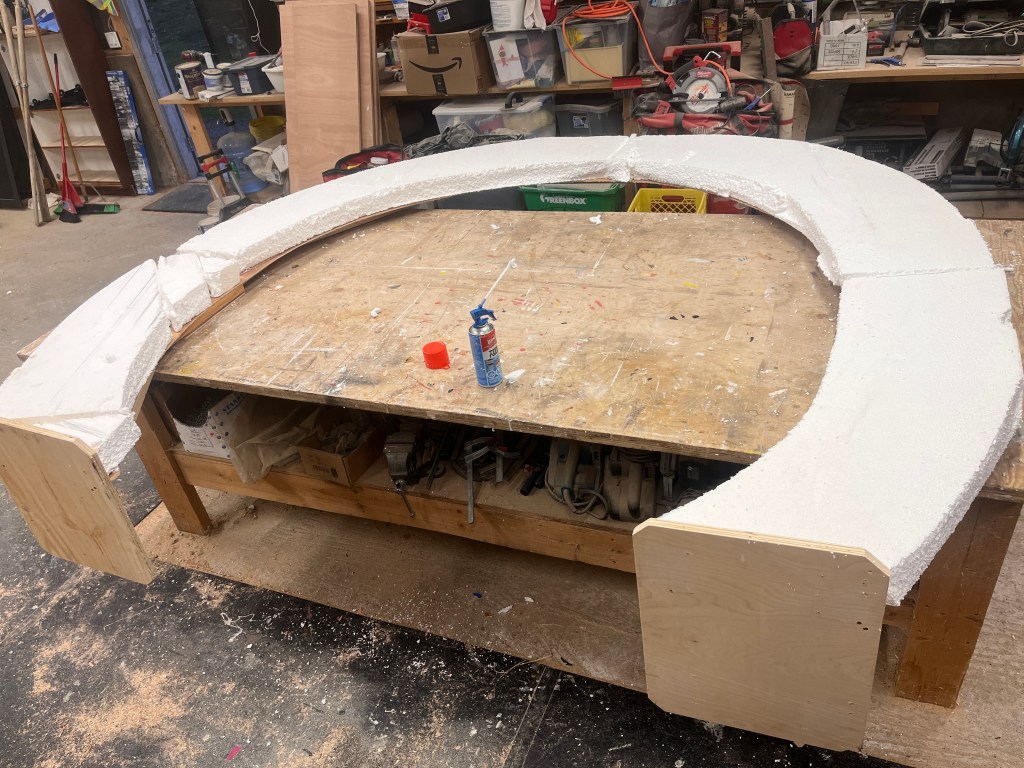
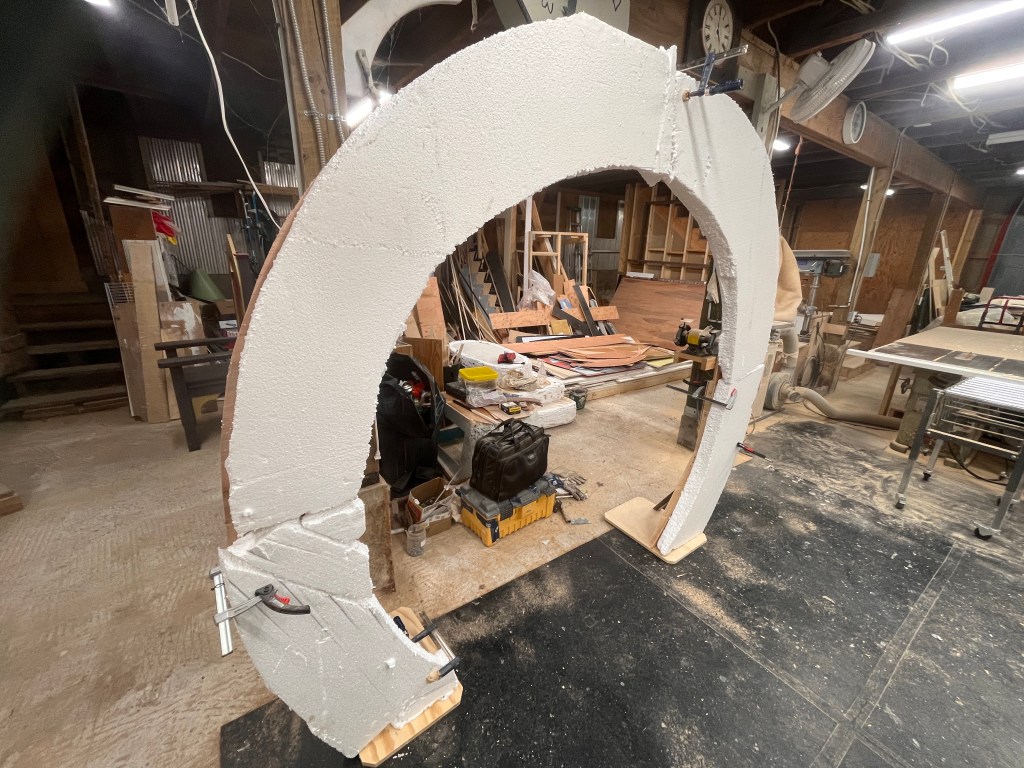
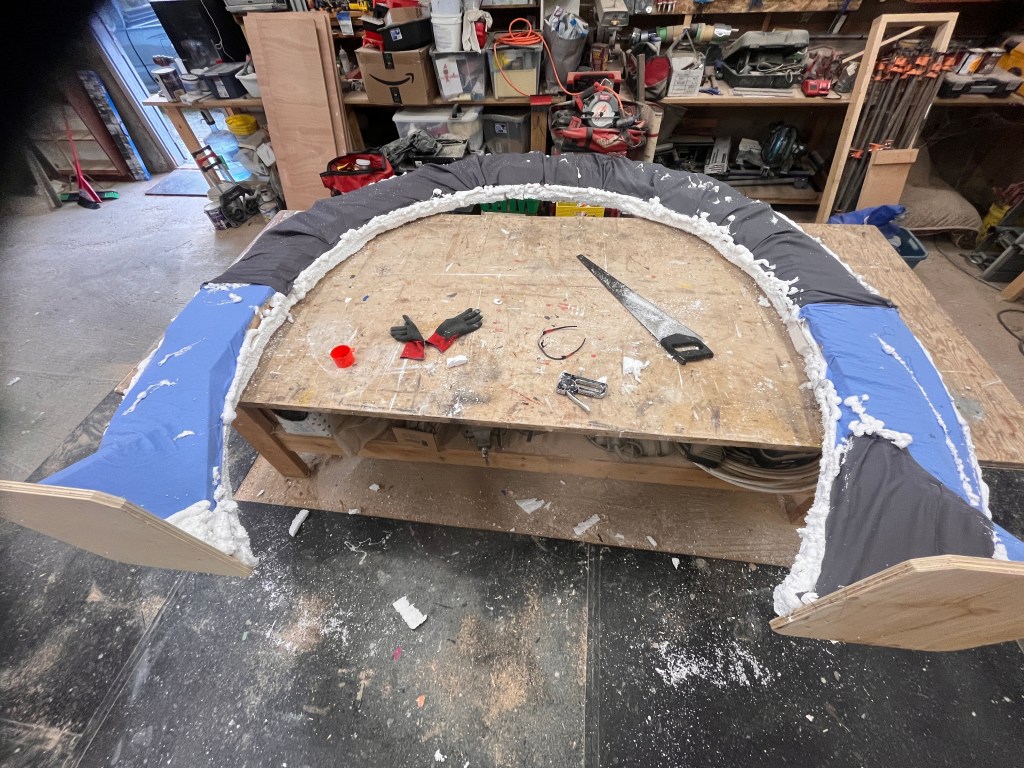
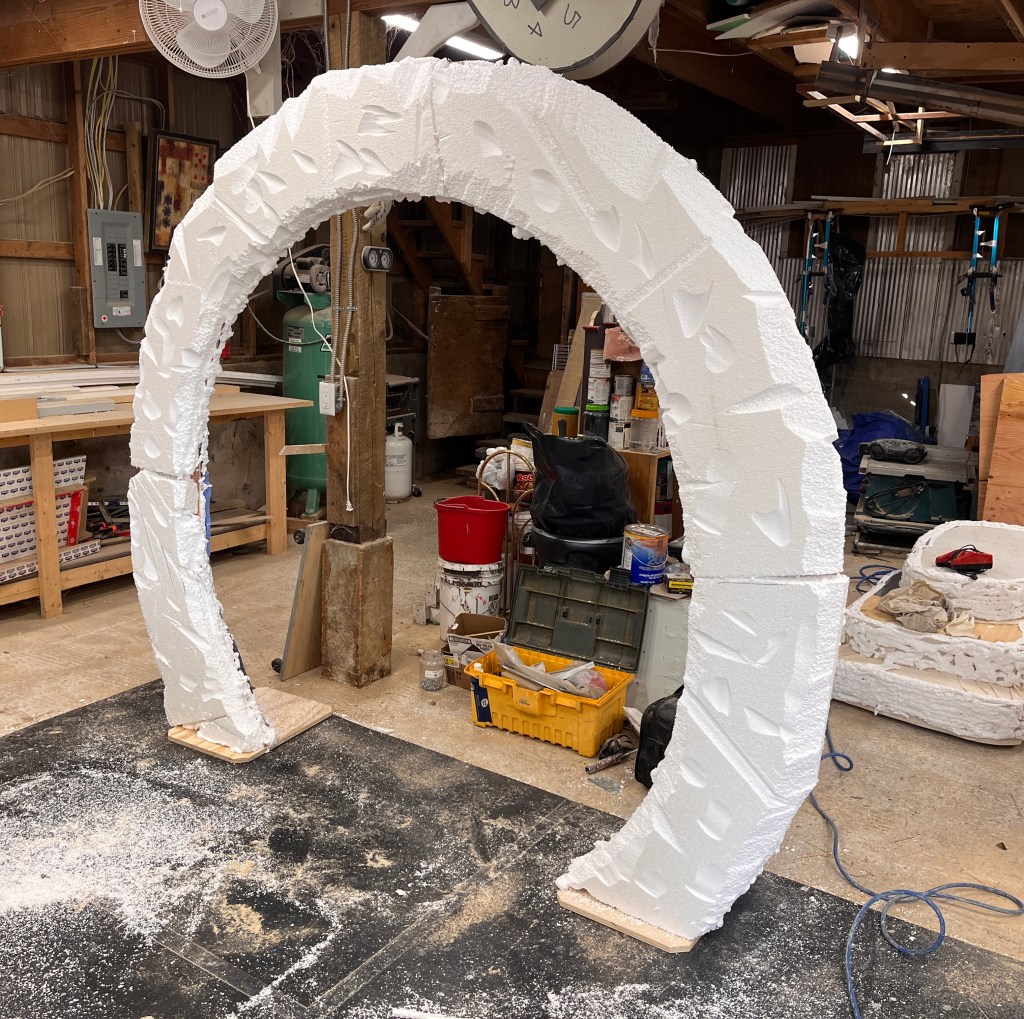
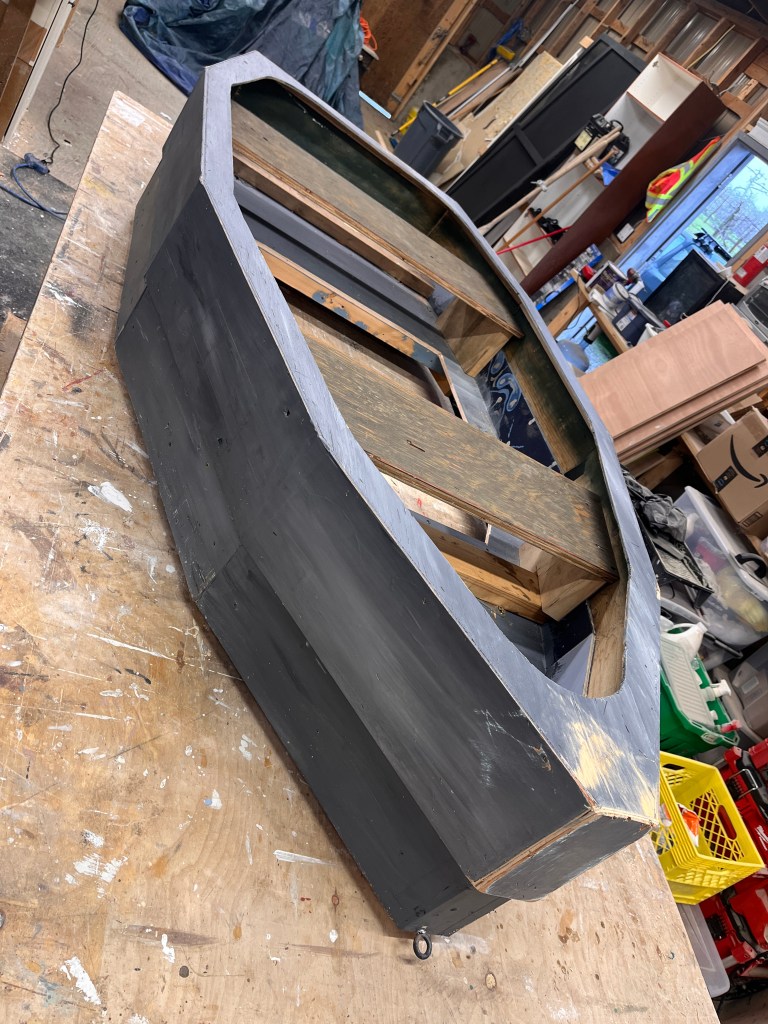
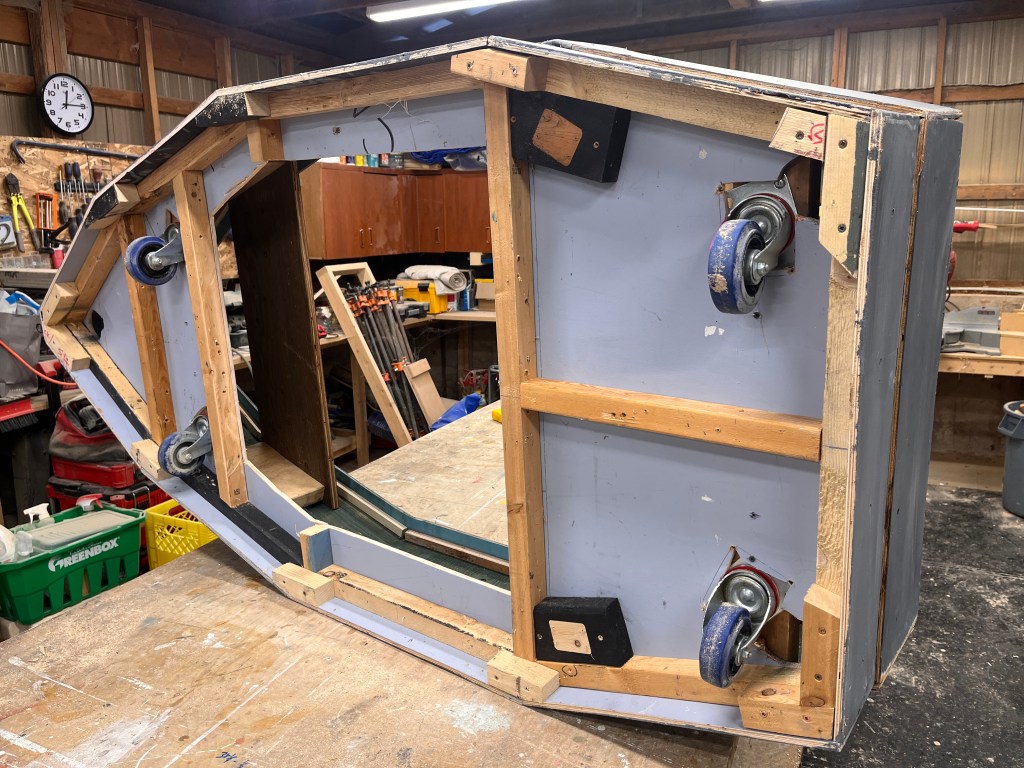
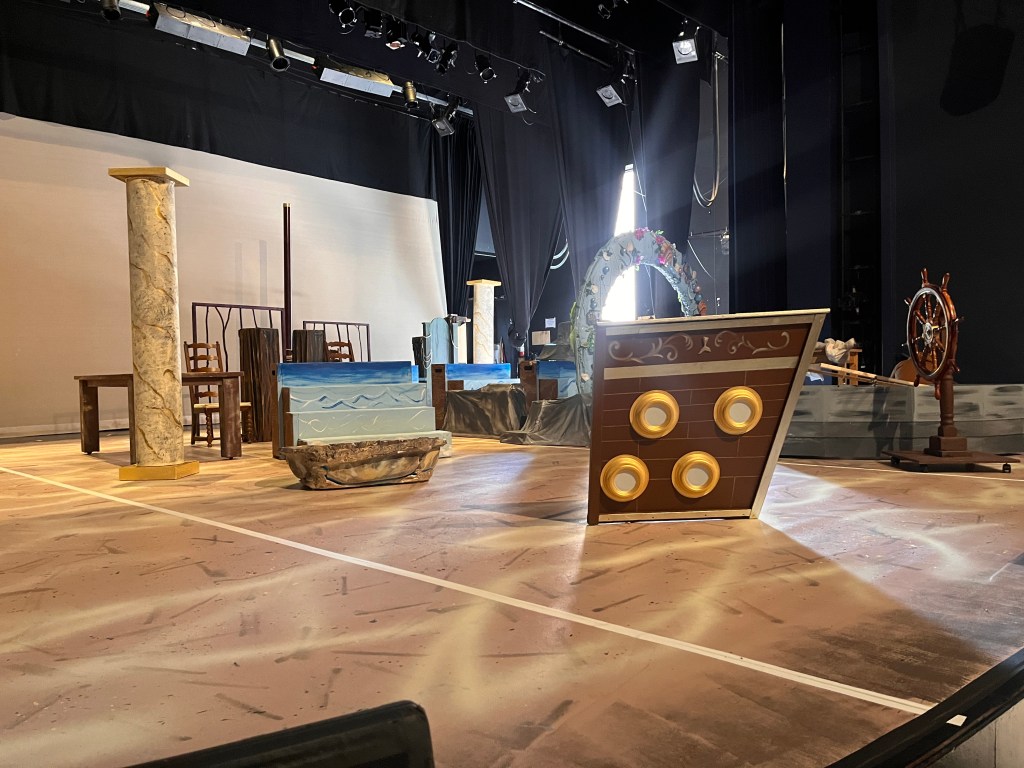
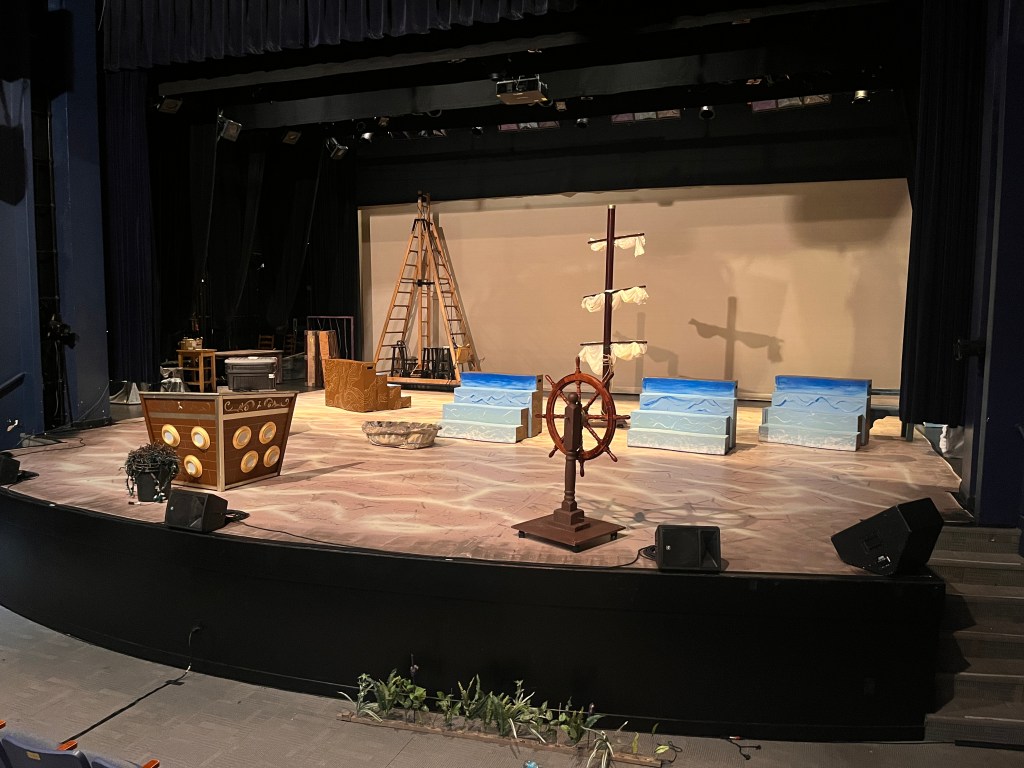
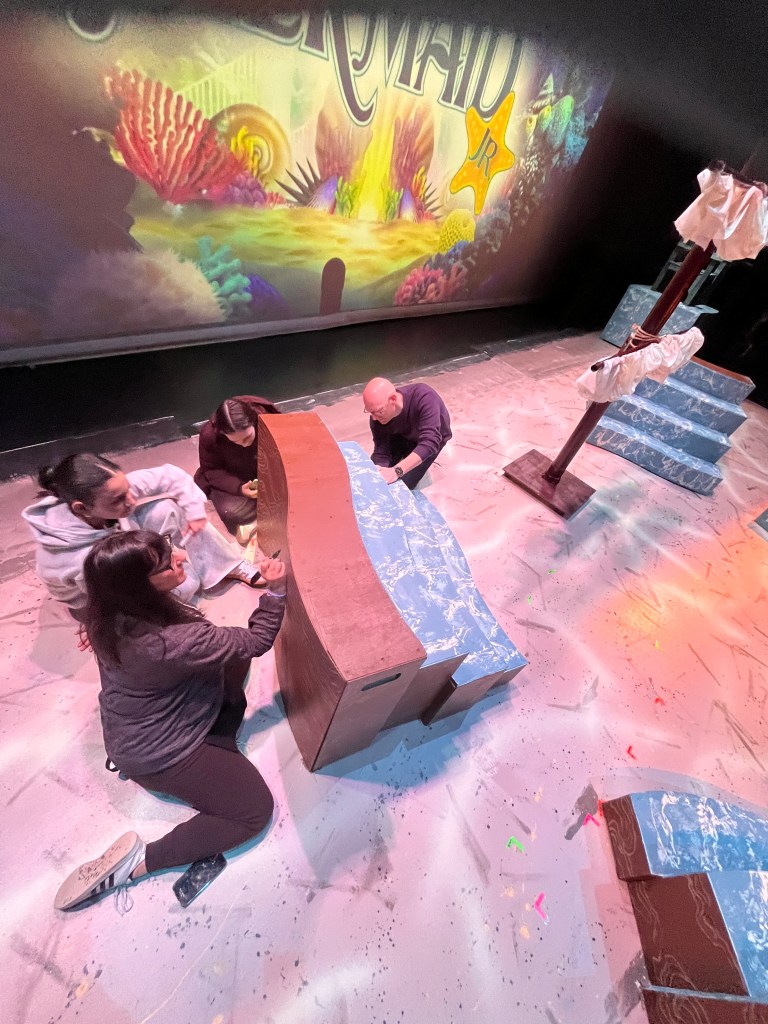
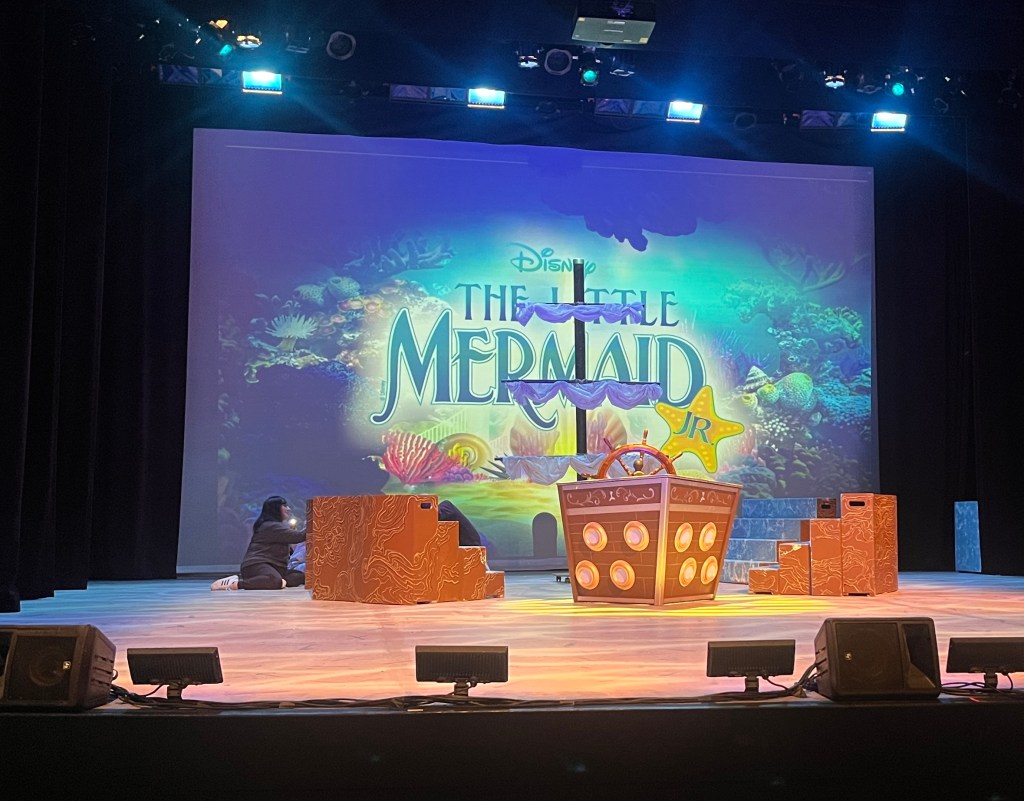
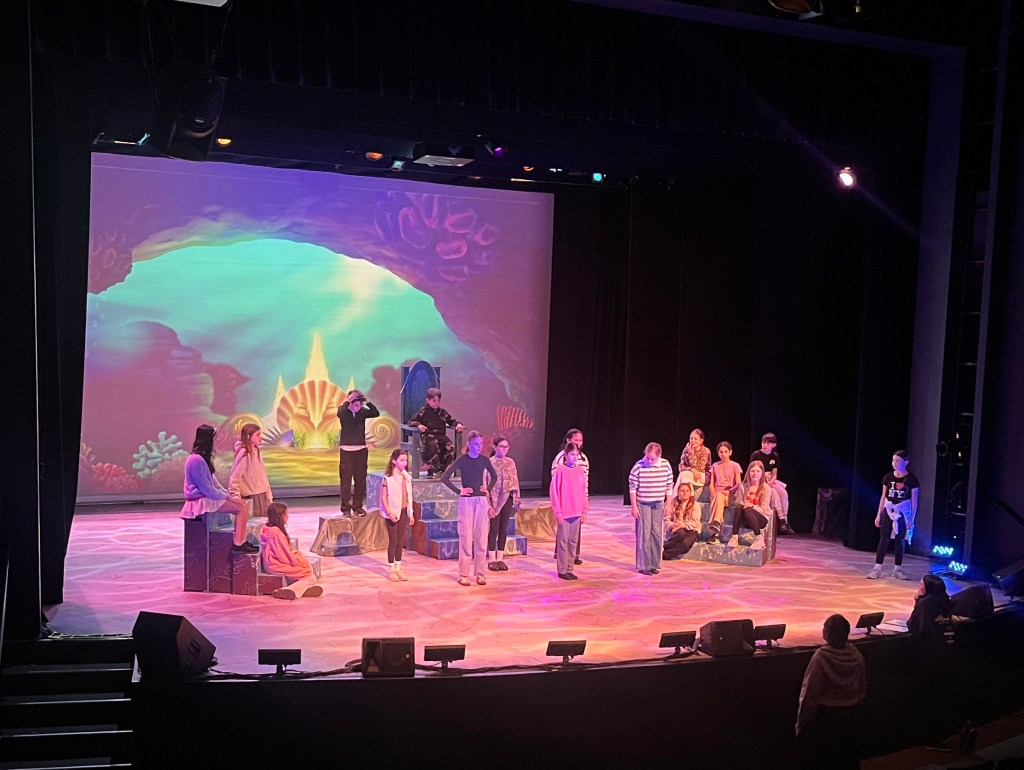
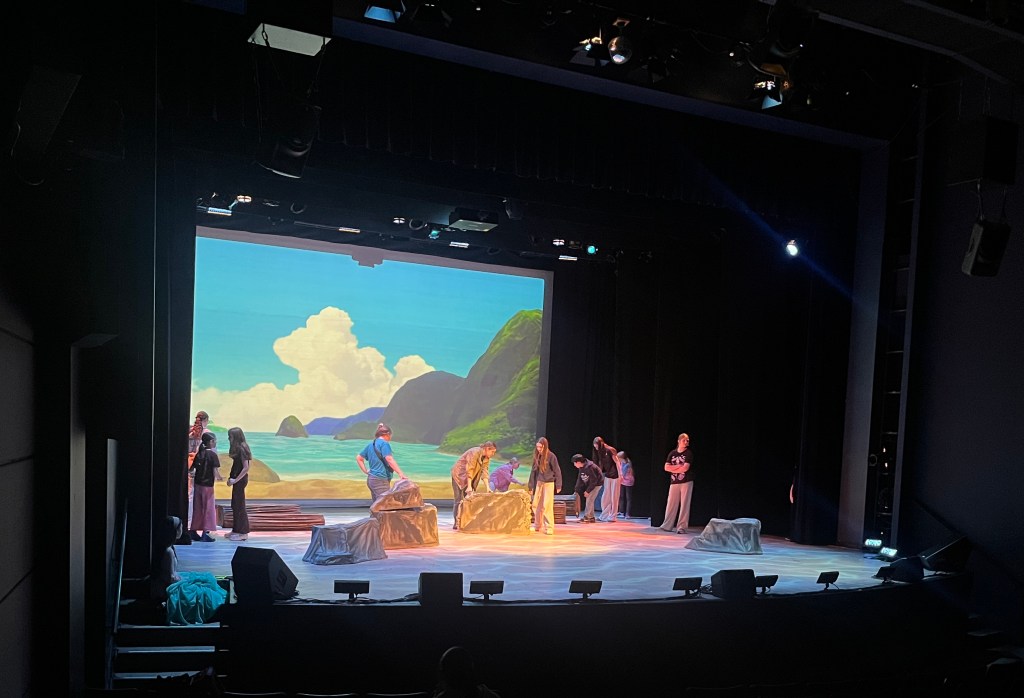
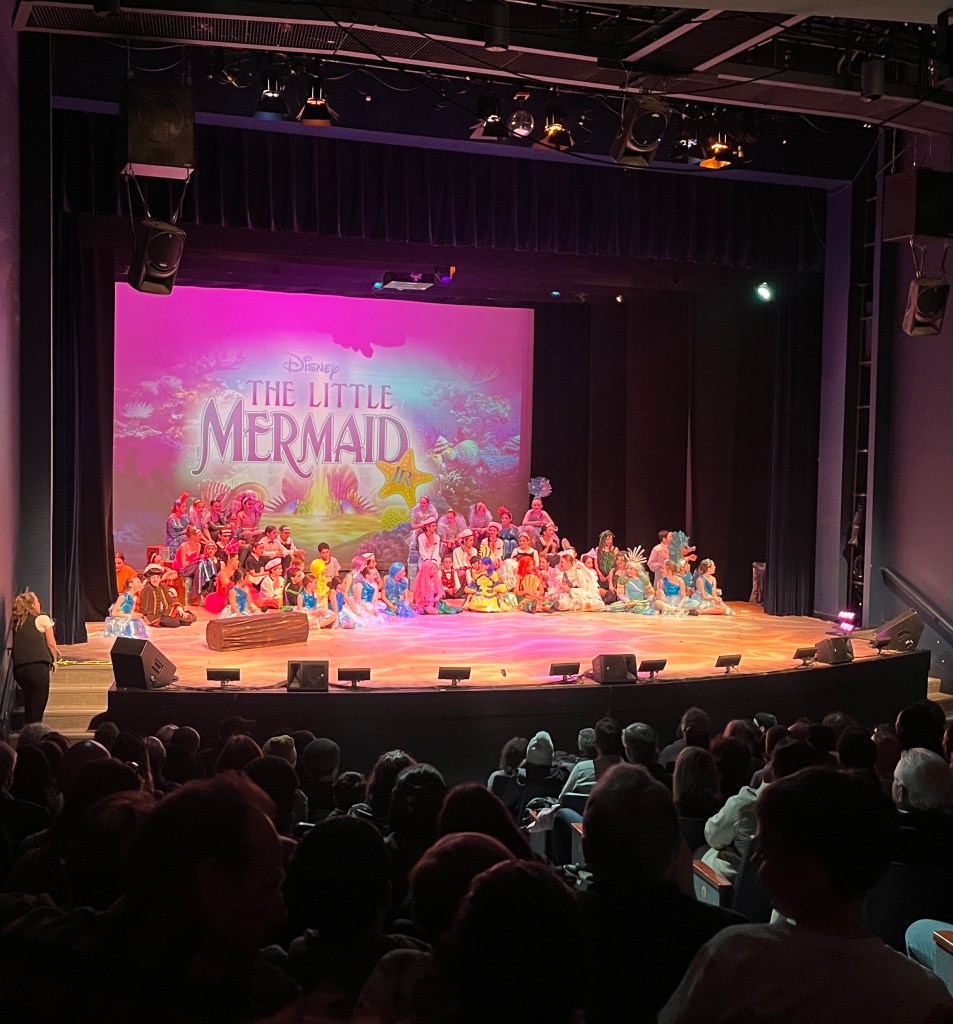
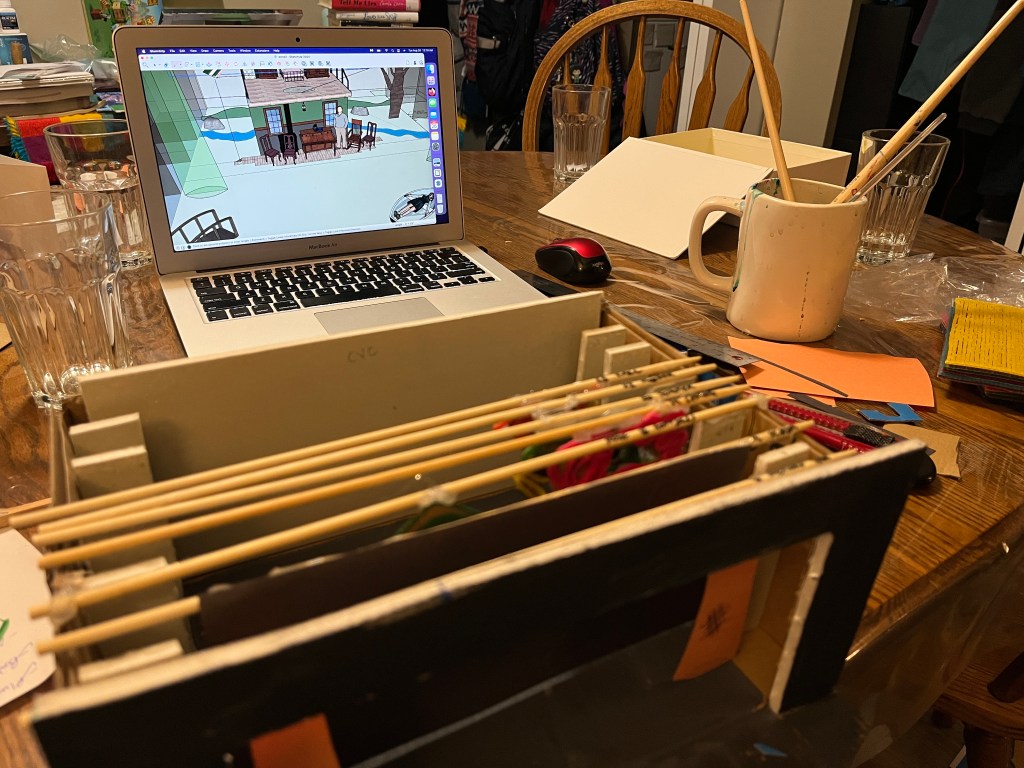
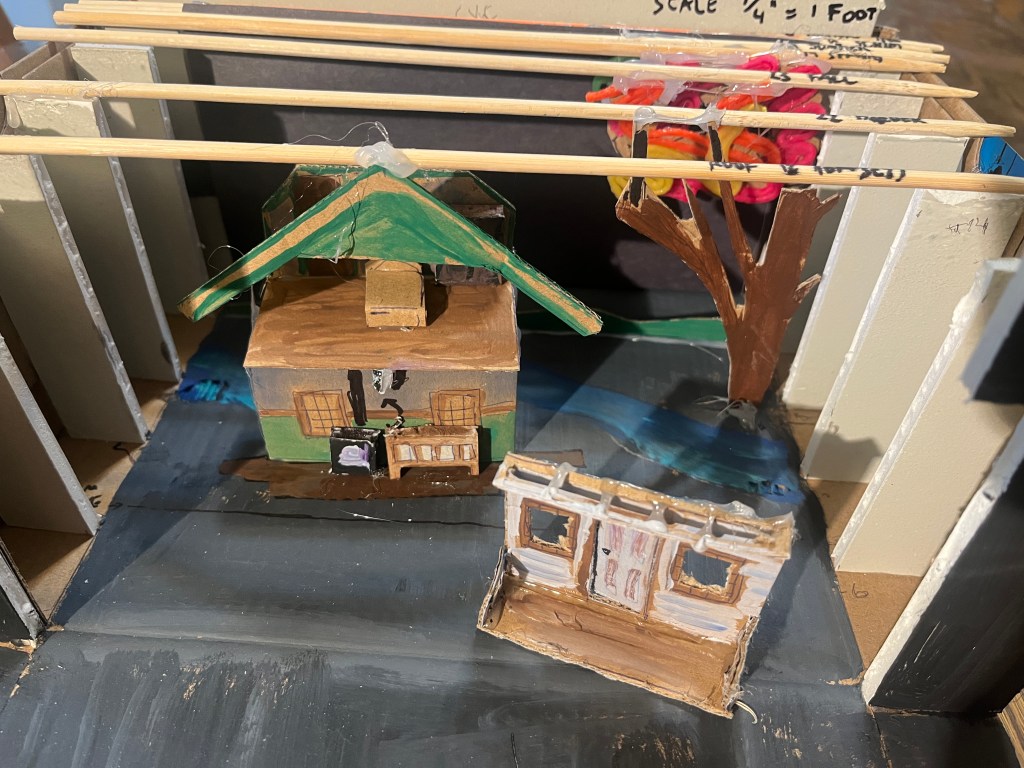
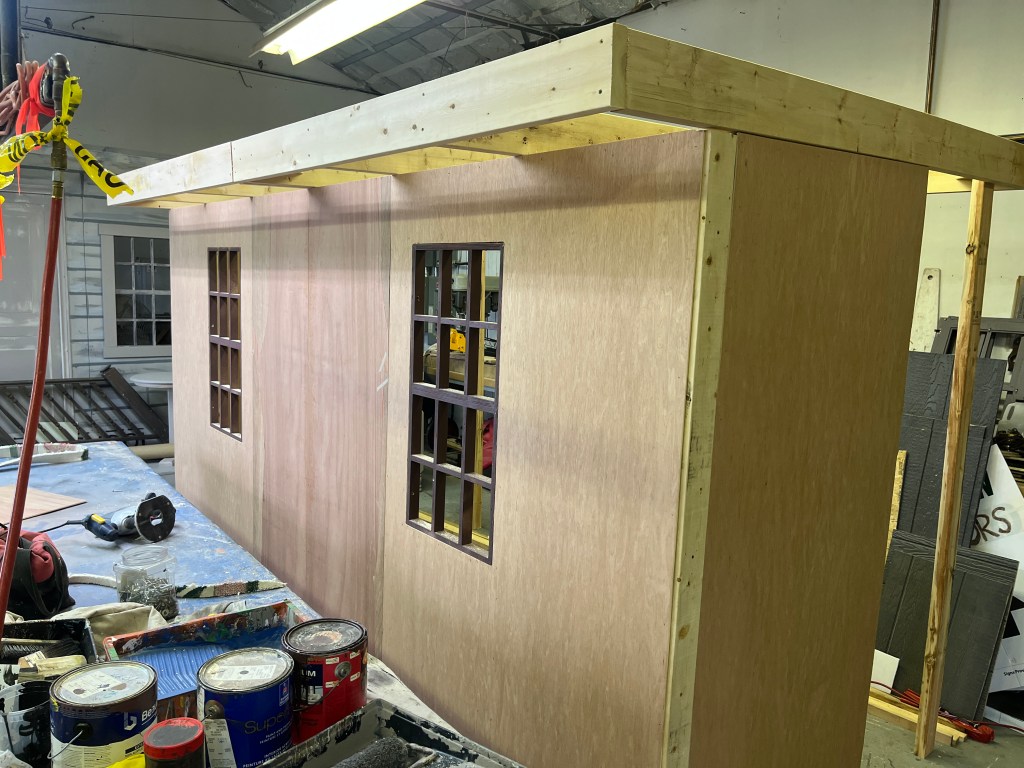
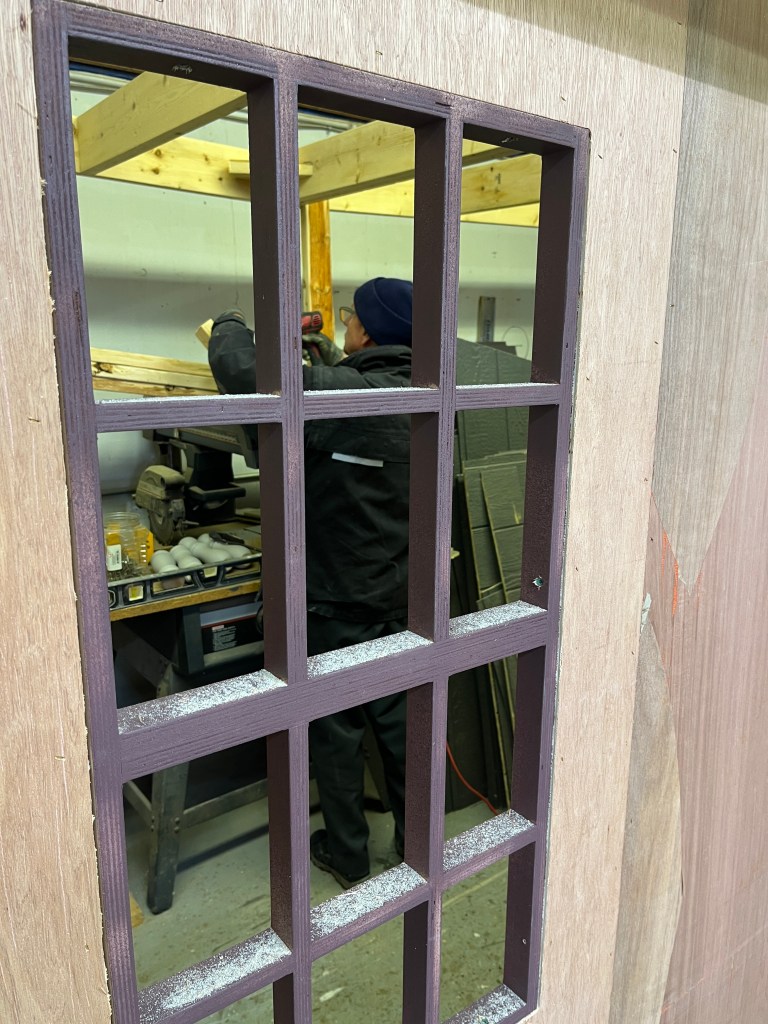
I recently designed and built the set for VTT Centre Stage’s production of The Little Mermaid Jr.
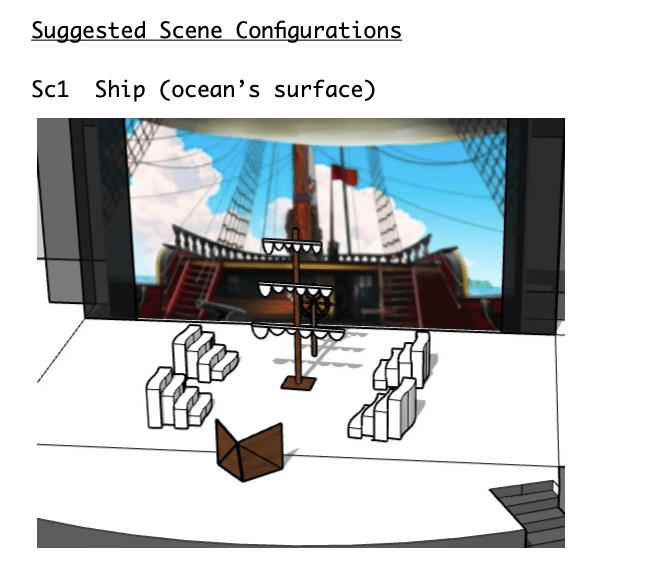
scene from the set design document
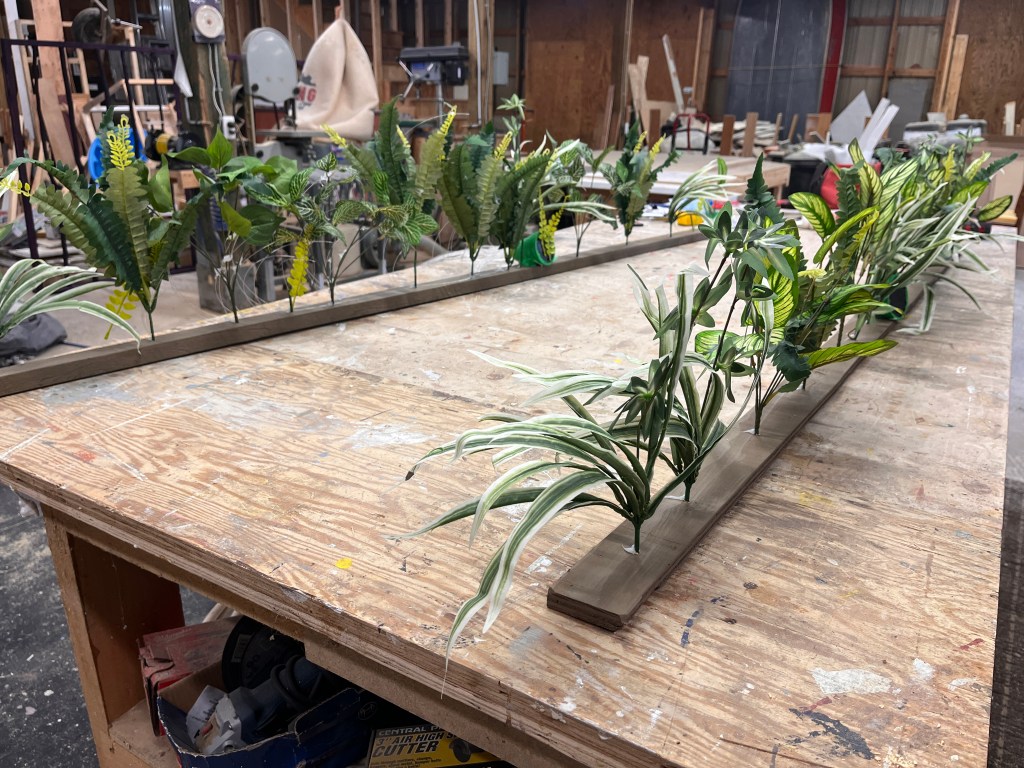
Here are a bunch of build photos!
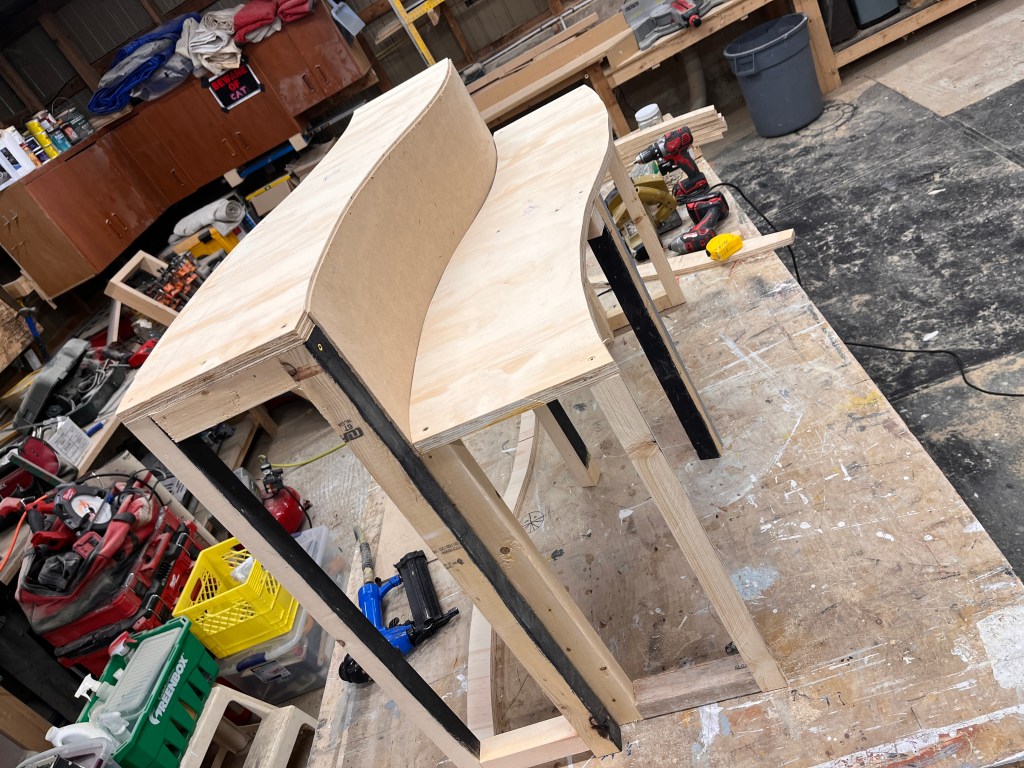
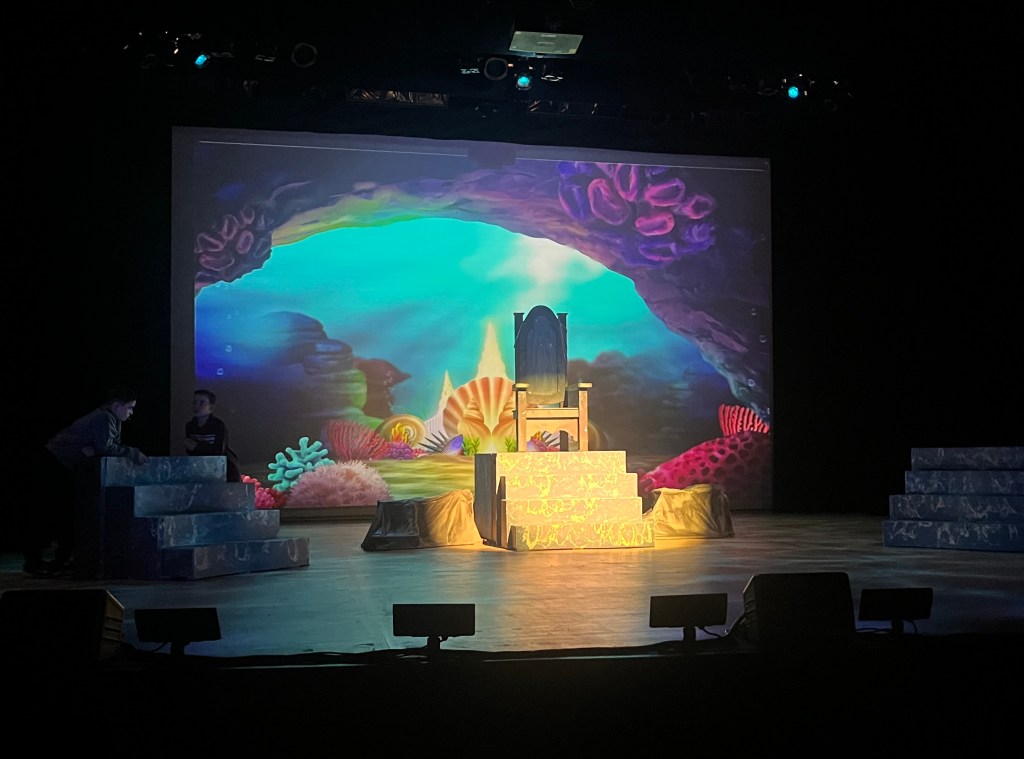
The first main thing to build for rehearsals were the stairs. There are 4 of them and I am quite proud of them. They are wavy, interlocking, and fit together with a wavy platform as well. Their main purpose was to give levels for the many performers. But they were versatile as they could be used for the sides of the ship, and the various palaces.
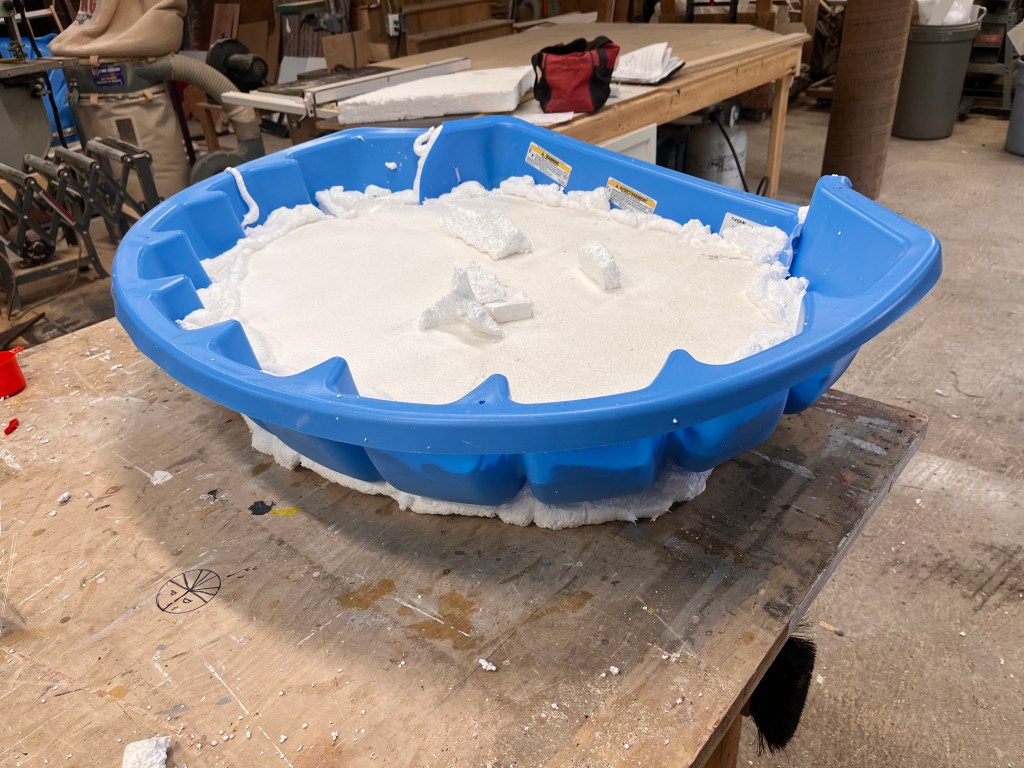
I then made a large rock on casters. (I also provided 5 other lighter rocks that I had made for Anne)
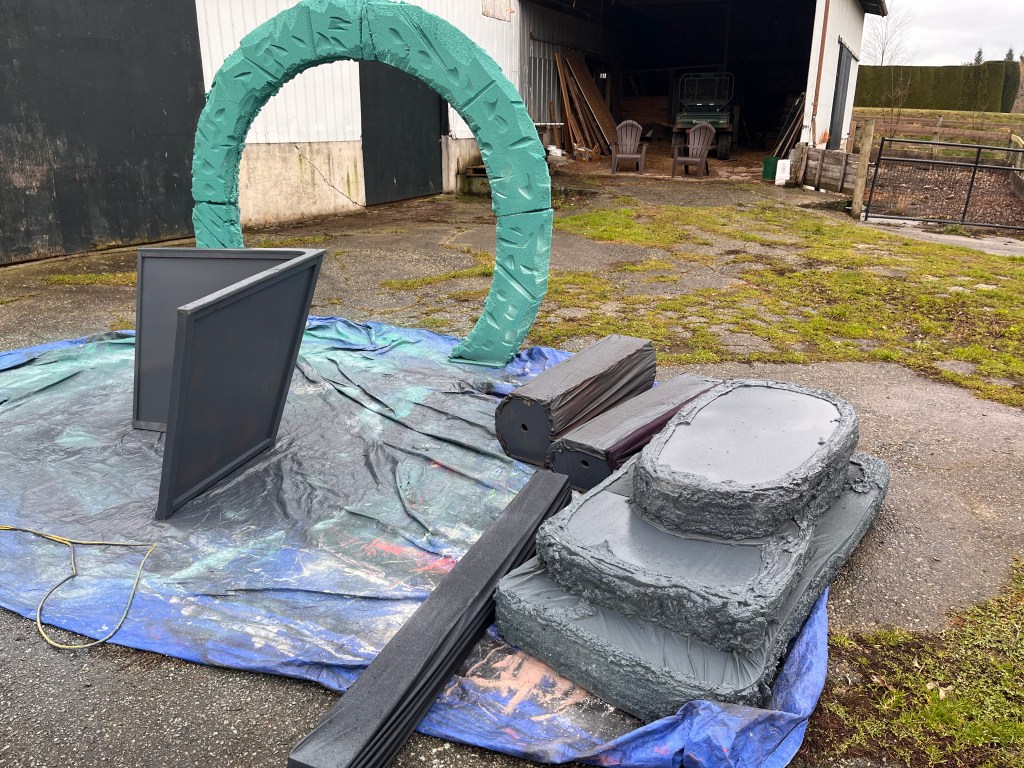
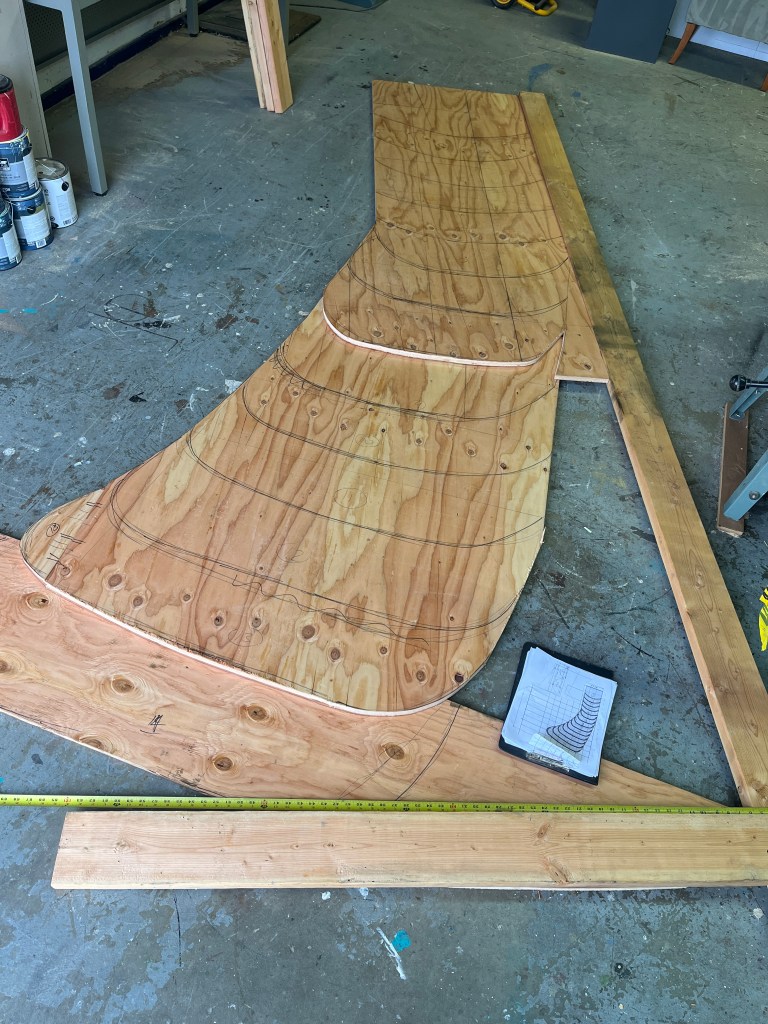
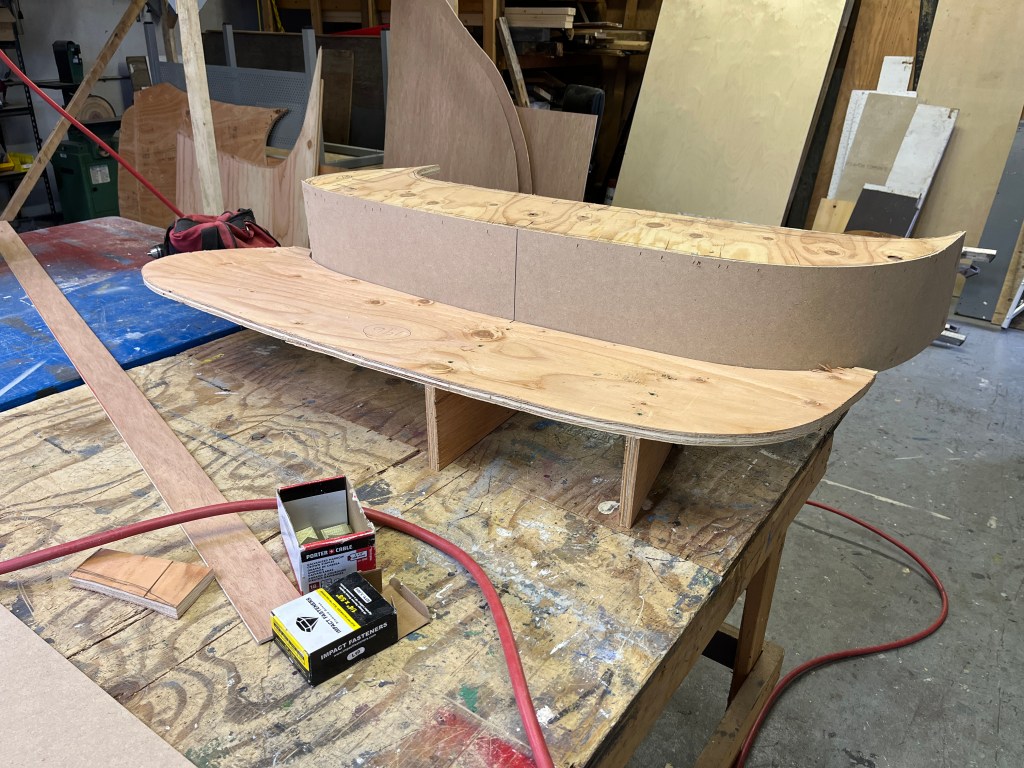
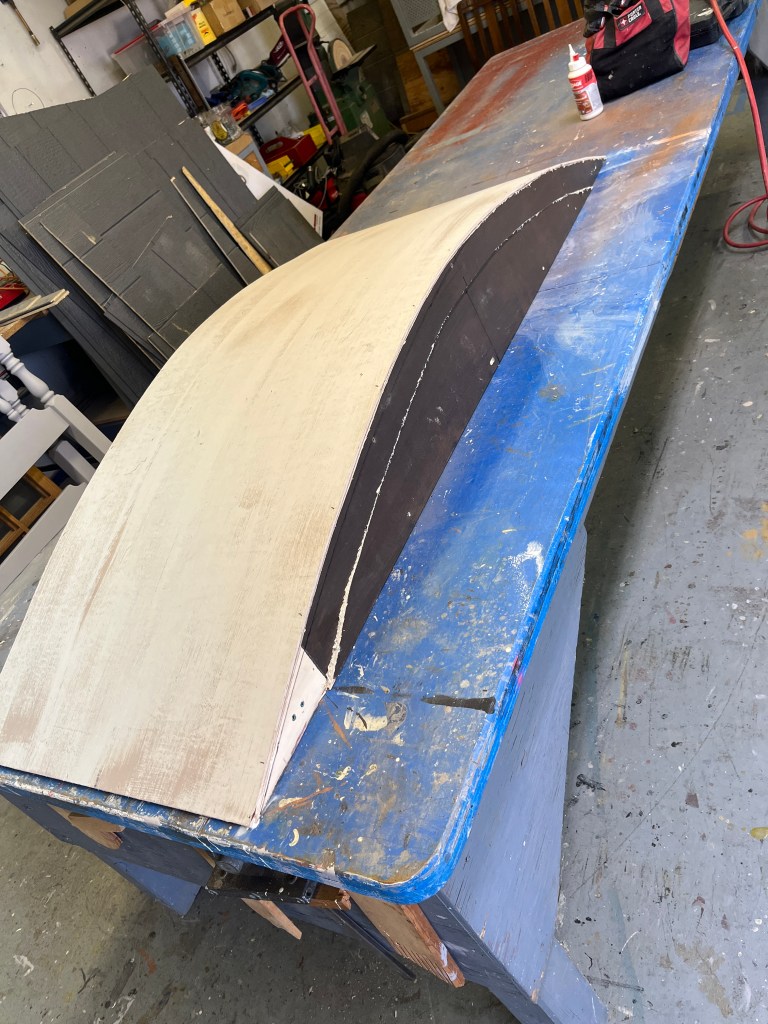
The next project was a custom styrofoam arch and a ship’s hull. I used expanding spray foam to glue styrofoam to a 2×2 & luan frame. I then carved the styrofoam with a circular saw.
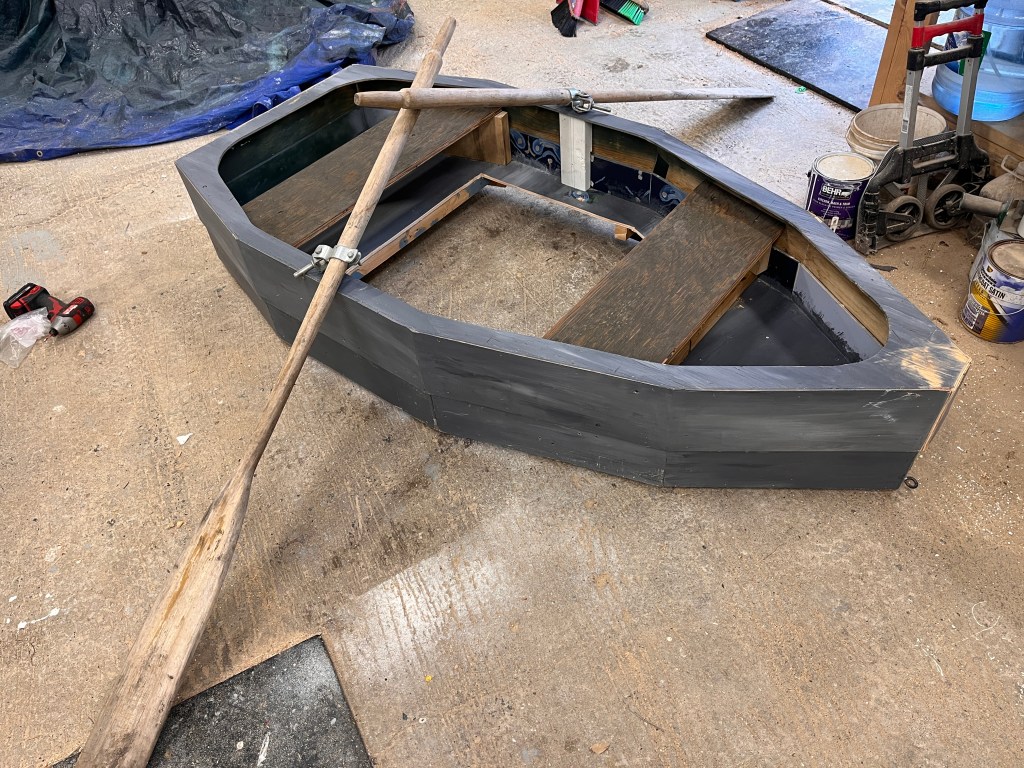
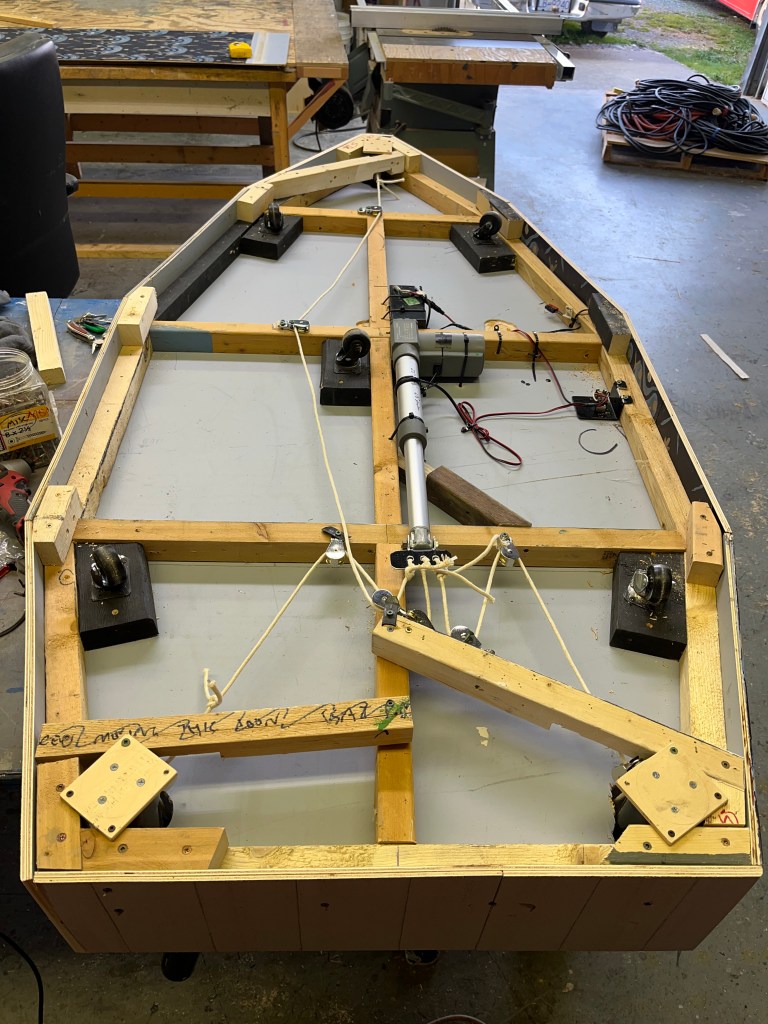
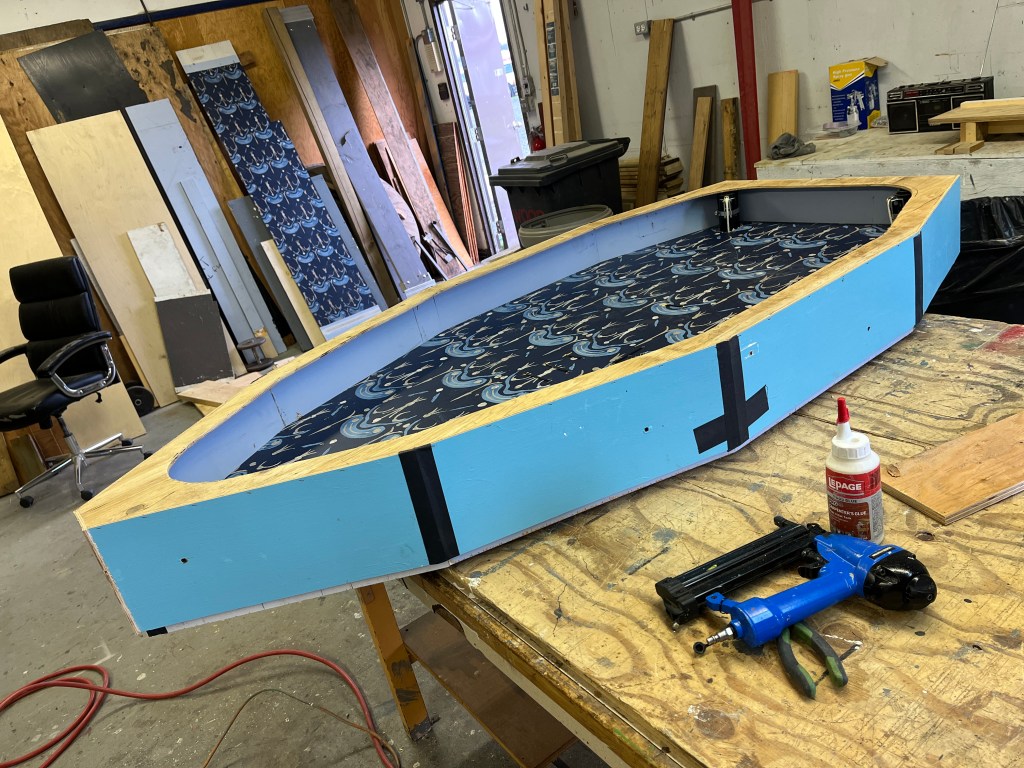
I modified the boat I made for Anne into a row-able boat. Dave and I went fishing with it, in the workshop. Later the school requested I make it higher because the actor’s knees were visible moving (it was foot propelled). I did make it higher, but felt it did ruin the effect a bit because it was so high.
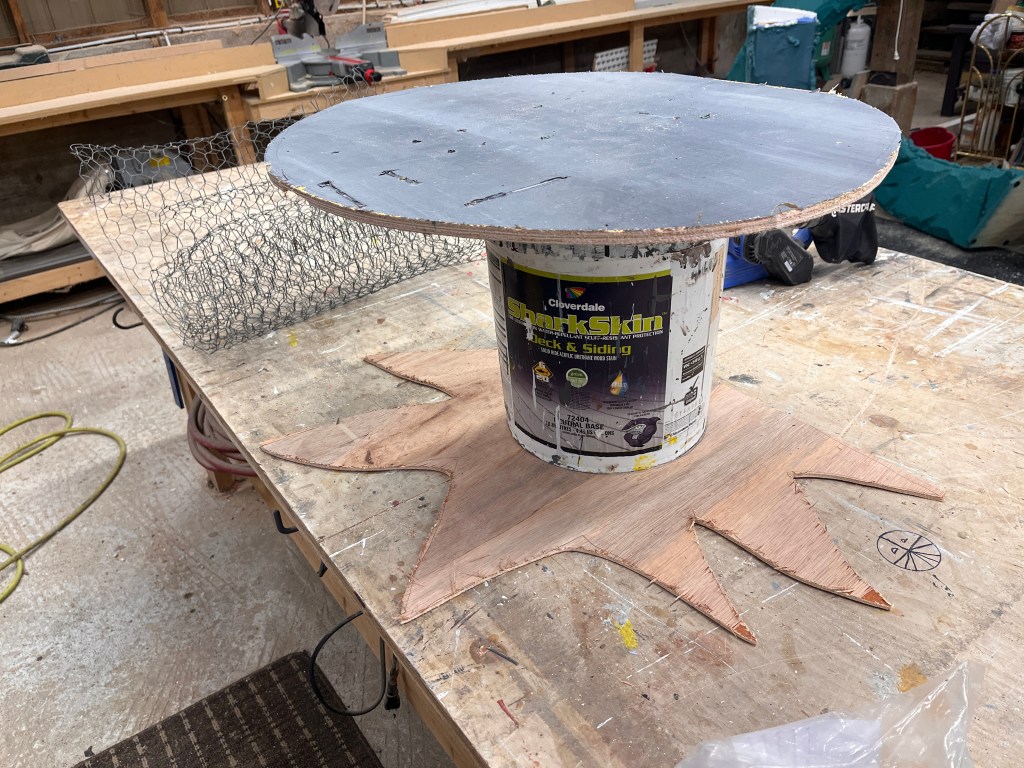
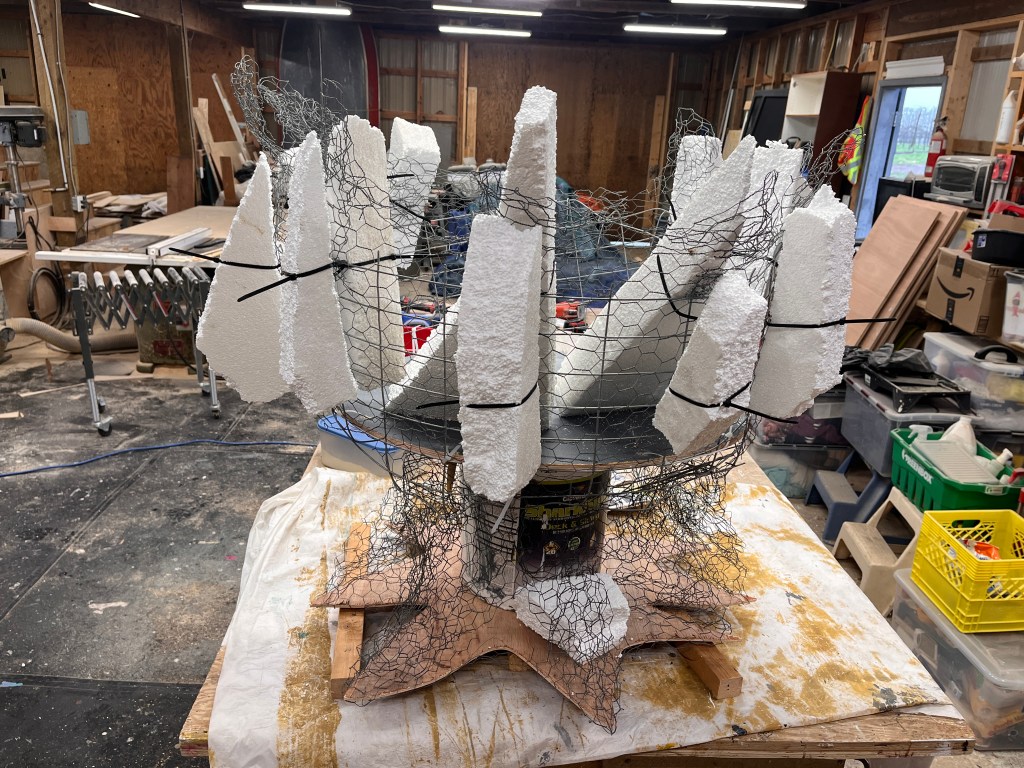
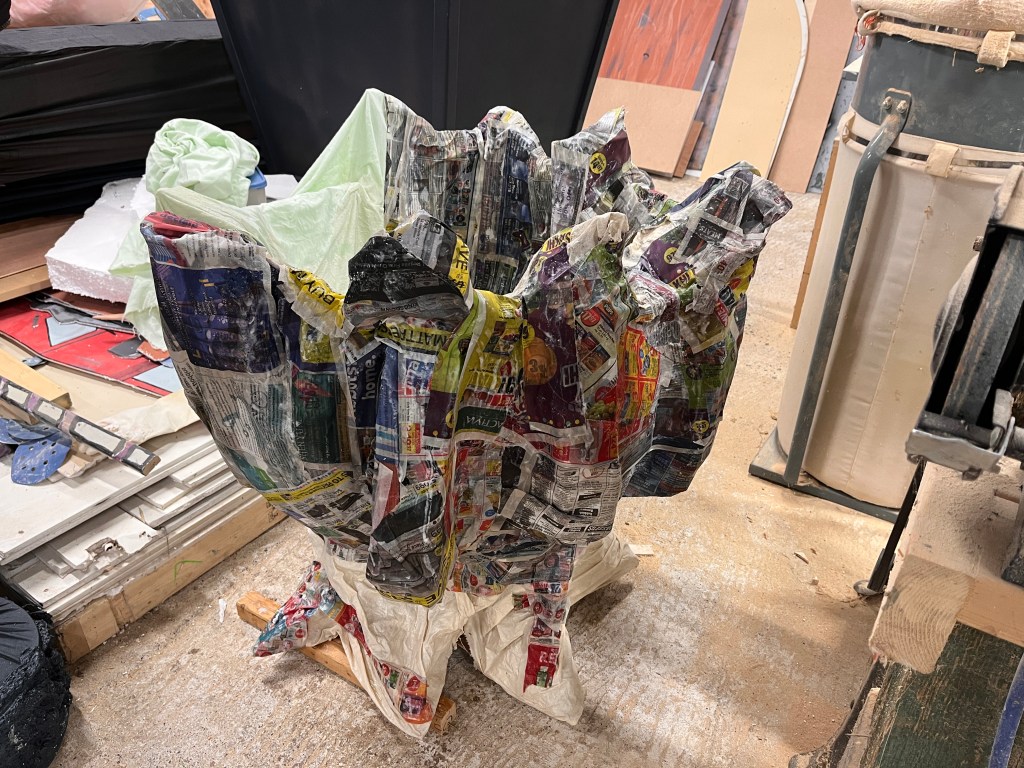
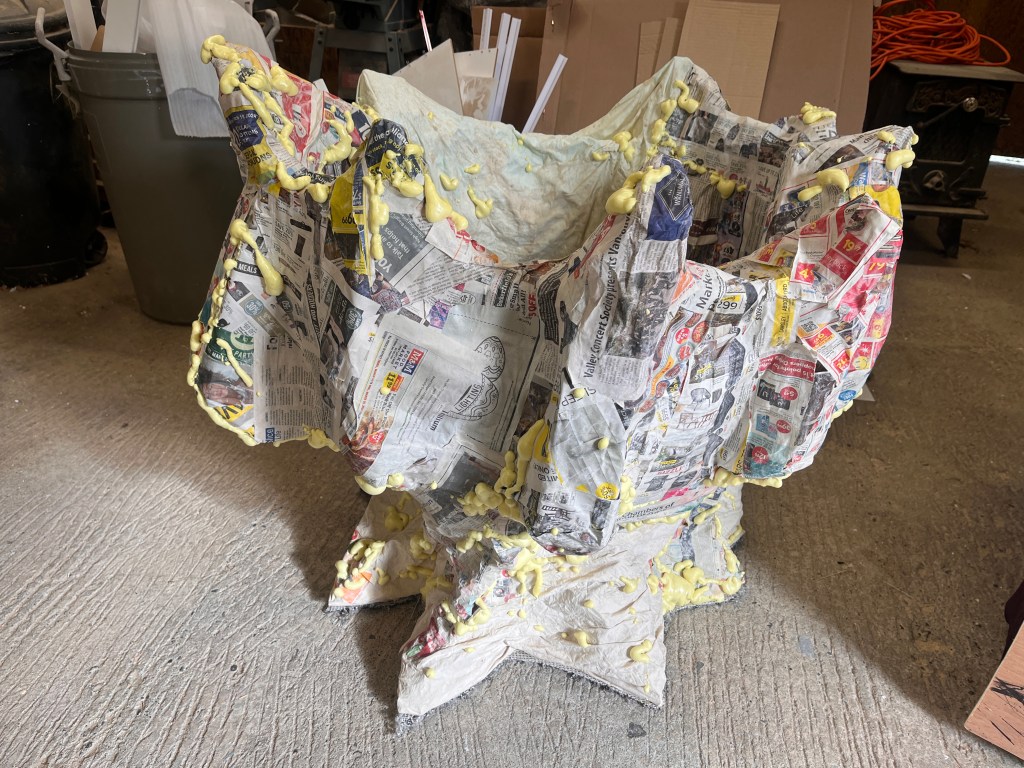
Next I worked on Ursula’s cauldron. I made it out of a bucket, chicken wire and paper mache. It was quite fragile and large and ultimately the school asked me for another smaller one because this one was awkward to use, and falling apart a bit… I ended up passing it on to another school and built the smaller one as requested, which worked quite well. I stuck purple lights inside and a battery powered fog machine and got a very cool effect.
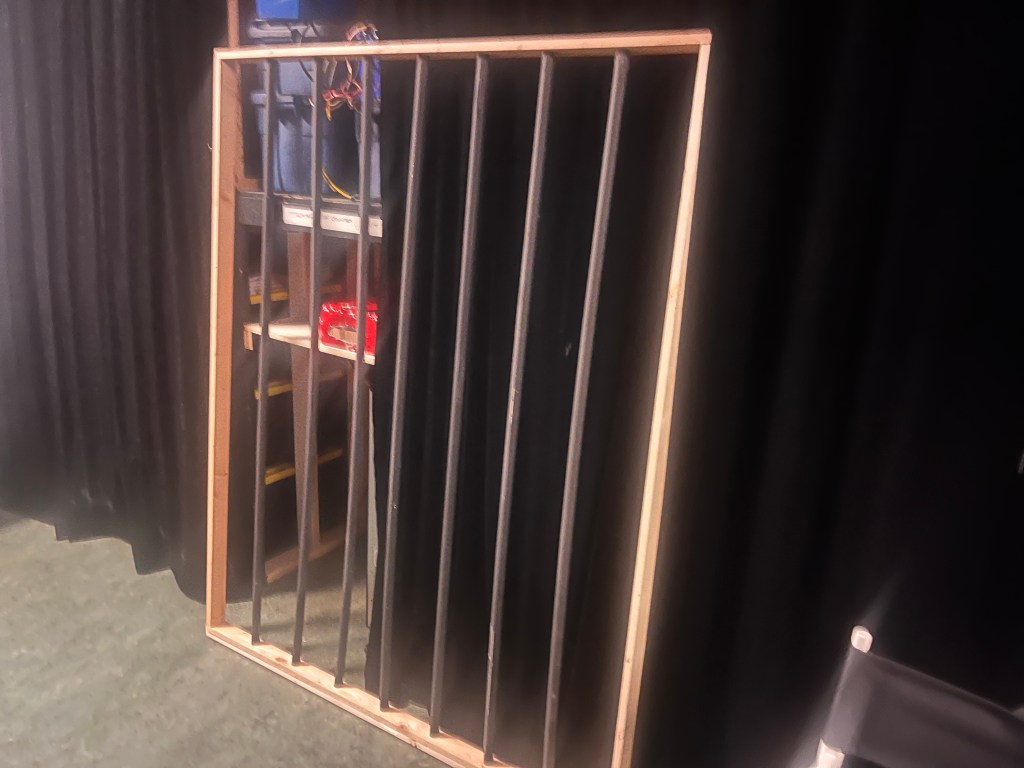
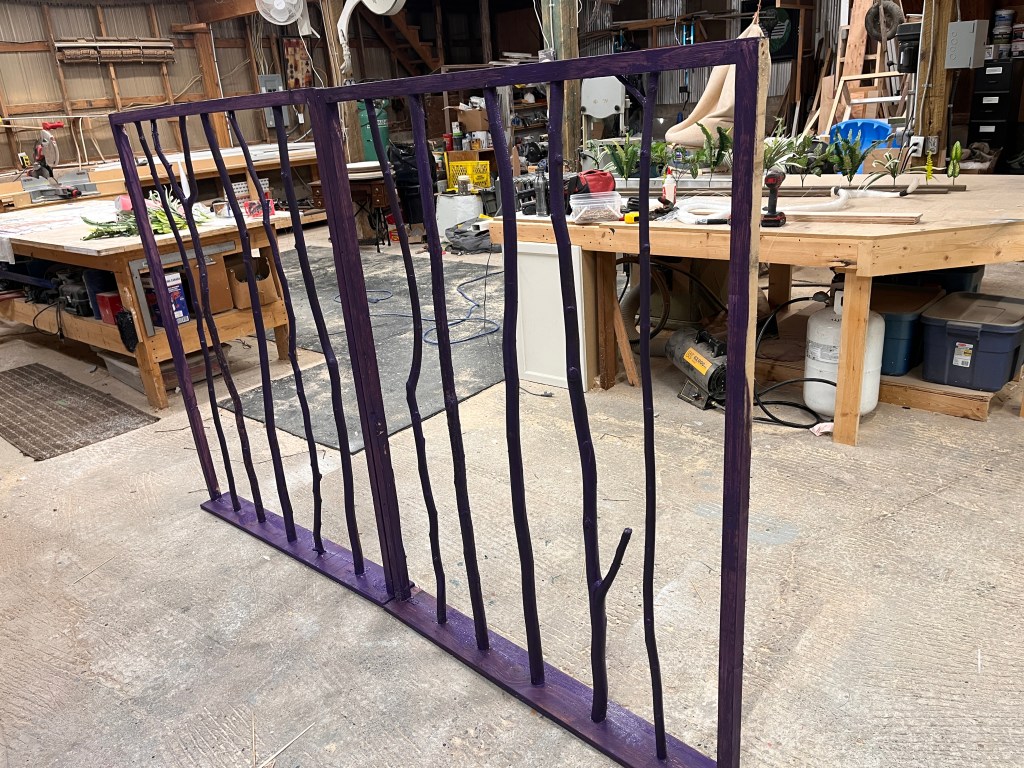
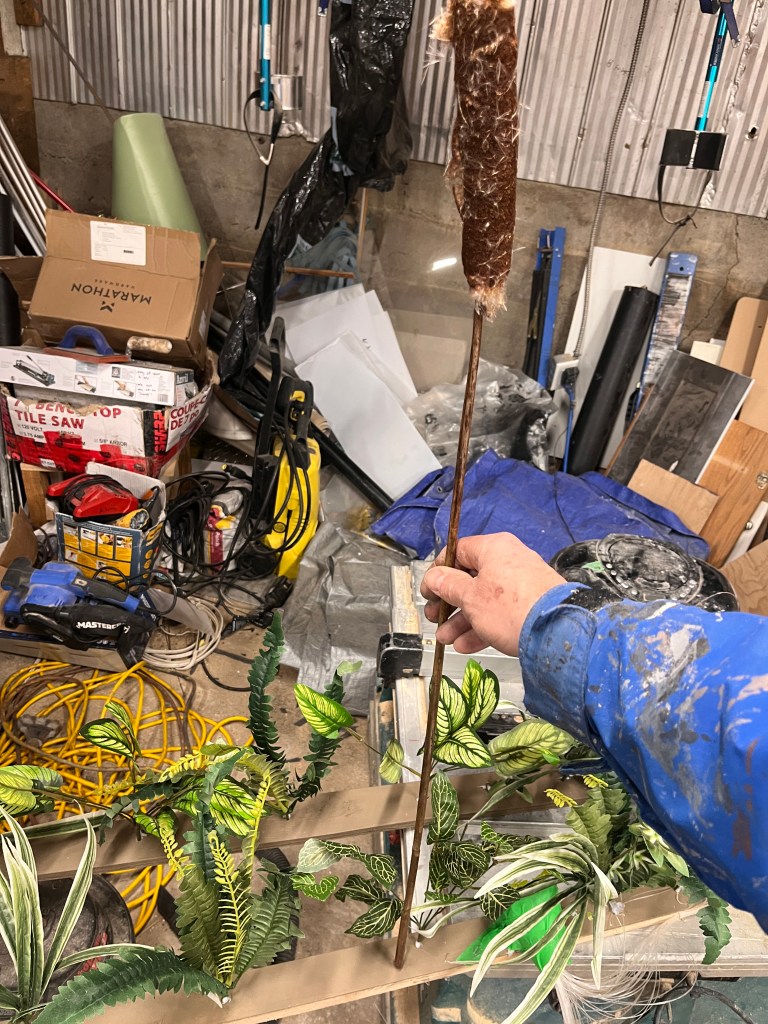
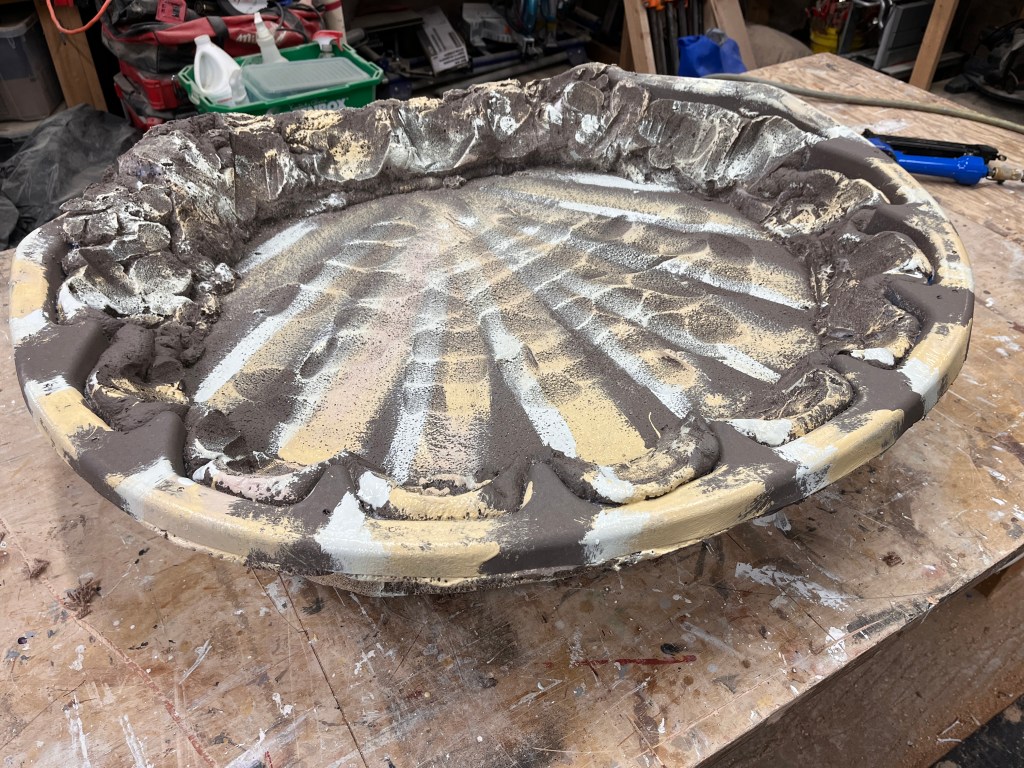
A few other little things – some jail bars made of crooked branches, a half shell, reeds and columns…
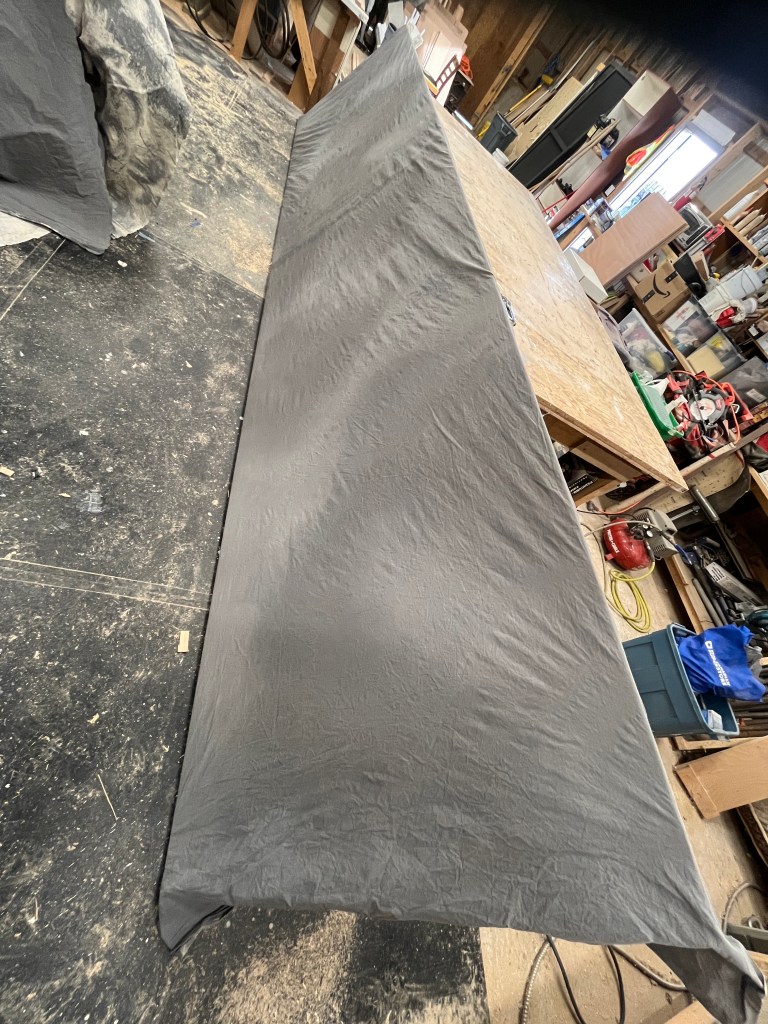
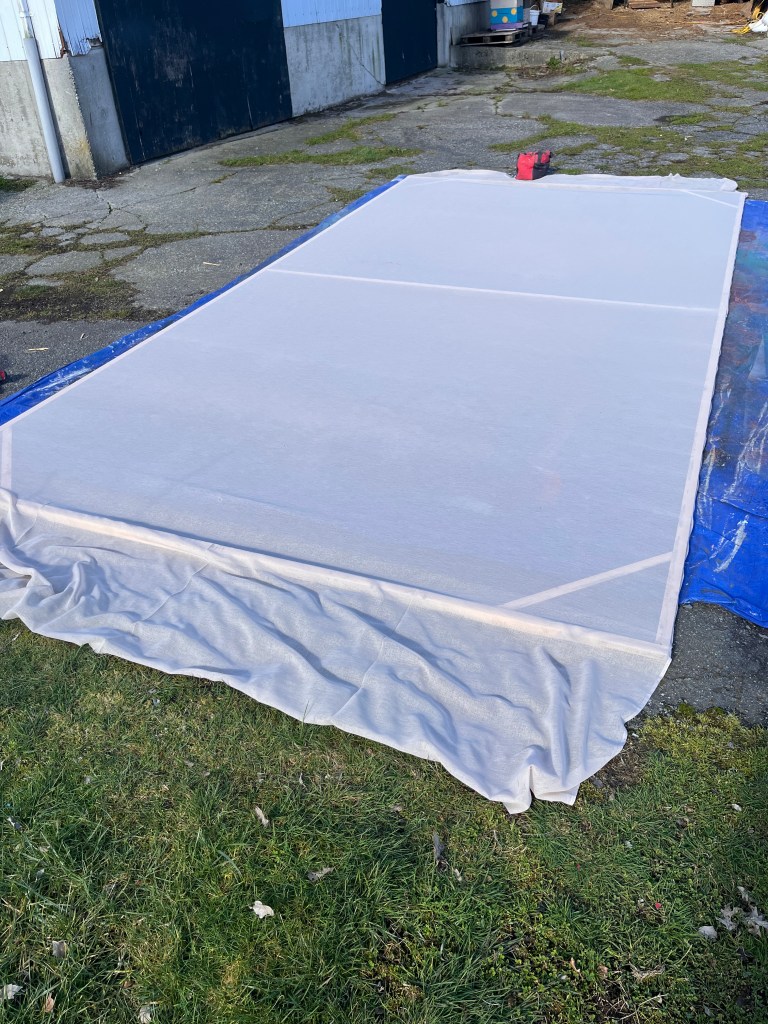
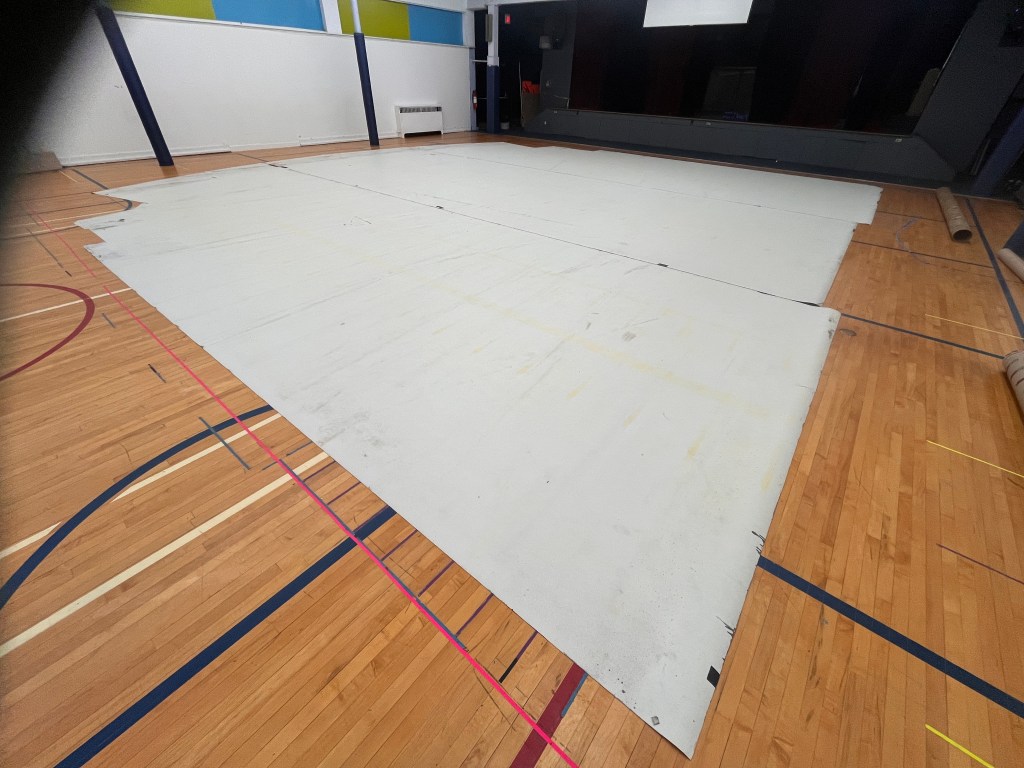
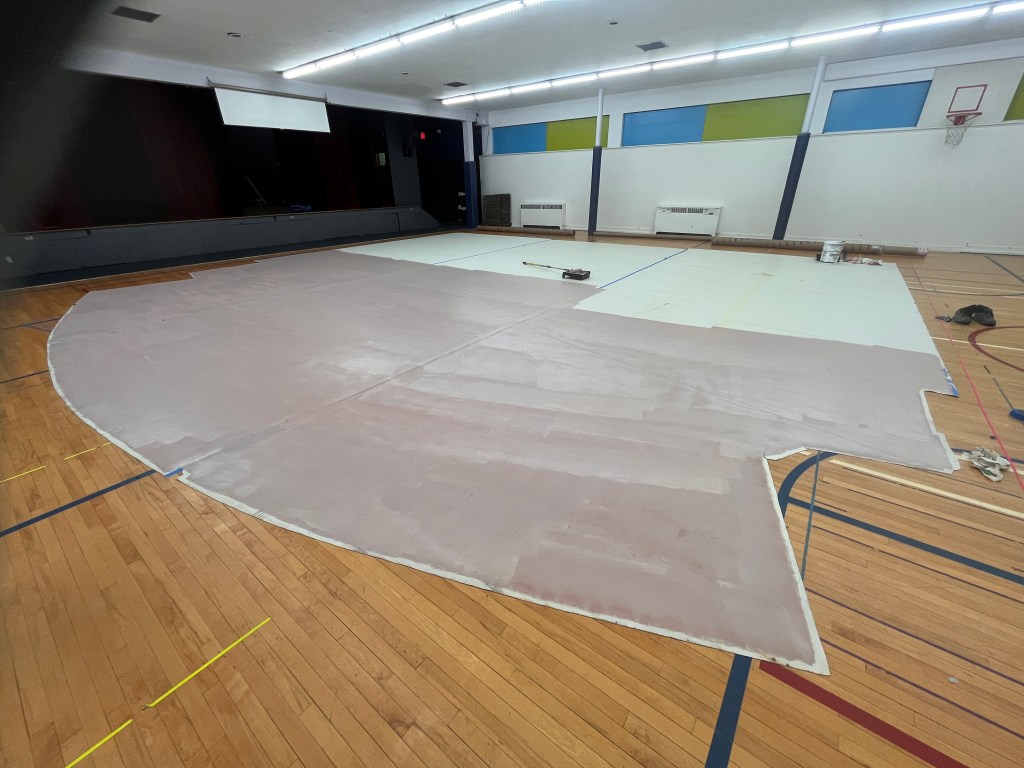
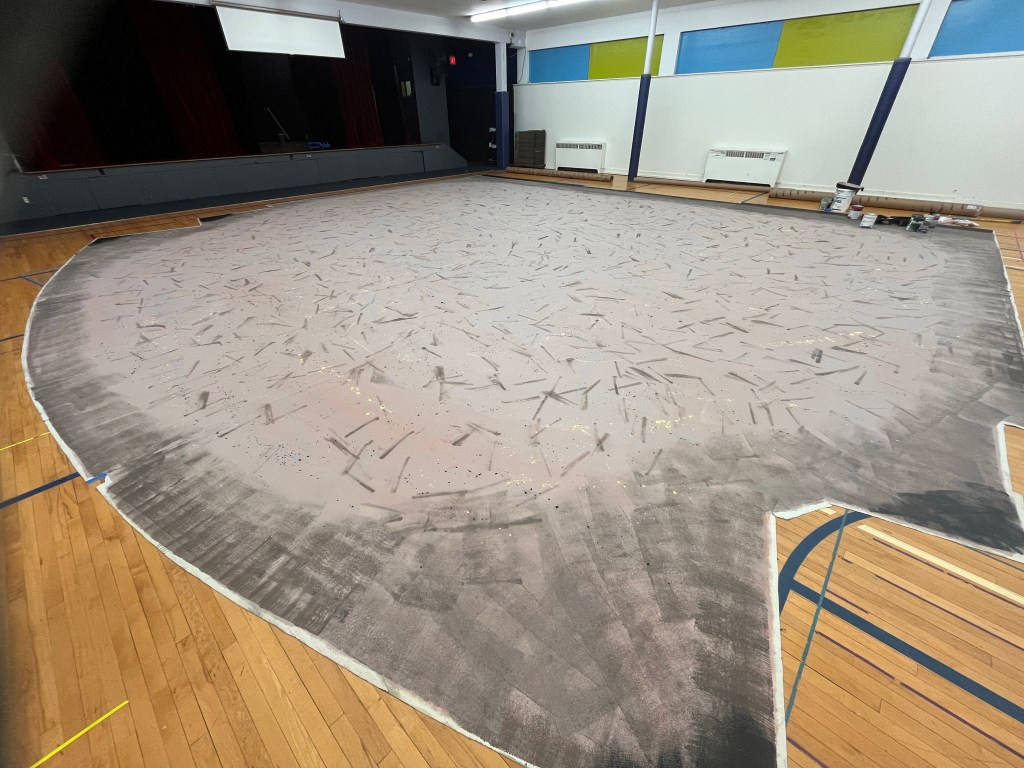
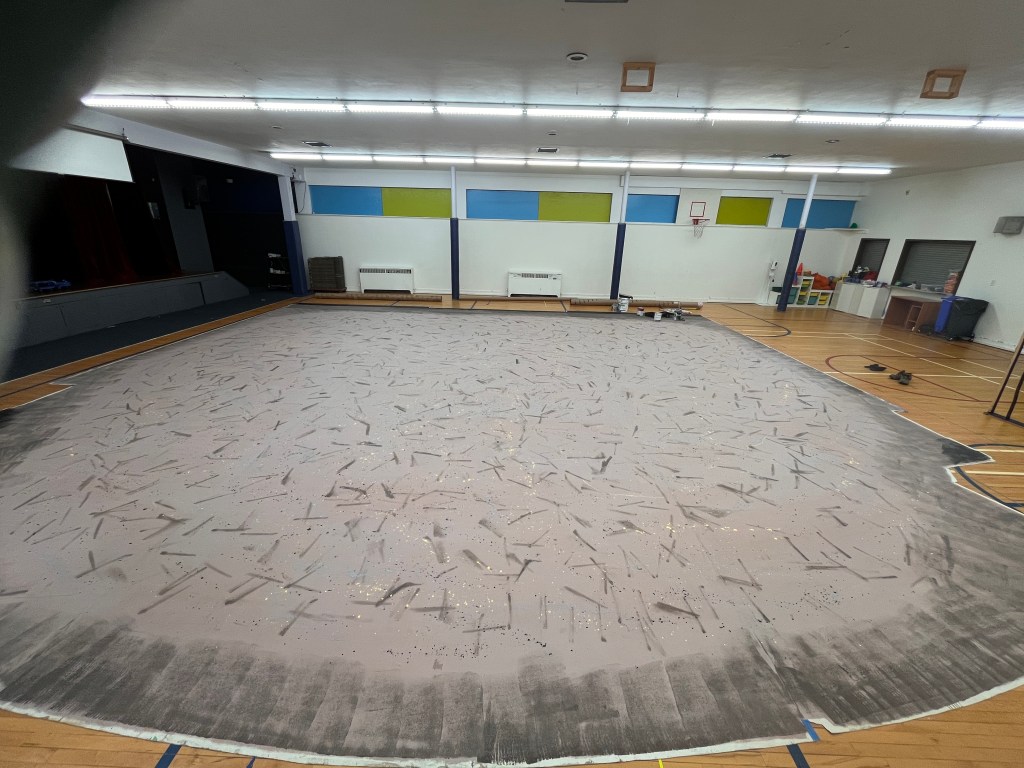
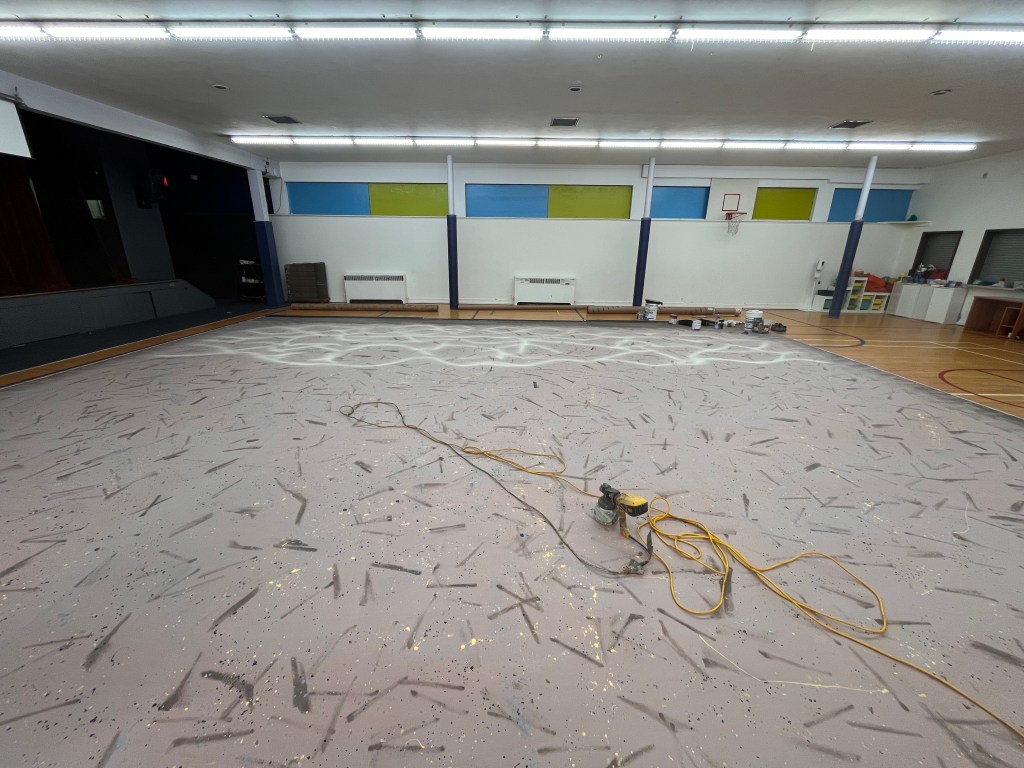
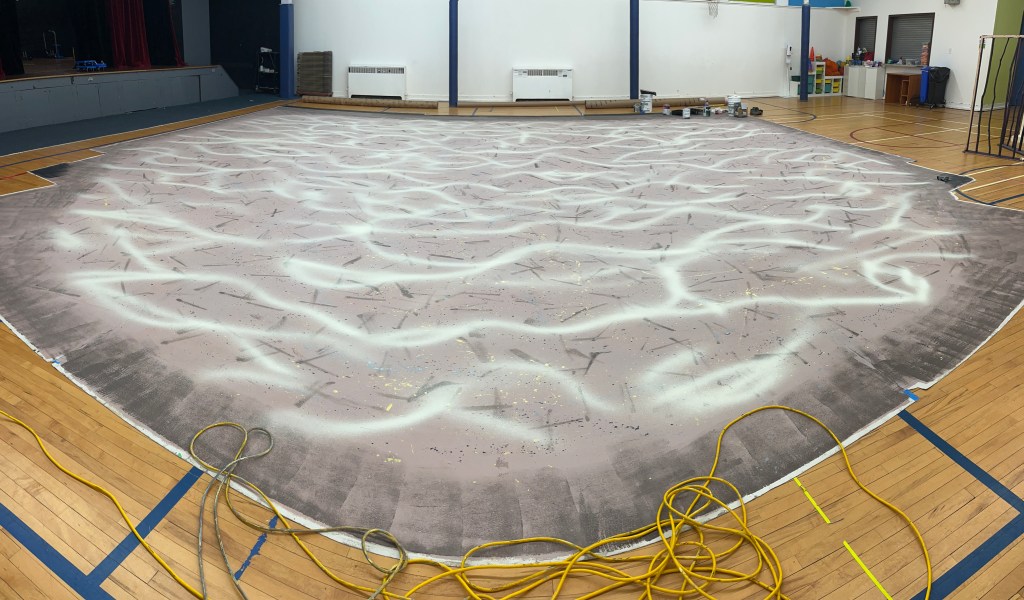
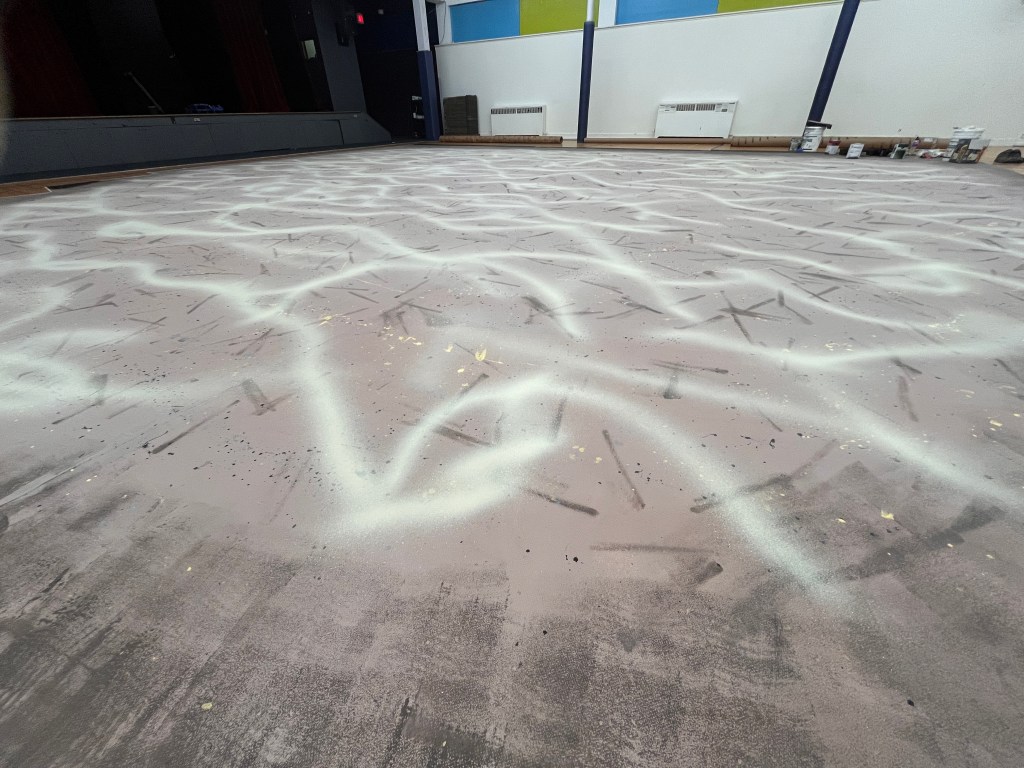
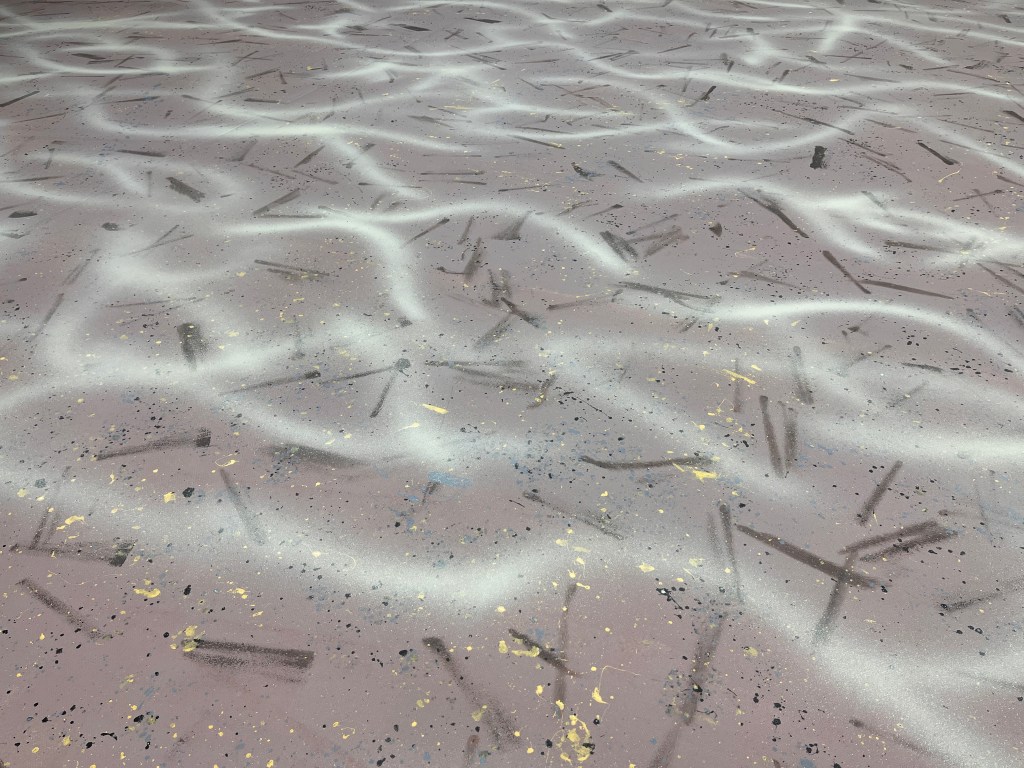
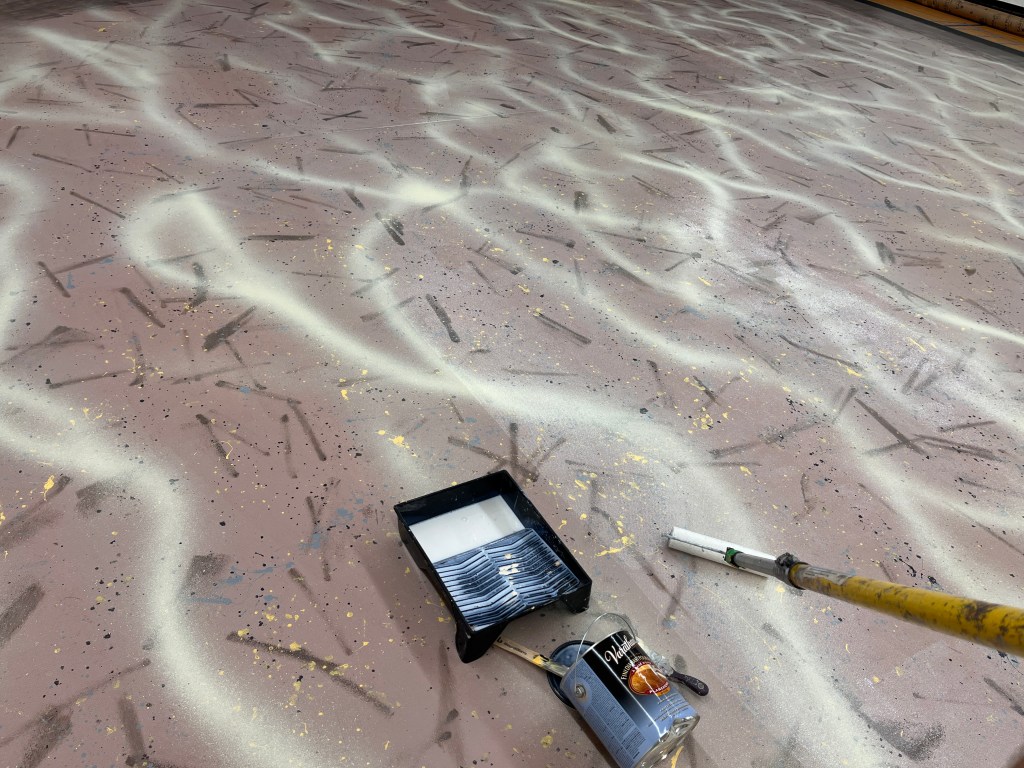
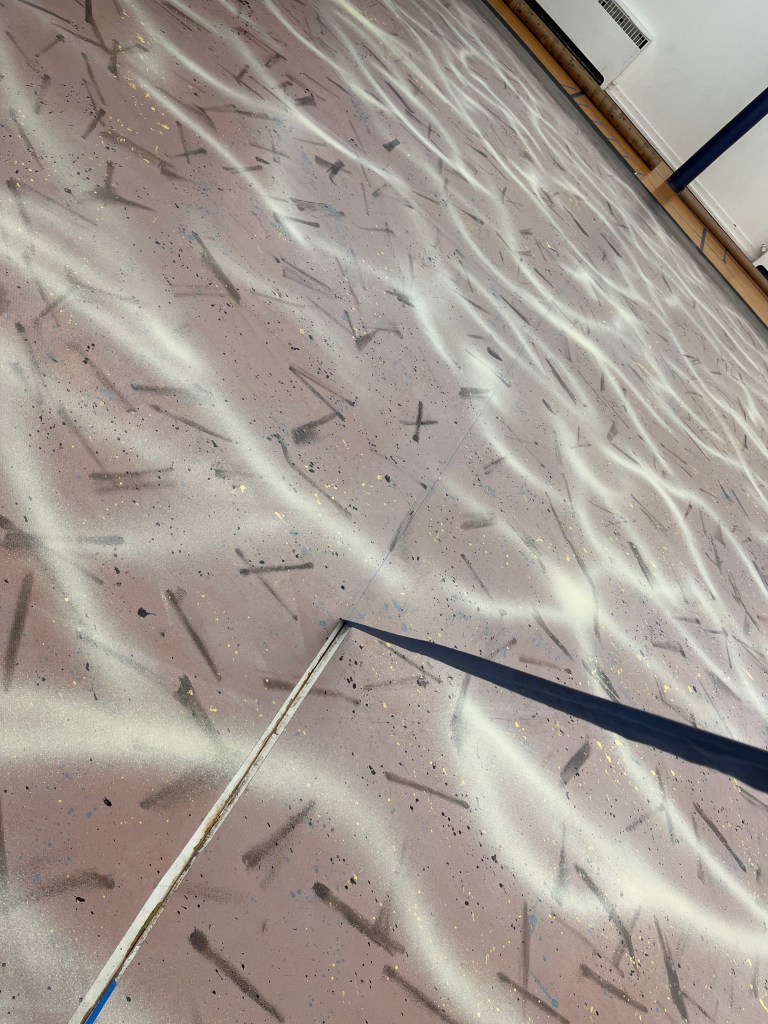
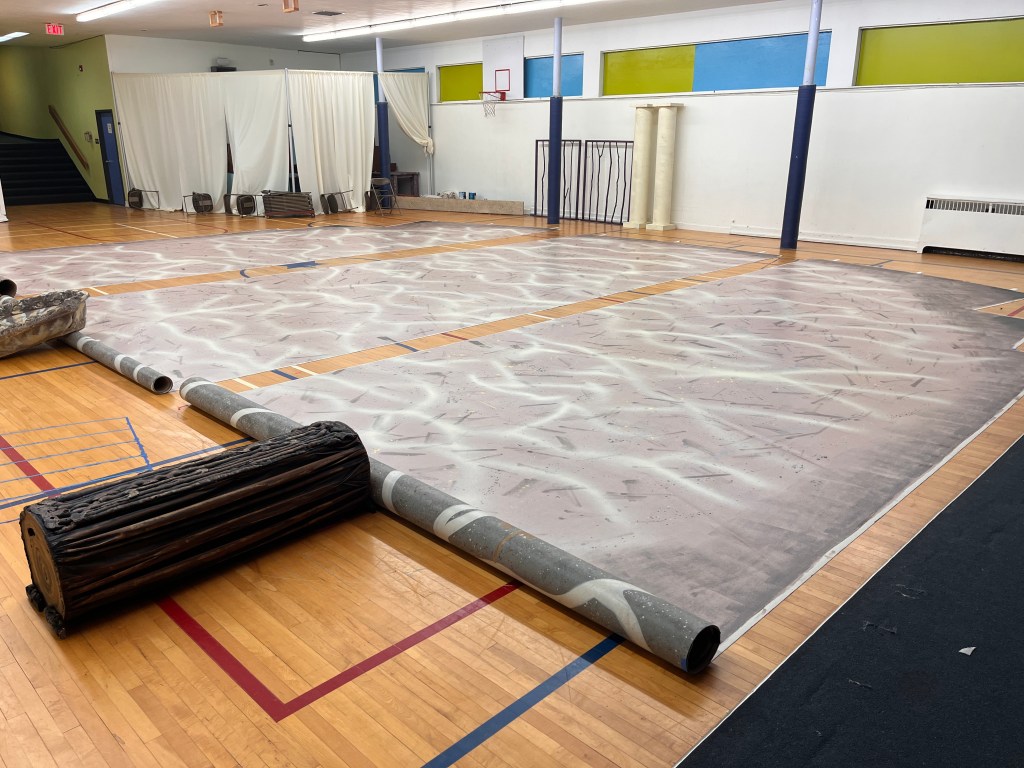
And last but not least, the piece de resistance, the vinyl floor!
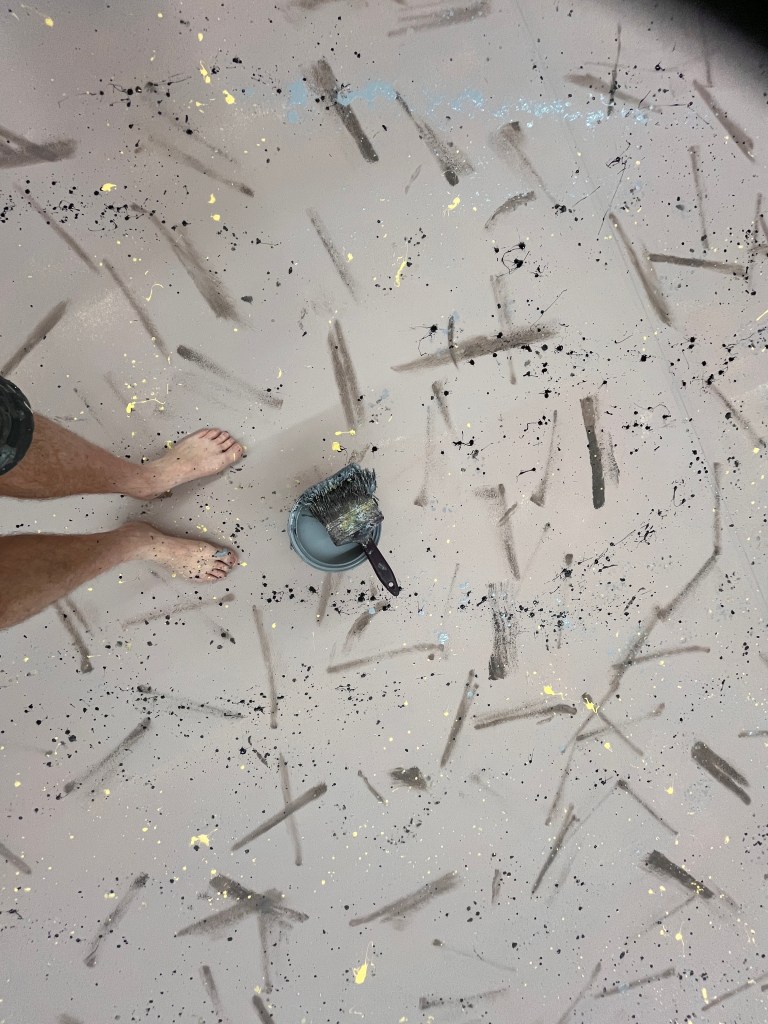
This was my 3rd time painting this large chunk of sheet vinyl in the school gym. On Friday night I did the base coat and all the texturing, let it dry overnight, and on Saturday I put a clear coat on it and prepared it for rolling up on Sunday when the cast was back. I was going for a sandy ocean floor but I added some “wavy light” lines with my spray gun, which seemed a tad bold at the time but I think it really worked out well.
What generally works for me when buying floor paint, is that I go to my local pro paint store (Cloverdale Paint where I rarely shop because their paint is so expensive, but it’s also very good quality and I know it will stick nicely to the vinyl). They usually have a variety of 5 gallon pail “mistints” that are very reasonably priced. I buy a few other 1 gallon mistints and mix my own base colour and go from there. In this case I was quite worried that my mixed base colour turned out too pink, so I added quite a bit of texture over it, and it turned out very good.
And then finally it was load-in day! Due to the nature of the set design, there was no large structure to build on site! So it was a matter of laying down the floor, painting the seams, and sliding all the set pieces around while V built lights. I also repainted part of the stairs. (I should mention I didn’t paint much of the set at all actually – a parent volunteer did most of it and did a fantastic job).
More production photos to come, hopefully! But here is the last scene with the kids (all 70 of them!) before we took it all down:
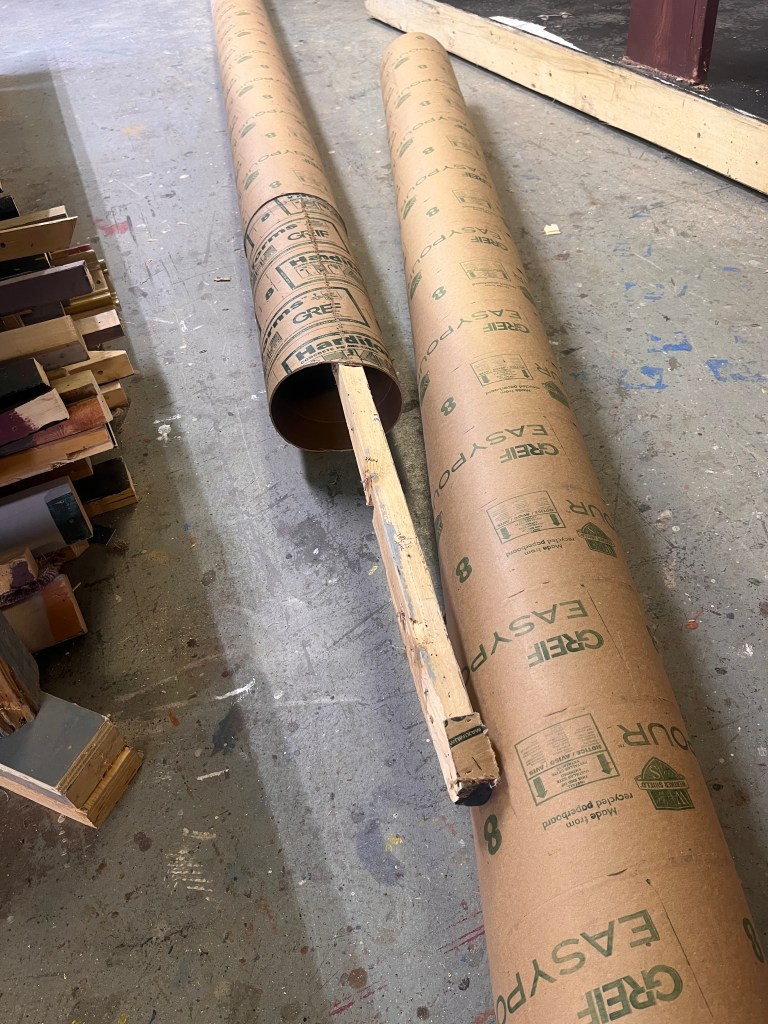
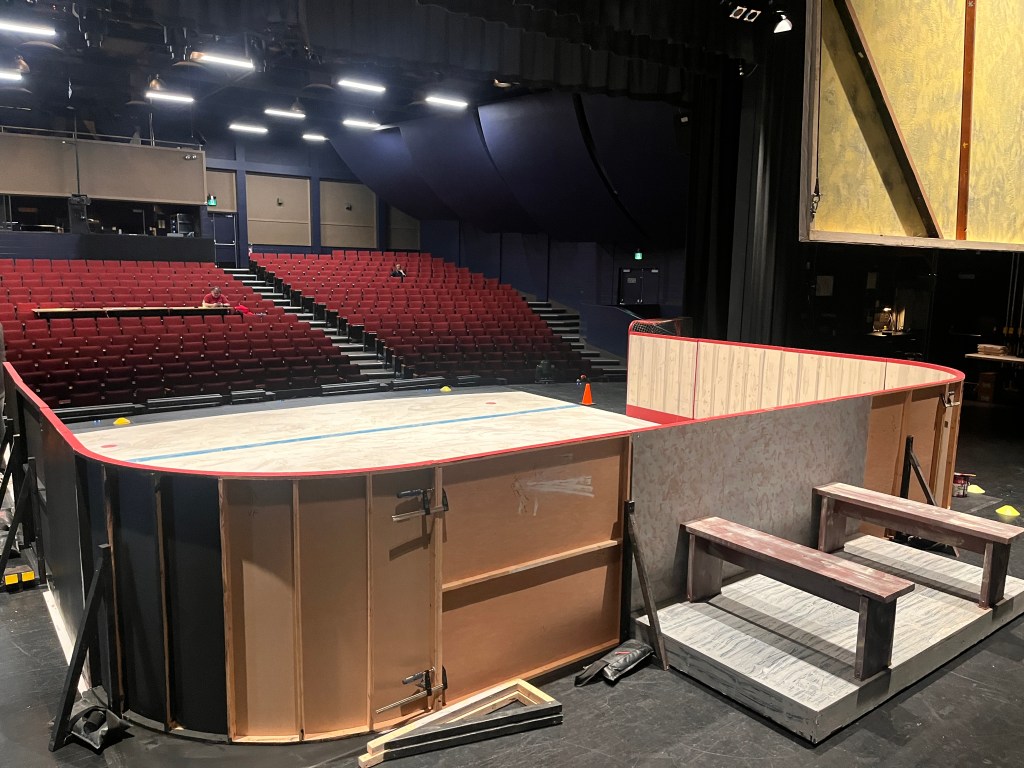
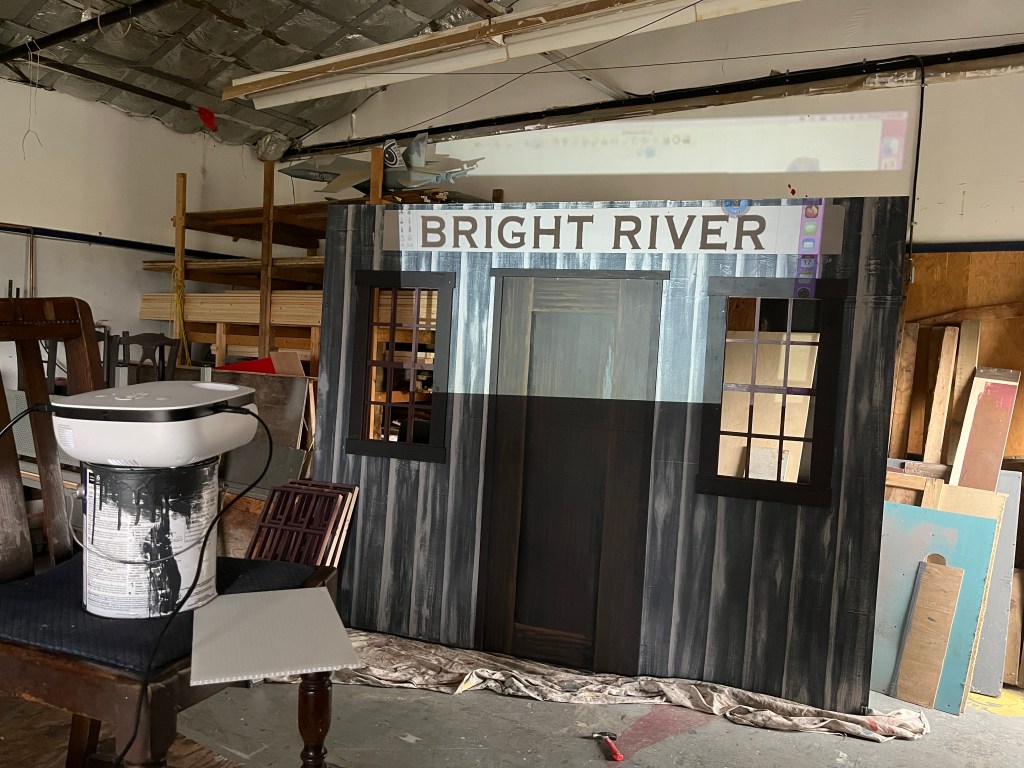
Gallery 7 Theatre recently presented a play called Glory by Tracey Power. On the surface it is a hockey play about a very succesful women’s team that played in Ontario in the 1930’s. It has a variety of themes, however; and is a different type of play than many I’ve seen. I was tasked with building the (simple) set and as our set designer was out of commission at the time, I also took on the painting and a few of the projections.
Director is Gabe Kirkley, and set designer is Jeff Kiers.
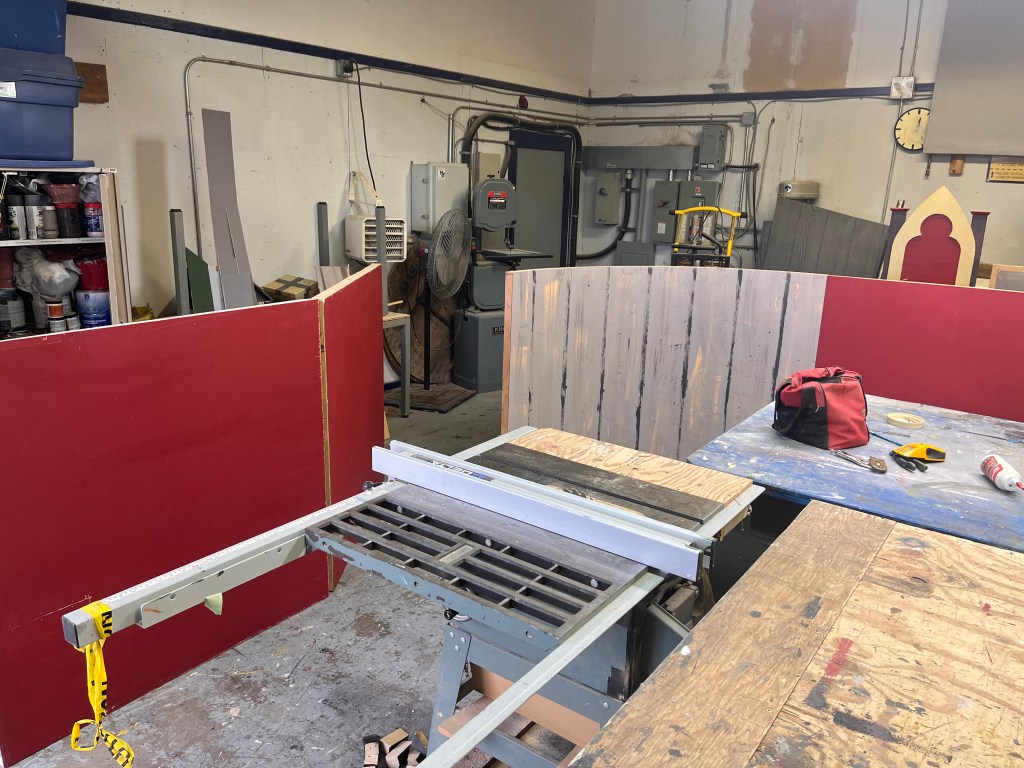
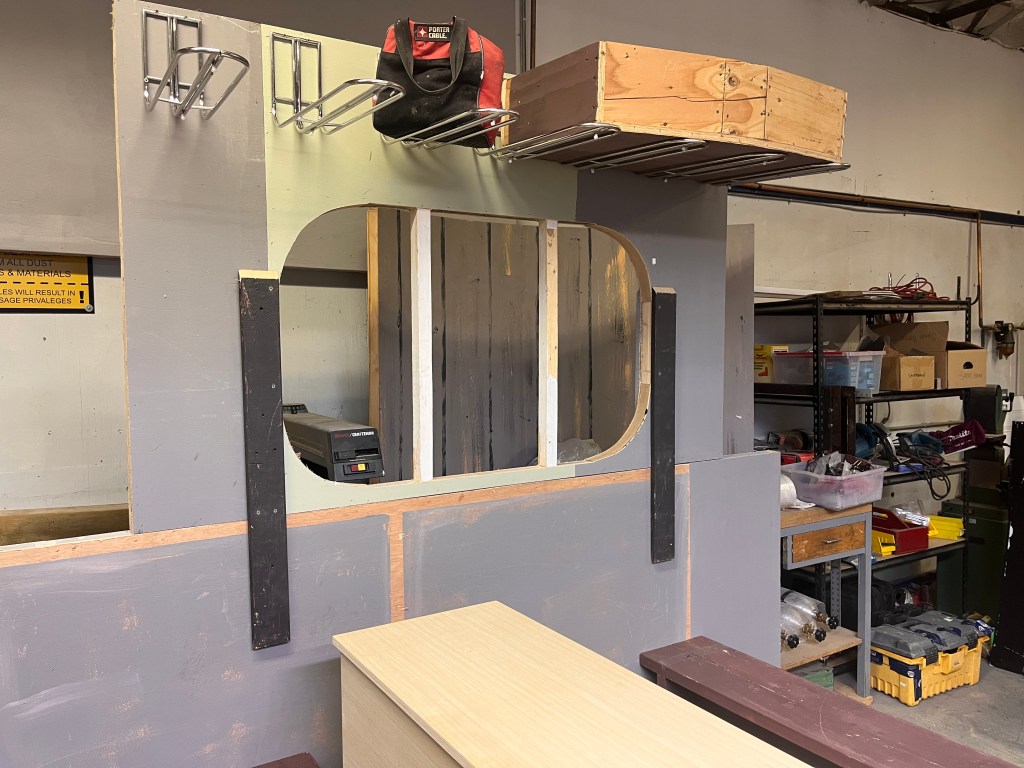
Here are some photos from the build.
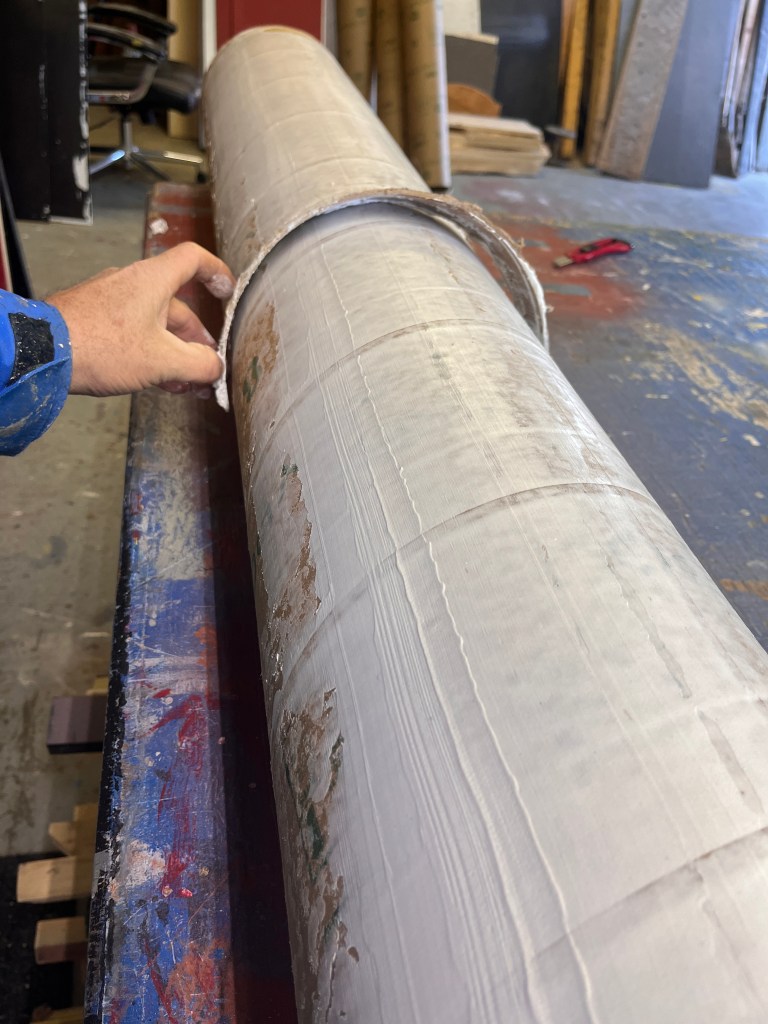
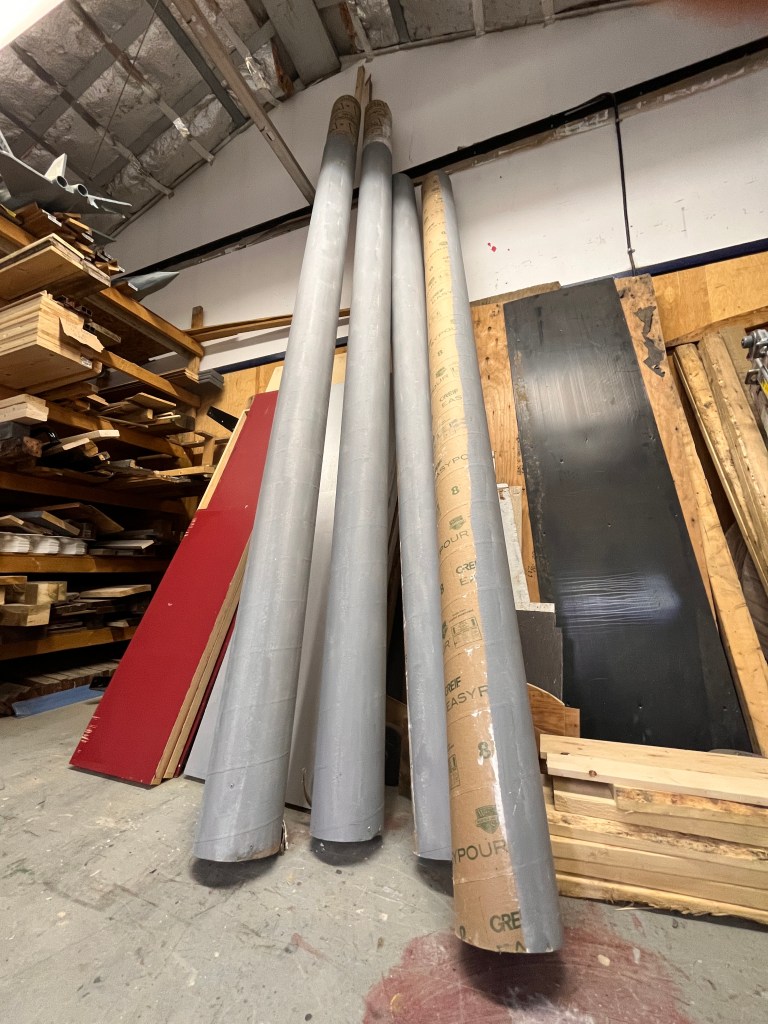
joining 2 12-foot sonotubes with a smaller sonotube “sleeve”
As you can see it is basically a hockey rink with some furniture. A few more photos once painting started:
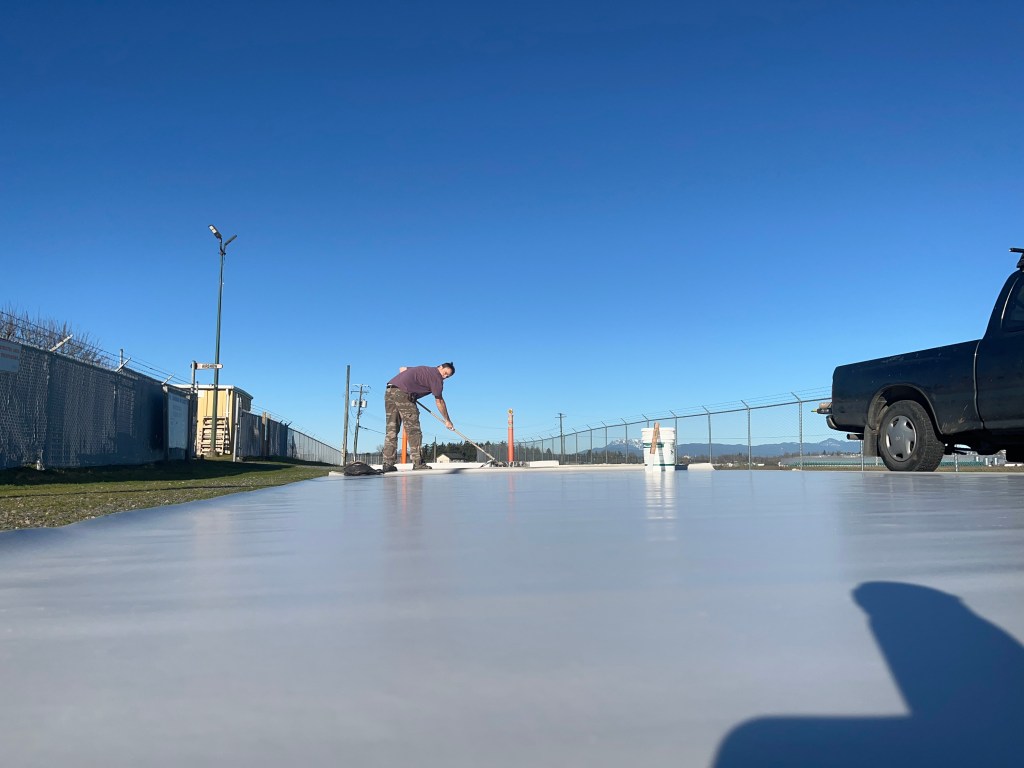
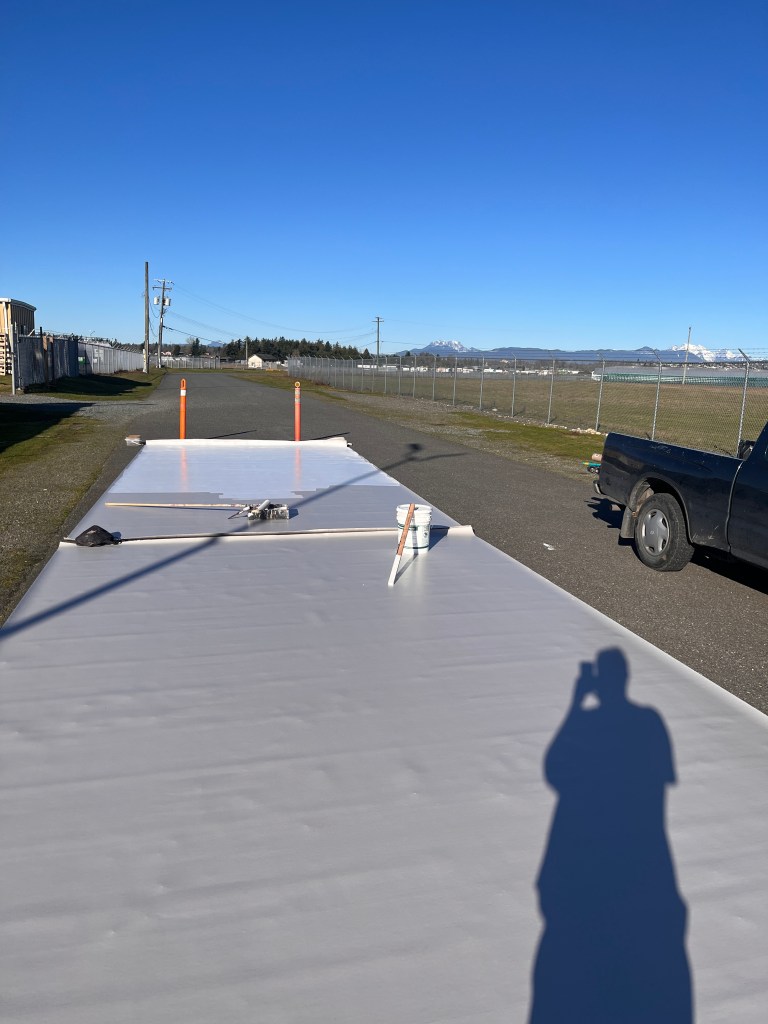
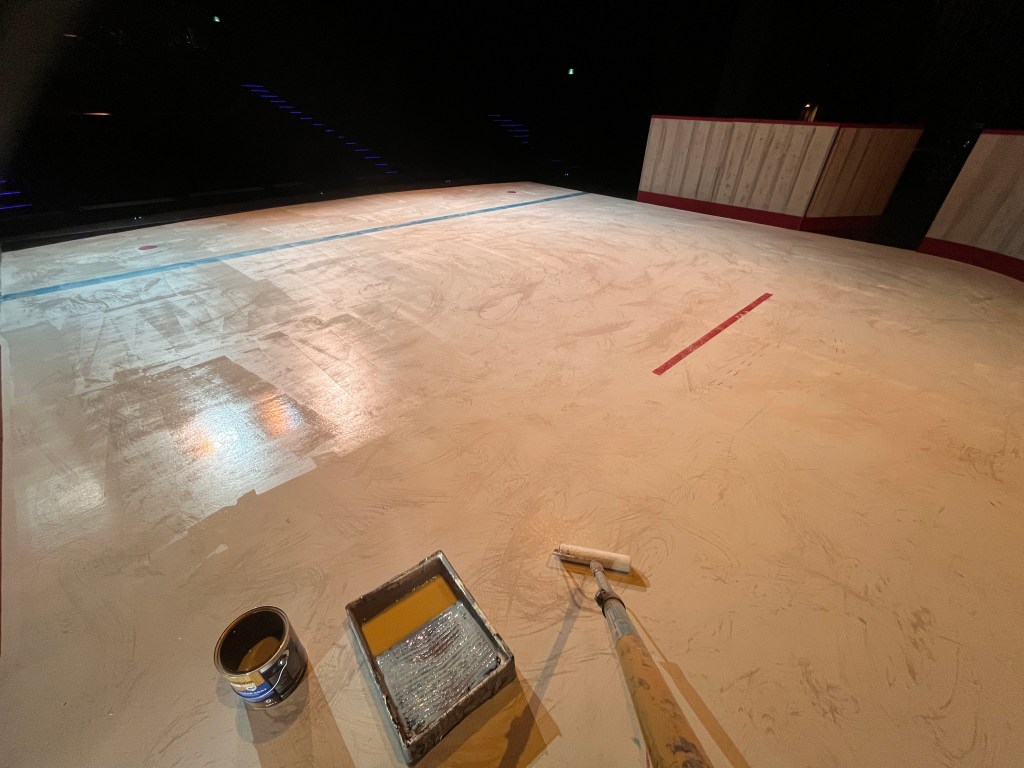
blessed with a dry sunny day in January to put a base coat of paint on the vinyl
And a few photos from tech week:
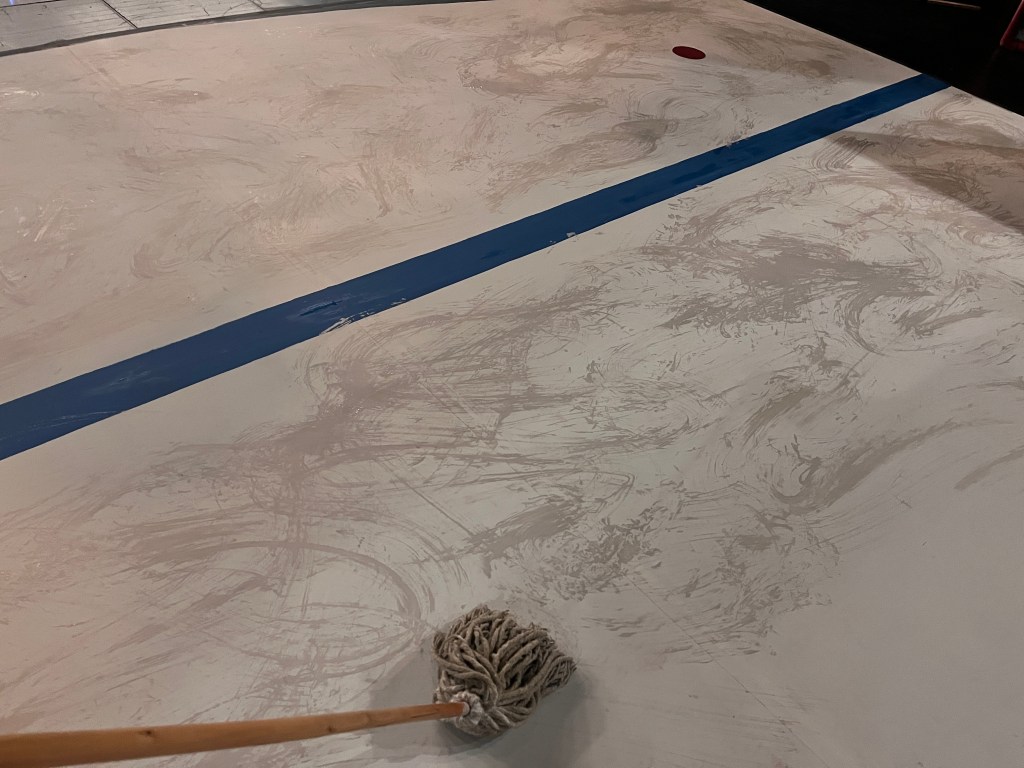
taping the seam in the “ice”Adding some texture to the paint with a mopadding a semi gloss floor coating to make the “ice” shiny and slippery. needed 2 coats
The “ice” turned out better than I expected. We used cheap sheet vinyl sourced from our local End of the Roll. I painted the bottom of it a light grey (it still looked bright white under lights). Then added some other colours to make it look dirtier, a couple coats of clear coat to protect it… it lasted the whole run but definitely got scuffed up by the hockey sticks and boots.
My first build for Theatre in the Country (TIC) is in the books! Charley’s Aunt is now playing in Langley: http://www.theatreinthecountry.com
It was a new experience for me – building on site instead of in a workshop – and with quite a large team of support, from carpenters to painters to set designers and set decorators – many of them volunteers. Combined with a simple set plan, it all came together relatively quickly.
It’s a funny play with some strong lead characters and delicious plot twists.
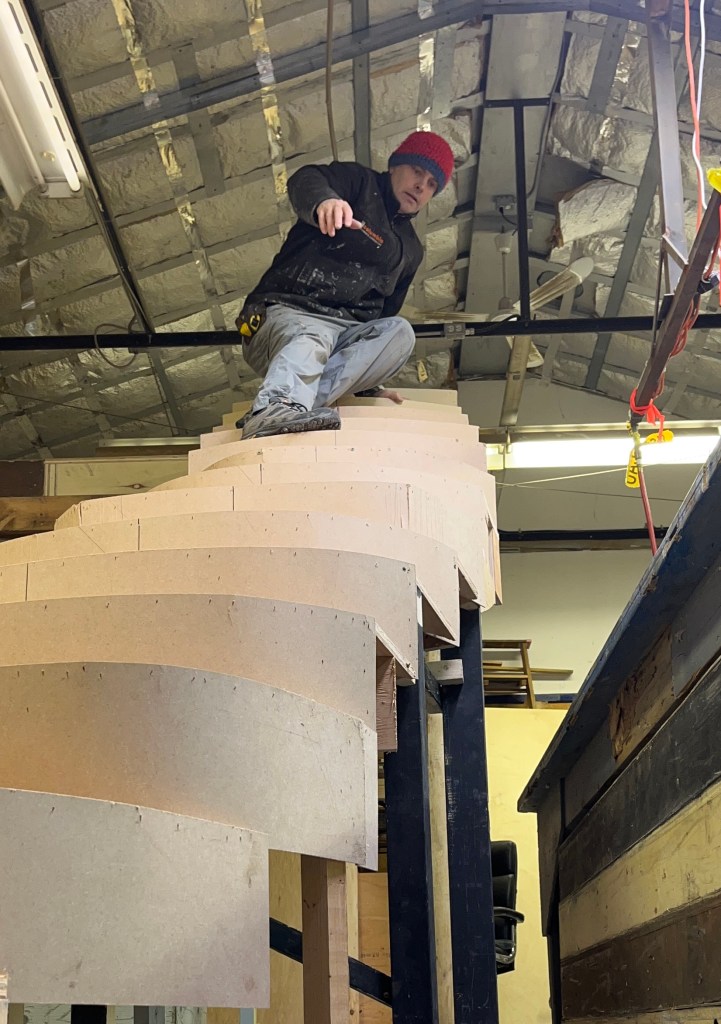
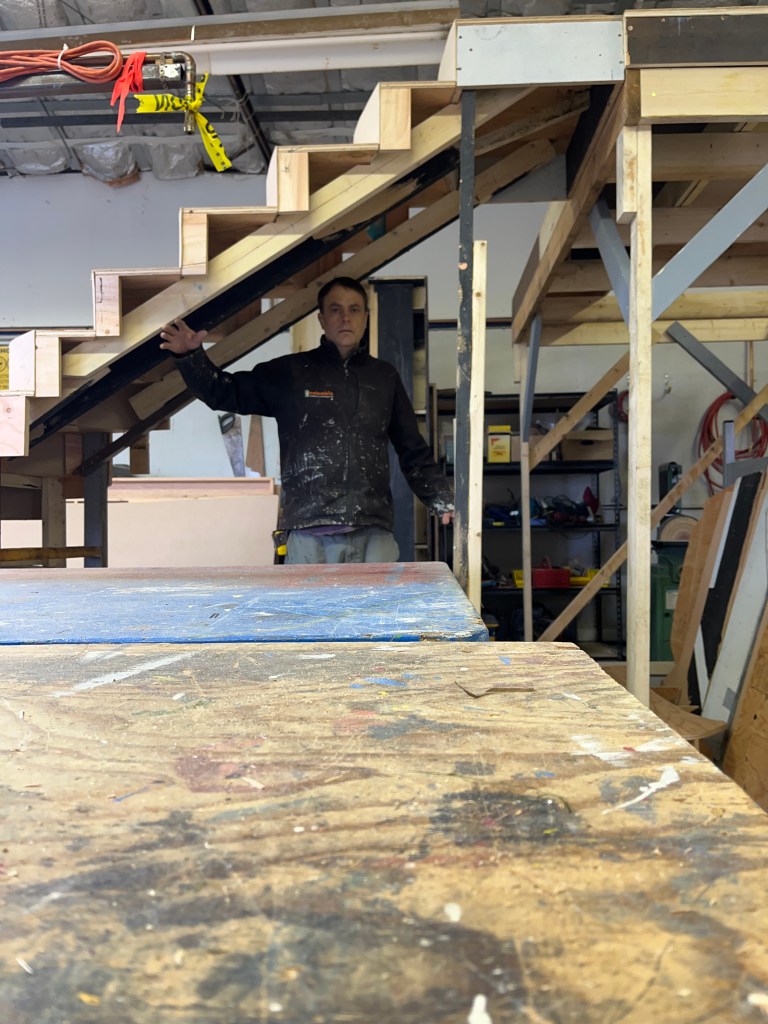
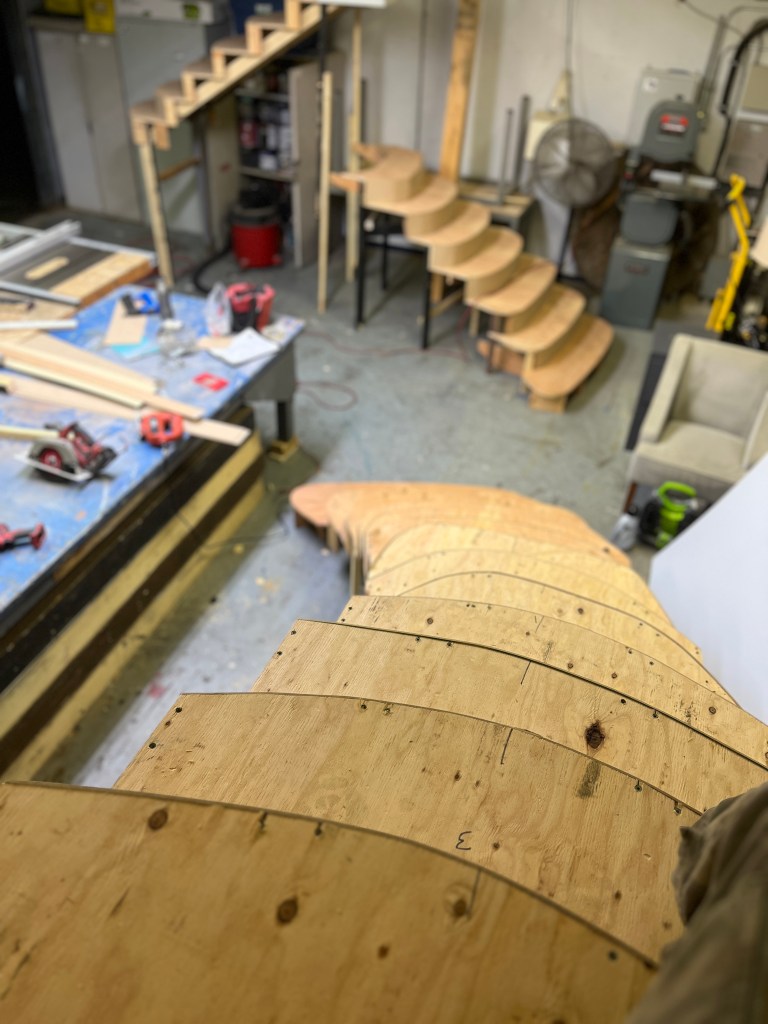
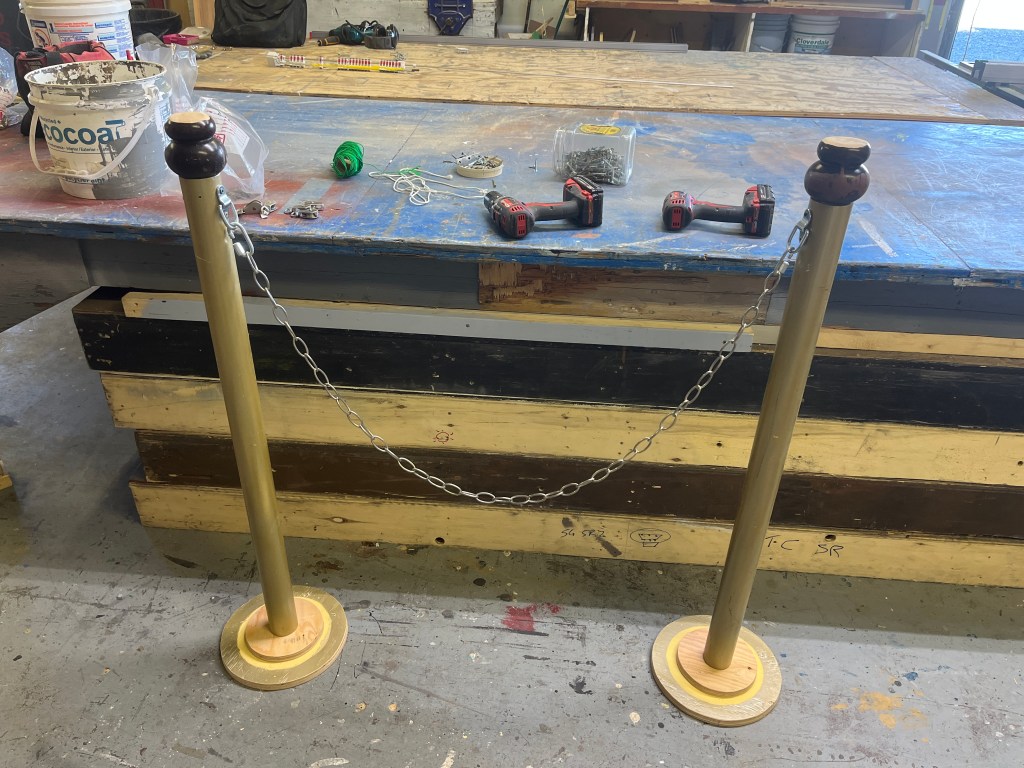
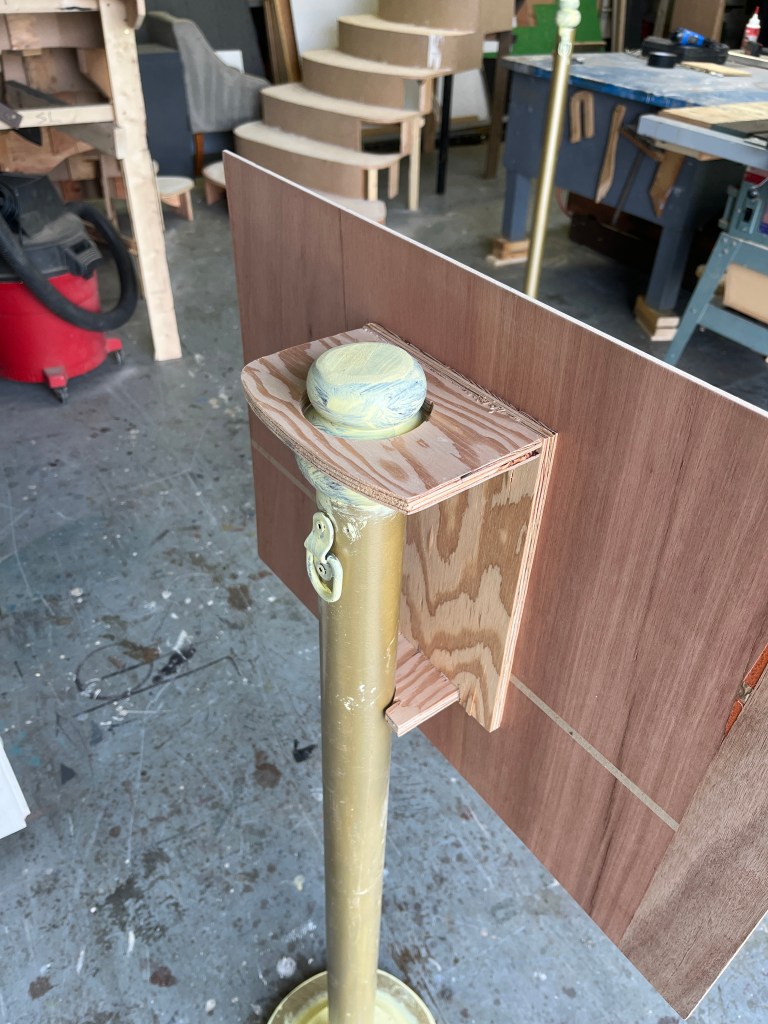
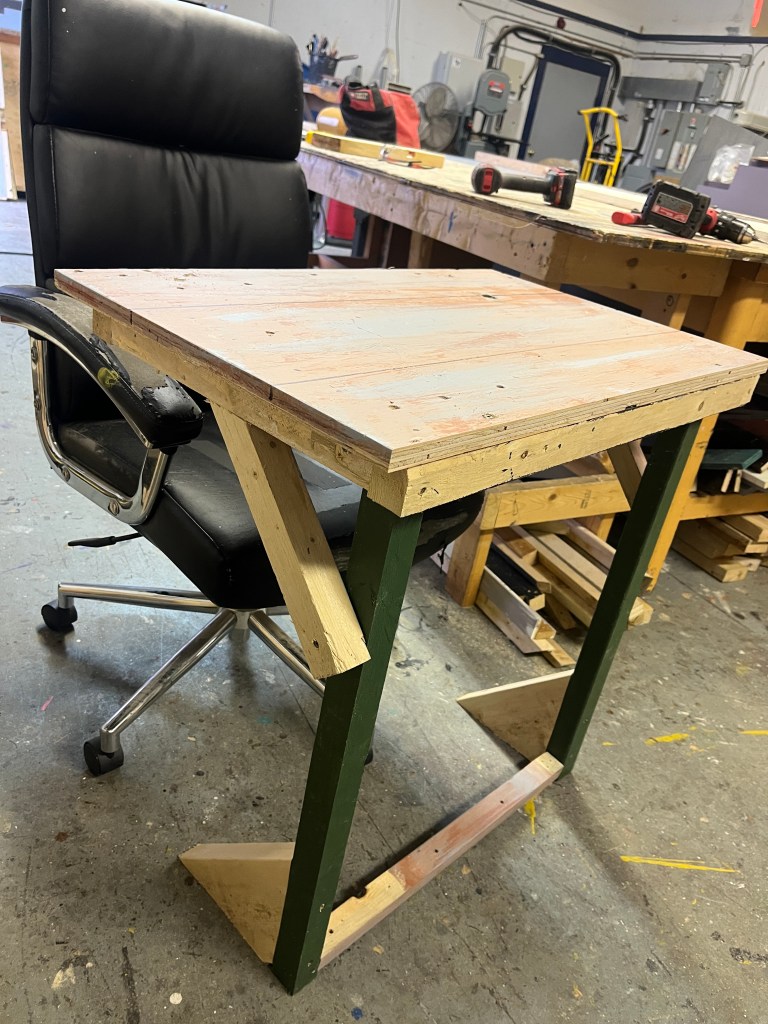
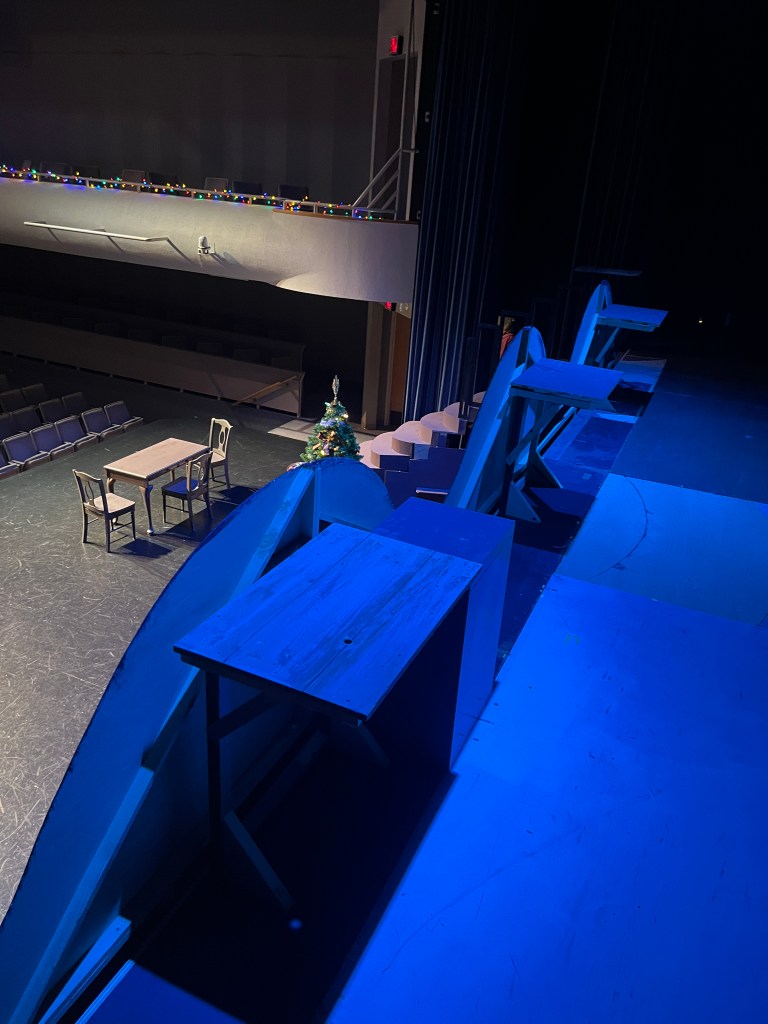
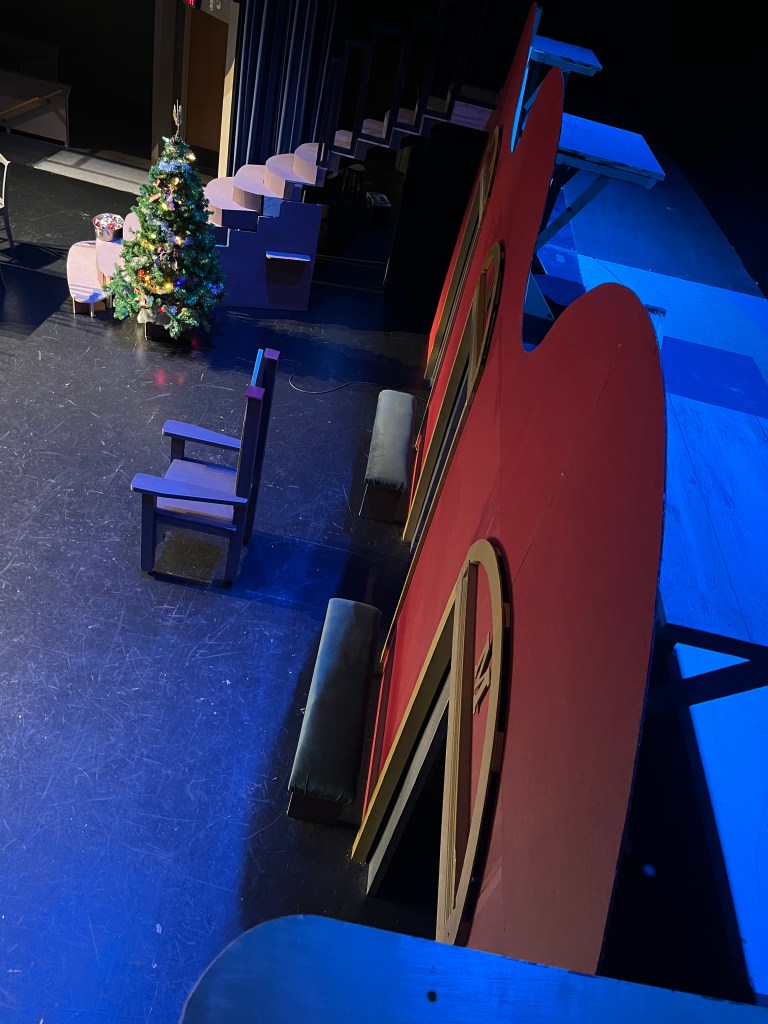
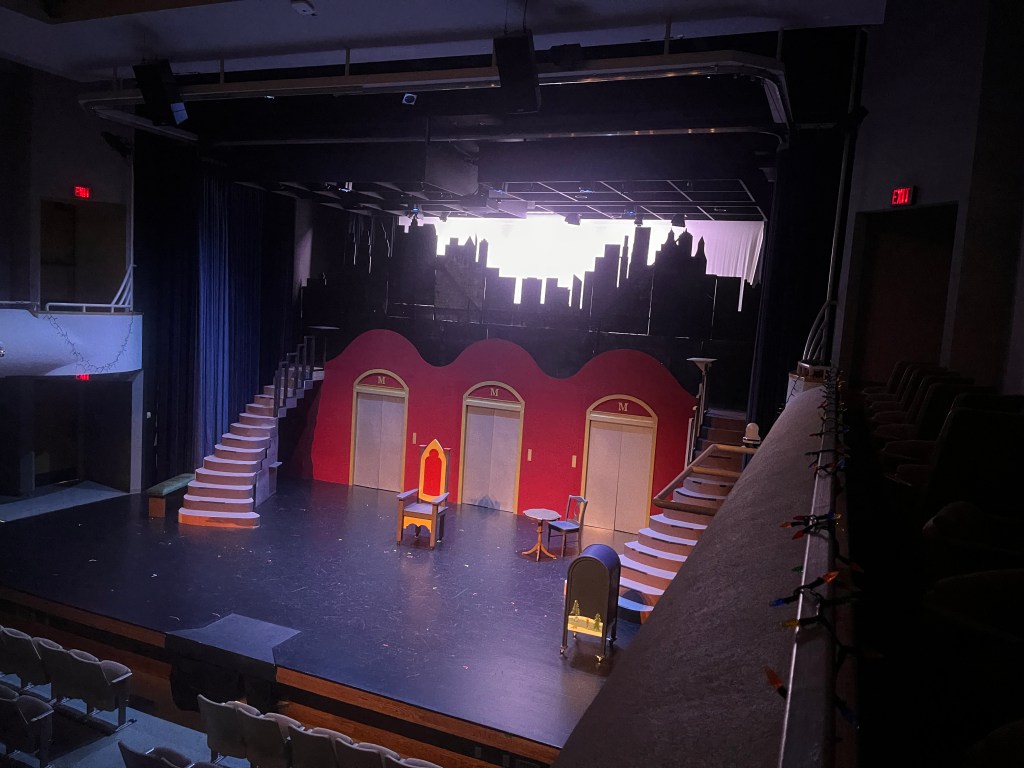
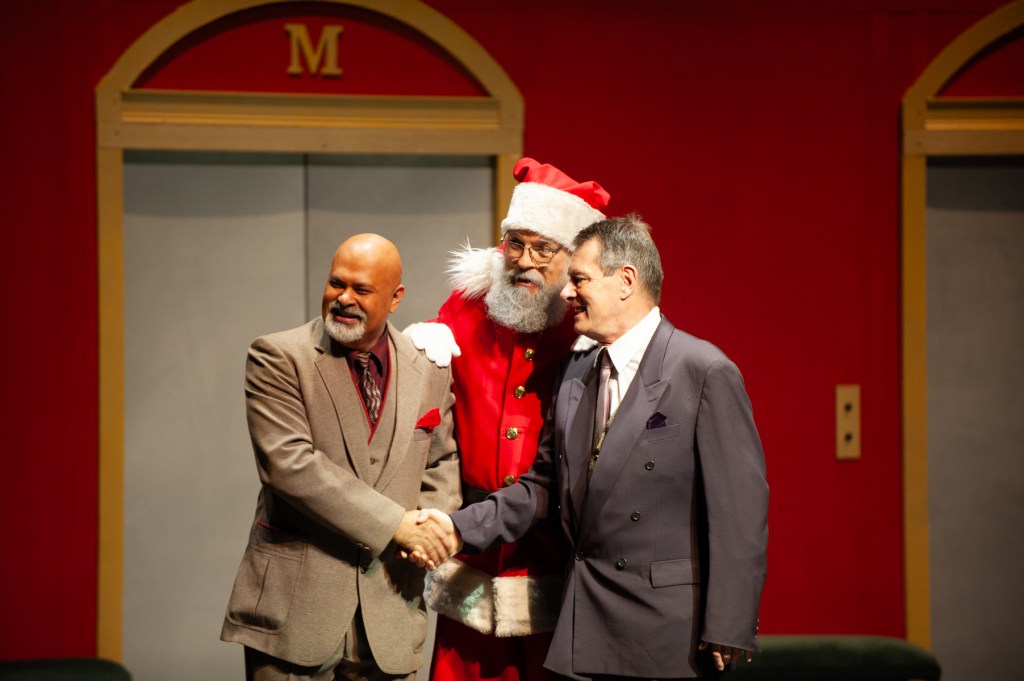
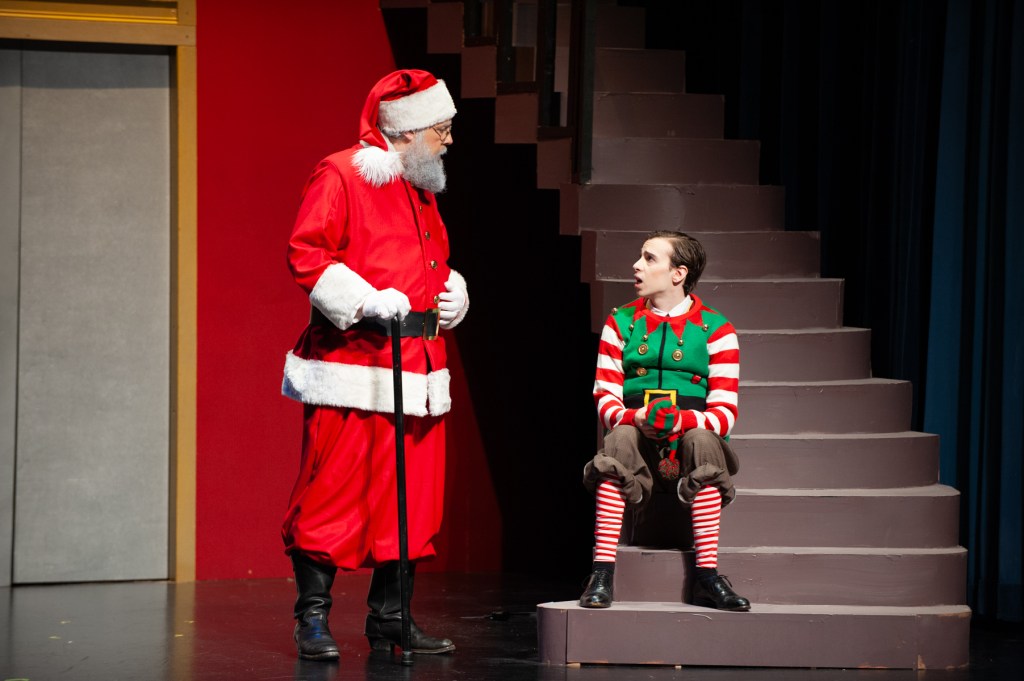
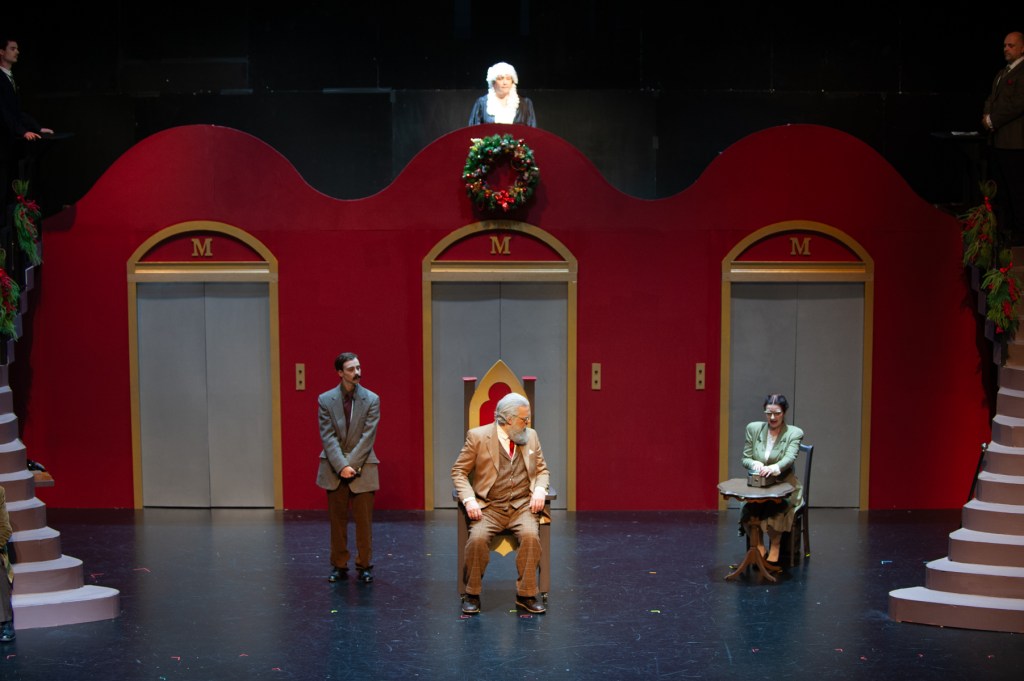
Gallery 7‘s nearly-sold-out production of Miracle on 34th St runs for another week. Here are a few build photos.
Set Design is by Sheldon Jeans, Director is Sarah Green.
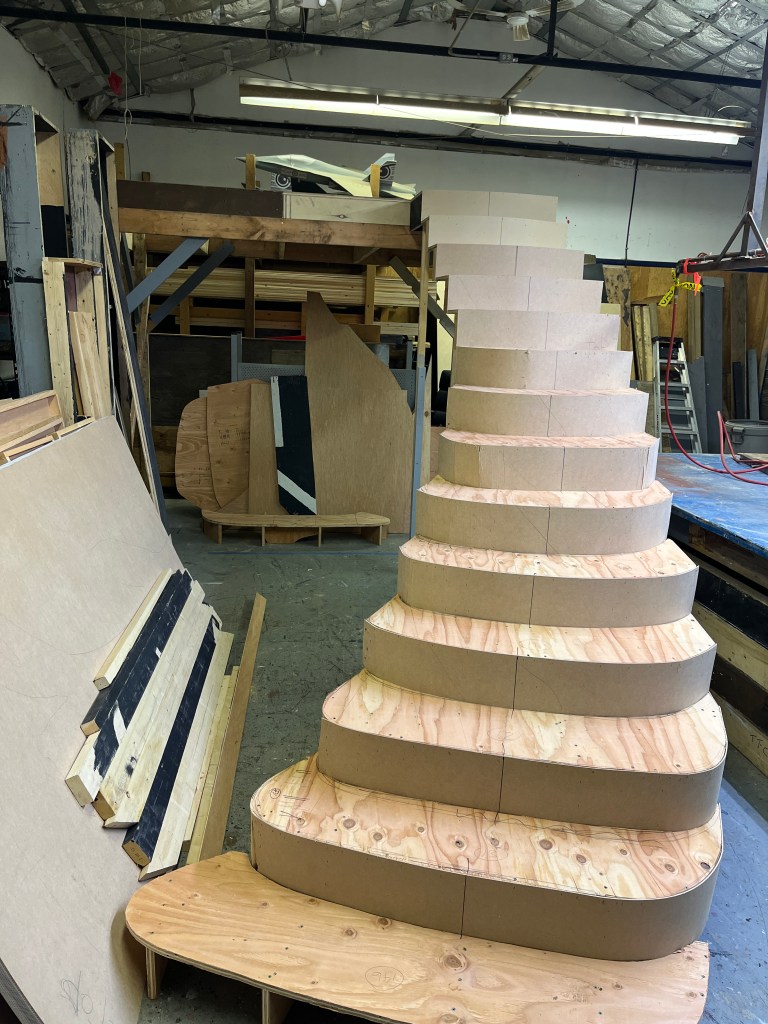
Stairs, stairs and more stairs… it took 5 days in the shop to make mirror sets of these: 14 curved steps, had to be portable, had to be able to walk under the top part…
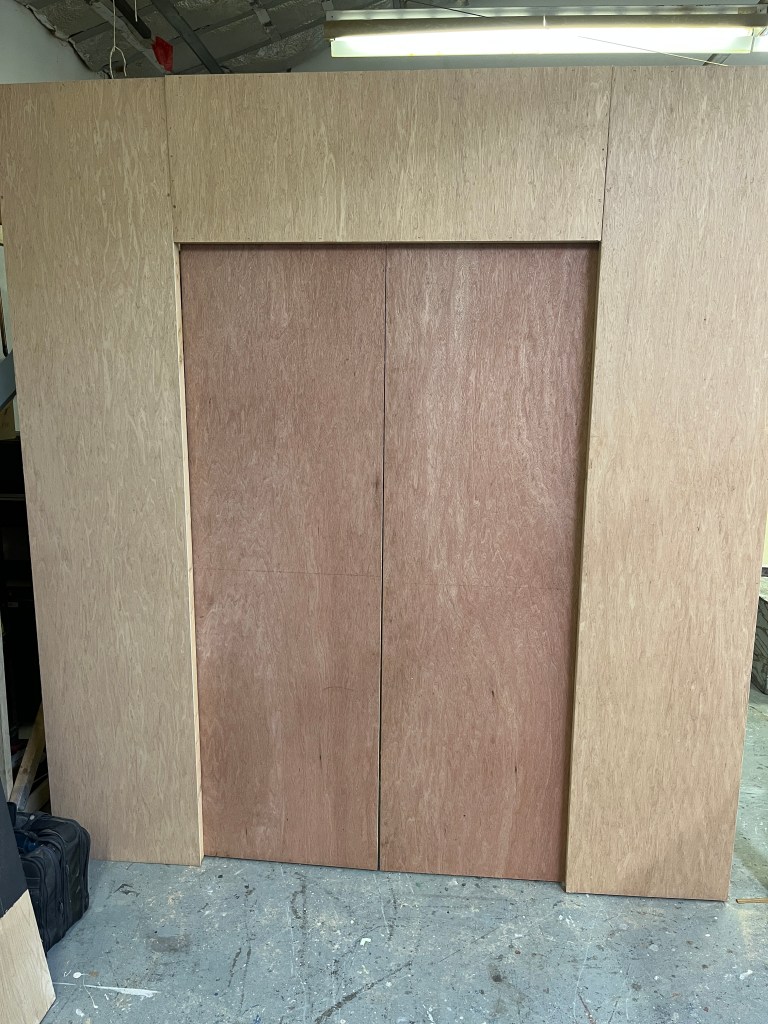
Then there were some curvy flats with 3 elevator doors (thanks to my dad for helping with those!), some stanchions, a “Macy’s” cut-out, and (les Pièce de résistance) 3 ugly desks.
what do you think? am i up for the “desk maker of the year” award??
Alright… how did Dalton manage to get on here twice?? (not that he didn’t deserve it) (truck ad: load-up day)
The coroplast cityscape gave us a few problems. It needed extra reinforcement because it was sitting on the second story platform, which despite being quite solid, did move a little…just enough to make the cityscape “wave in the wind…” fortunately some of our volunteers were kind enough to come help fix (most of) that! Thanks Josh, Steve, and Chris!
The troublesomely ubiquitous elevator door hardware
It was a cool, abstract set–great design work by Mr. Jeans! However with the curved stairs, the large platform, the 40 foot wide x 19 foot high city-scape and the six elevator doors…it was time consuming to put together. Plus…I will not mention the half-unexpected mid-run strike! =)
Here is a time-lapse video I took of the main load-in day. It doesn’t show the final bit but you get the idea of the amount of work involved!
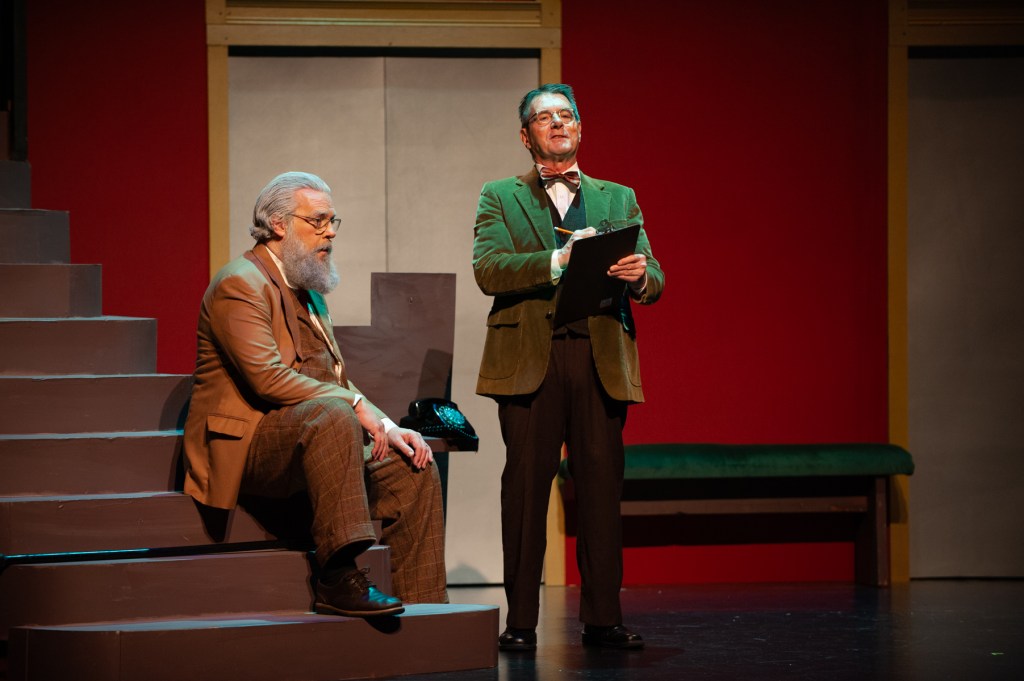
The following official Gallery 7 rehearsal/publicity photos are copyrighted and may not be altered or used for other purposes. They were taken by Dianna Lewis Photography. (Lighting by Arty Urdabayev, Directed by Sarah Green, Set Design by Sheldon Jeans, props by Evan Rachwalski, costumes by Kimberley Perkins, Hair and Makeup by Jessica Blanchard)
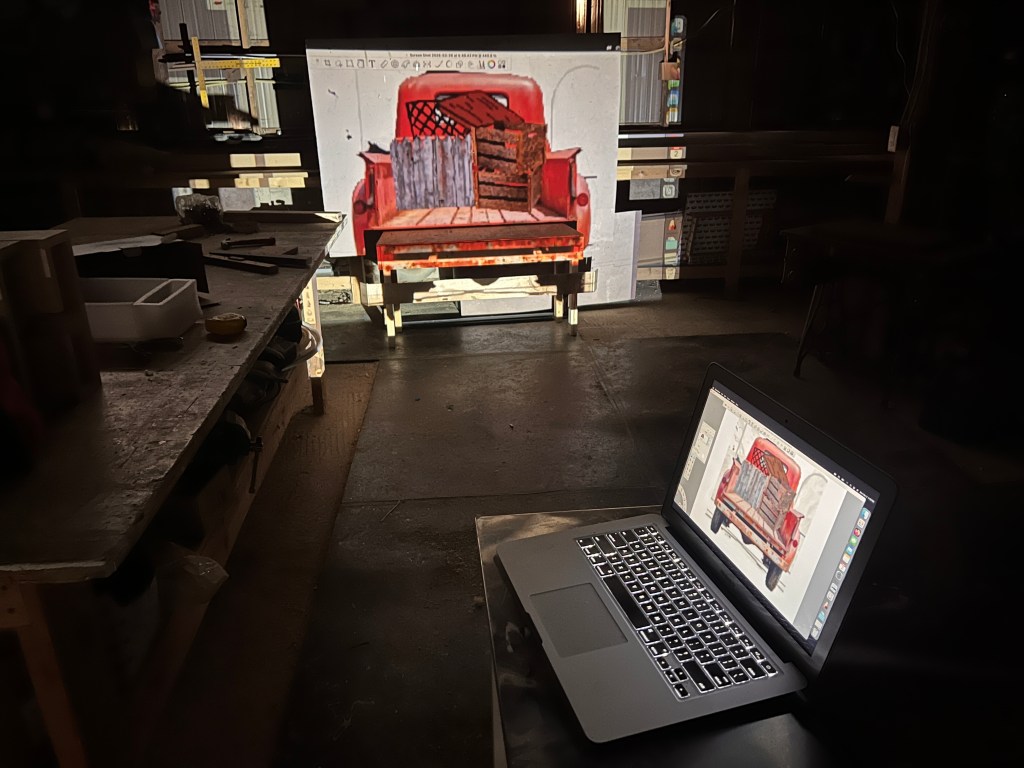
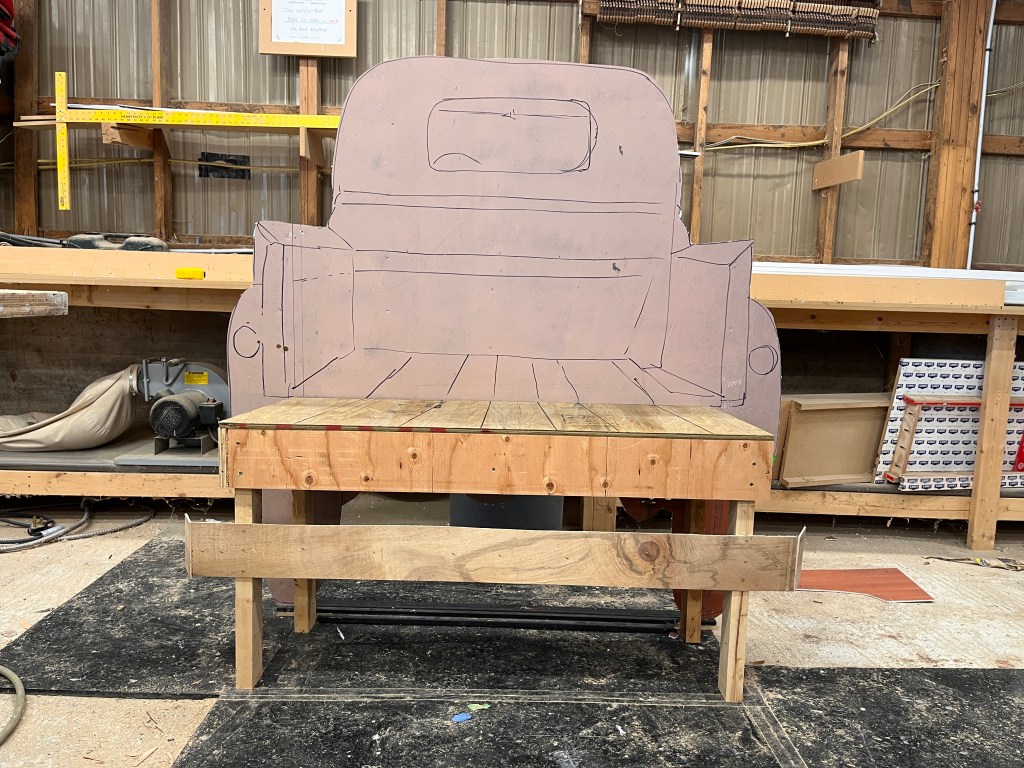
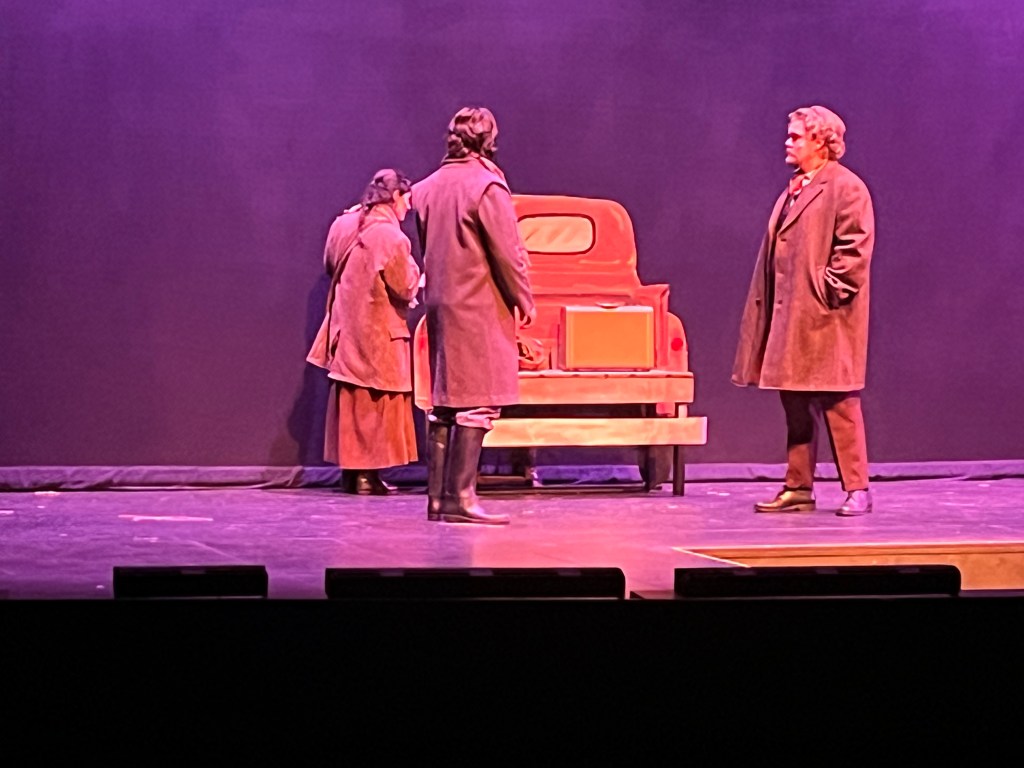
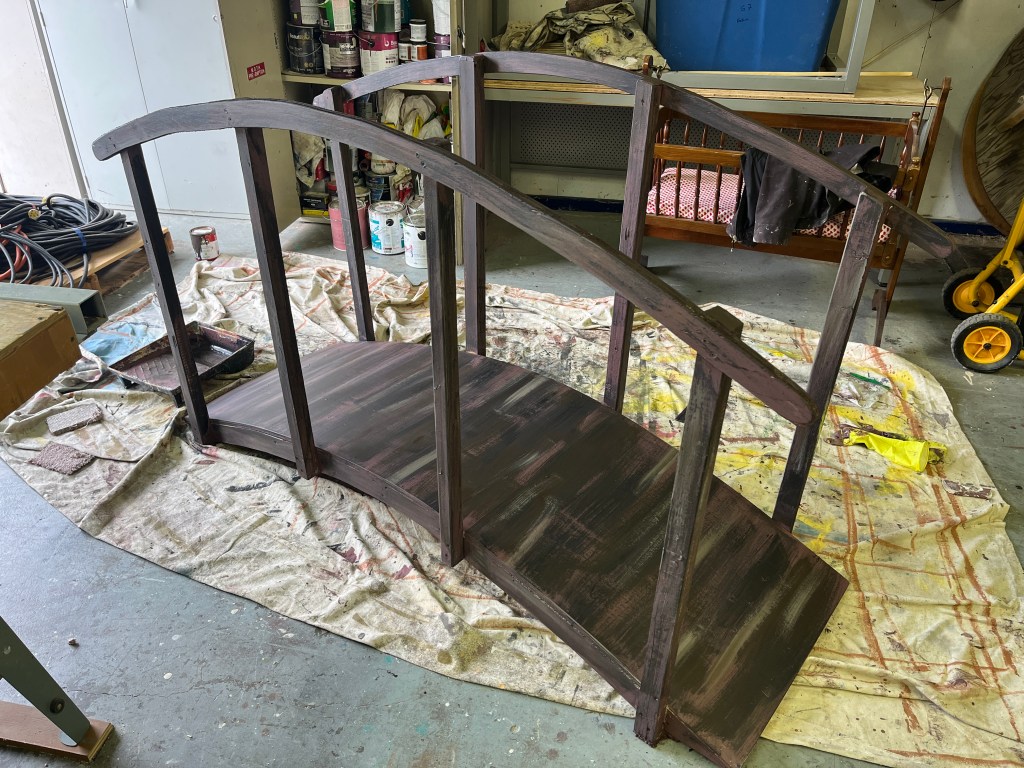
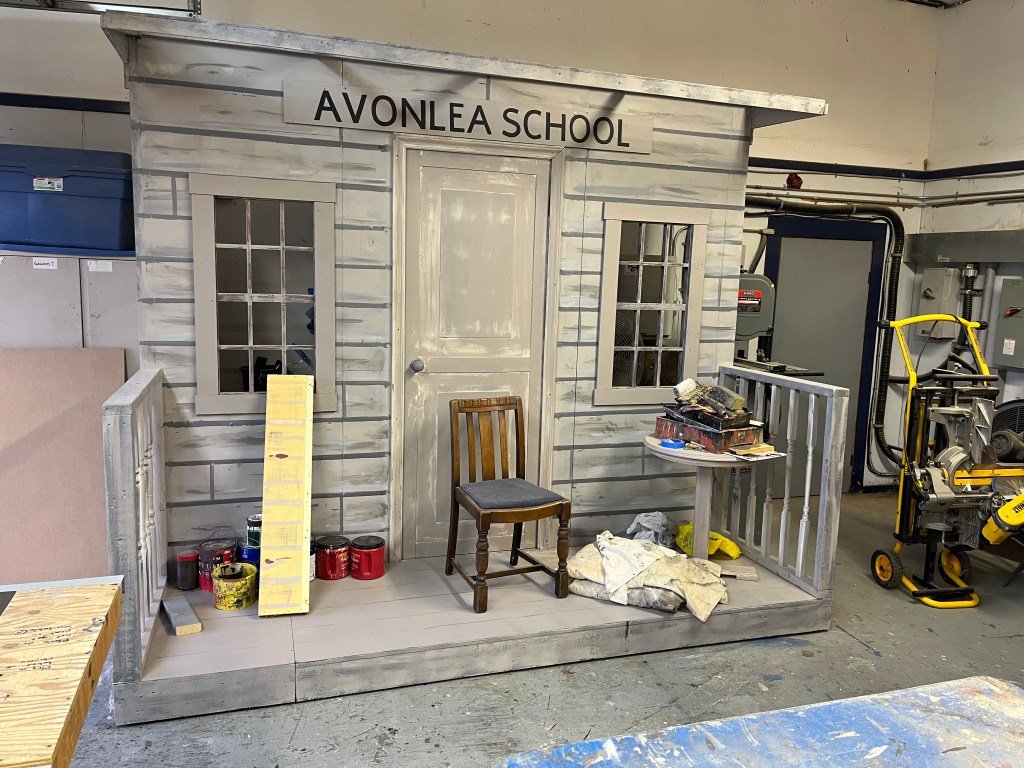
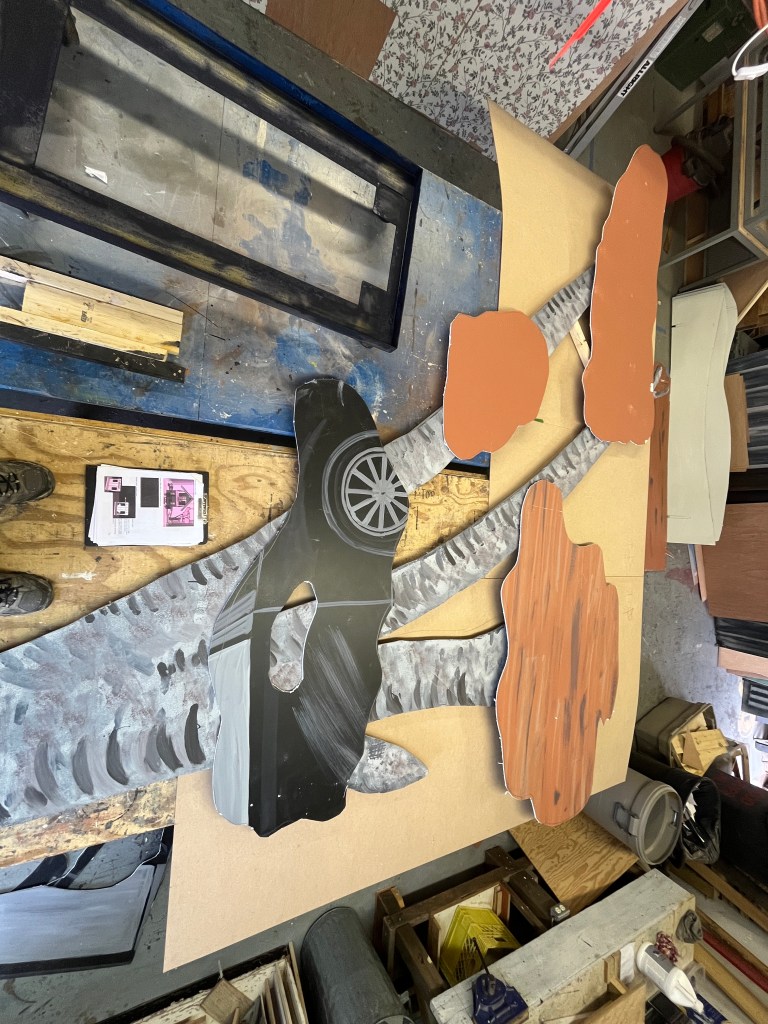
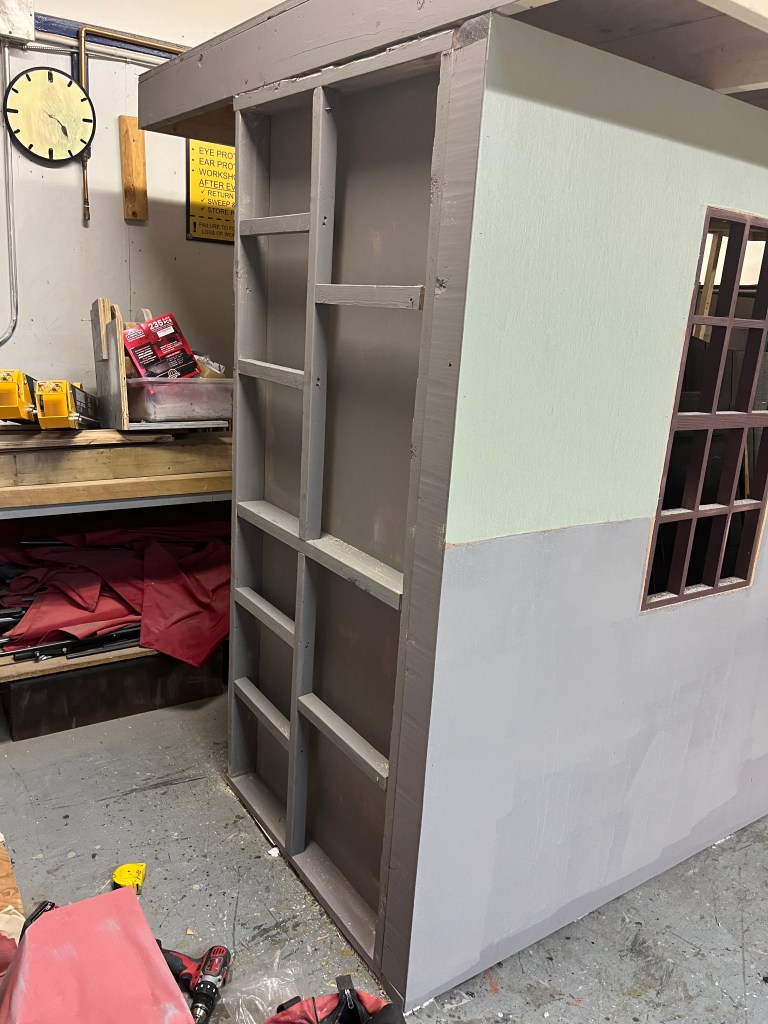
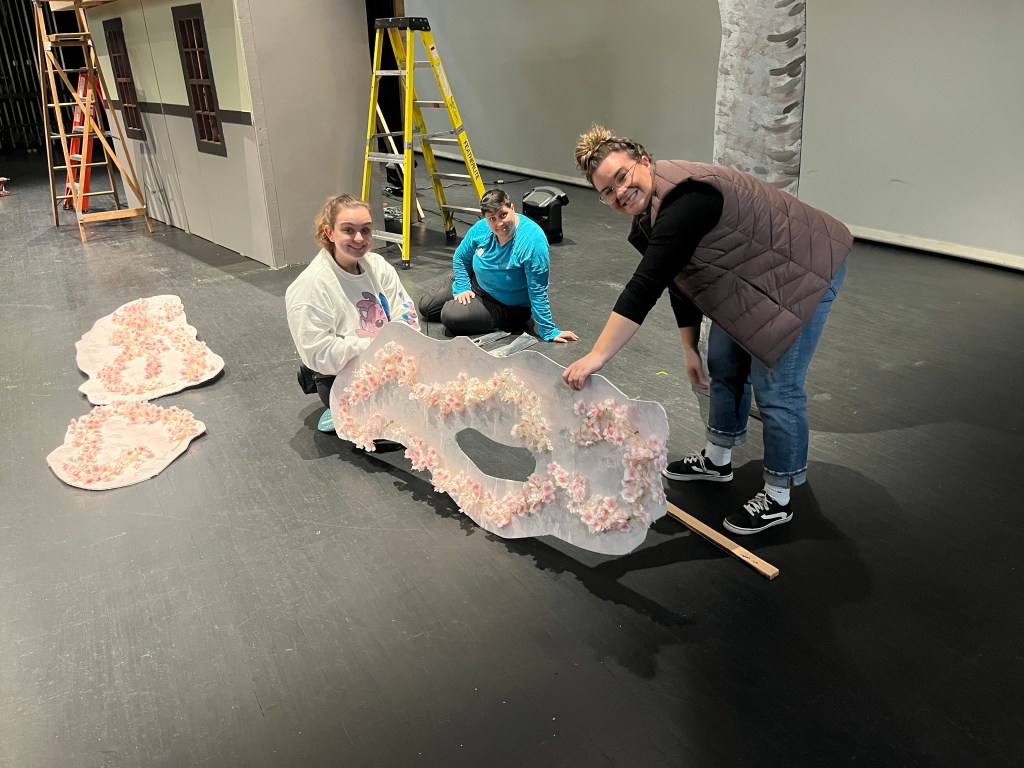
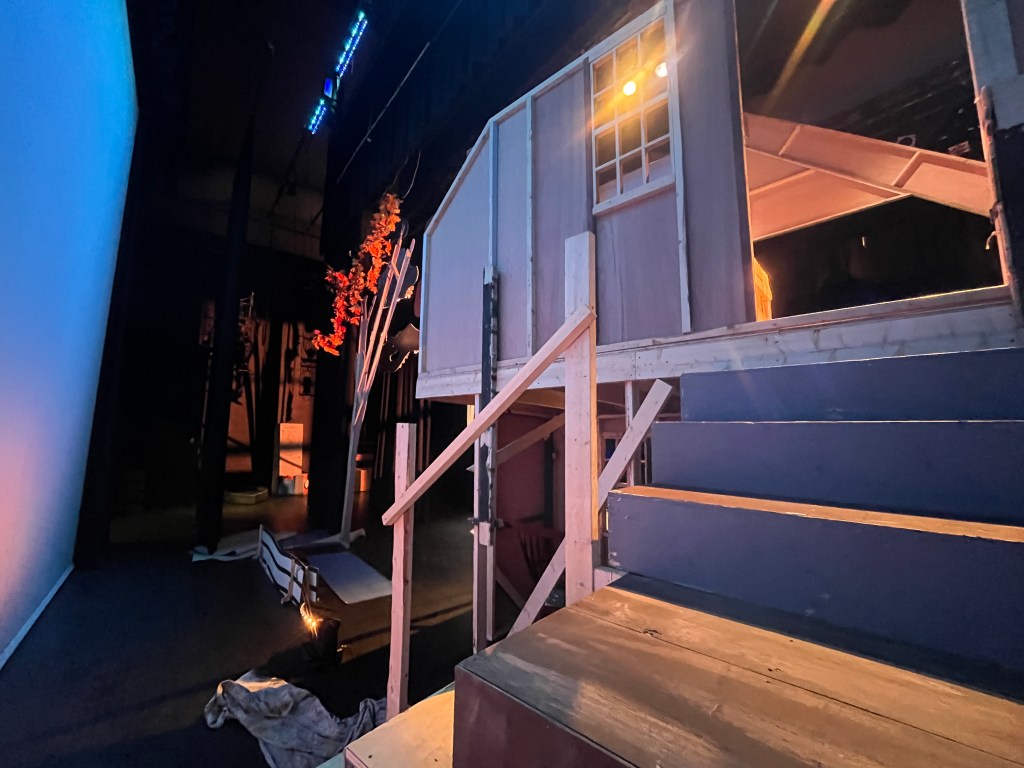
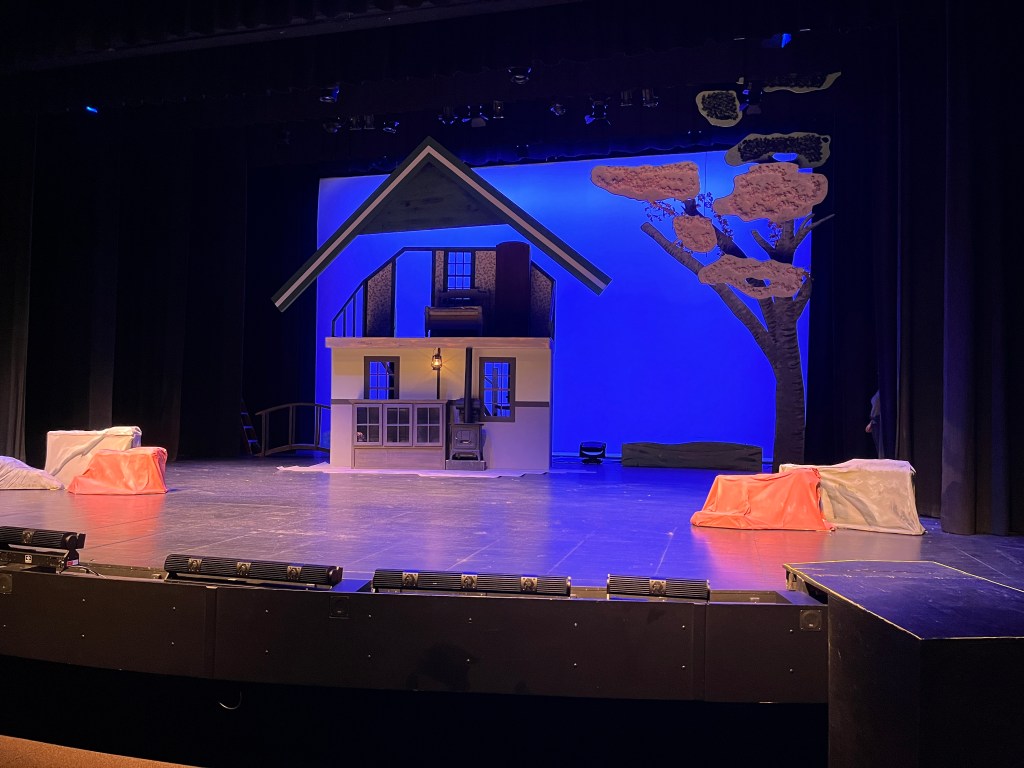
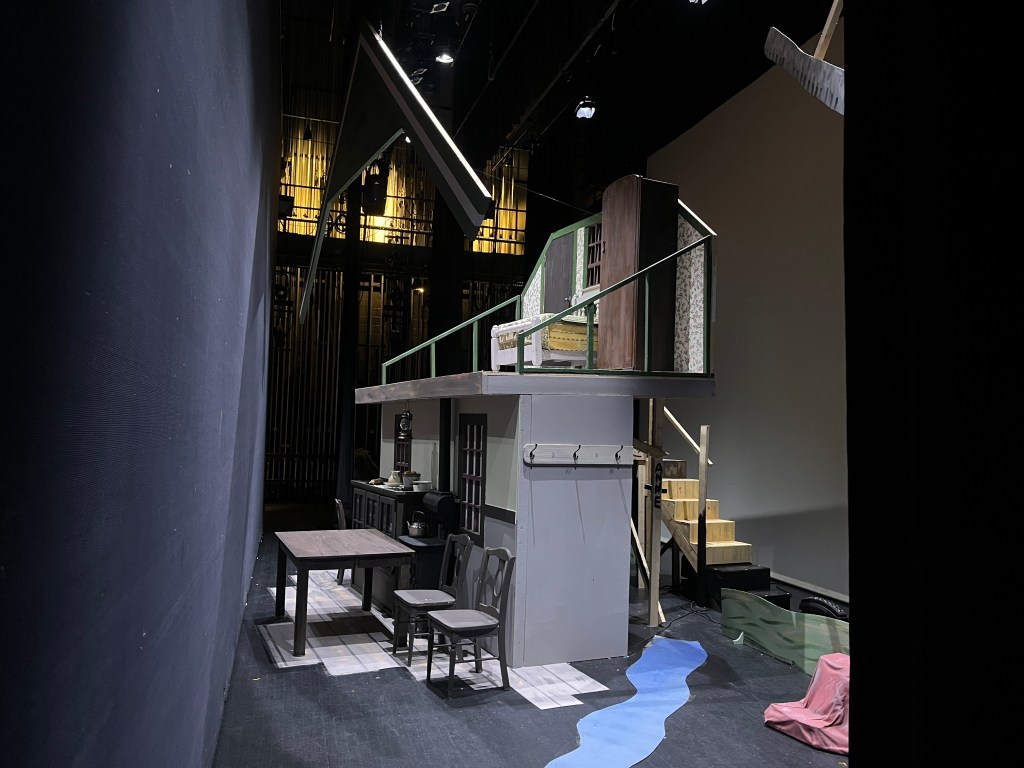
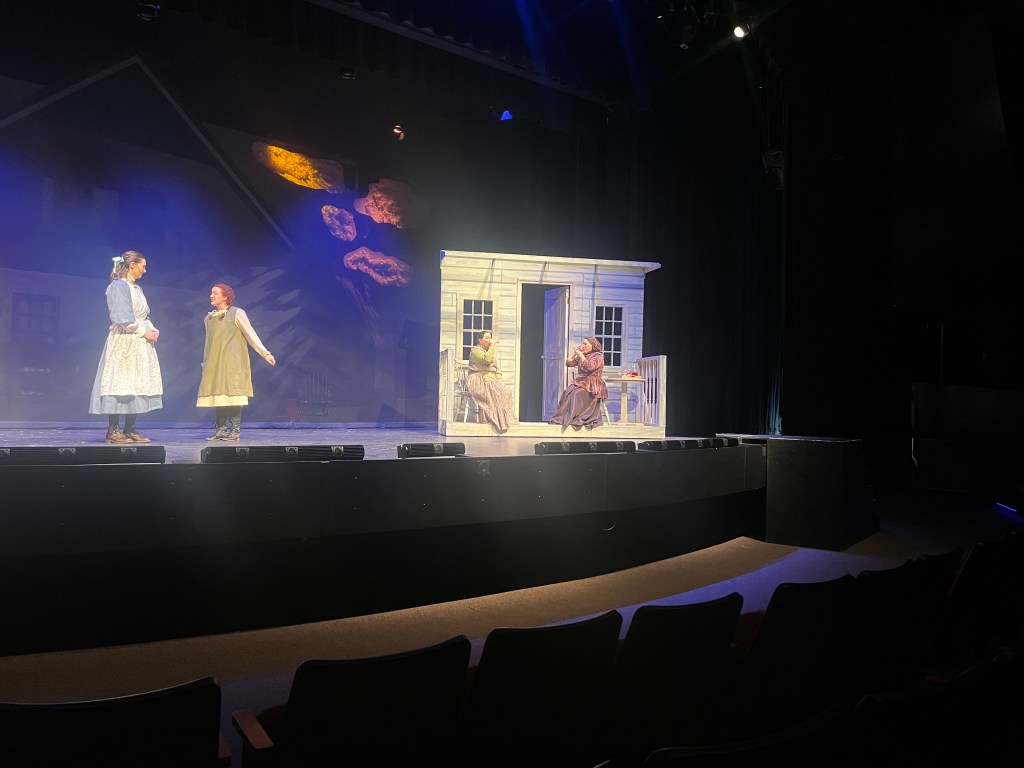
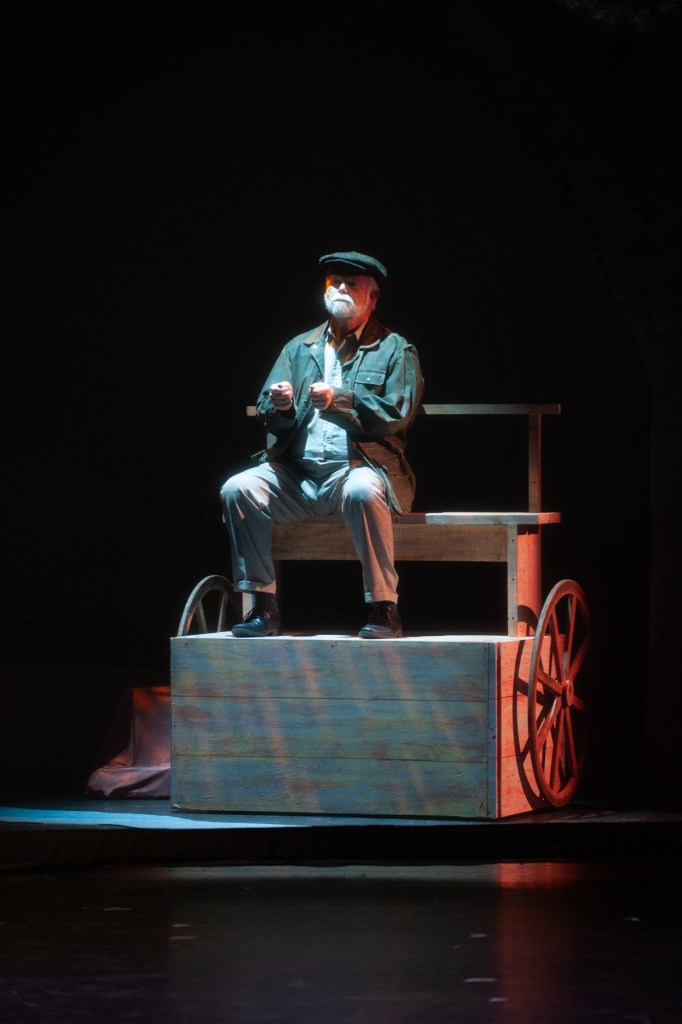
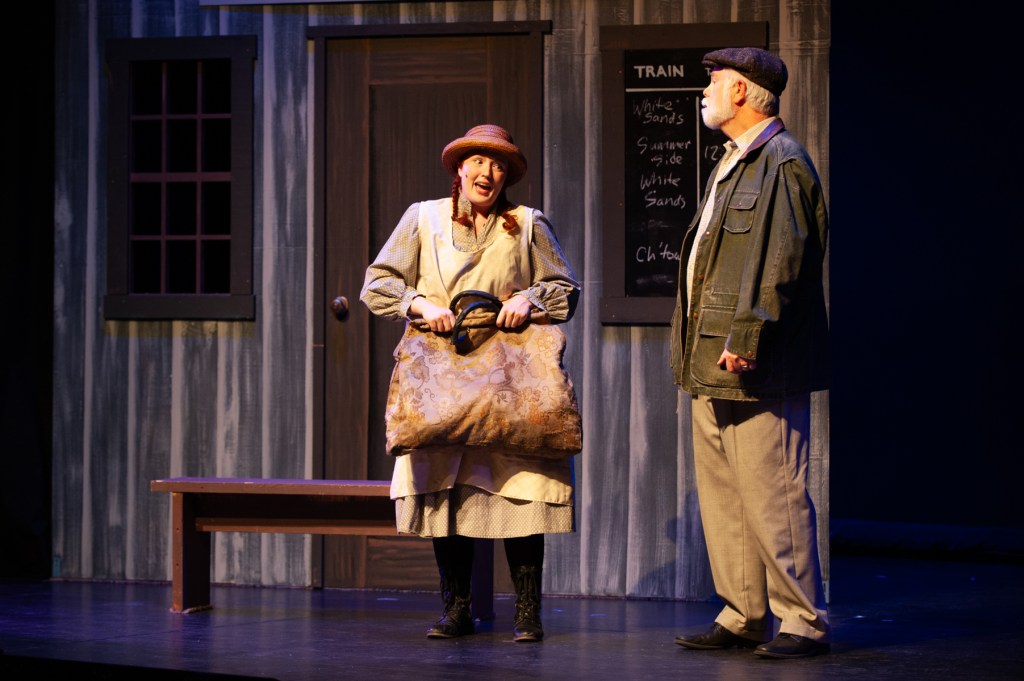
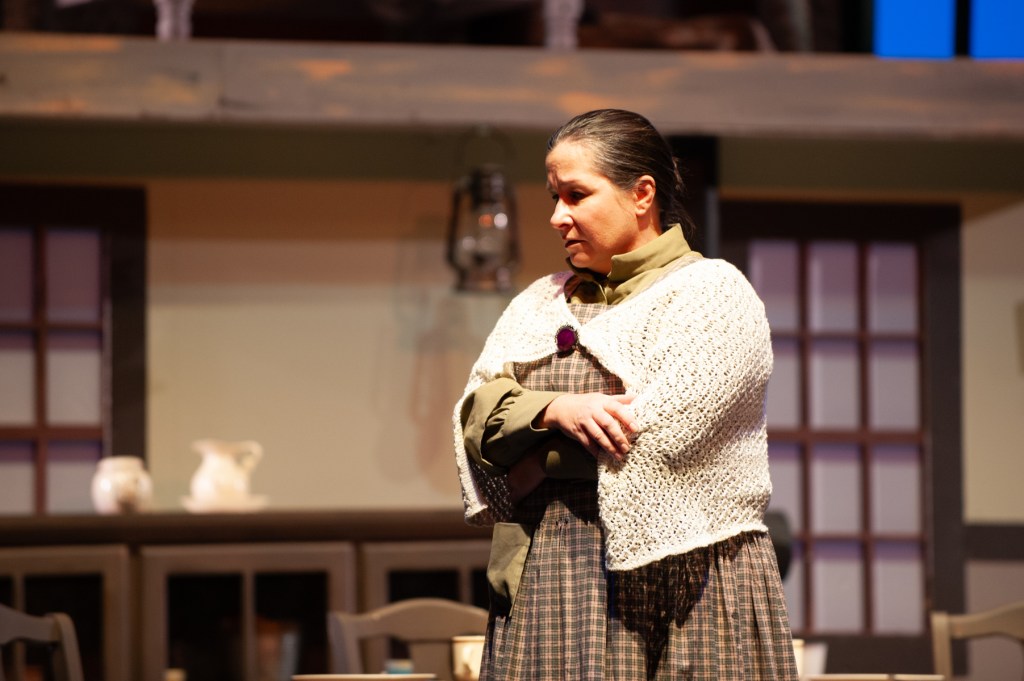
Anne recently closed a successful run at Gallery 7 Theatre in Abbotsford in November. Set design started in the summer, and building happened in October. Below are some pictures of the model I made. The concept was simple: a block house, a tree, and a truck and flat that moved on/off in front of a sharktooth scrim.
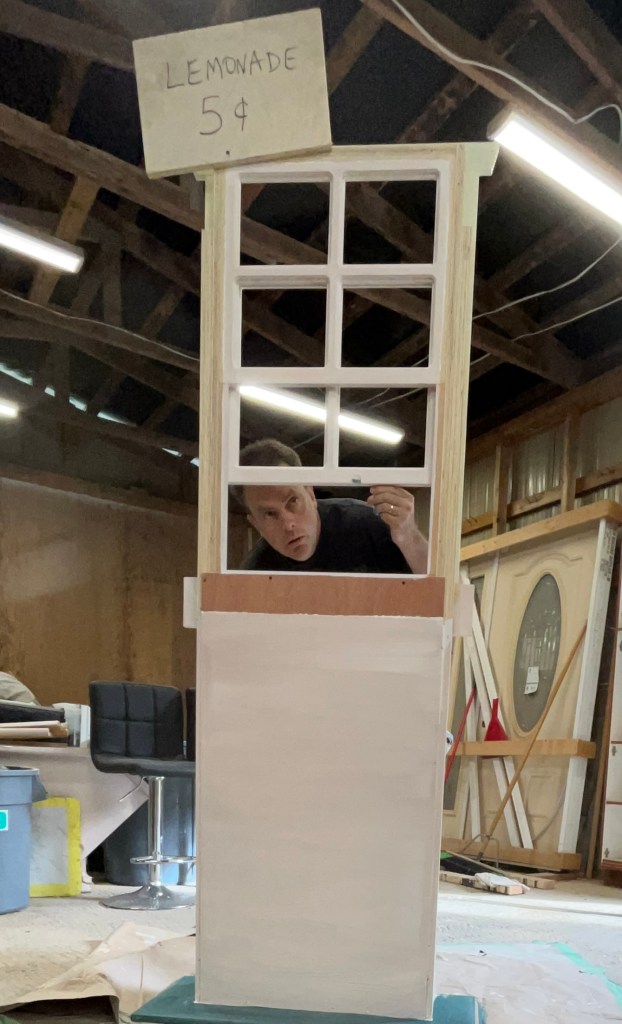
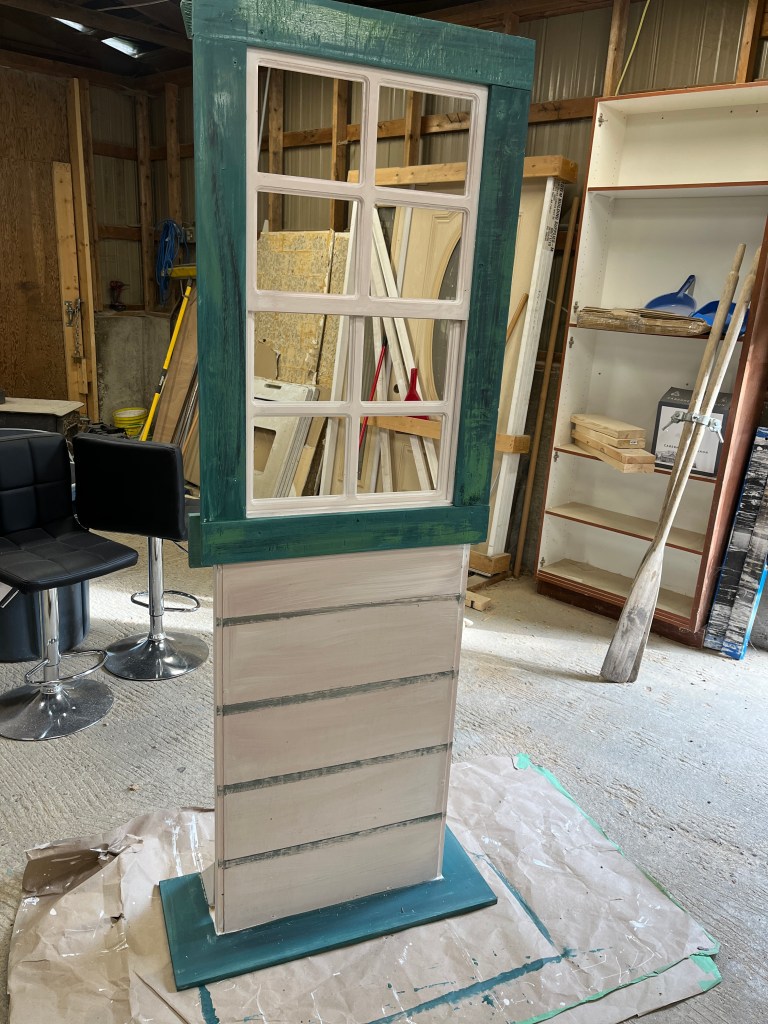
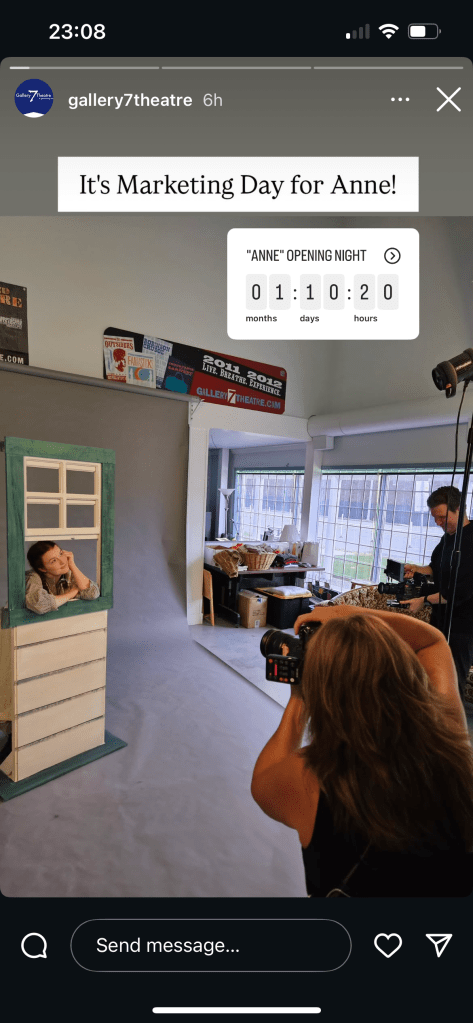
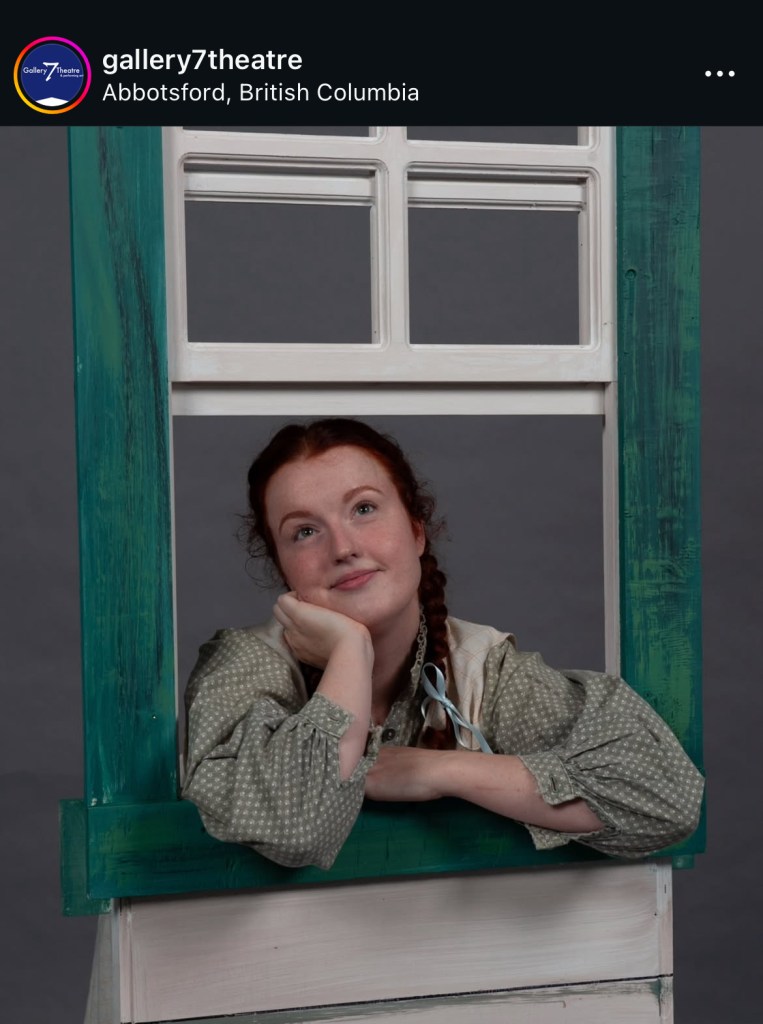
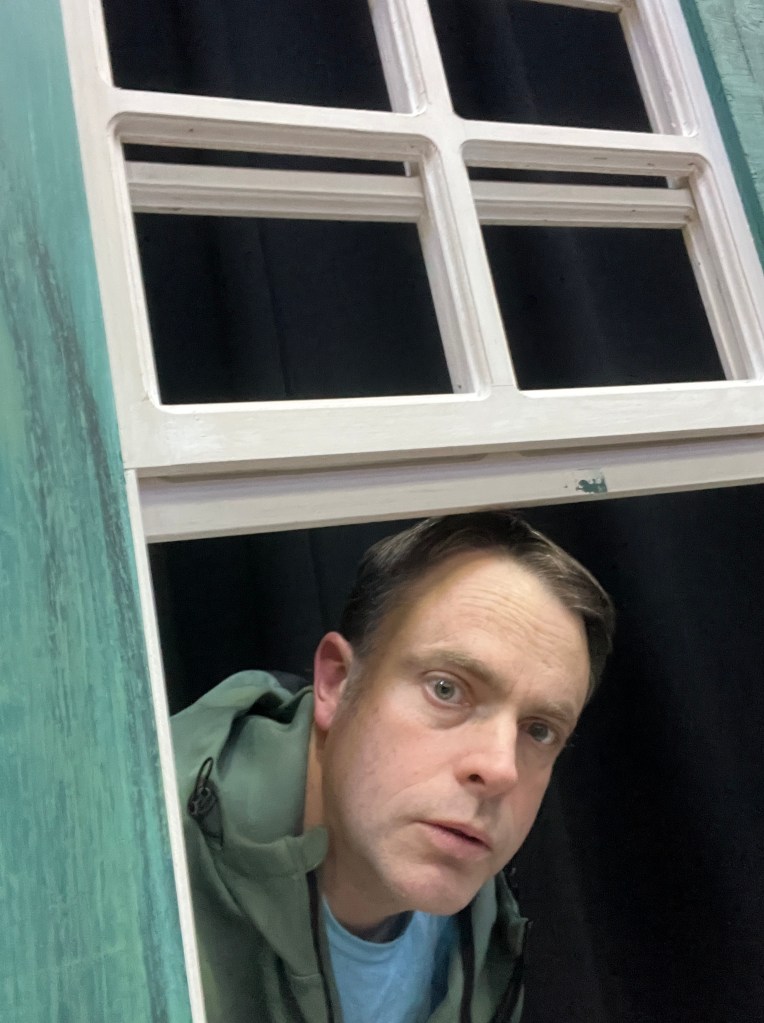
New this year, I was asked to make a window for marketing photos as well as for patrons to take selfies with. I asked one of our volunteers, Steve, to make a sliding window, and then I build a small stand for it:
Then I started the “real” build…
My volunteer, Linda, helped a lot those first few weeks as we built and painted our way through Avonlea.
My dad, Chris, was kind enough to help with some special effects – we had some motorized wagon wheels and a motorized “sinking” boat. He also helped build a floor and a roof:
More building…
Chris, Rachel, and Dayton were a big help on a chilly paint day:
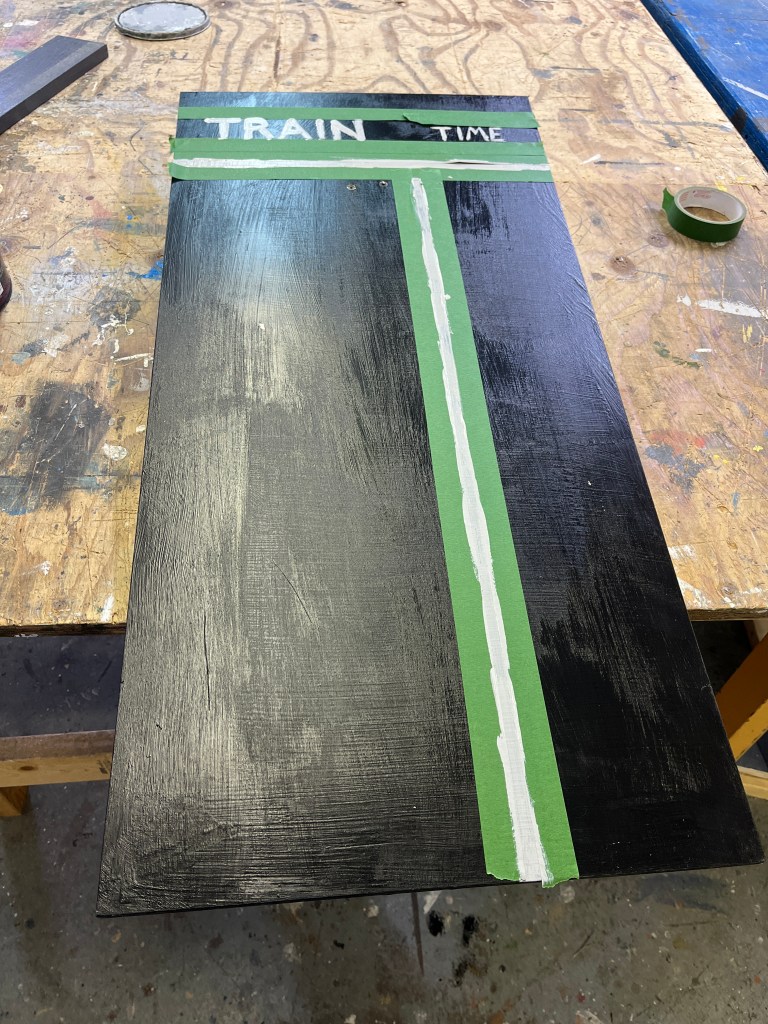
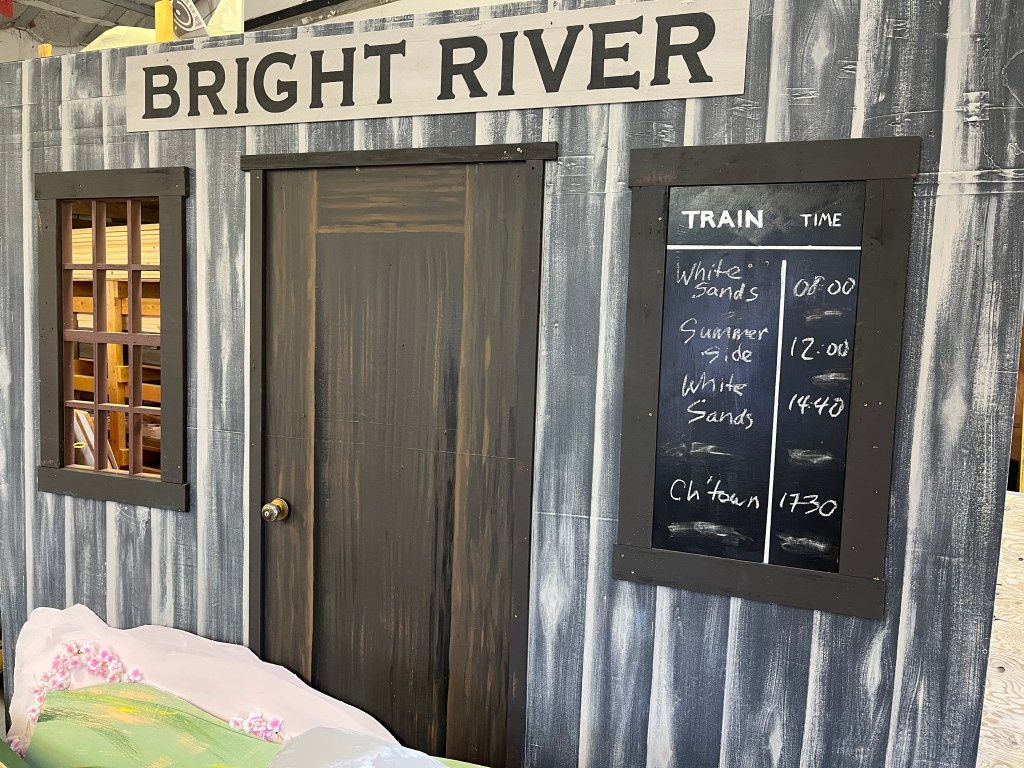
The train schedule was a fun little detail to add:
And then it was load-in day! Always appreciate help on this full day!
Here are a few photos from tech week – lighting was starting to build their cues:
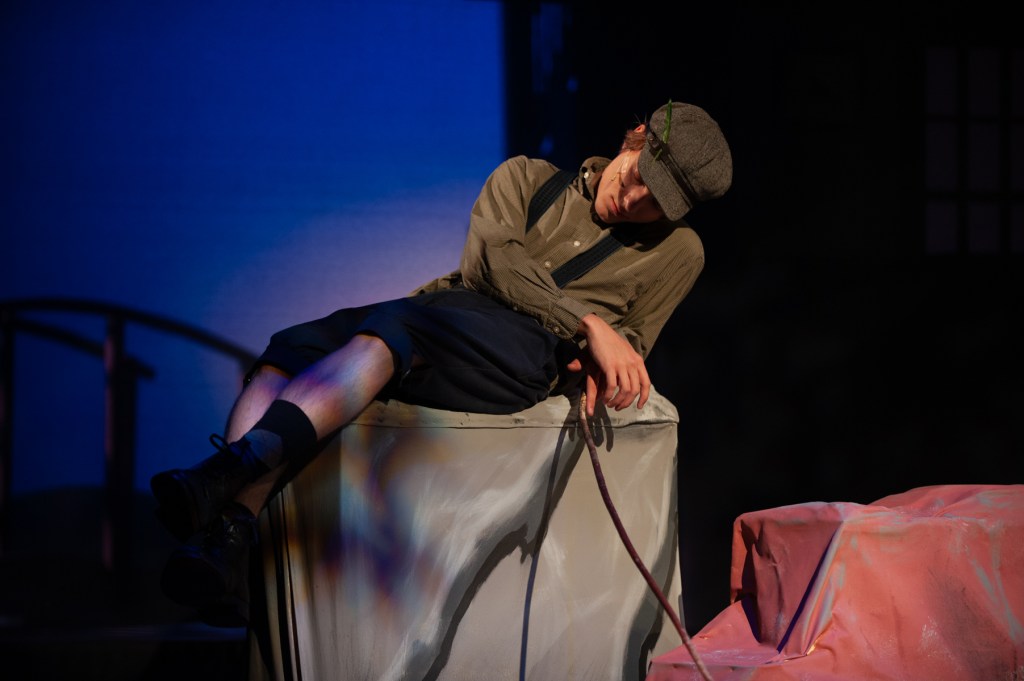
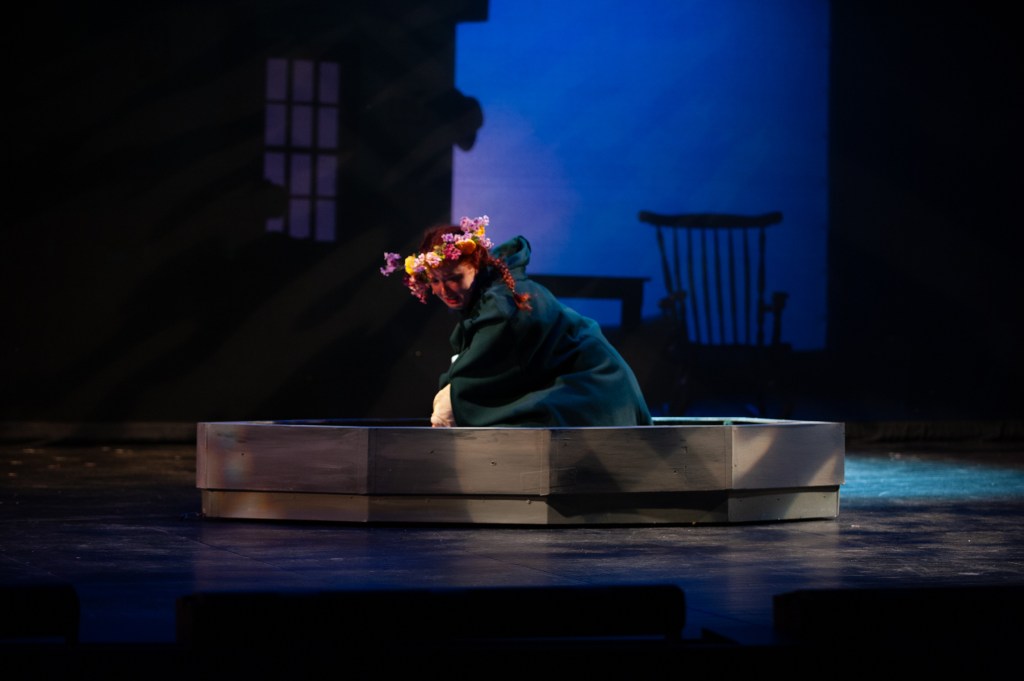
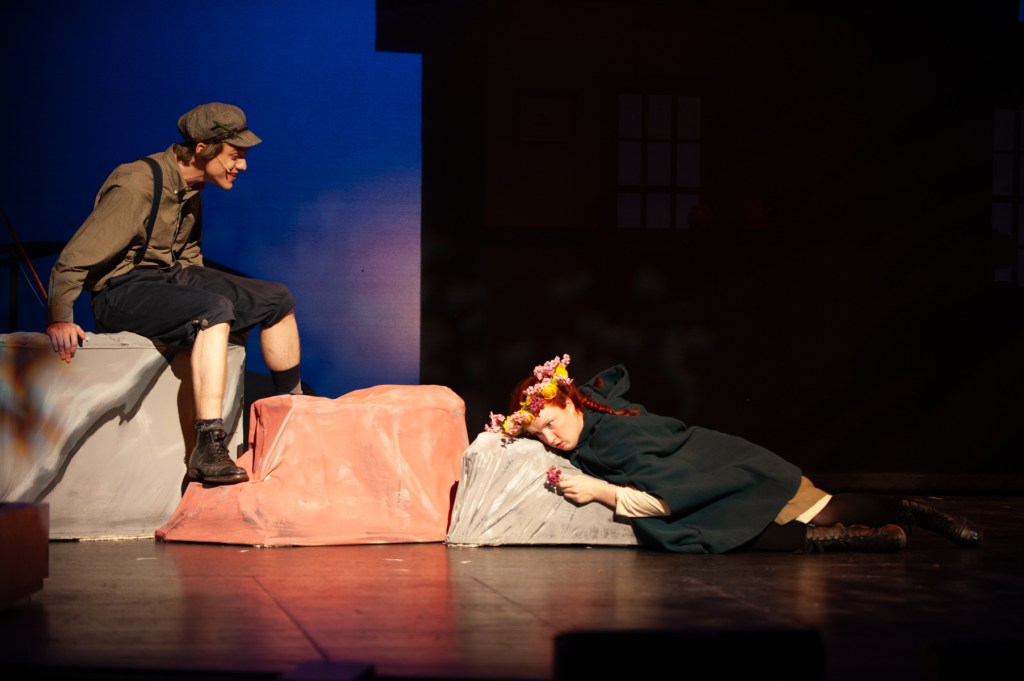
Opening Night came! Can you spot the outline of Green Gables behind the scrim?
More official company photos:
Photos below are copyrighted; please do not alter them or use them for other works. Photos by Dianna Lewis Photography. (Set by Andrew Potts, Directed by Nelly Fargeon, Lighting by Ken Hildebrandt, Costumes by Vicki Bolan, Hair and Makeup by Avrey JantzKrahn, Props and some set dec by Dianna Lewis)