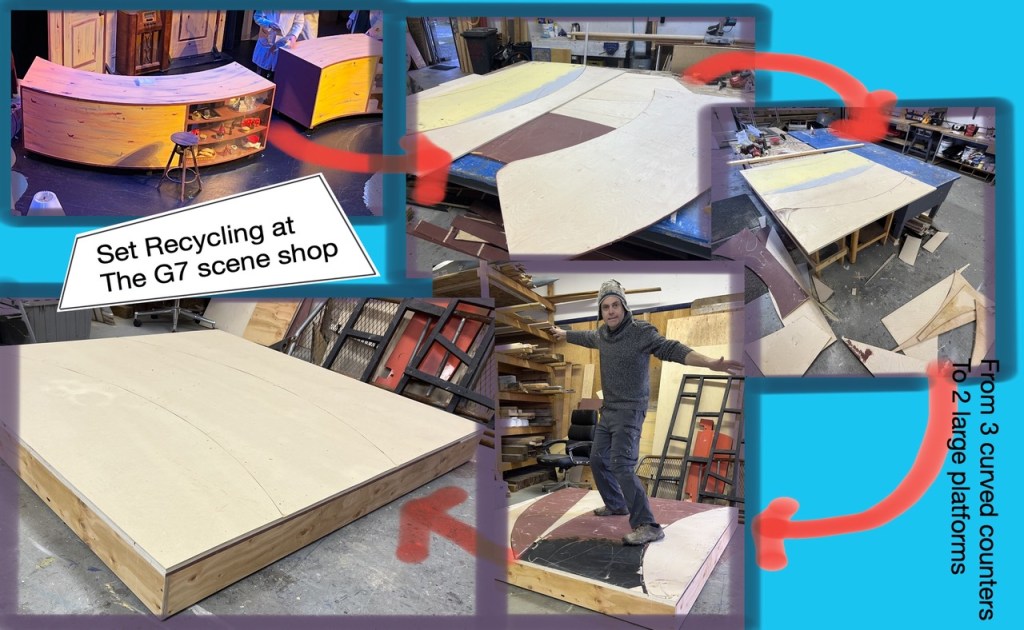
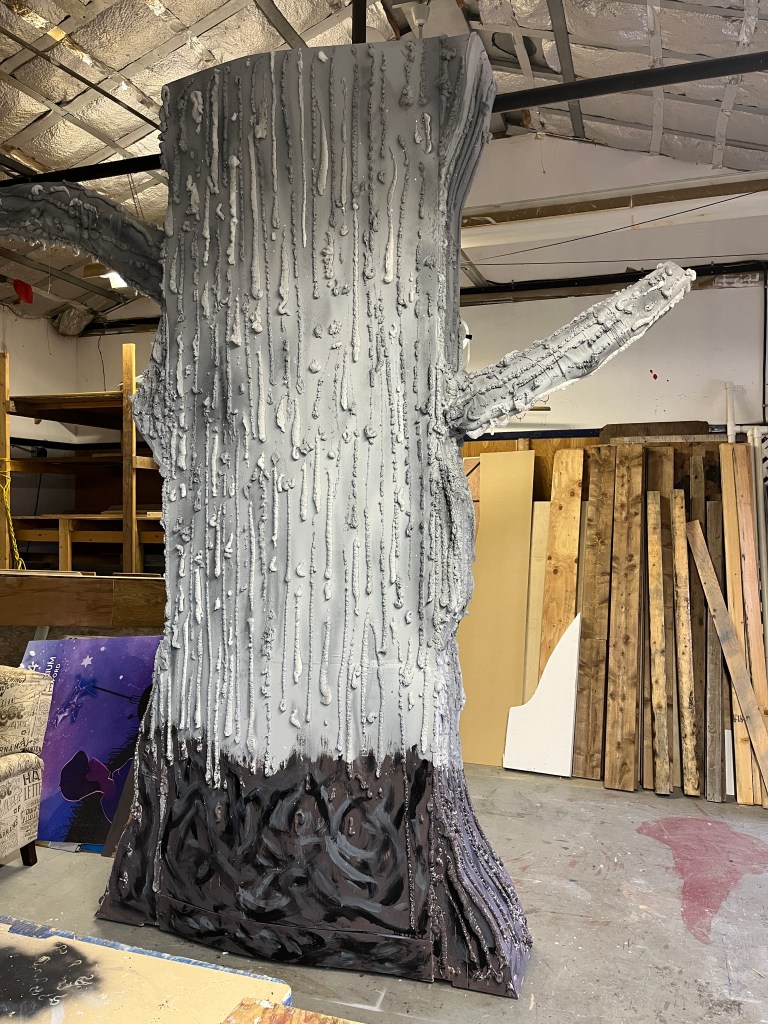
The Set Build of my career… that’s how I felt about this one. It took twice as long as the average large set build. Most of the first 2 weeks was me just scratching my head and trying to figure out how to do stuff, but eventually it started to come together!
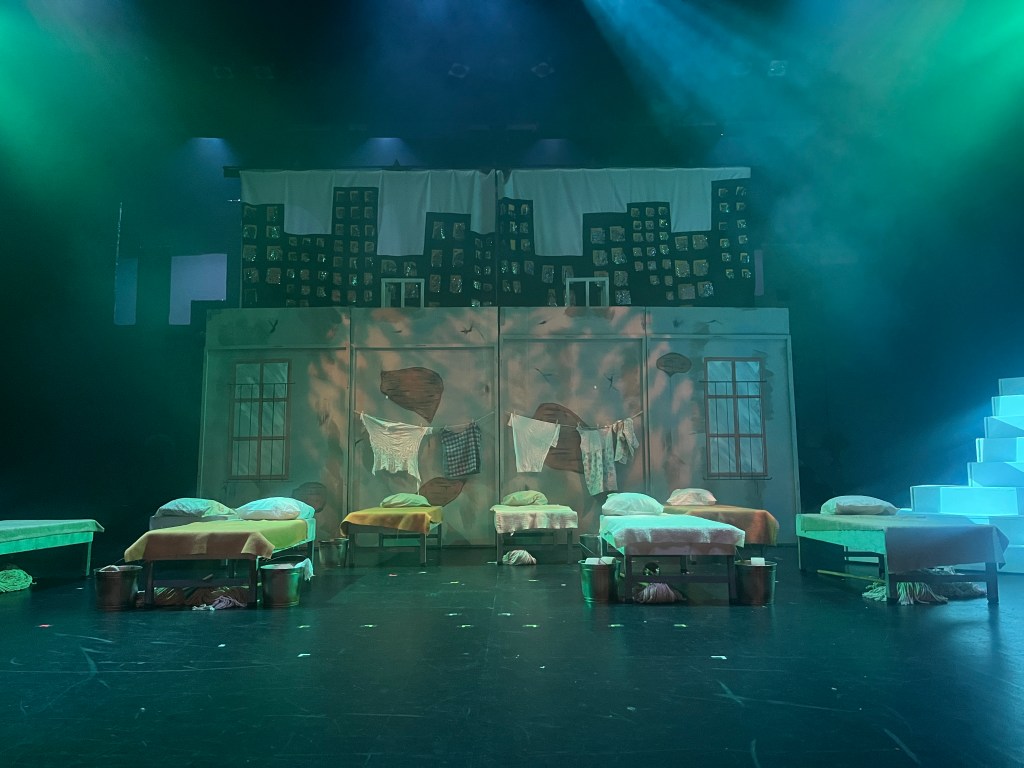
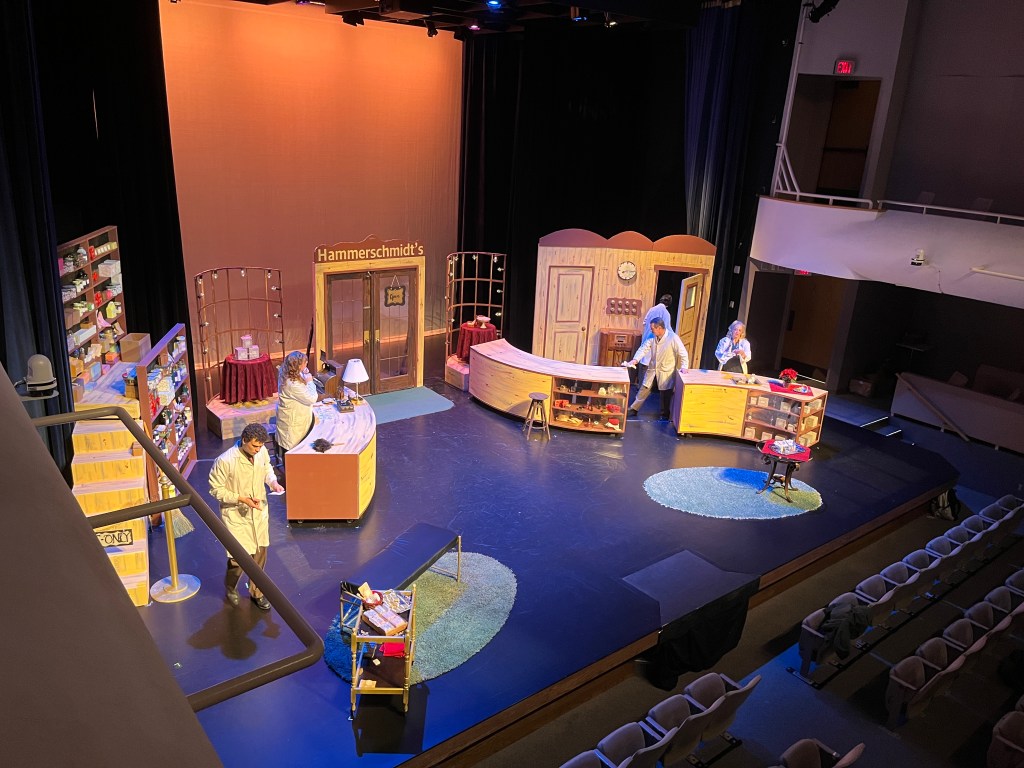
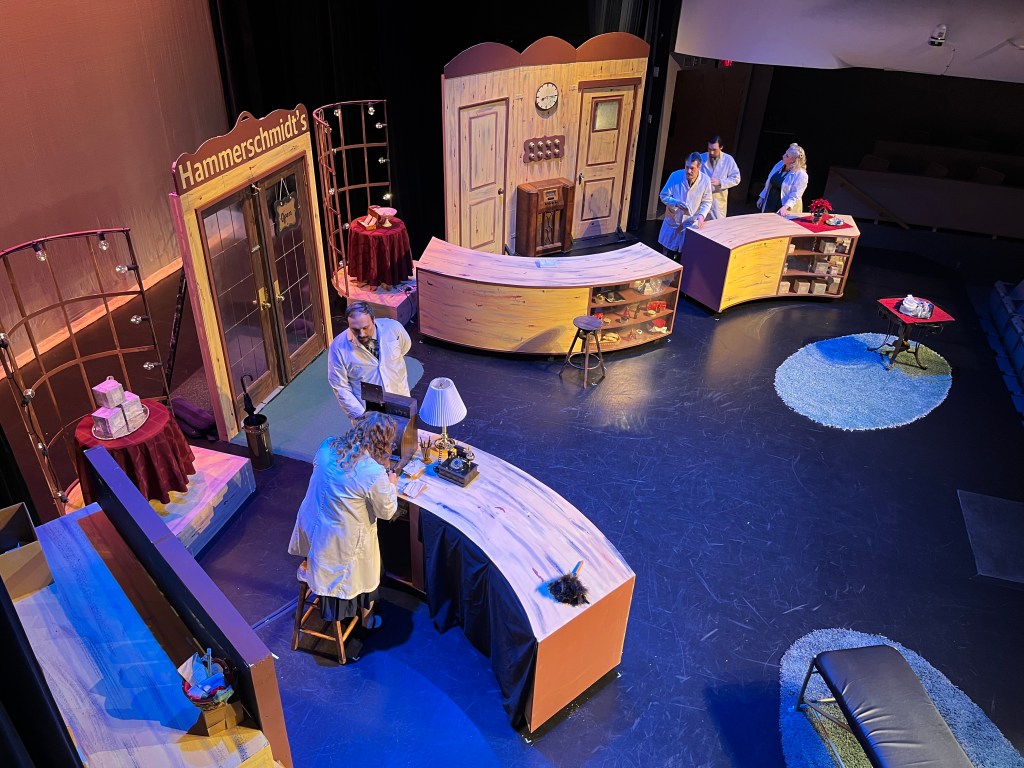
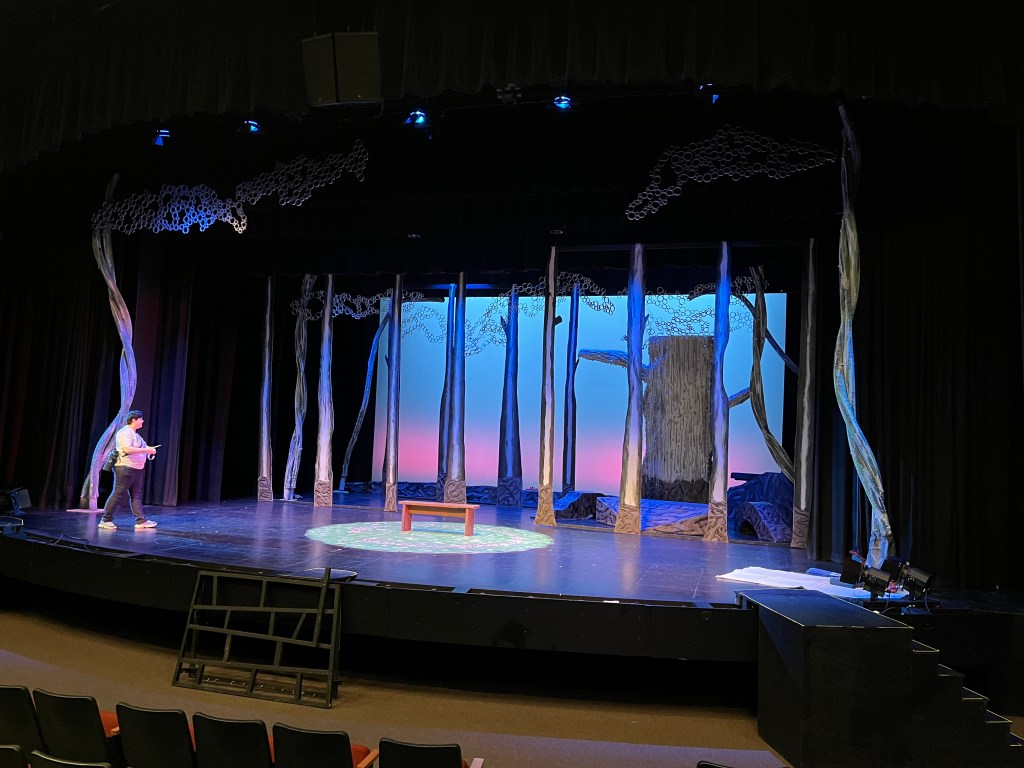
Here are some photos of the build and a couple of the finished set. Other relevant credits: Set Design by Jeff K, directed by Kerri N, Lighting by Nigel B, props by Shannon T.
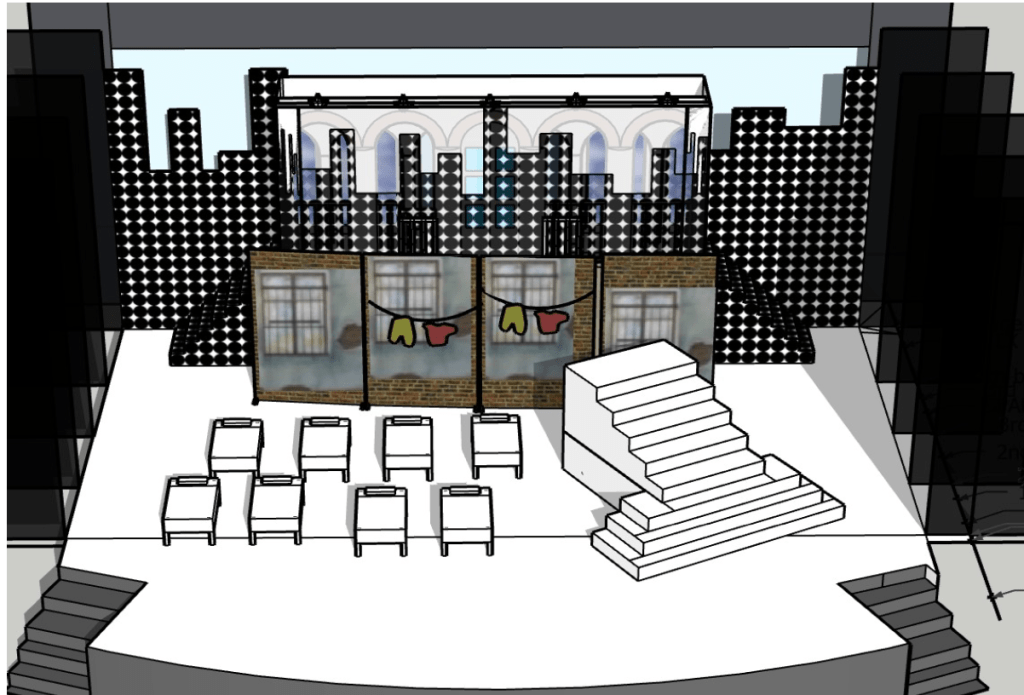
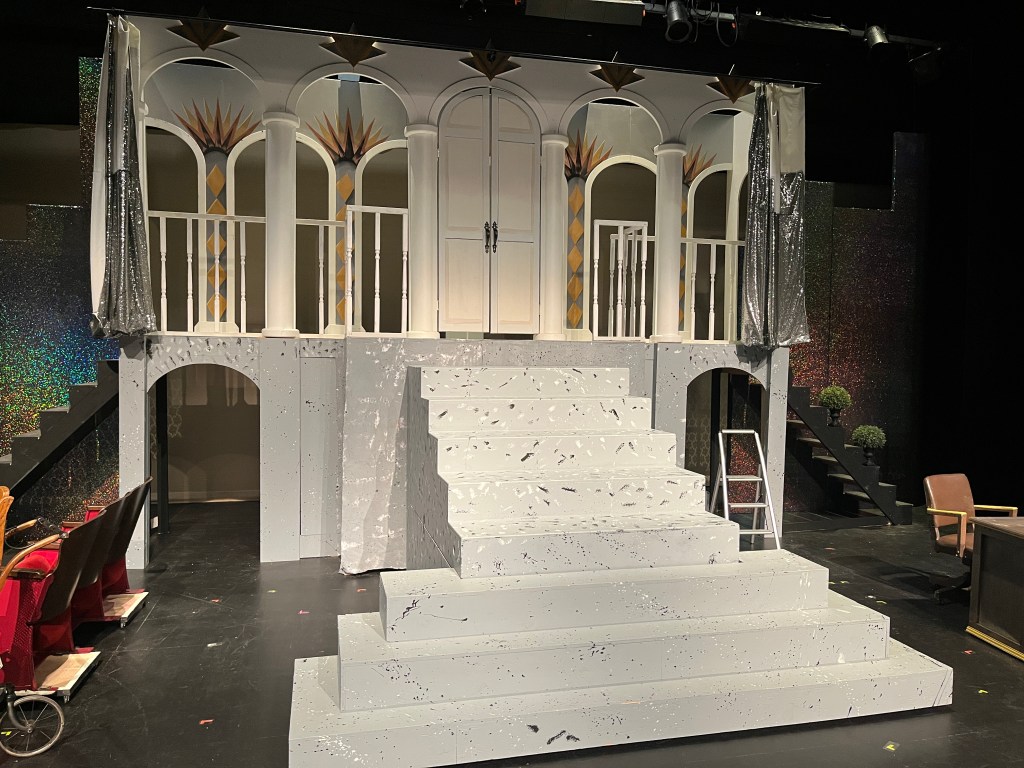
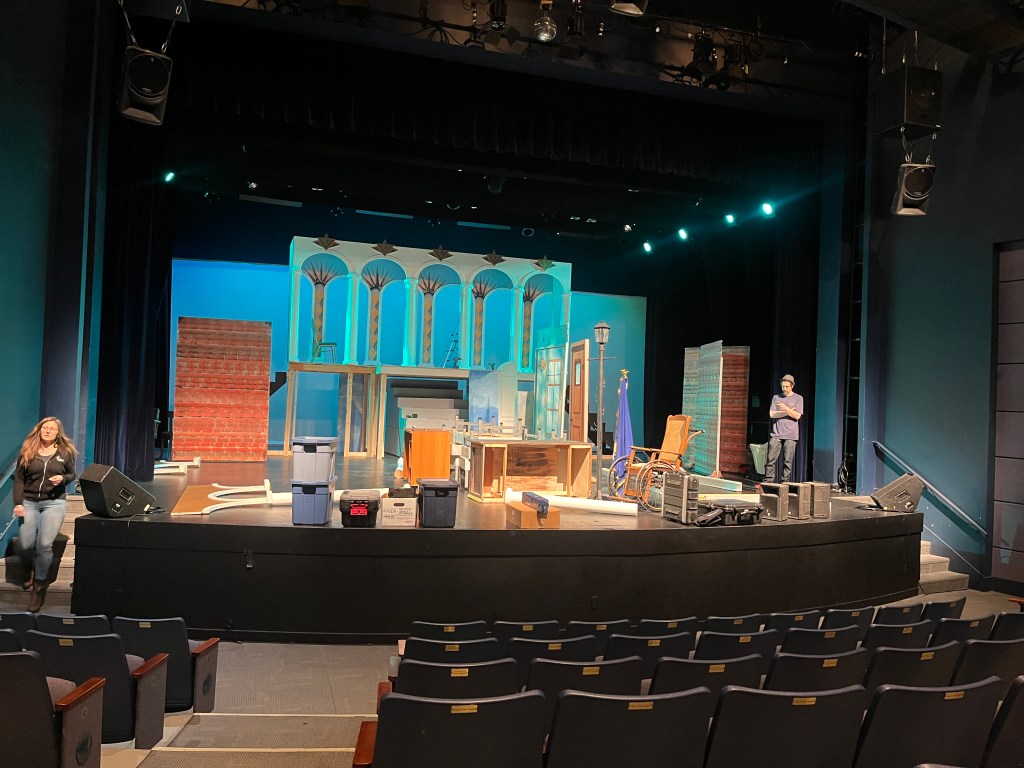
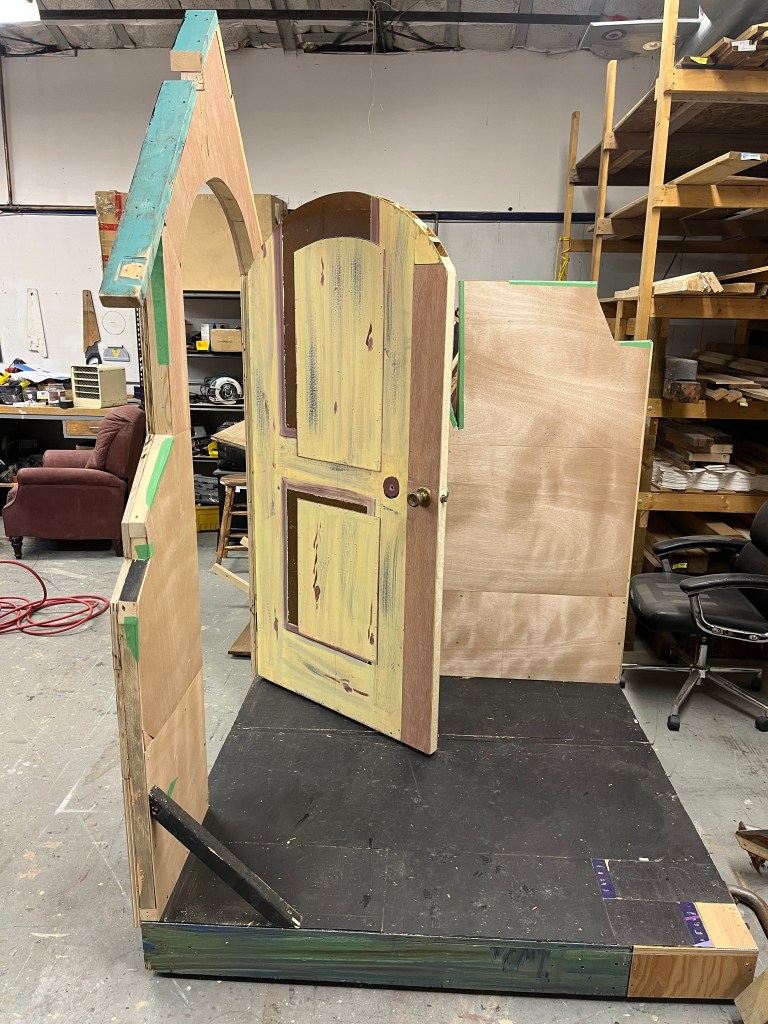
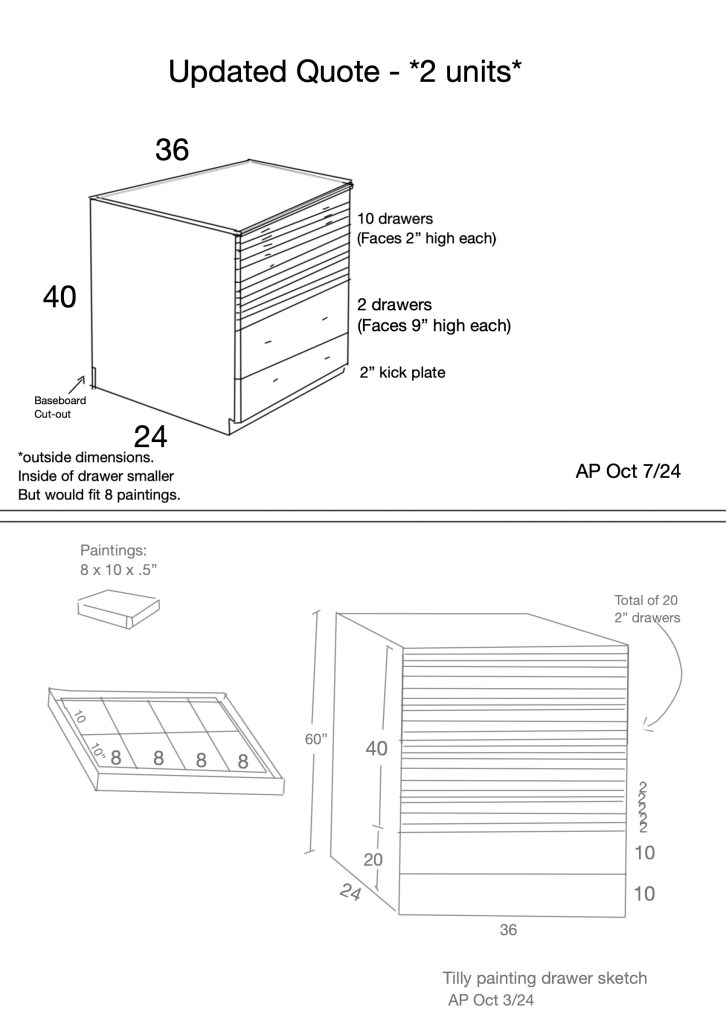
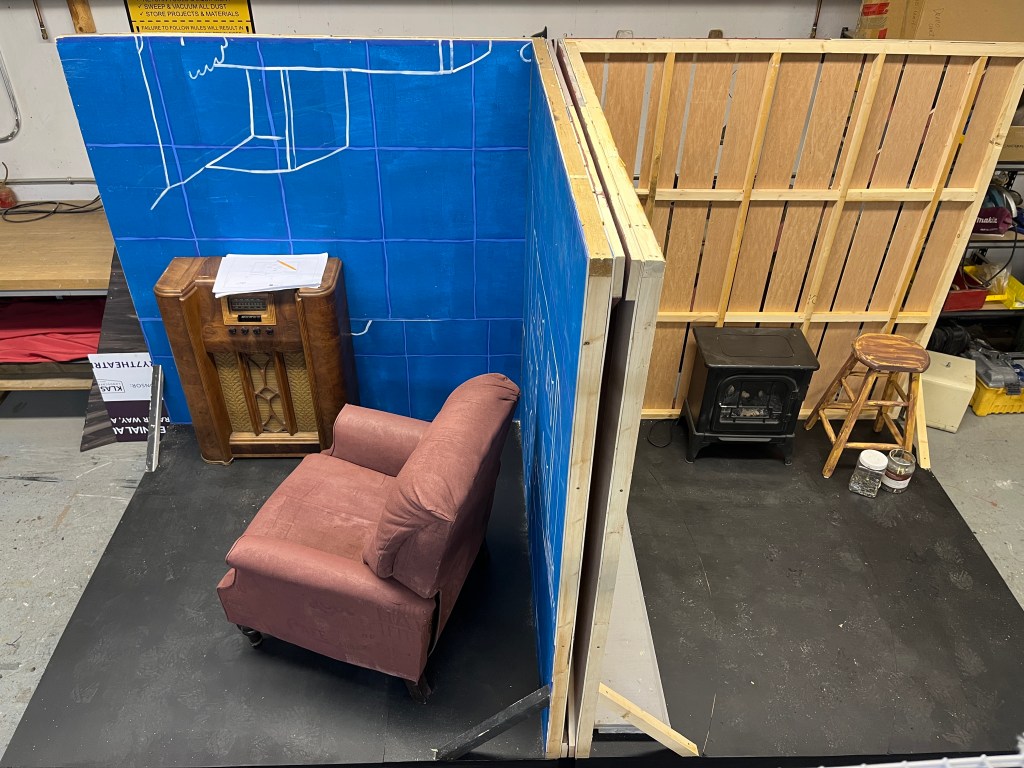
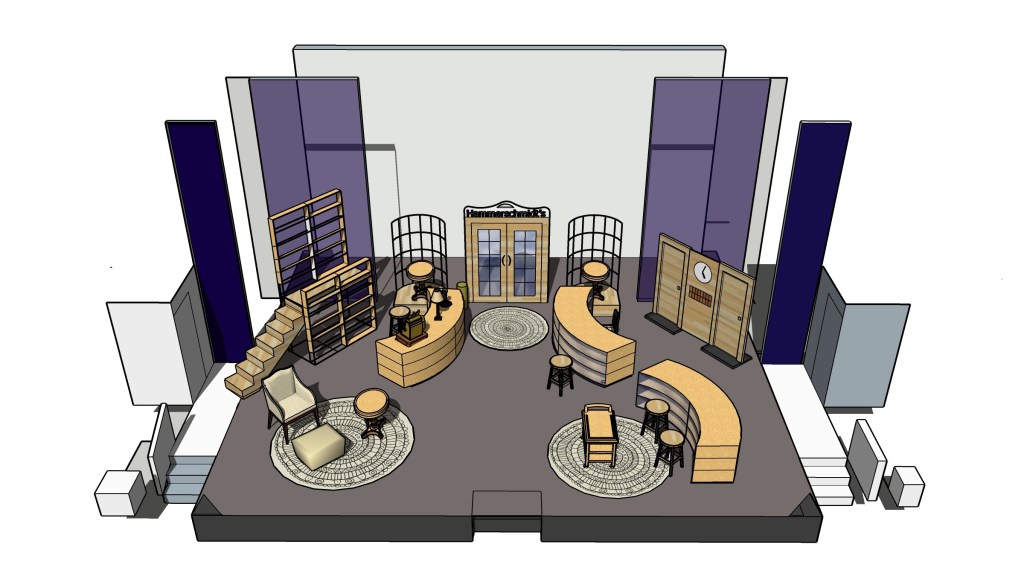
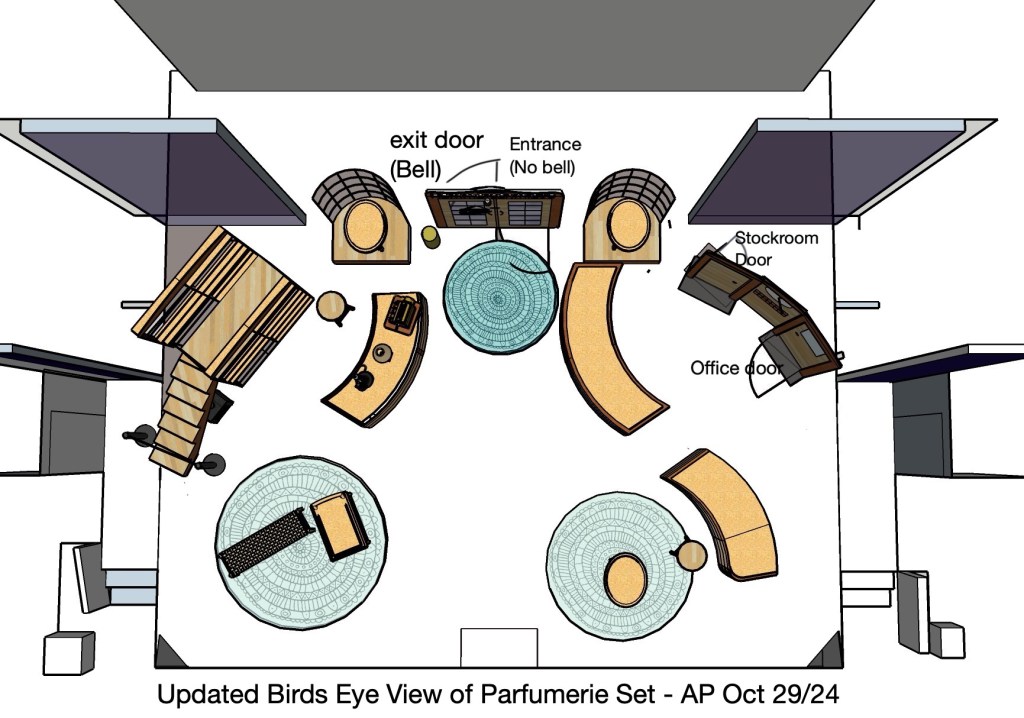
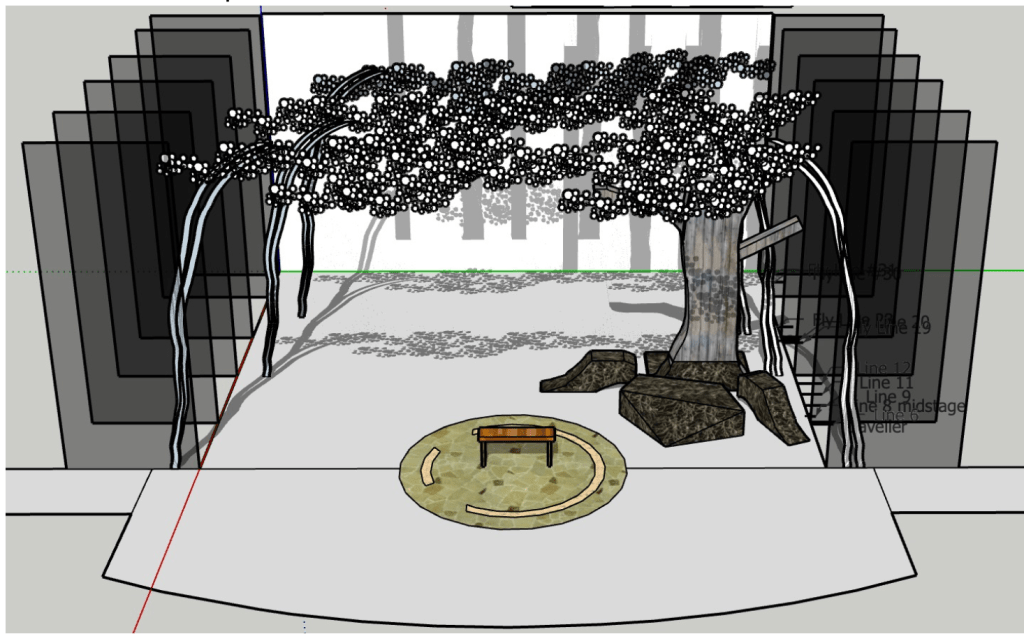
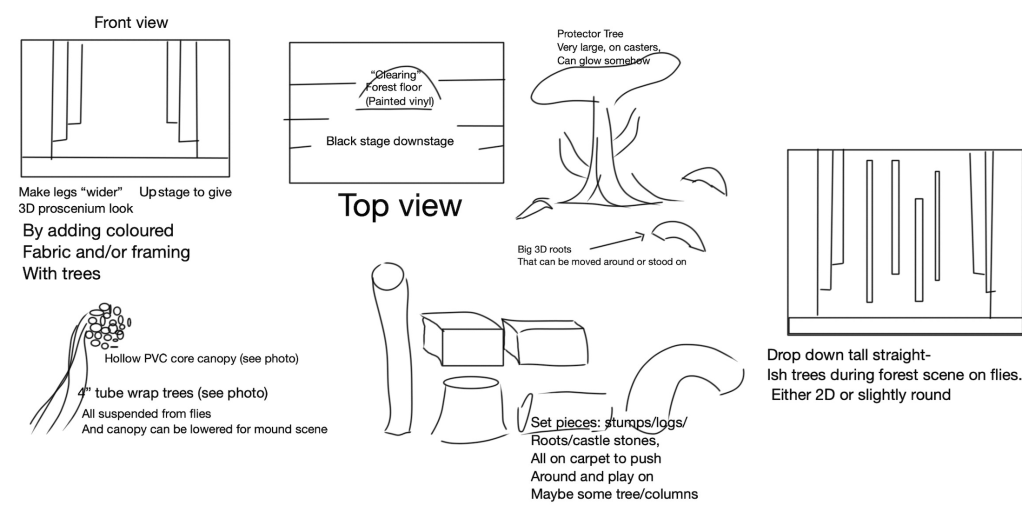
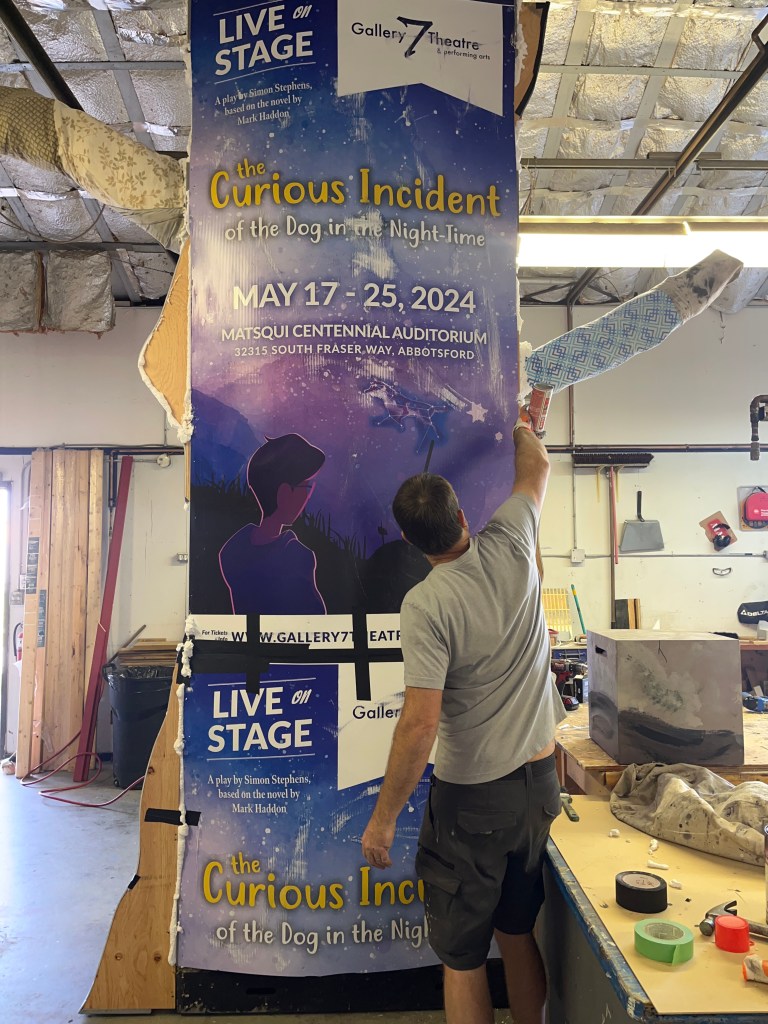
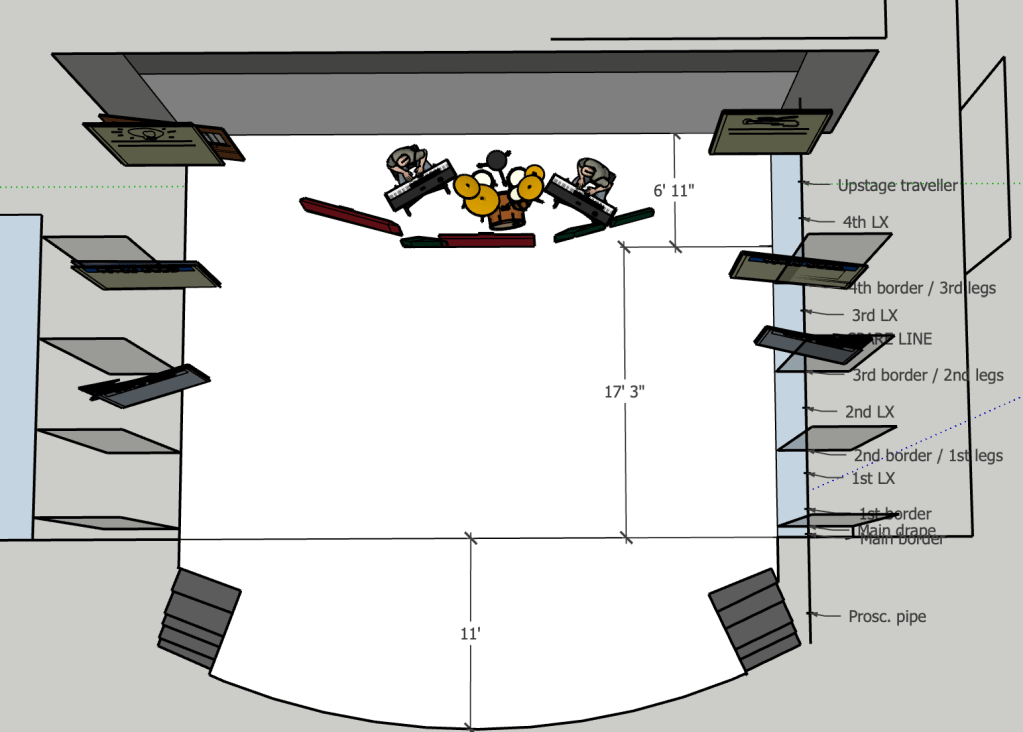
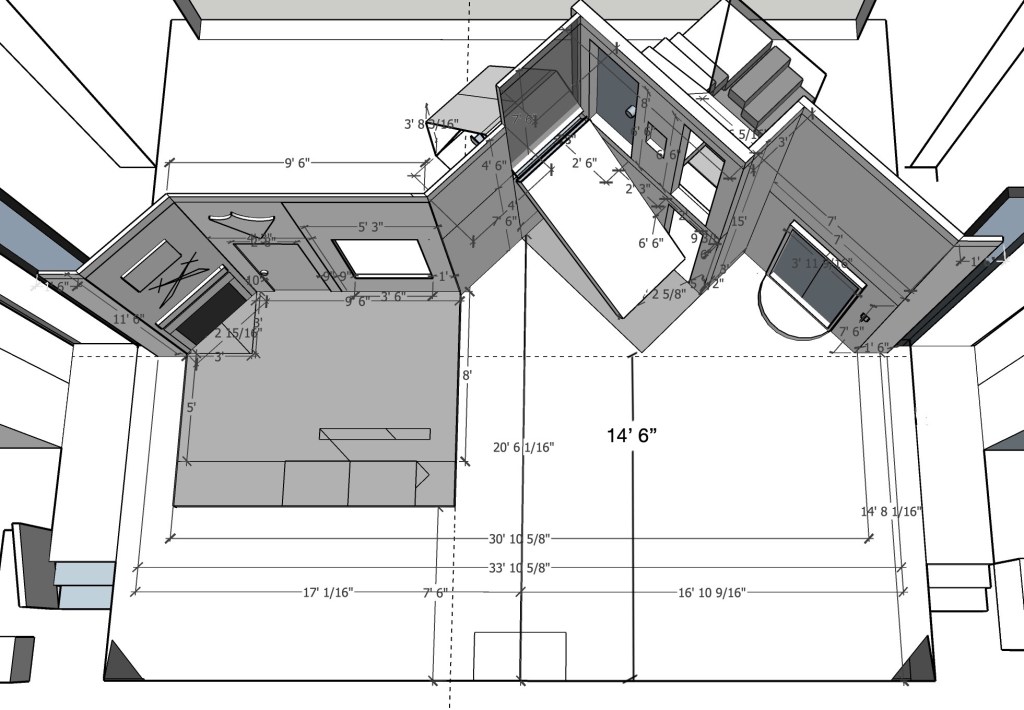
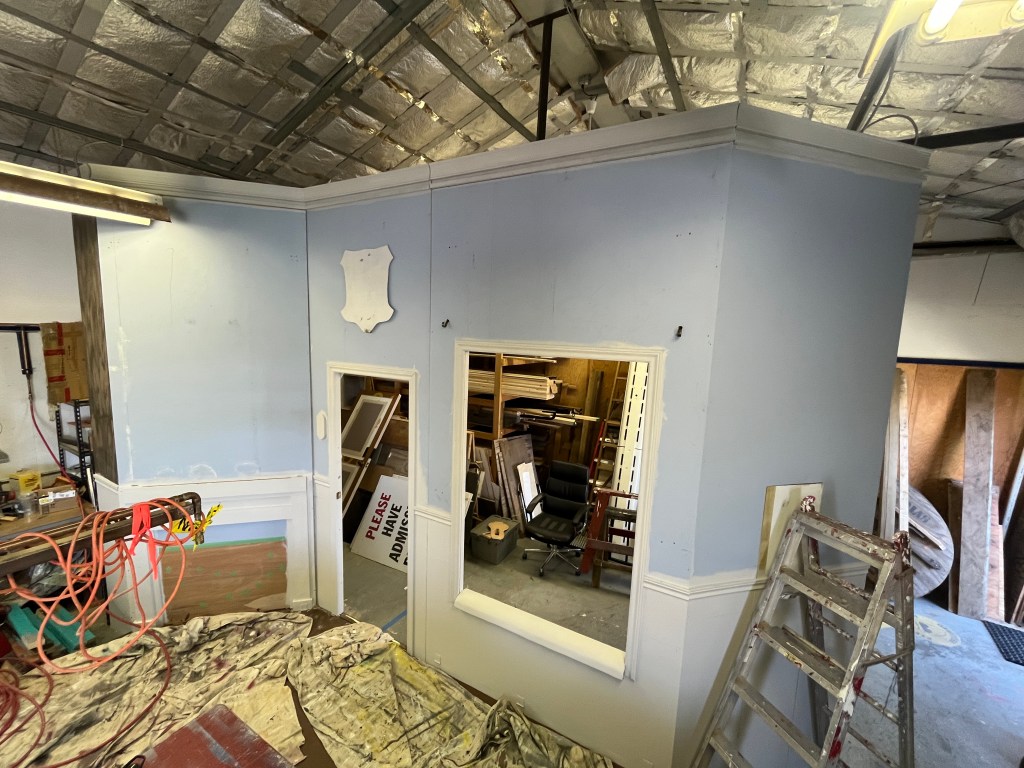
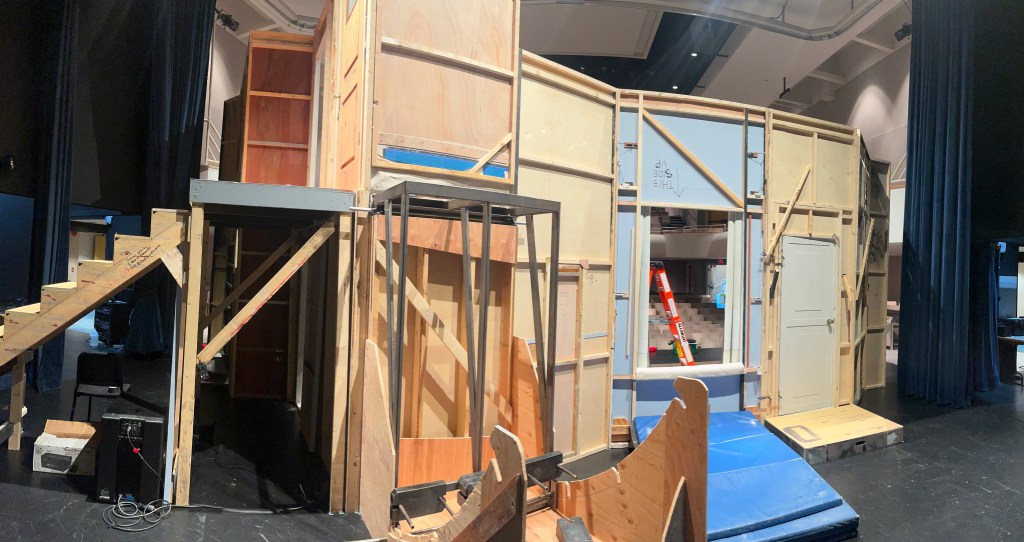
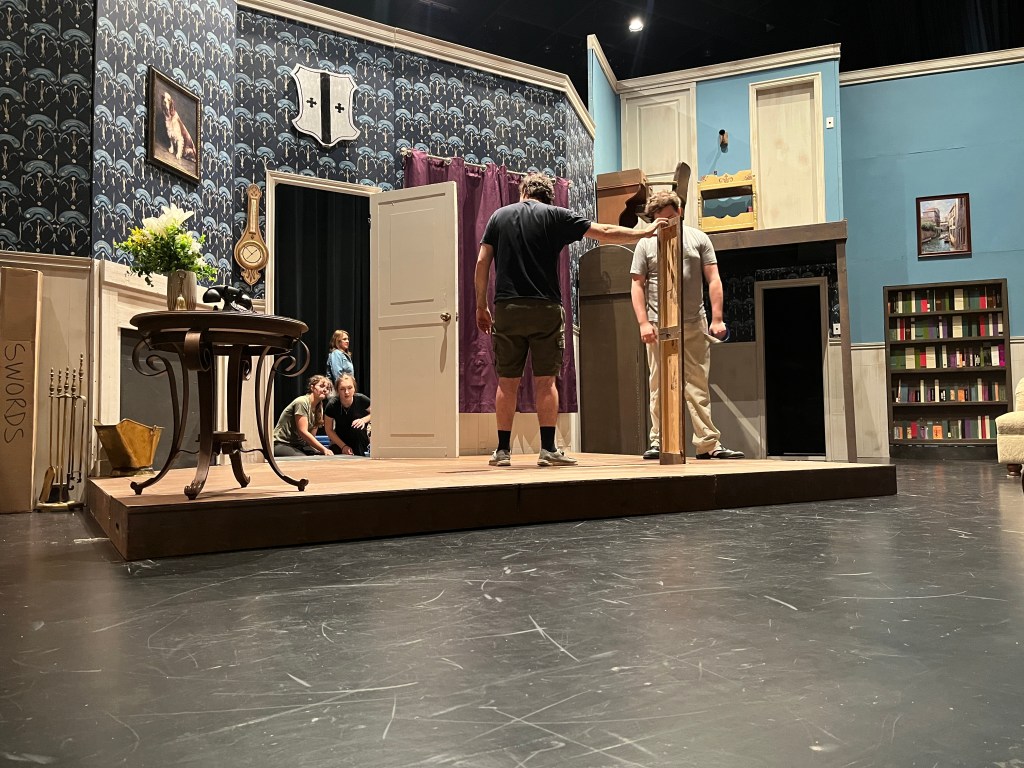
This was a large undertaking for our community theatre (Gallery 7 Theatre). There were a lot of considerations, such as not damaging our venue rental, and the fact that we had to strike during tech week for a council meeting, so we had to be able to disassemble things fairly easily. The designer, Jeff, gave me some sketches on graph paper and I plugged them into Sketchup to make sure everything would fit. He also made a great model for the actors to reference.
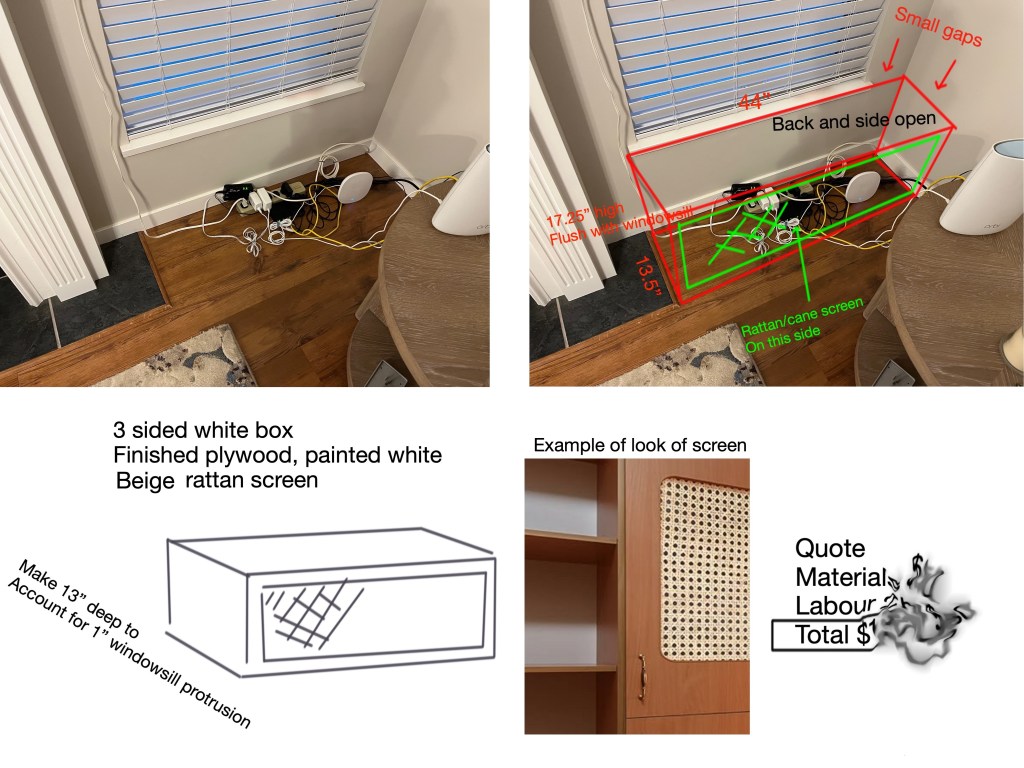
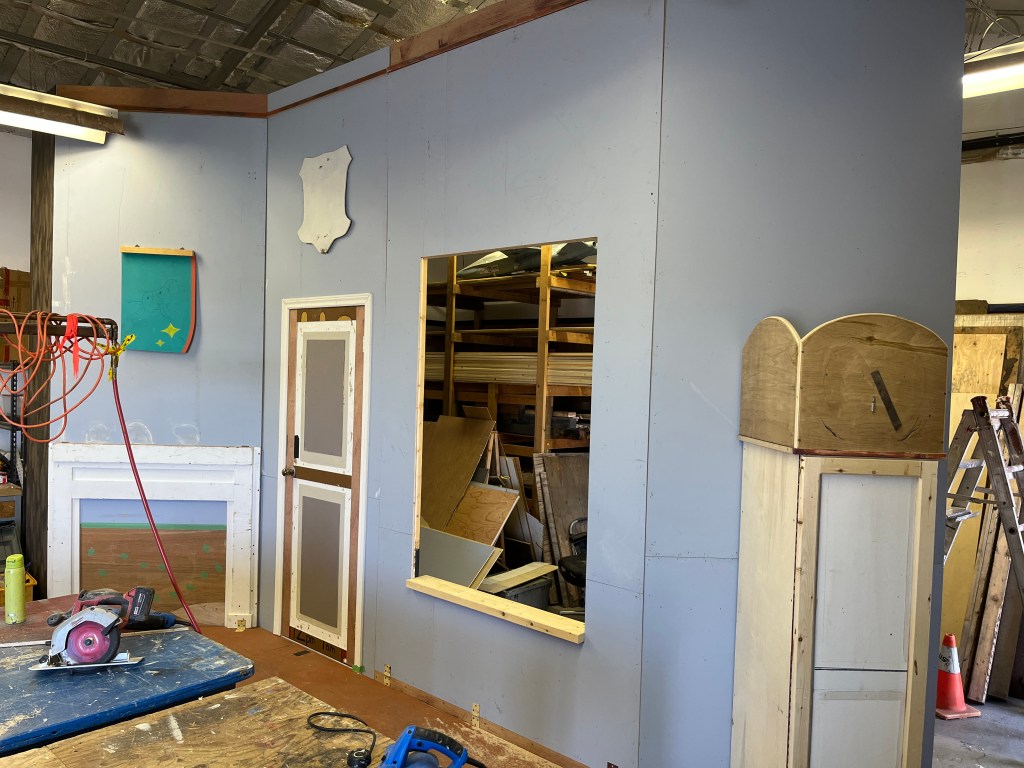
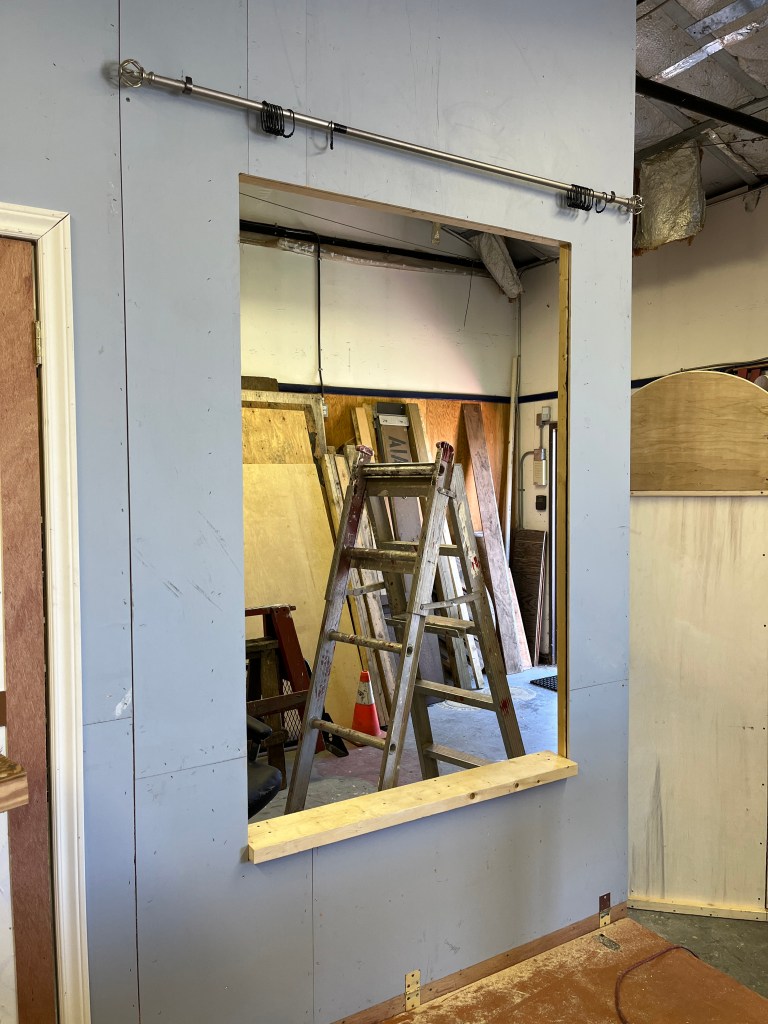
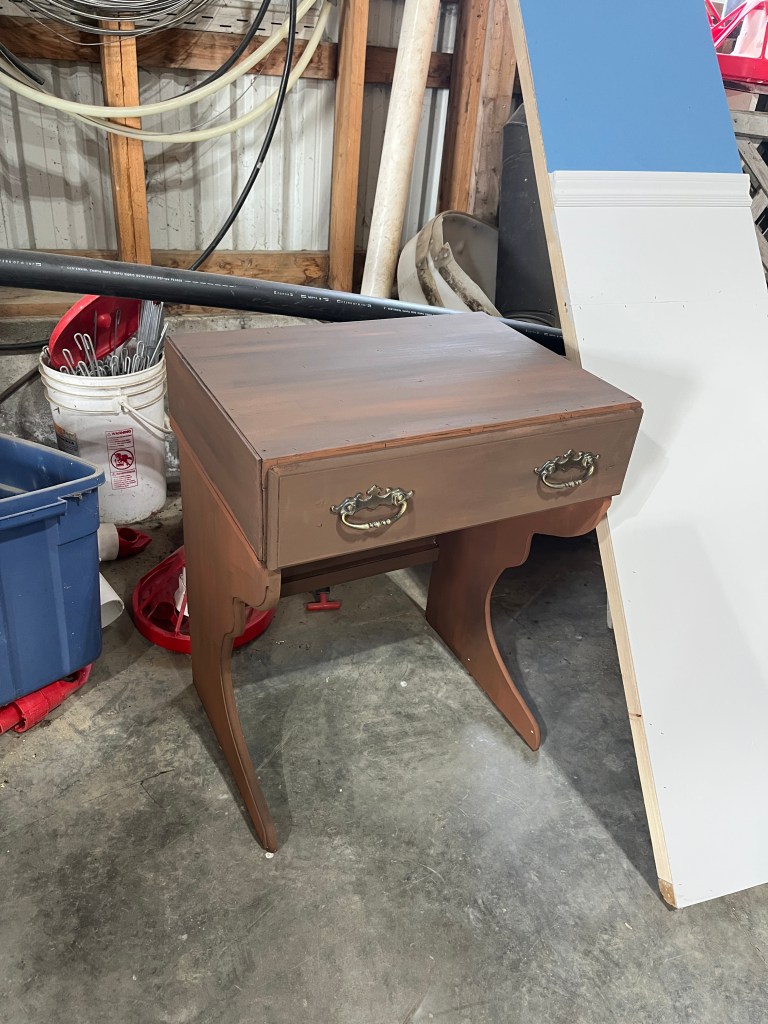
It still fell to me, however, to make everything work. I attended several rehearsals and provided some rehearsal set pieces such as a doorframe, clock, and chaise. Stage management was terrific at communicating needs such as which way a door would open to hit an actor, how high the windowsill should be, etc.
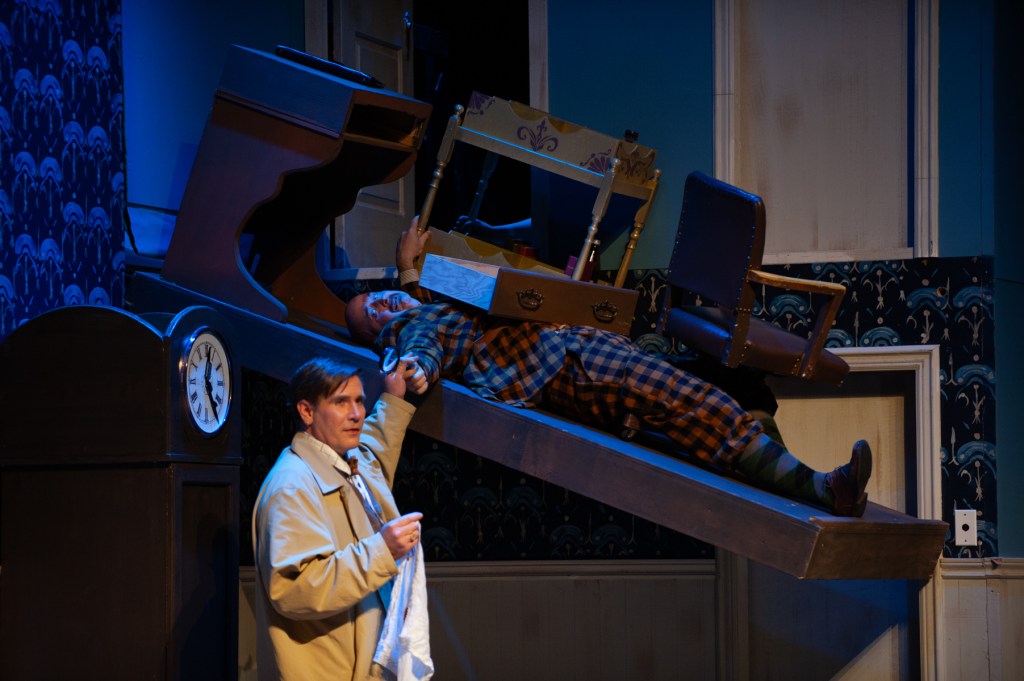
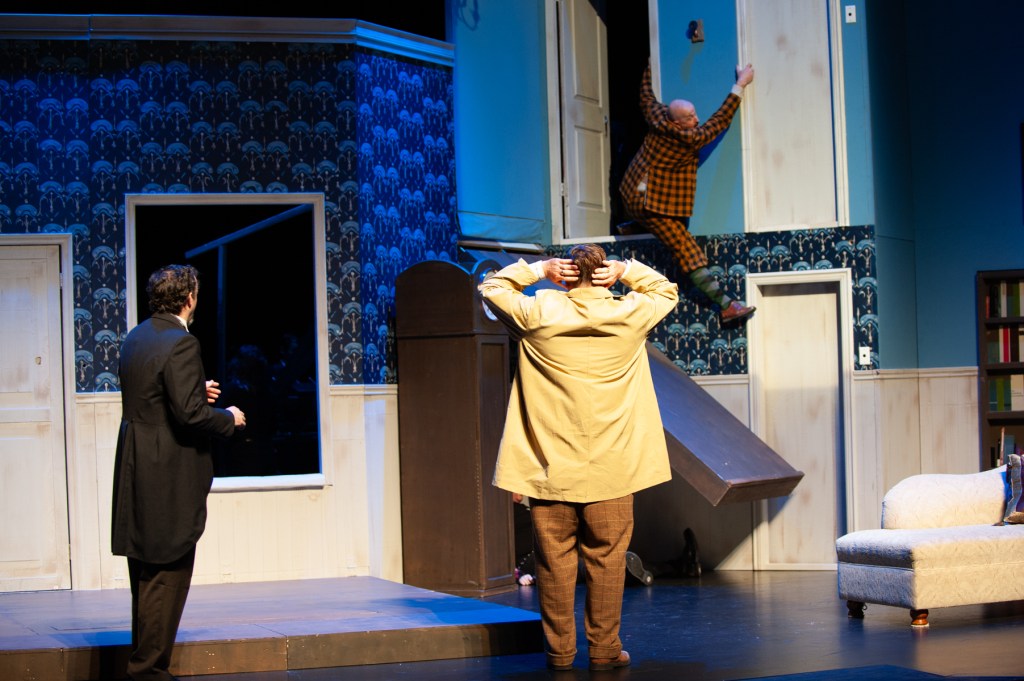
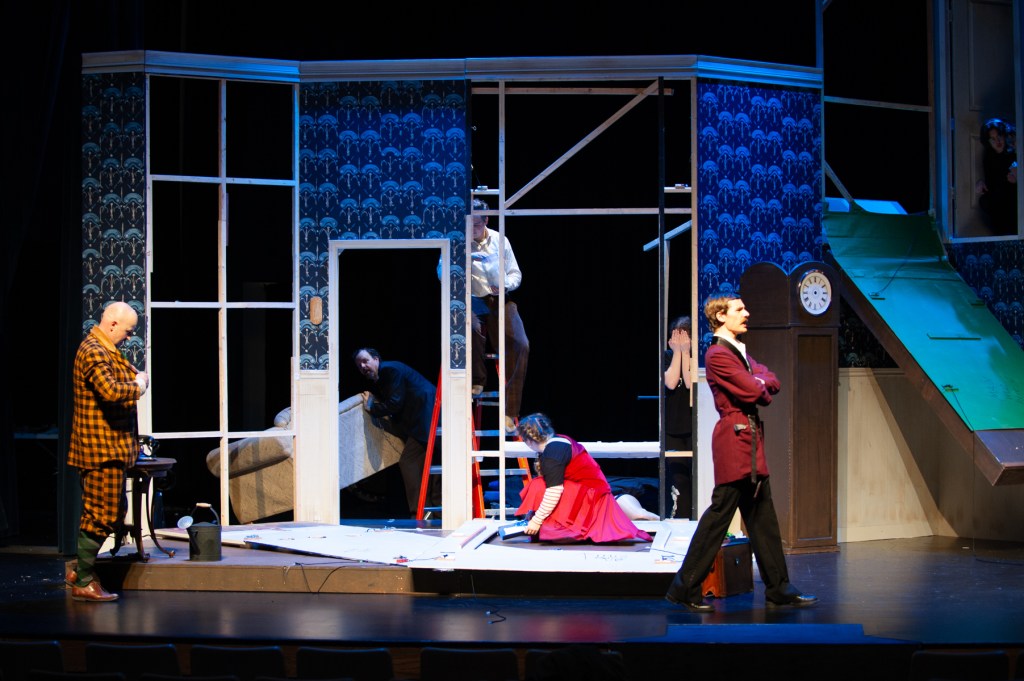
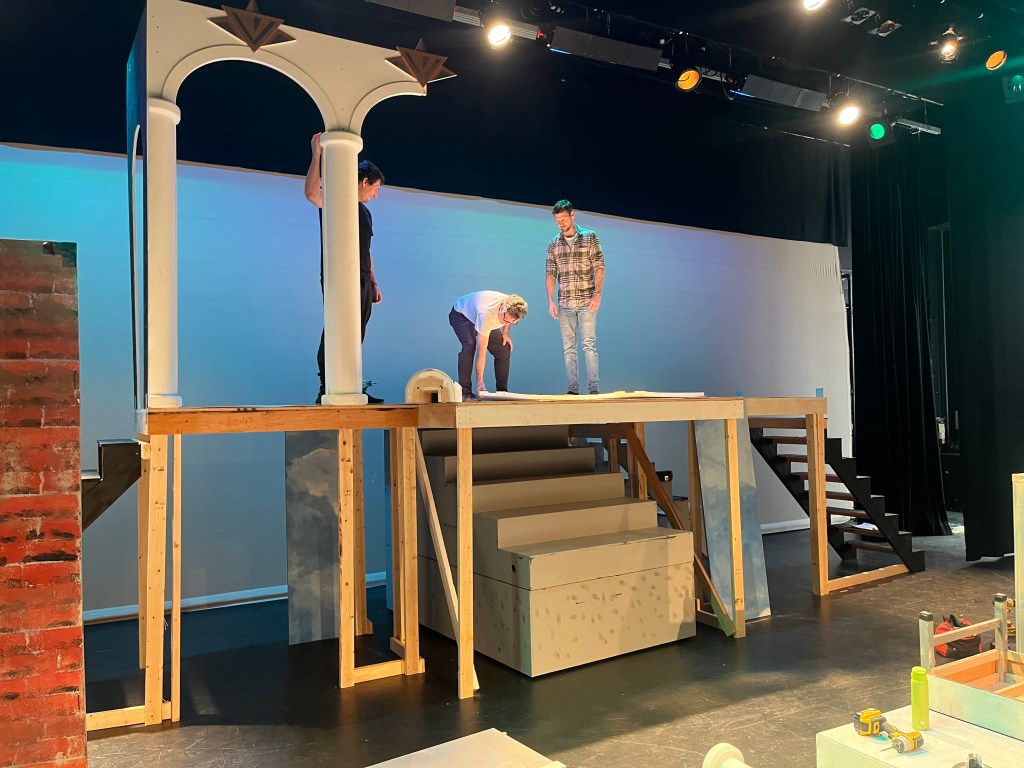
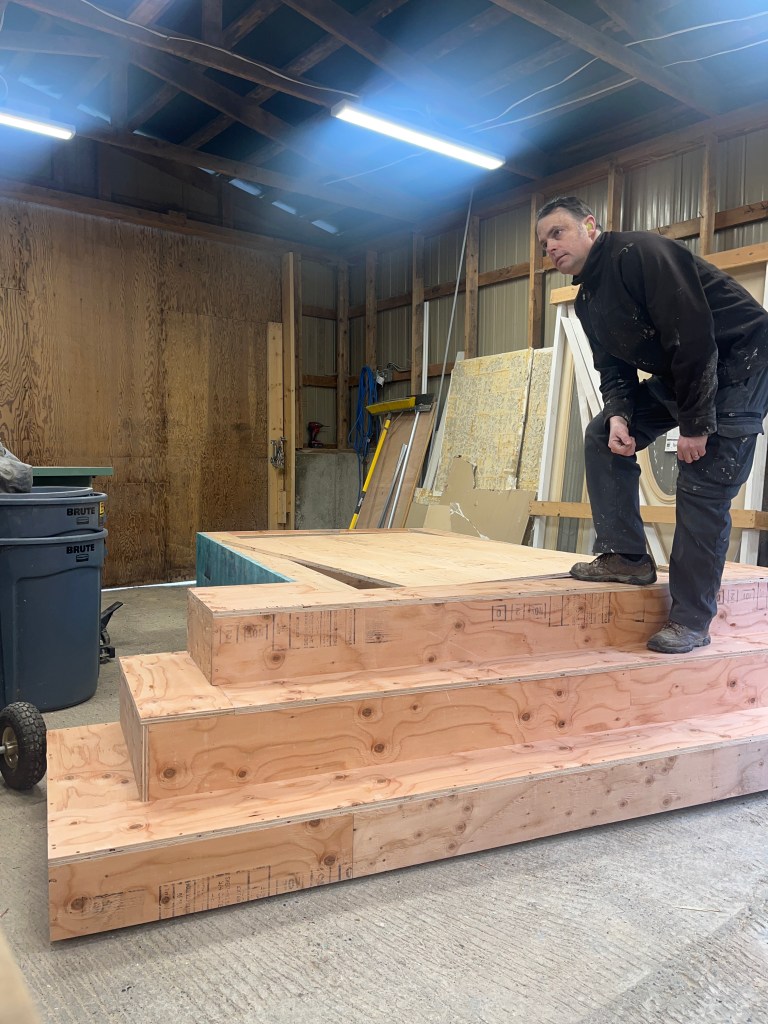
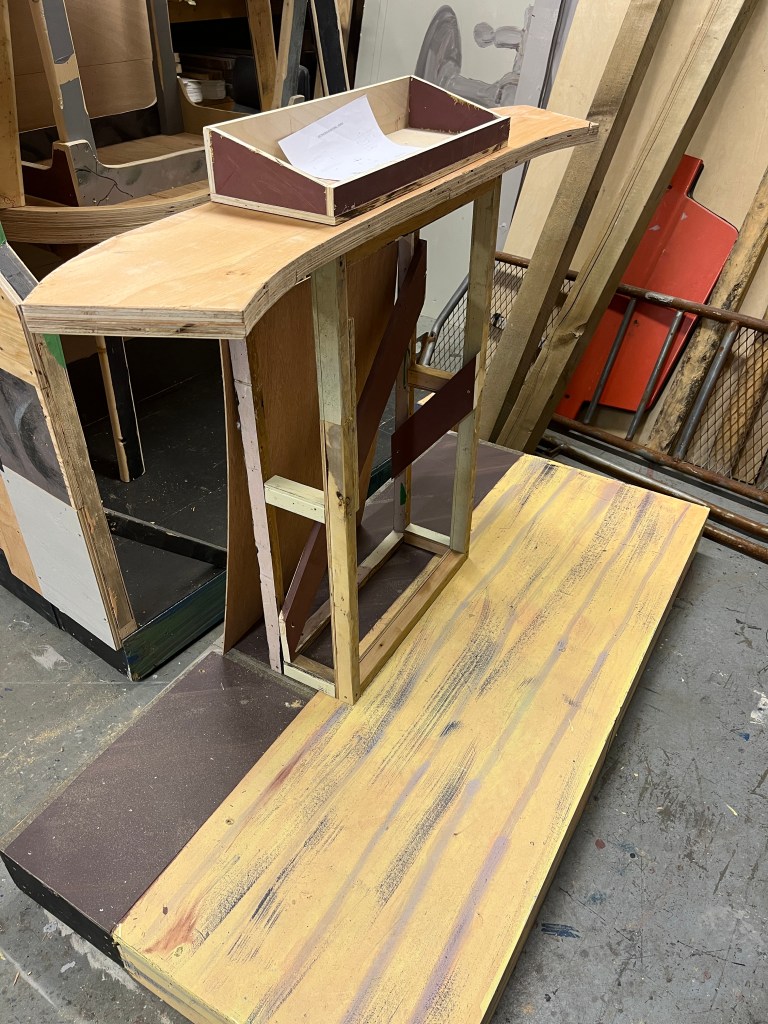
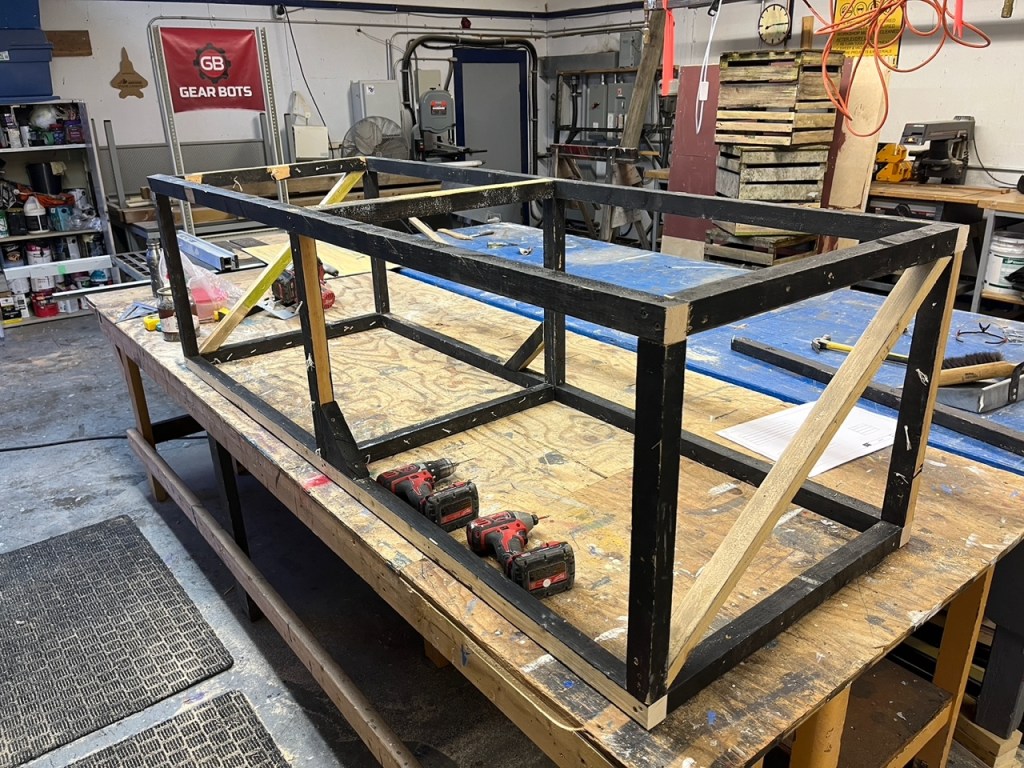
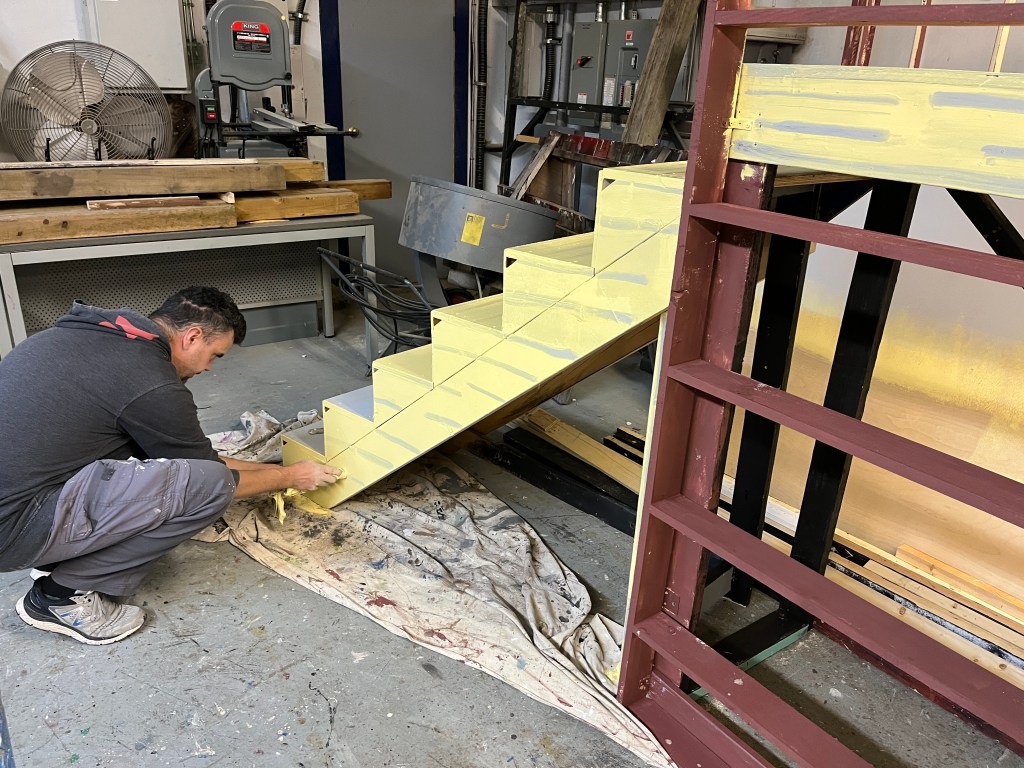
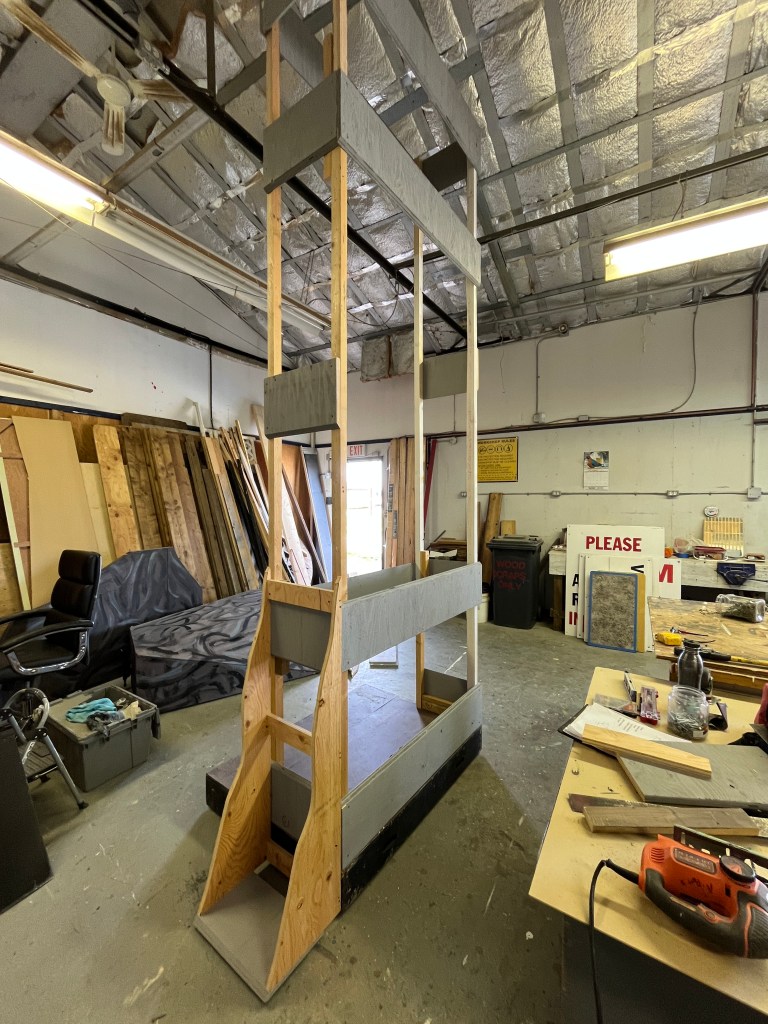
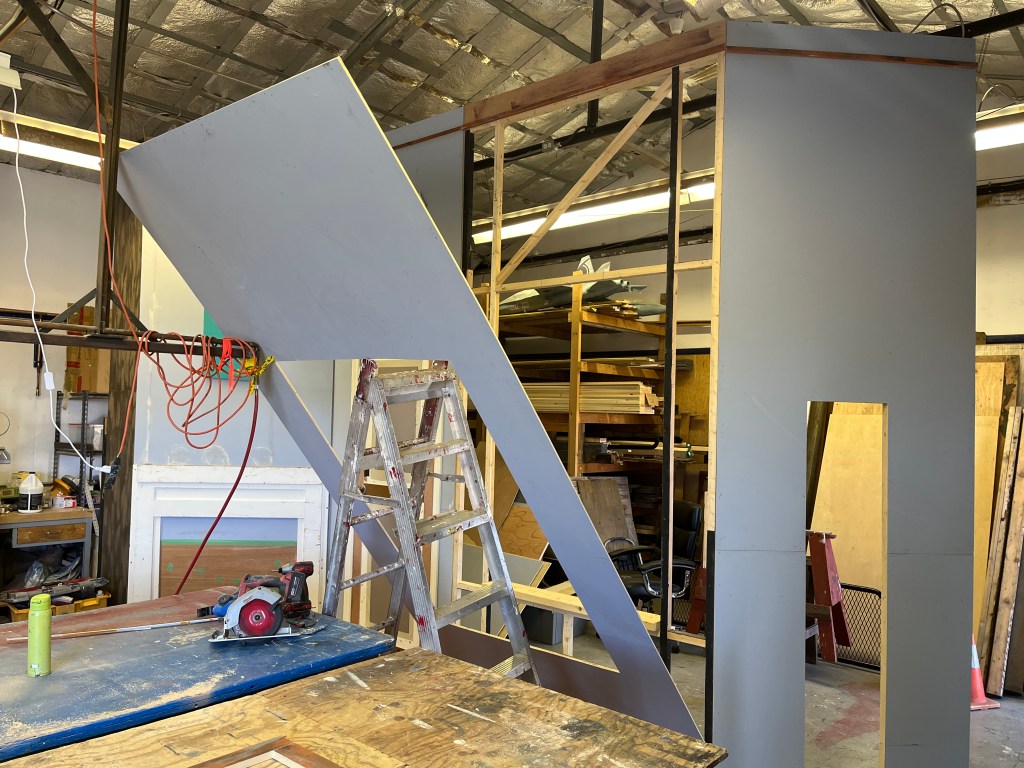
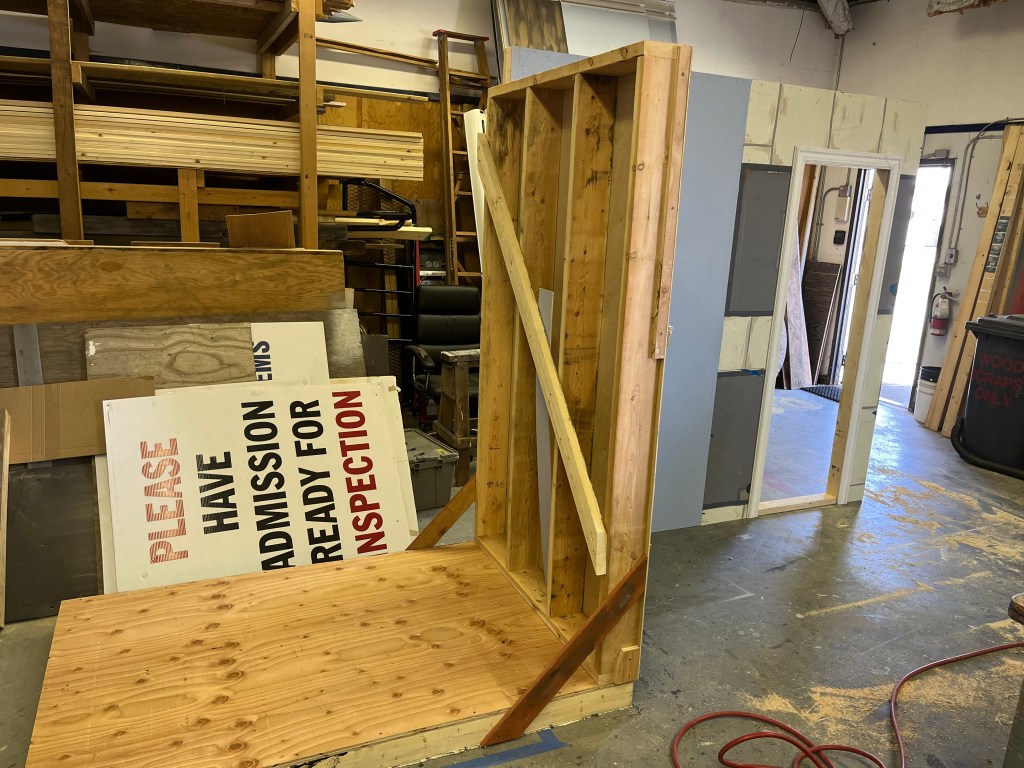
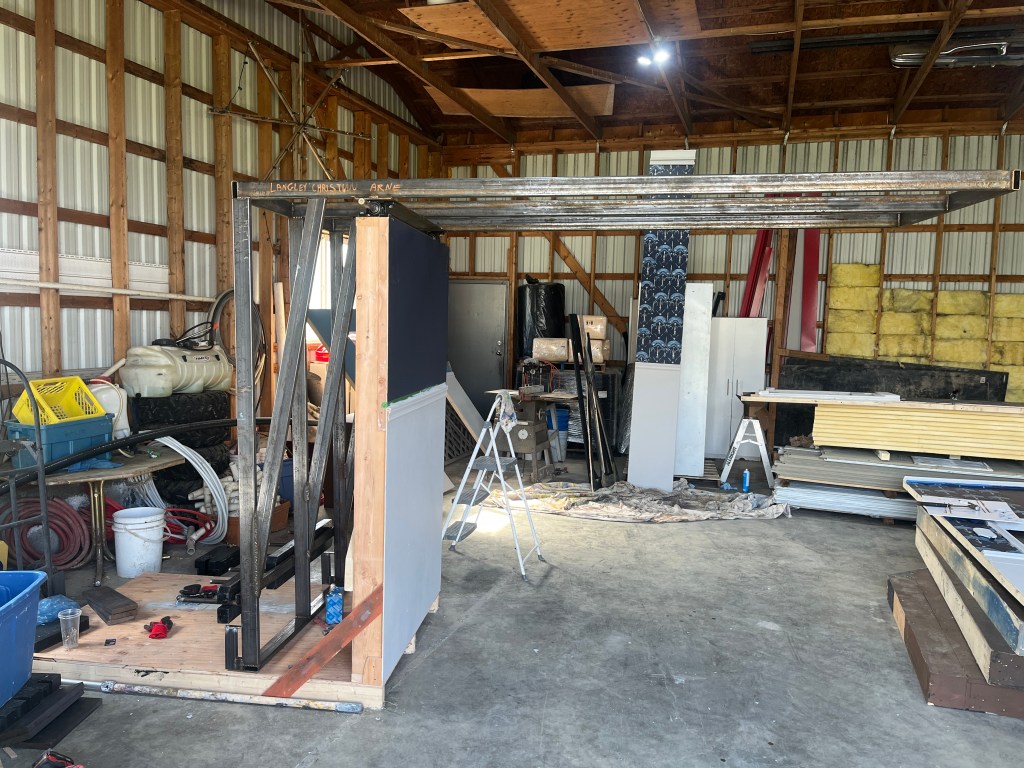
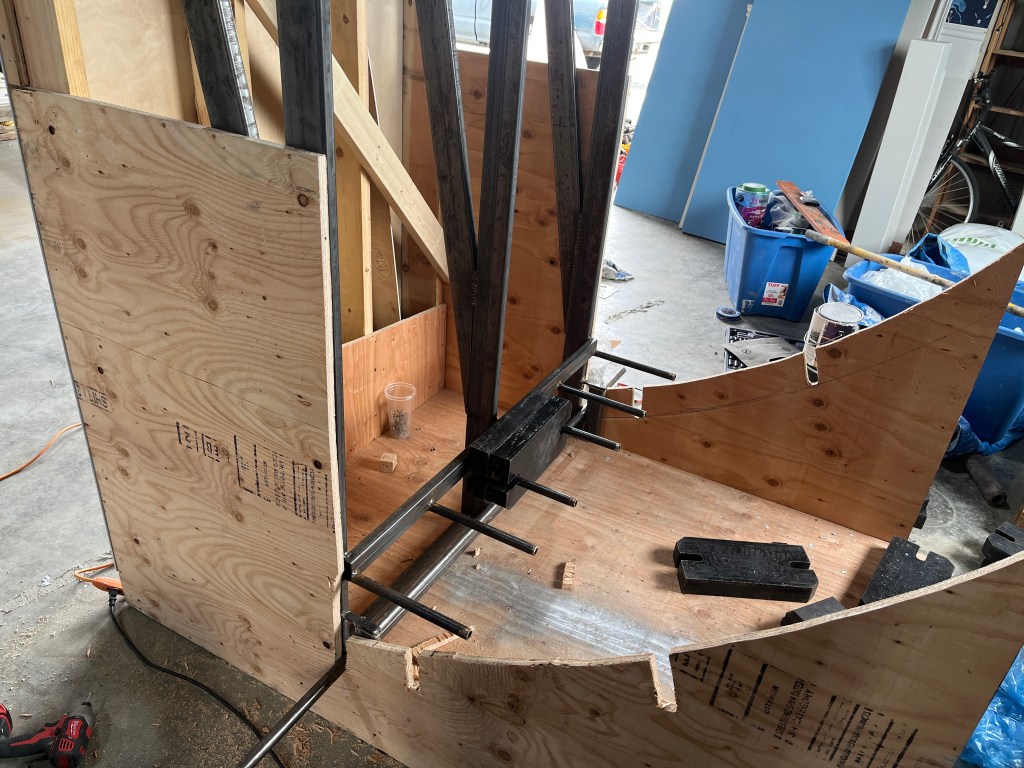
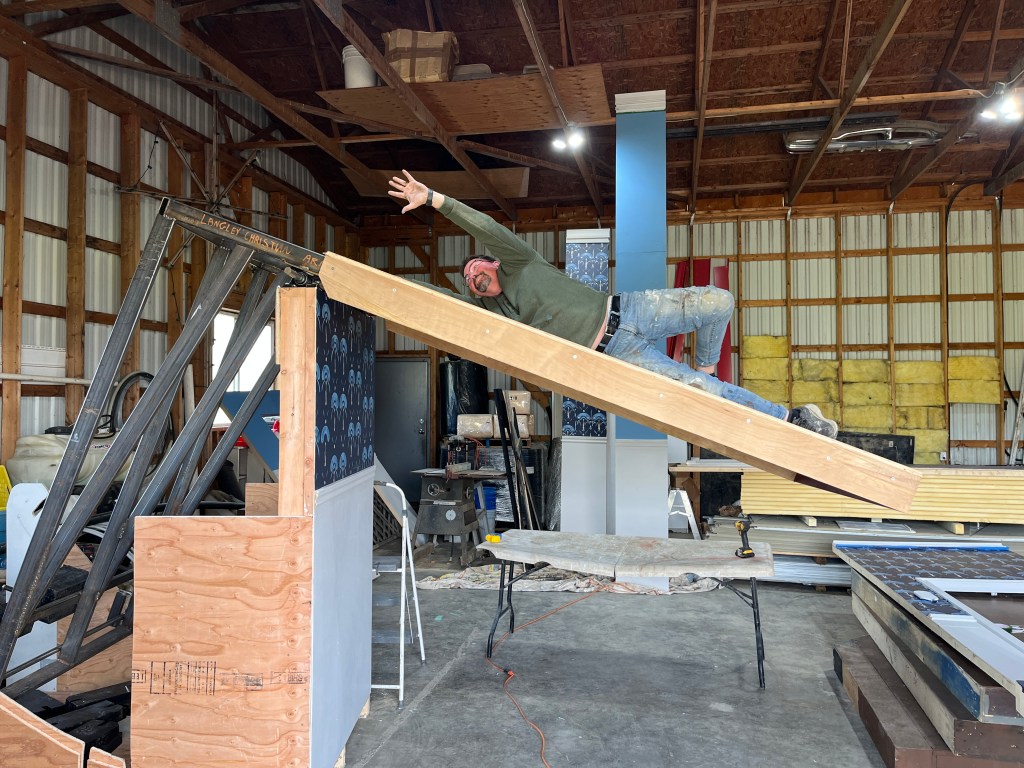
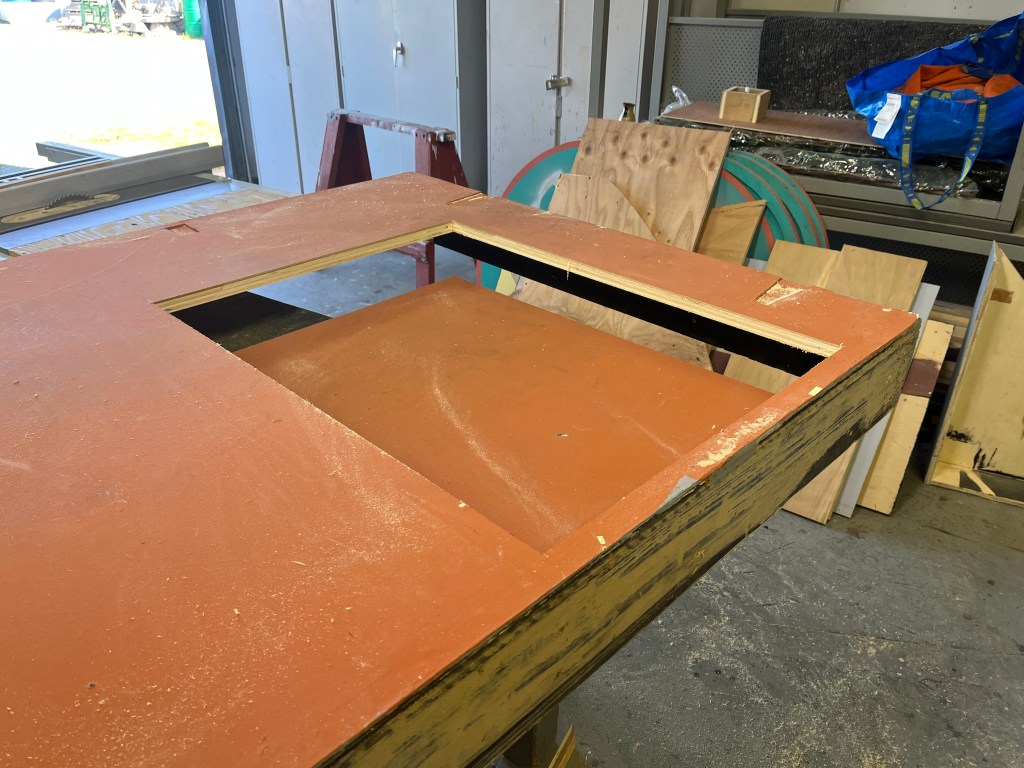
Another challenge was the platform that falls. Gallery 7 put out a call and found a great welder, Arne L, who volunteered his time to design a steel structure using basic measurements and youtube videos that I sent him. He gave me the costs for steel and based on that we were able to request a slightly bigger set materials budget.
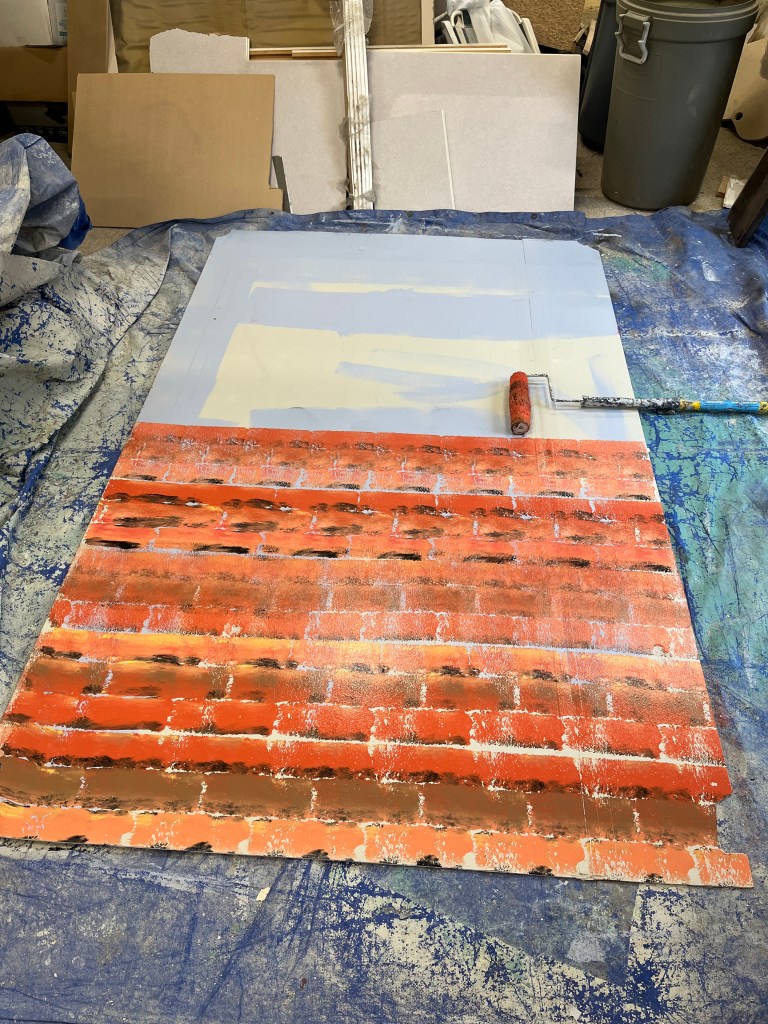
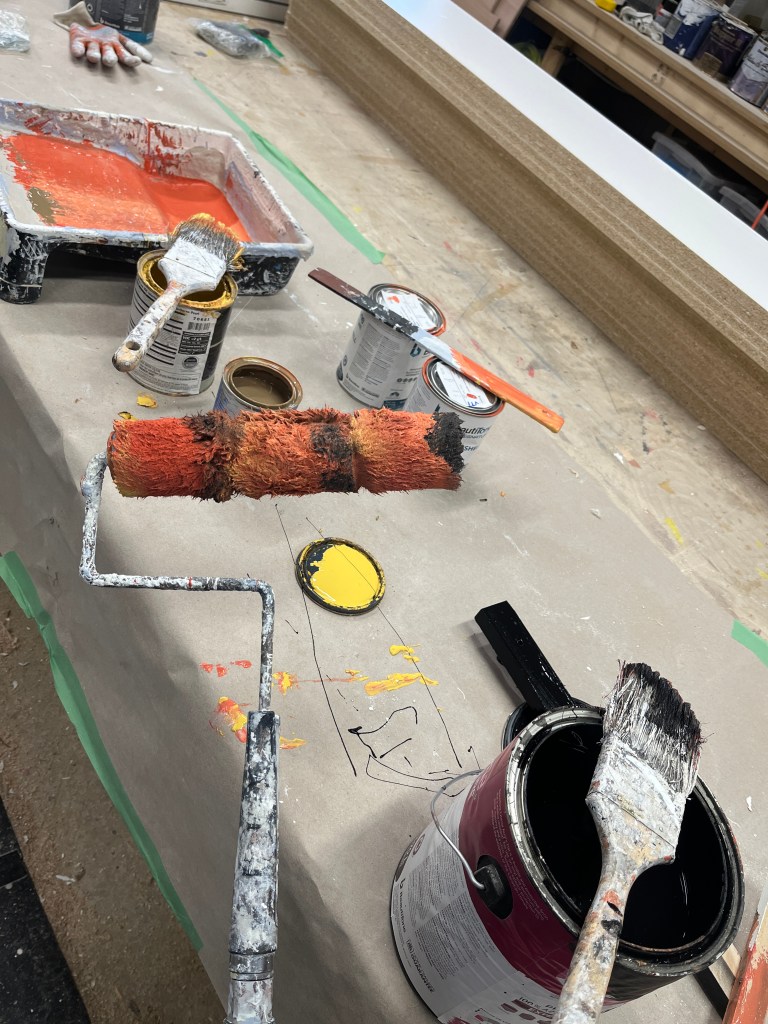
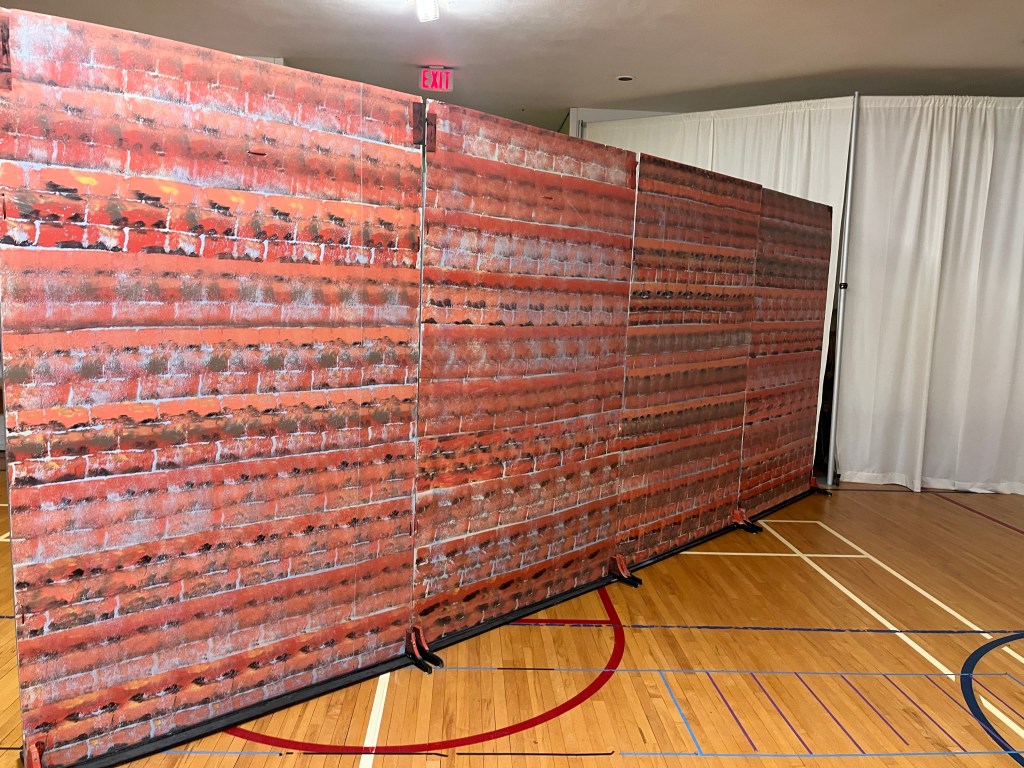
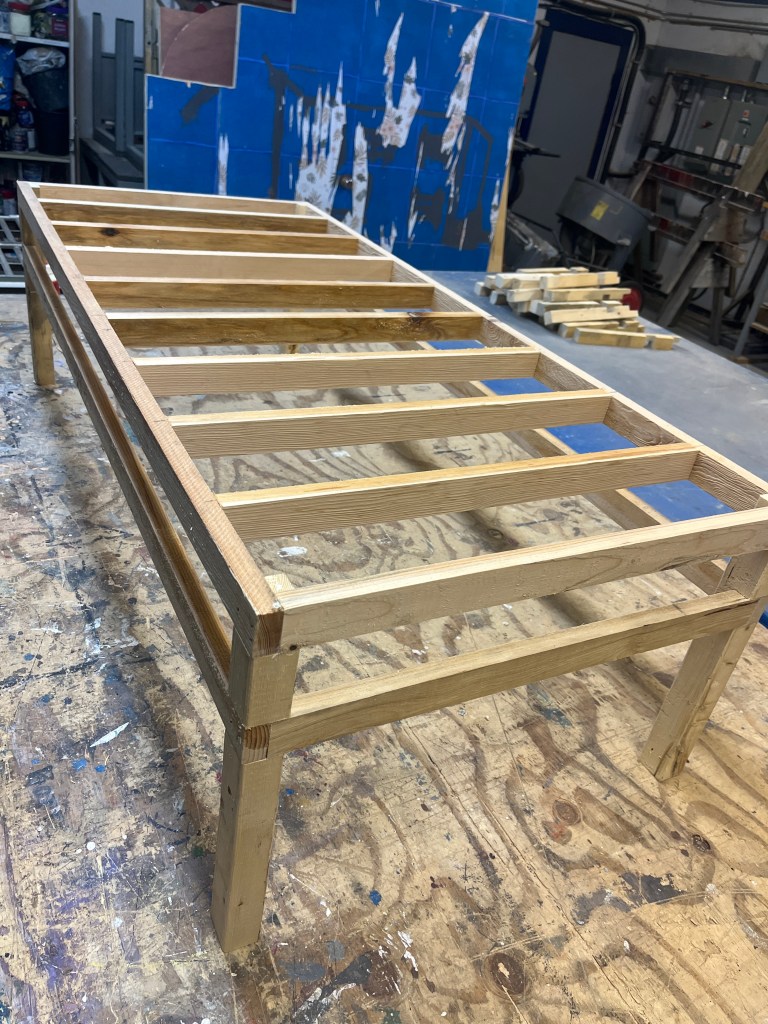
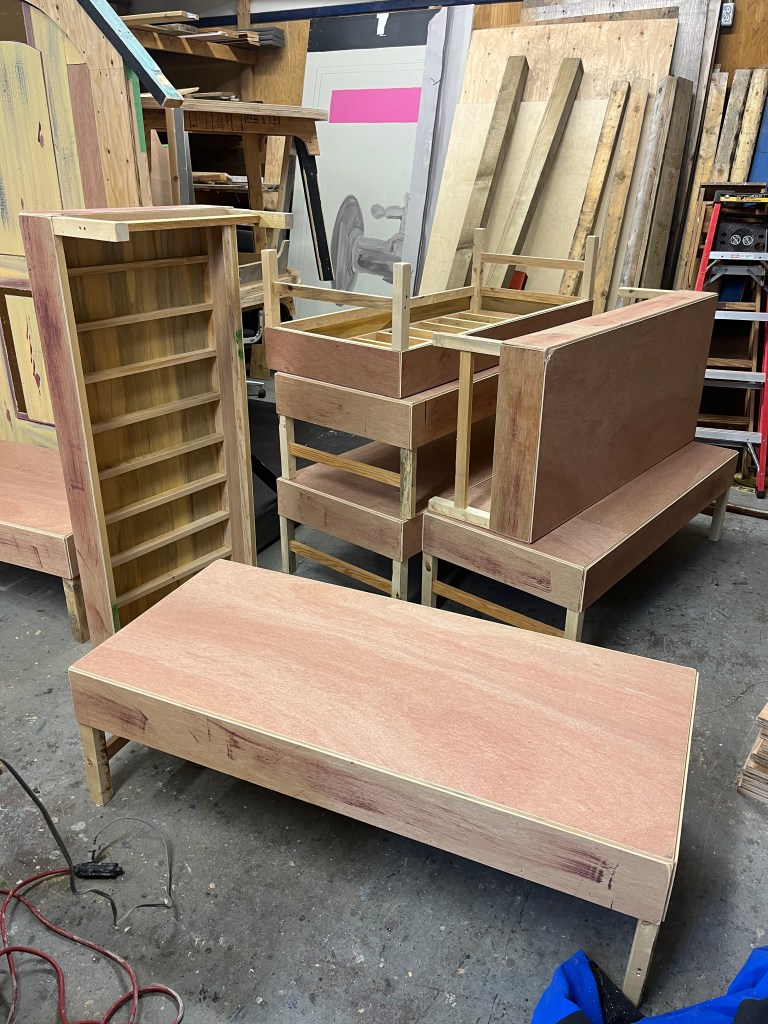
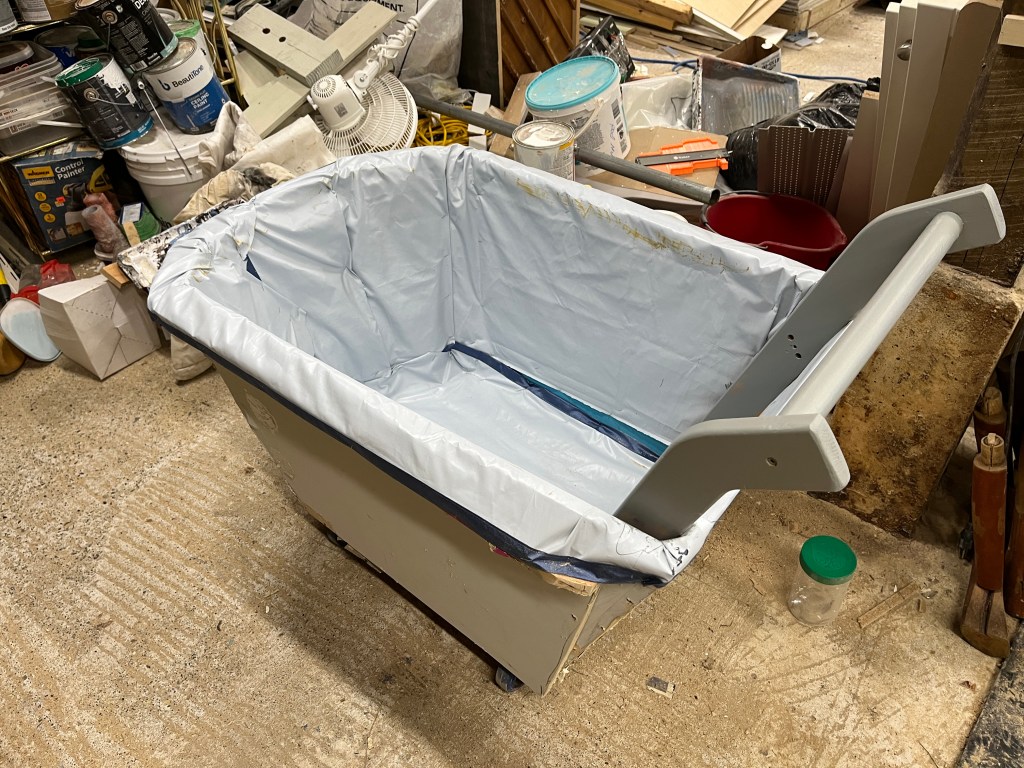
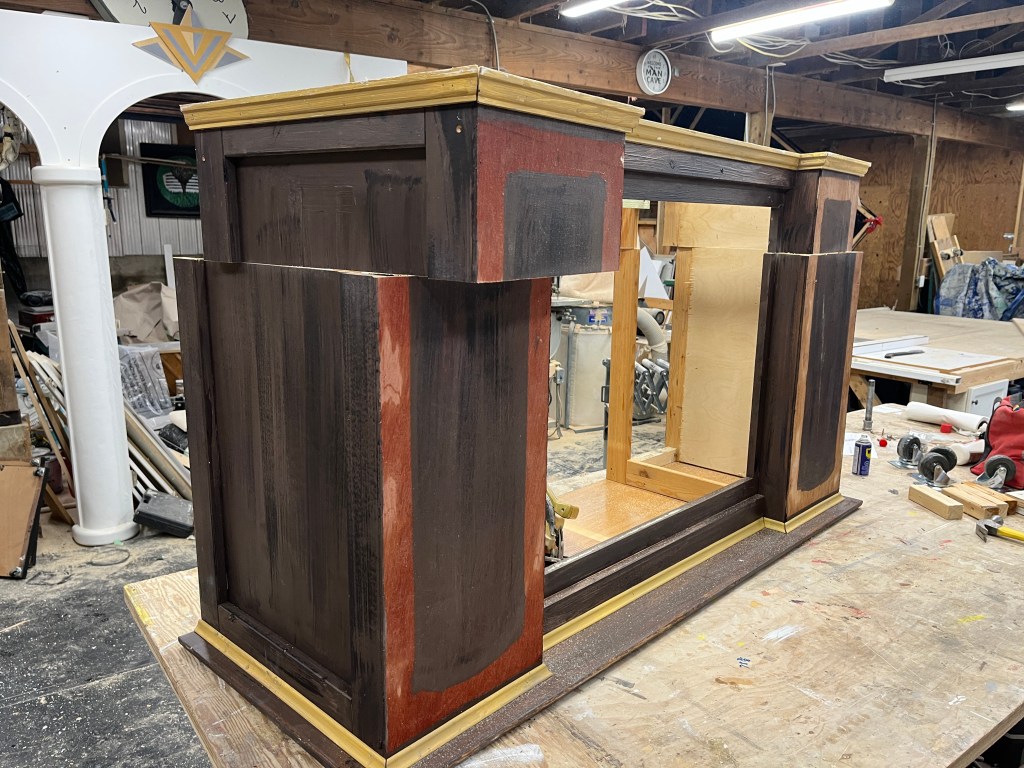
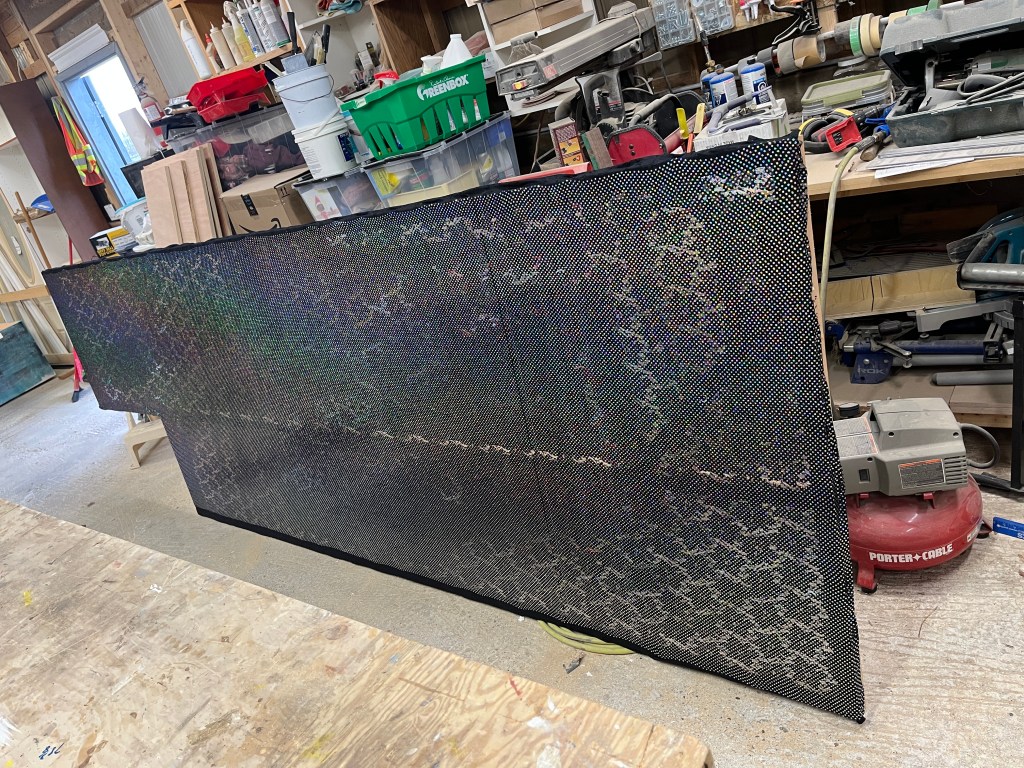
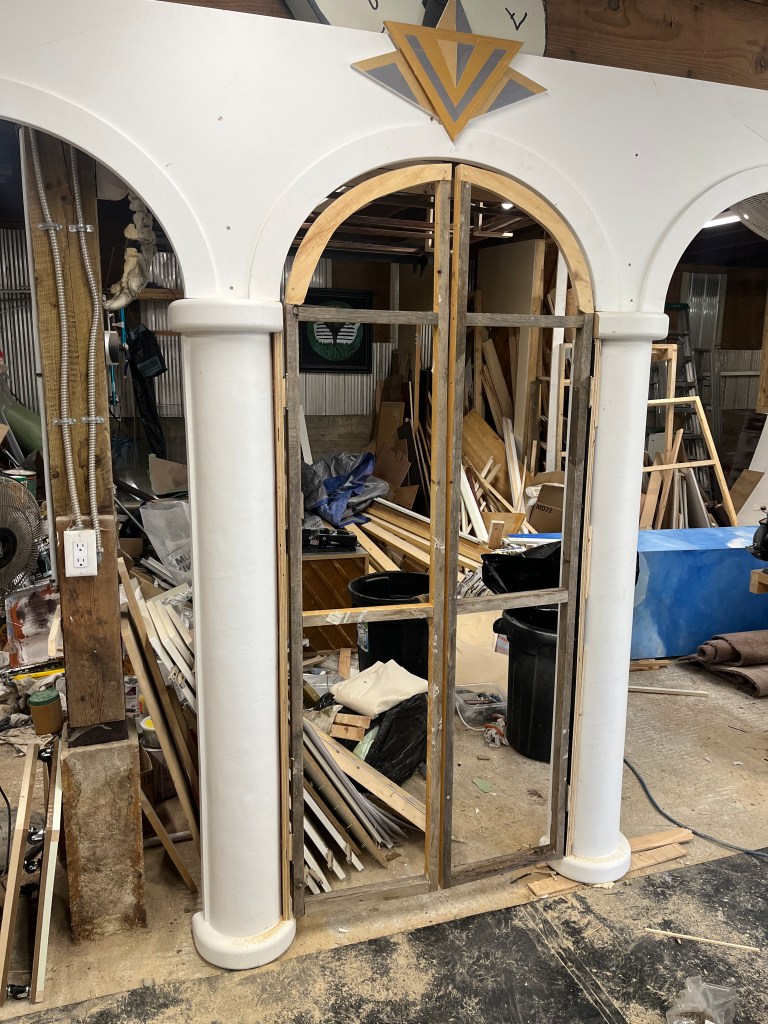
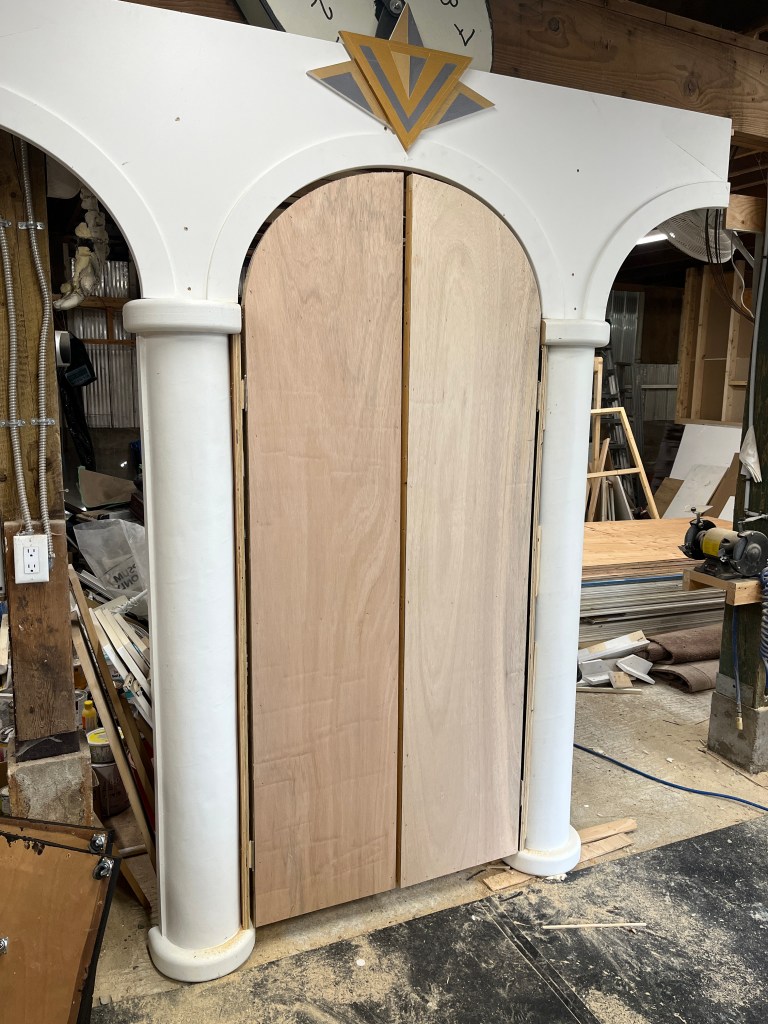
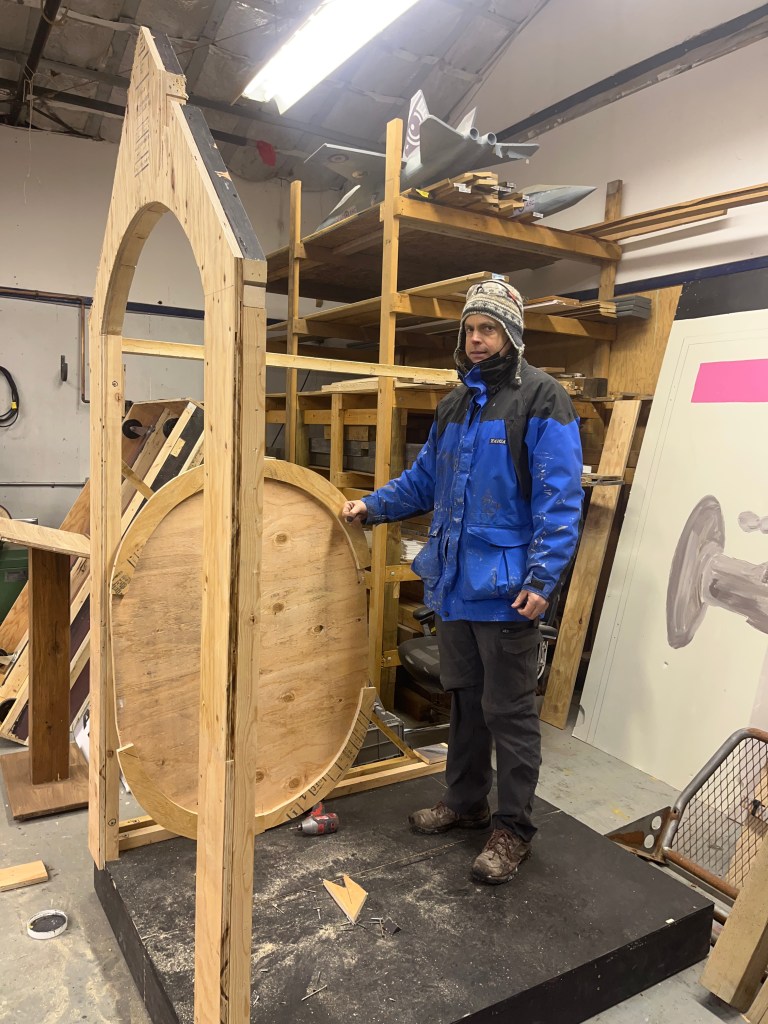
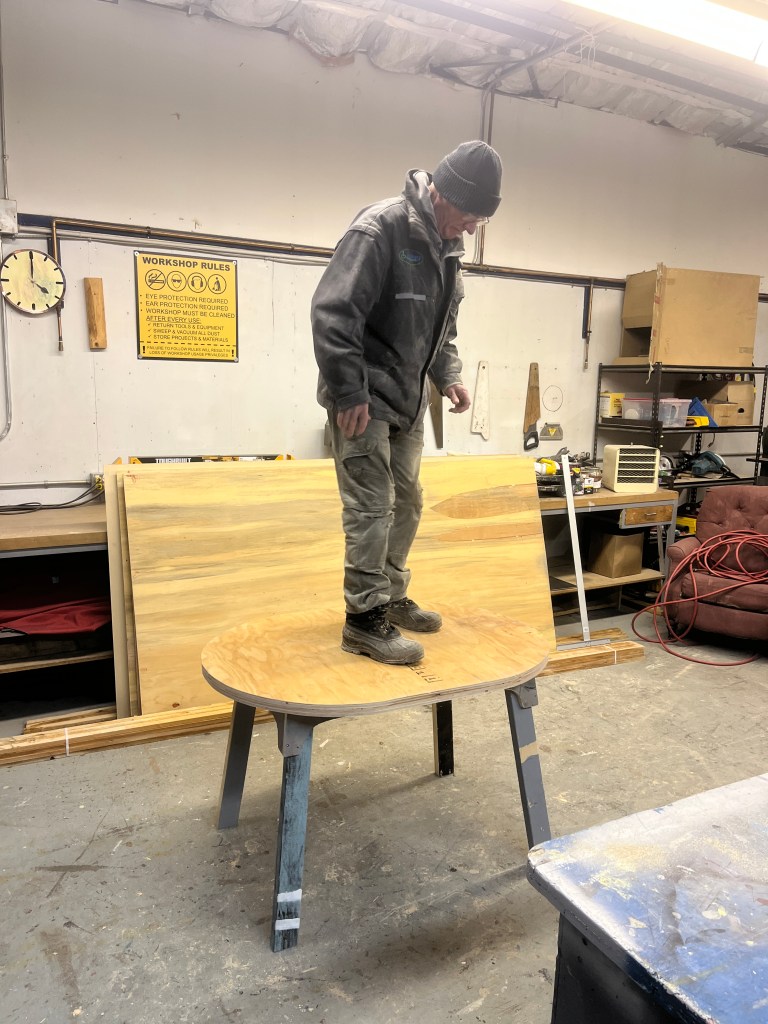
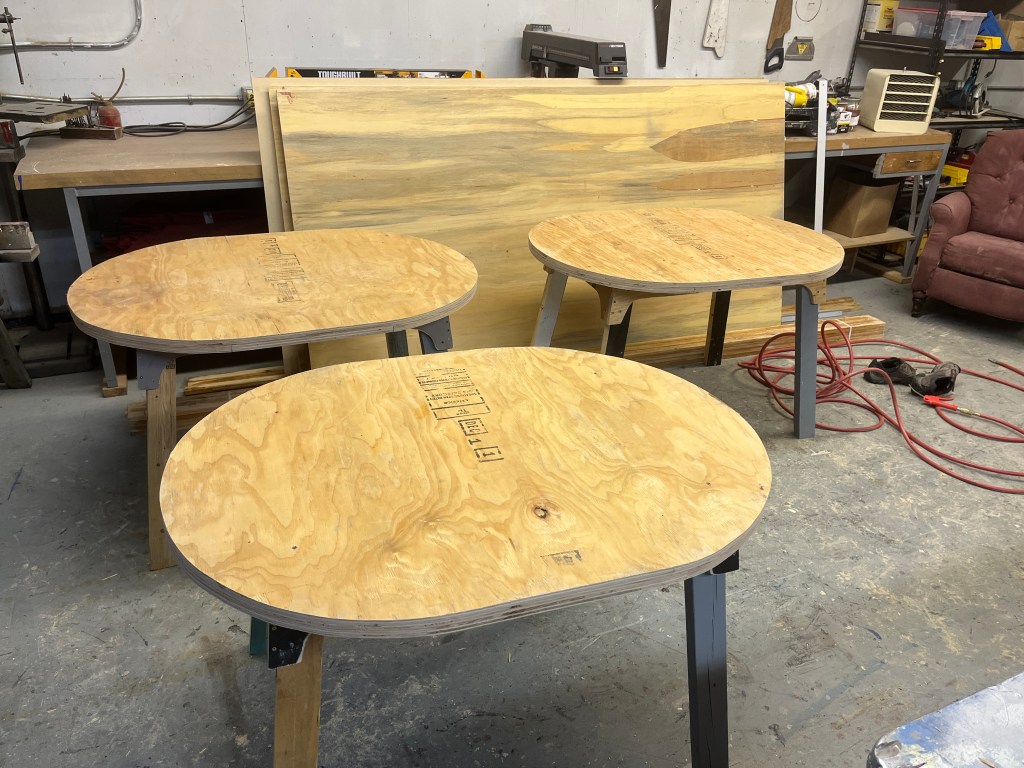
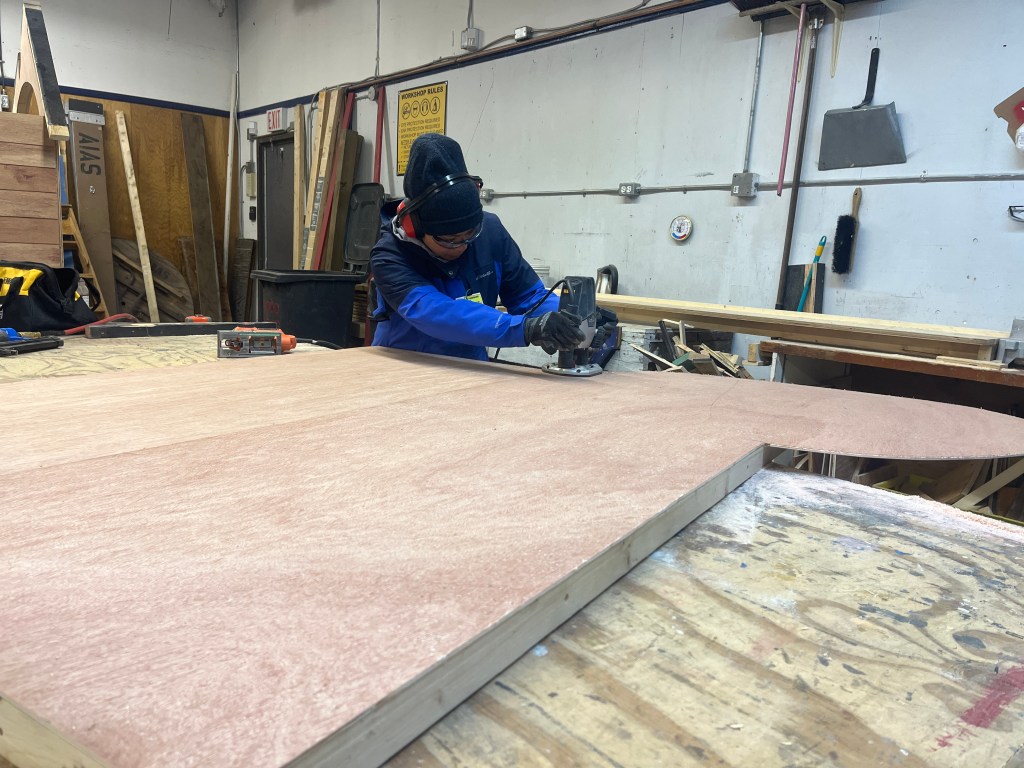
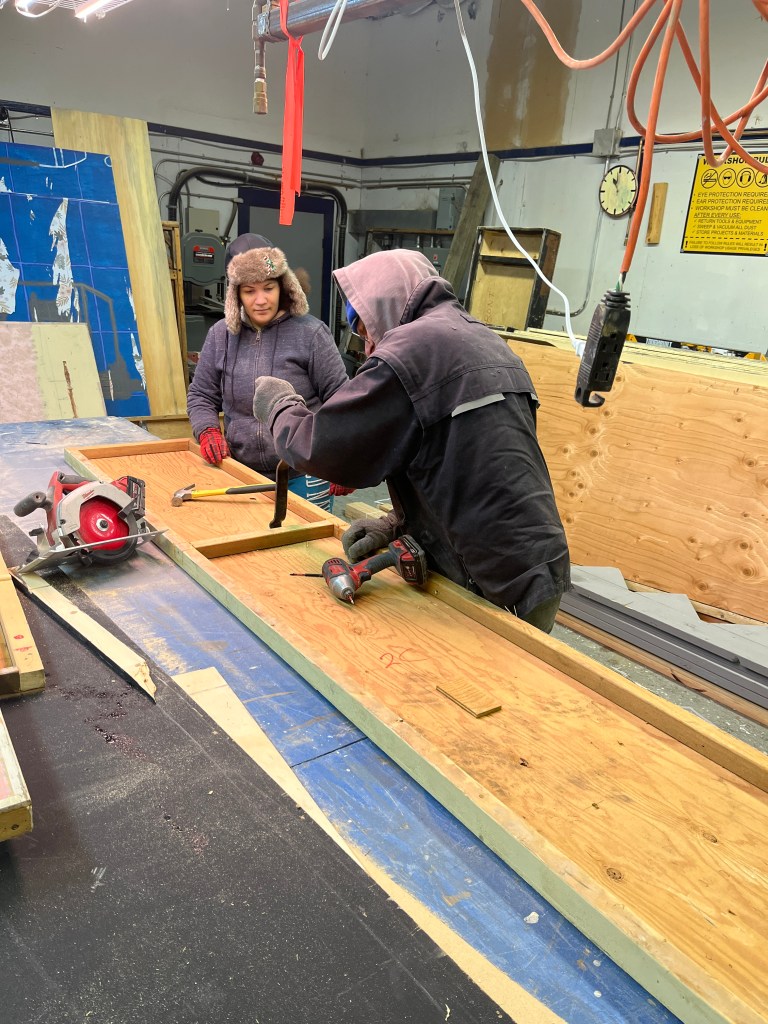
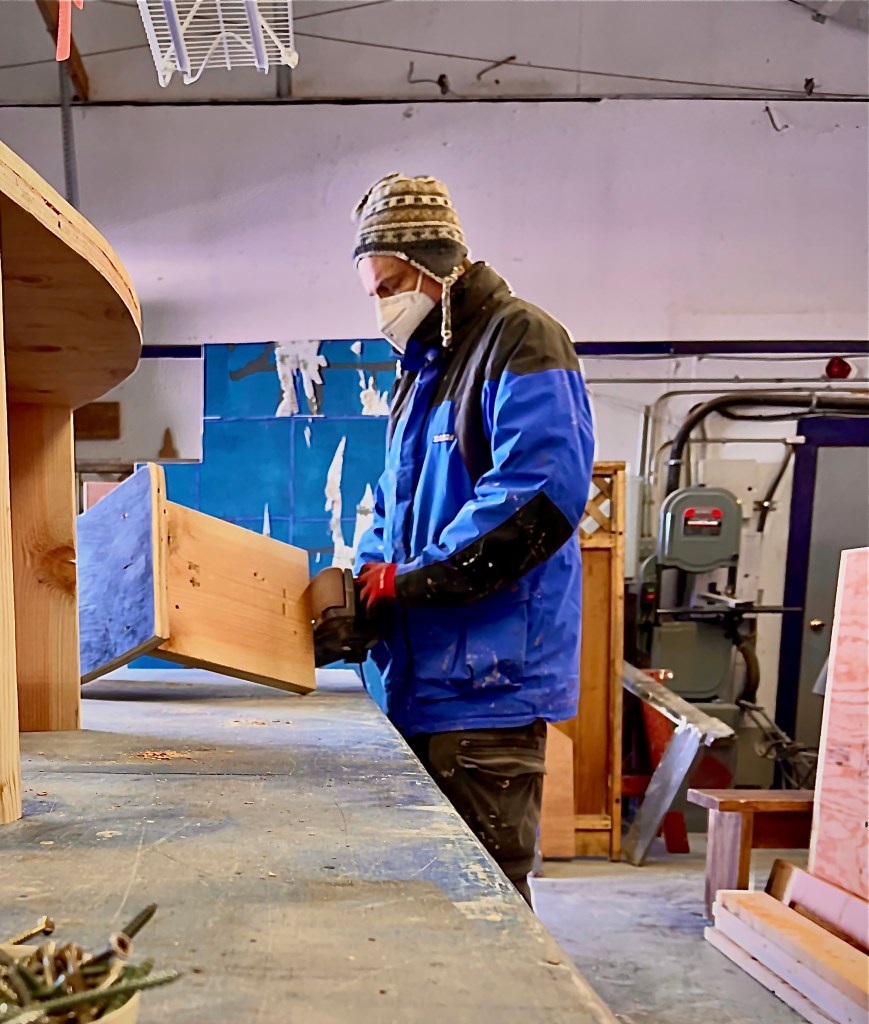
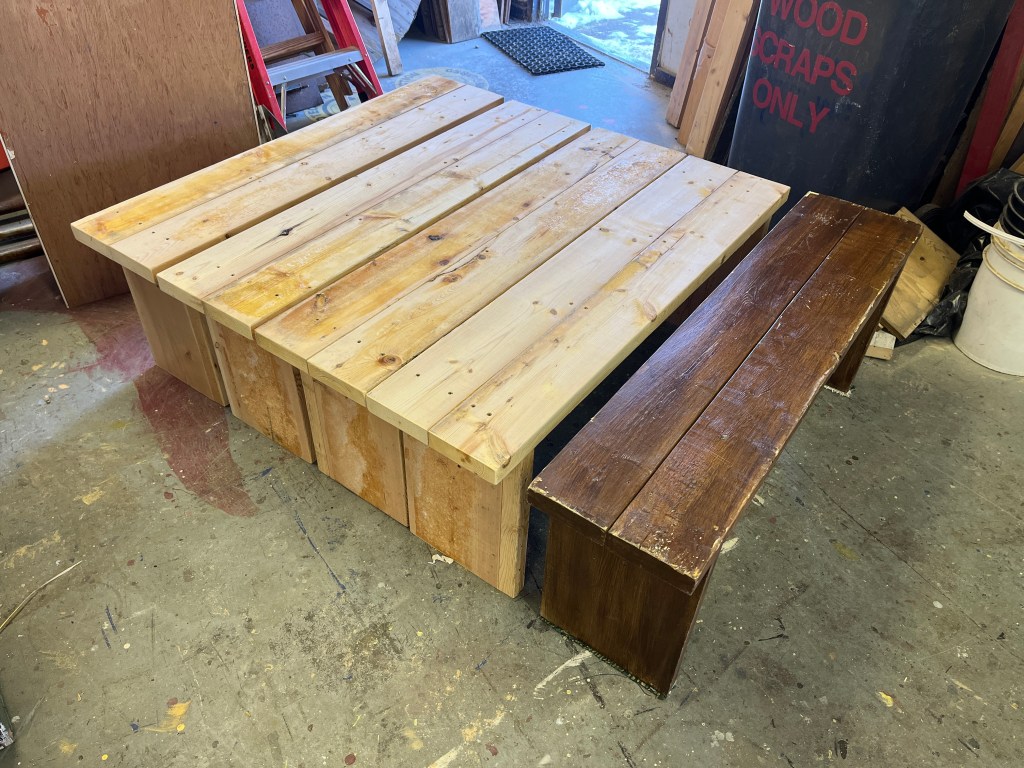
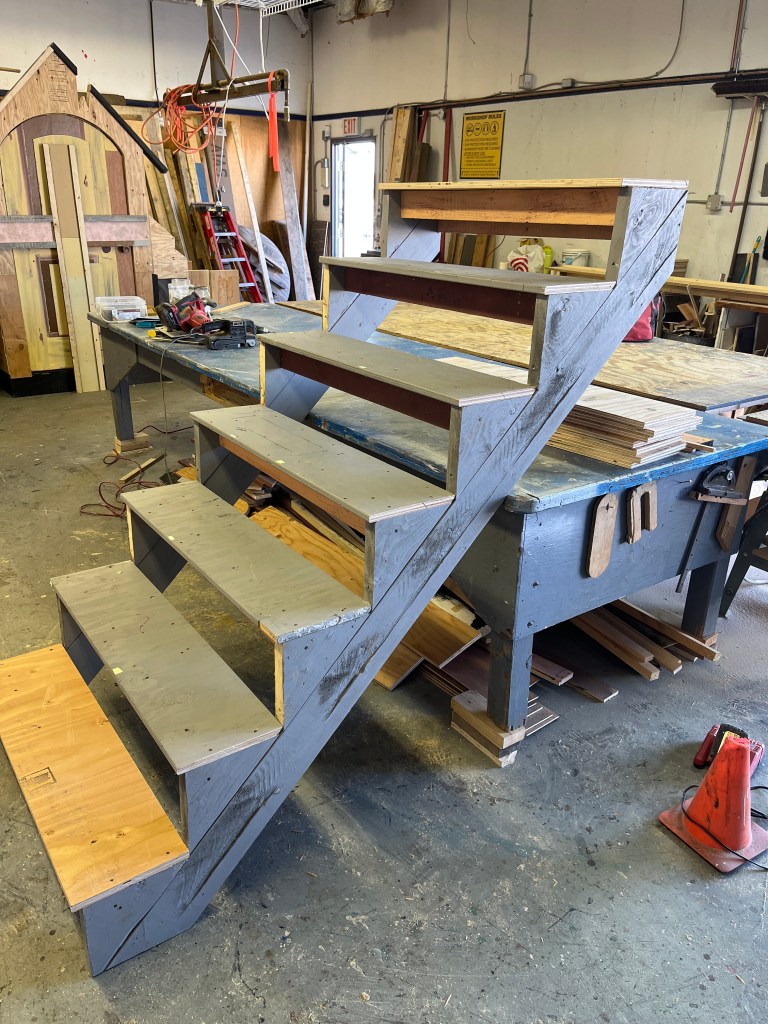
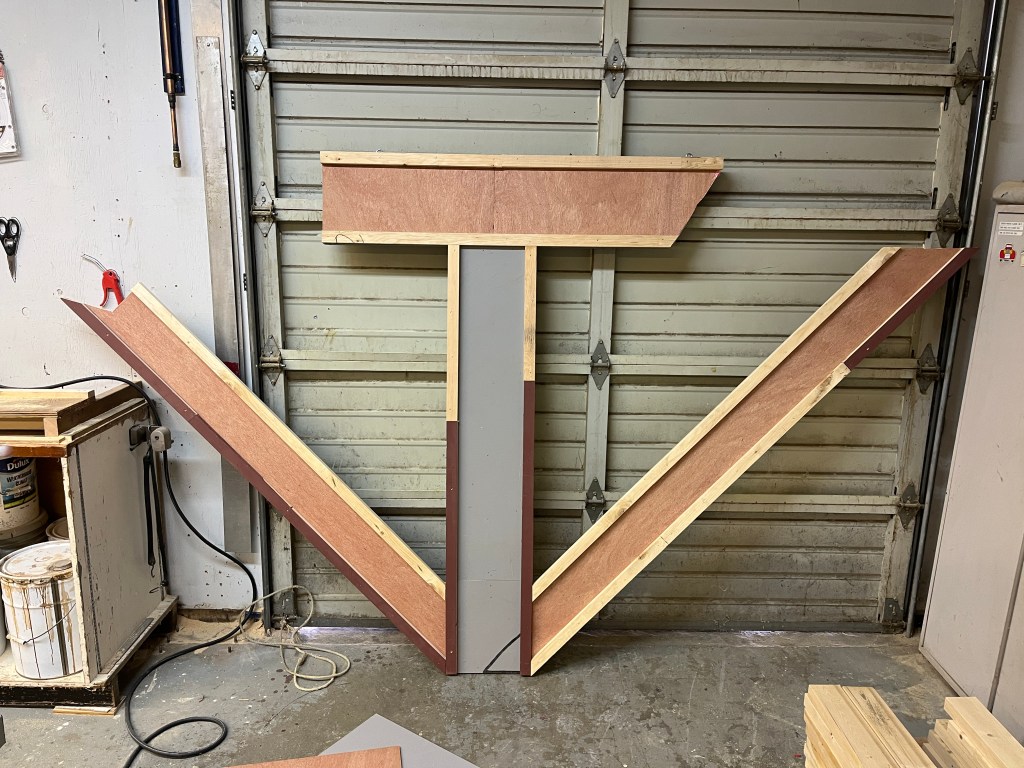
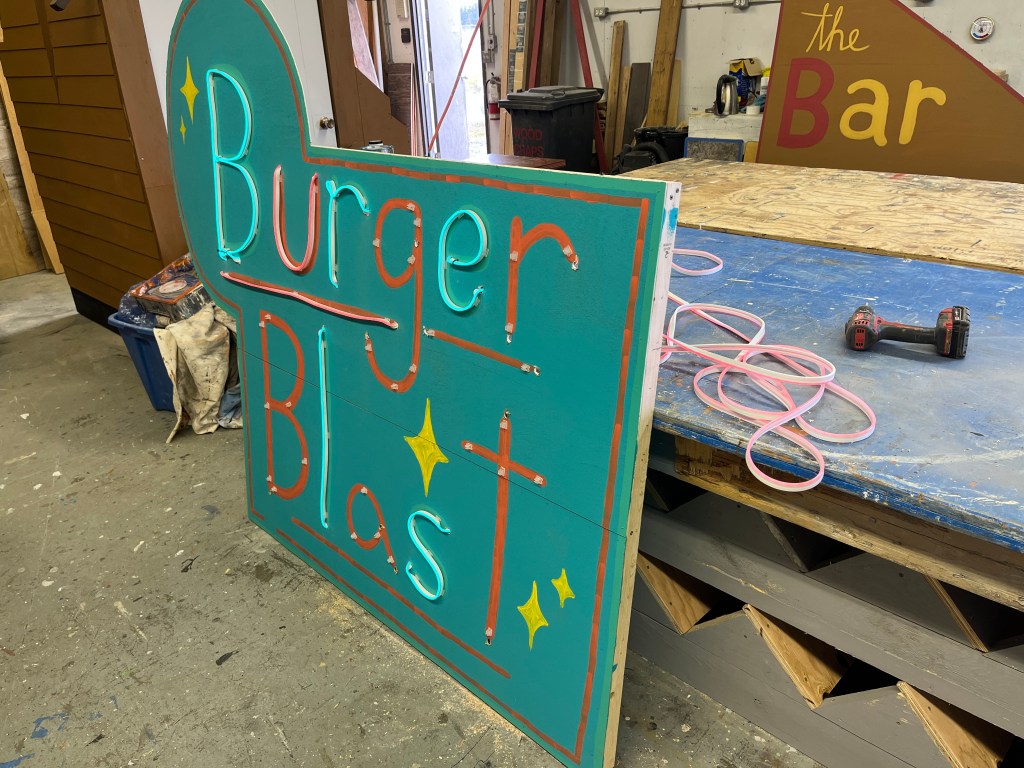
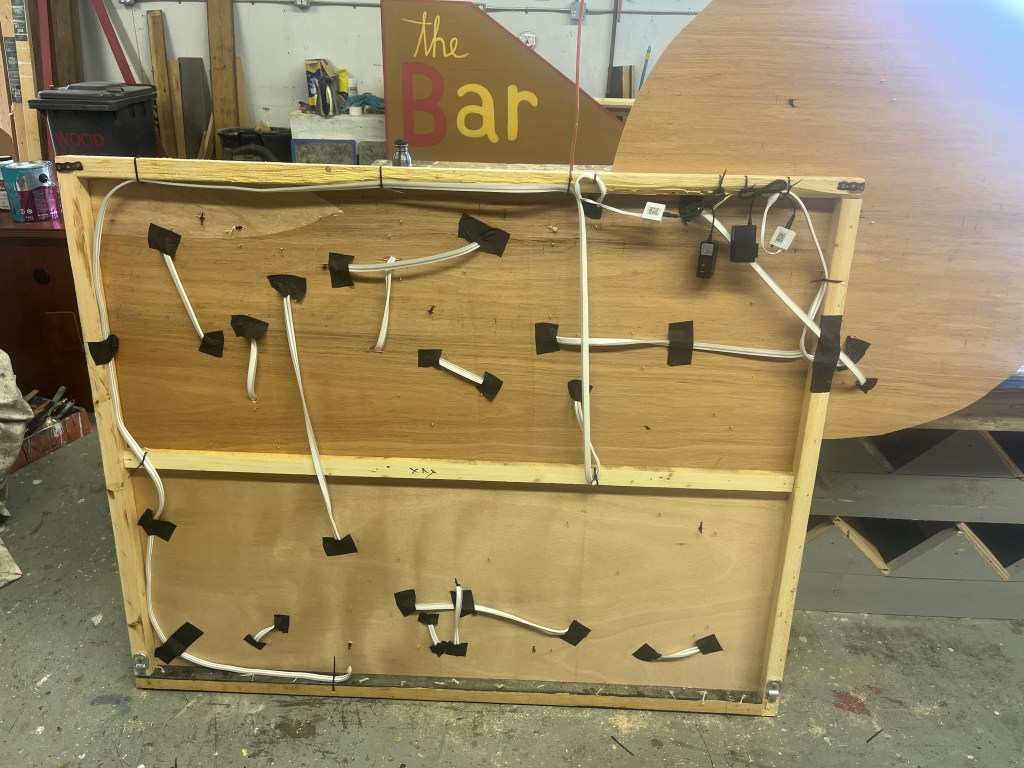
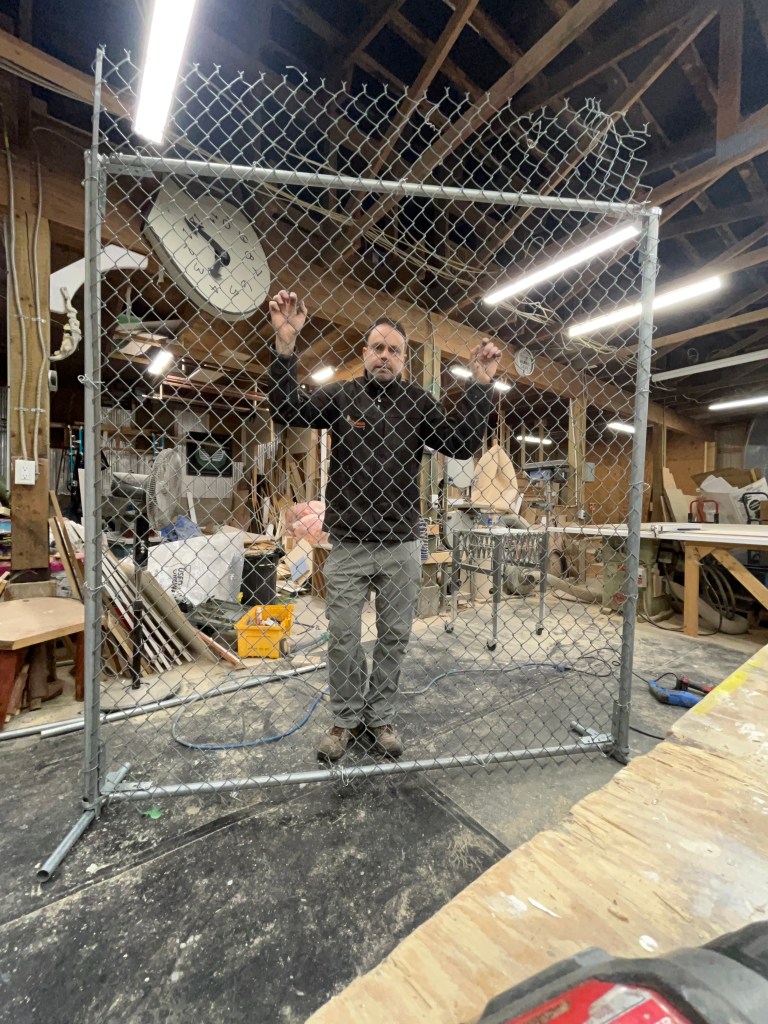
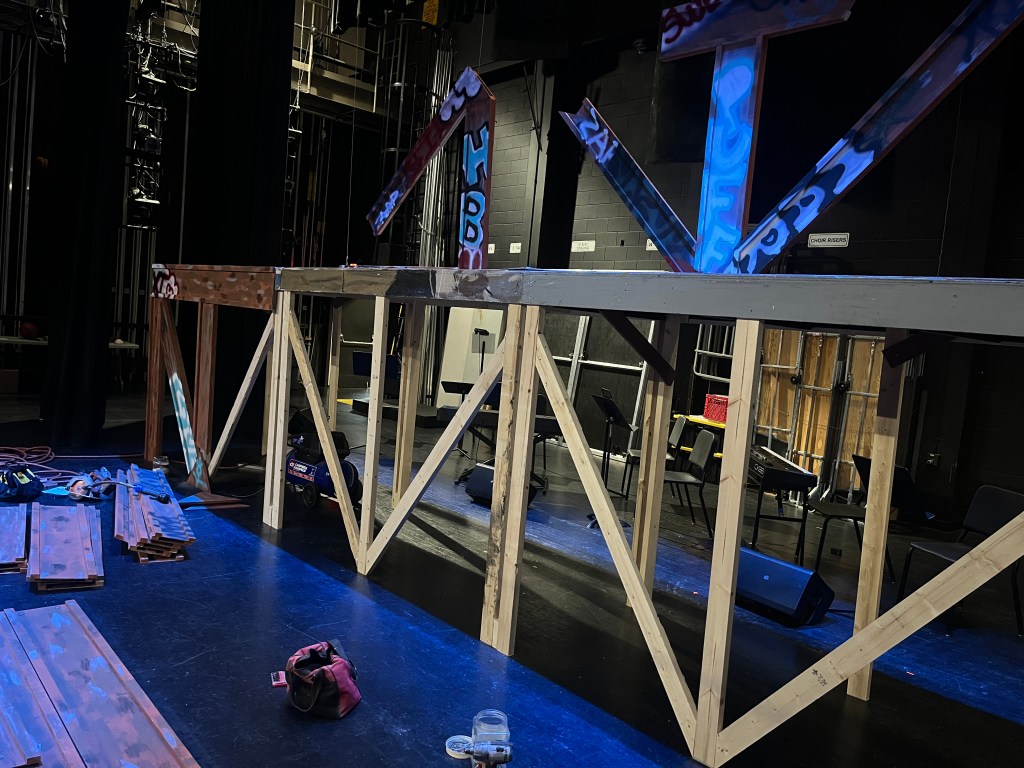
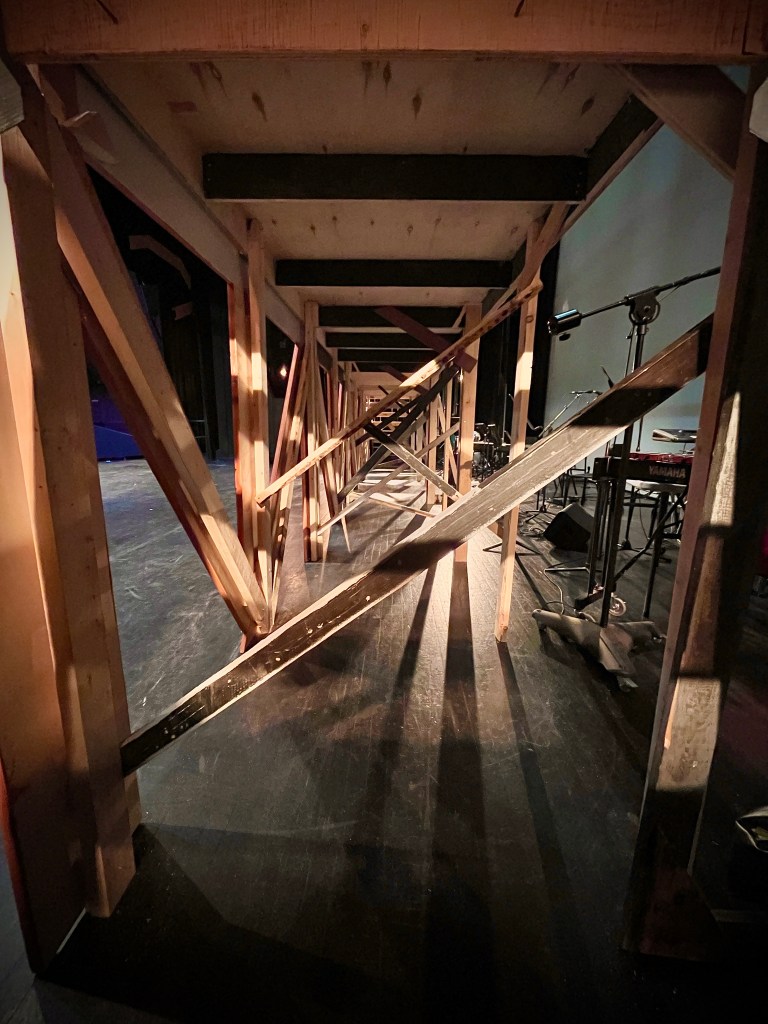
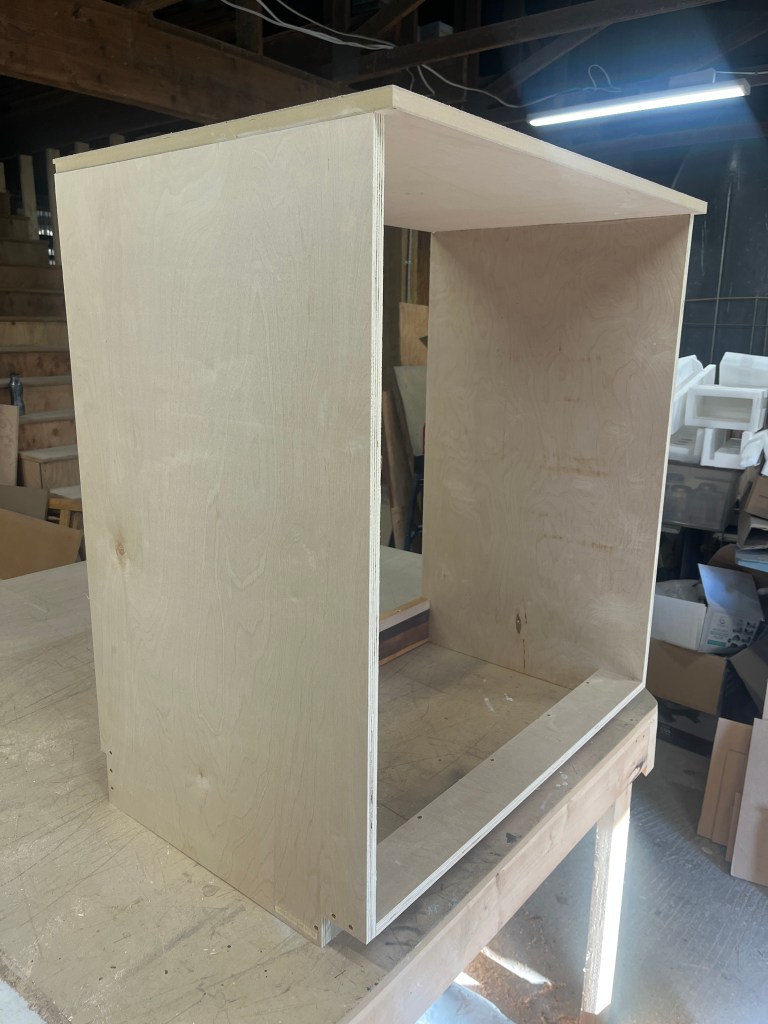
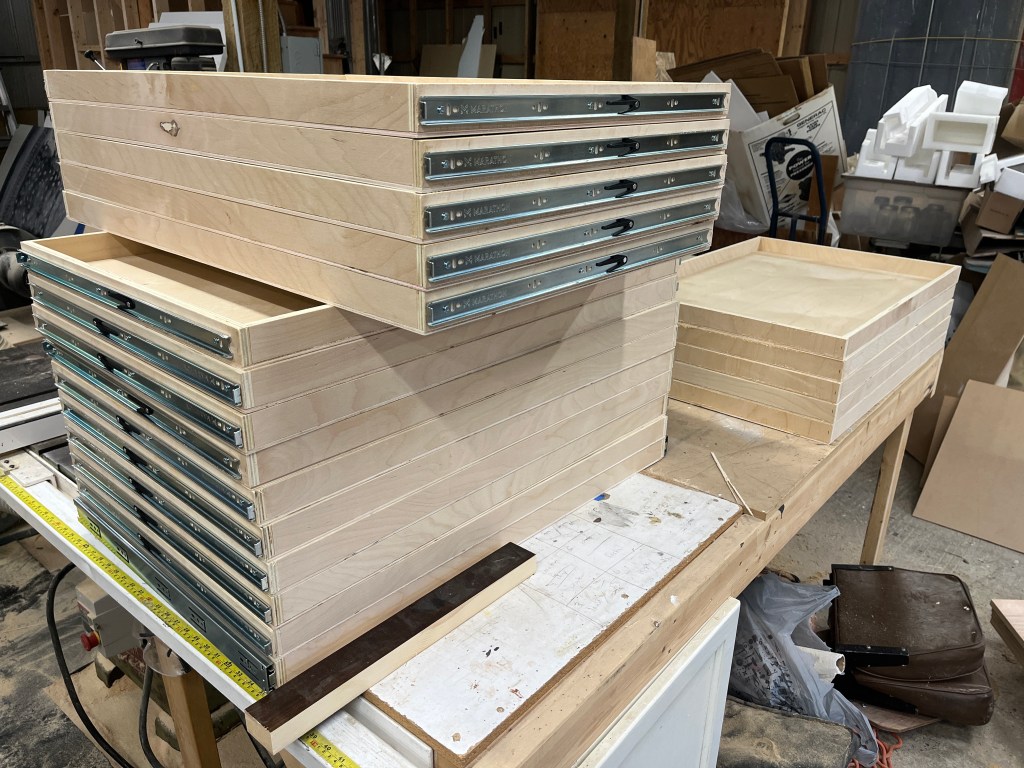
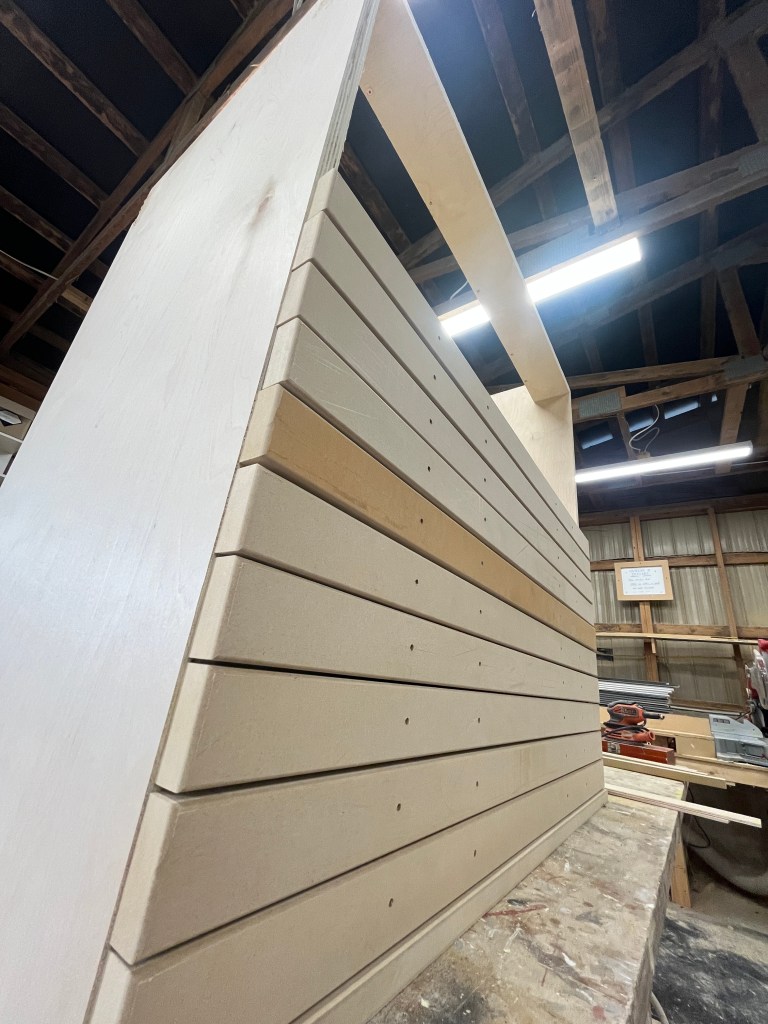
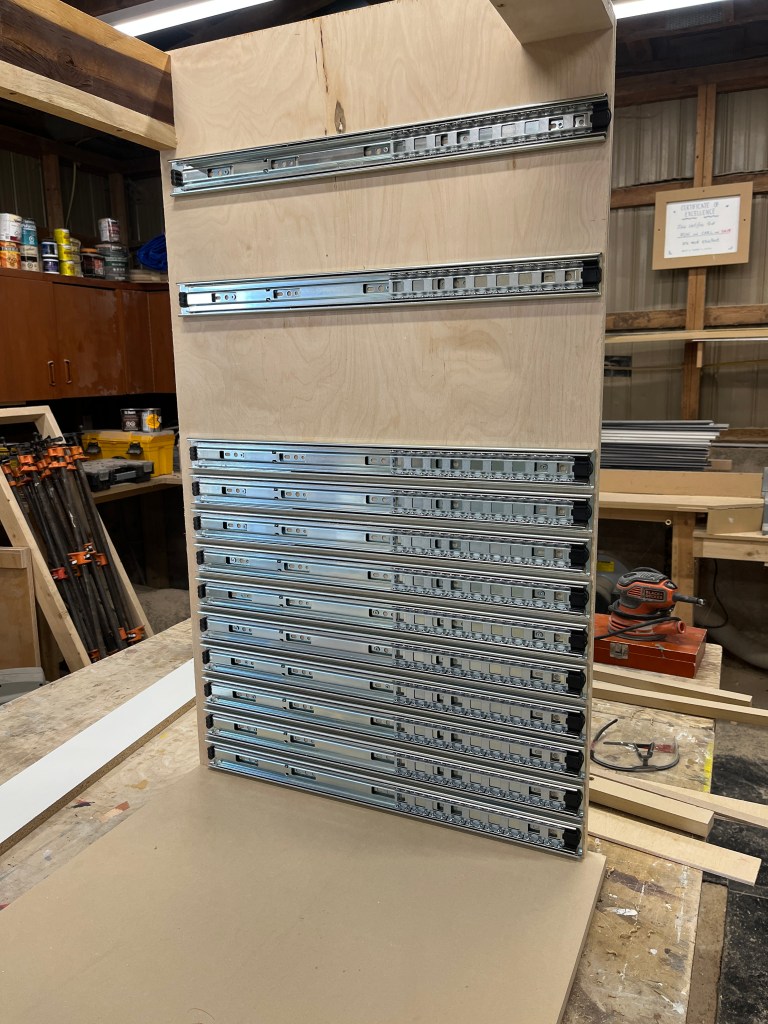
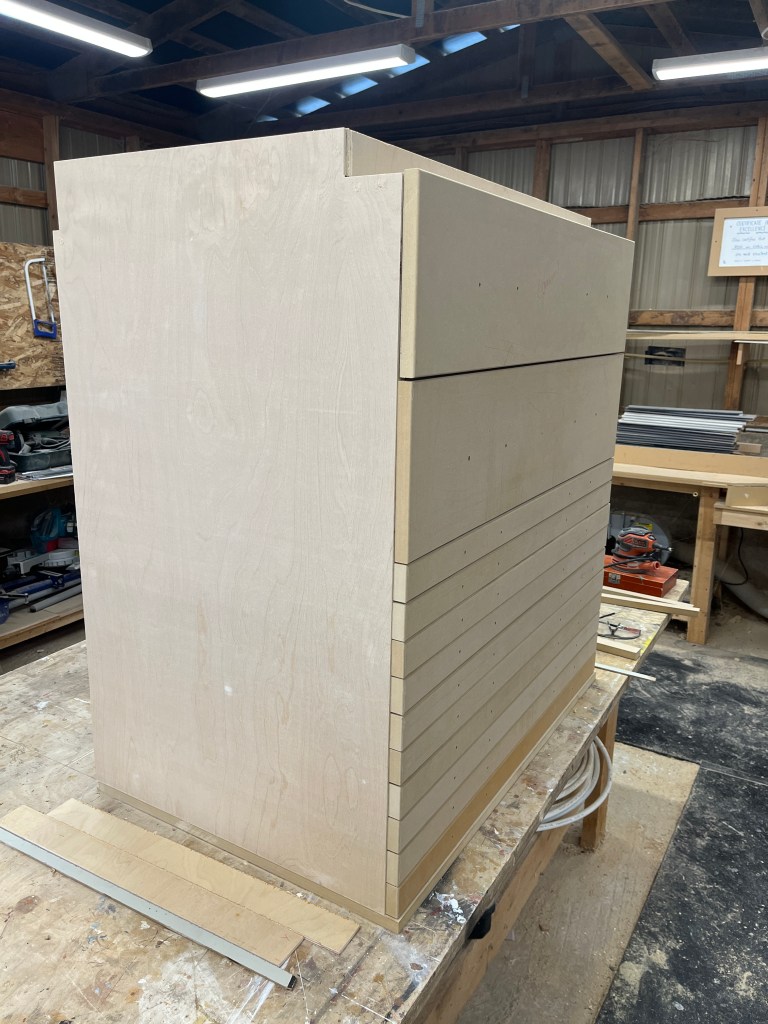
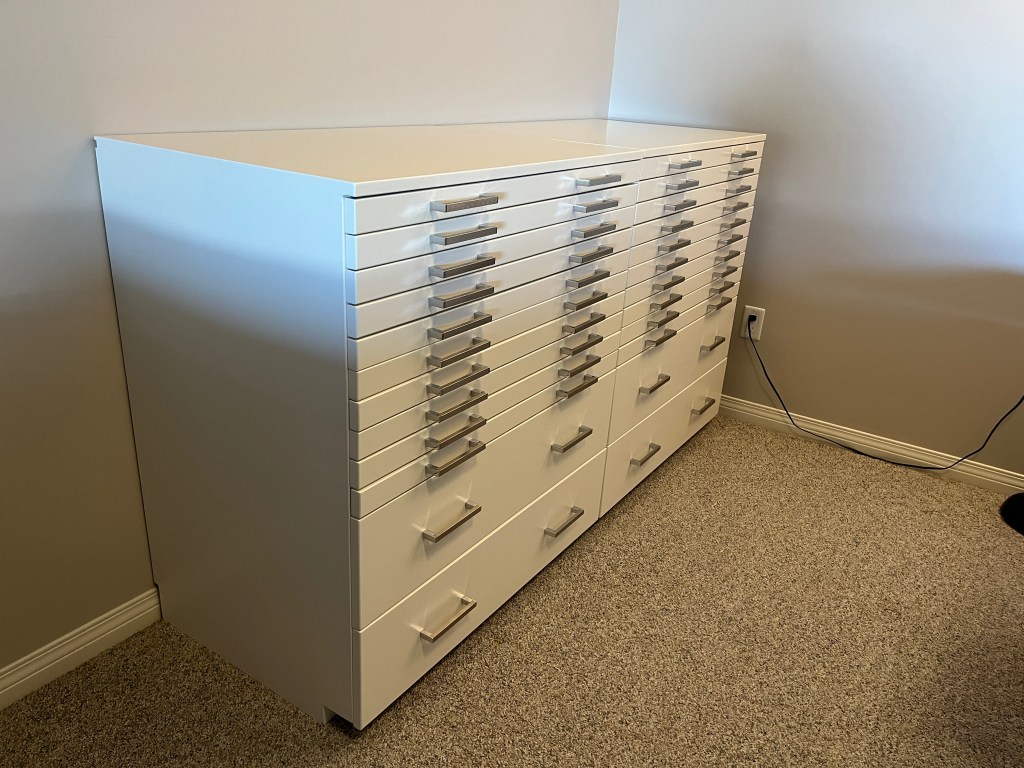
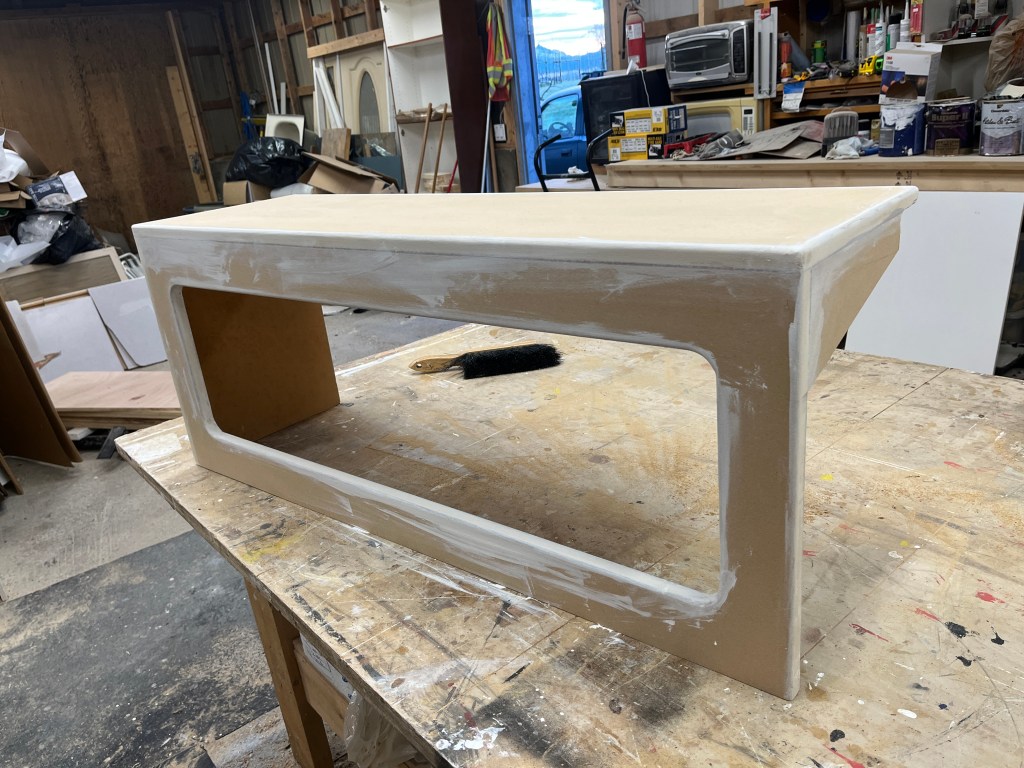
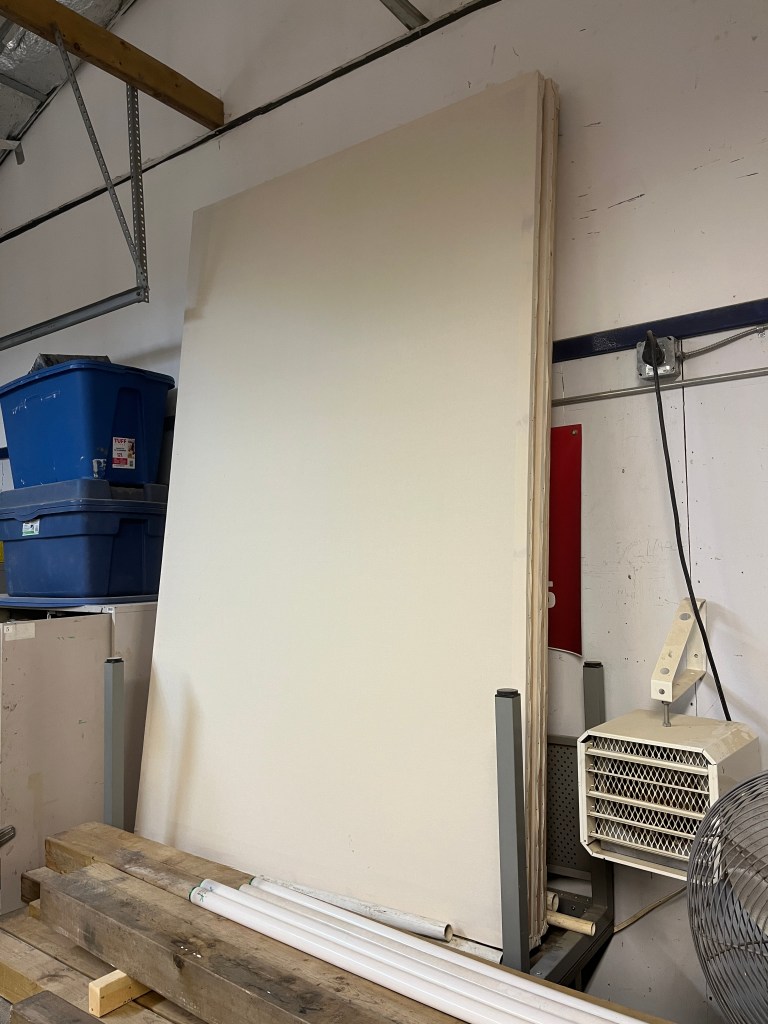
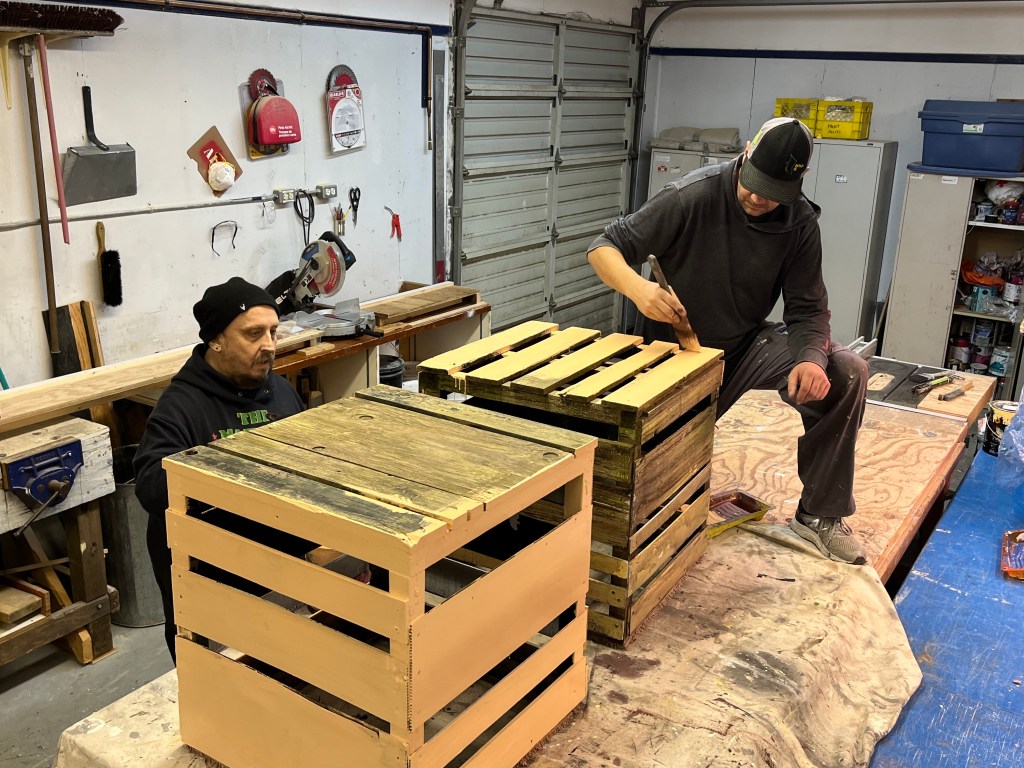
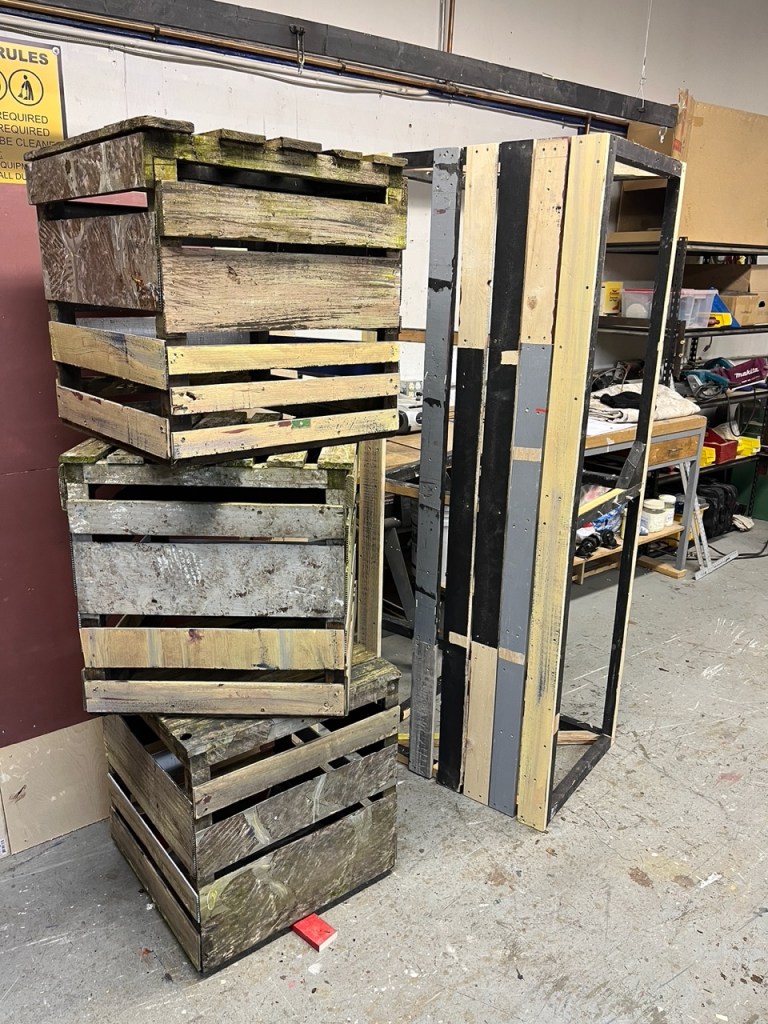
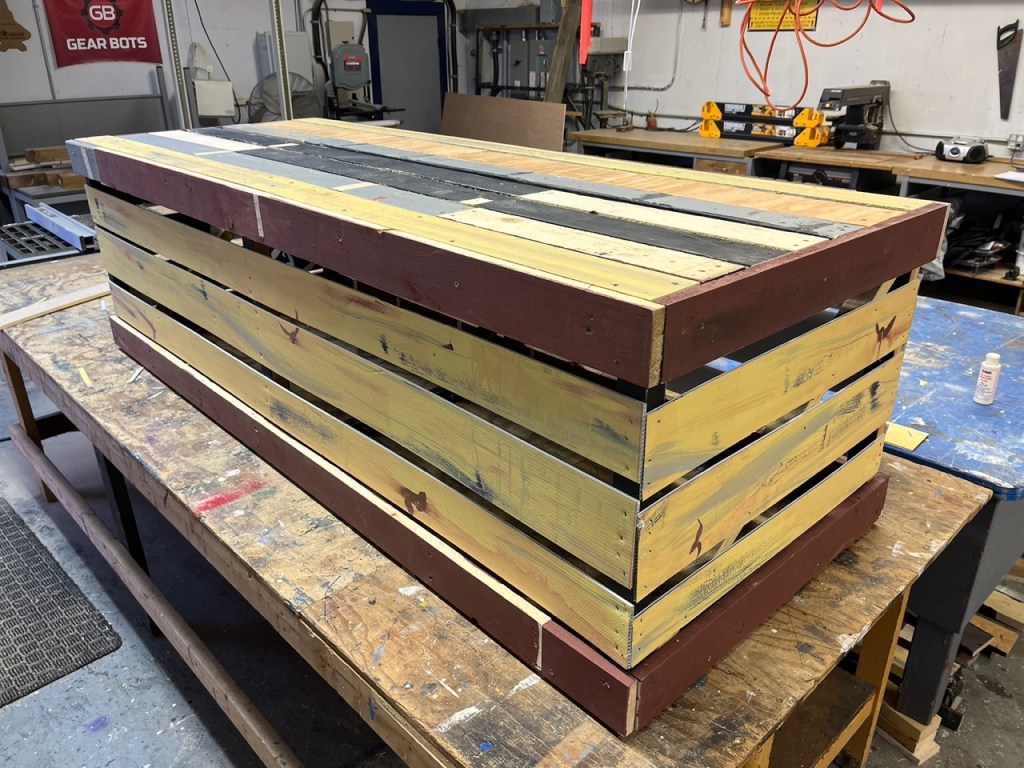
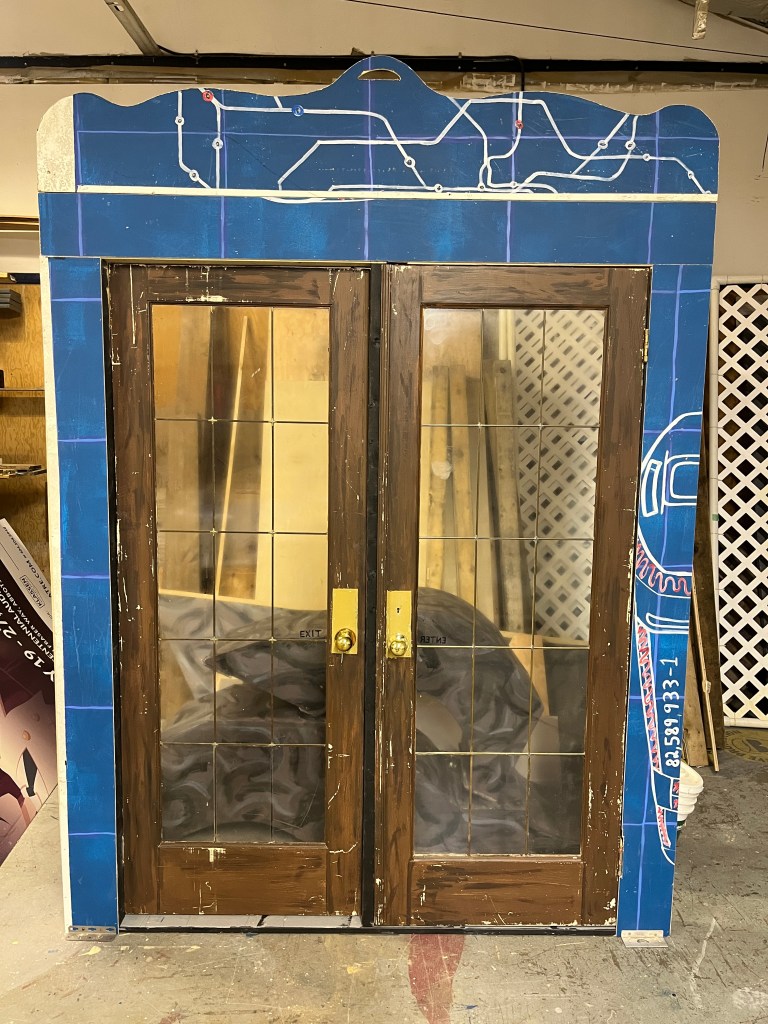
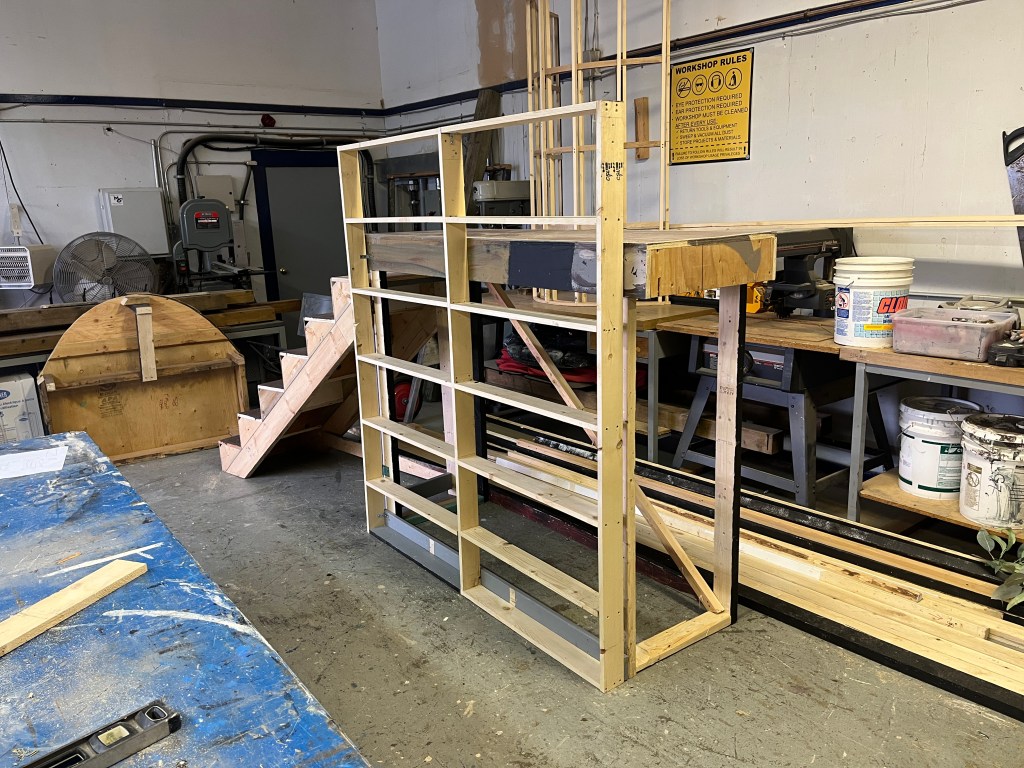
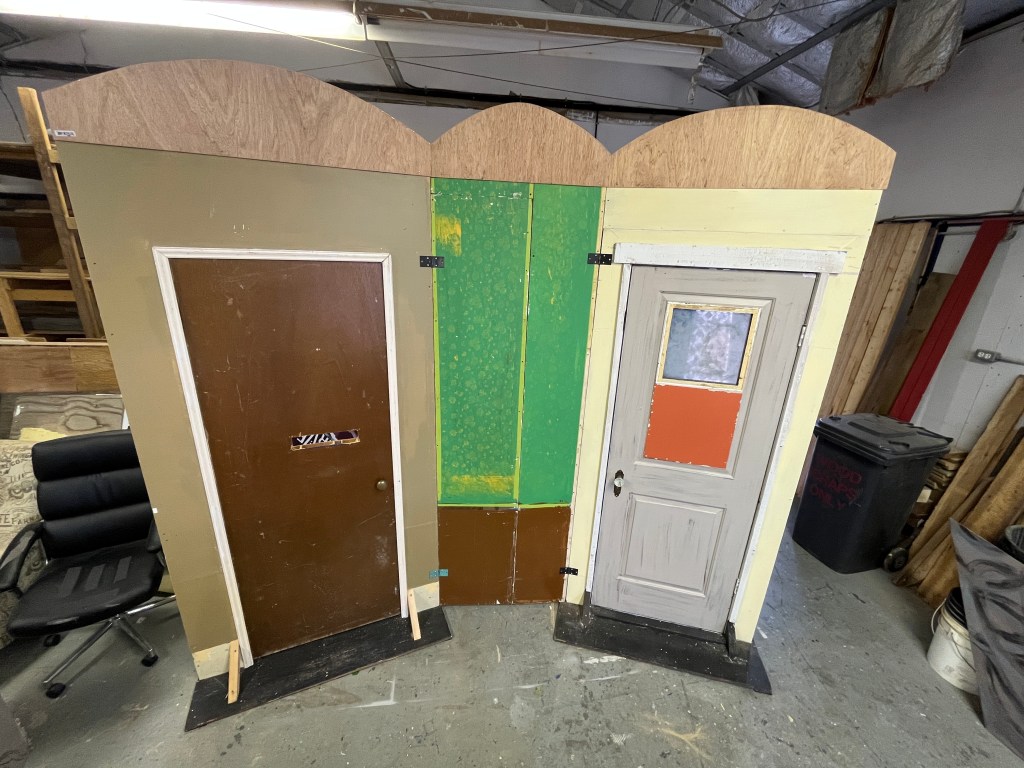
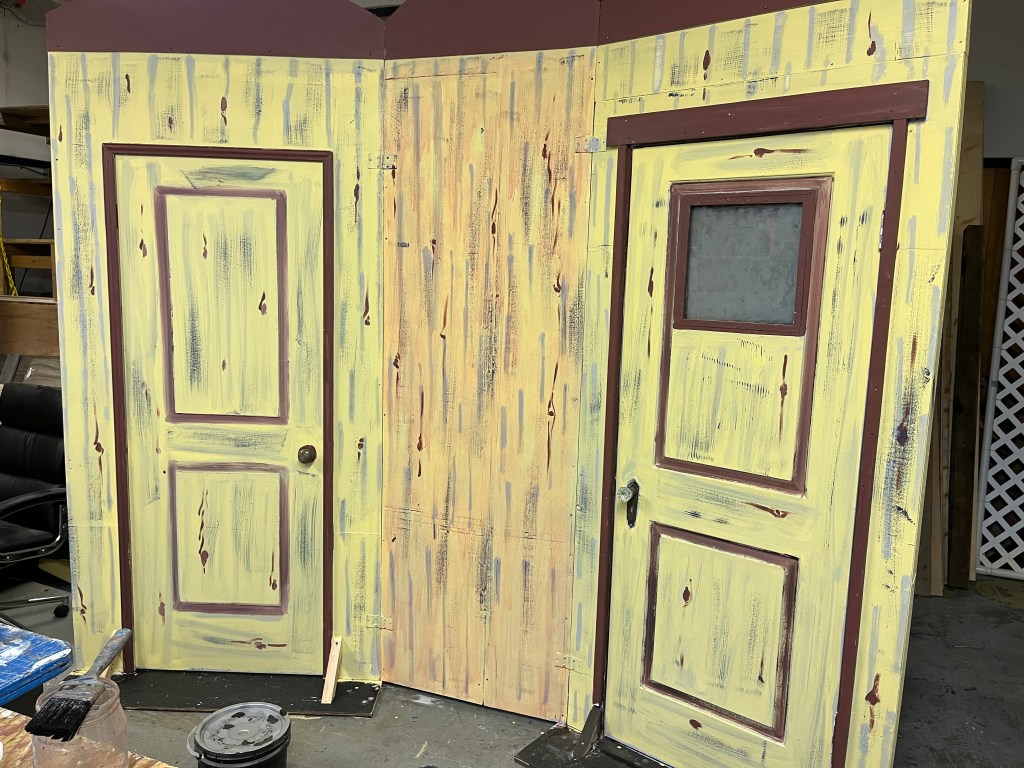
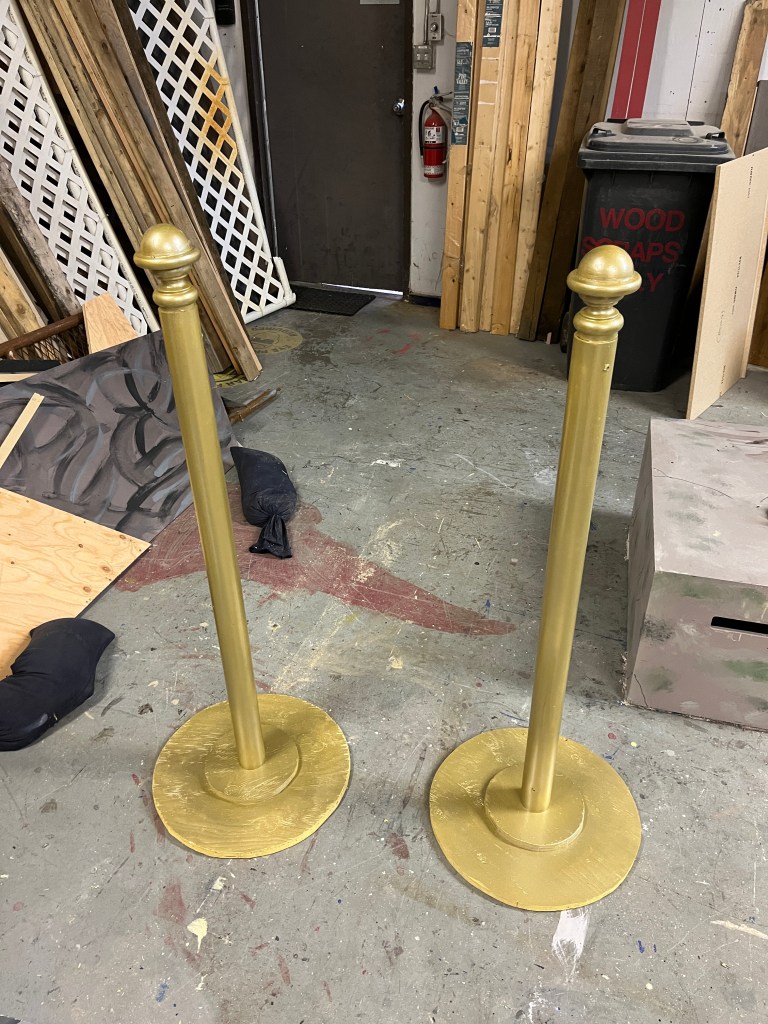
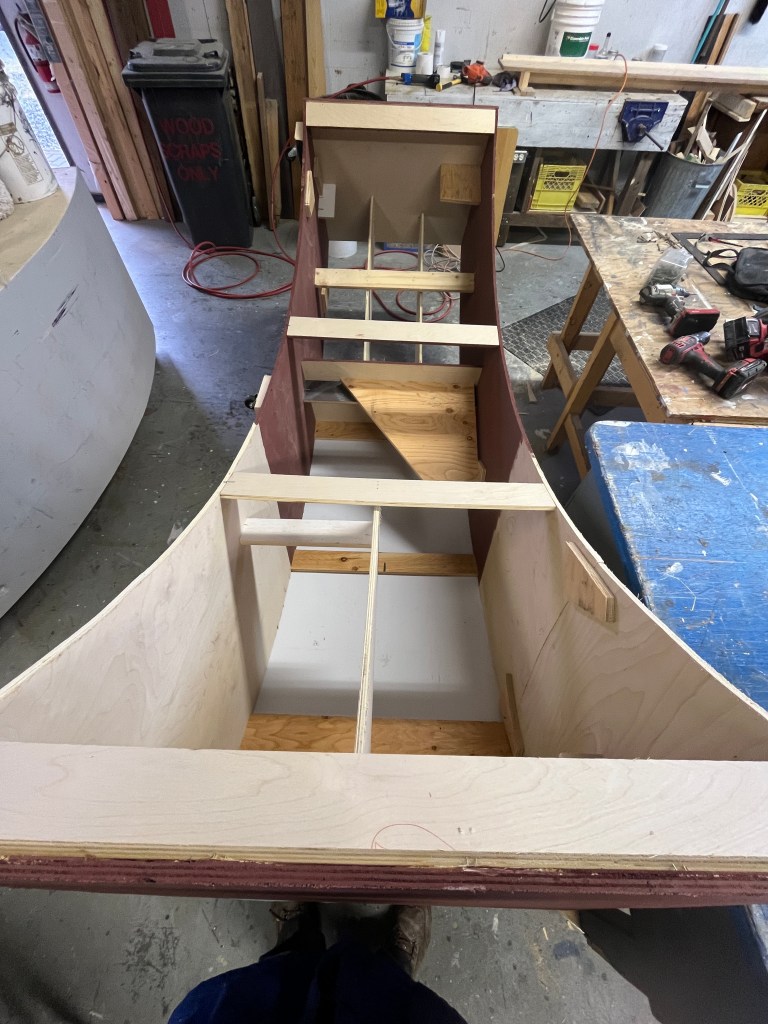
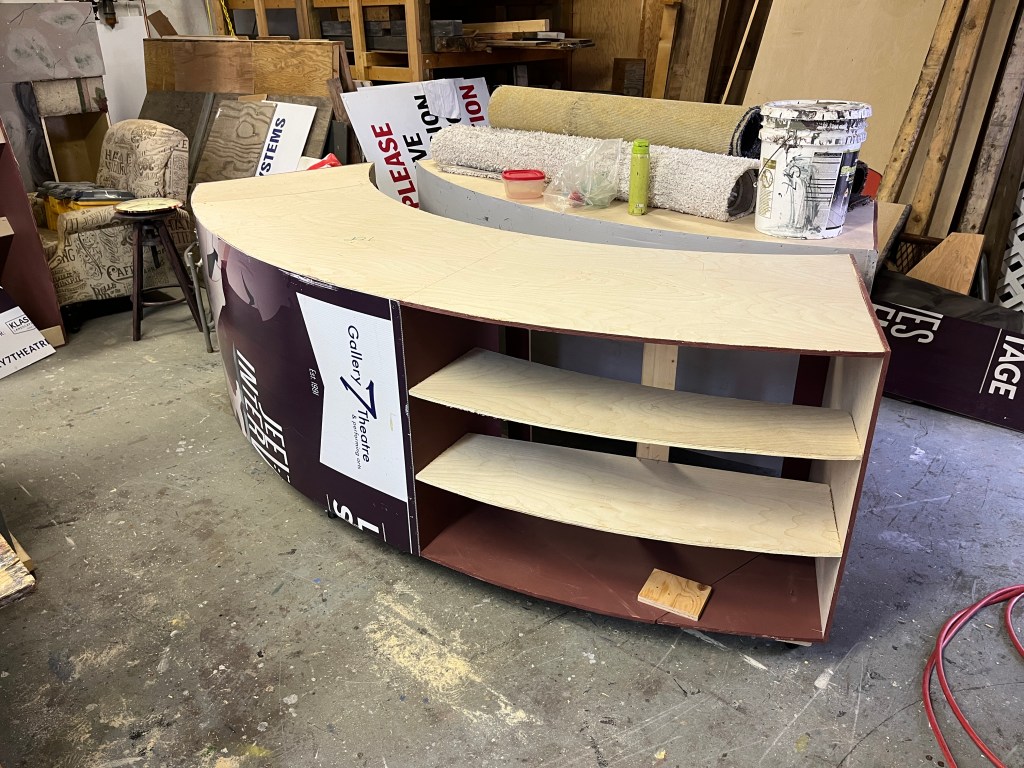
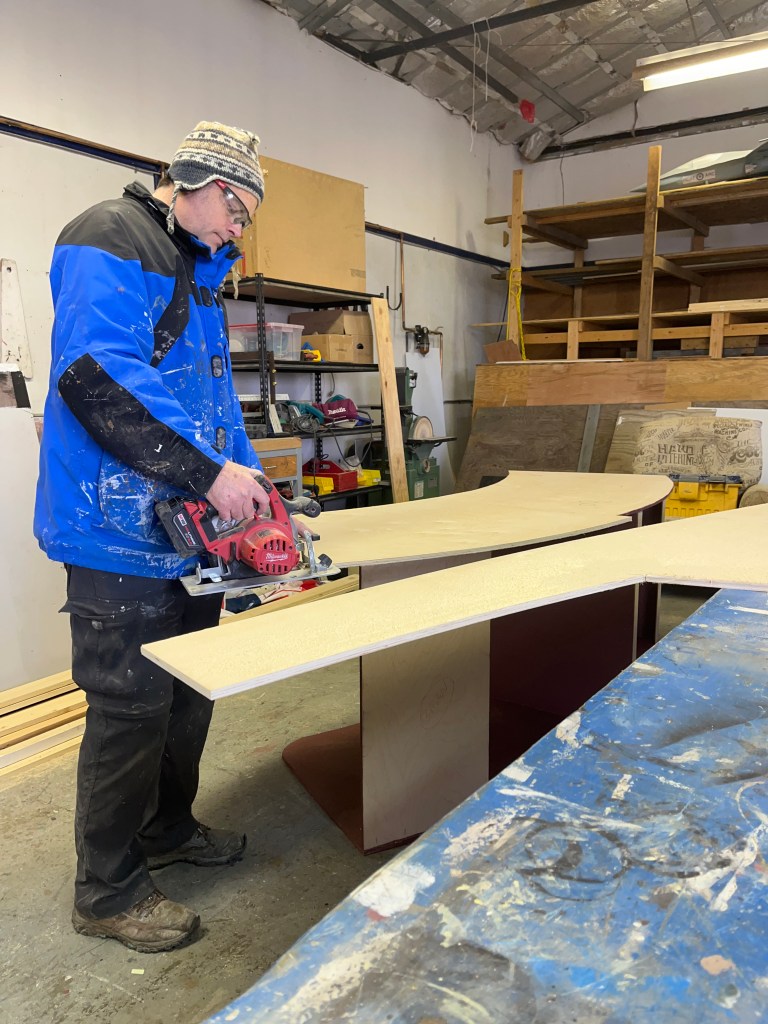
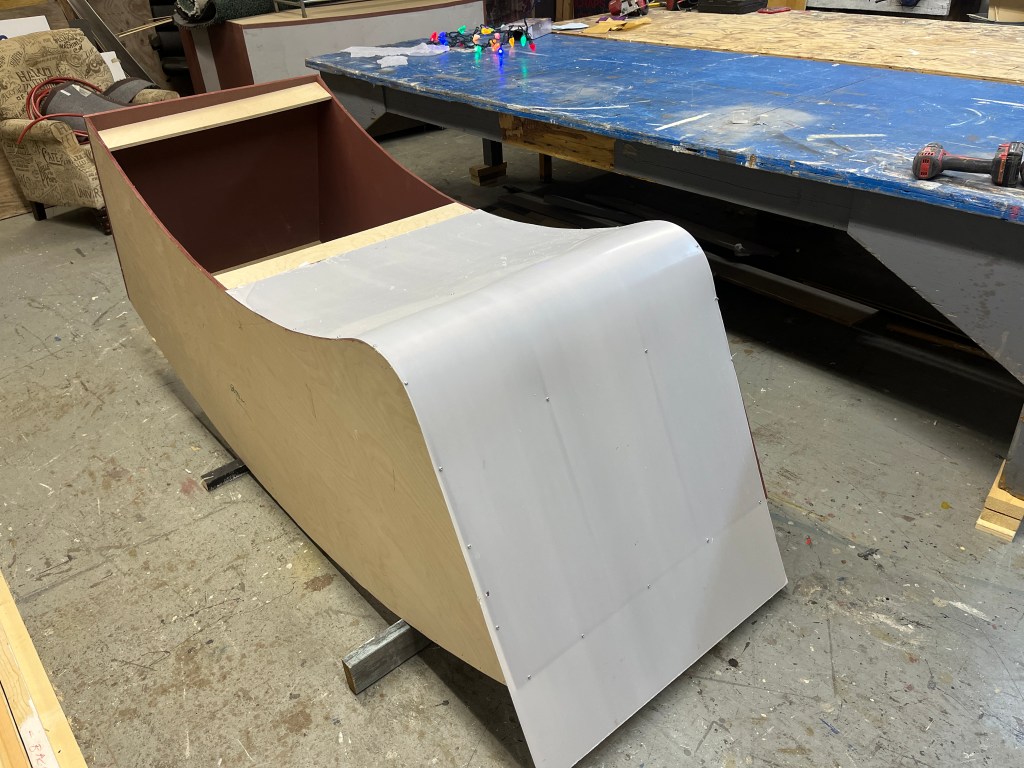
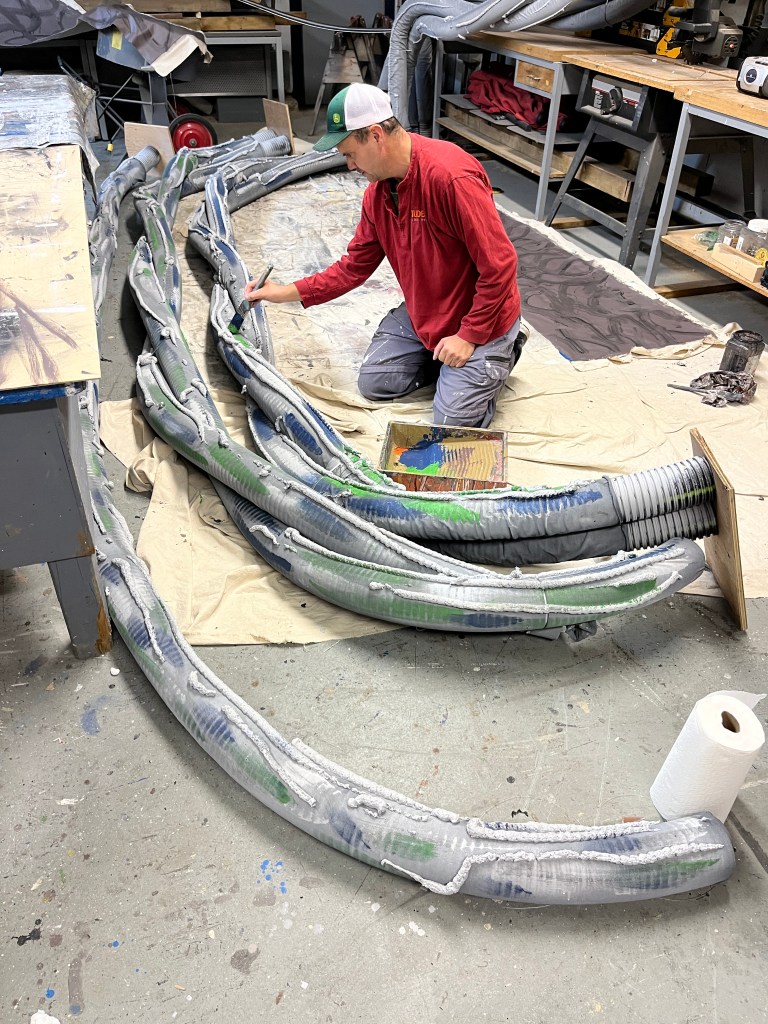
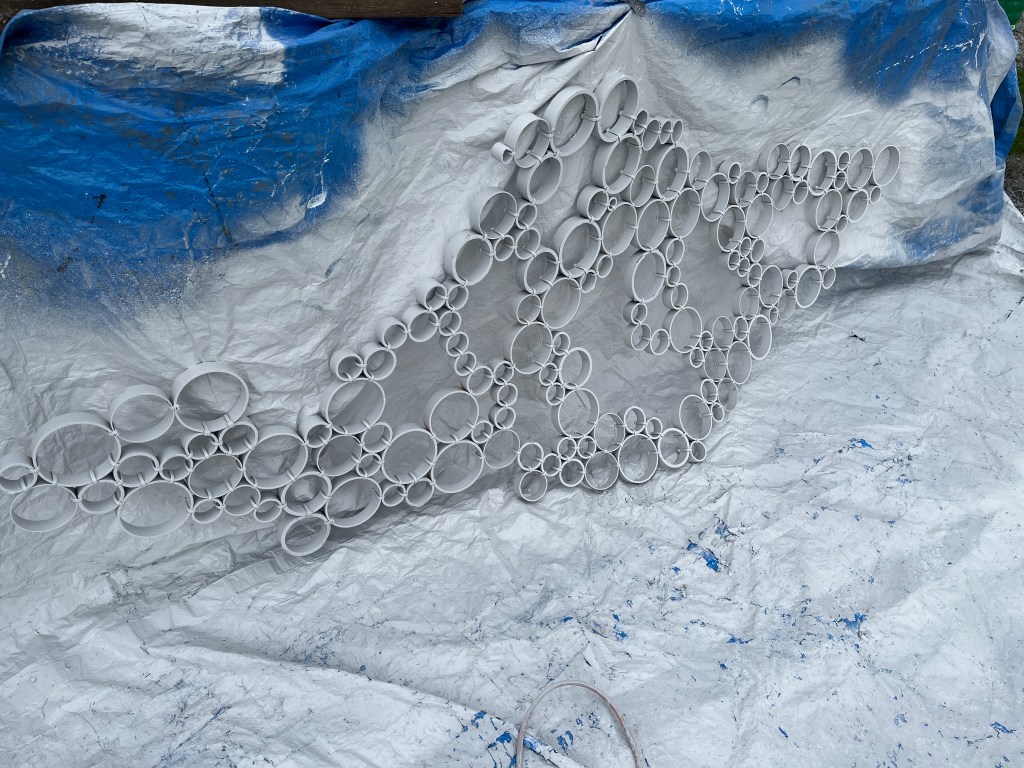
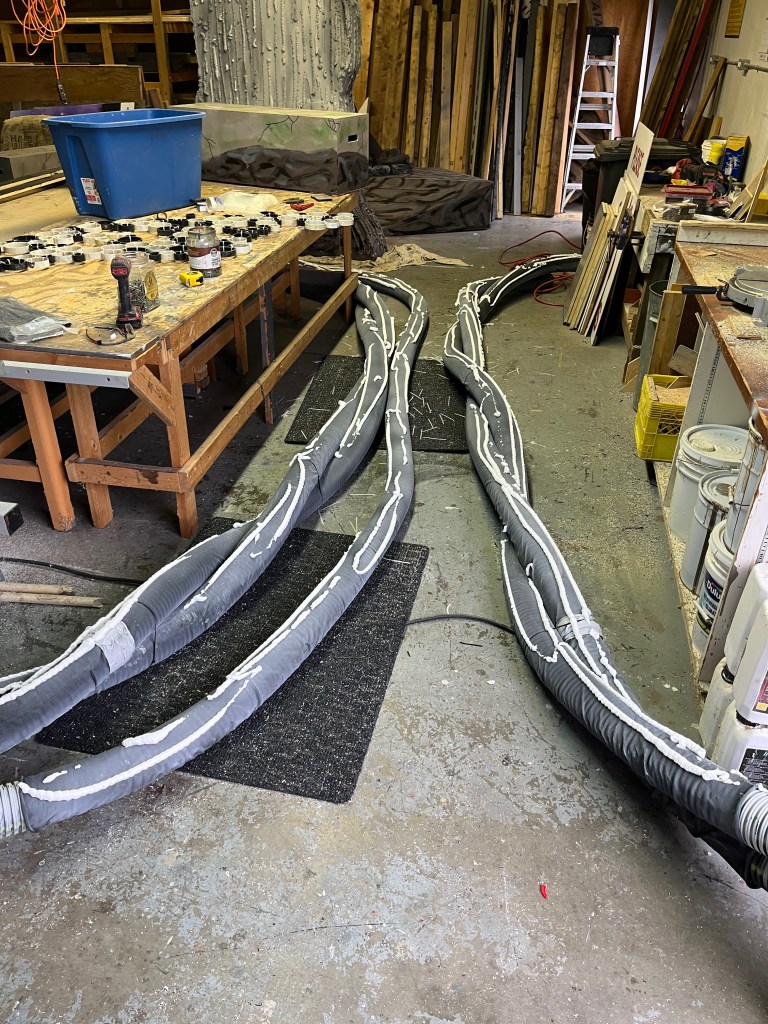
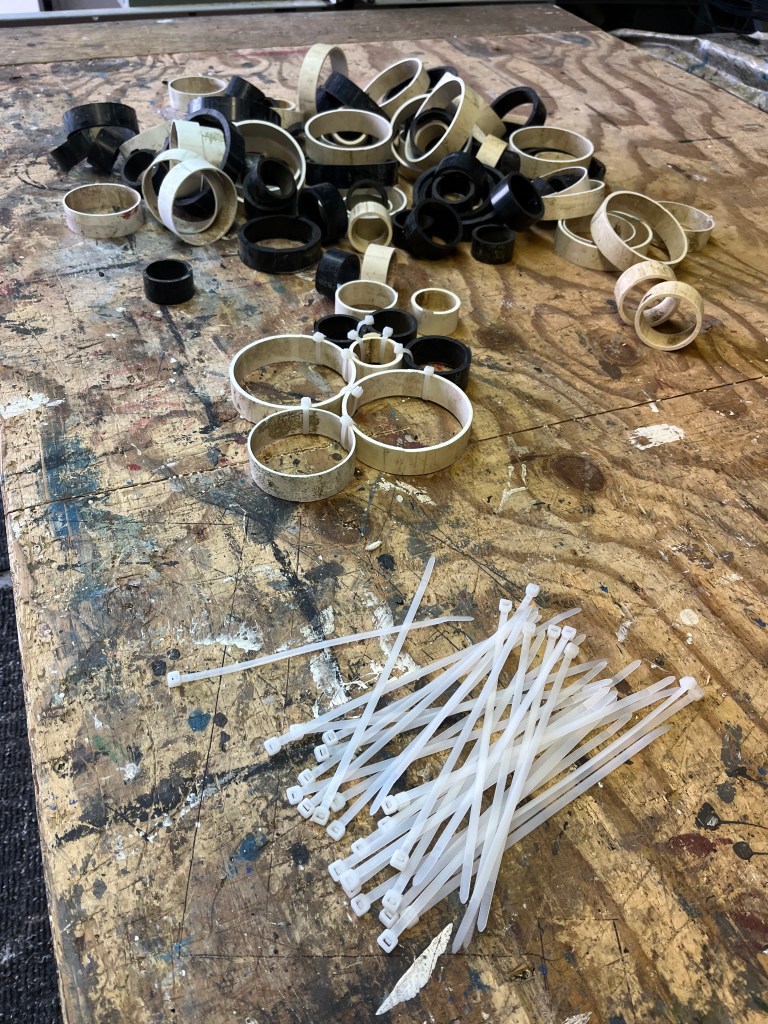
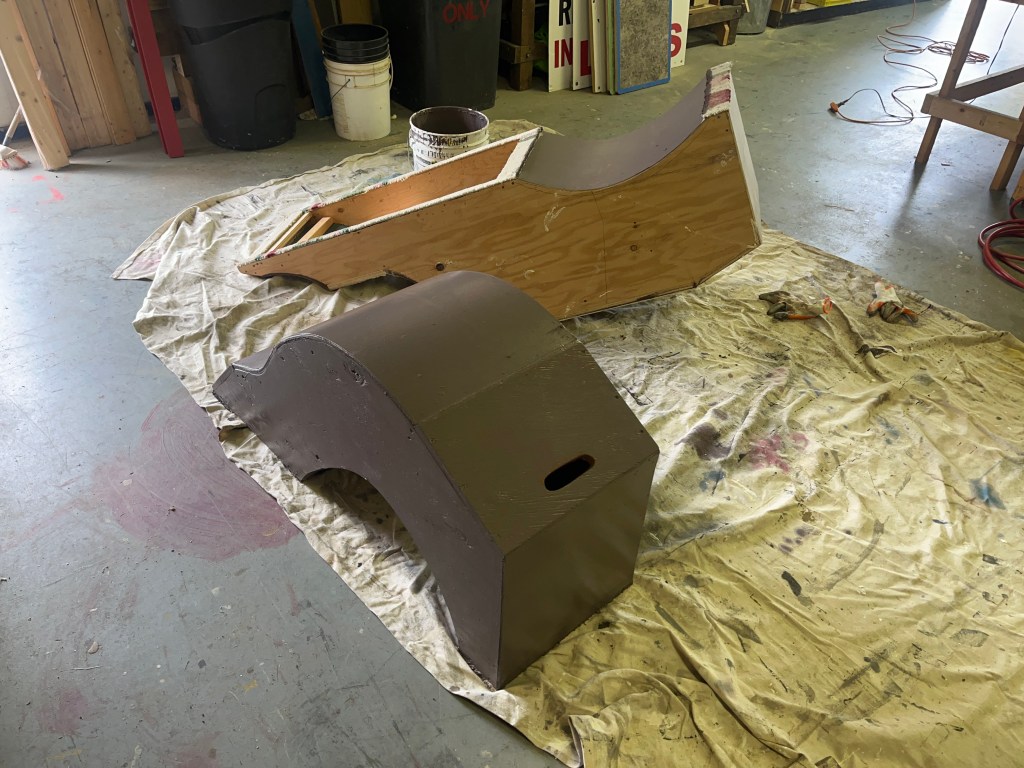
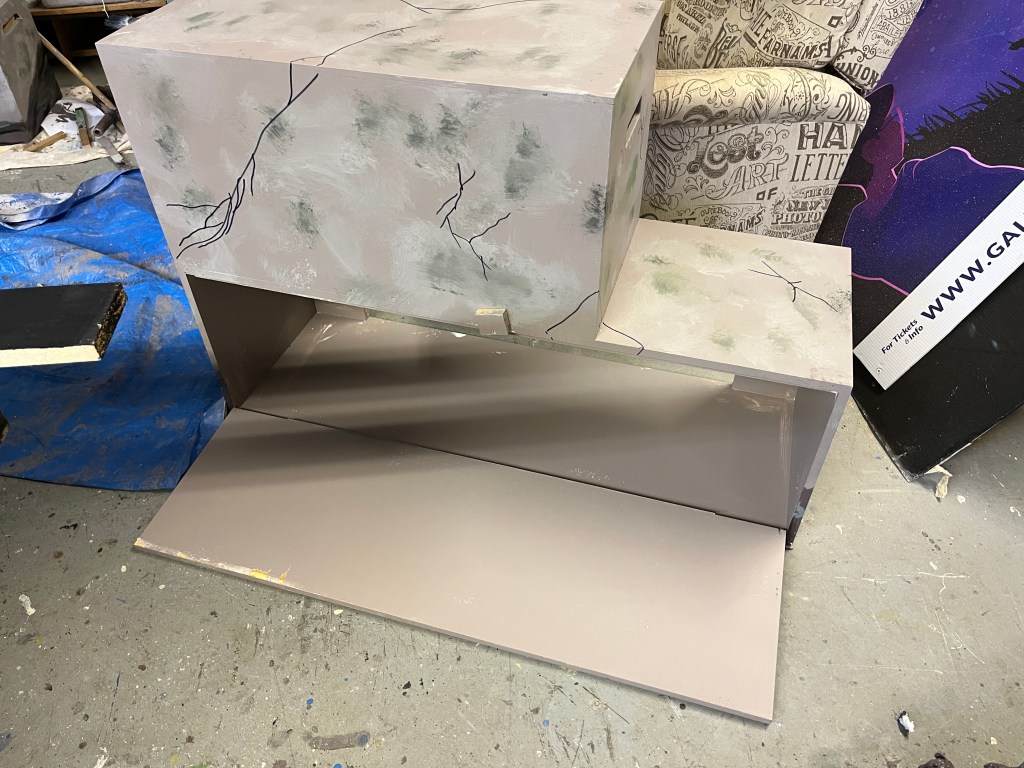
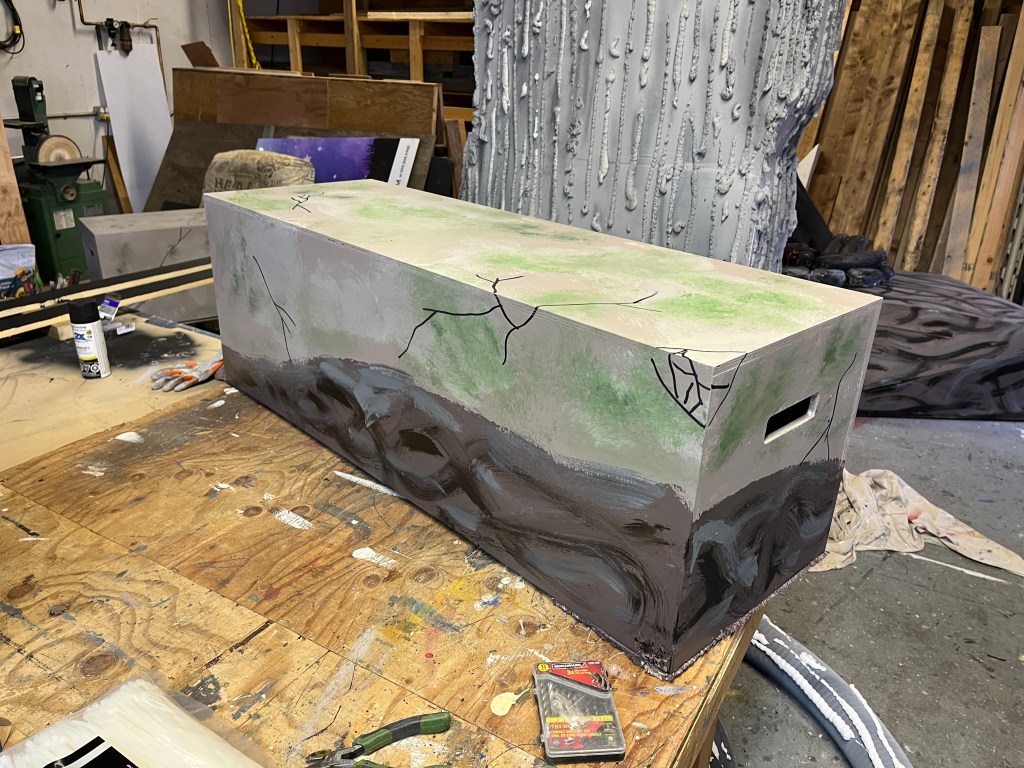
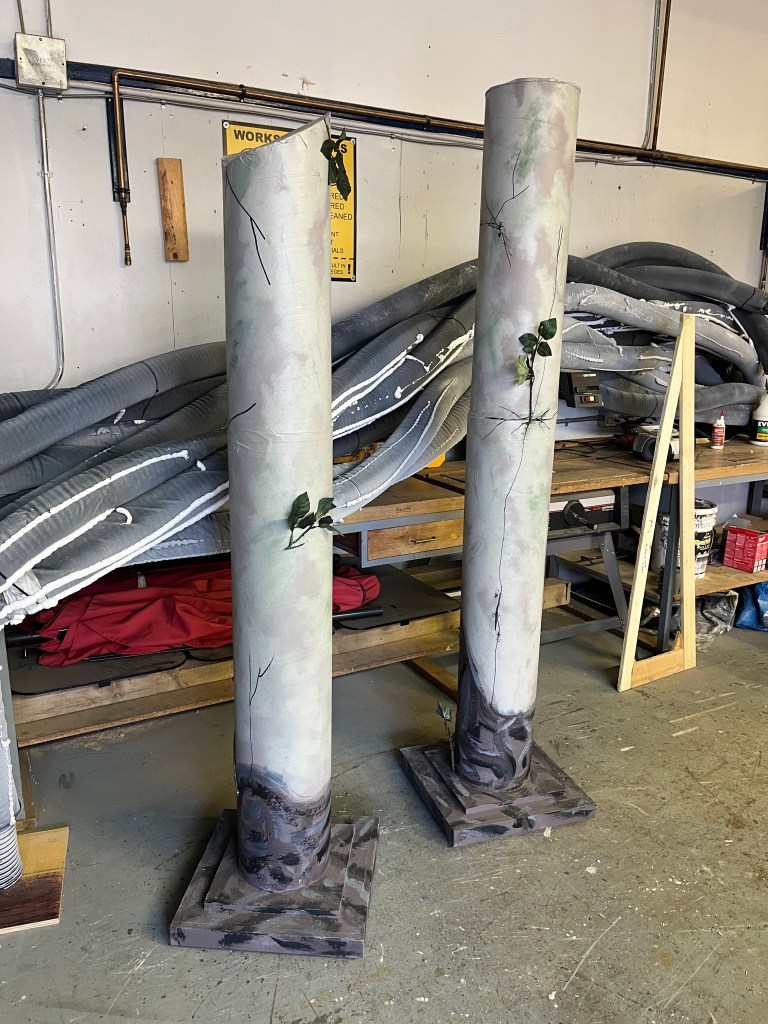
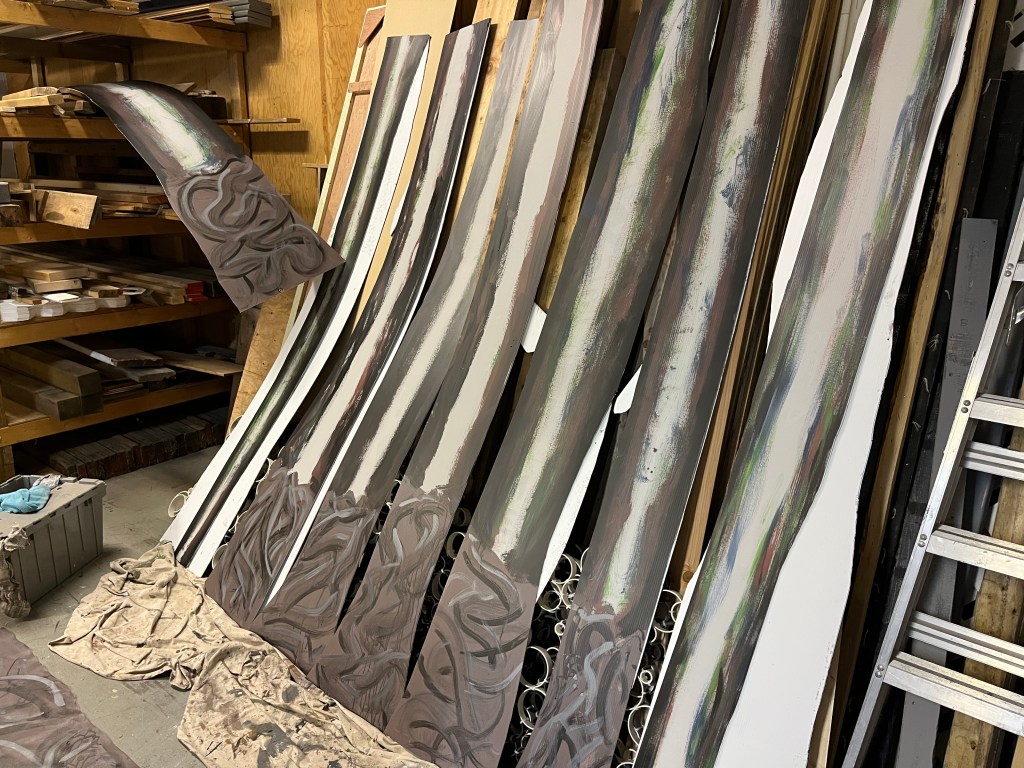
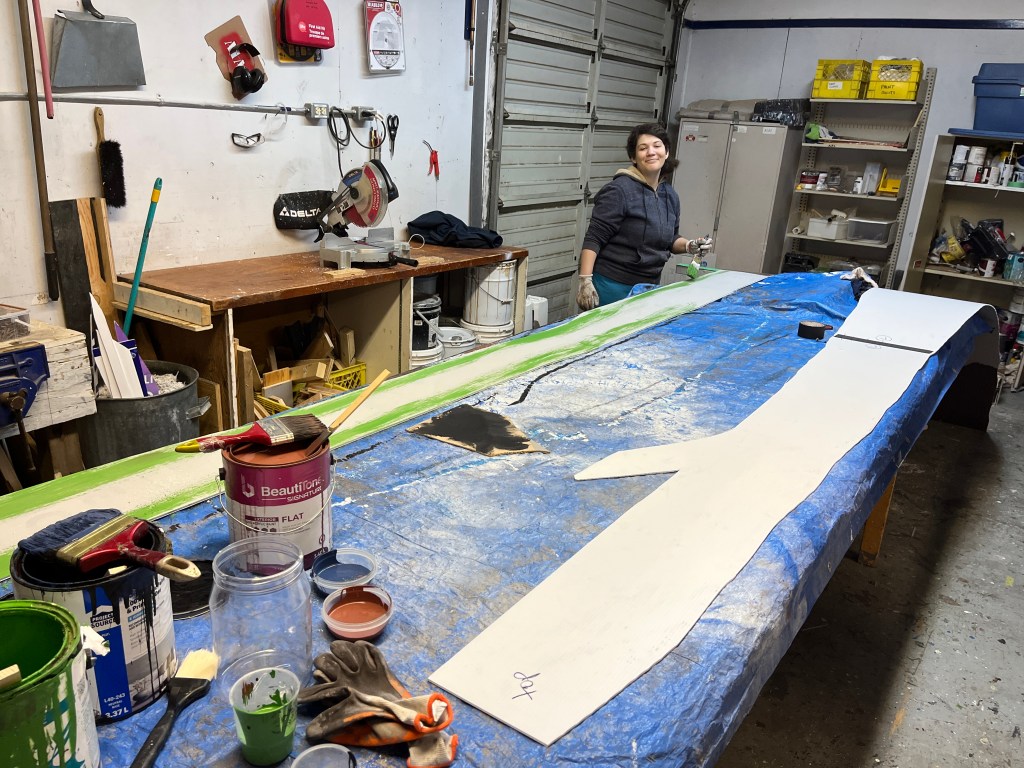
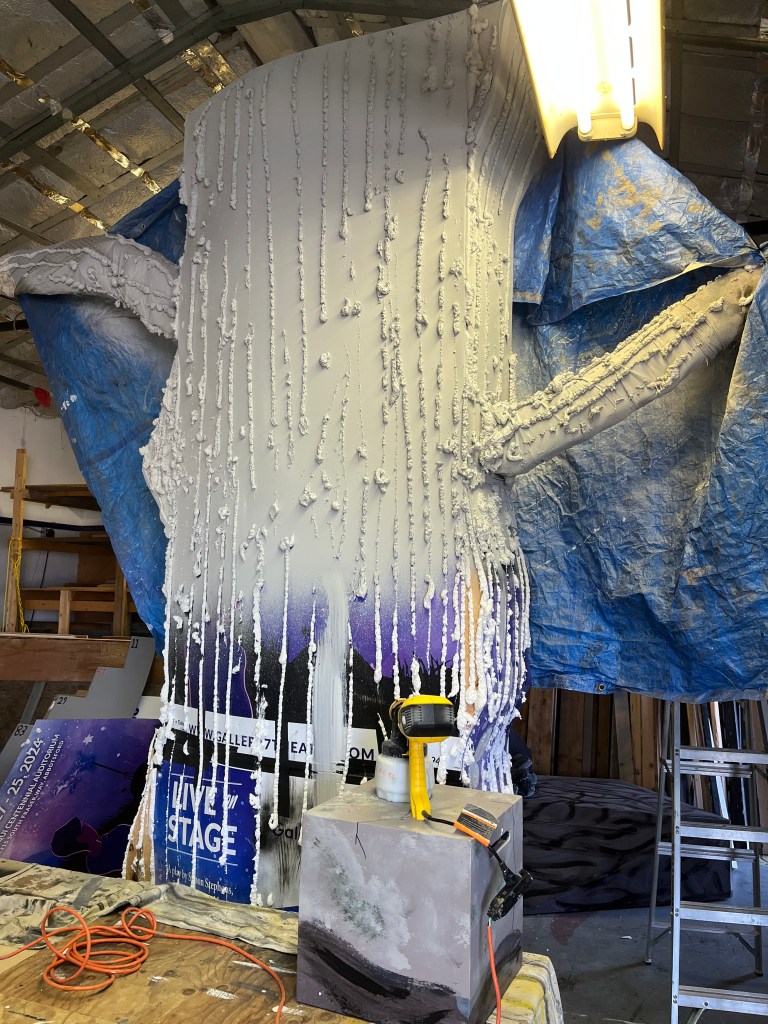
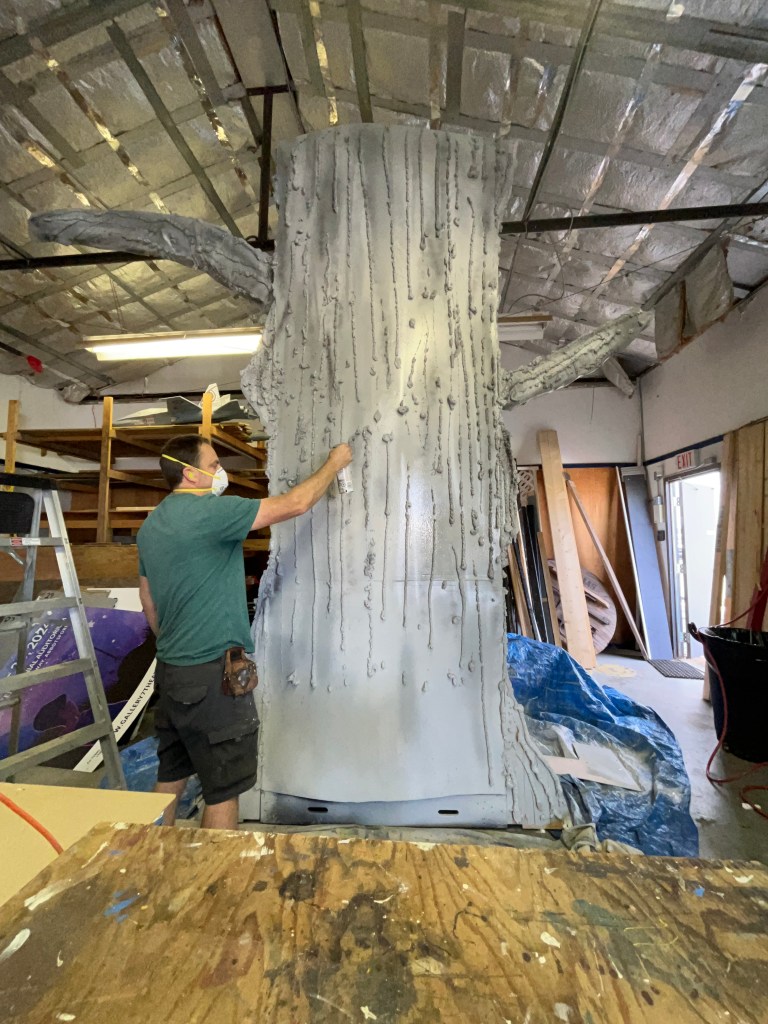
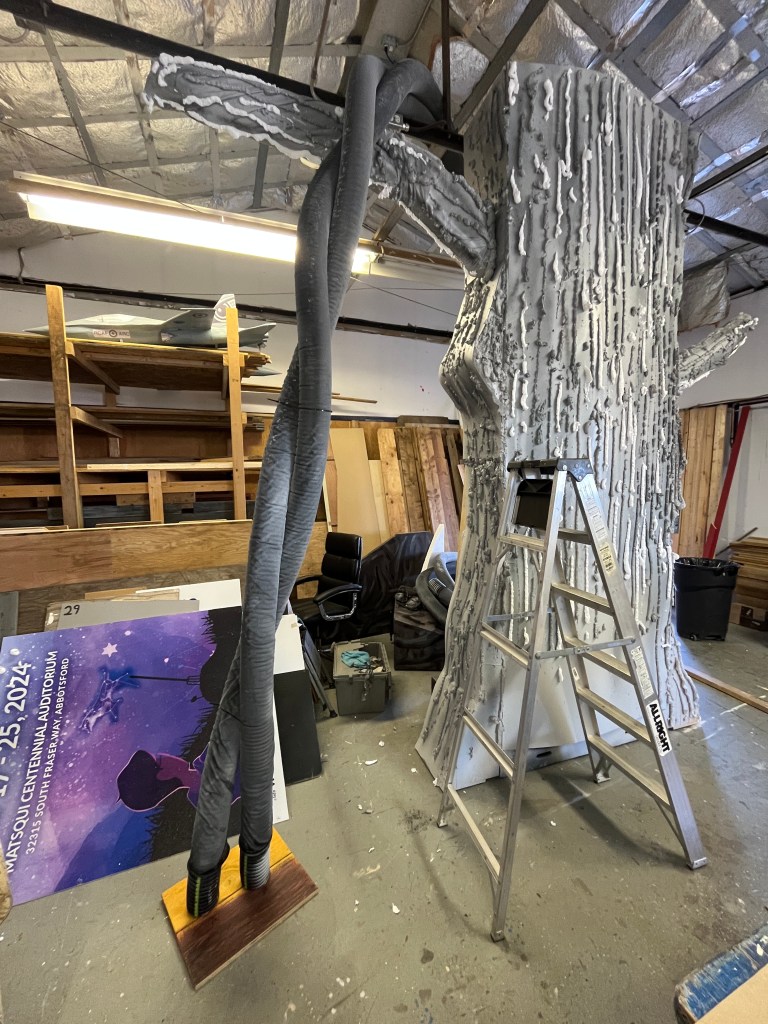
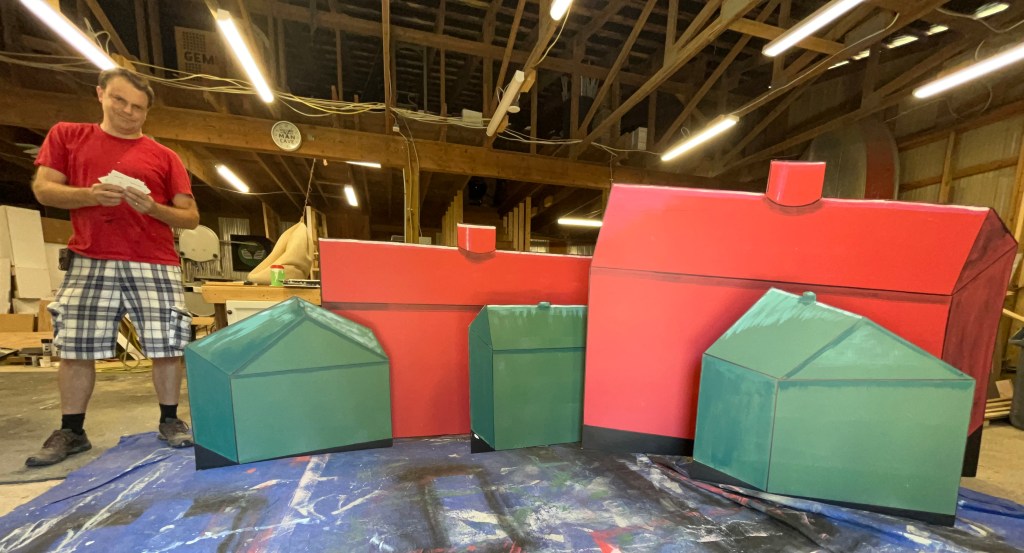
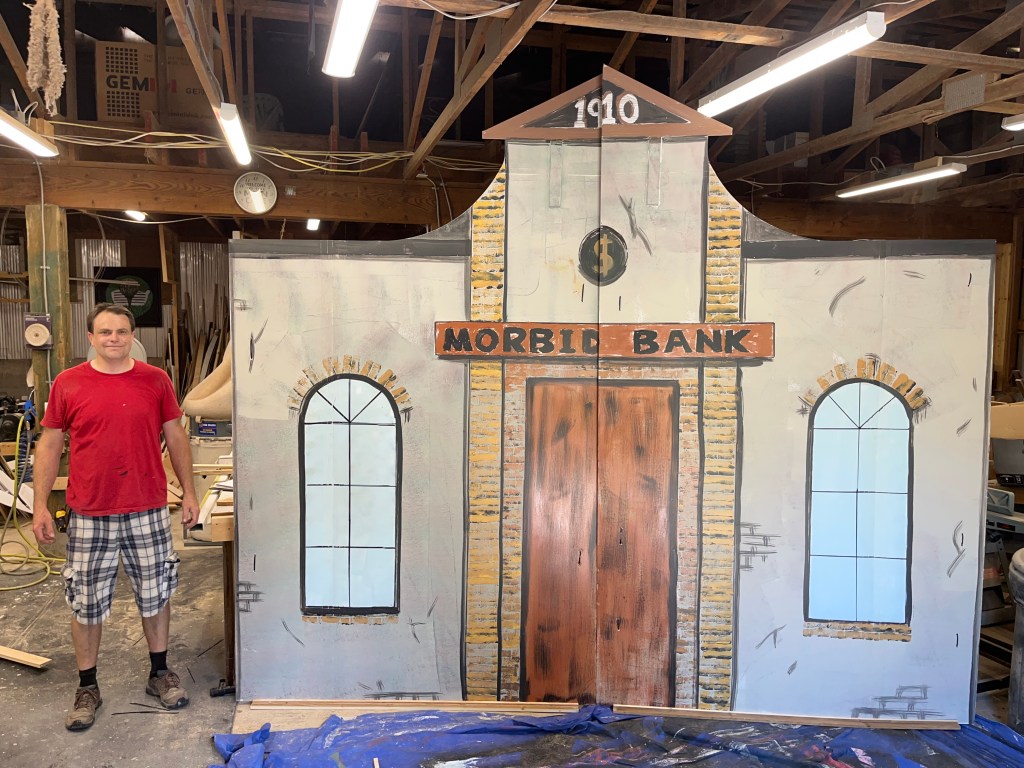
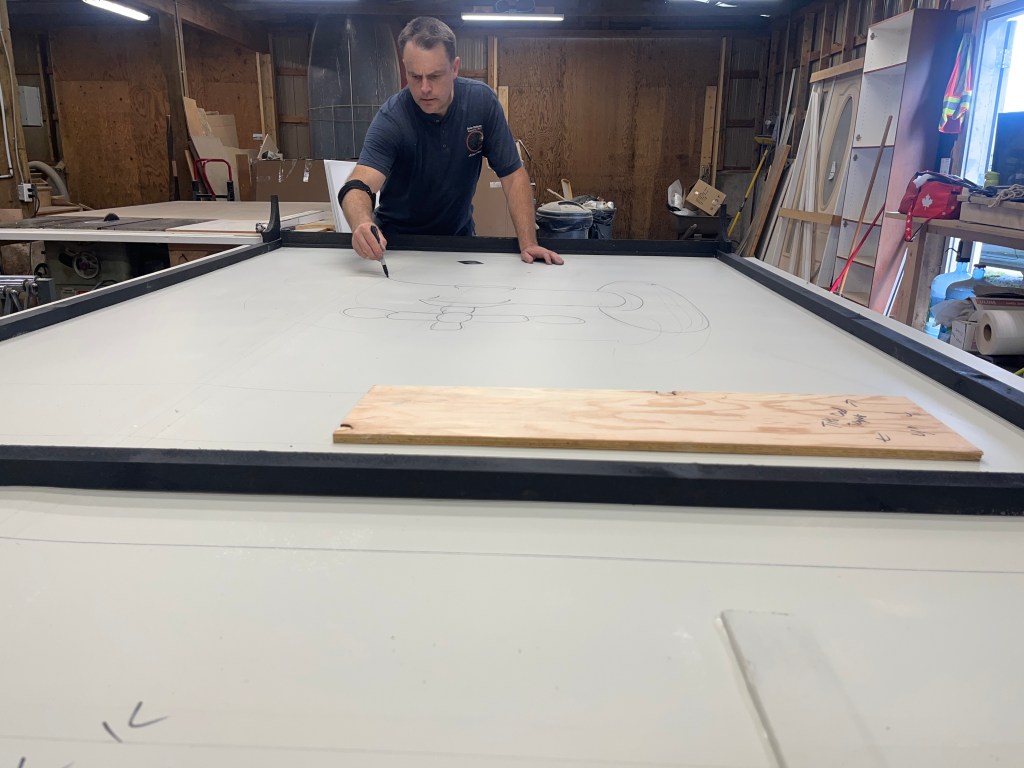
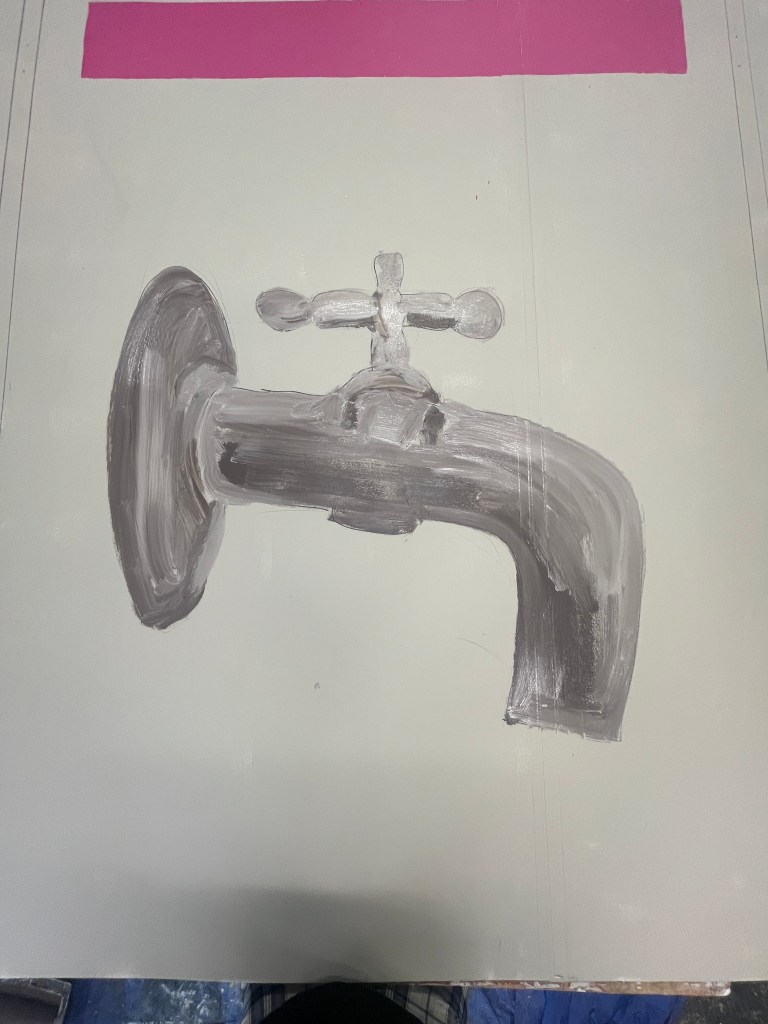
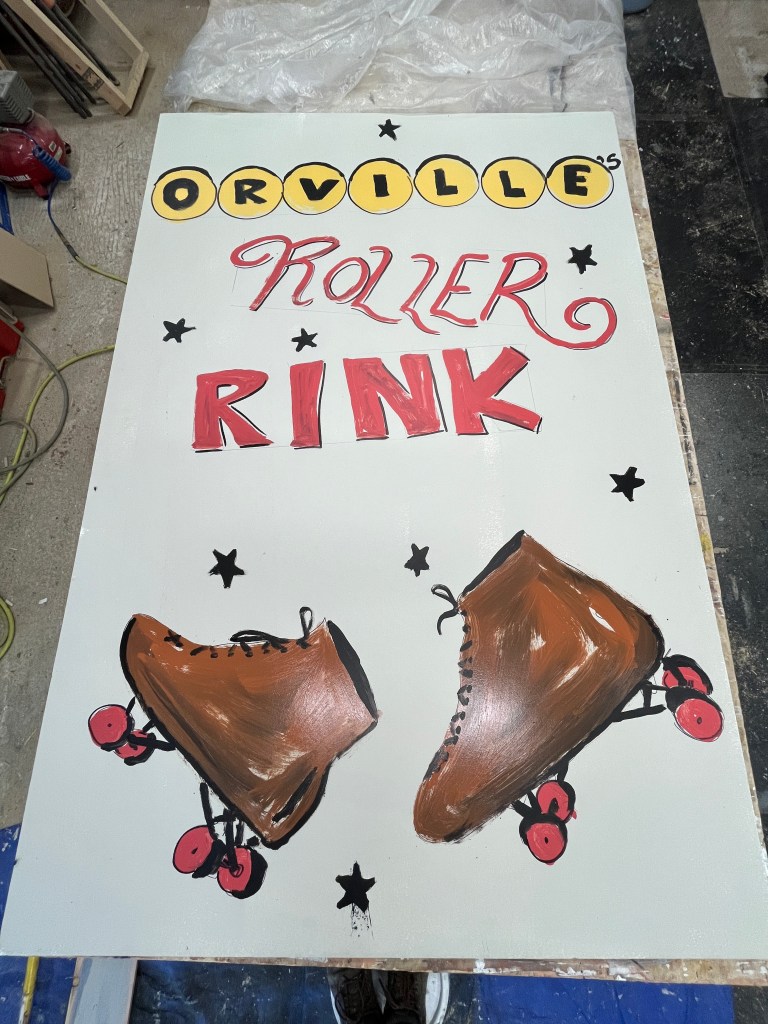
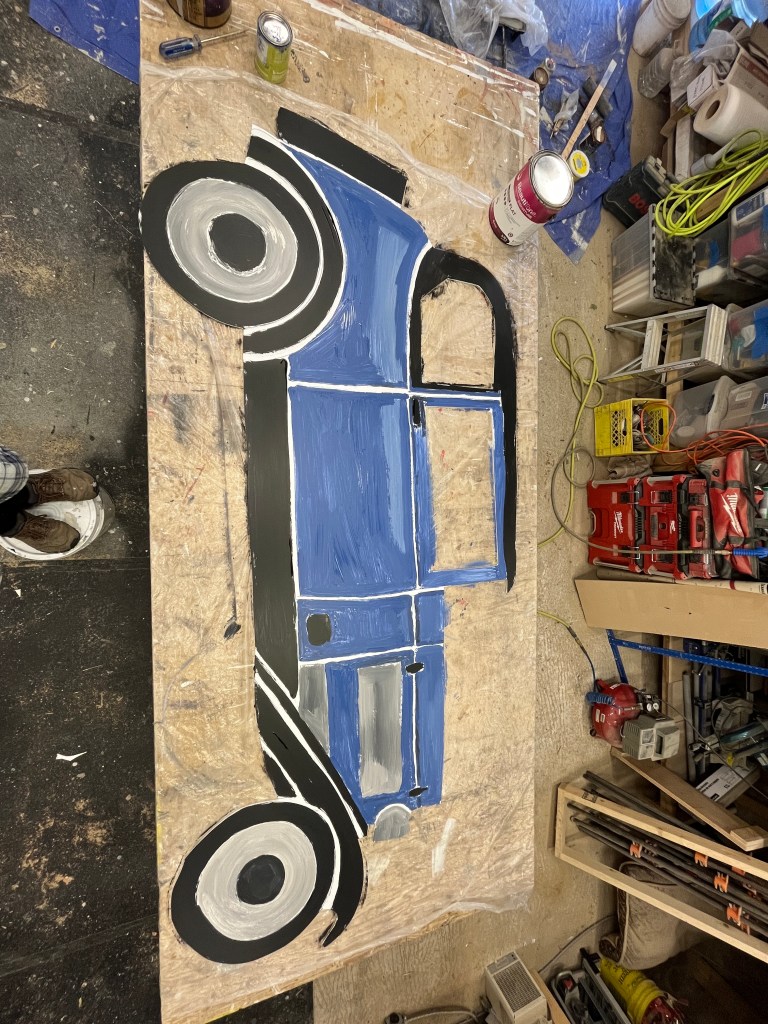
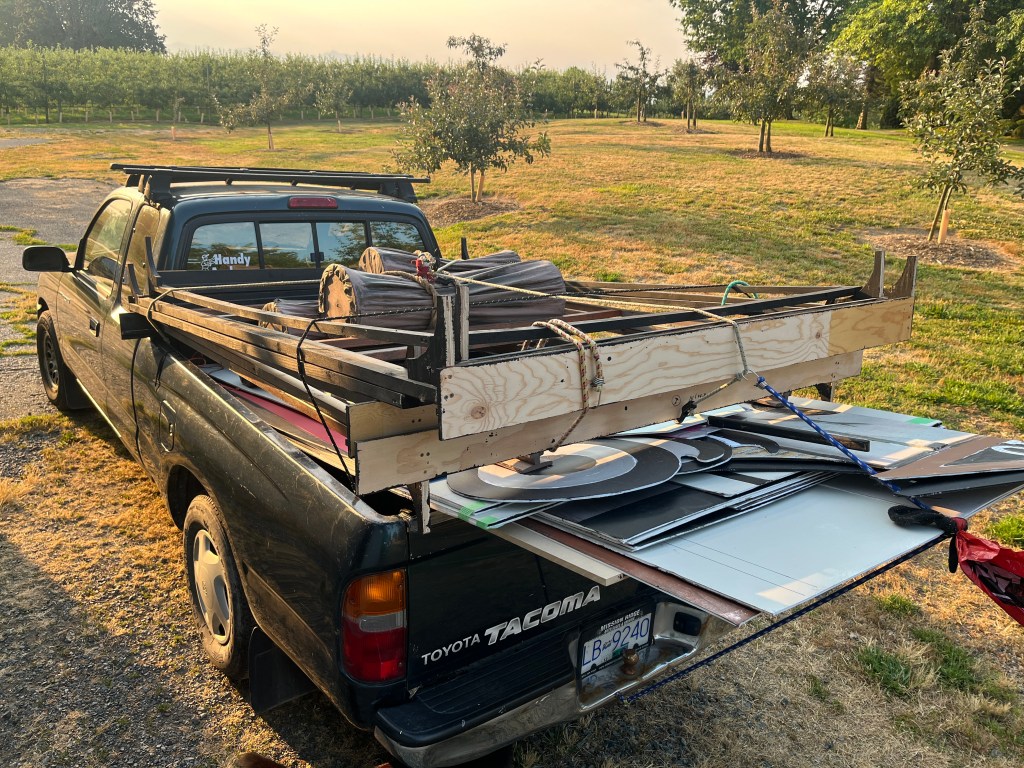
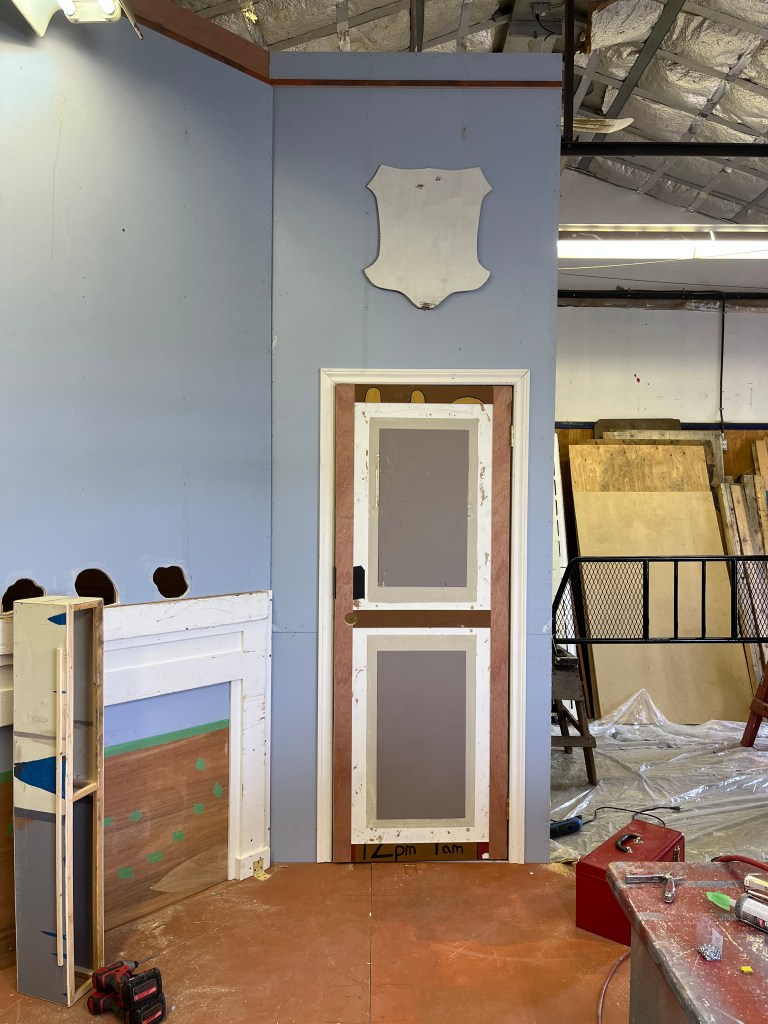
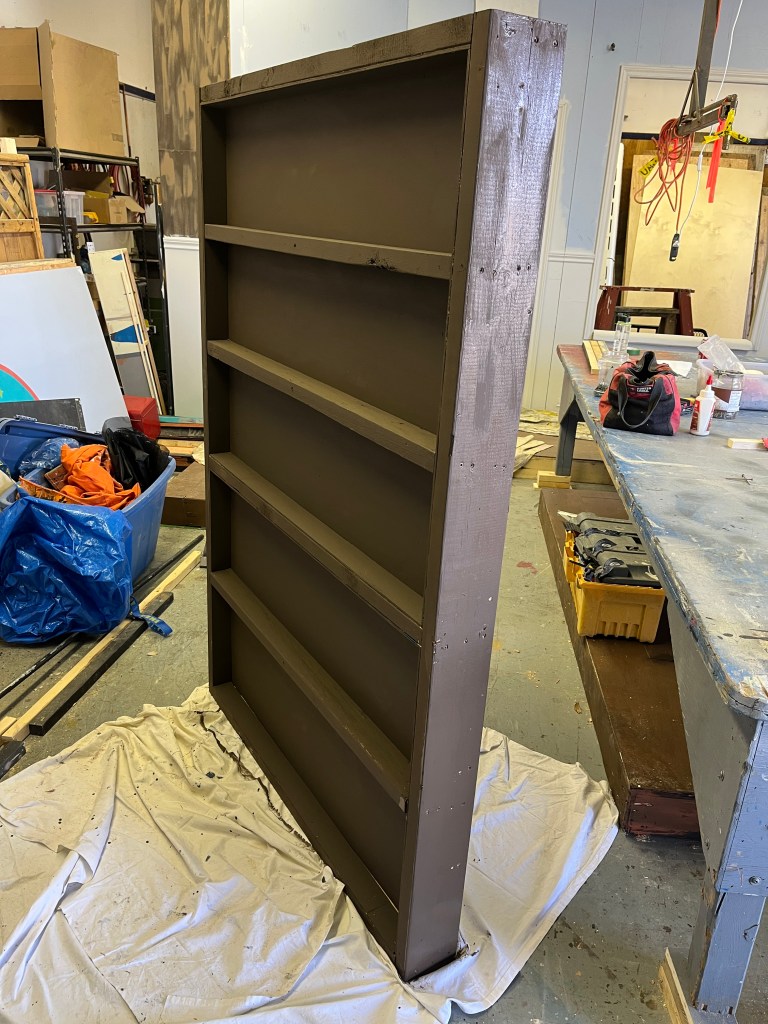
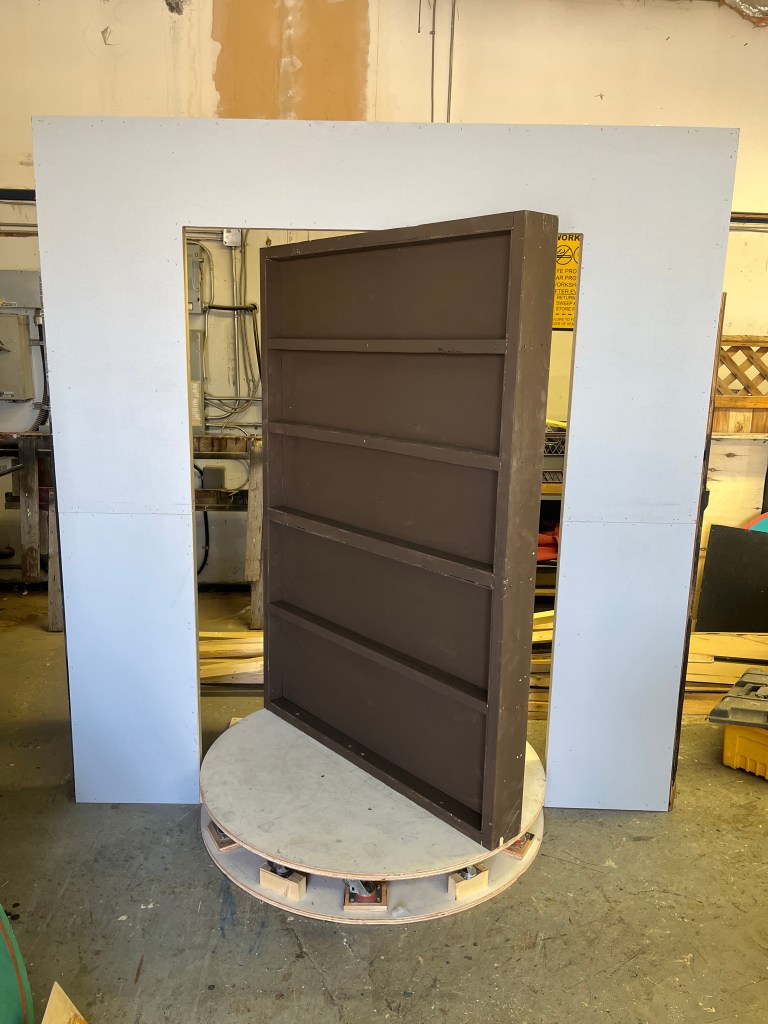
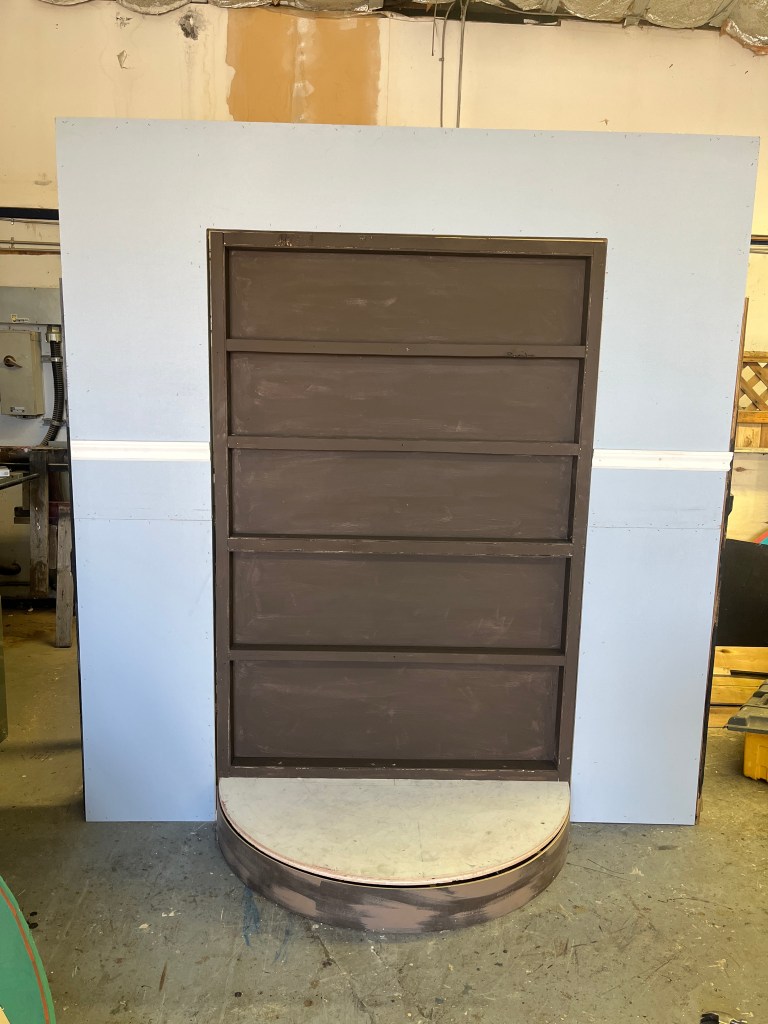
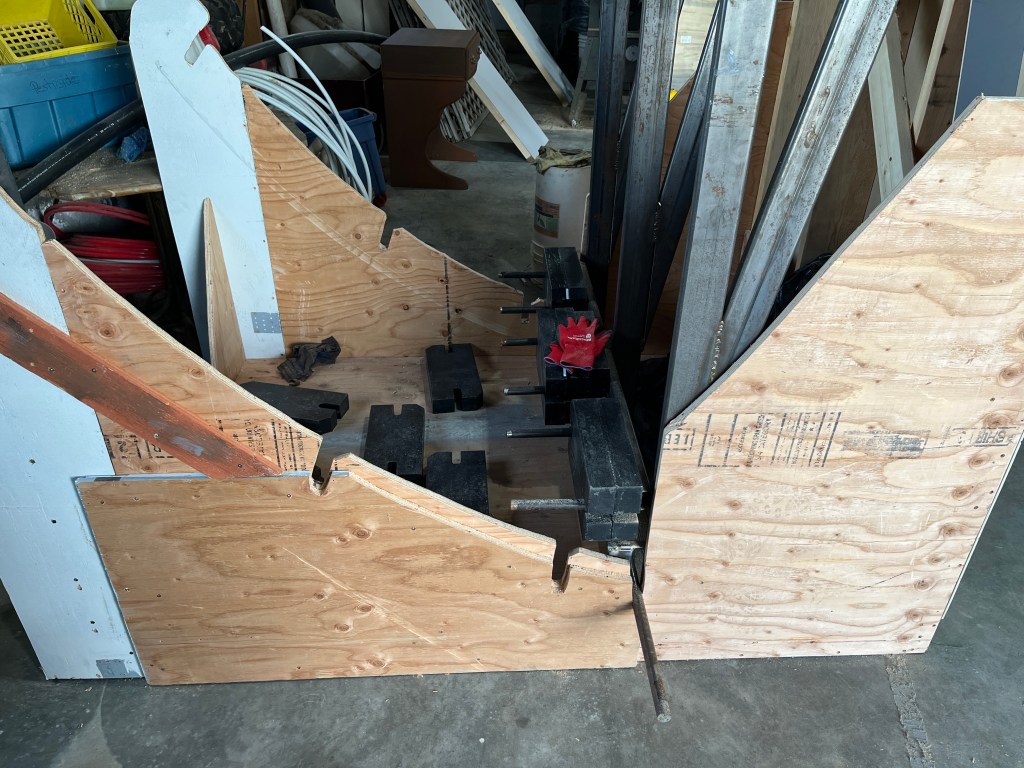
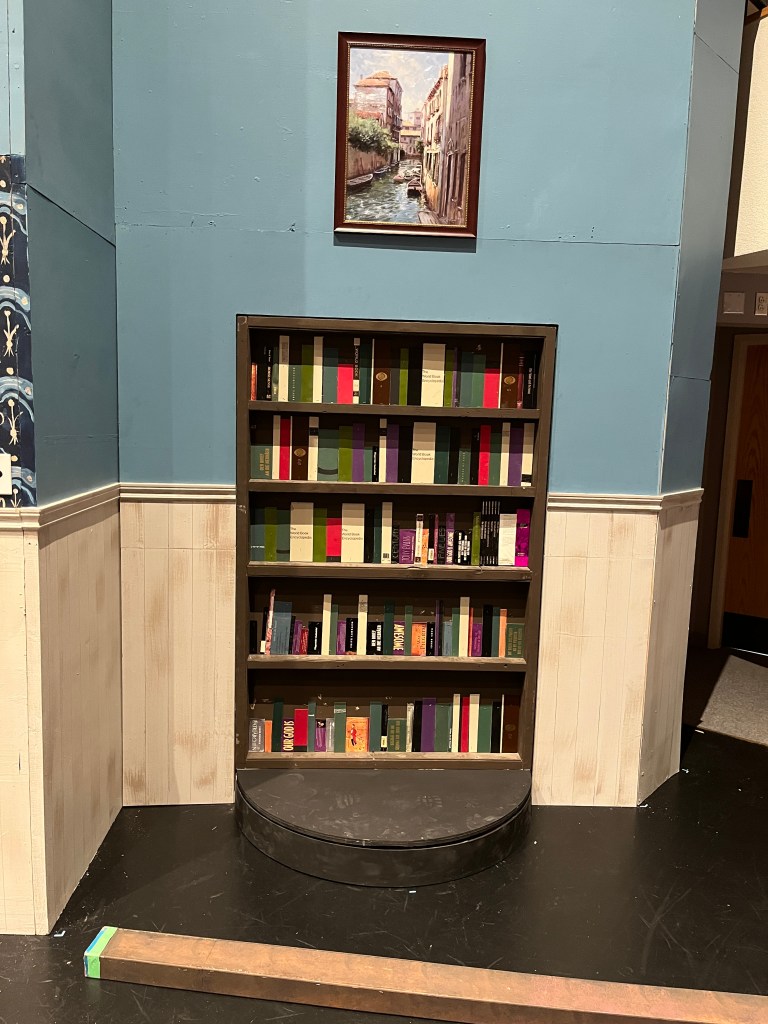
Here are a bunch of photos of the build!

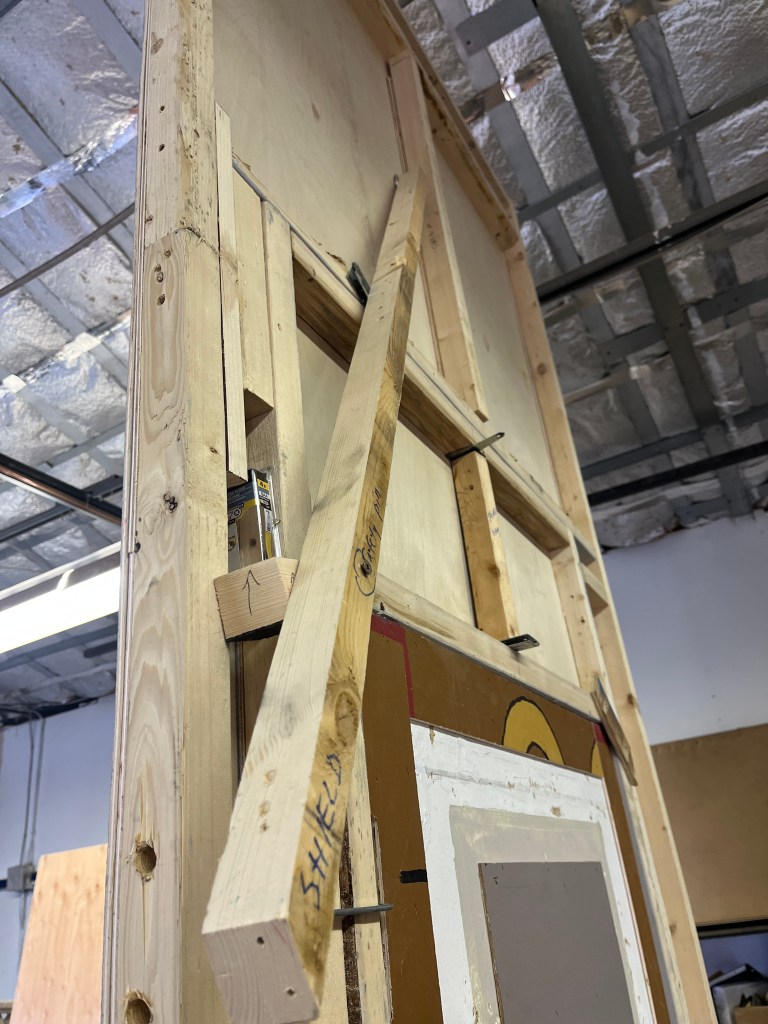
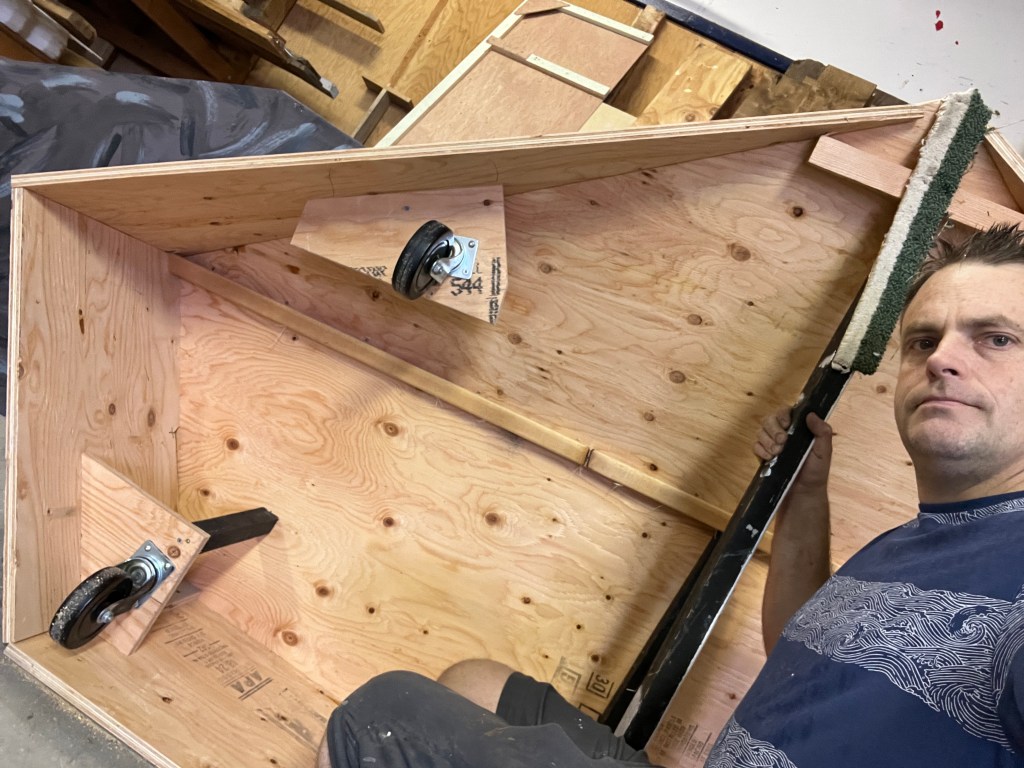
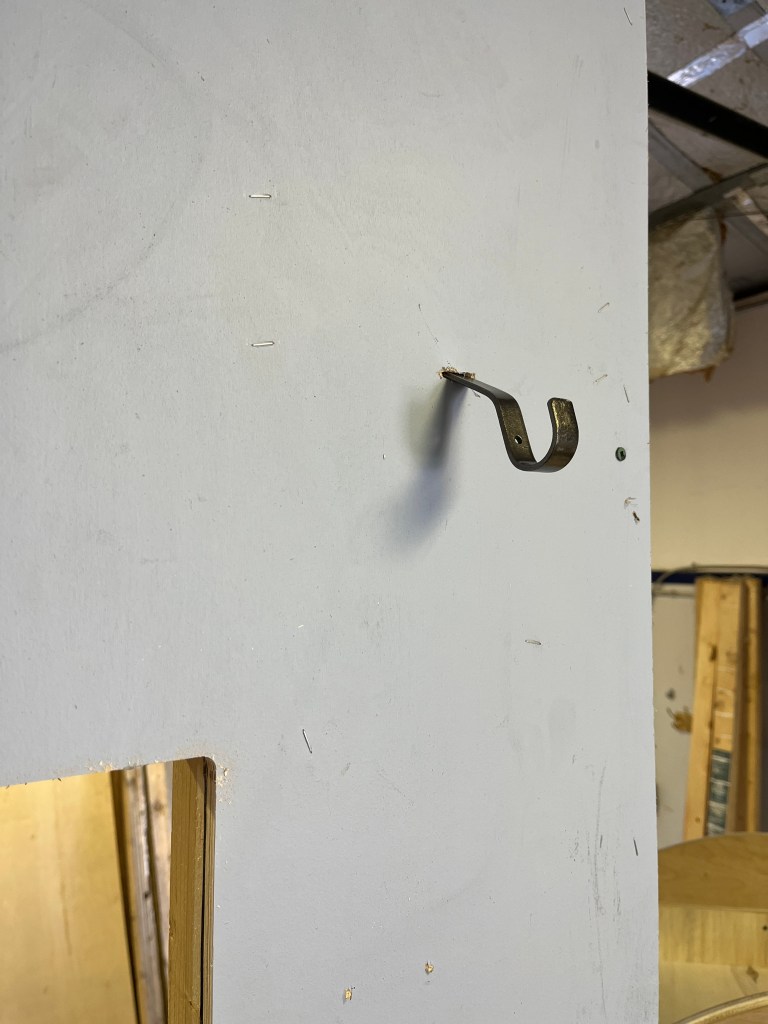
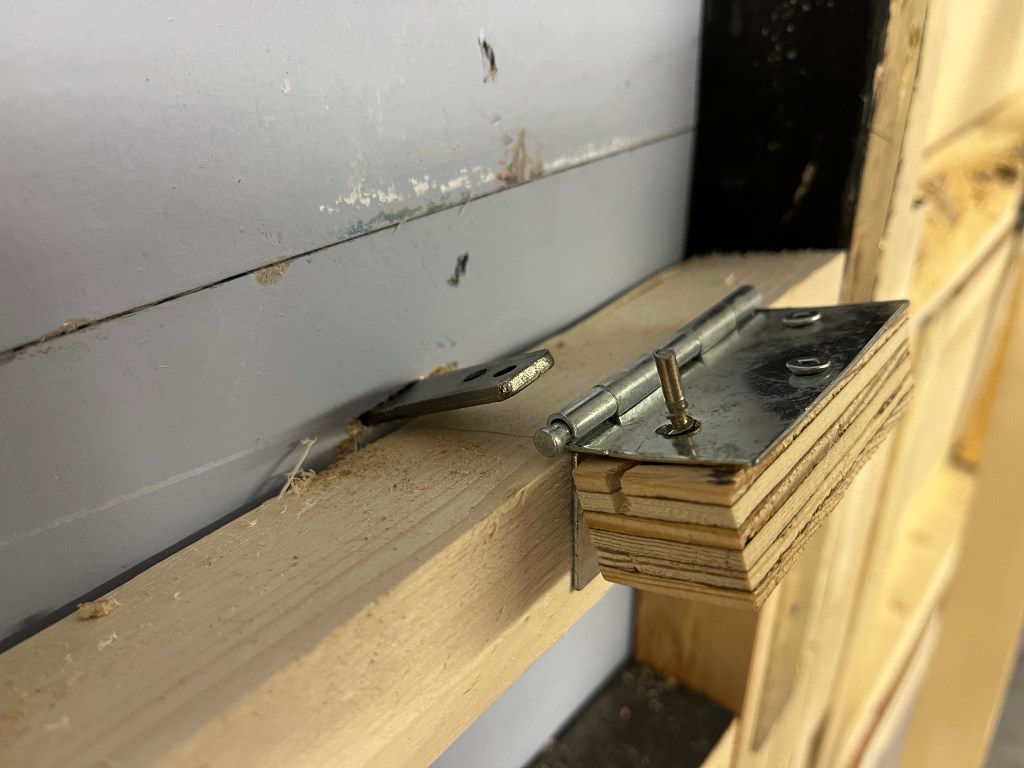
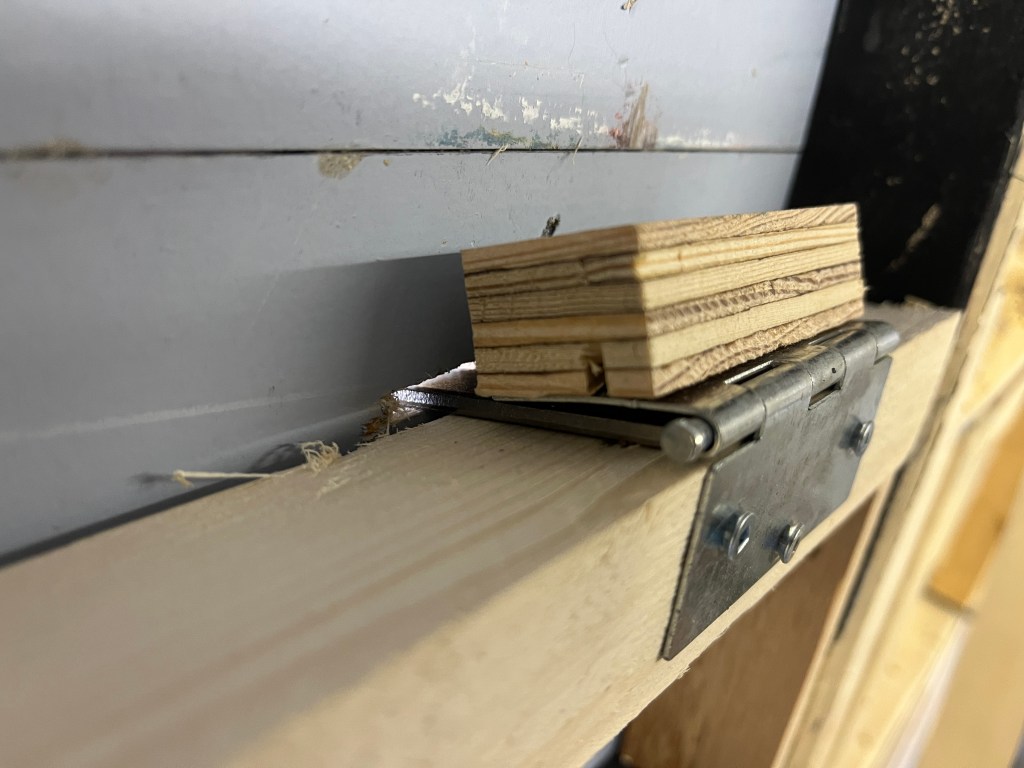
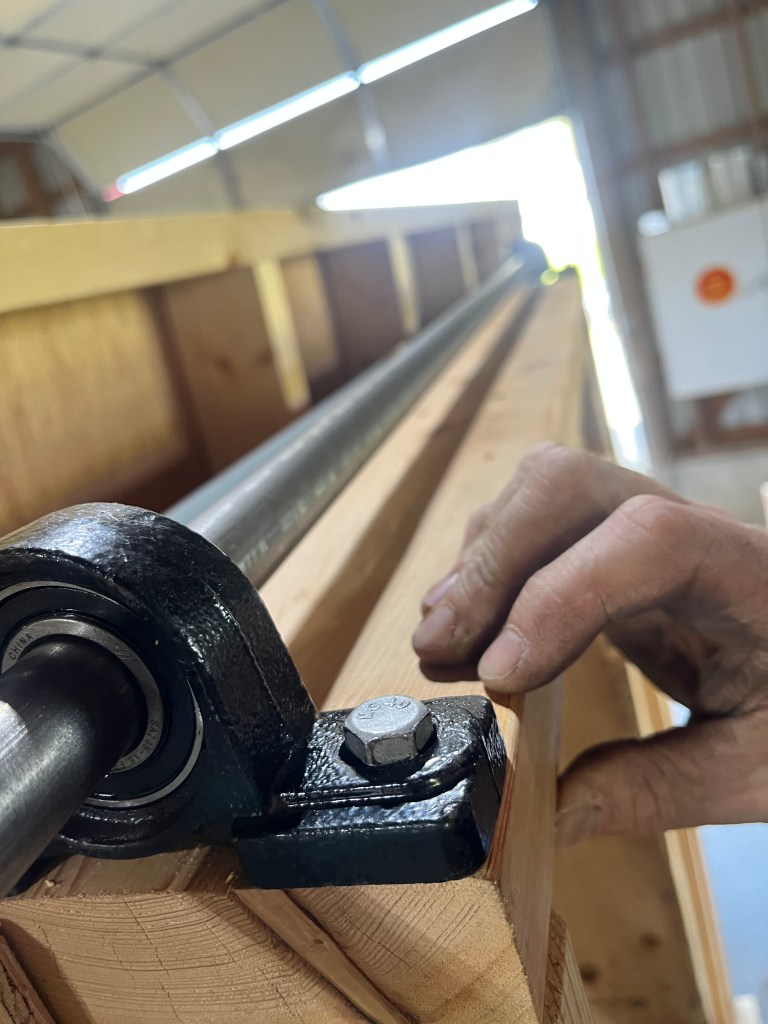
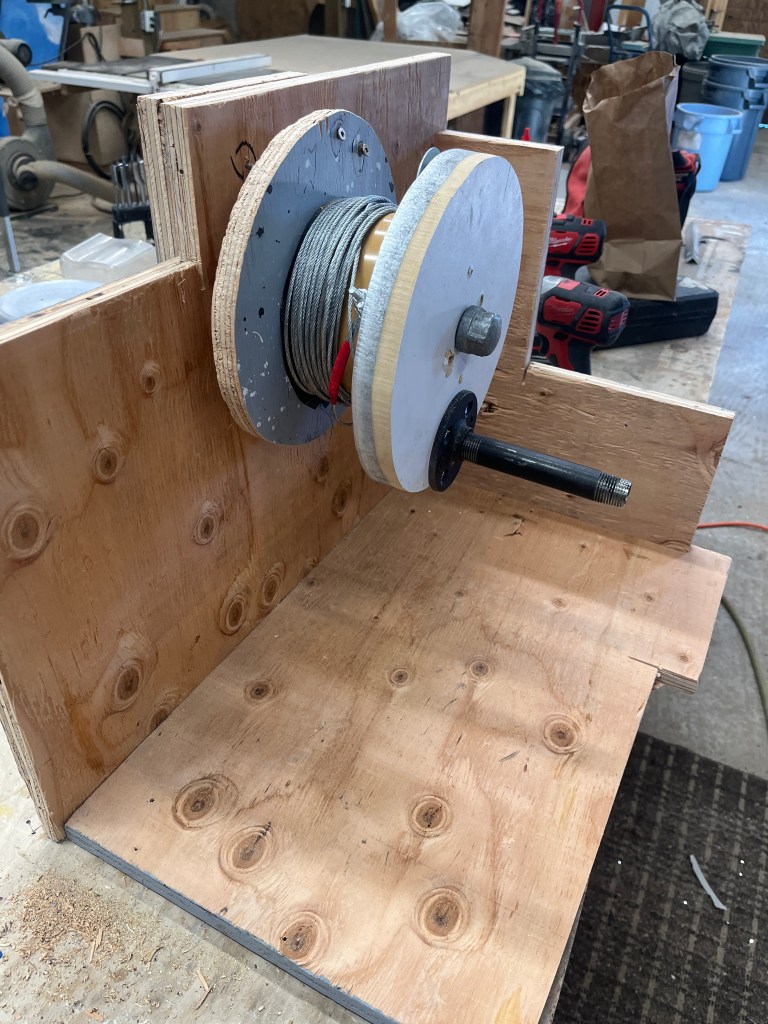
Here is how I made the curtain bar fall – no magnets – just hinges, pins, and gravity. It worked pretty well overall, although not exactly perfectly!
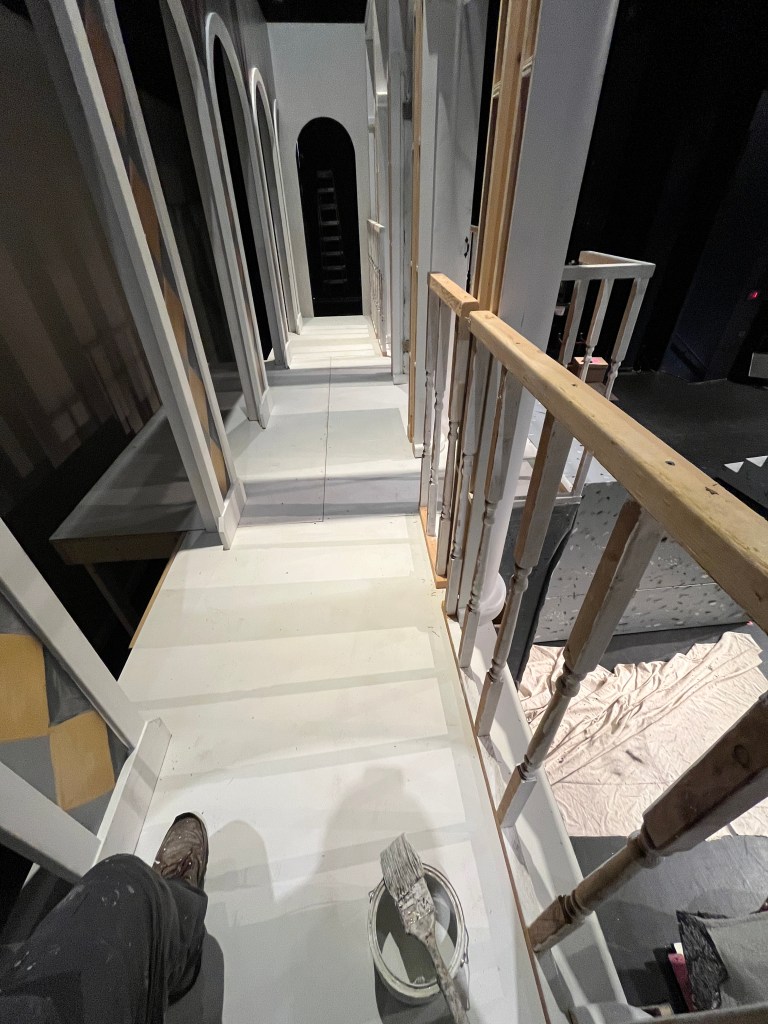
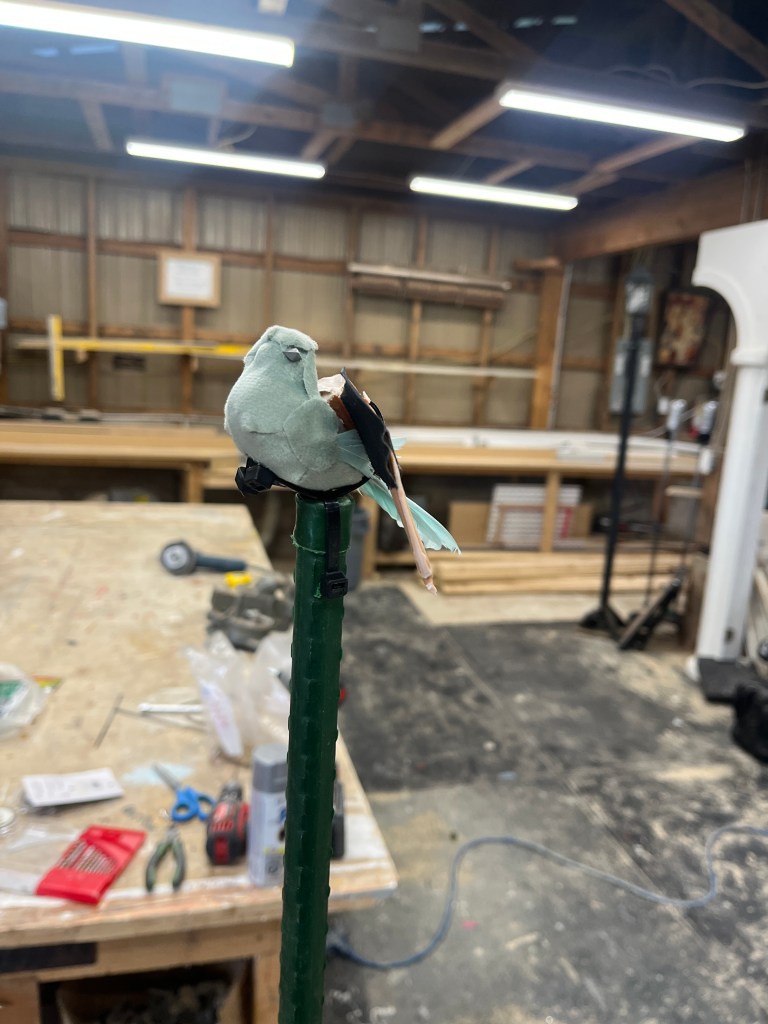
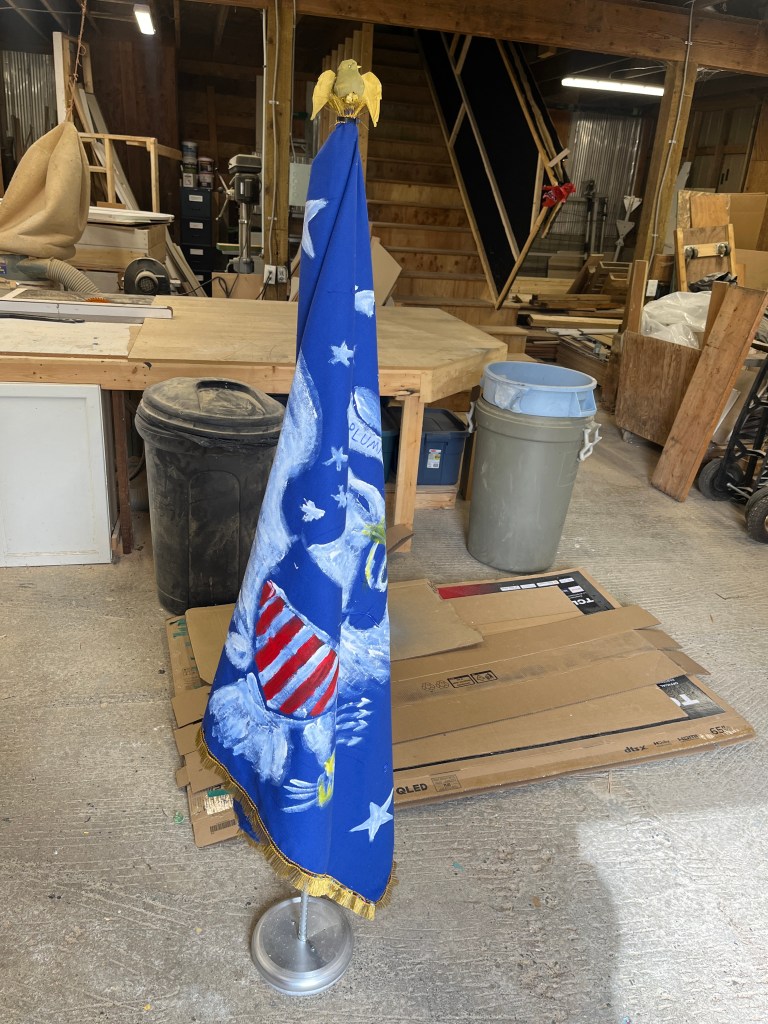
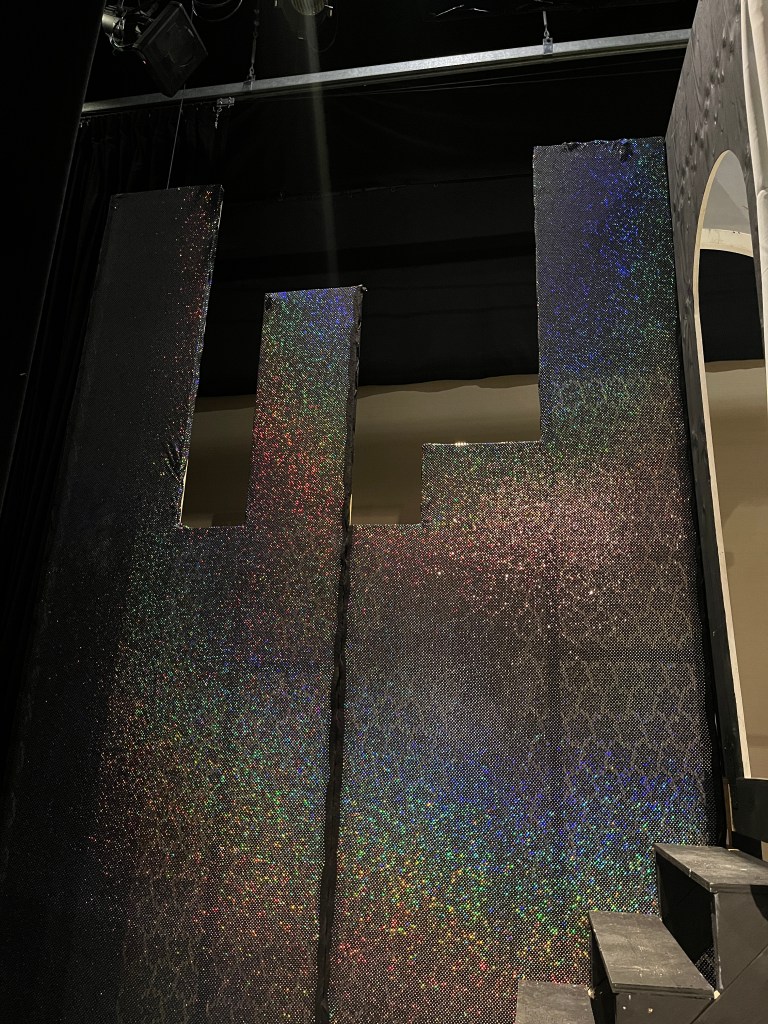
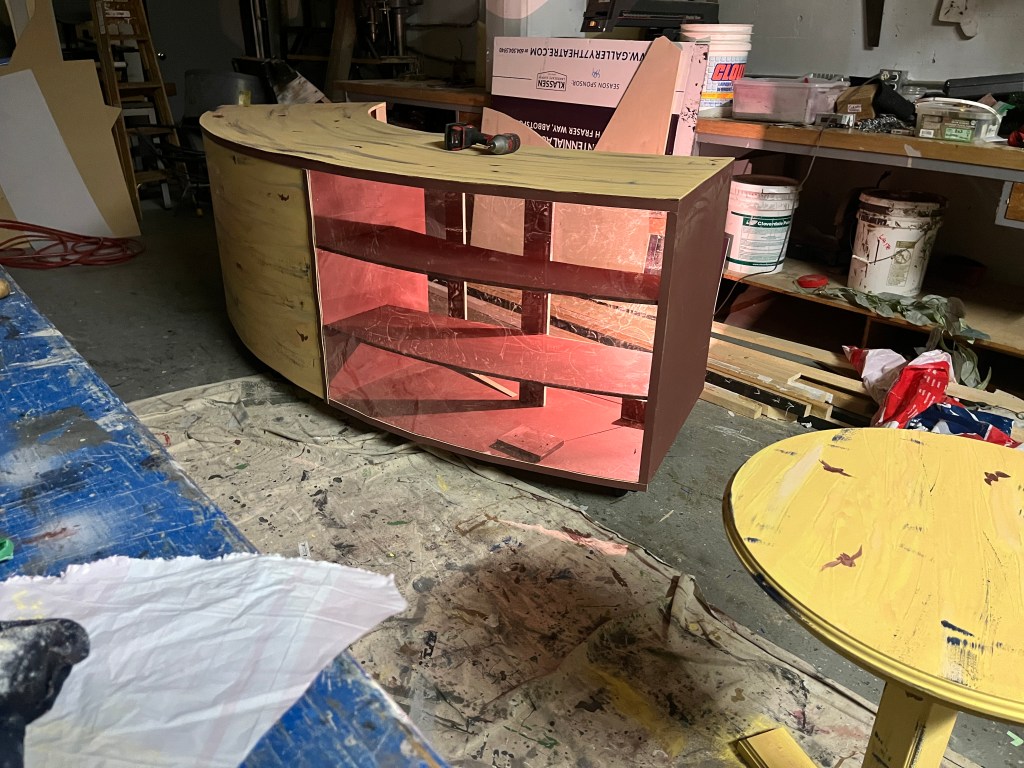
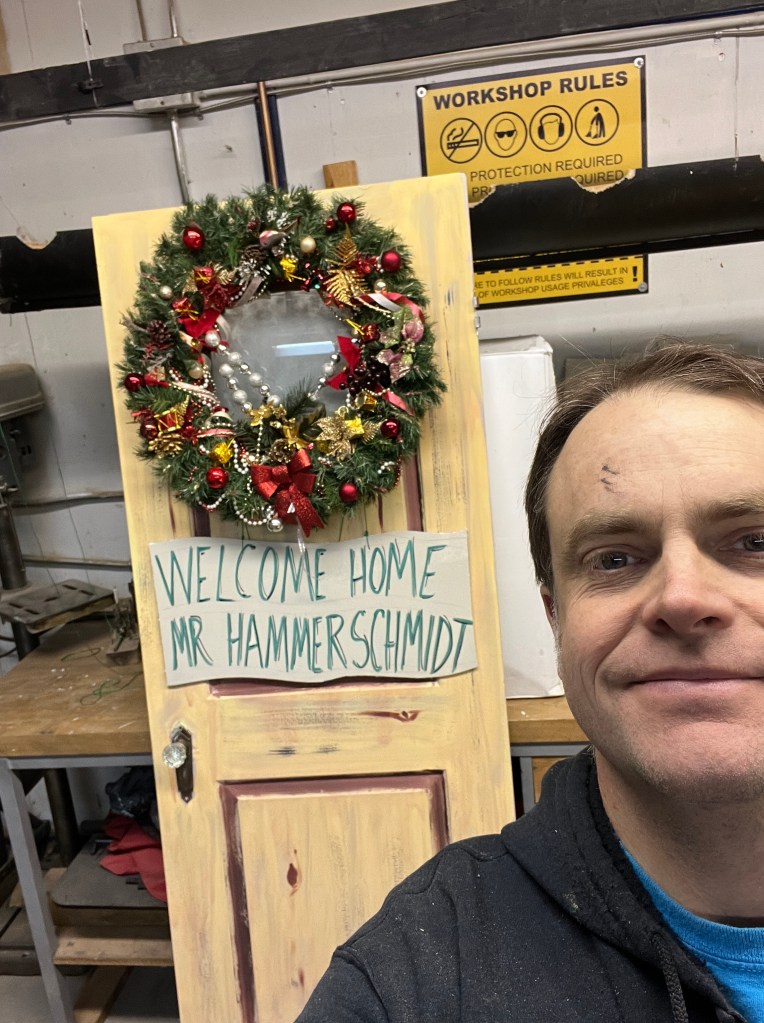
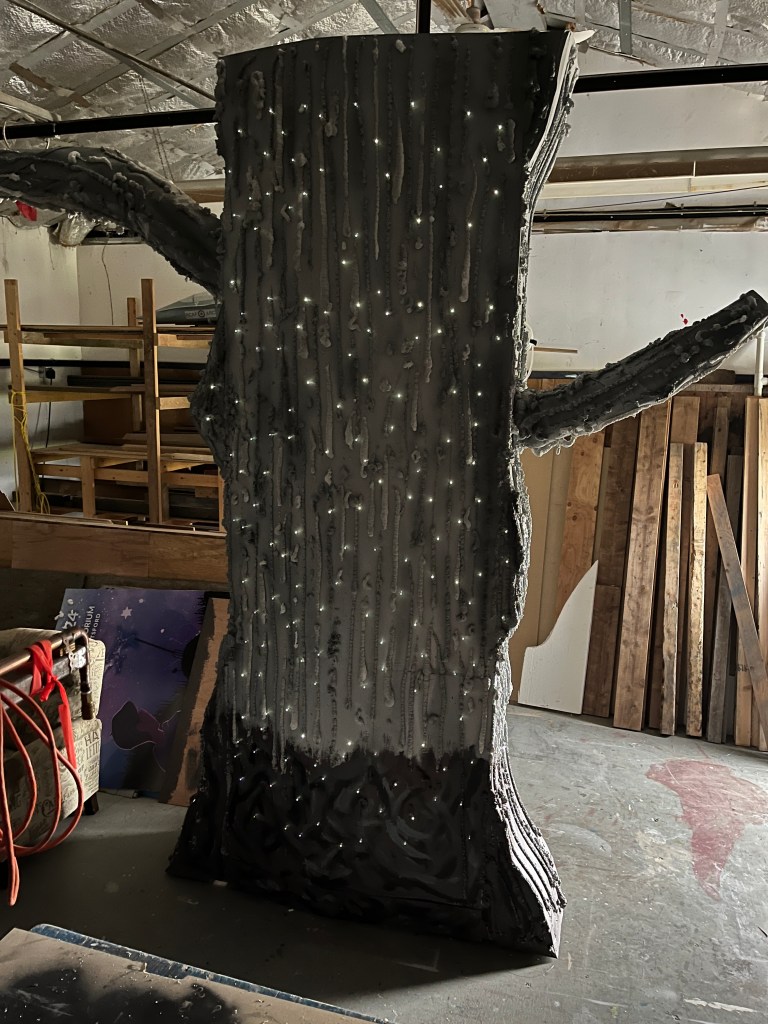
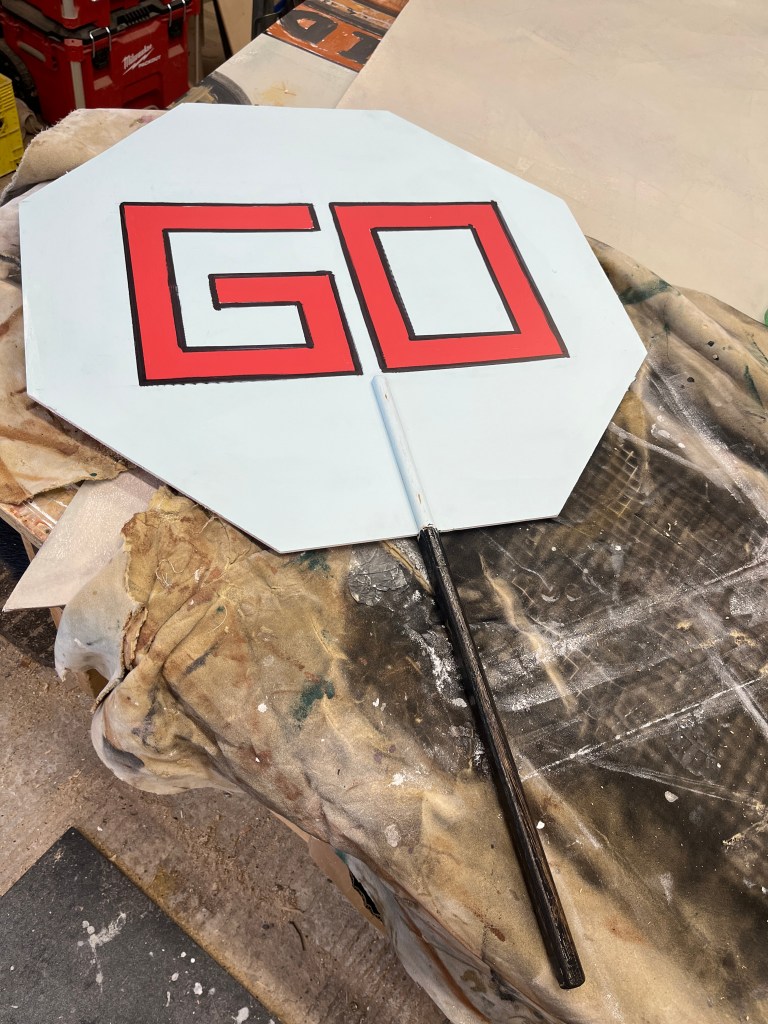
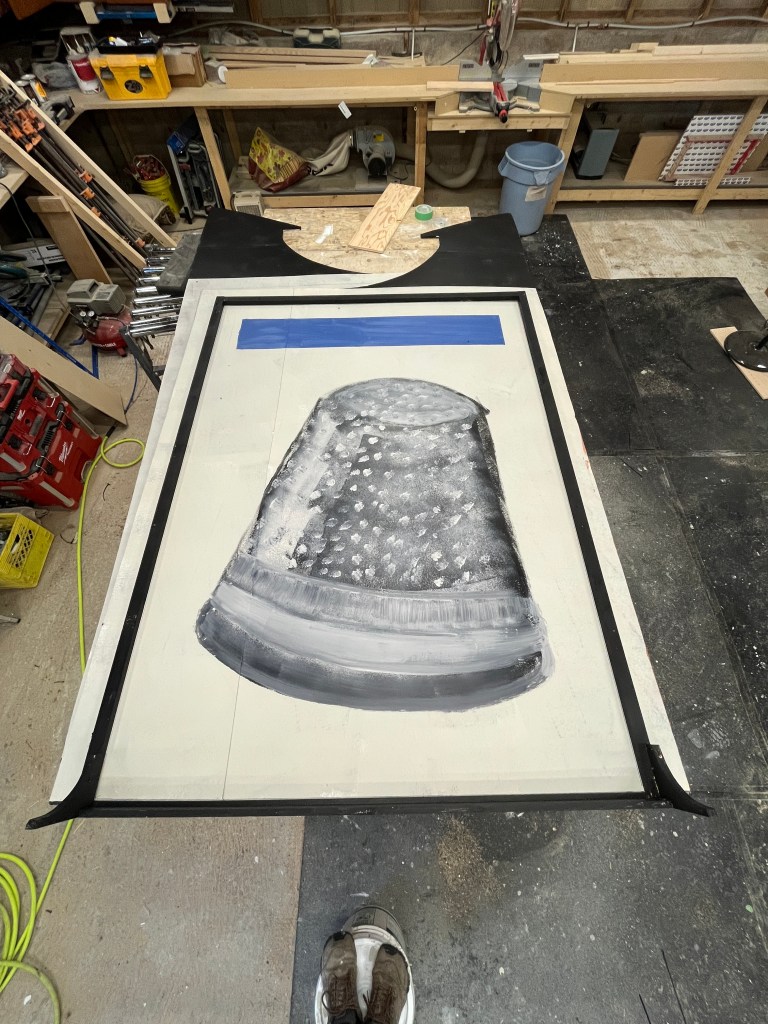
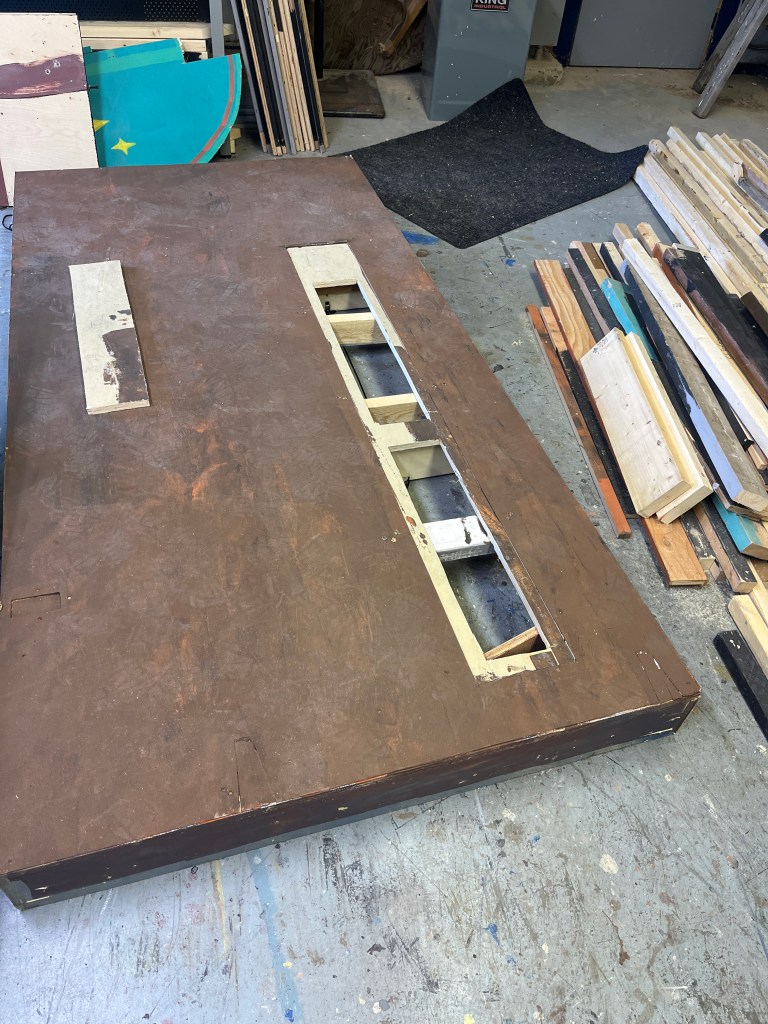
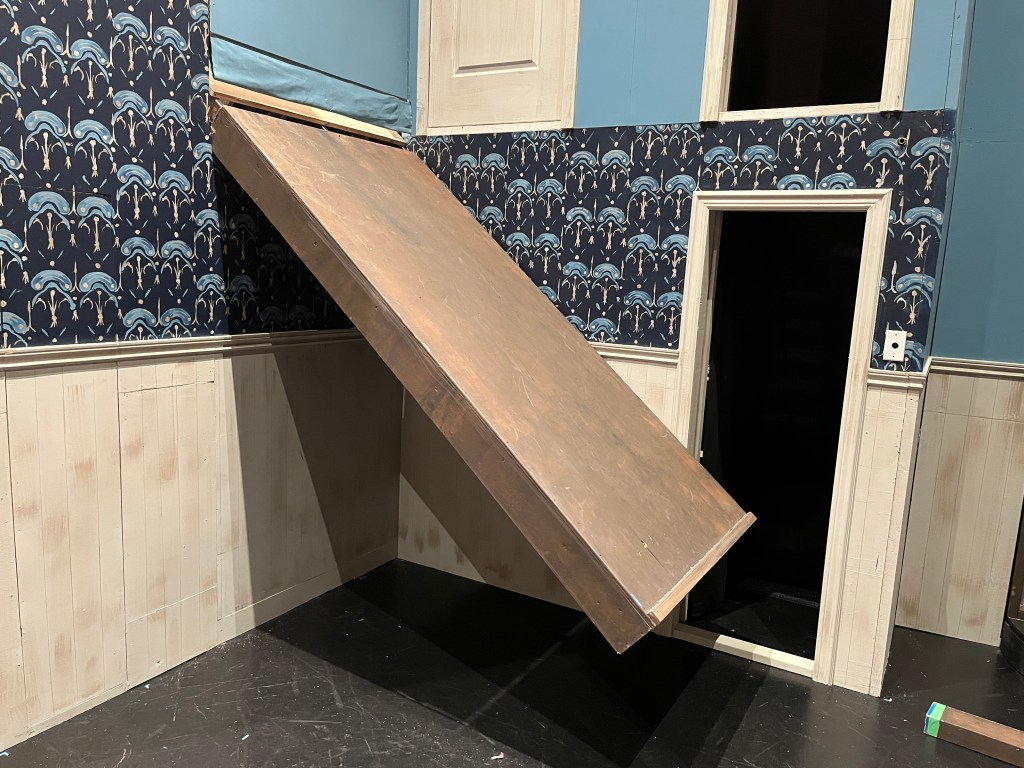
I don’t want to give away too many more secrets, but here are some more things!

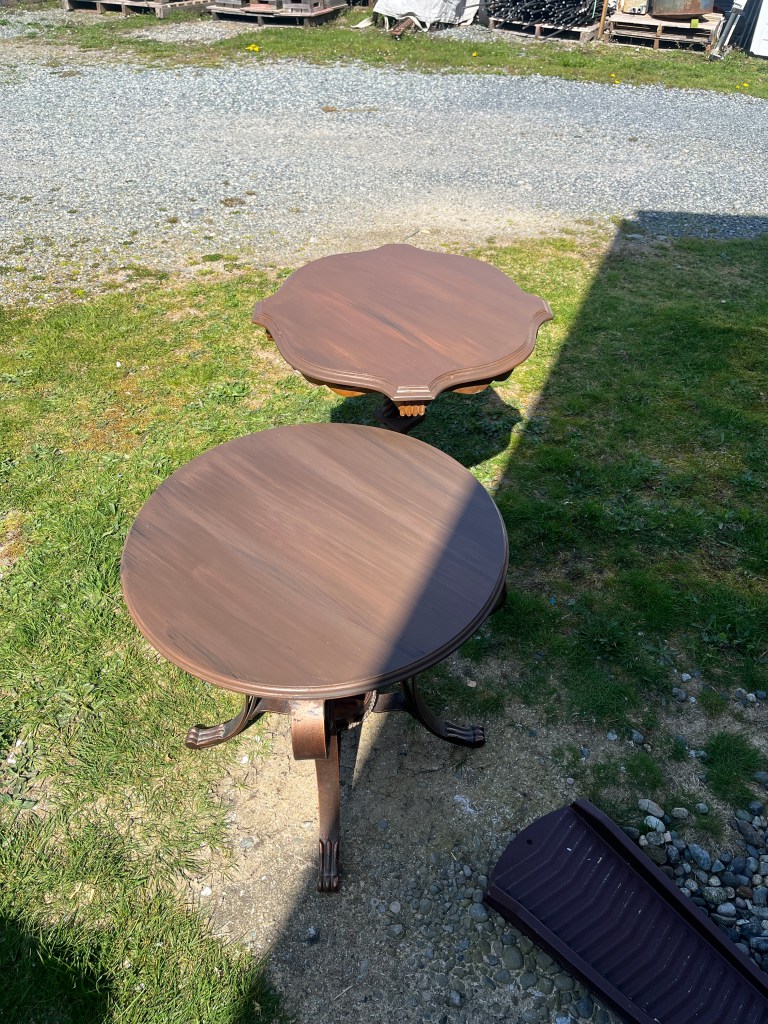

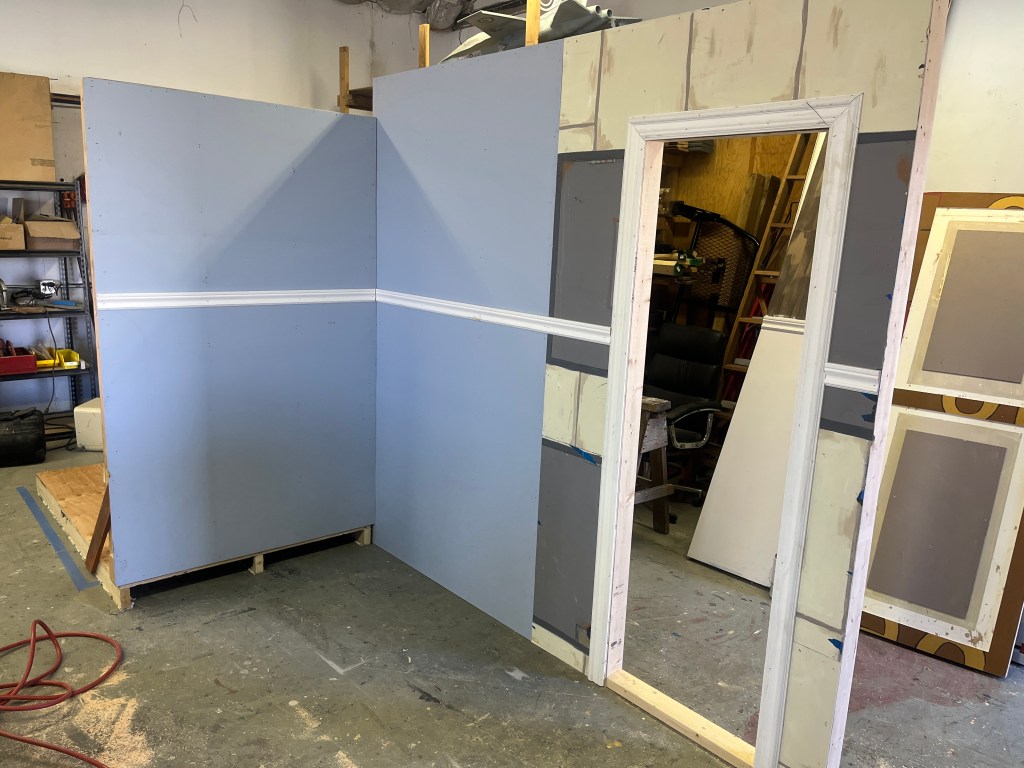
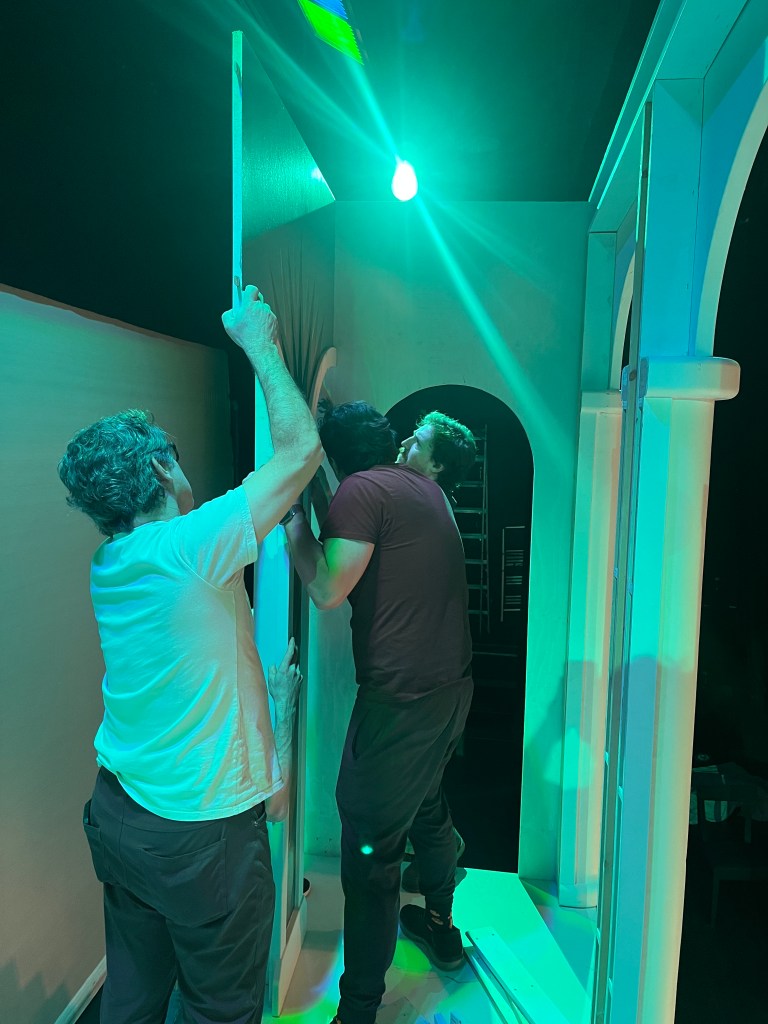
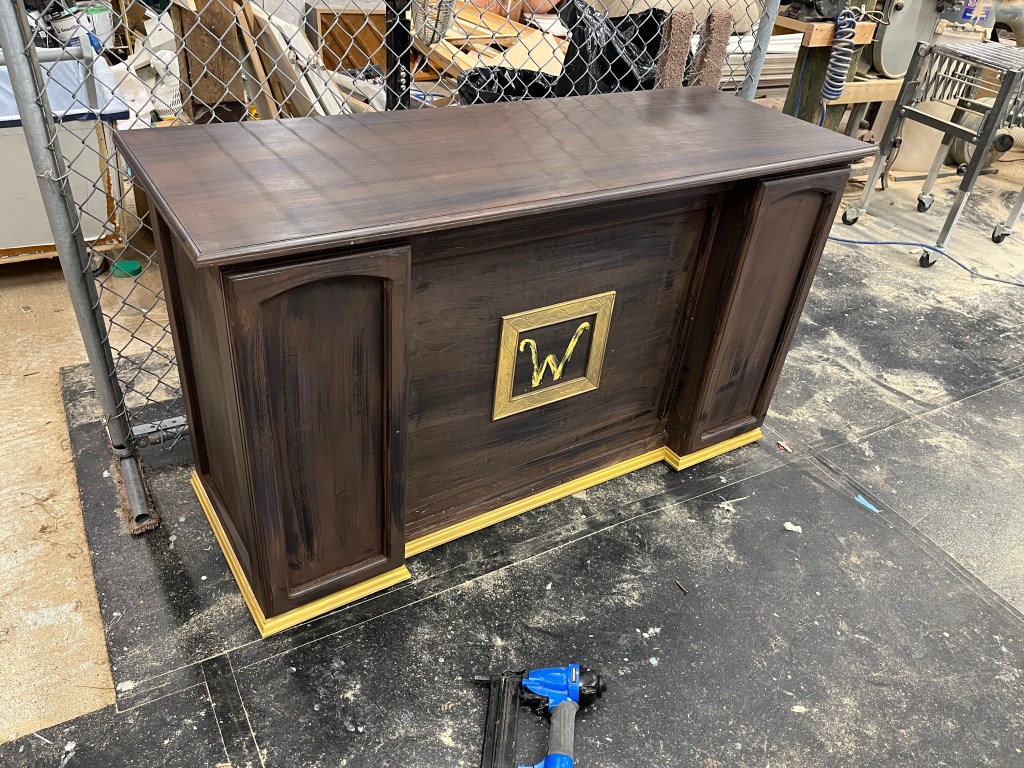
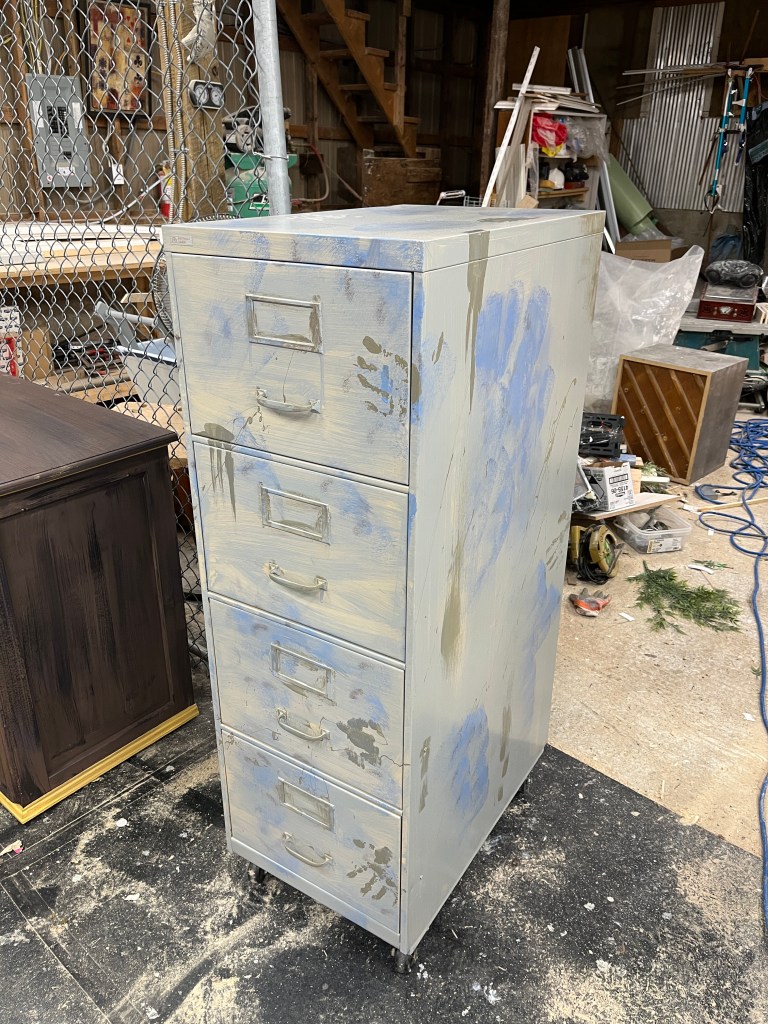
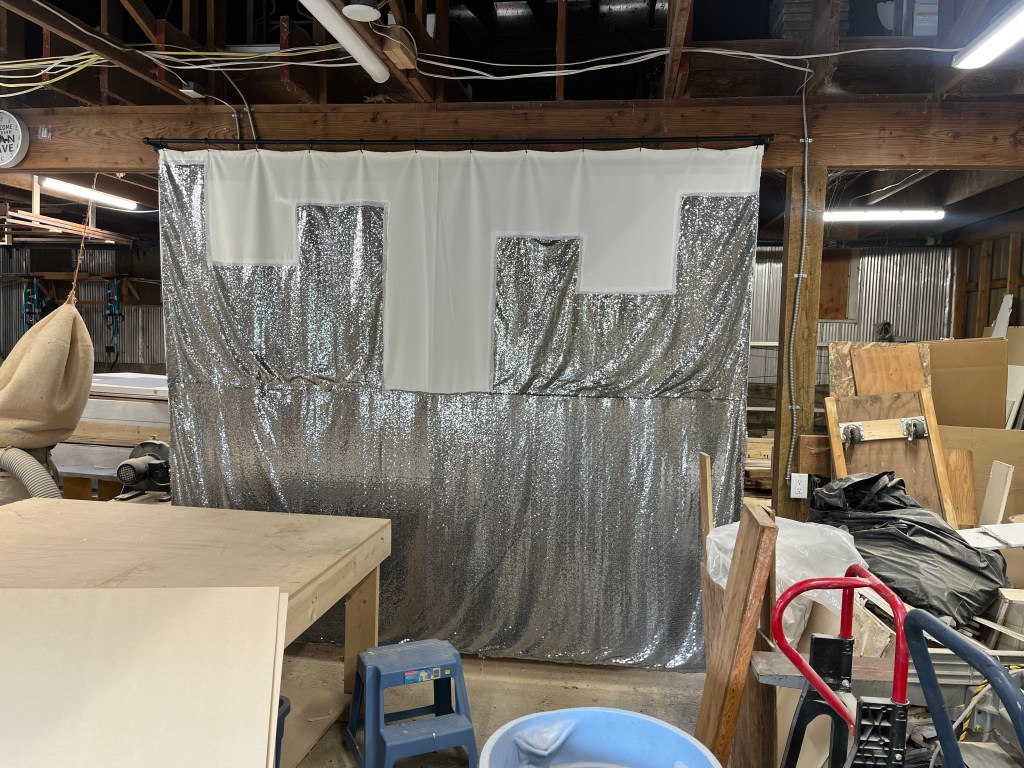
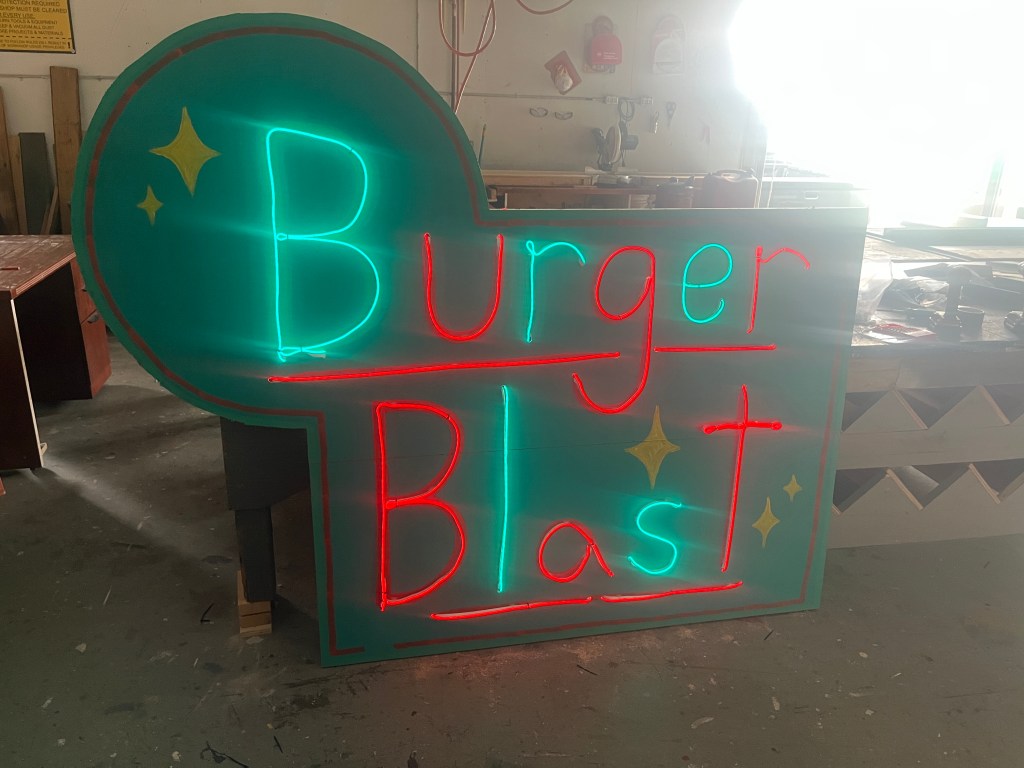
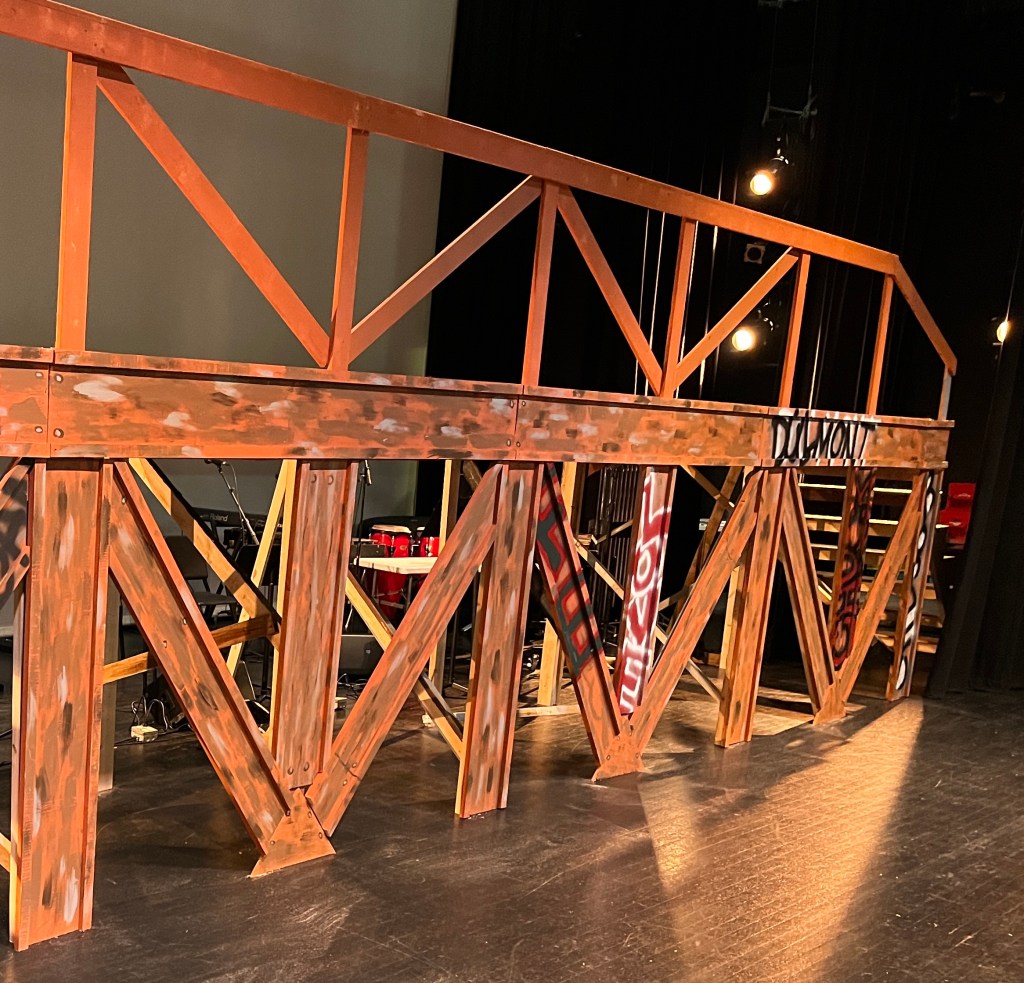
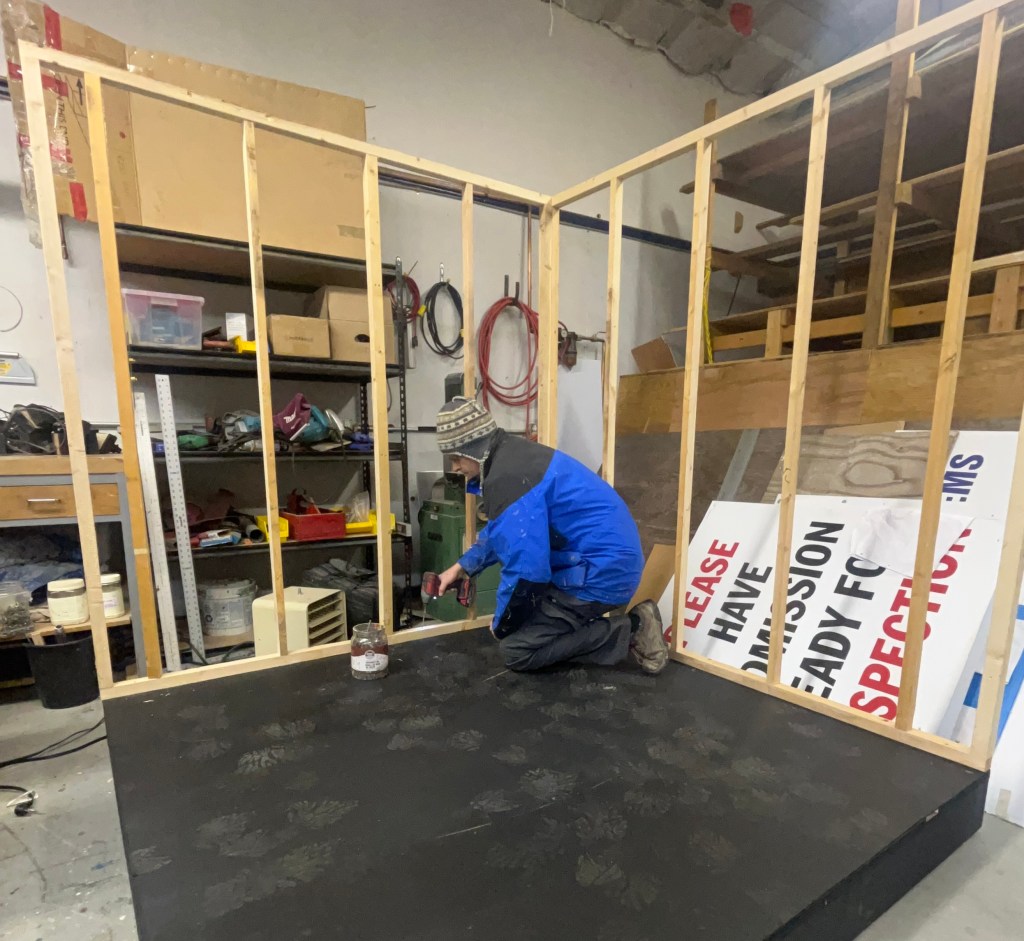
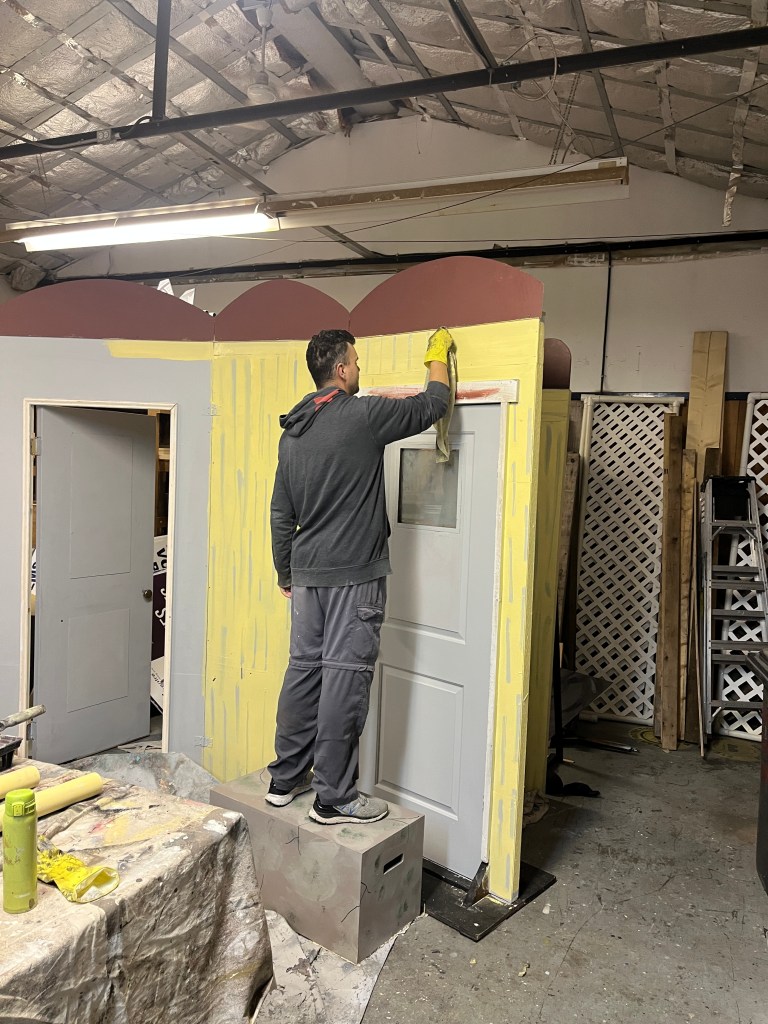
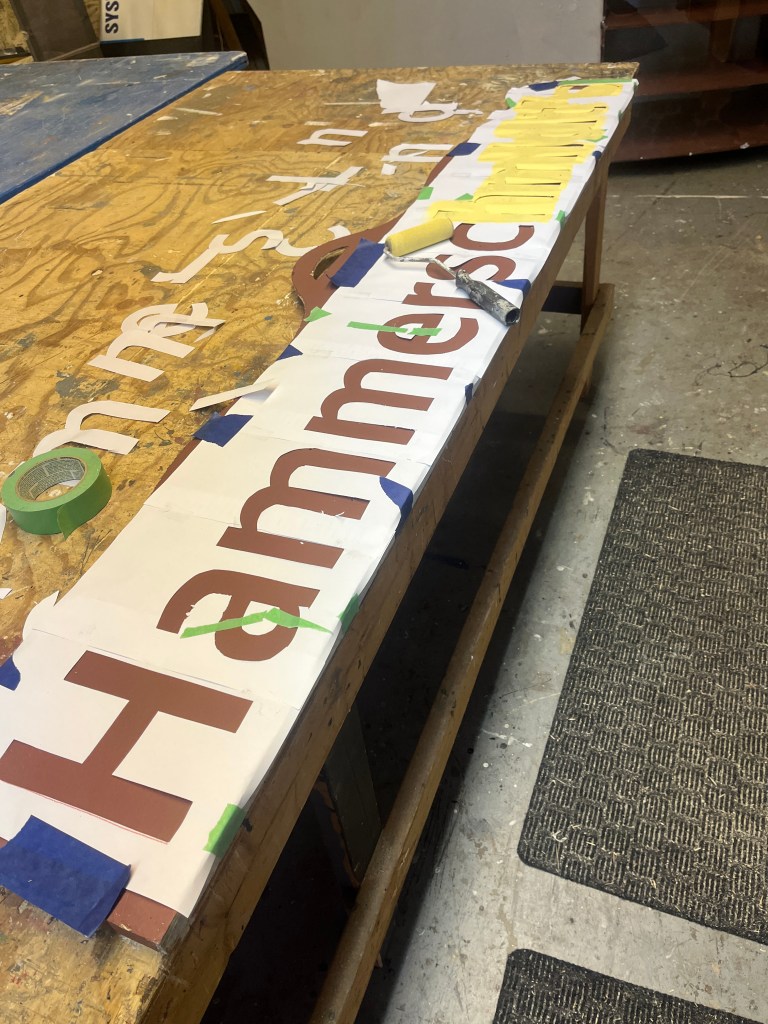
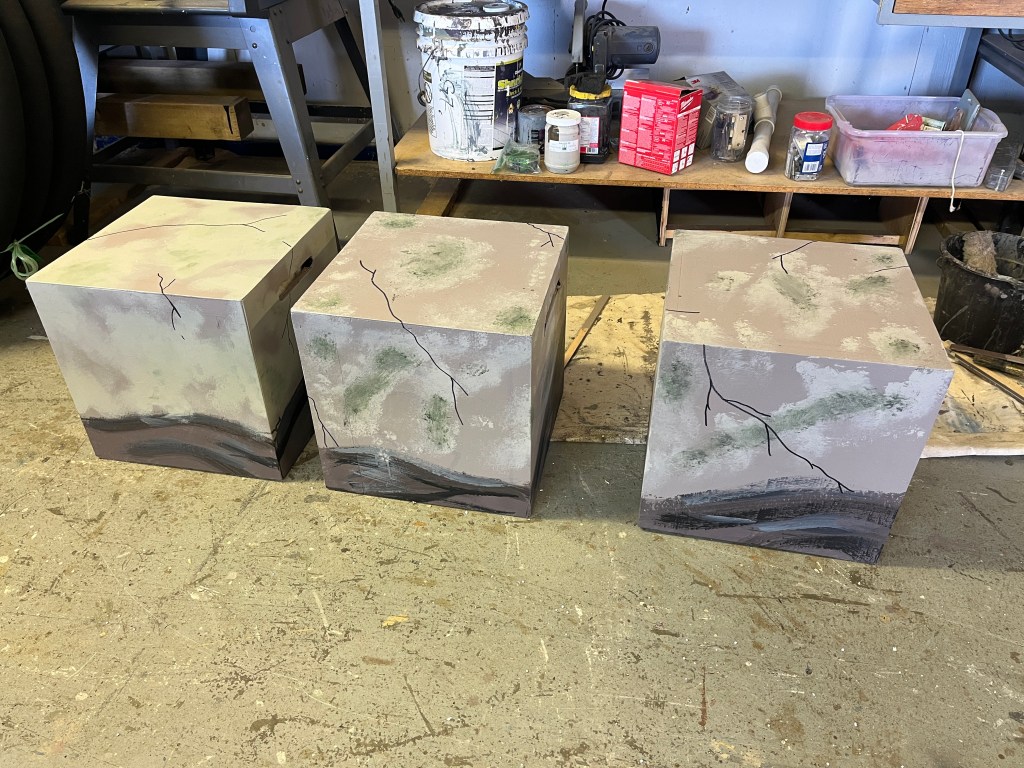
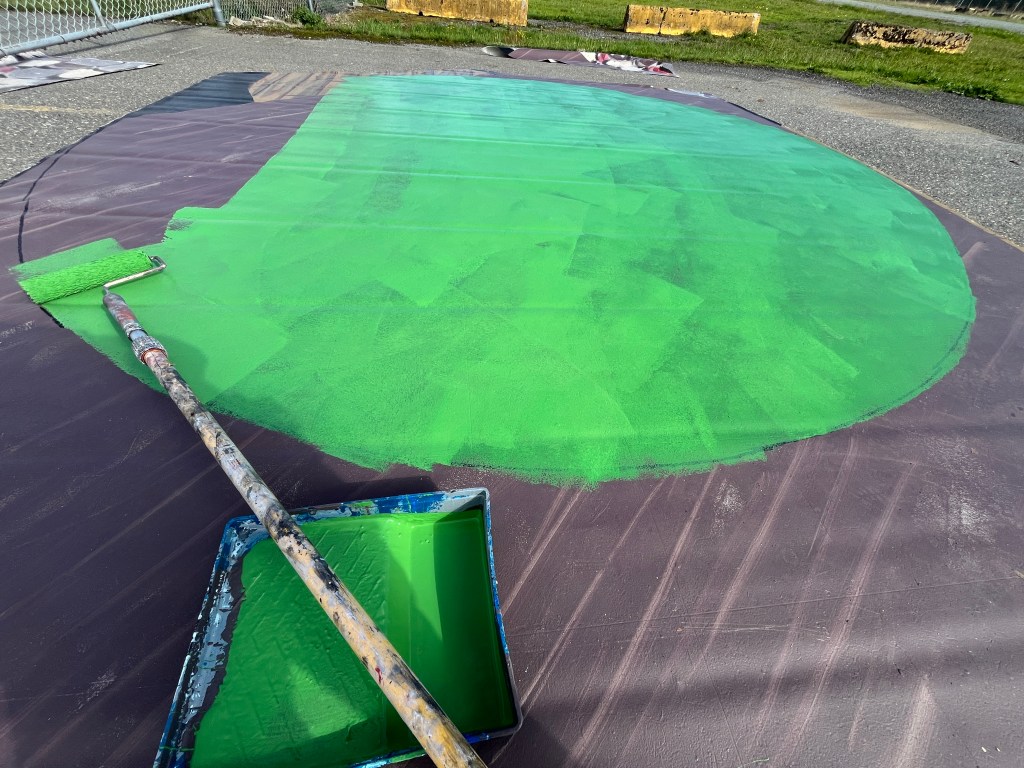
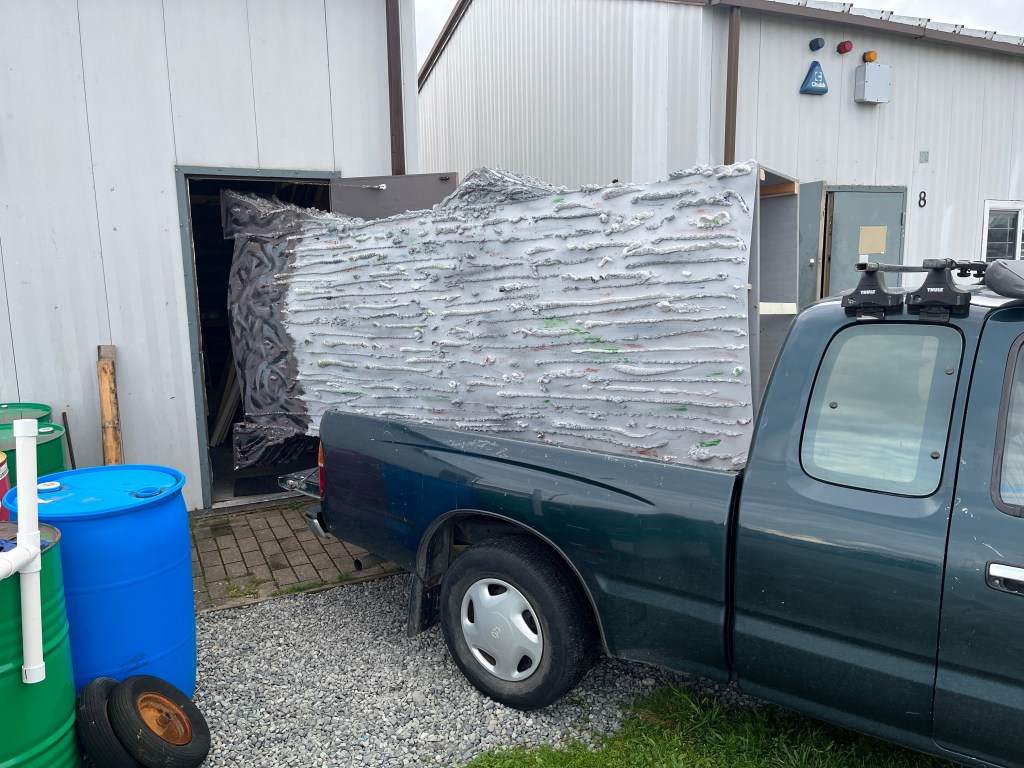
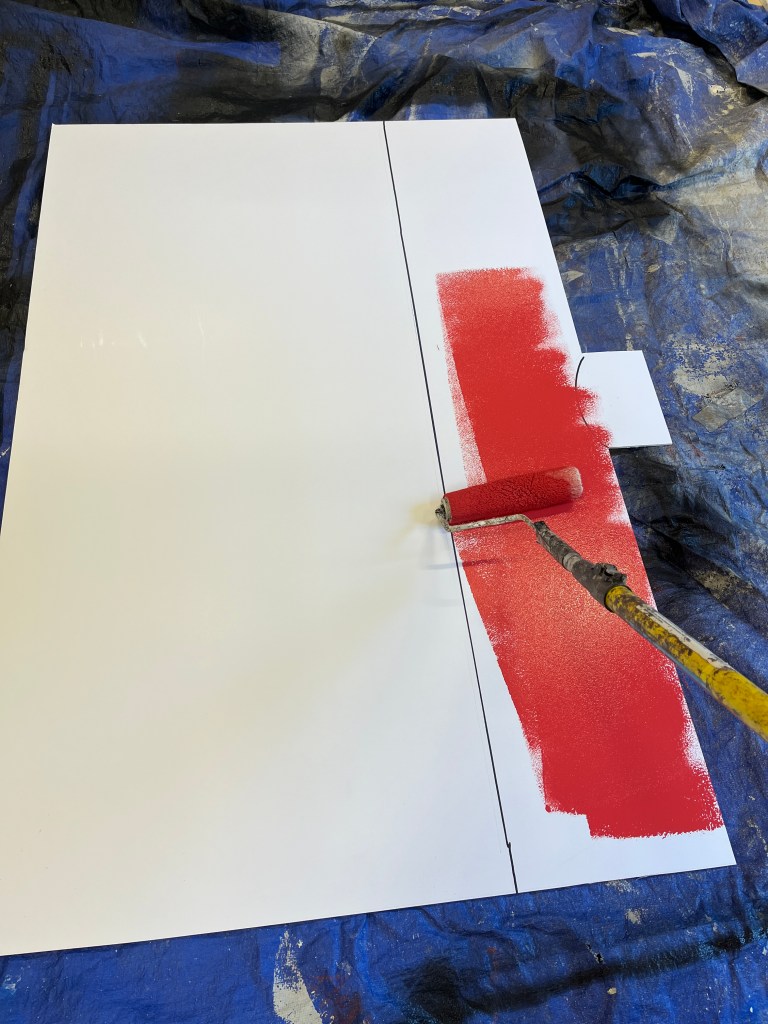
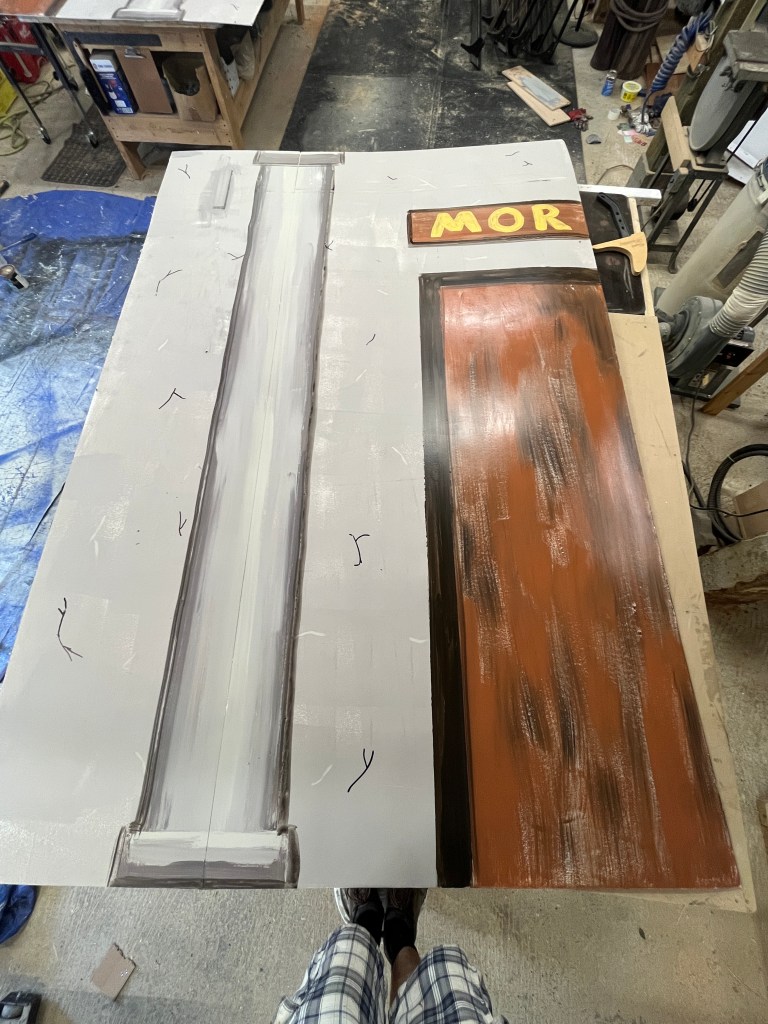
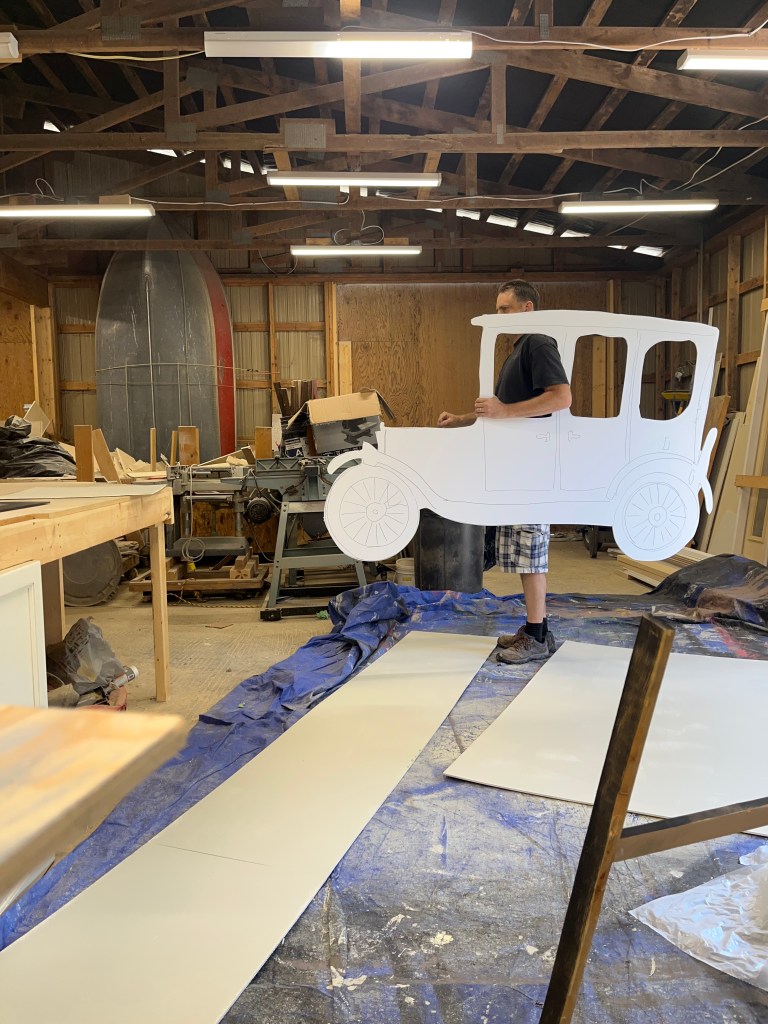
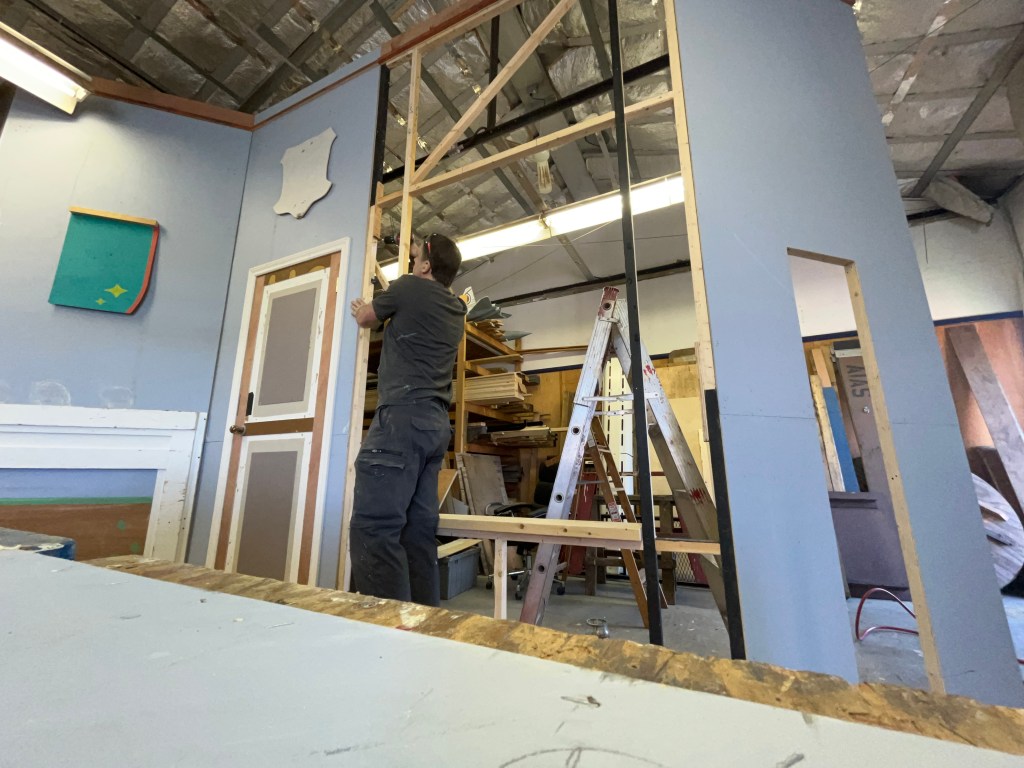
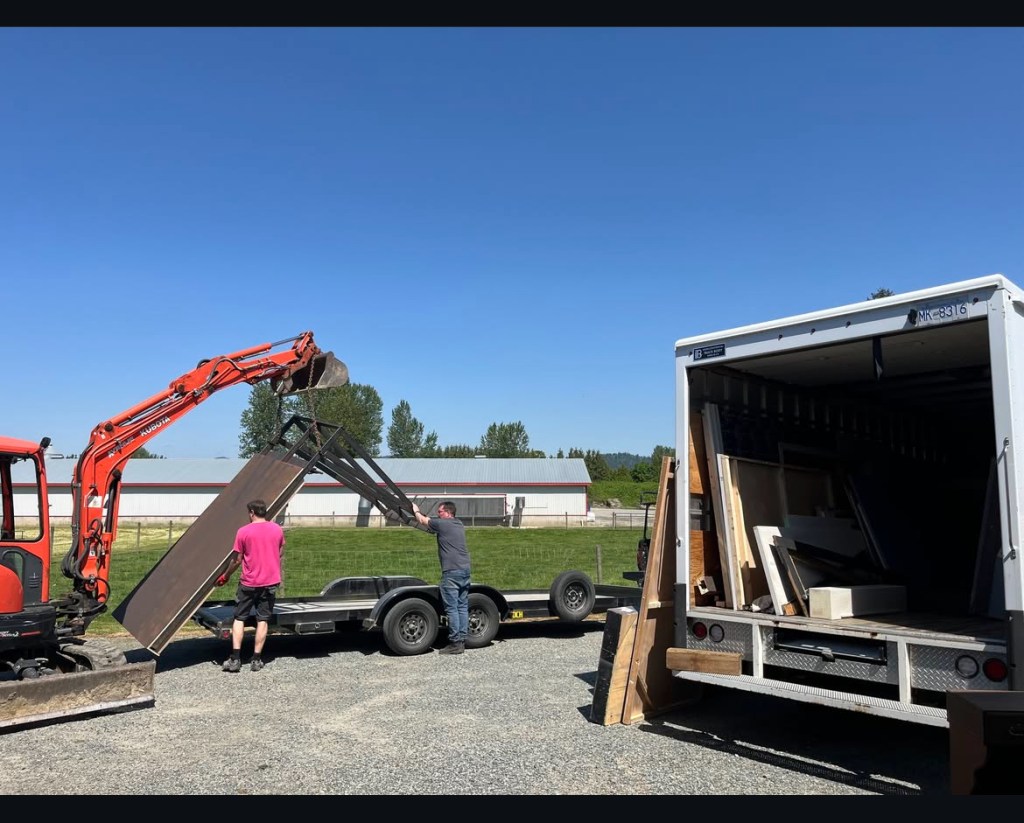
At some point we moved everything to a larger shop to paint, and also test some things:
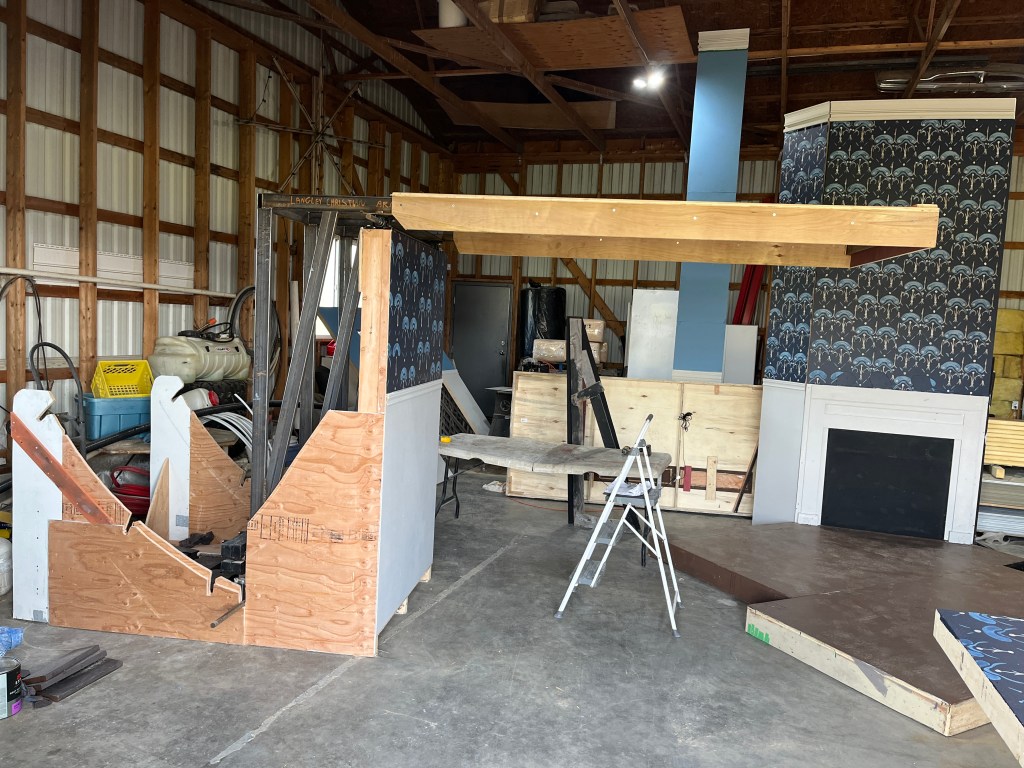

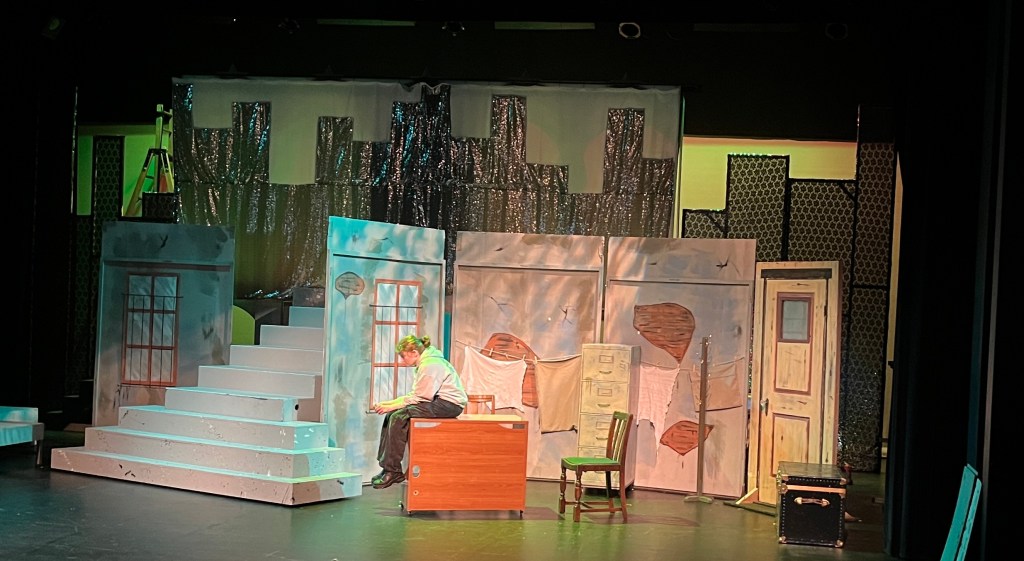
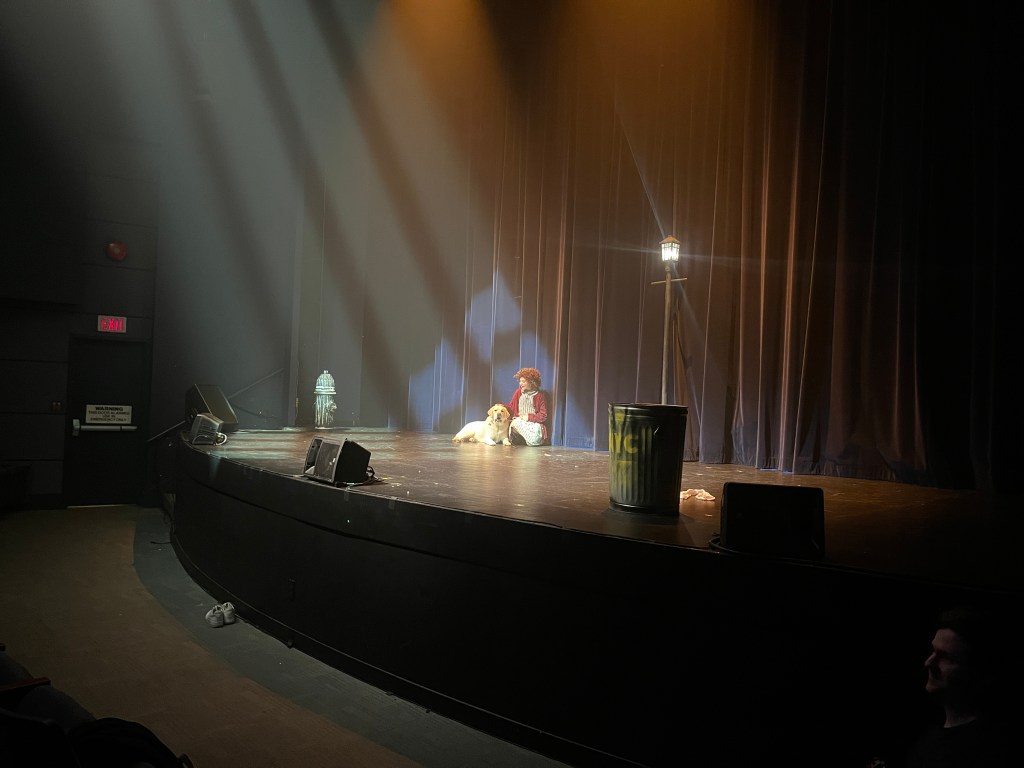
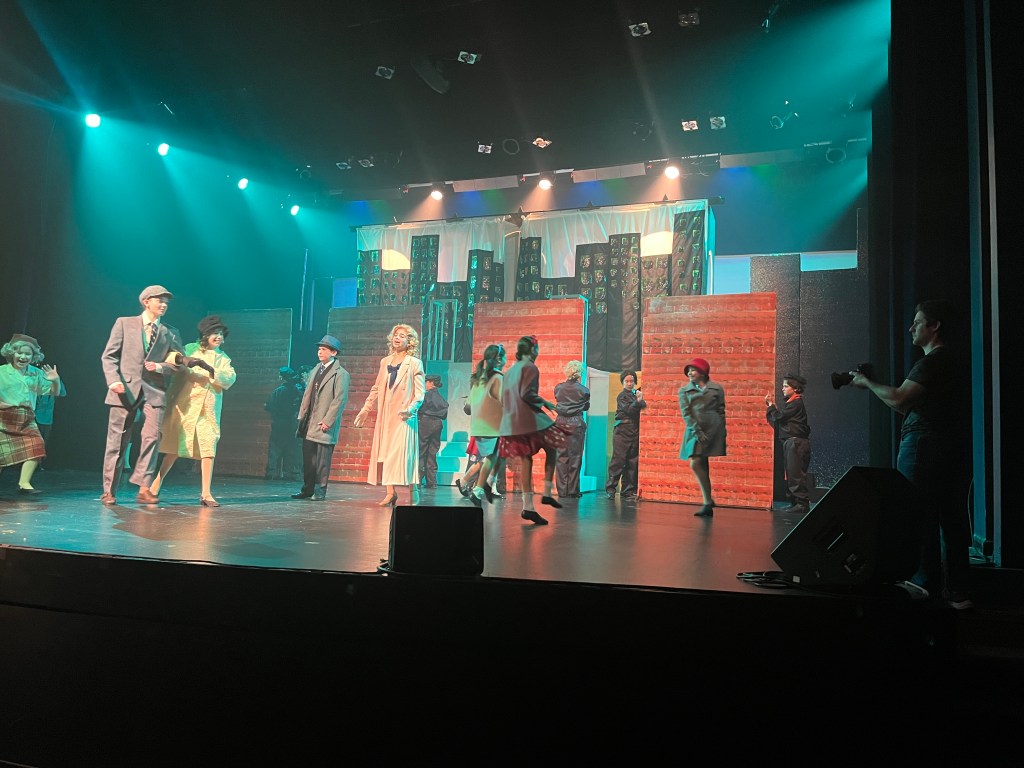
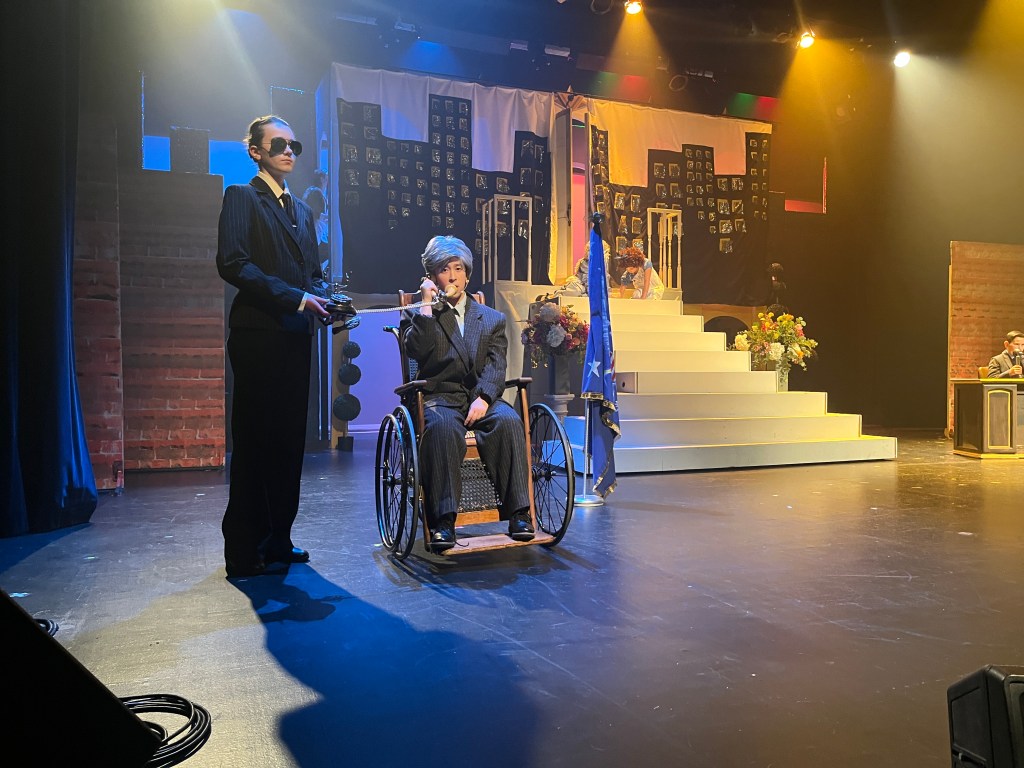
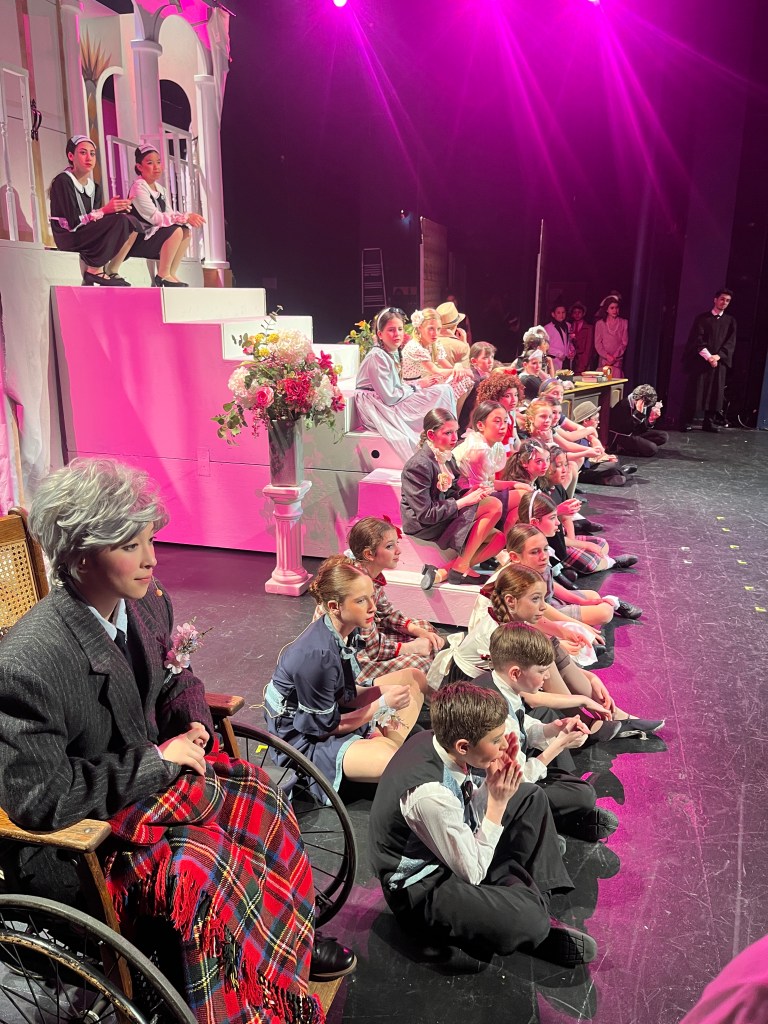
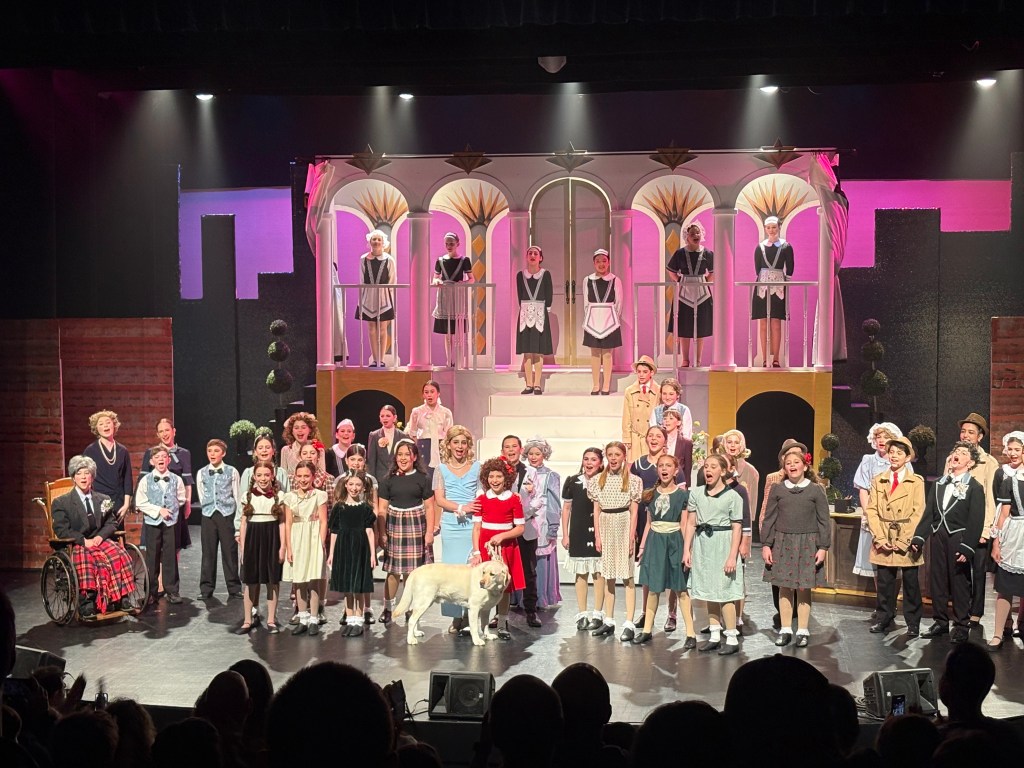
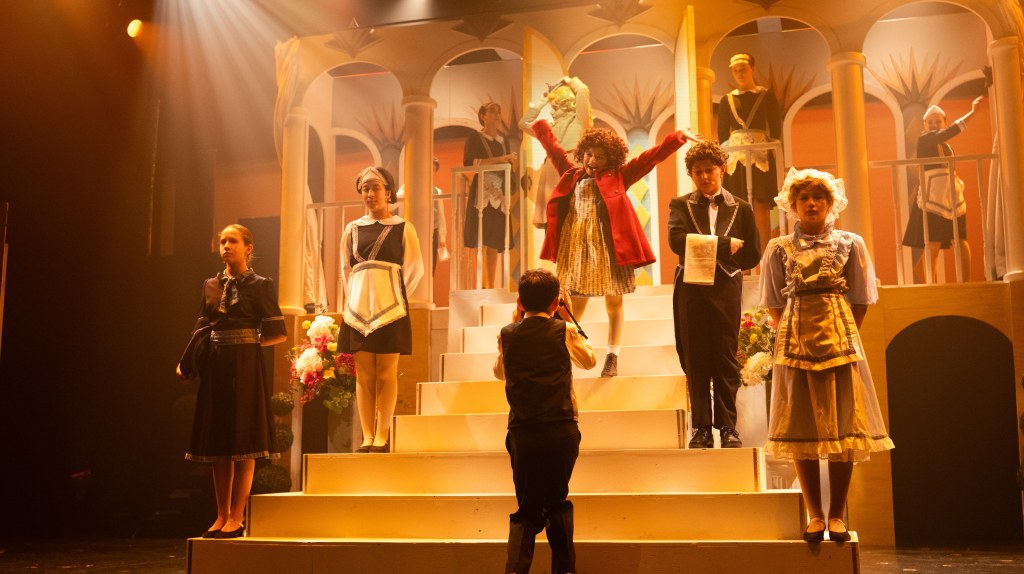
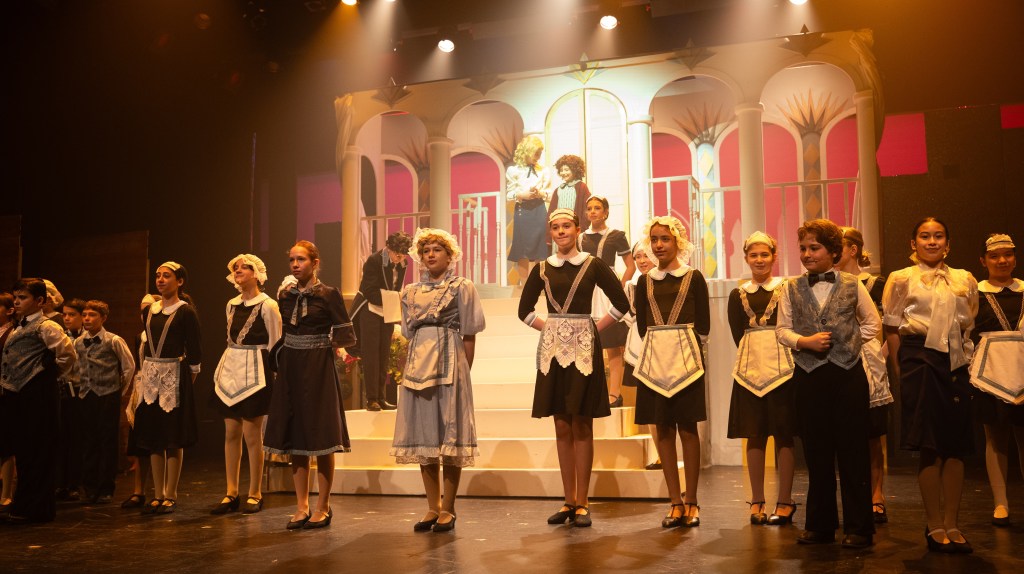
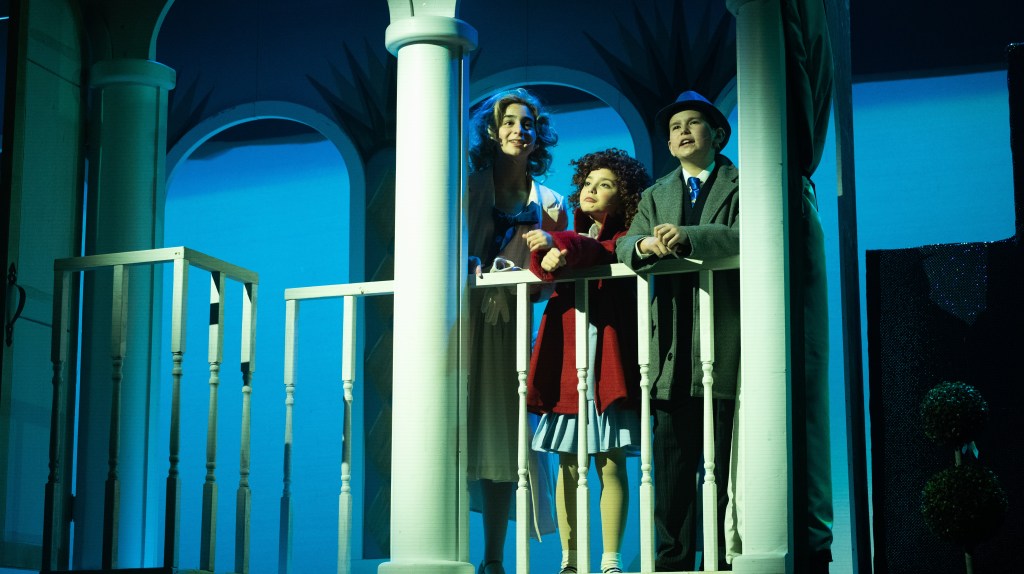
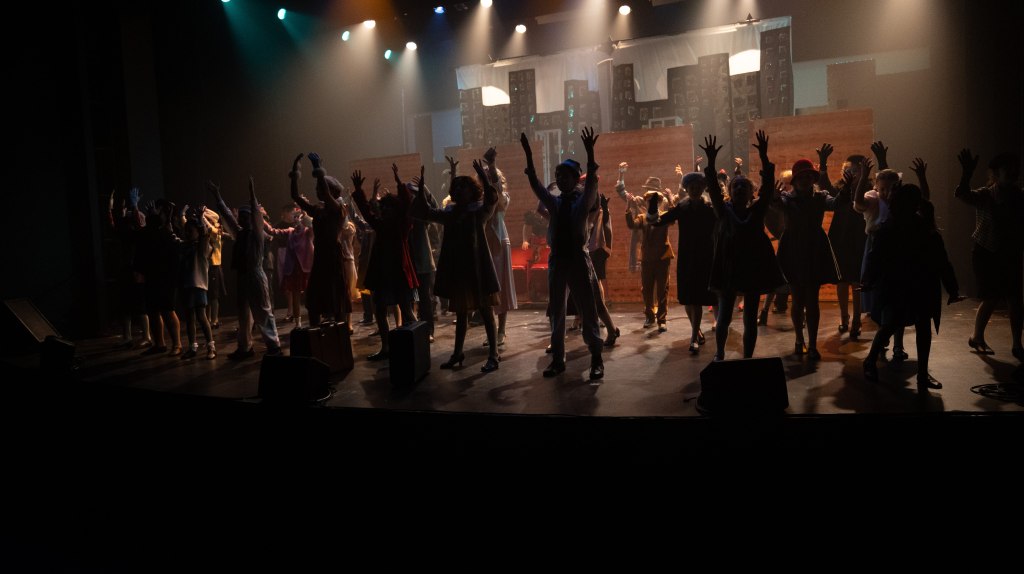
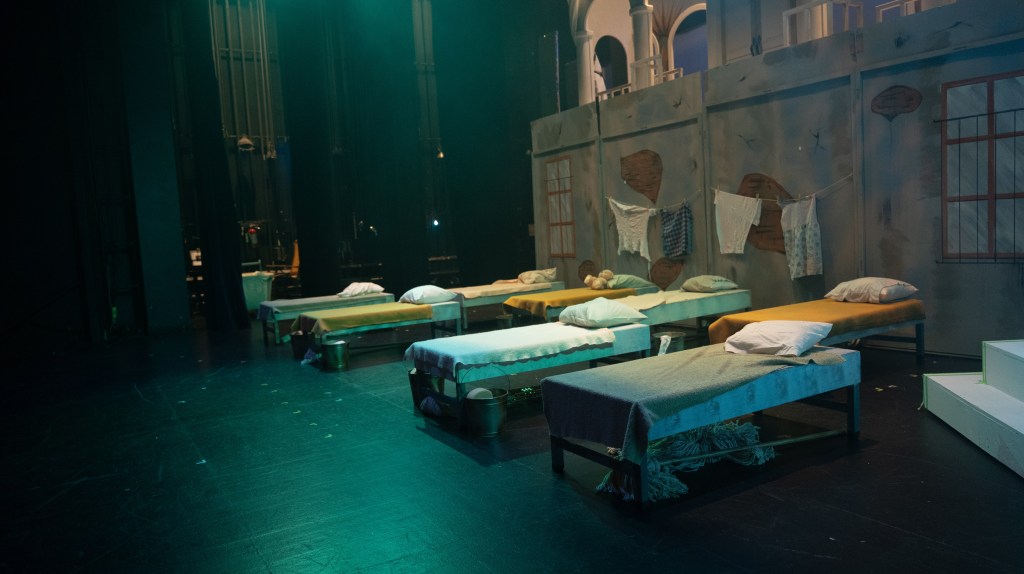
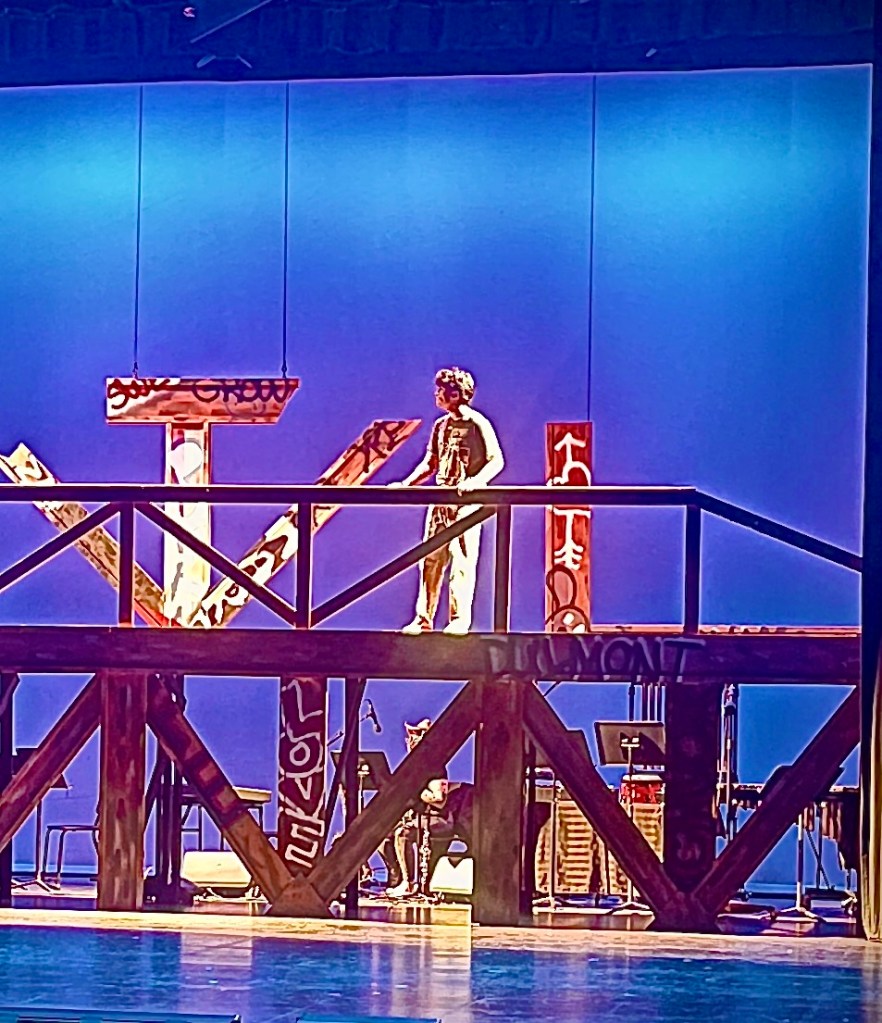
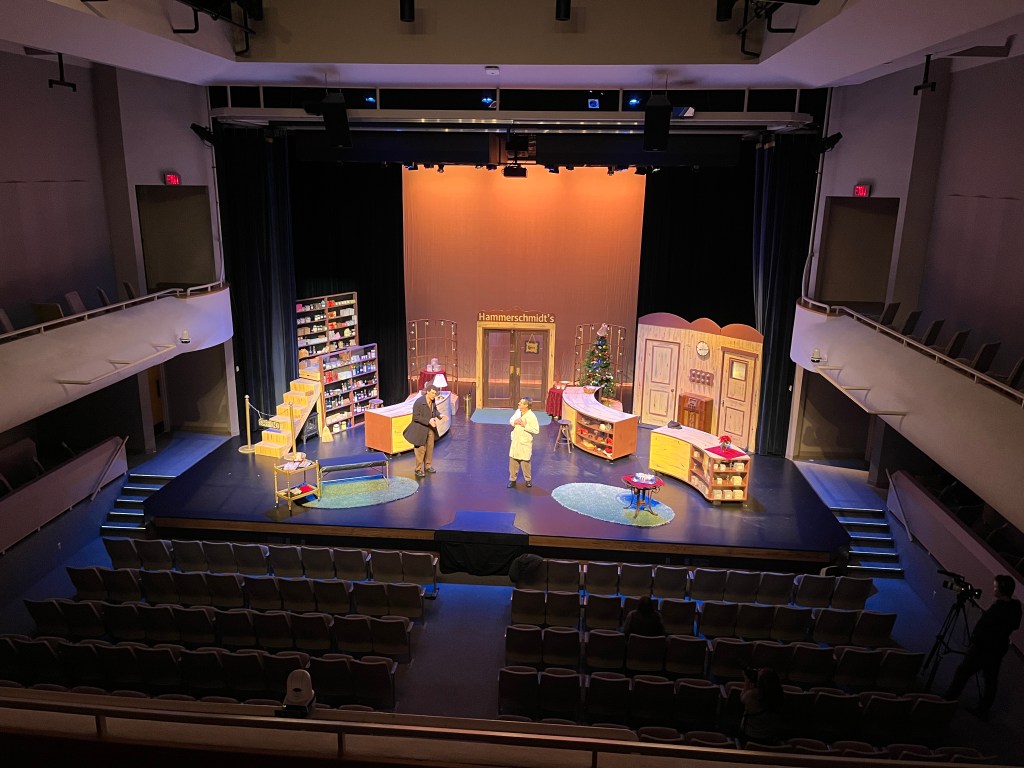
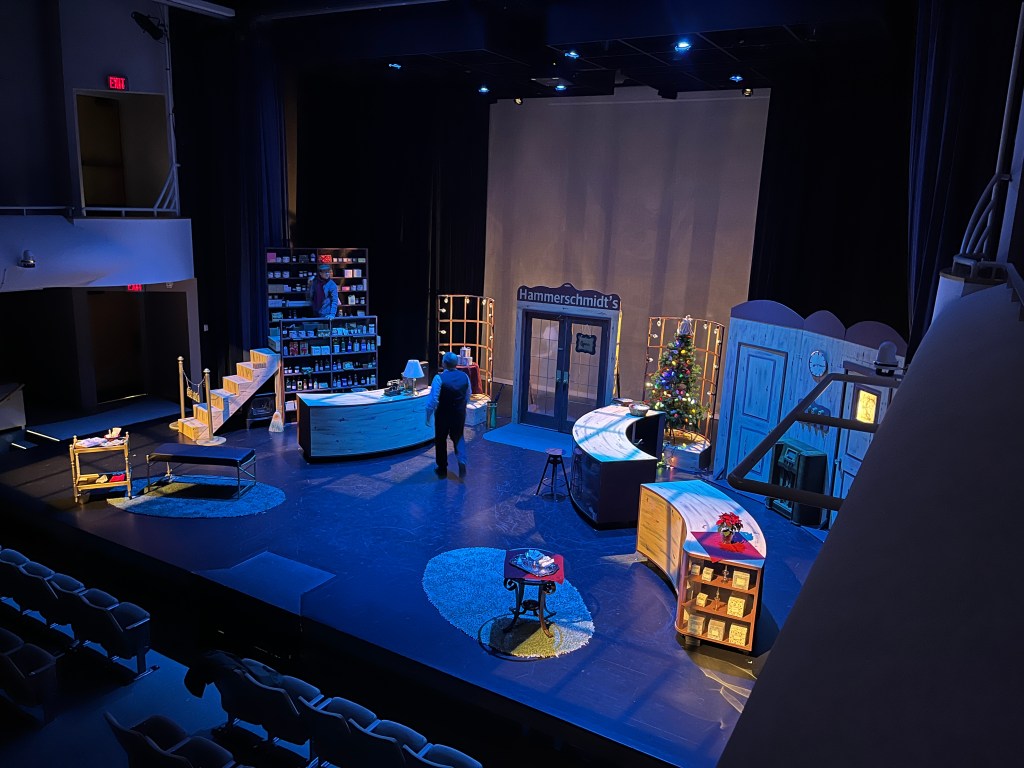
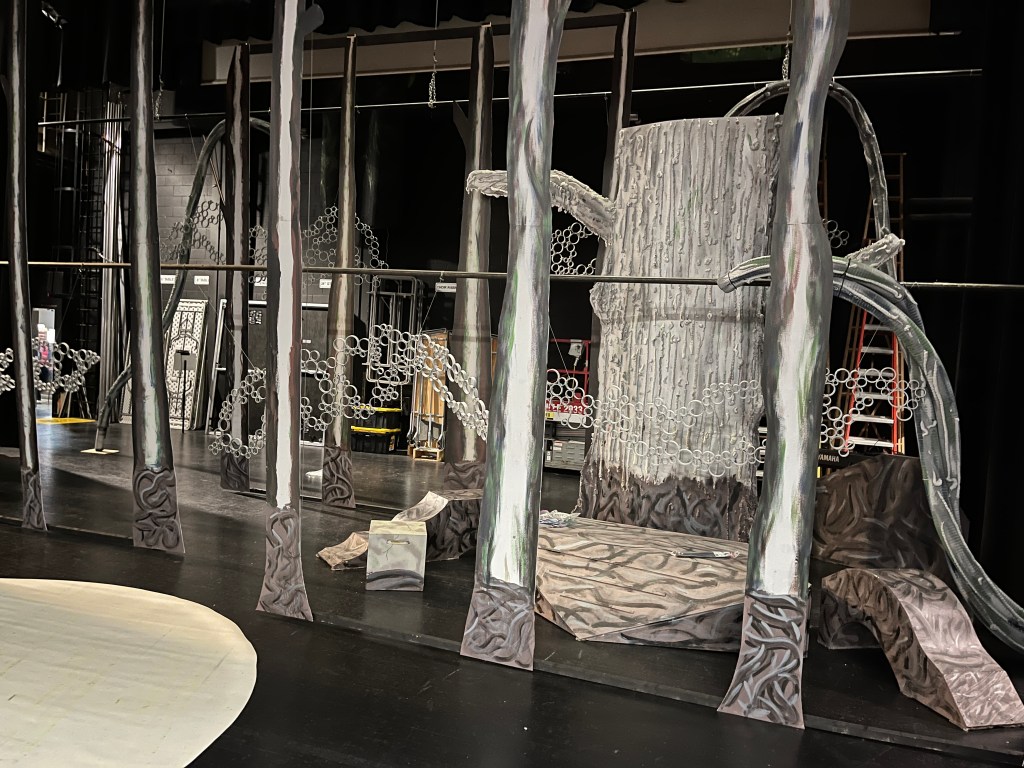
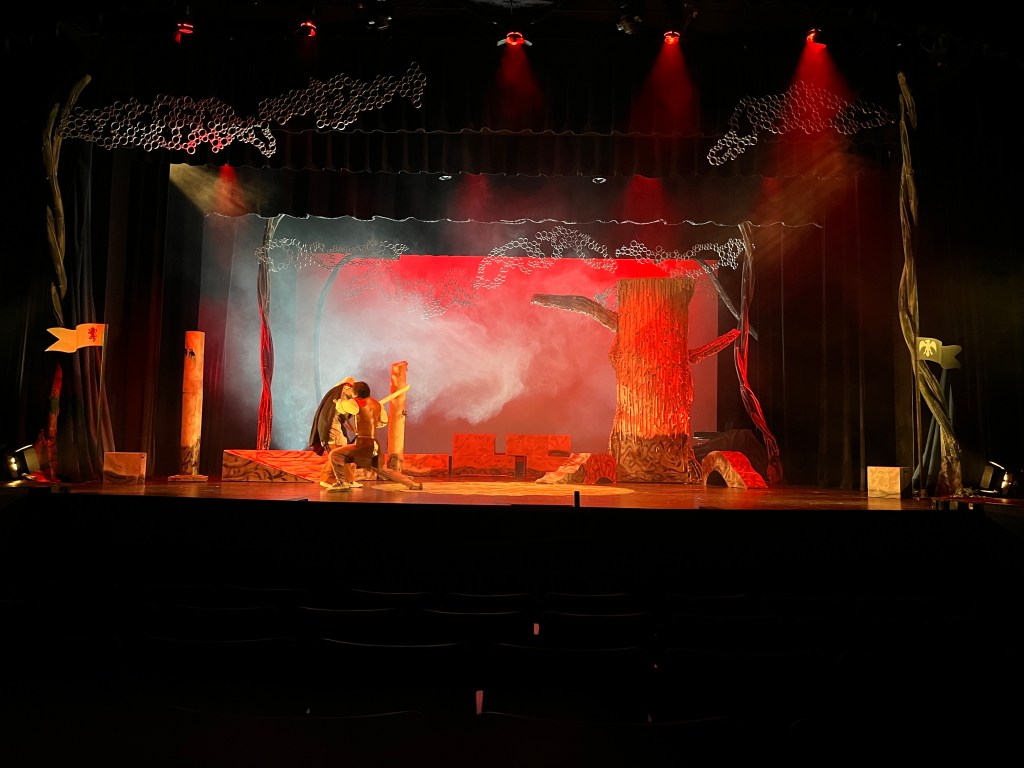
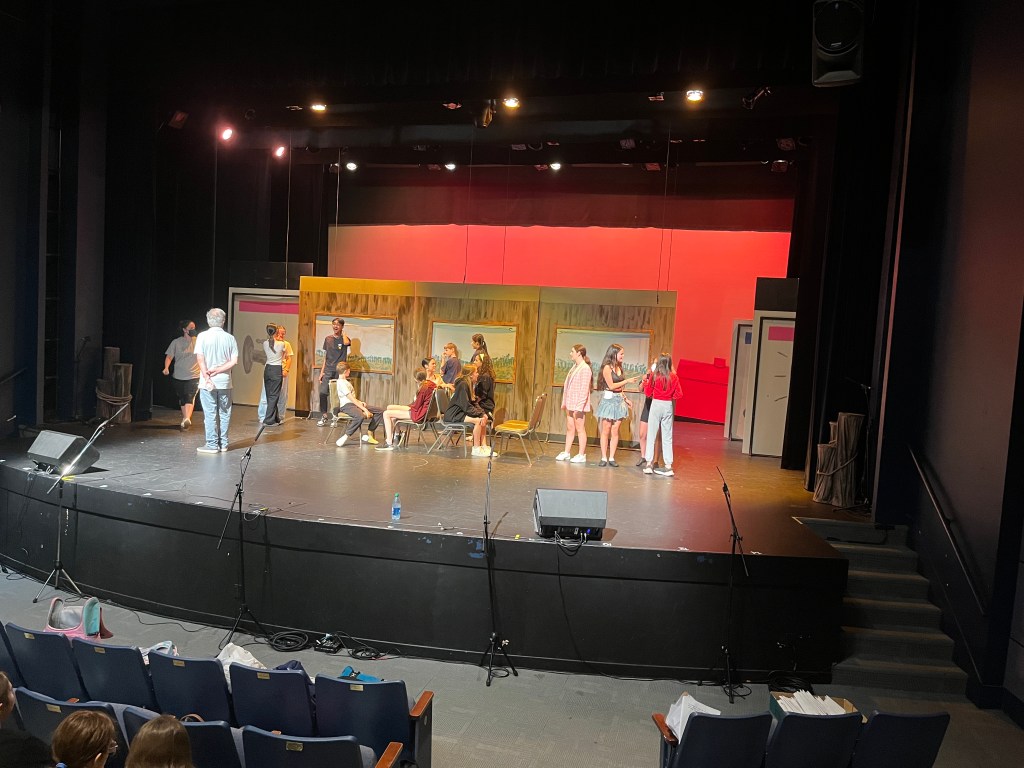
And then we loaded the whole thing into the venue and held our breath while the actors started to play!
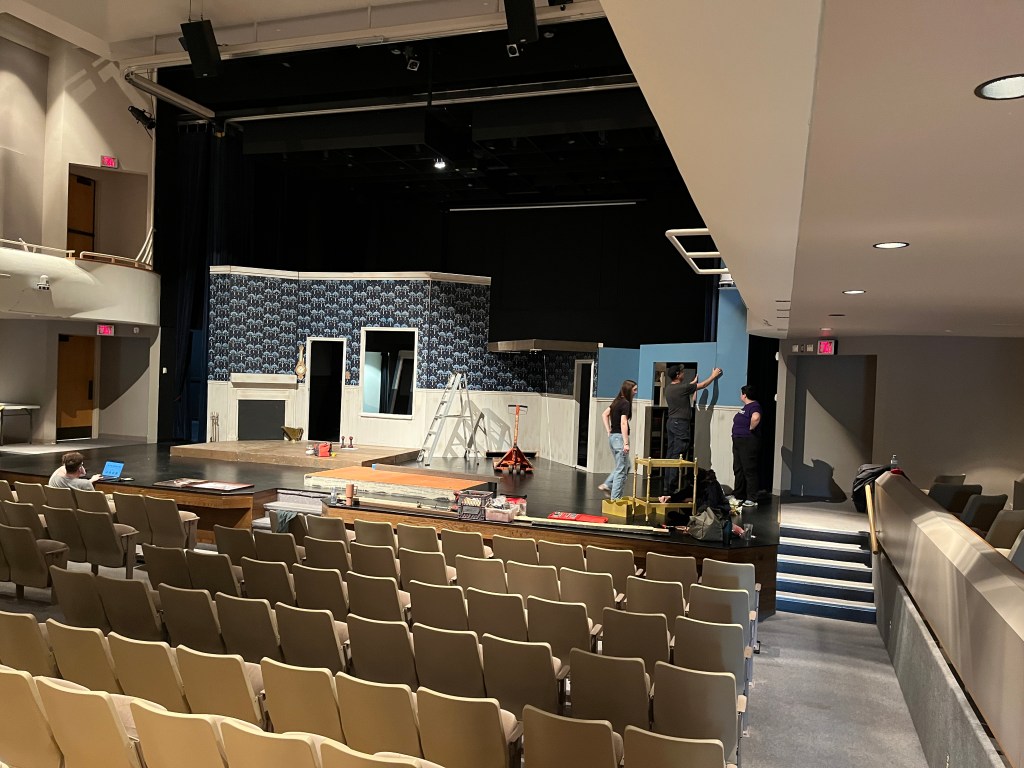

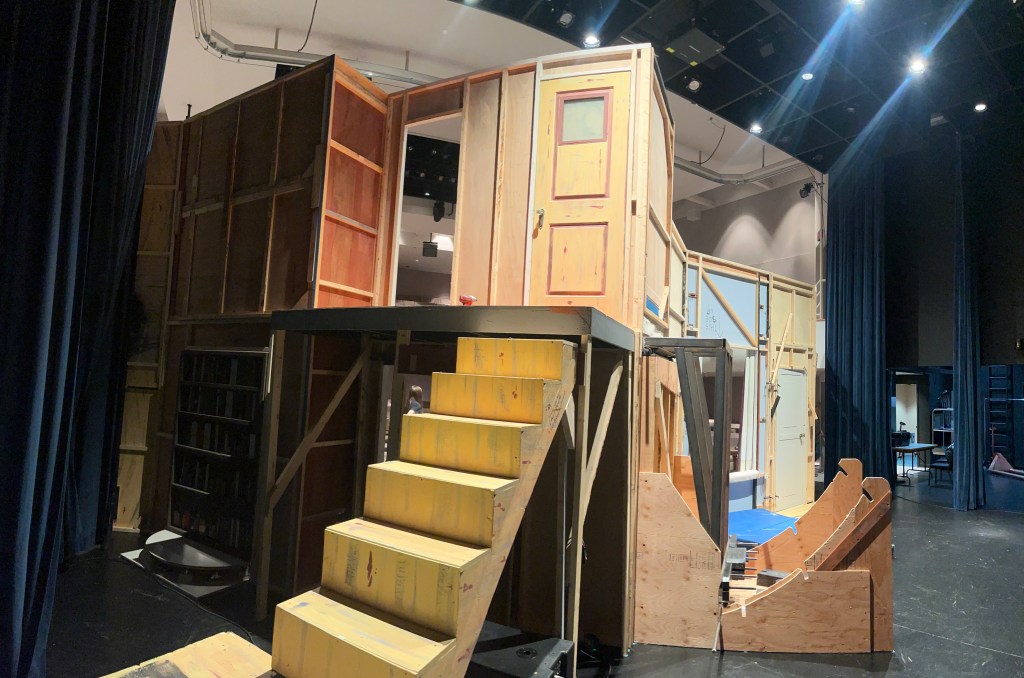
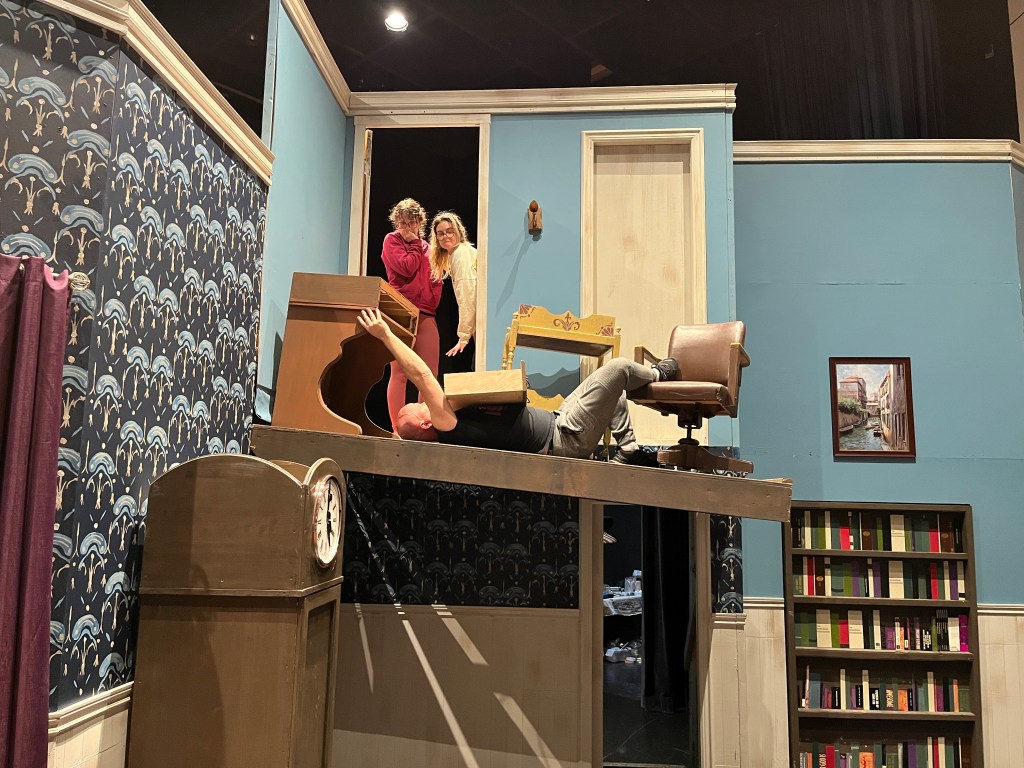
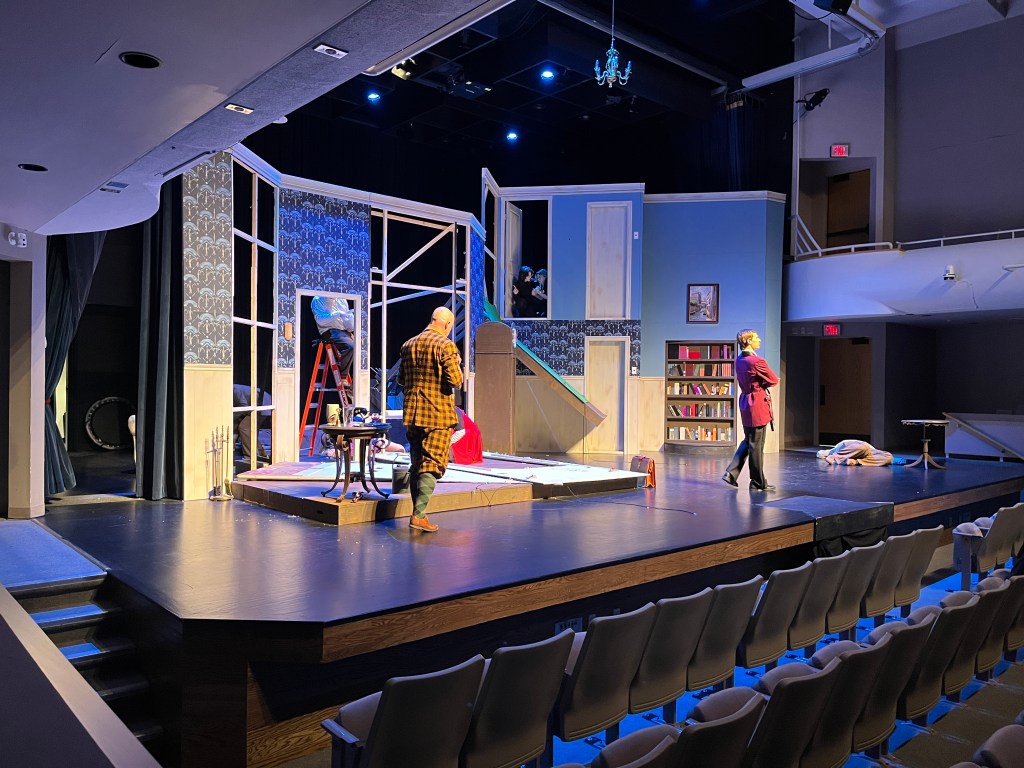
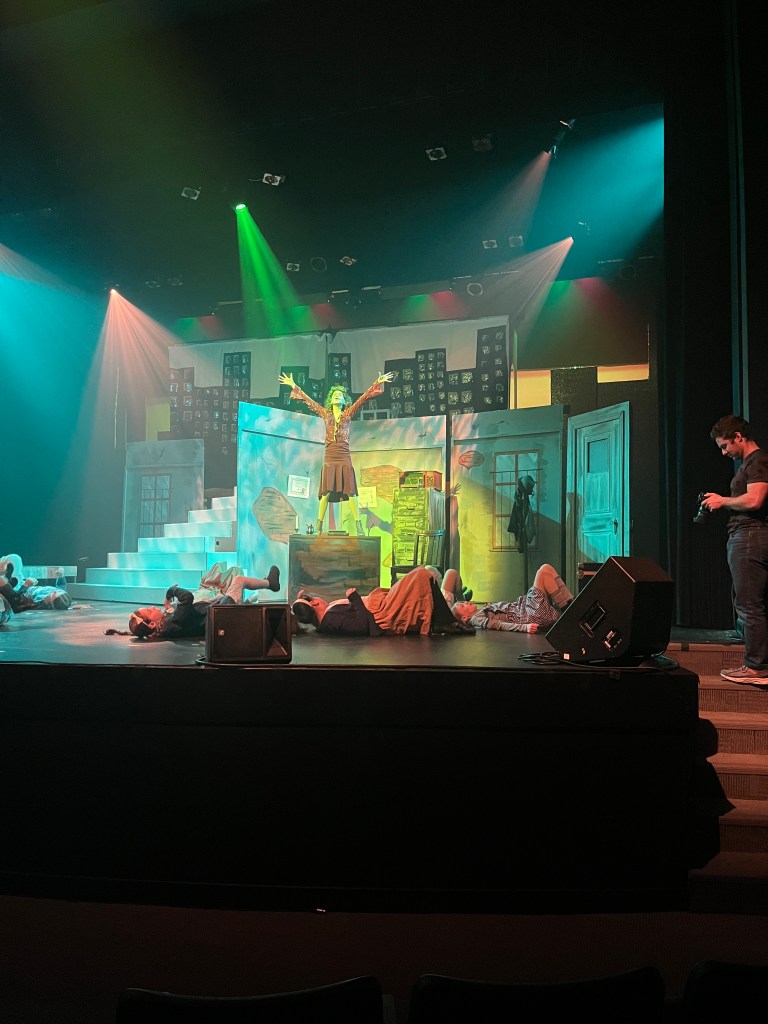
It was an intensive tech week while we figured out how to weight the platform, get all the tricks to work at once (there were 2 actor ASMs plus 3 actual ASMs), and fix all the things that kept breaking. So glad it worked well, had a successful run, and no one got (seriously) injured!! What a ride!
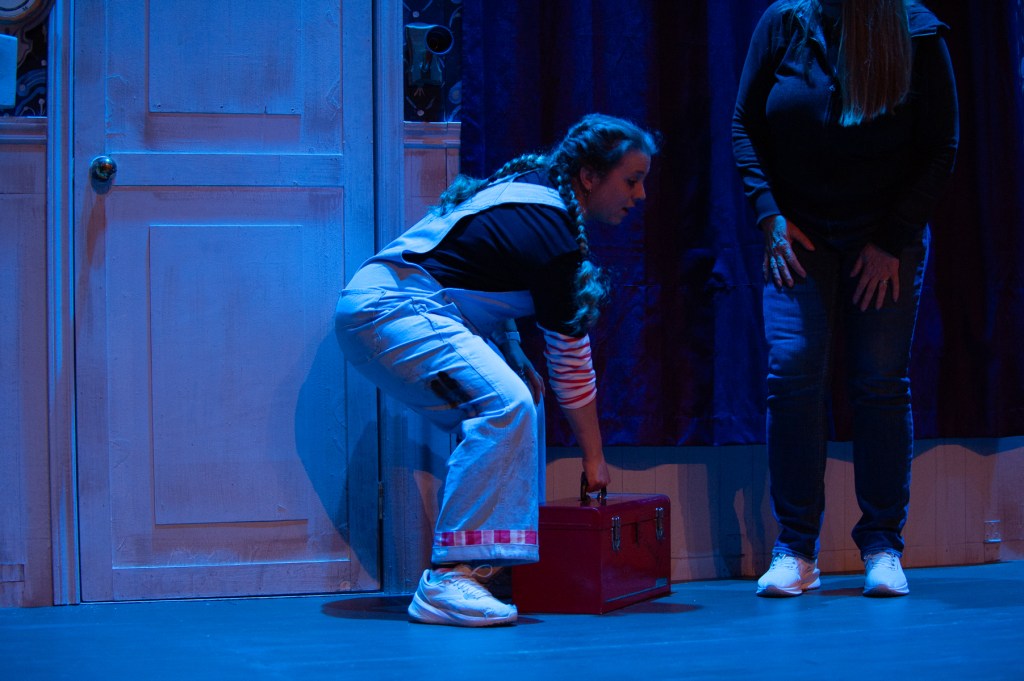
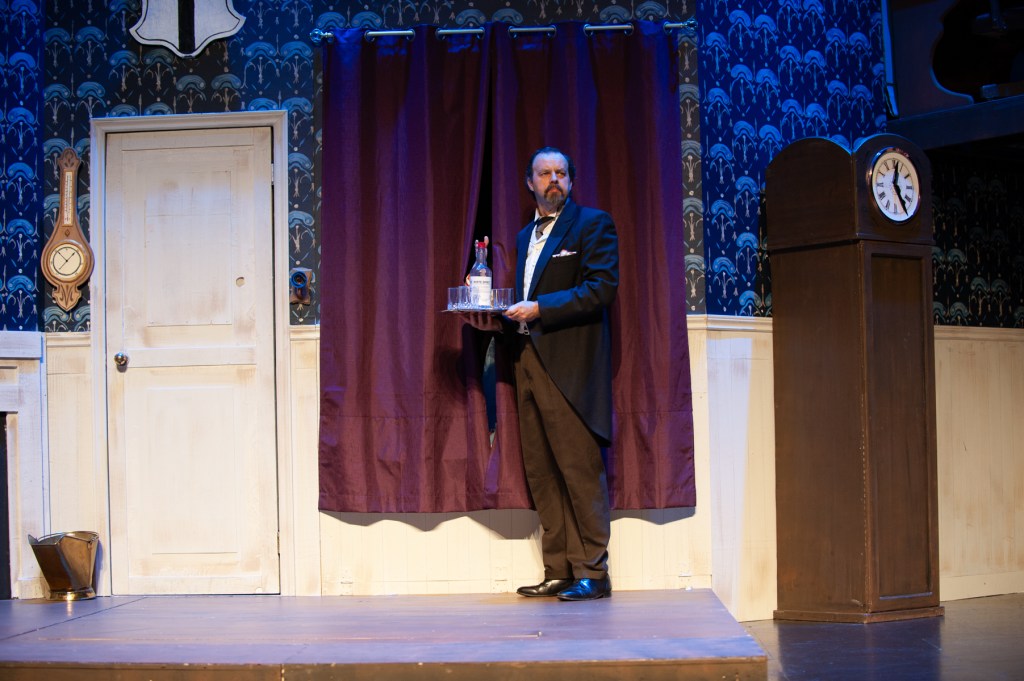
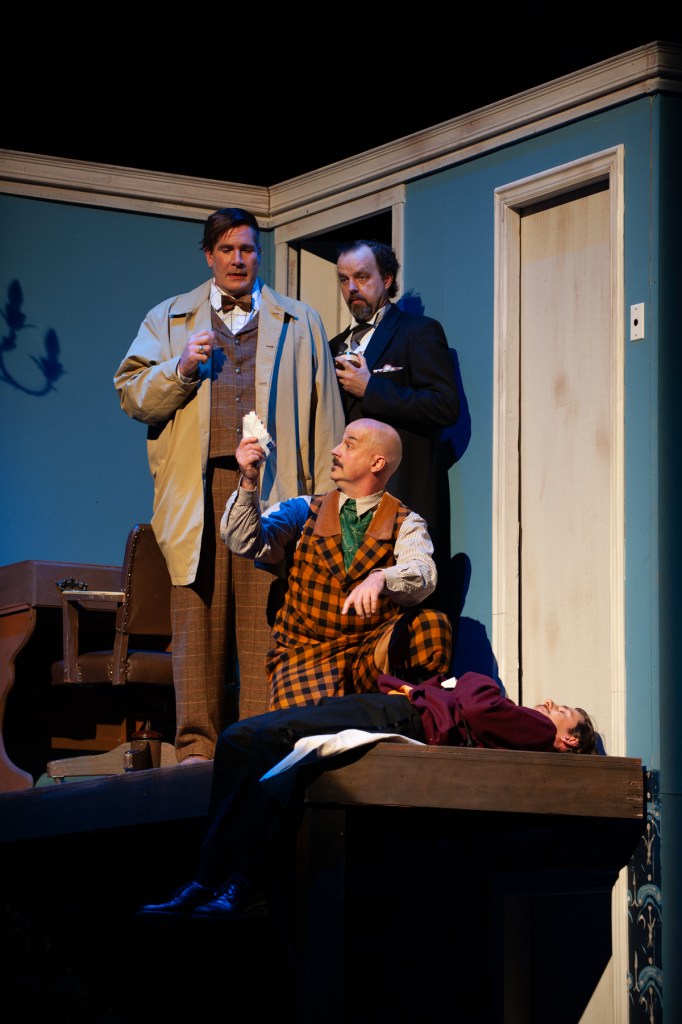
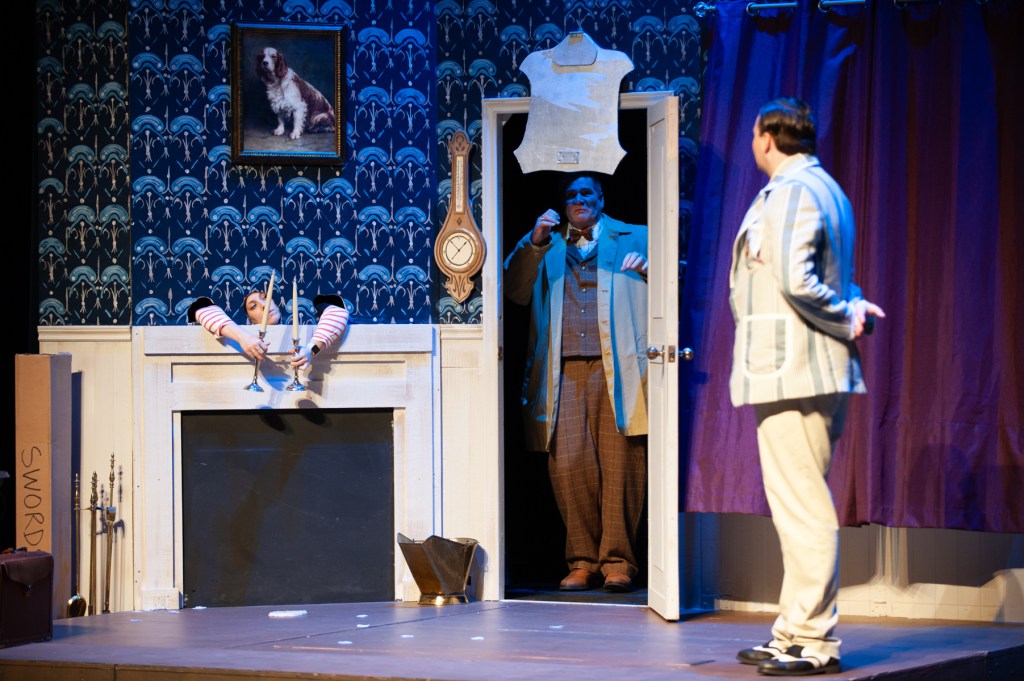
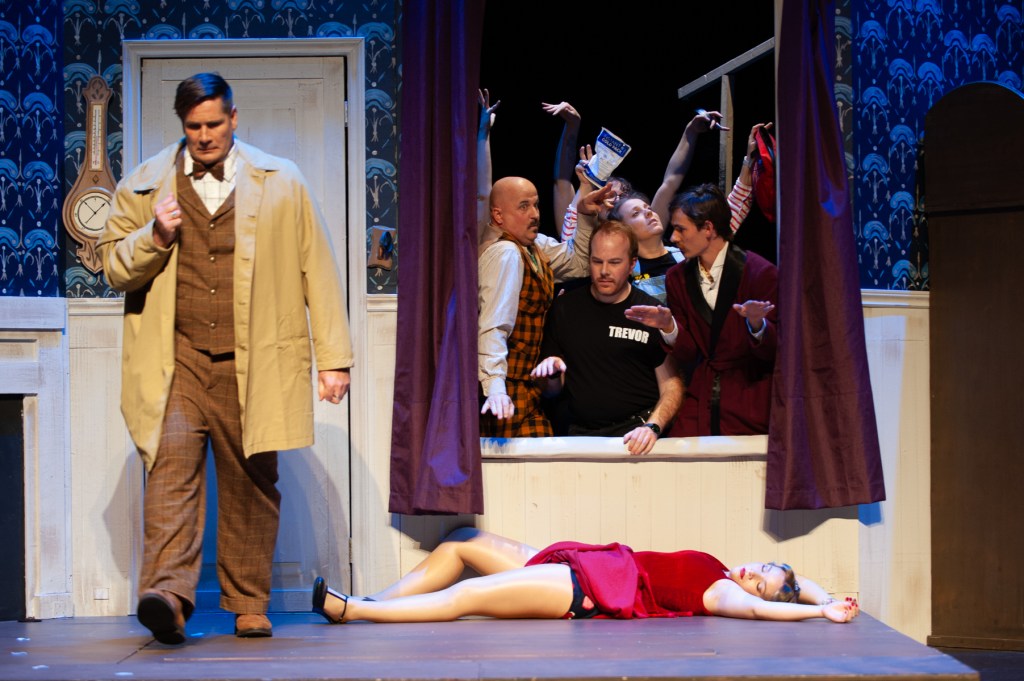
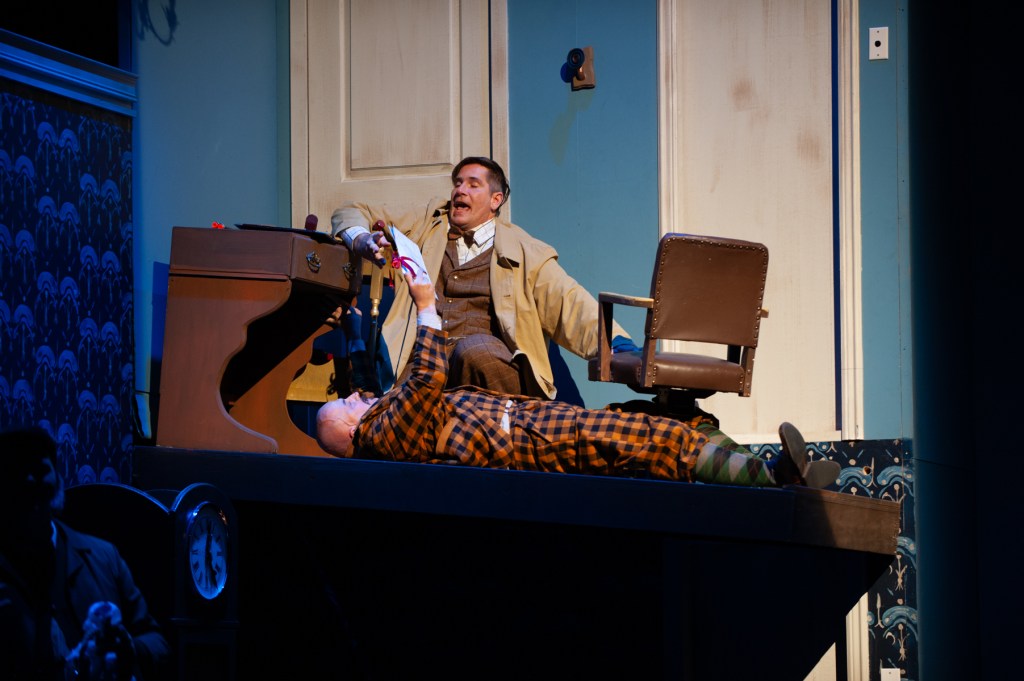
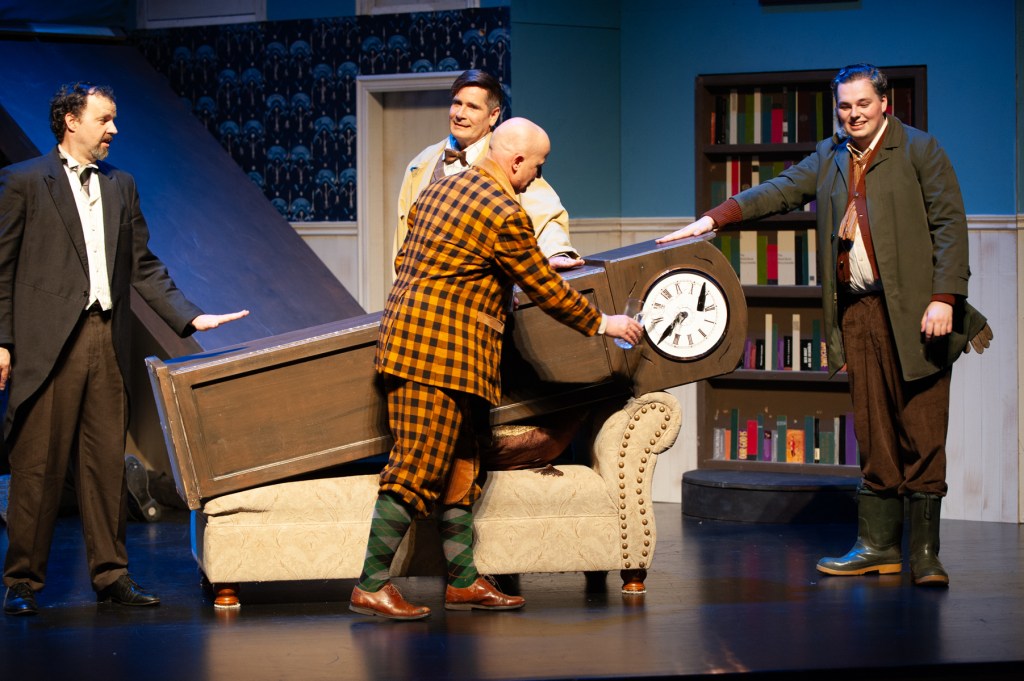
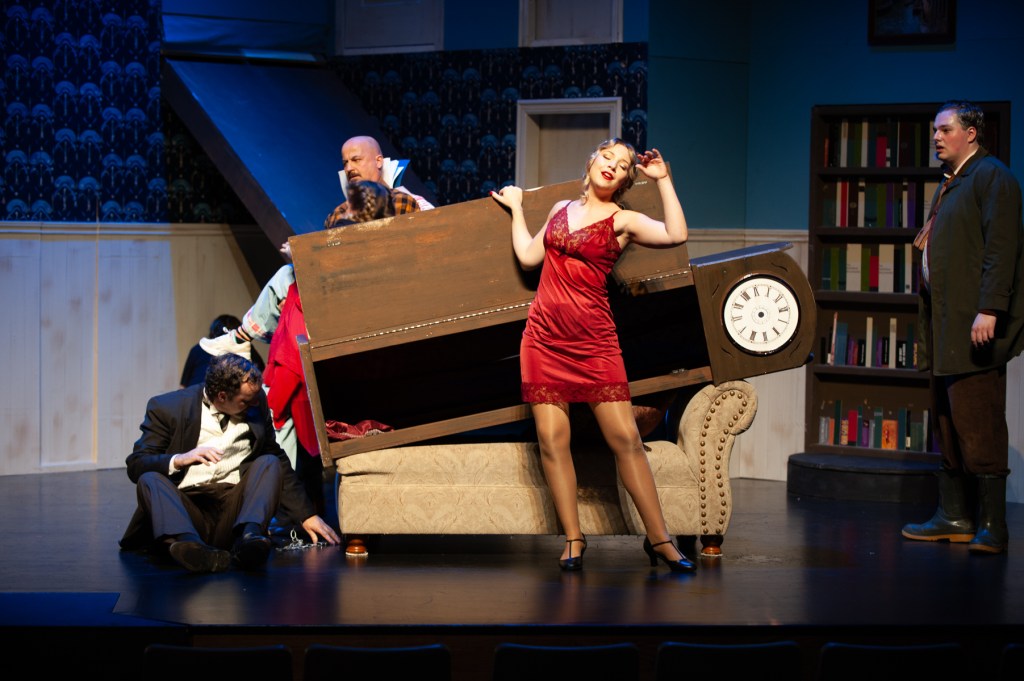
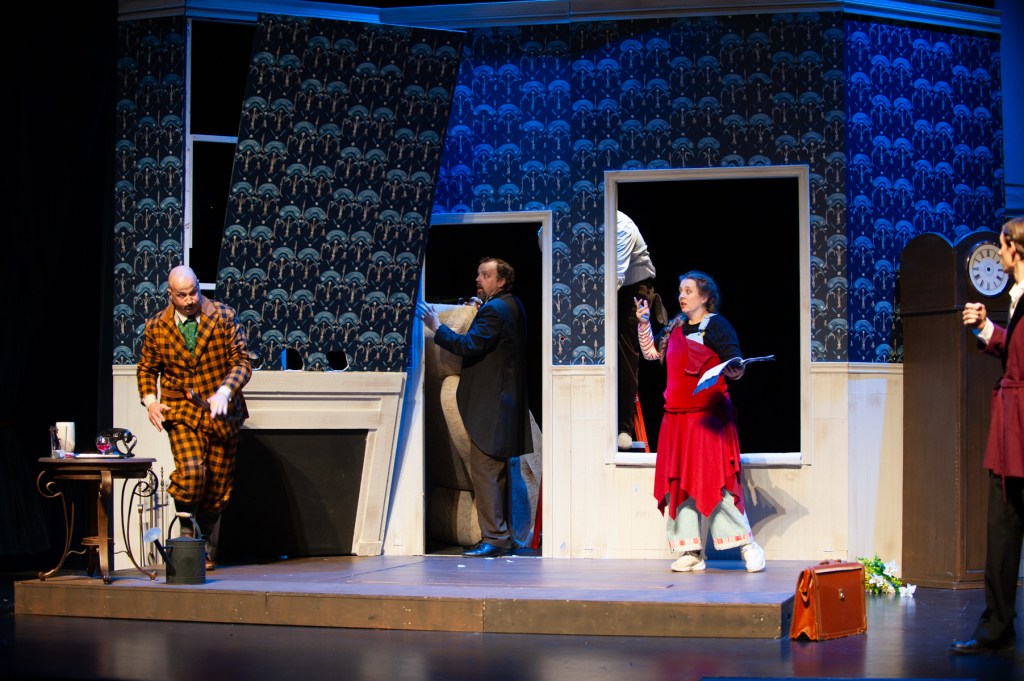
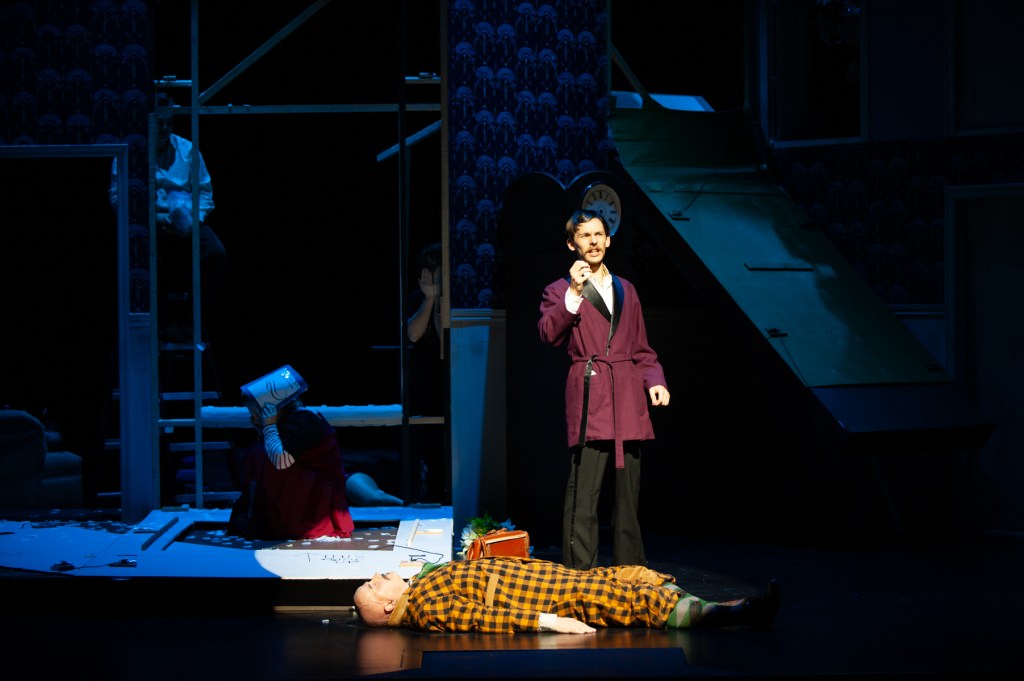
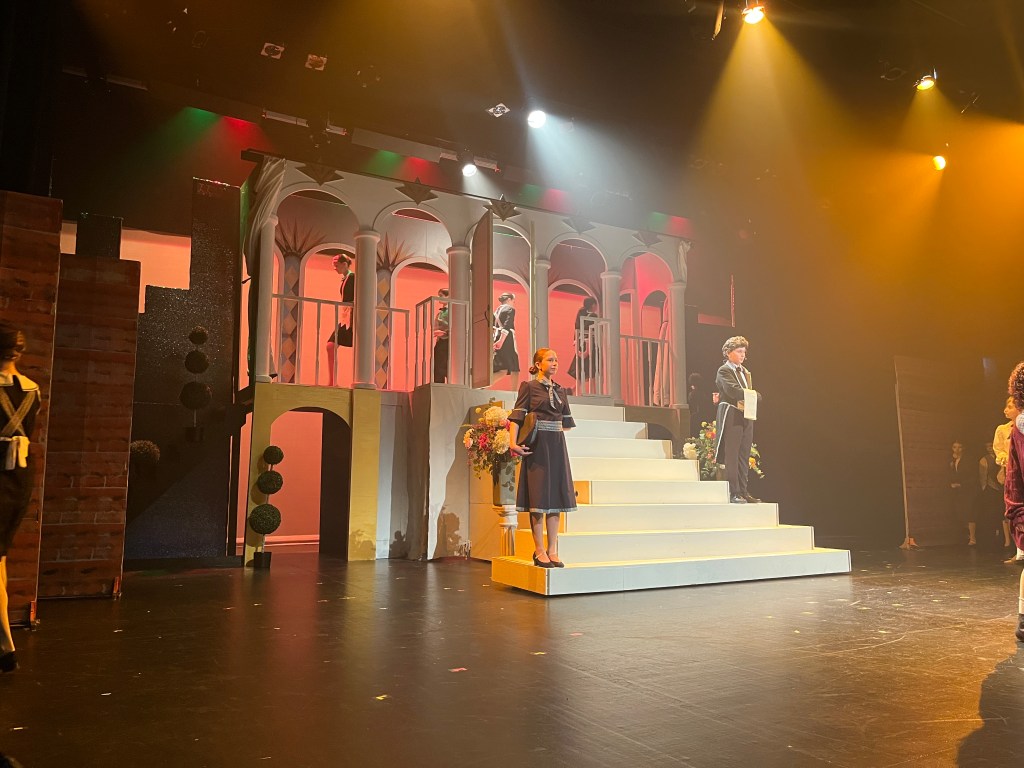
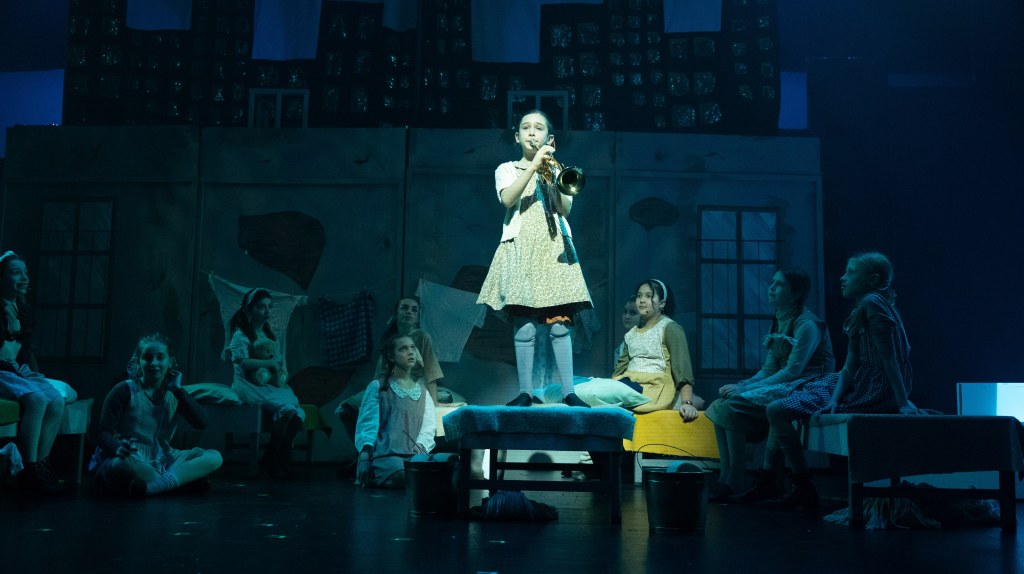
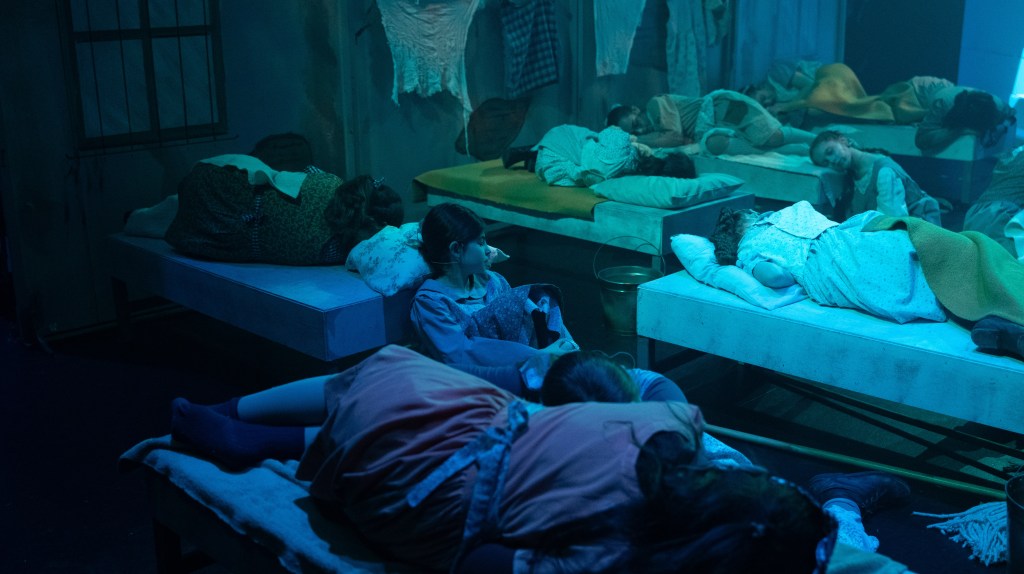
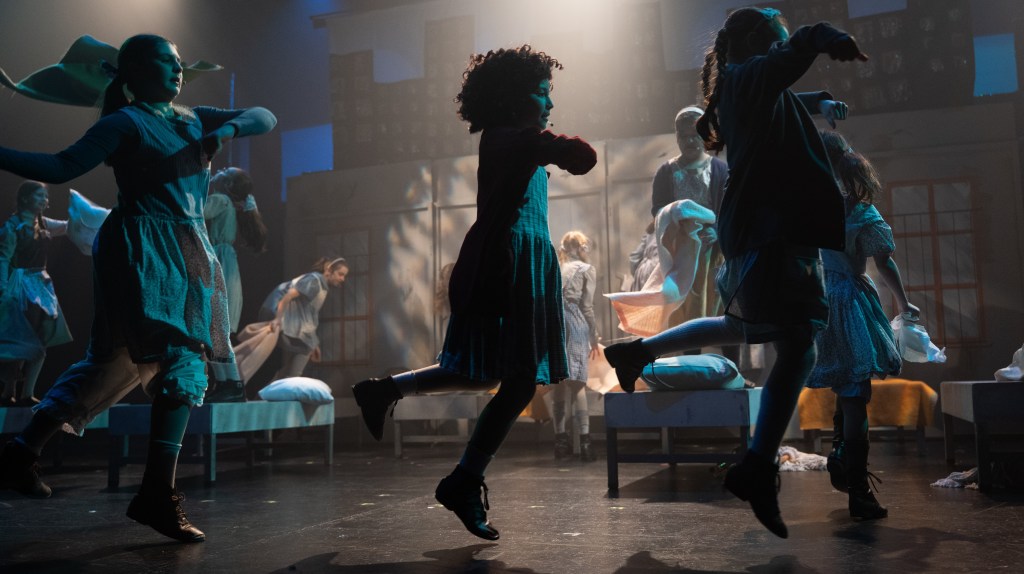
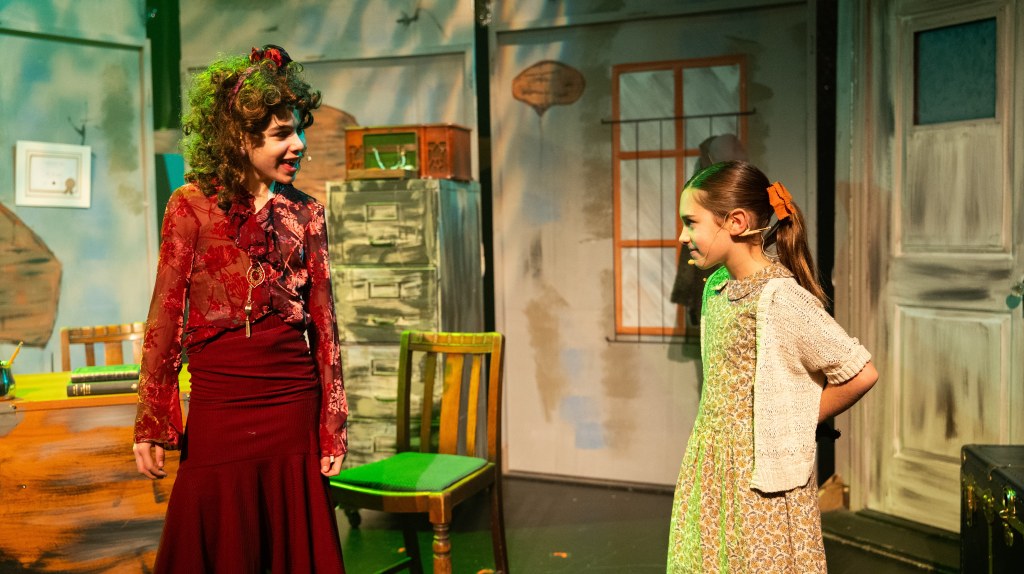
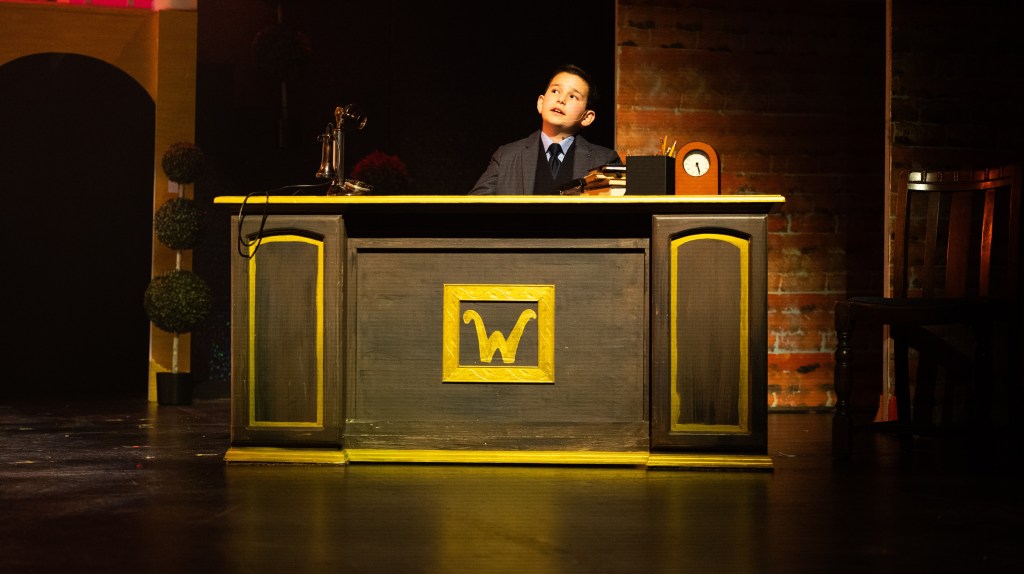
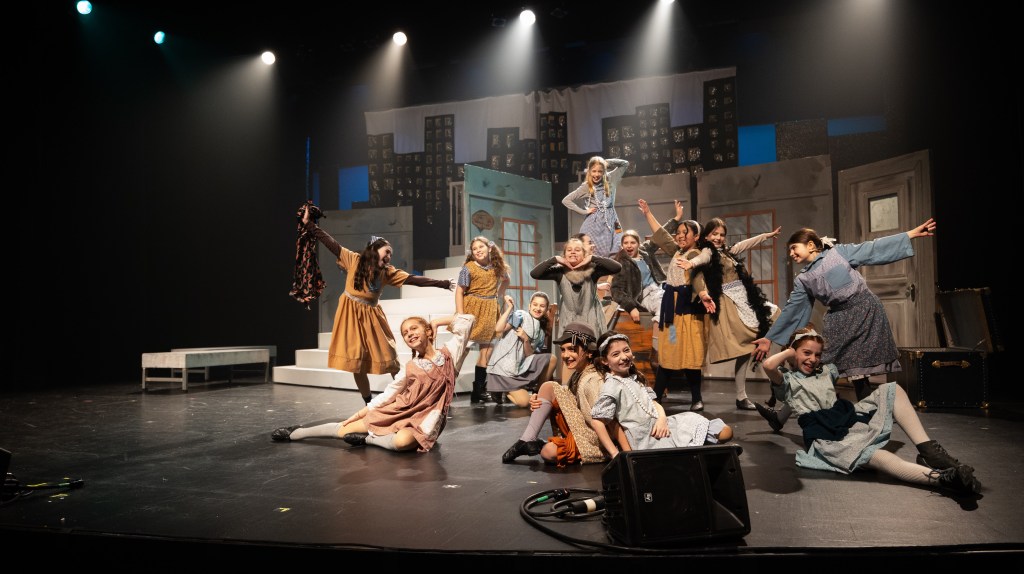
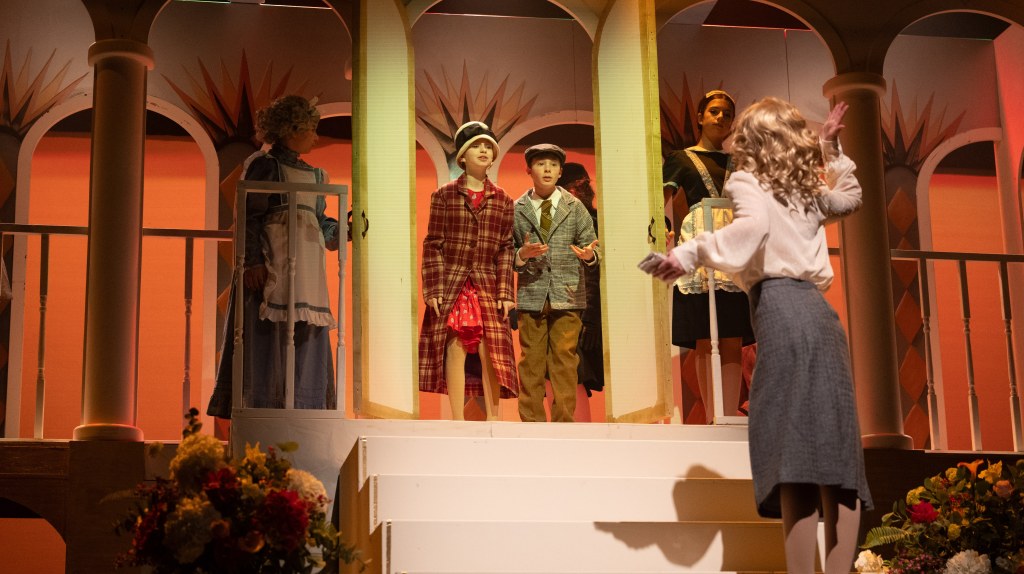
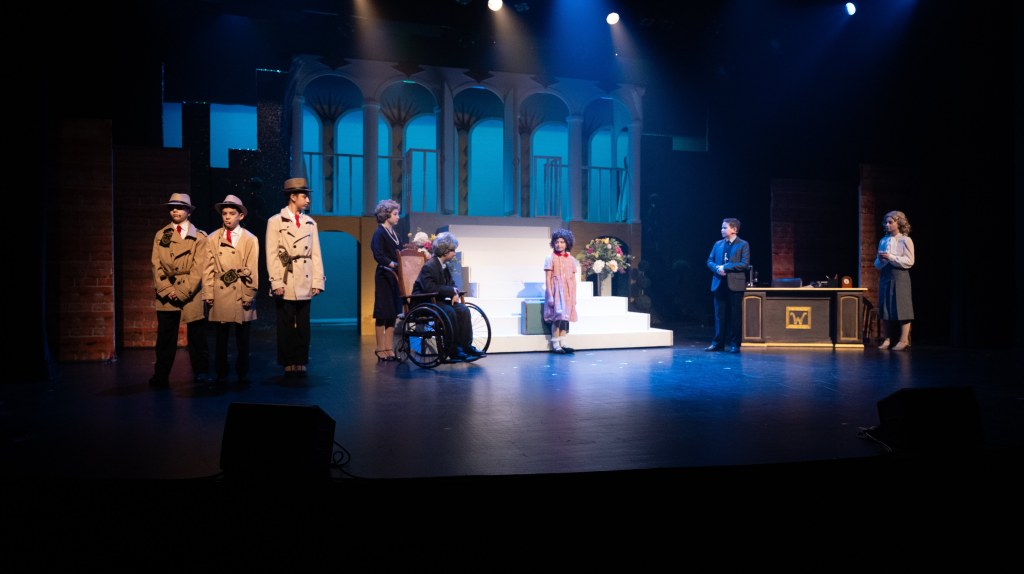
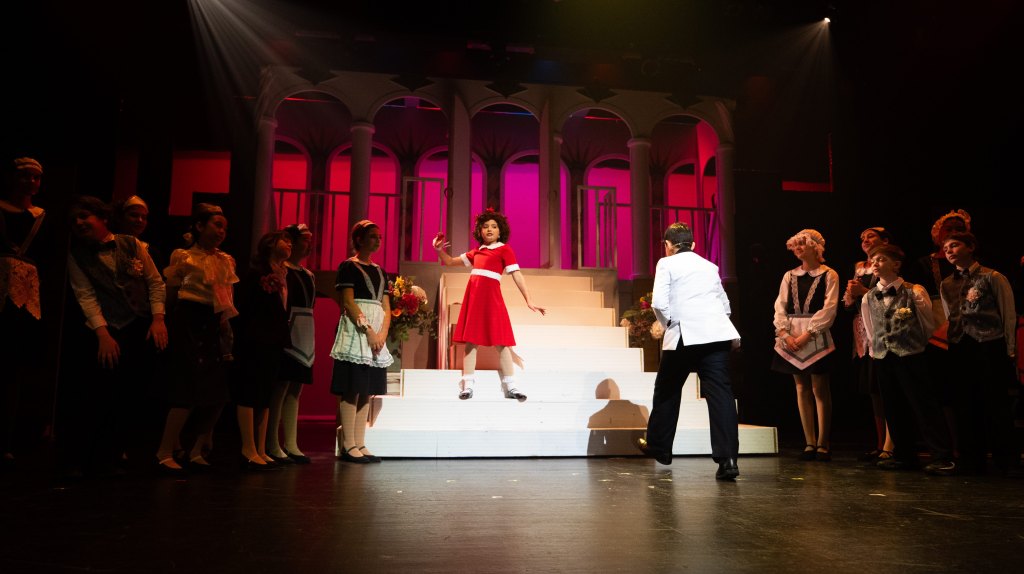
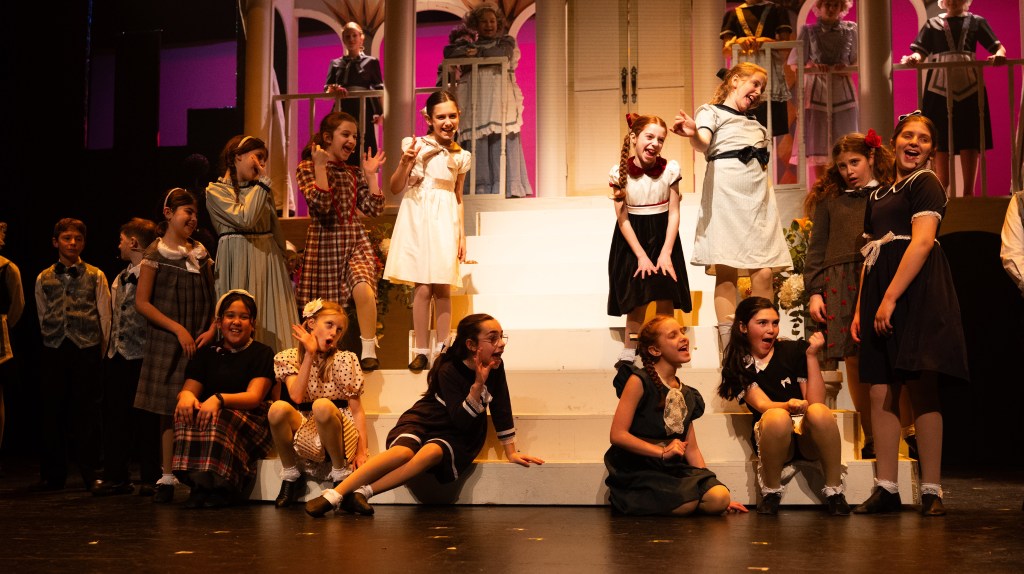
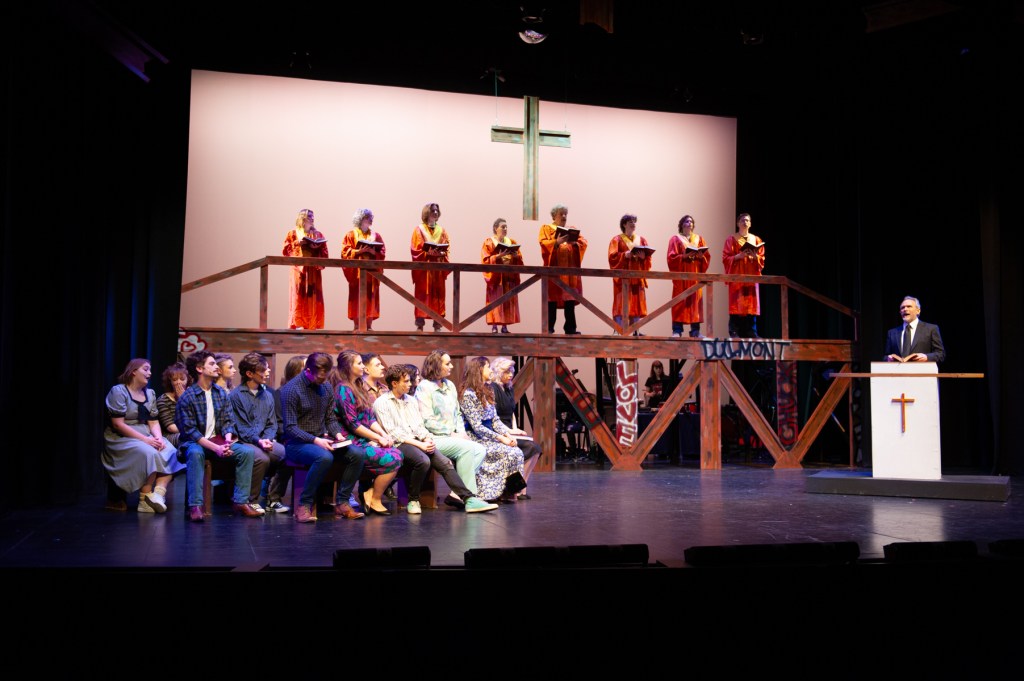
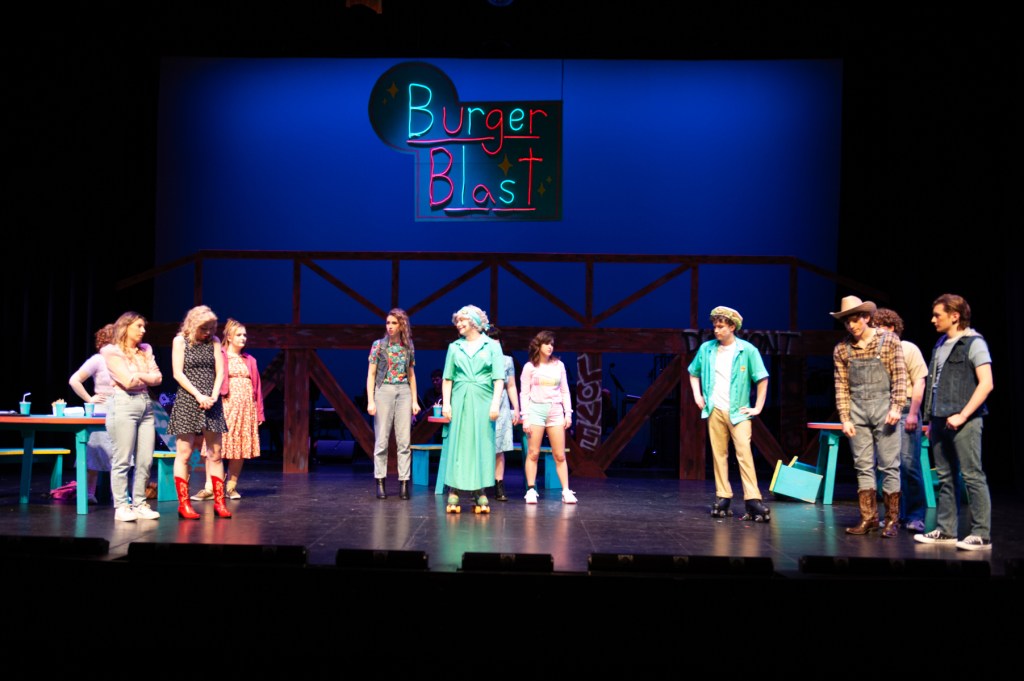
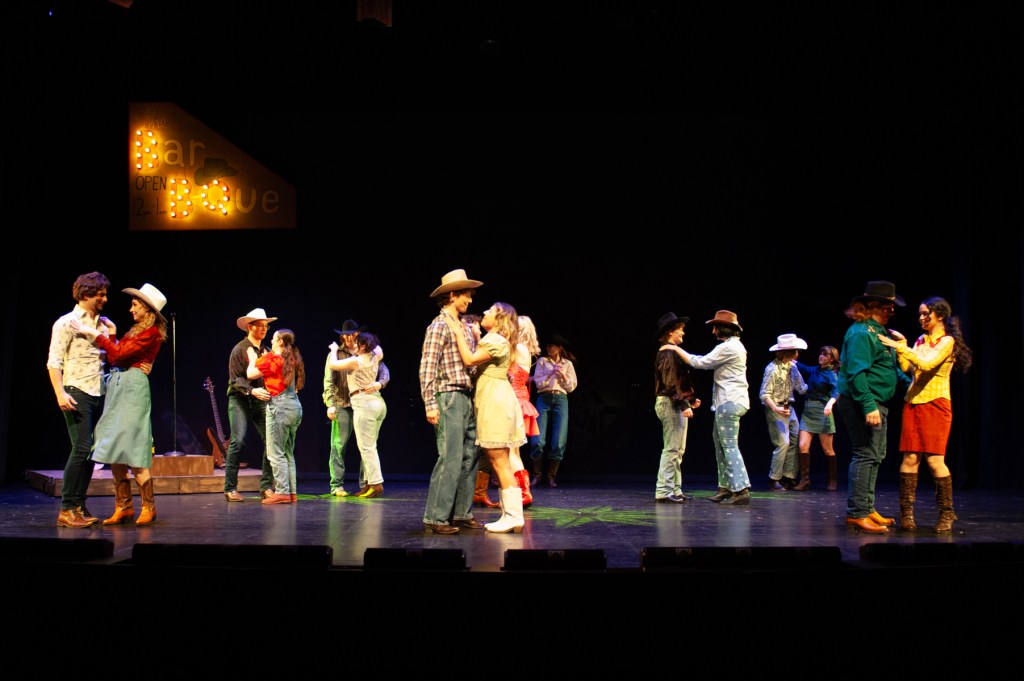
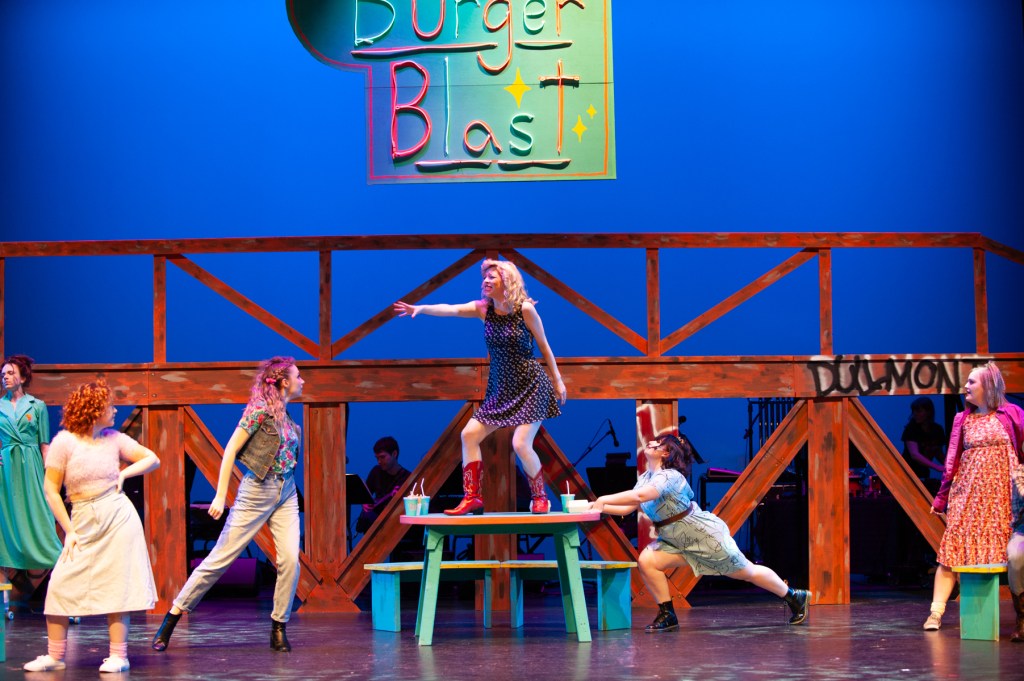
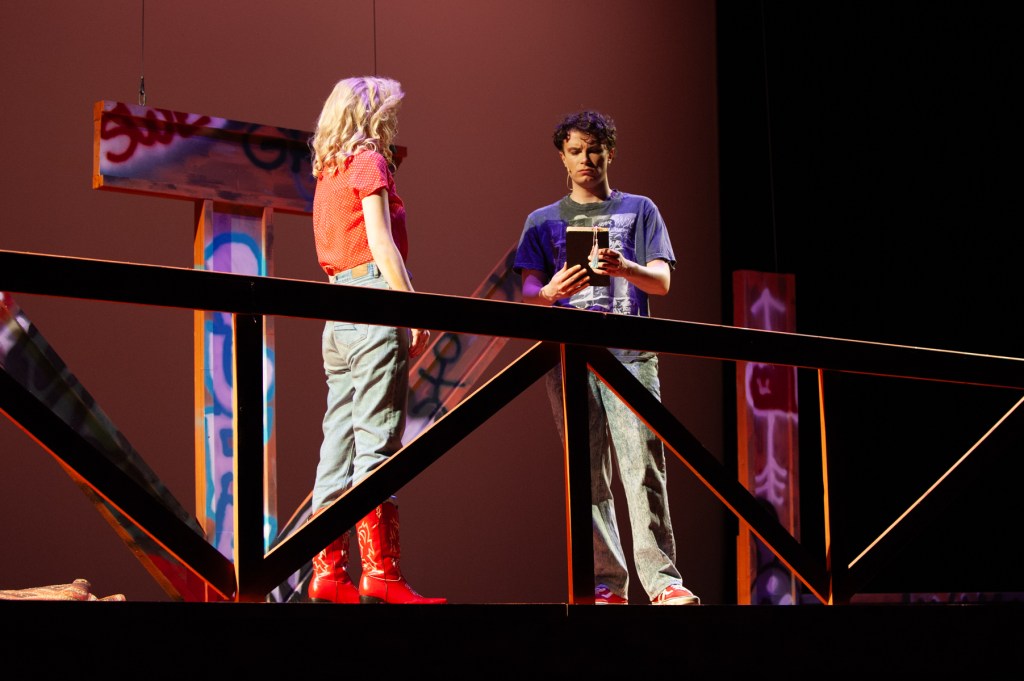
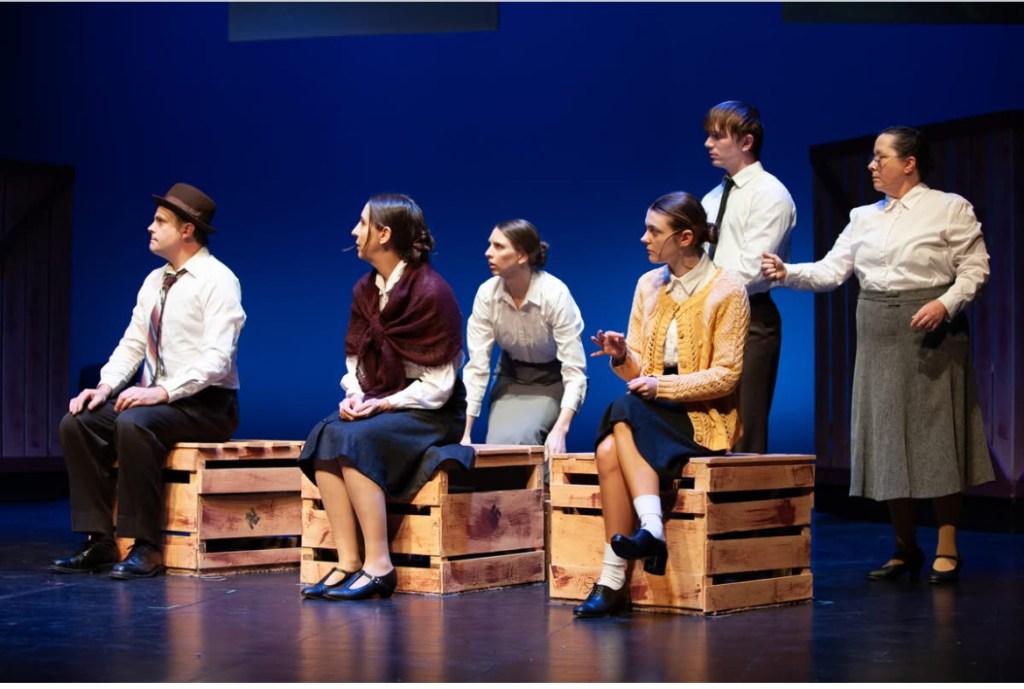
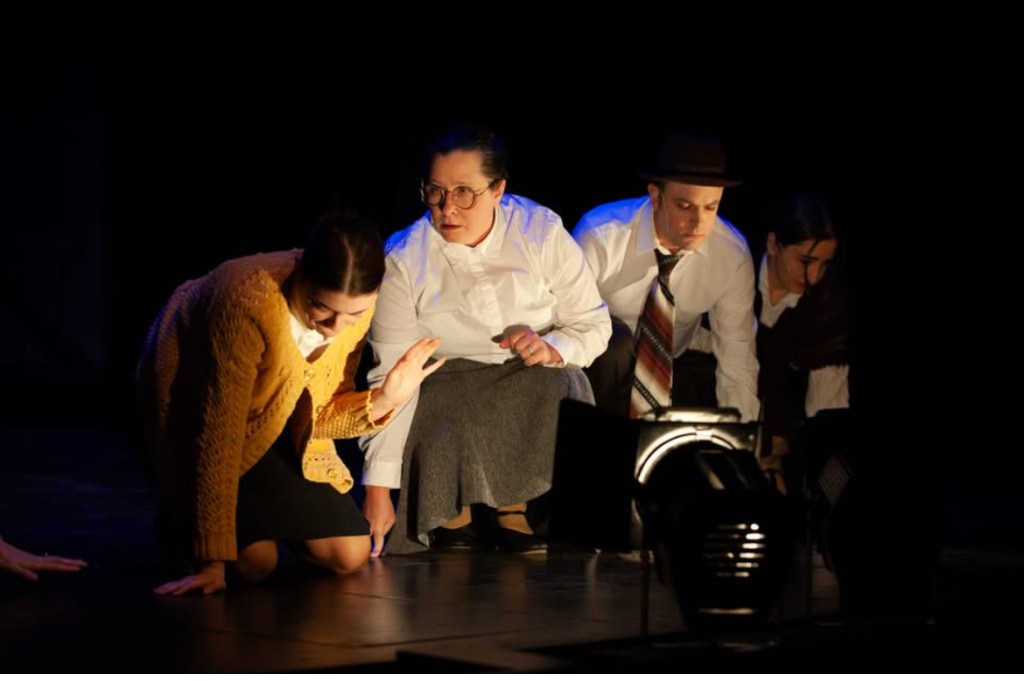
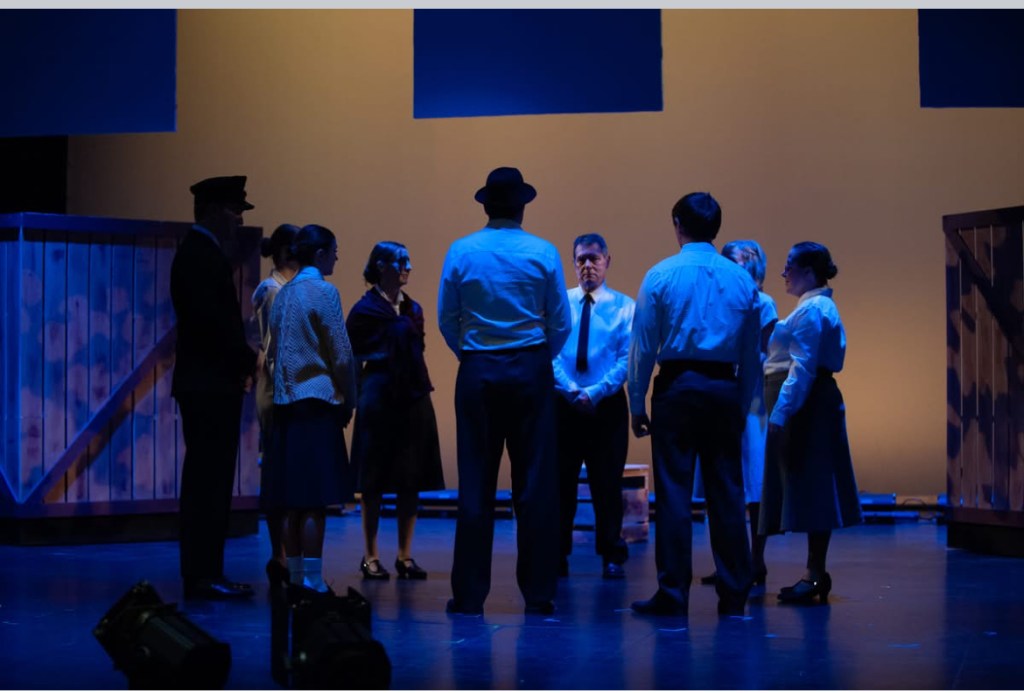
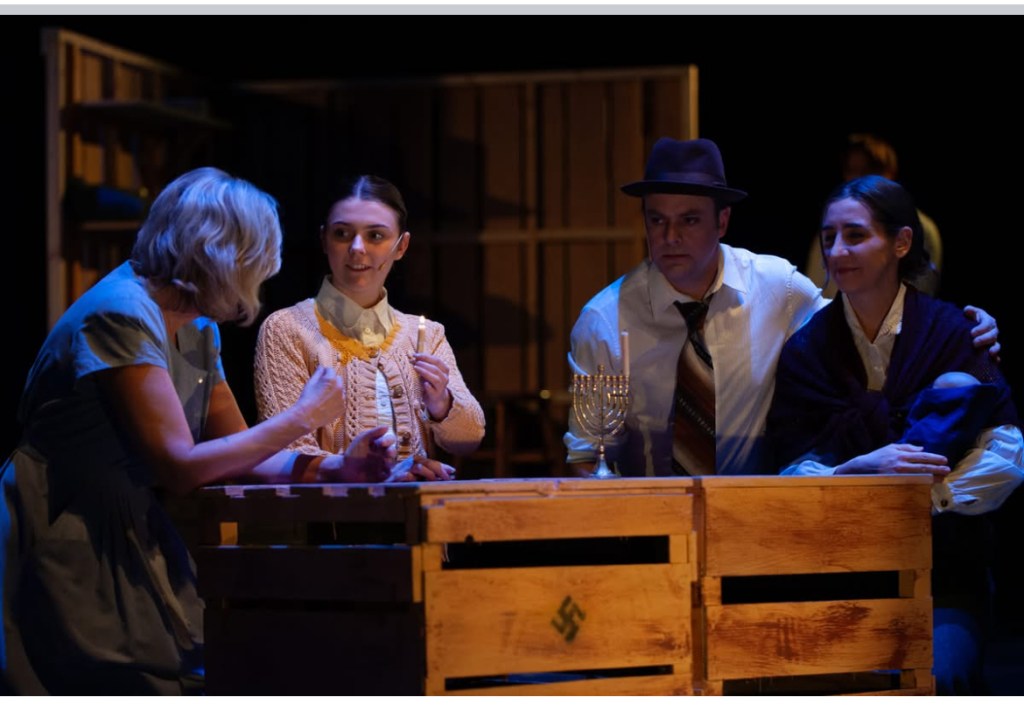
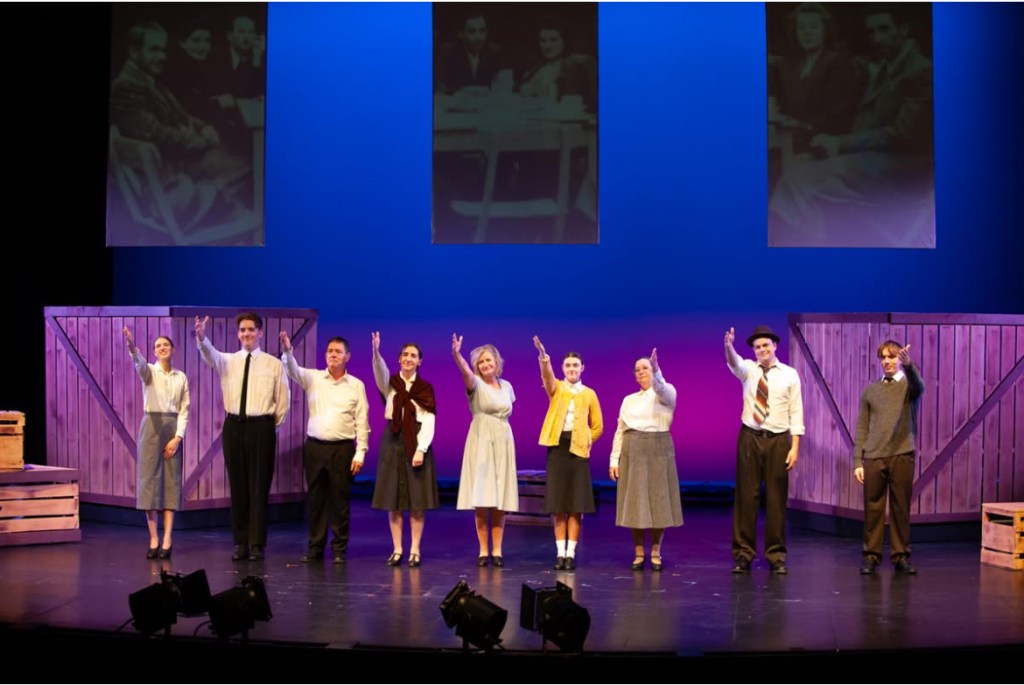
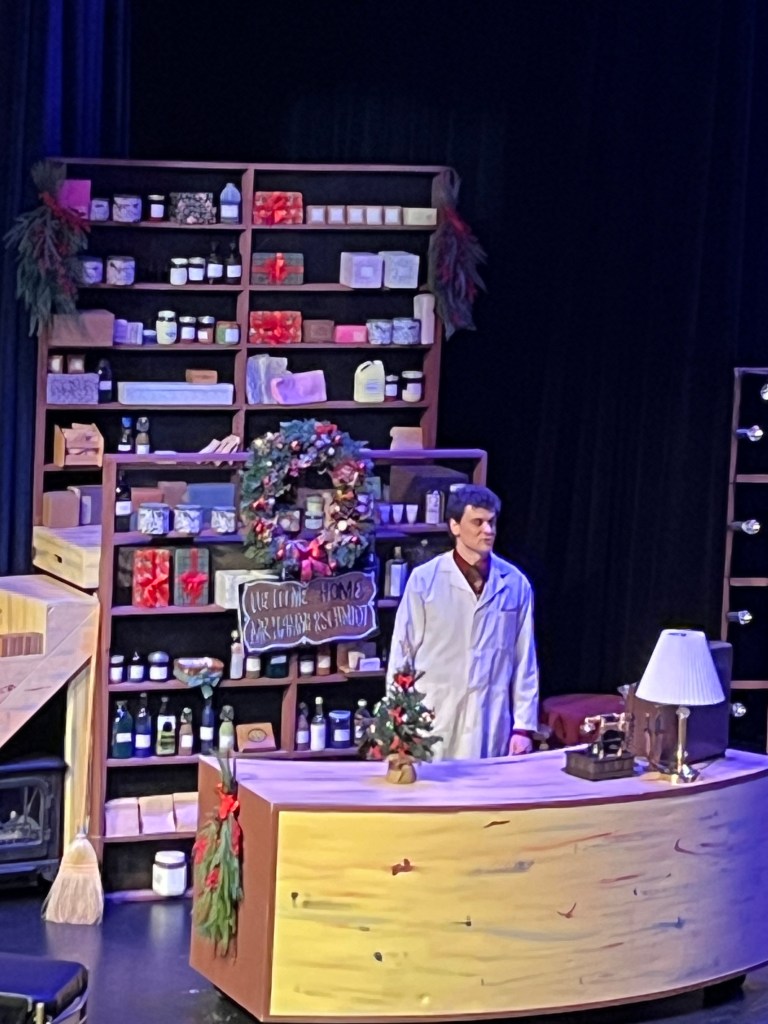
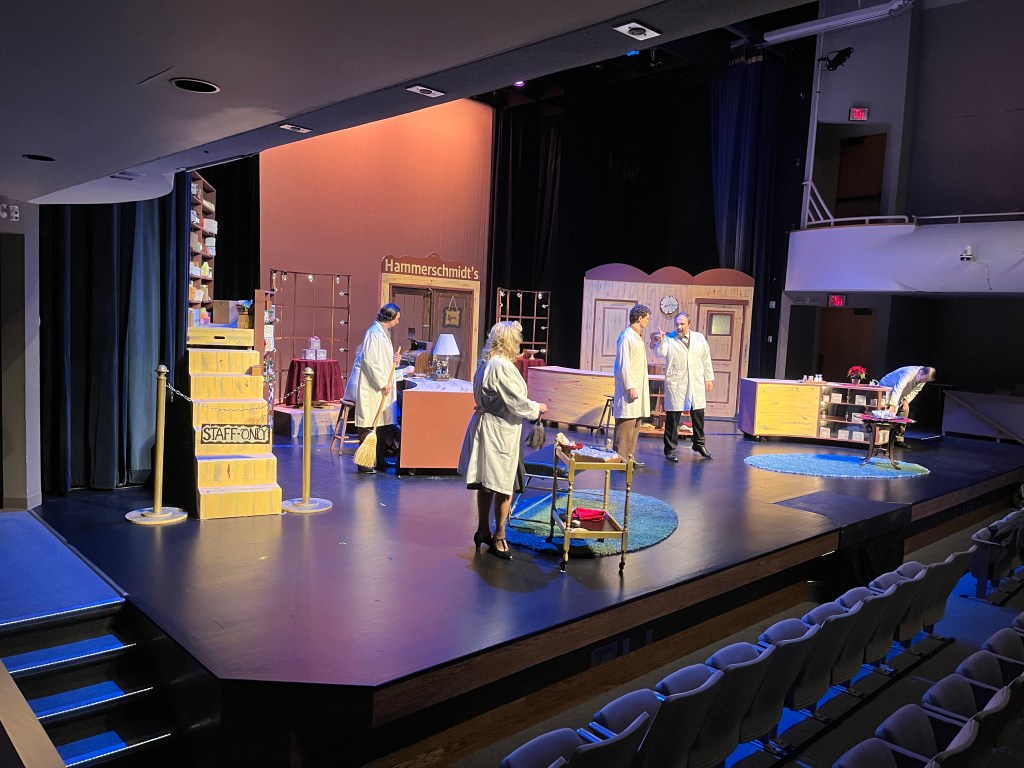
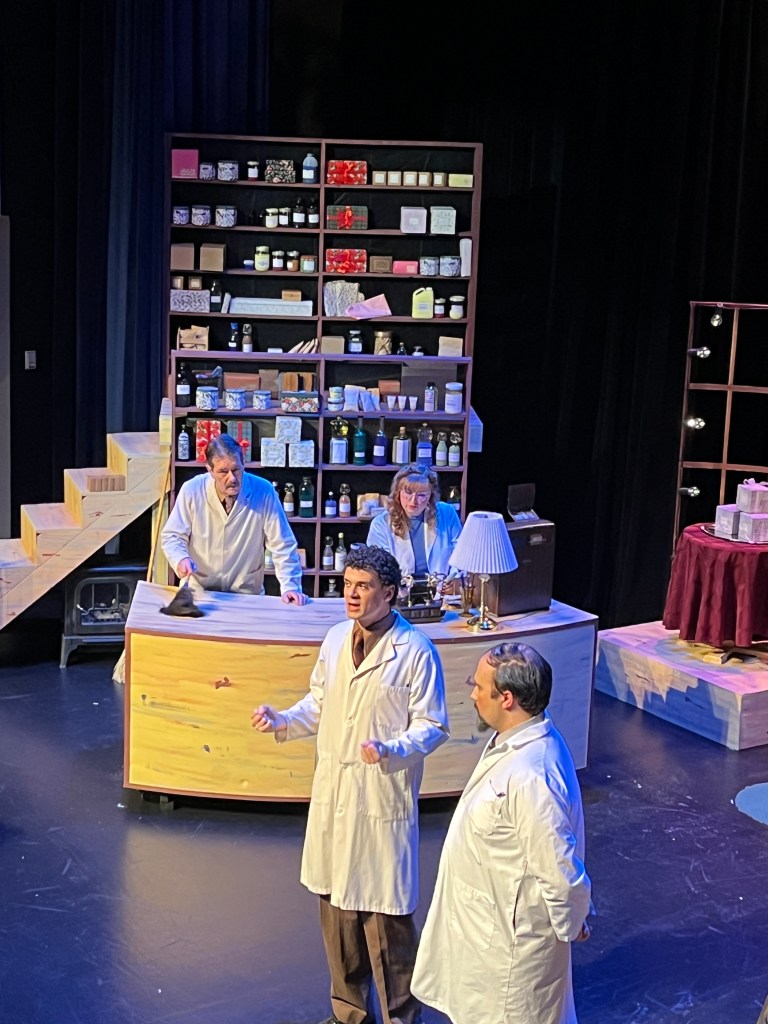
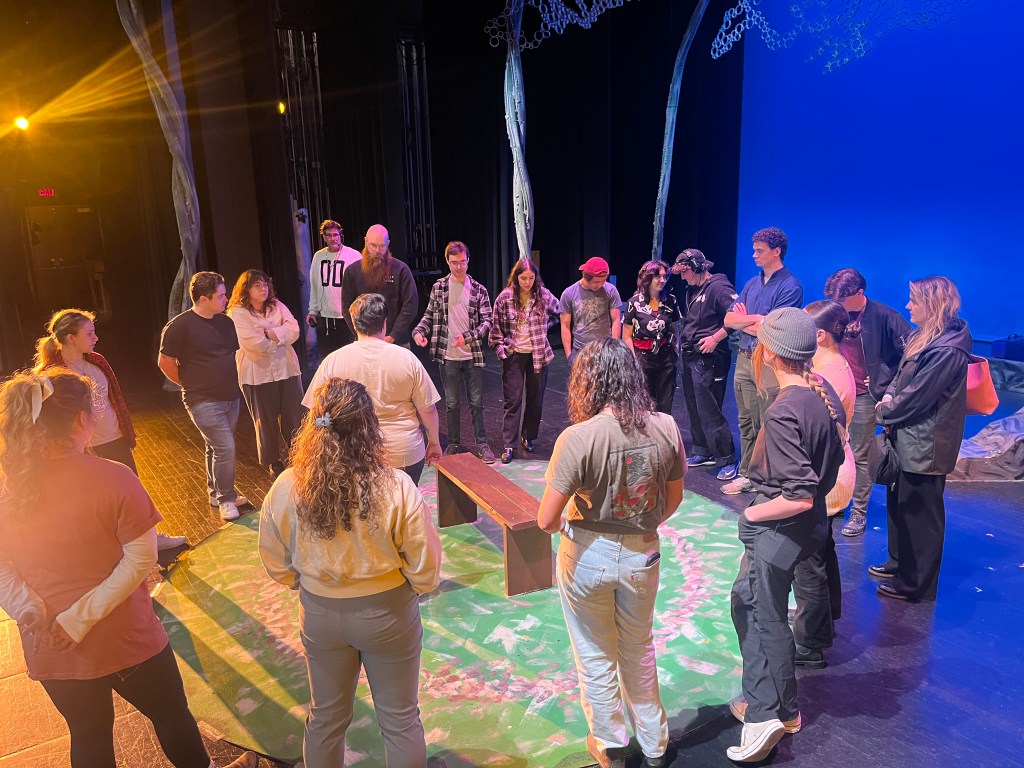
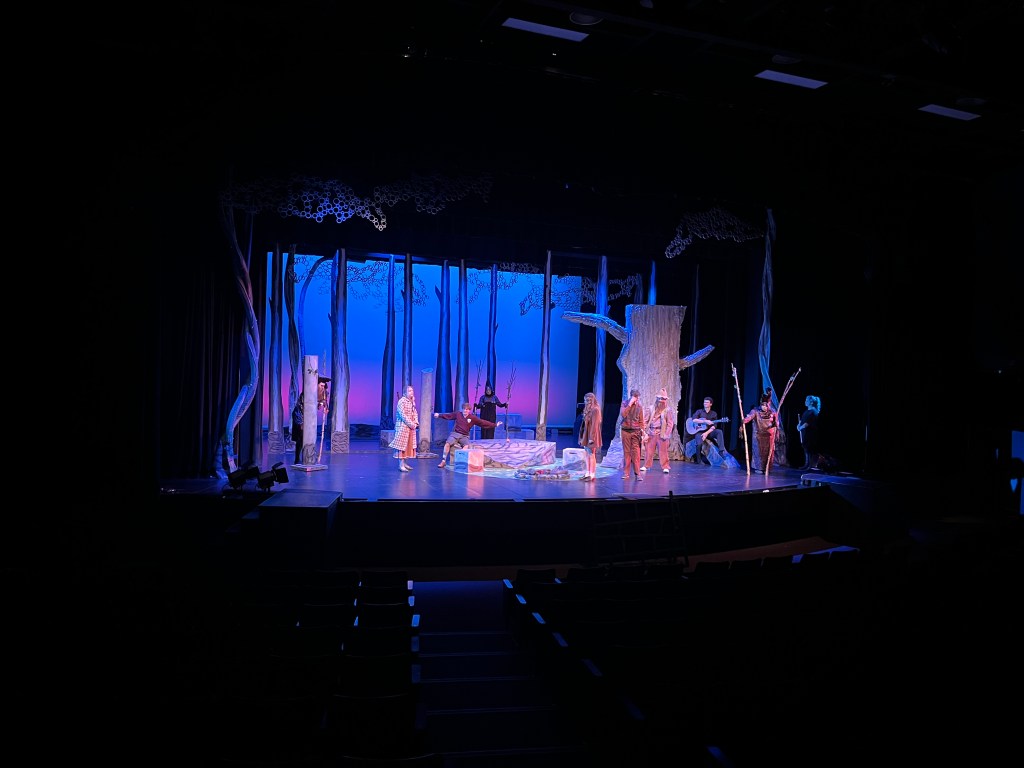
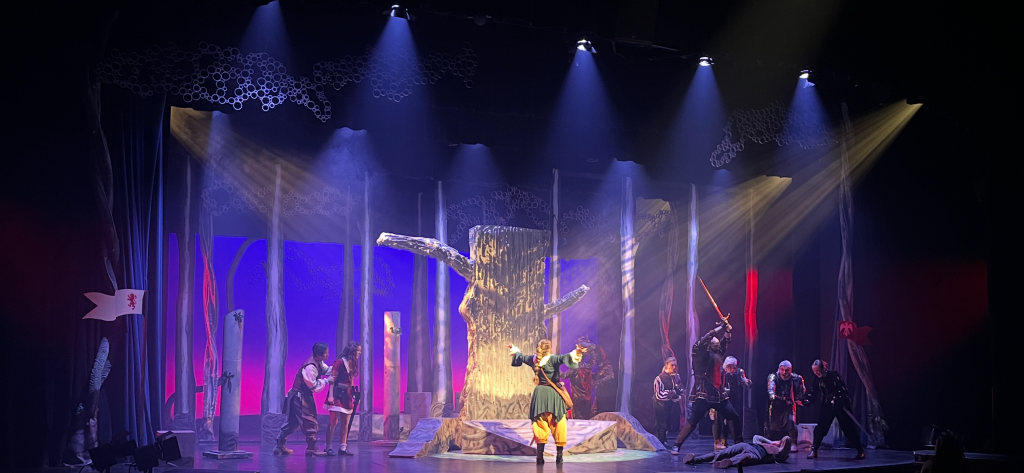
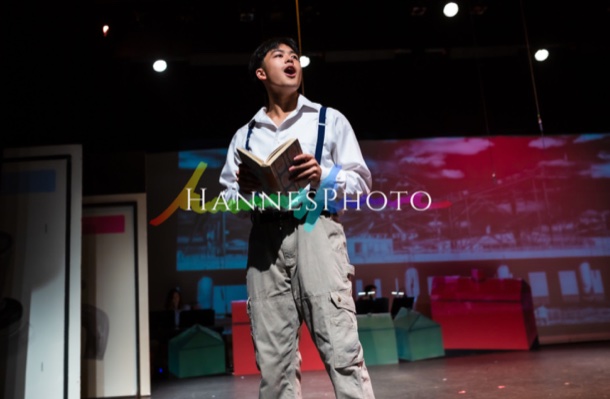
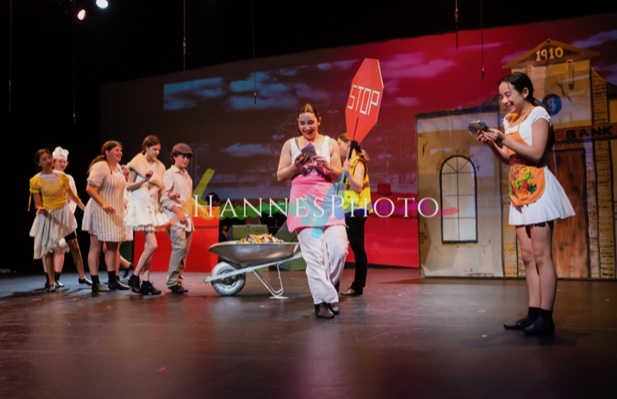
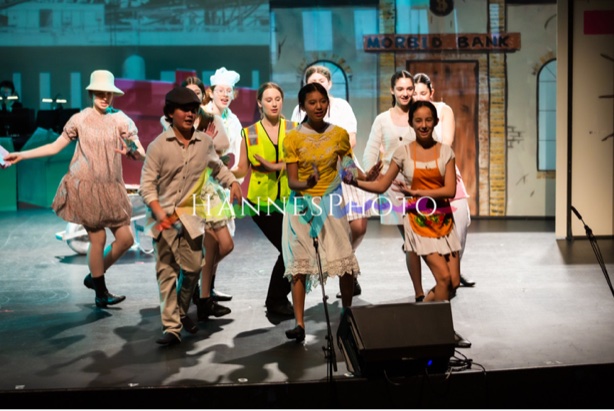
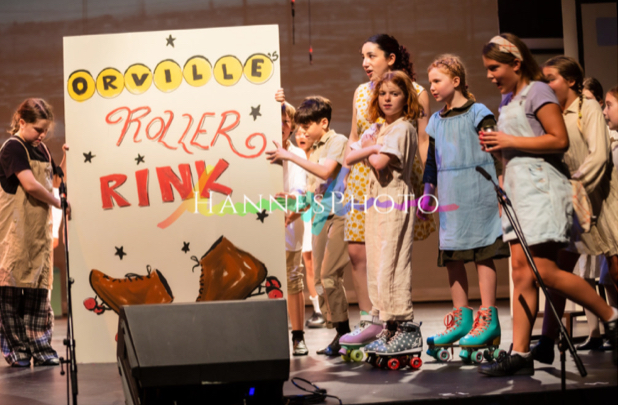
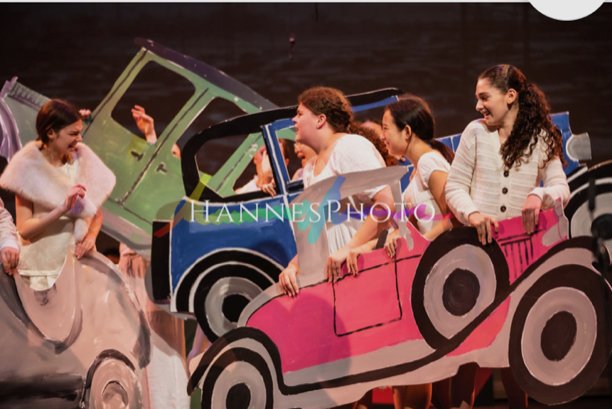
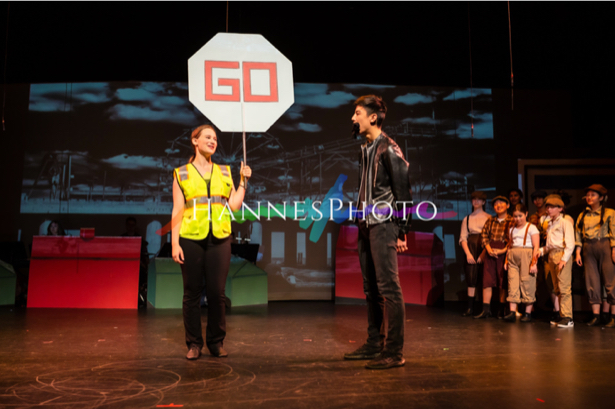
The following photos are official Gallery 7 rehearsal photos by Dianna Lewis. They are copyrighted and may not be edited or distributed without permission. Enjoy!