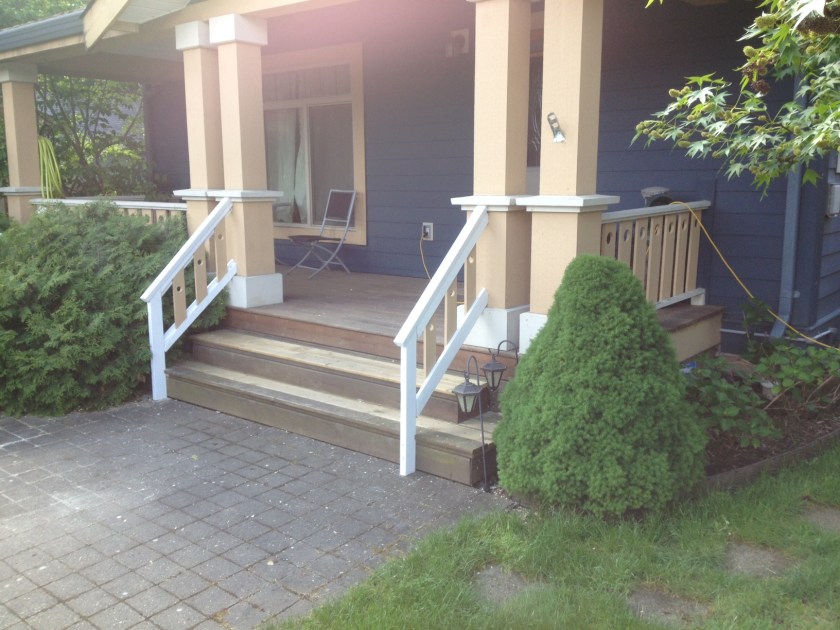
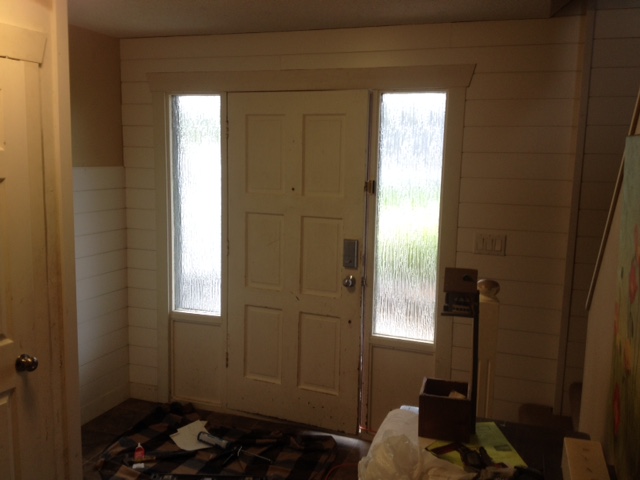
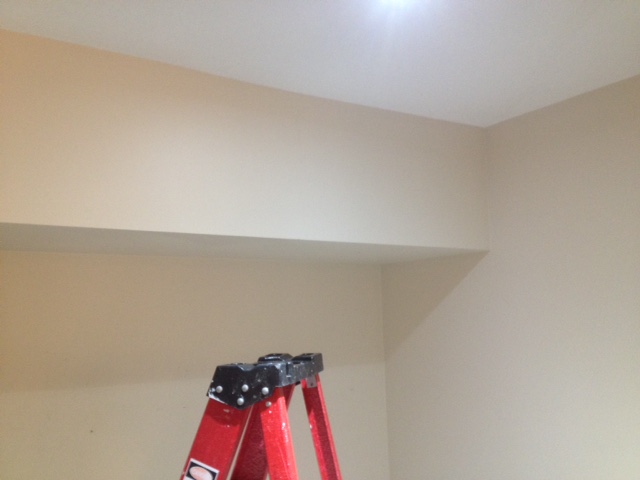
Misty asked for a quote for some custom shelves above a cabinet that I had put in for her awhile ago. They are plywood with spruce fronts, painted white with white backing. The TV is a wall-mount that I had moved as well. They turned out nicely!
Author: handyandrewblog
Set Build – Miracle Worker
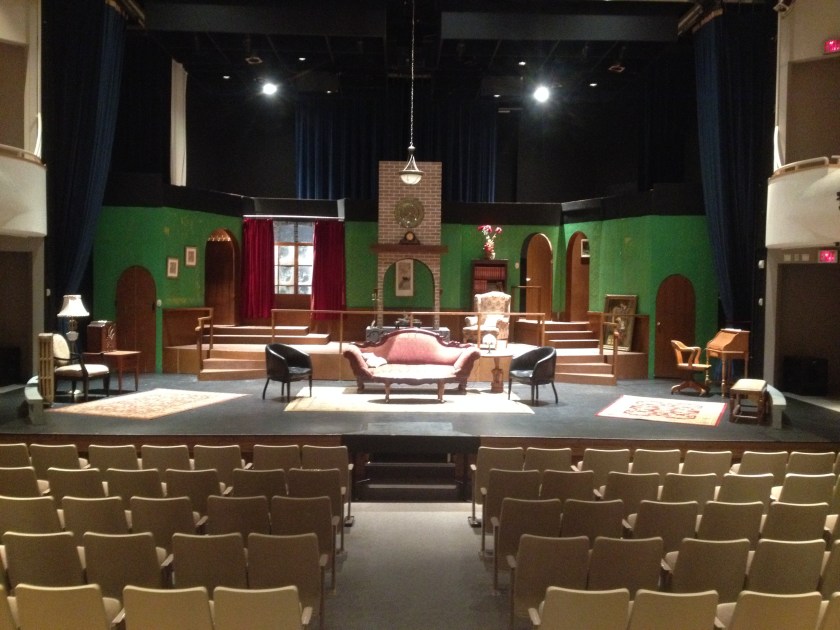
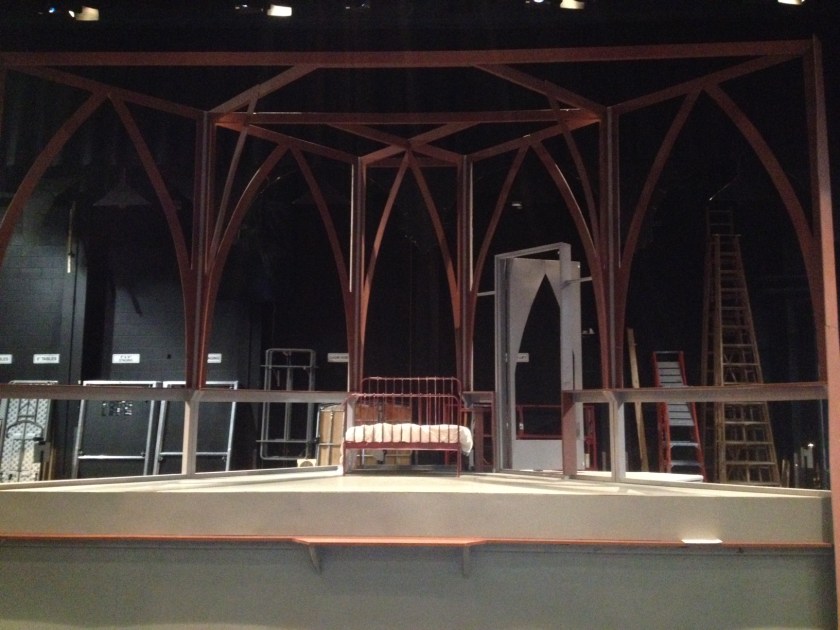
Last night we took down the set for Gallery 7’s performance of The Miracle Worker. It was a great play! The set build was fun as usual, lots of gothic arches etc. (Set design by Dustin Froese) Here’s a picture right before we took it down. Next I am working on The MouseTrap.

Laundry Reno
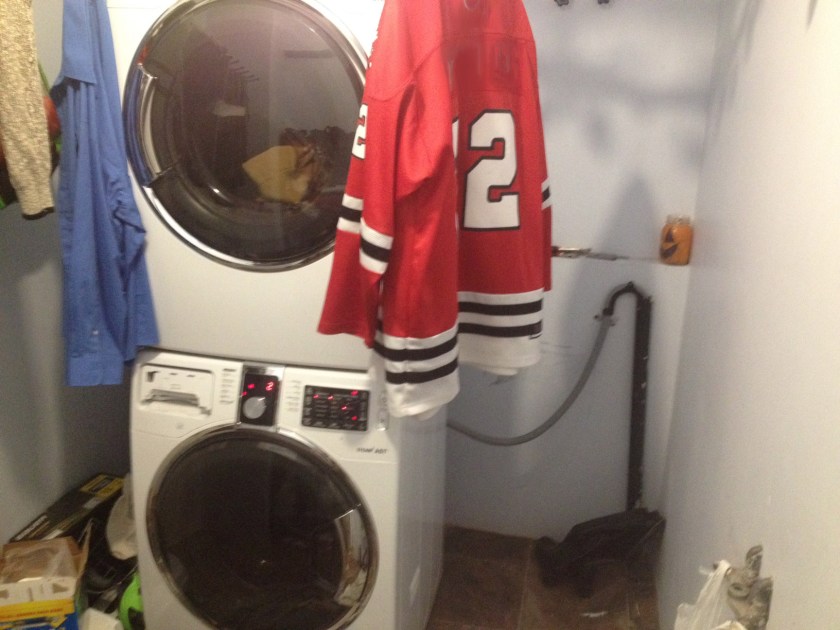
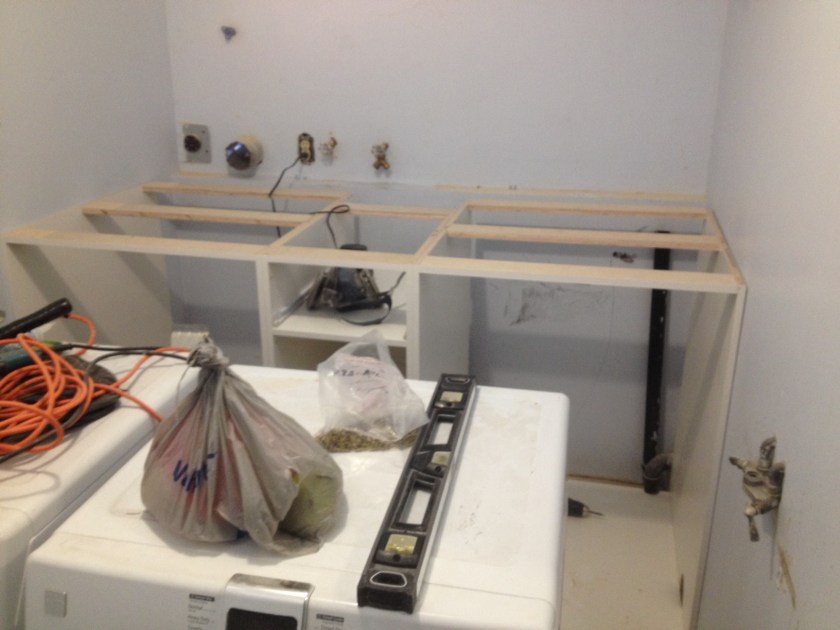
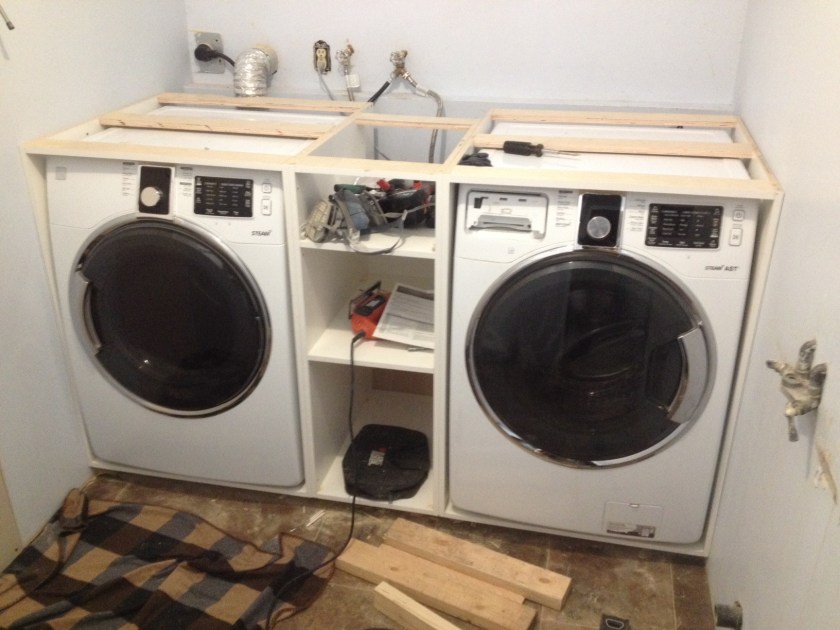
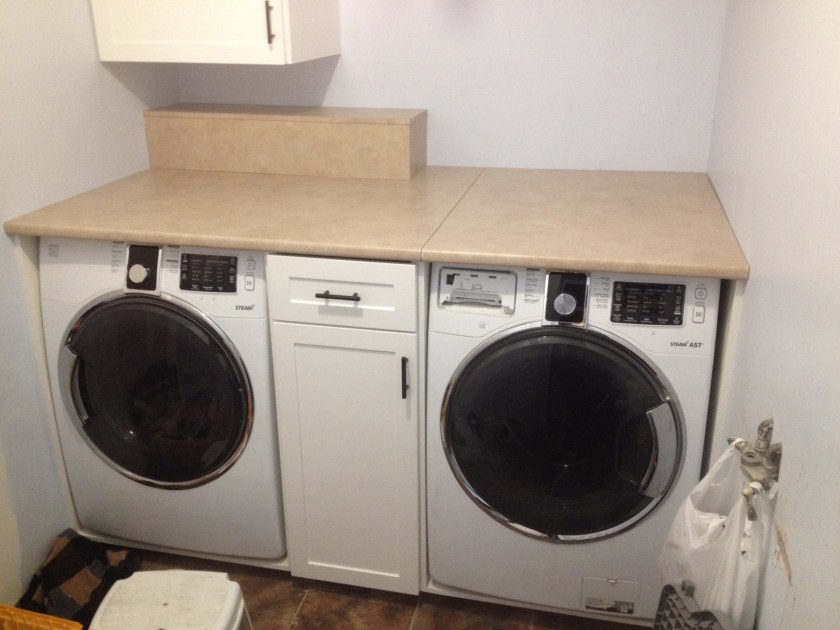
Mrs. G. had me quote on quite a few things in her house. The first job was to renovate the laundry room. It had a stacked washer/dryer and not much else. Between Pinterest and her ideas I came up with a cabinet design, then built and installed the cabinets. Then I installed the appliances, and countertop (the right side is loose to allow access to the back/top of the washer).


Workshop move & cabinets
When I’m not working at a customer’s home, I’m making things in my tiny workshop. For the last 10 months it’s been the place where I can go to make noise and dust, and use my tablesaw. Some friends of mine offered me some space in their larger, better equipped shop, so I’ll be moving soon. It’ll be better overall…I’ll miss my little container, though.
I’ve been quite busy lately with the set for The Miracle Worker, which is built now and getting painted by others, and in the next month or so I need to get the set for Mousetrap built. I also have a couple of jobs on the go for cabinets: RV uppers, and a laundry room reno. Add a week of holidays with my family, and that is why I am saying I am booked up for six weeks.
Here’s some photos of some of the last cabinets to be built in the old workshop!
Pocket Door and Texture
Andrea asked me to finish her kitchen update (it was done, but there were a few little custom things missing). There were some holes in the textured ceiling to fill. I matched the texture with the ‘ol plastic bag trick:
The pocket door was a larger job. There was an arched doorway that had been blocked some time ago to conserve heat, and a door to the garage. Andrea wanted the arched doorway to become a pocket door, and remove the door to the garage (there is another door down the hall). The walls were also textured so that had to be matched as well.
Due to the width of the pocket door frame and the fact that the wall was weight bearing, I had to put a longer header in. Then I buttoned up the old doorway. I used the old door as the pocket door.
Once the drywall was pieced back together, I taped it and then matched the texture with circles made with a stiff paintbrush. Lastly there was some trim. It all turned out very nicely!

Truck branding

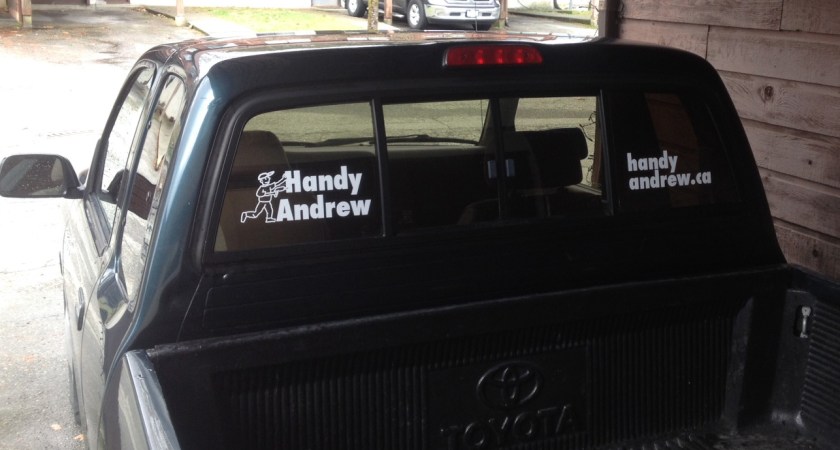
I ordered some vinyl stickers from Bourquin Printers and put them on myself today. Gives me some motivation to keep my truck a little cleaner and make sure I behave myself while driving. 🙂
Bulkhead cut-out
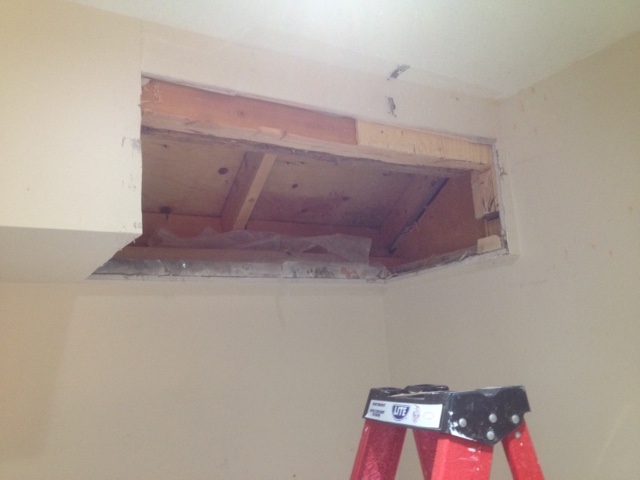
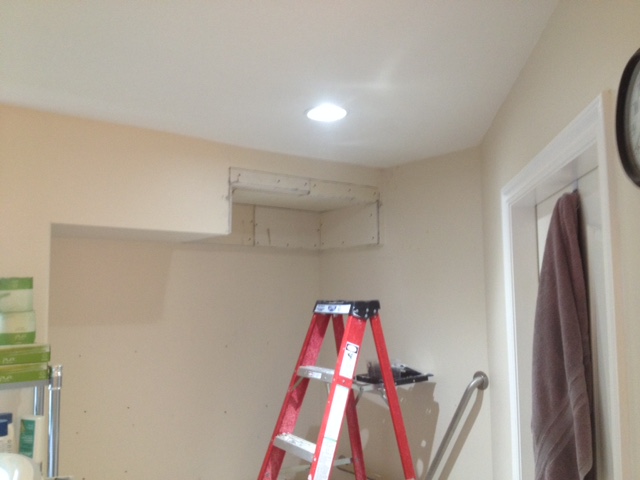
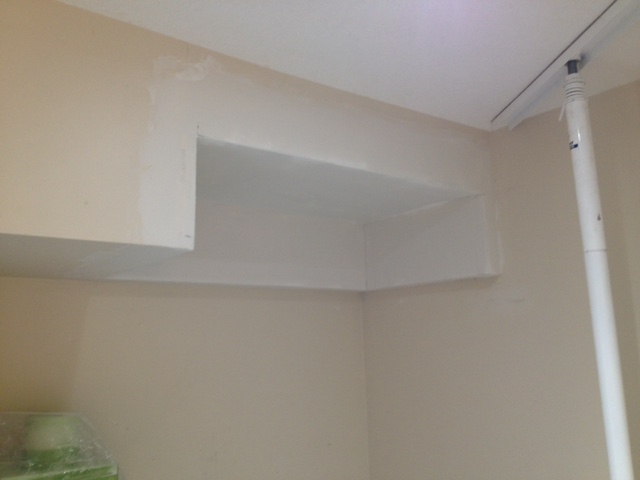
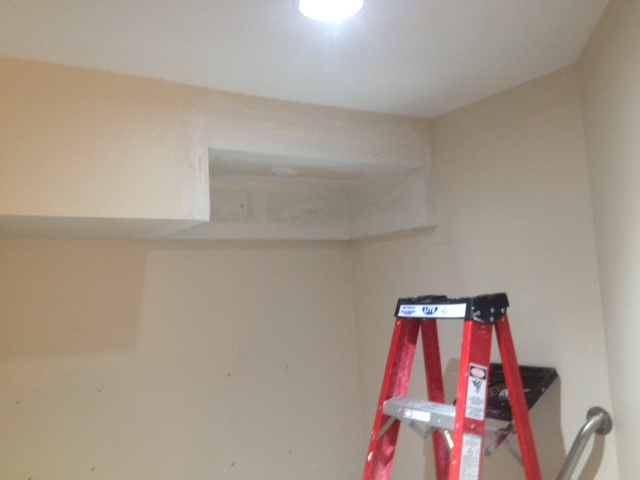
Abbey Medical Supplies contracted me to remove a piece of a bulkhead, to make way for a ceiling track lift above a toilet. I couldn’t cut out more of it due to structural issues (you never know what you’ll find in there…). However, it will help the track be positioned about 8 inches higher, which will help. After cutting it out I buttoned it up with drywall scraps and put 2 coats of mud on. Abbey Medical will sand and paint it when they install the track.


Pedestal for w/d
Sandy moved to a new house, and asked for a quote for a pedestal for her family’s front load washer and dryer. She sent me a link from Instructibles to give me an idea what she wanted, but said it didn’t have to be fancy. So I measured the laundry room and then built a 19″ high platform, leveled on a basement floor that was out 7/8″ of an inch over 5 feet. I used 2×6 and plywood. Here’s the before and after pictures.


Refinish table
Desiree has a beautiful table from Europe that has belonged in her family for several generations. She asked me to stain & varnish it.
It was not the best time of year to start this project. The stain took awhile to dry in the cold weather (my workshop is only heated while I’m there). First I sanded off the old stain and varnish, then put on two coats of Ebony. After a few days I started with the polyurethane, coat by coat. I had a bit of trouble with the folding leaf, since I had to re-finish both sides, with polyurethane drips etc. So I ended up doing four coats on the top to cover up. But it turned out really nice in the end!


Crown Moulding
I hadn’t done crown moulding before, but I worked out a deal with a company (that had some partially done) that I would “learn” on their upstairs office and then charge them for their downstairs office. I knew it would be difficult; that’s why I have always refused in the past, but it was a good chance to learn. Below are photos of my first three corners.
After I had tried a few corners in one room, I tackled the downstairs office, a small rectangle. The first 2 corners were fine but the last 2 were terrible and needed extra caulking. The next day I got a few pointers from another guy and figured out what I was missing. I completed a larger rectangle (16 feet by 13 feet) and it turned out quite well. But it was still time consuming!
Anyway, if you need some done, call me and I’ll give it my best effort! I just won’t be fast, so I’ll offer a discounted rate.