Custom closet cabinet

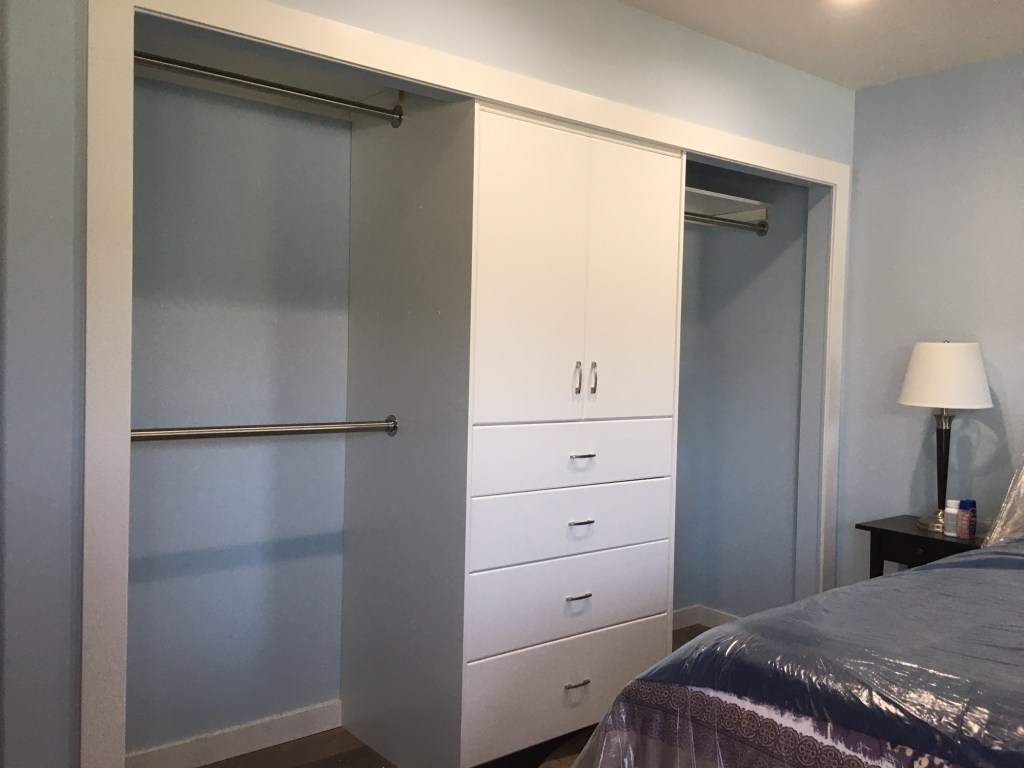
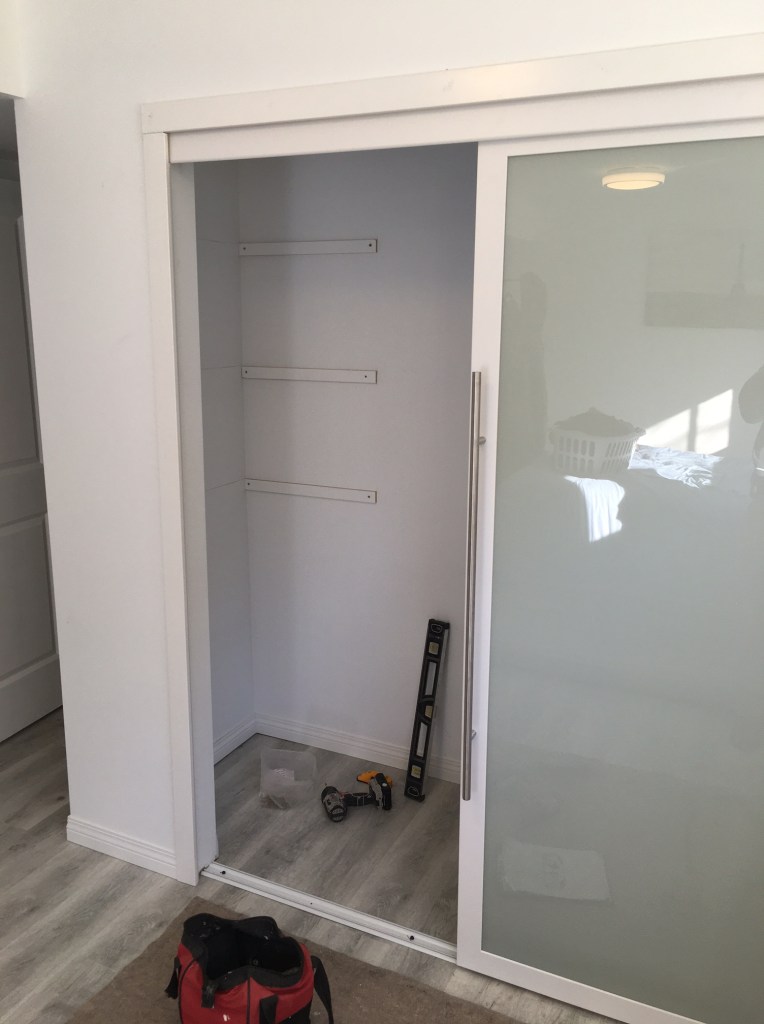
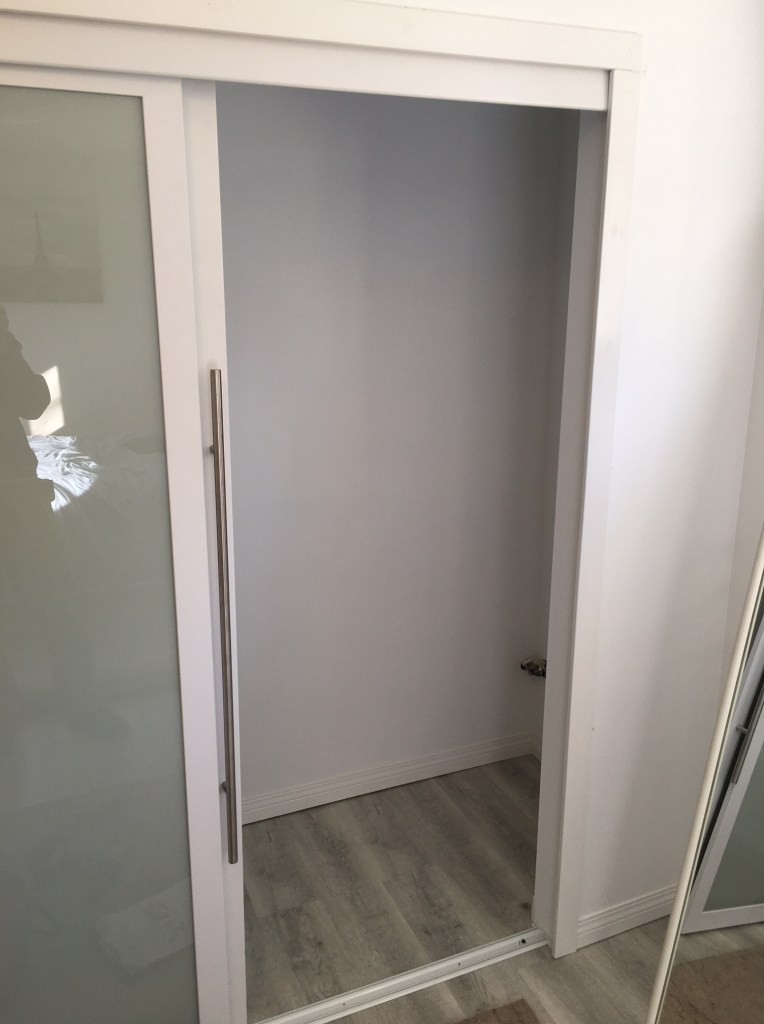
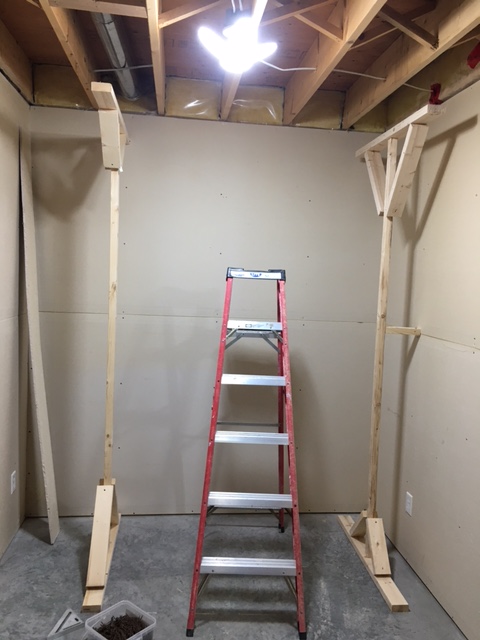
Angela requested a built-in wardrobe cabinet for her closet:

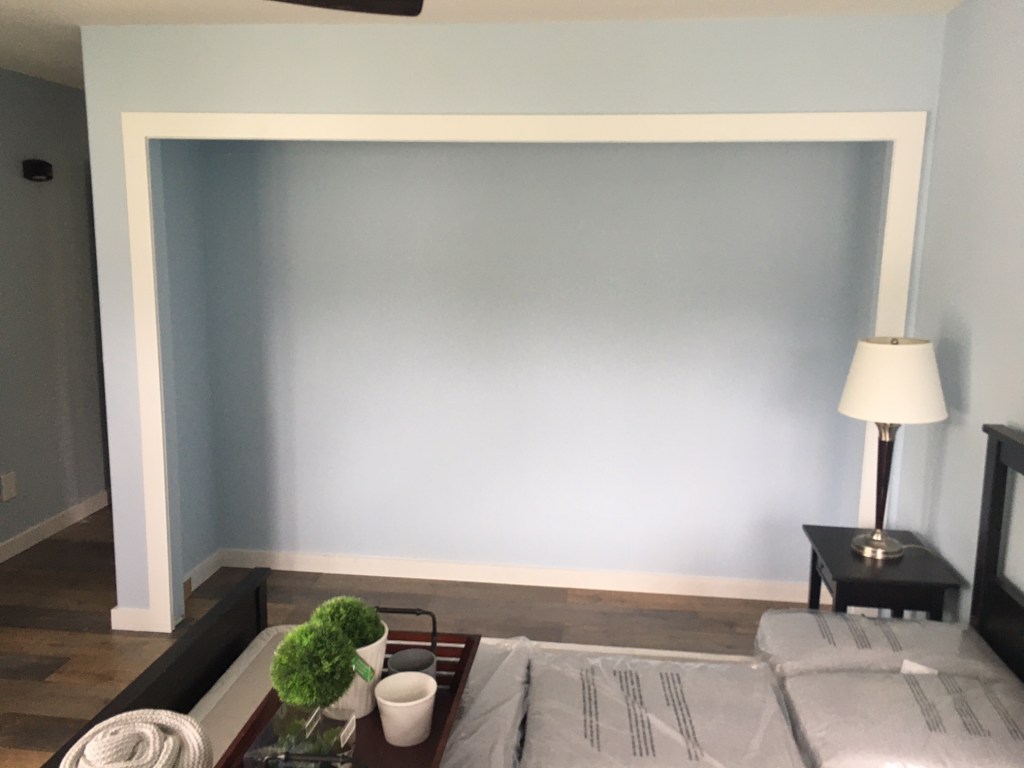
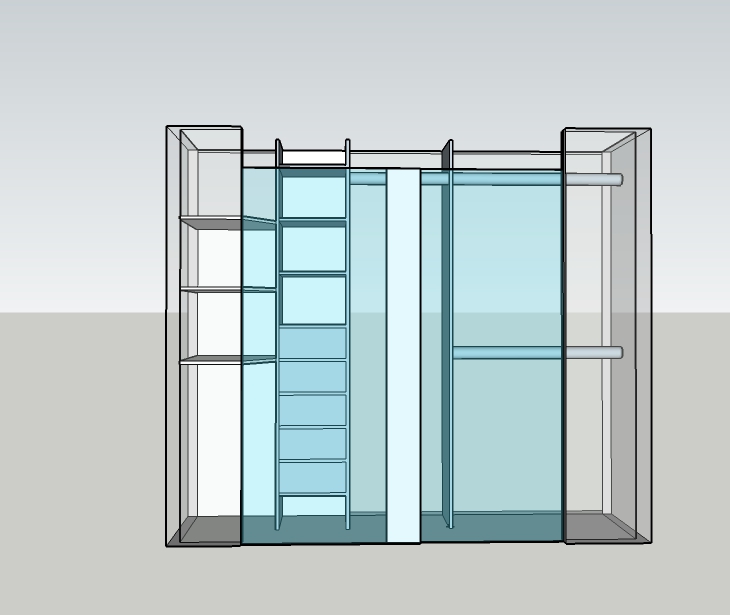
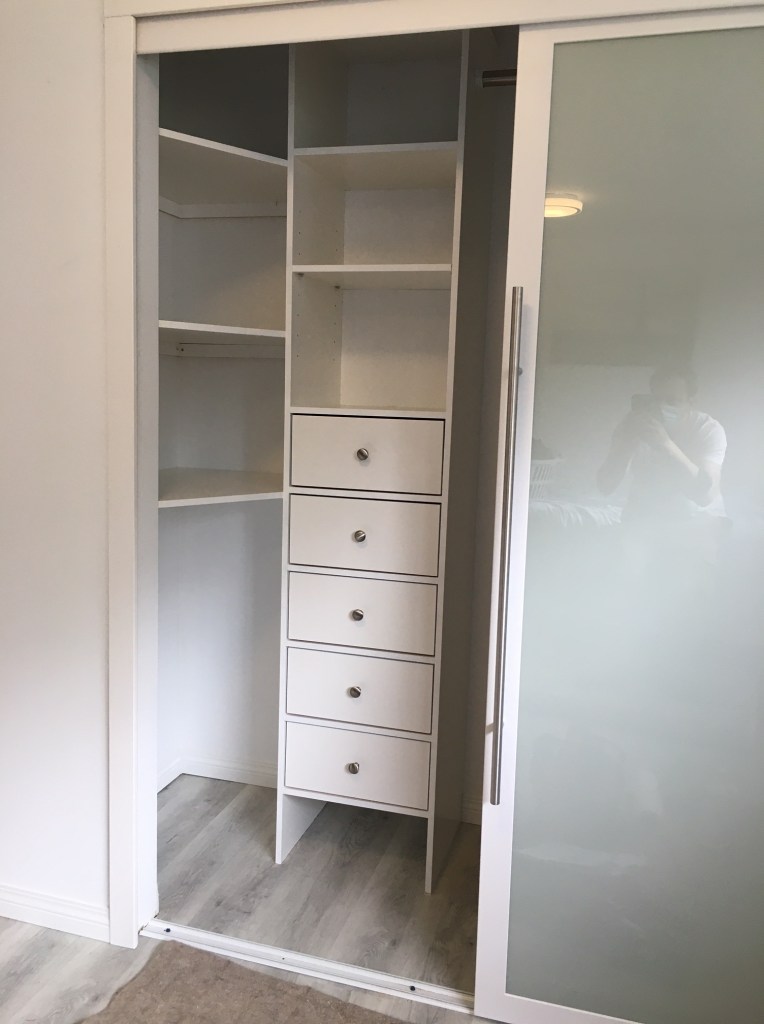
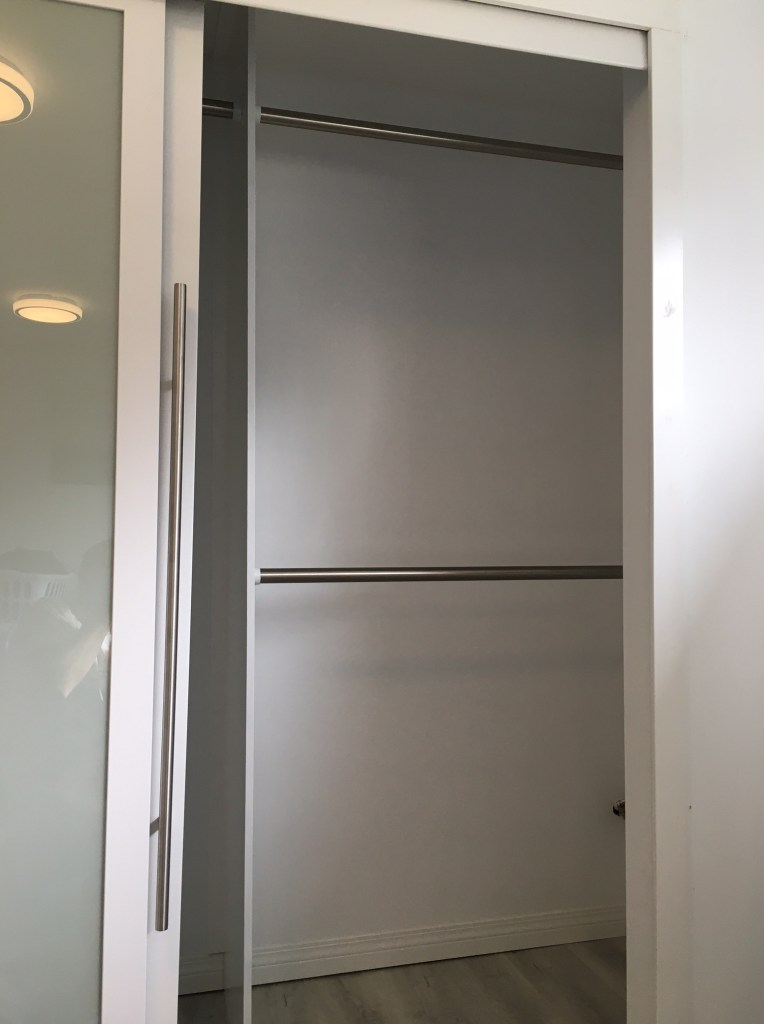
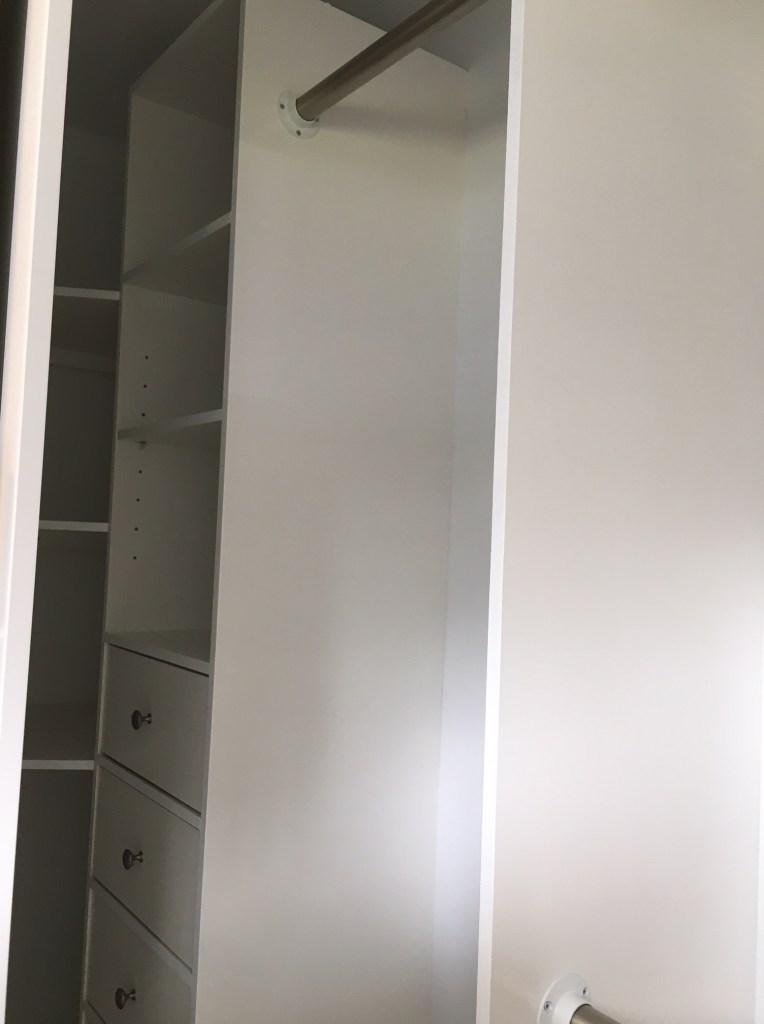
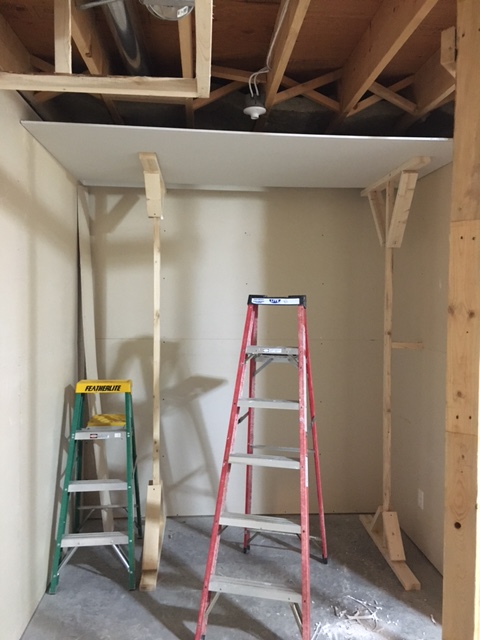
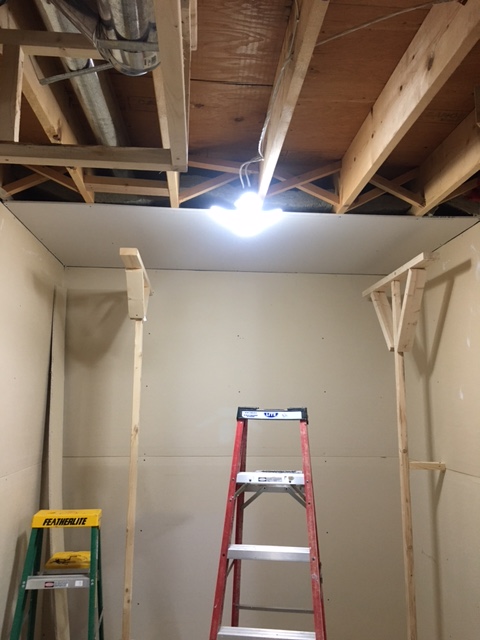
She wanted it centered so that a couple of barn doors can be added in the future. So there is a 3 foot wide cabinet with a 3 foot wide space on either side. She also wanted shelves inside right up to the ceiling. And of course some rails for hangers.

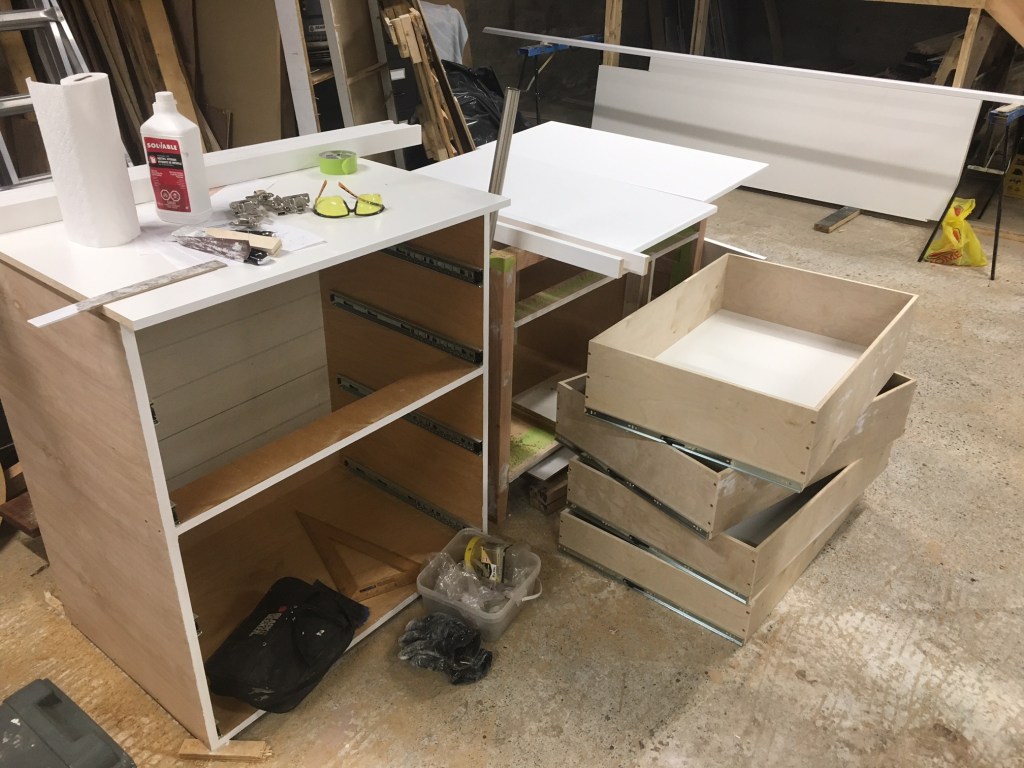
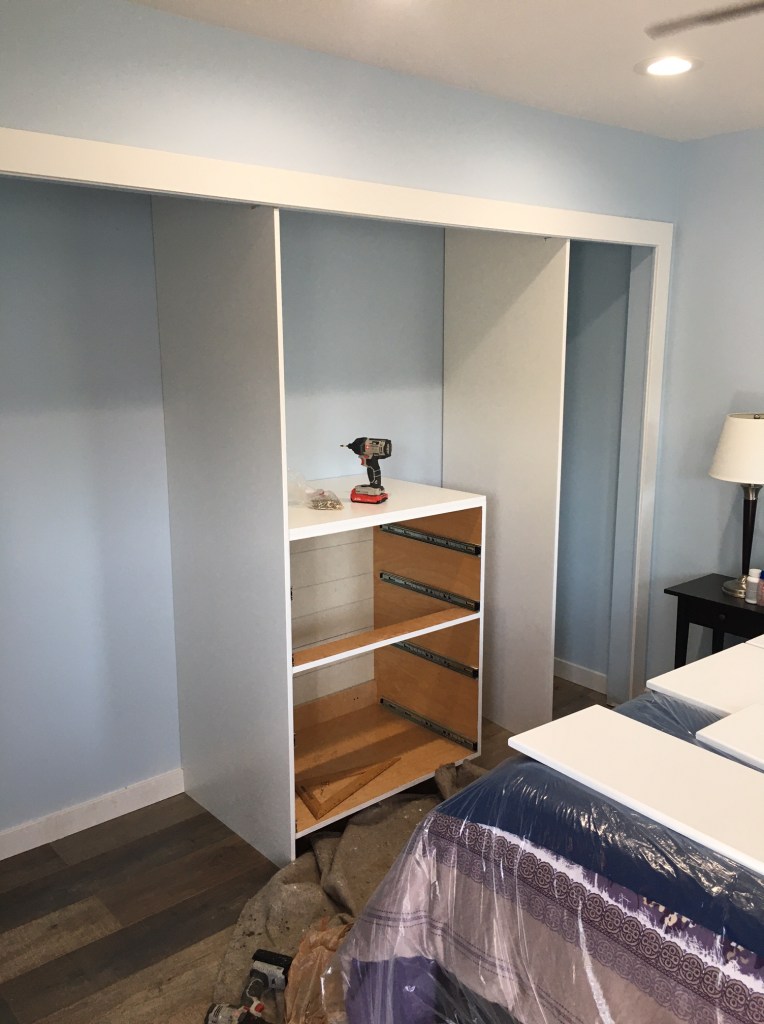
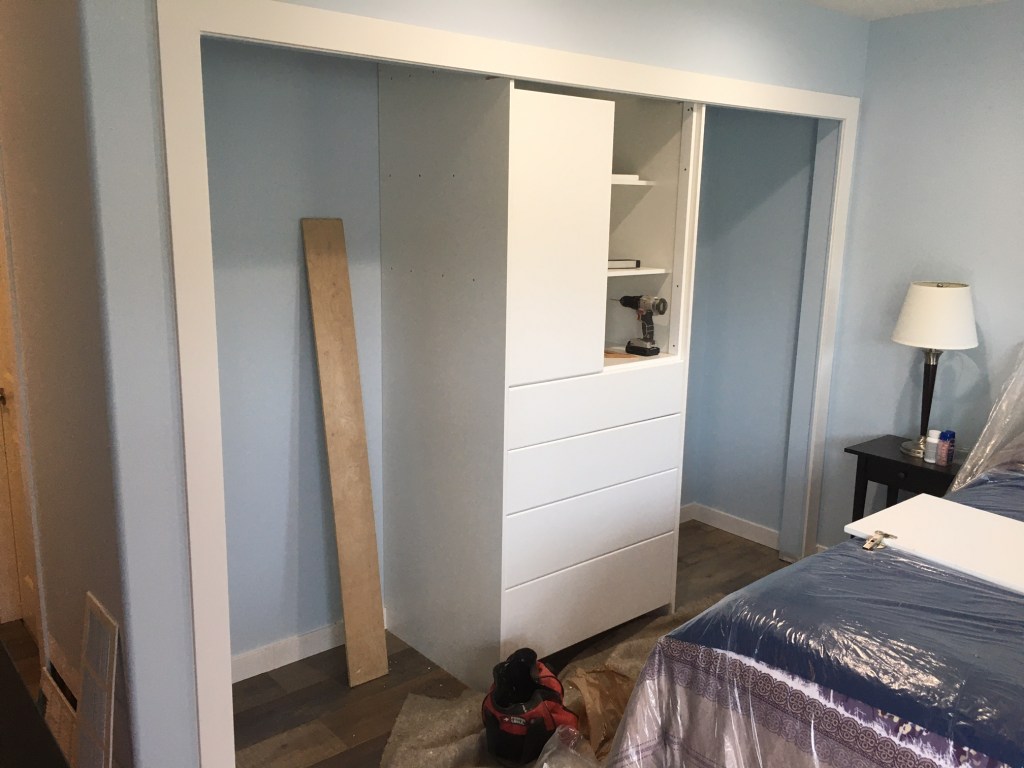
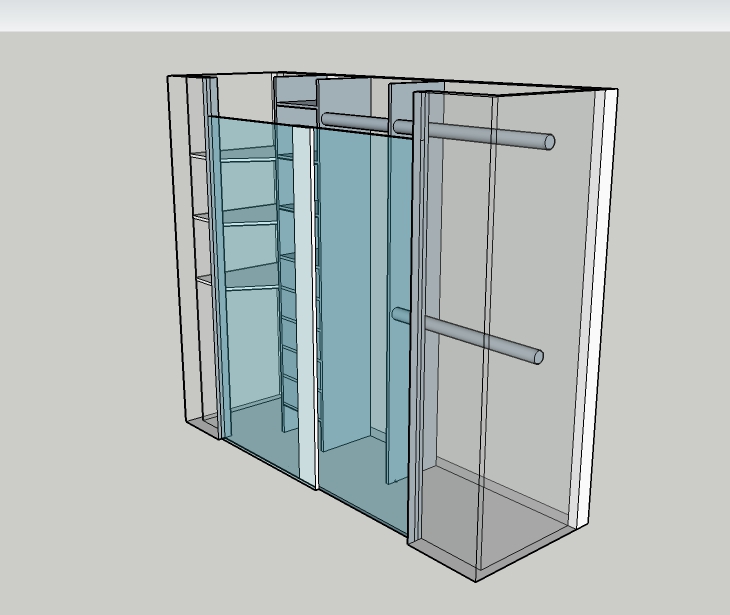
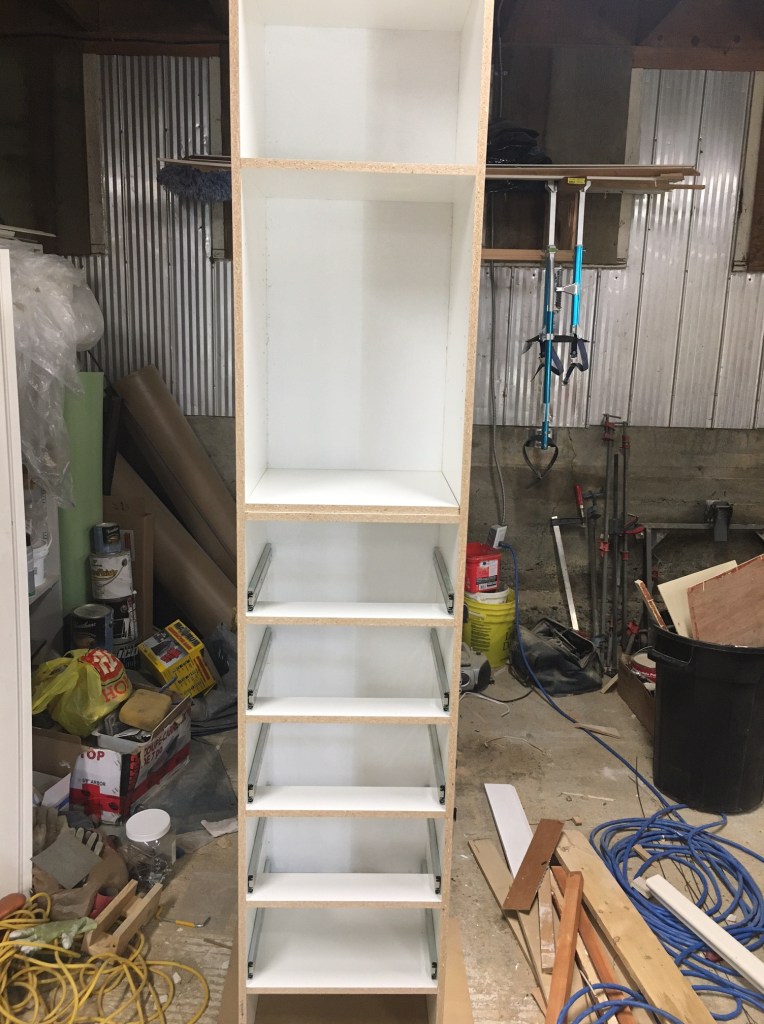
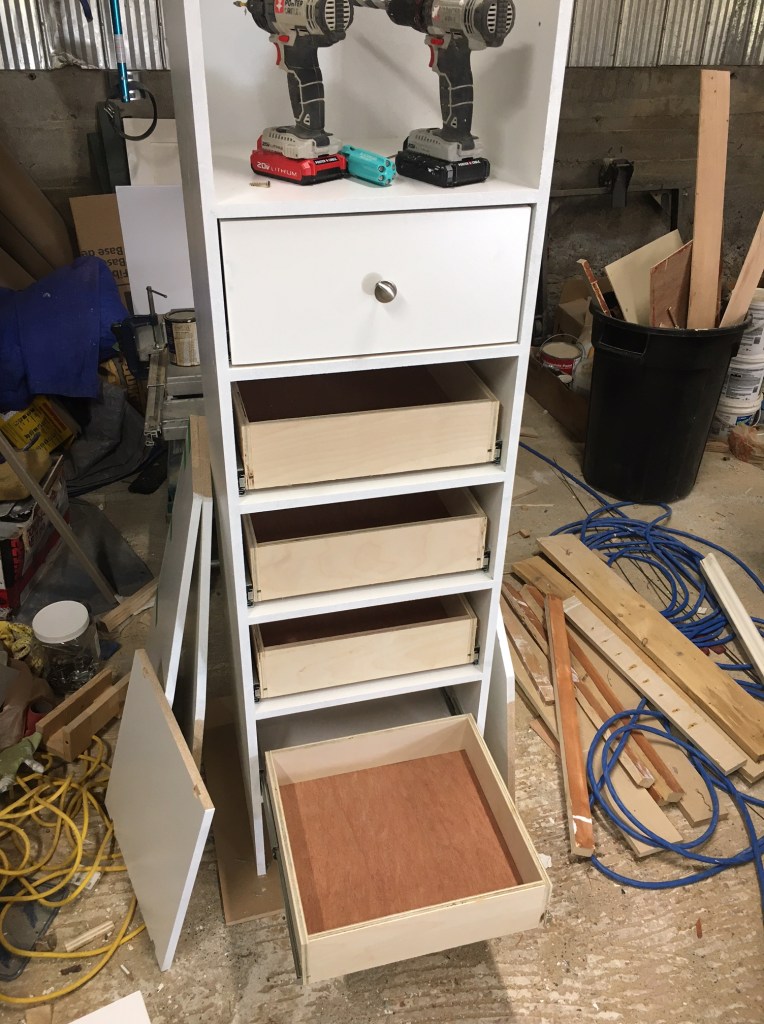
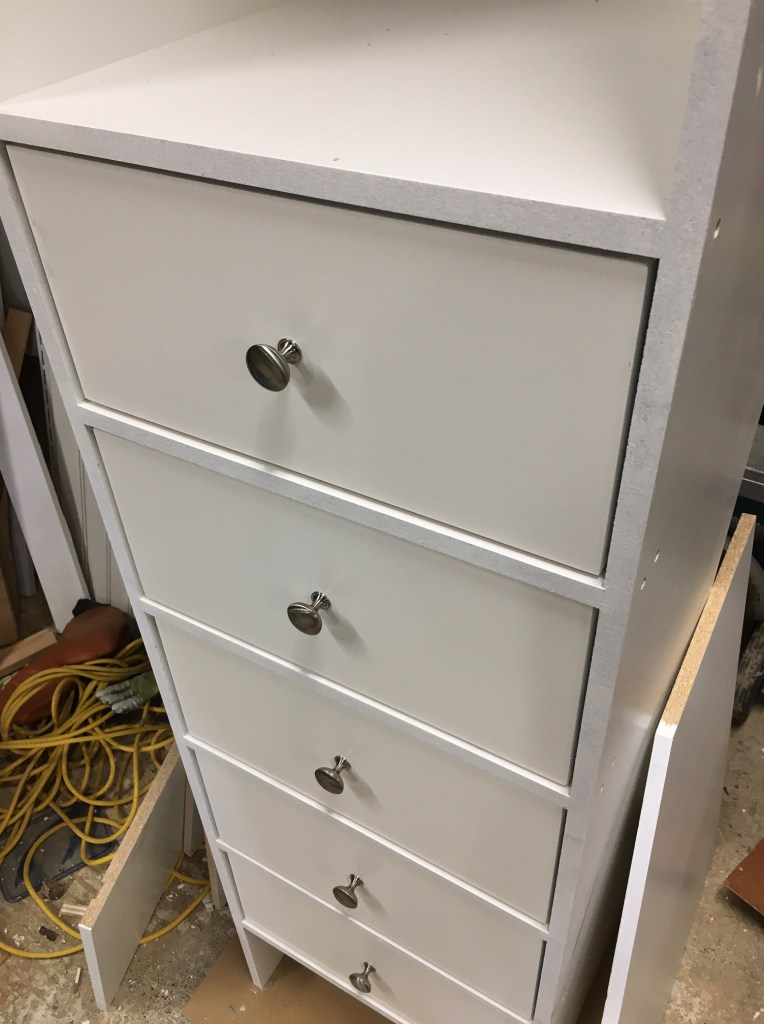
It took me a couple of days to build it and paint it, and half a day to install everything. To save time and material on the upper cabinet, I built the upper part “on site” using the side panels and interior shelves to hold everything together. But the bottom section was a pre-made plywood drawer box.

Custom Closet (inside part)

Darlene hired me to design and fill up her new closet space with shelves, cabinets, and rails. (The closet had already been built, but there was nowhere to hang clothes.)

The double sliding doors are very. nice, but they do limit access a little bit. So in my design I put just one tall hanging rail right behind the middle where the doors overlap. That way everything else would be easily accessible from either the left or right side.

Building the cabinet in the shop…

Drawers are always kind of fun to build…though time-consuming.

When Install Day came, I worked from left to right: shelves, cabinet, panel.

A little framing and drywall in a basement…and homemade board lifter

I recently did some work in a basement room for Gene and Susanne. They had a mostly unfinished basement storage room that they wanted to convert into an office. The first step was to frame some bulkheads in to cover up the plumbing etc. They also wanted a closet framed in one corner, which will get barn doors eventually. It was only a 200 sf room, but with 8.5′ ceilings and lots of corners and angles. Here are some pictures of the closet/bulkhead area:

They painted it and I am waiting to see what they want for flooring before I come back and install baseboards and casings.

Also while boarding the ceiling, I tried a homemade lifter to hold the boards up. I had recently boarded a garage and struggled to hold the boards in place and screw them in — they are “lightweight” but that is still 40-50 lbs. So I screwed together a couple of stands:

Next I slid the board up on top. It was harder than I anticipated due to the tight fit of the room.

Now I just had to lift it 6″, and if I got tired, I could let it fall. (After I did a couple of these I added some blocks to squeeze the sheet in place to make it even easier.). When I was done I took apart the lifters and used the wood for other projects.