Simple plywood stands to hold foamcore 2D set pieces (flats)

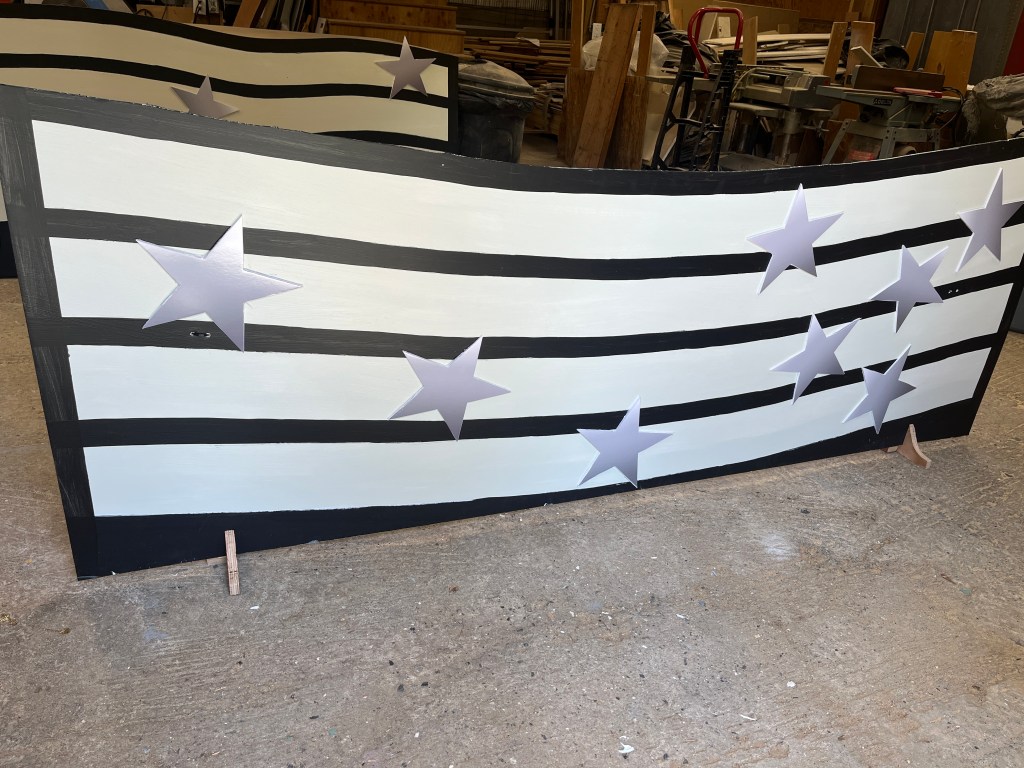
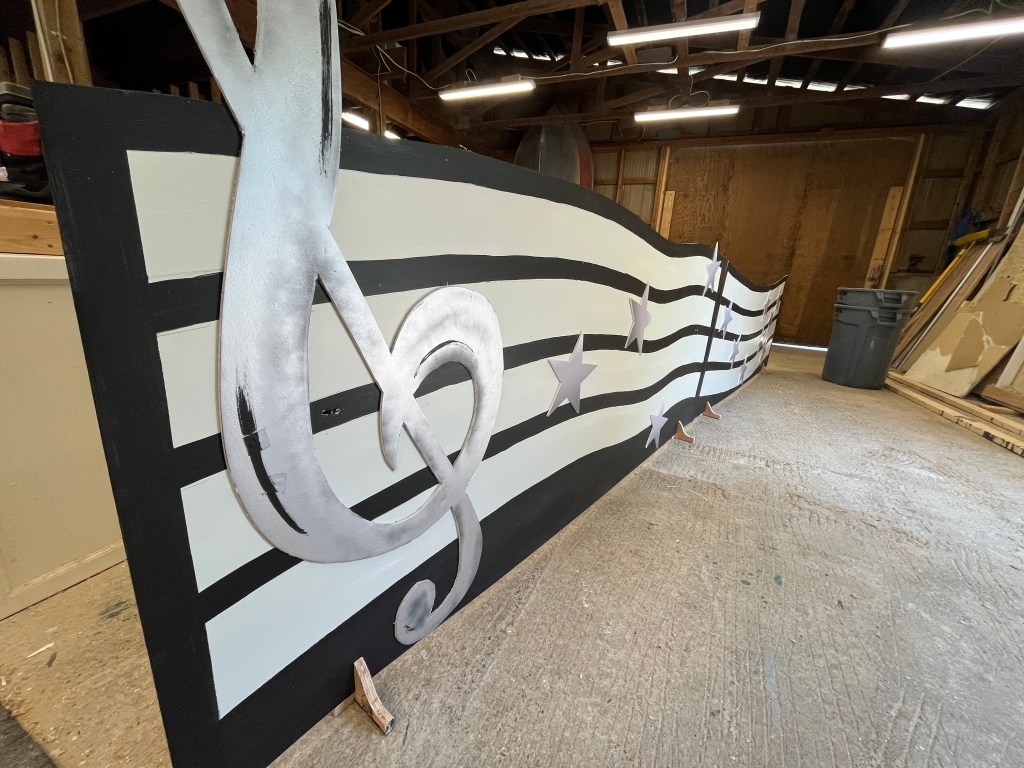
This is mostly for my own reference, but maybe you can use it too. I build sets every summer for Gotta Sing Gotta Dance and they like to use foamcore set pieces (ie “flats”) because they are so lightweight and easy to manoeuvre.

The problem with 3/16″ foam core is that it doesn’t quite stand up straight on its own and it needs a frame (when standing higher than 4 feet, anyway). So most of my time is spent building lightweight frames for the foamcore to be zap-strapped to.

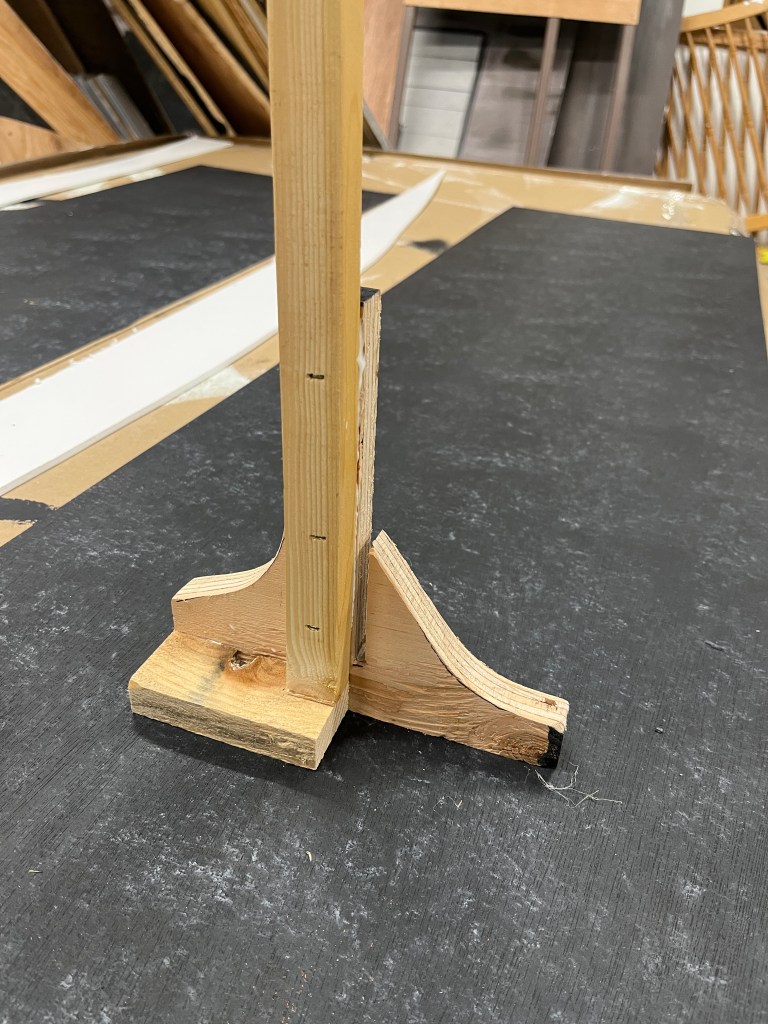
However when the foam core piece is 4 feet high or less, it can be held up with very little effort. I made some wooden blocks that worked quite well for quite a few pieces. Here they are:

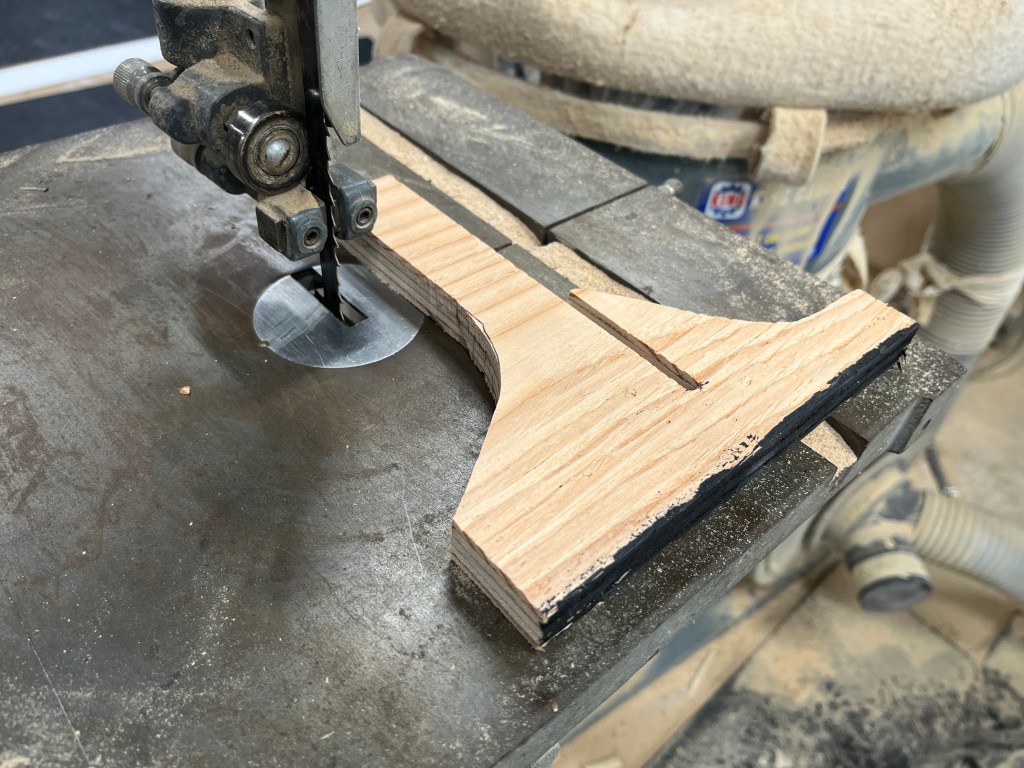
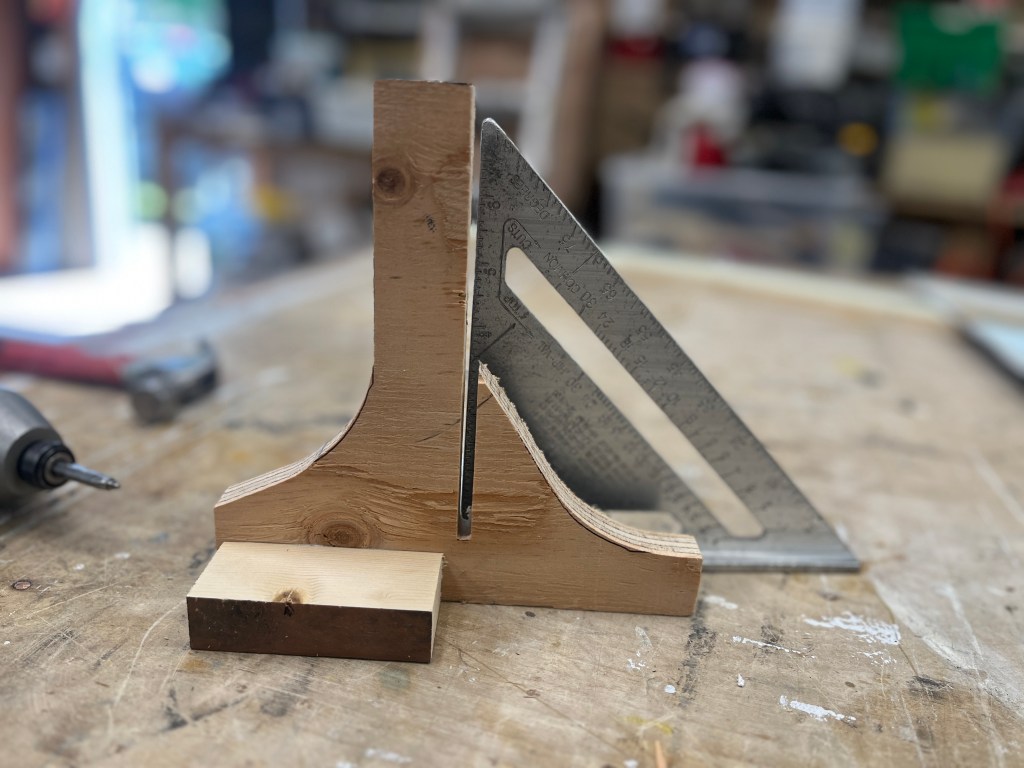
I cut a scrap piece of 3/4 plywood into the odd shape above. The slot is for the foam core to fit snugly in. The angle of the slot is not 90 degrees – it is slanted back slightly (1 or 2 degrees) so that the foam core rests mostly on the back (taller) side.

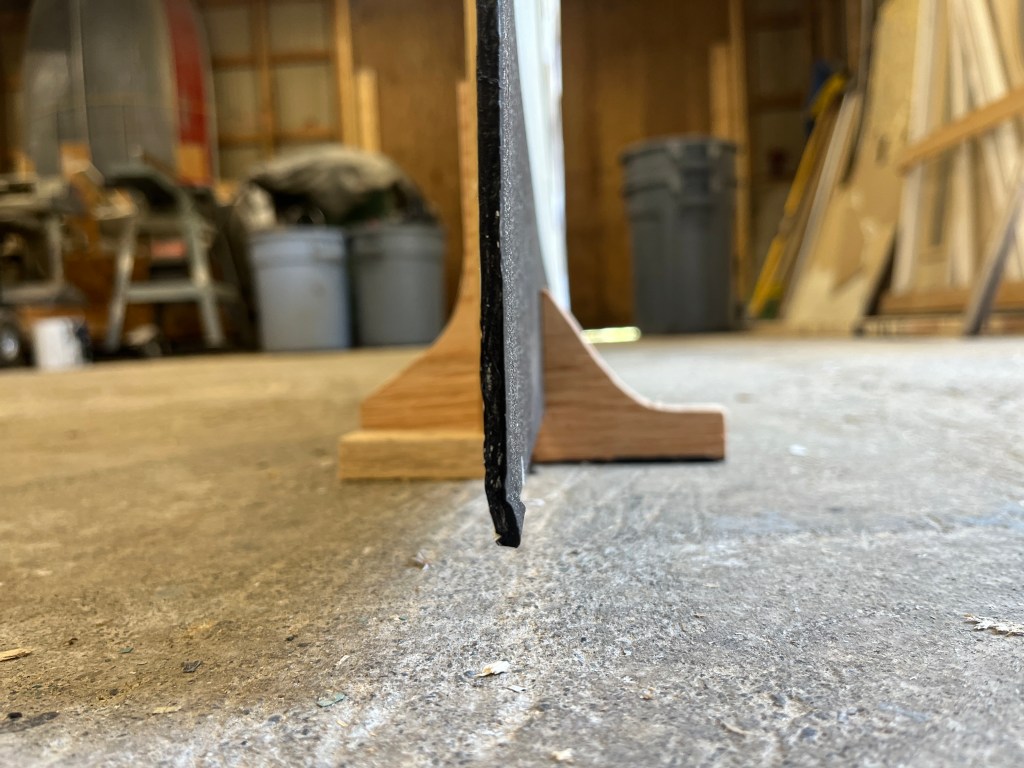
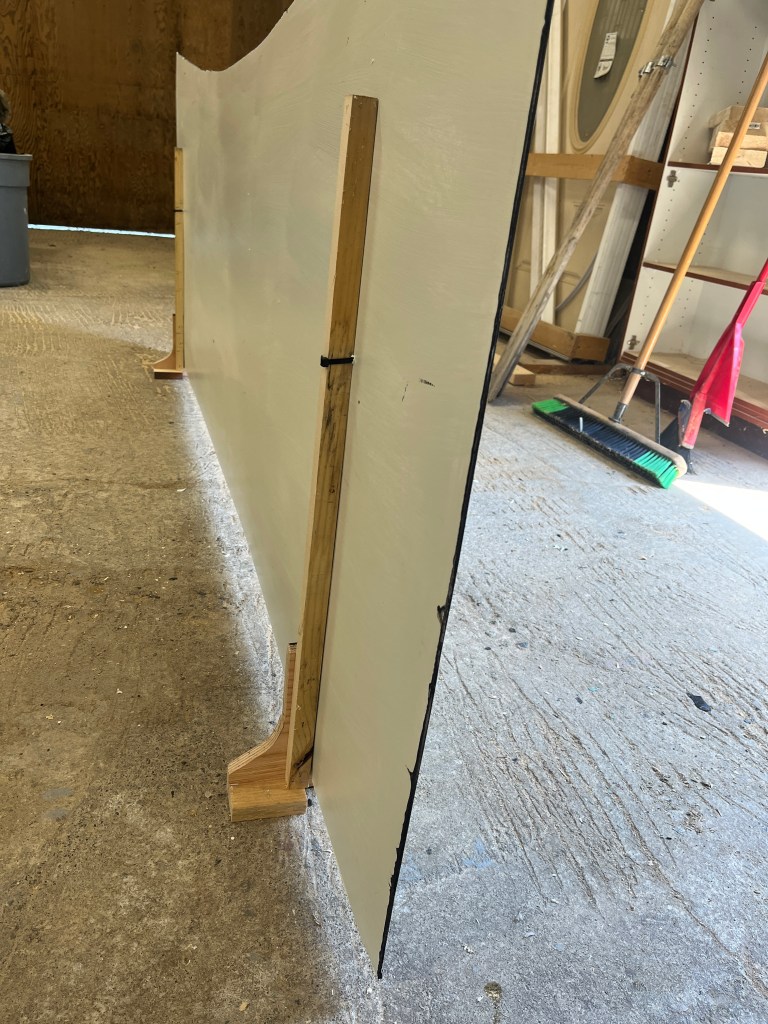
I then glued+stapled a vertical stick to help with rigidity. Then zap strapped the stick to the foamcore (yes, you can sometimes see it protrude through the front if you look for it)

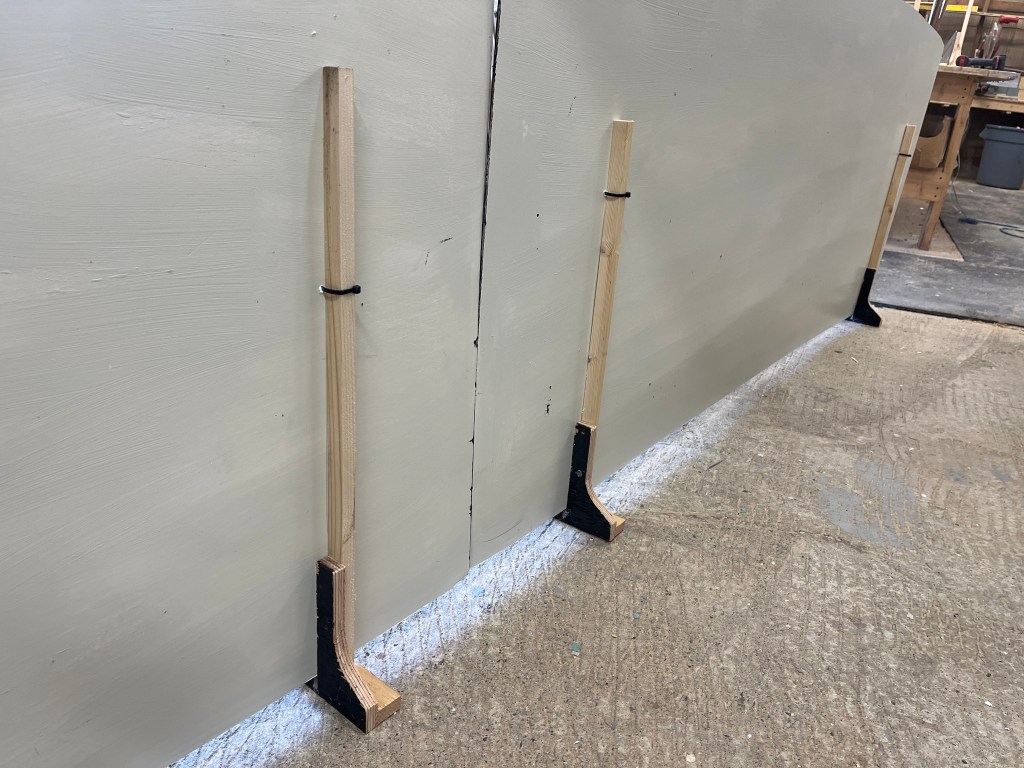
The zap straps just slide off the sticks if you want to remove the bases for transport. You have a set piece light enough to pick up with one hand, that stands up by itself.

Bonus tip: when painting foamcore, always paint both sides, or you get major warpage.

Bonus tip #2: foamcore is generally more expensive than plywood of the same thickness. But it can be ordered in bulk in 4×8 sheets from your local printshop for some savings.

Building Prop Wine Barrels

For my recent build A Tale of Two Cities for Gallery 7 Theatre, we needed three barrels. One was to be carried and ‘spilled’ and the other two were to set the scene for the Defarge’s wine shop.

A Tale of Two Cities, Gallery 7 Theatre, November 2023

I found a helpful spreadsheet on Popular Machinist (link here) that helped me to know what size to cut the staves. I was able to plug in my dimensions (height, radius, etc) and it plotted out accurate numbers. I then transferred those measurements to a piece of 3/16 mahogany plywood to make a template; then cut all the curved staves with a table saw set at a small angle (please do not attempt to do this unless you are comfortable with power tools).

I cut the head,foot and middle circles out of 3/4 plywood, then stapled the staves on with some help from my assistant. After the first one, I added some extra interior structure before I stapled the staves on, and it was much easier to keep everything even.

There were some small gaps – these would be difficult to make perfect unless cutting everything with a CNC. My solution was 2-inch painters tape to cover the seams and give some structural support.

To protect the top and bottom and also to look more realistic, I added a ring of plywood as well.

My assistant did a great job of painting them and even added some Parisian stamps for realism. The final touch was a few rings of duct tape to simulate metal bands. I also added a few “bung holes” to the prop barrel. One of the larger barrels had a shelf inside so wasn’t completely enclosed, as well.

Overall, they worked really well. They are lightweight, reasonably sturdy, and (I think) realistic. And cheap – I was able to make them for the cost of a couple rolls of tape, since I had plenty of scrap plywood.