I recently designed and built the set for VTT Centre Stage’s production of The Little Mermaid Jr.
Here are a bunch of build photos!
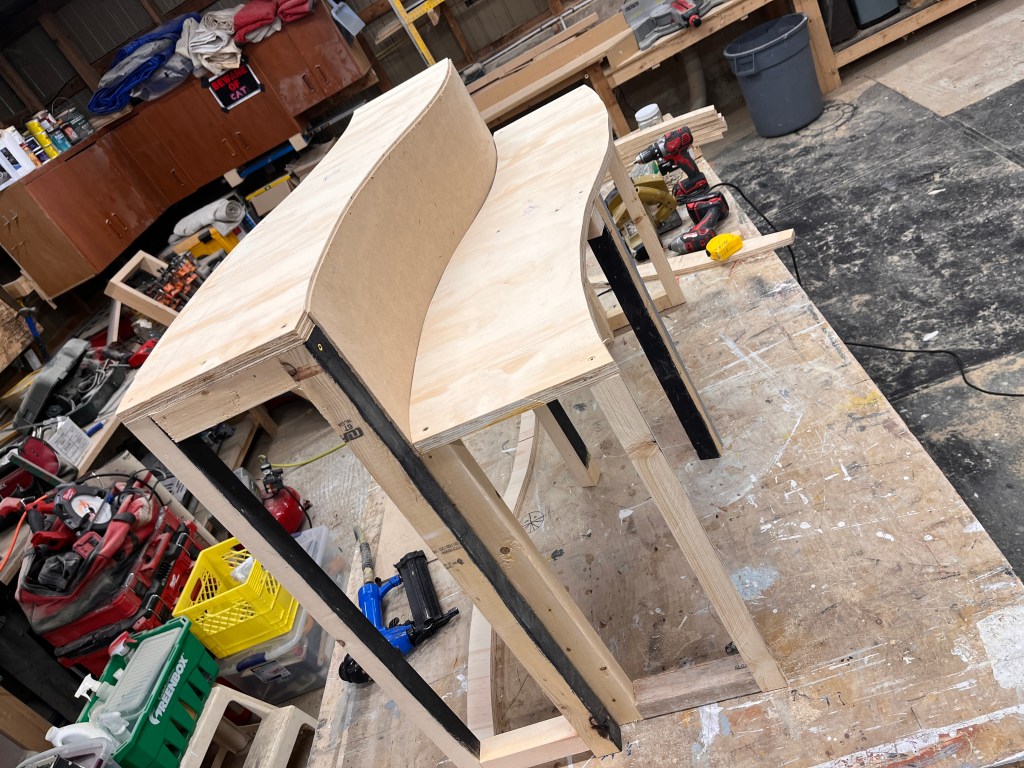
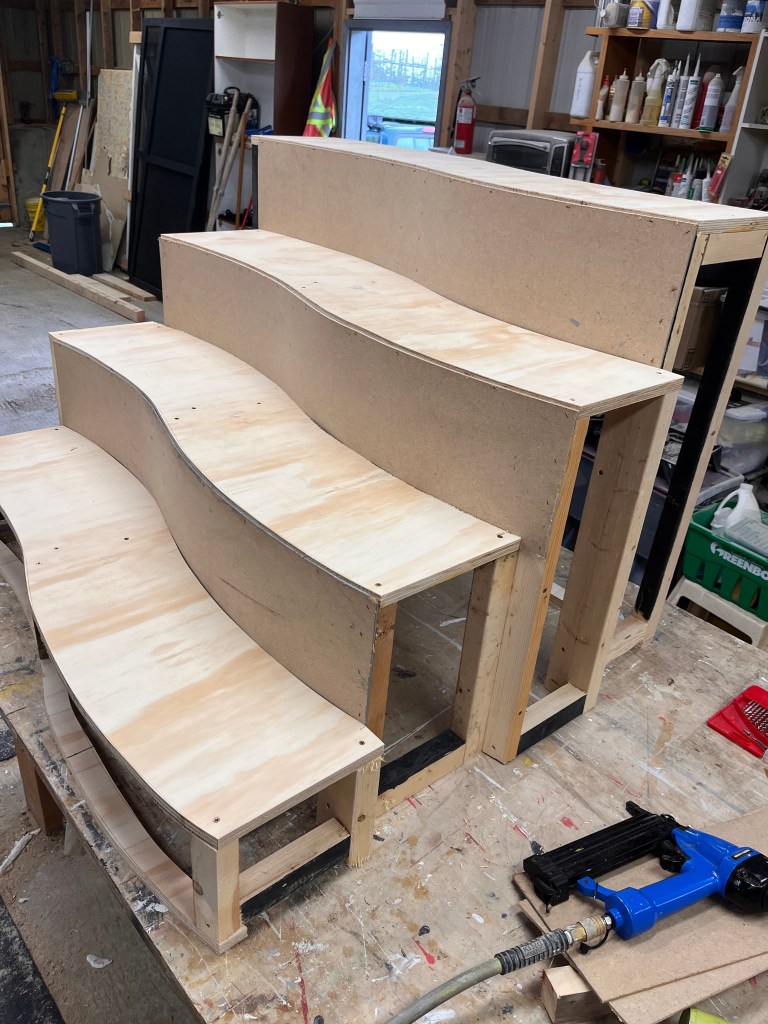
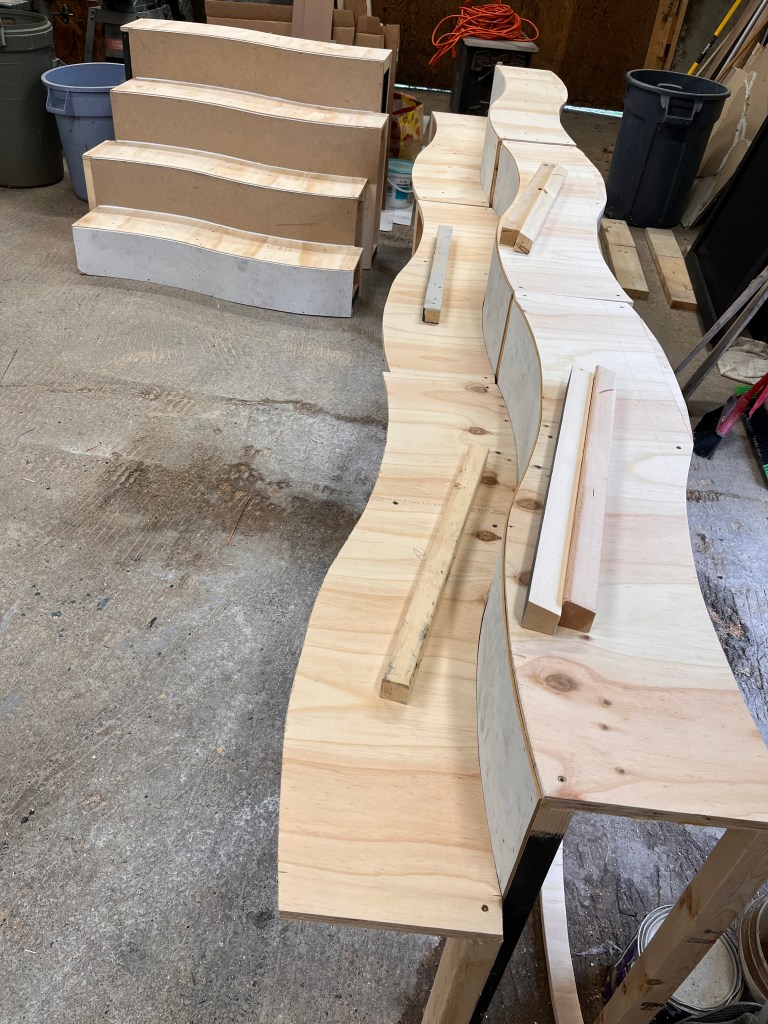
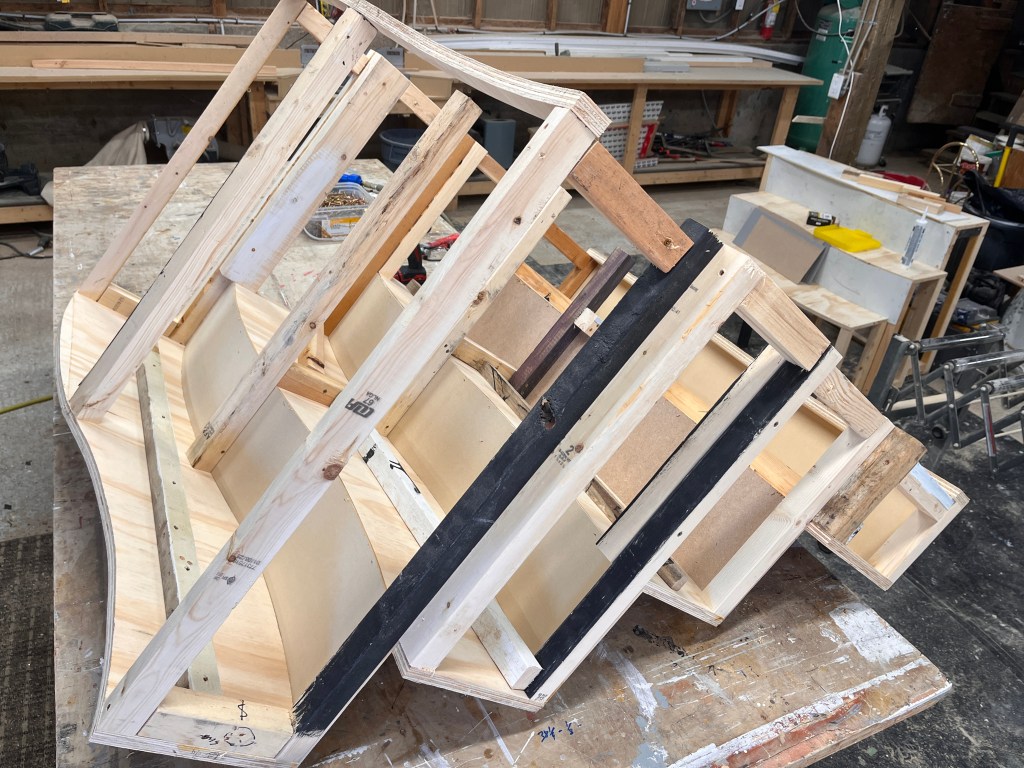
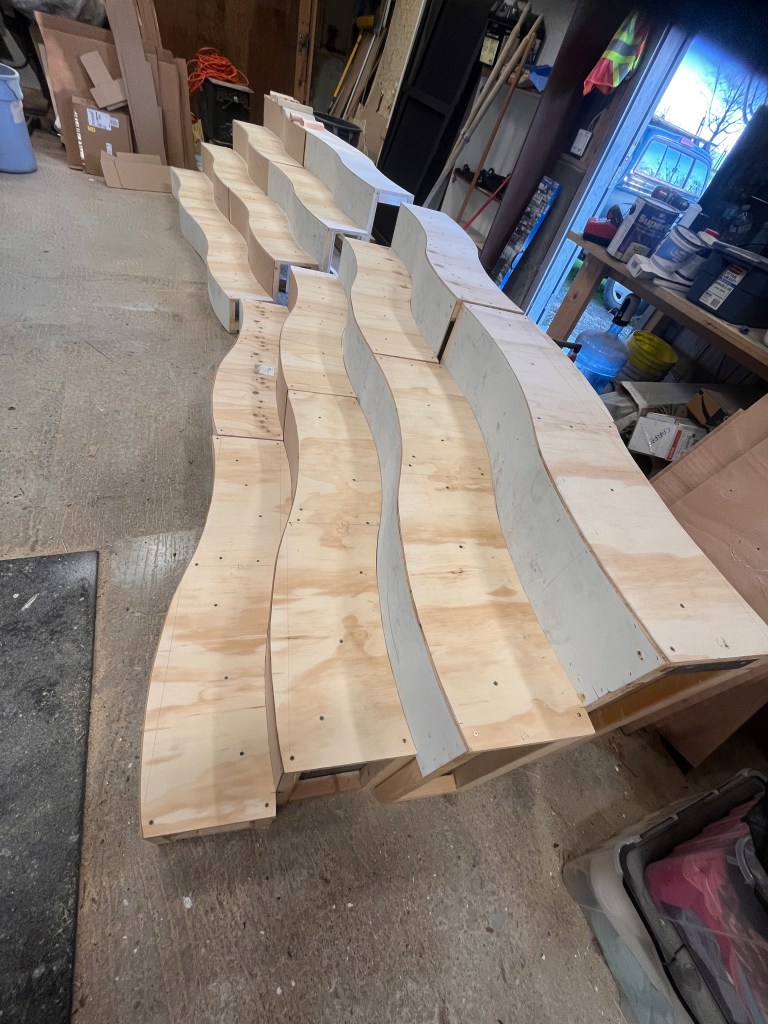
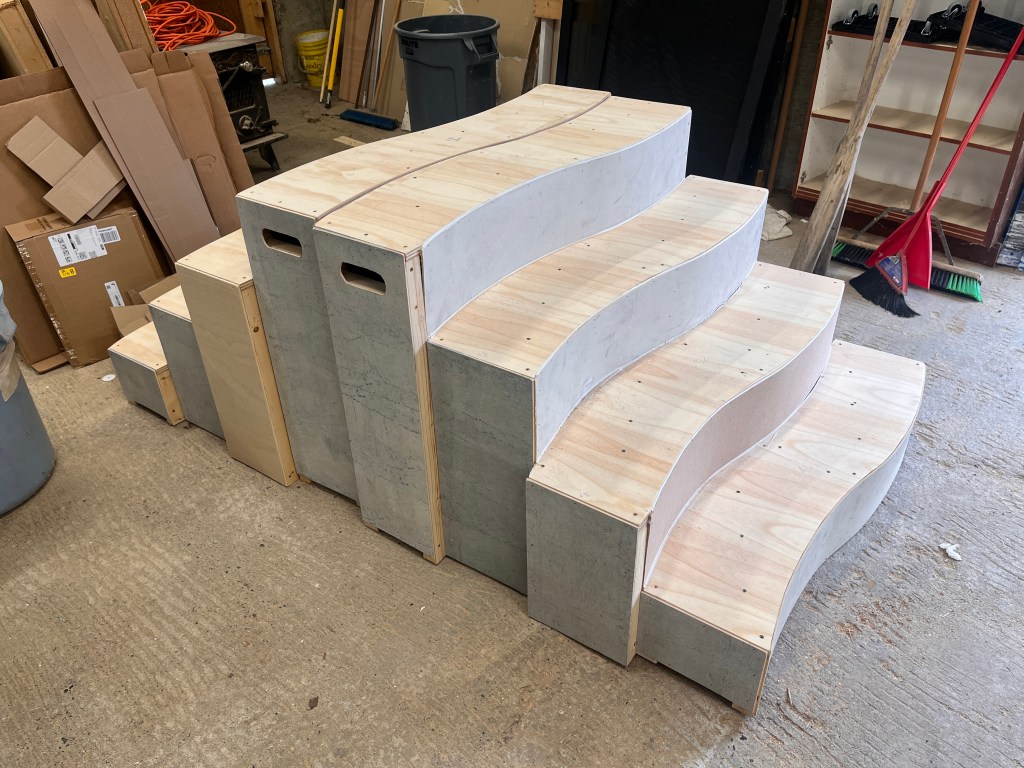
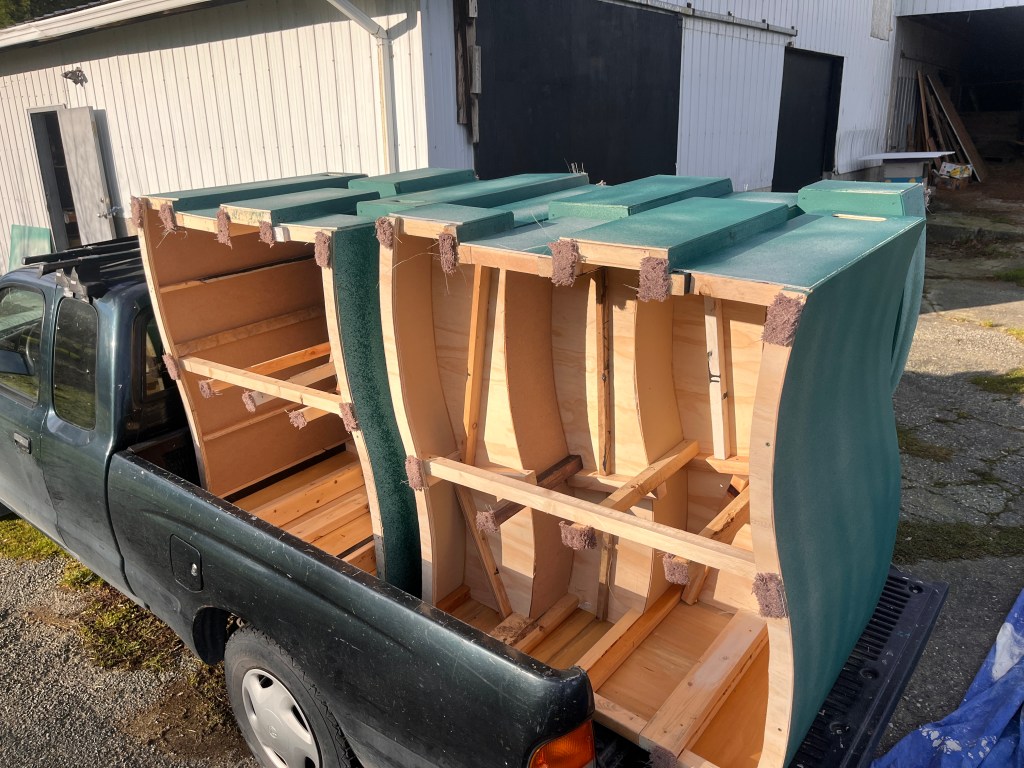
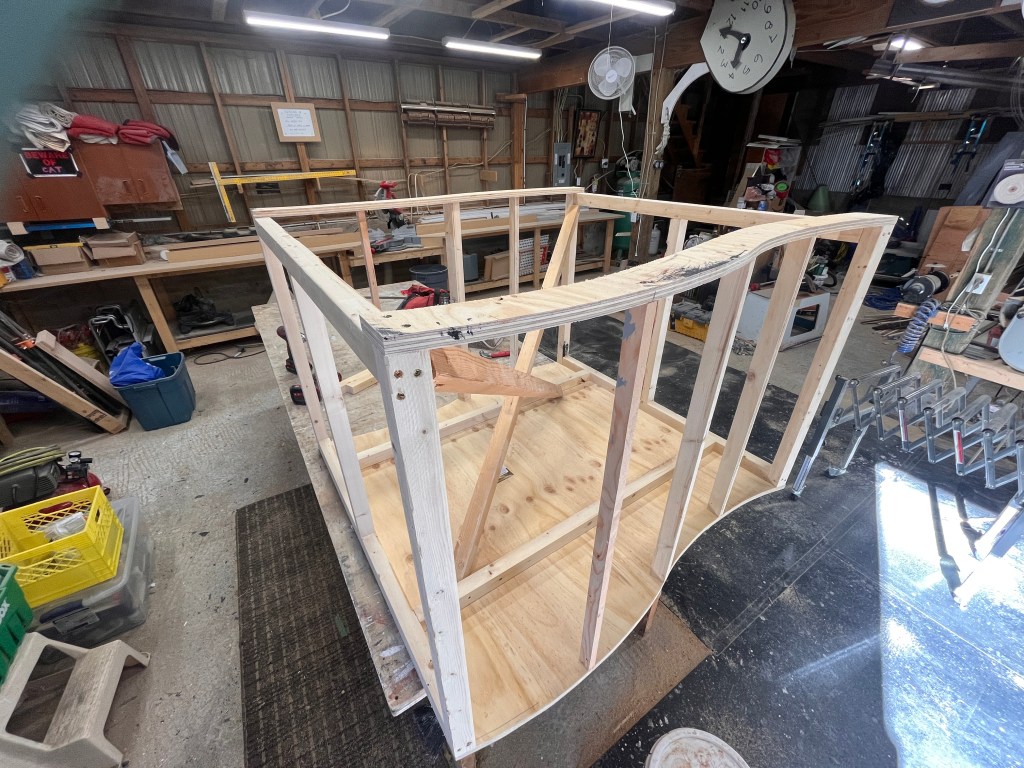
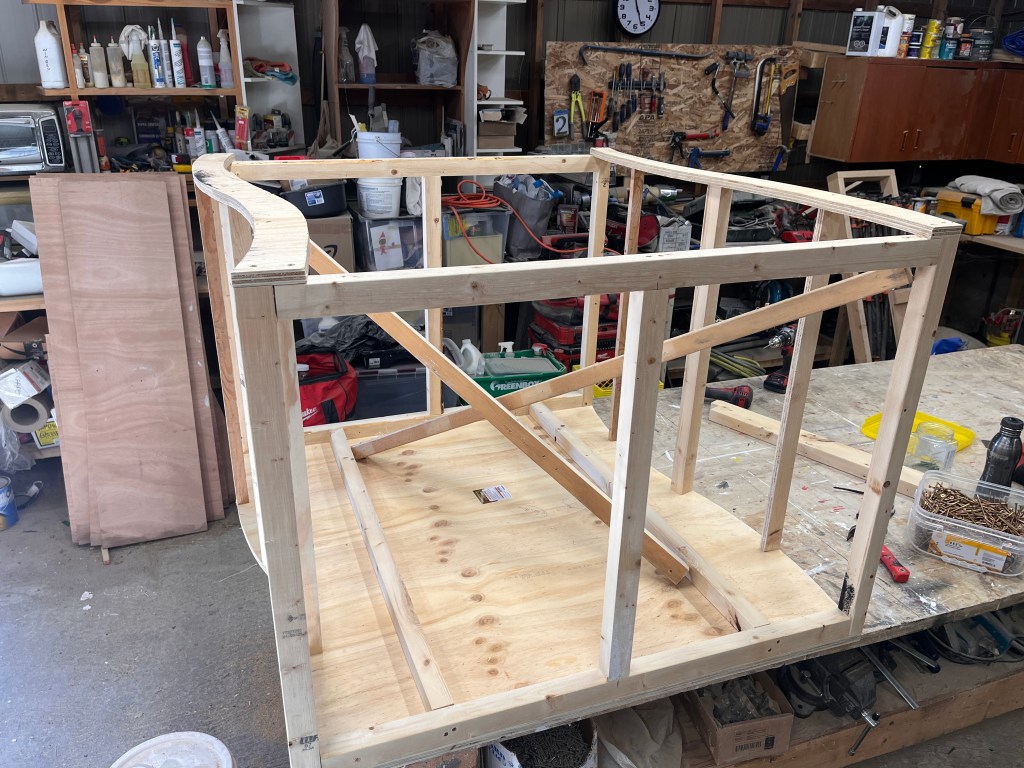
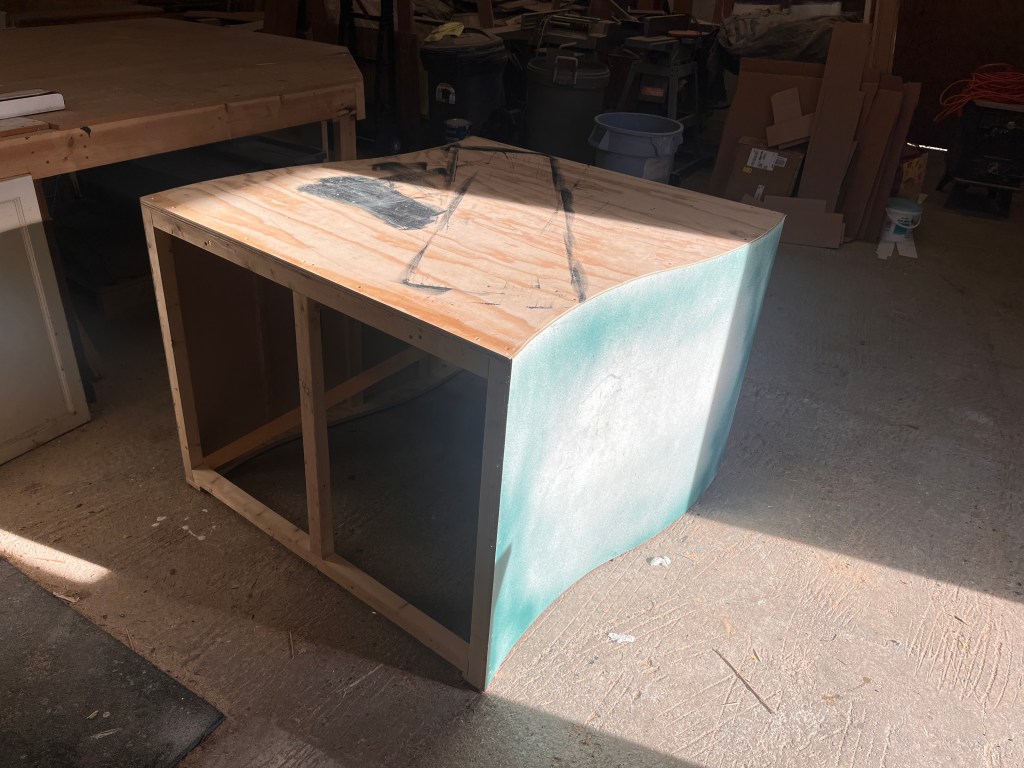
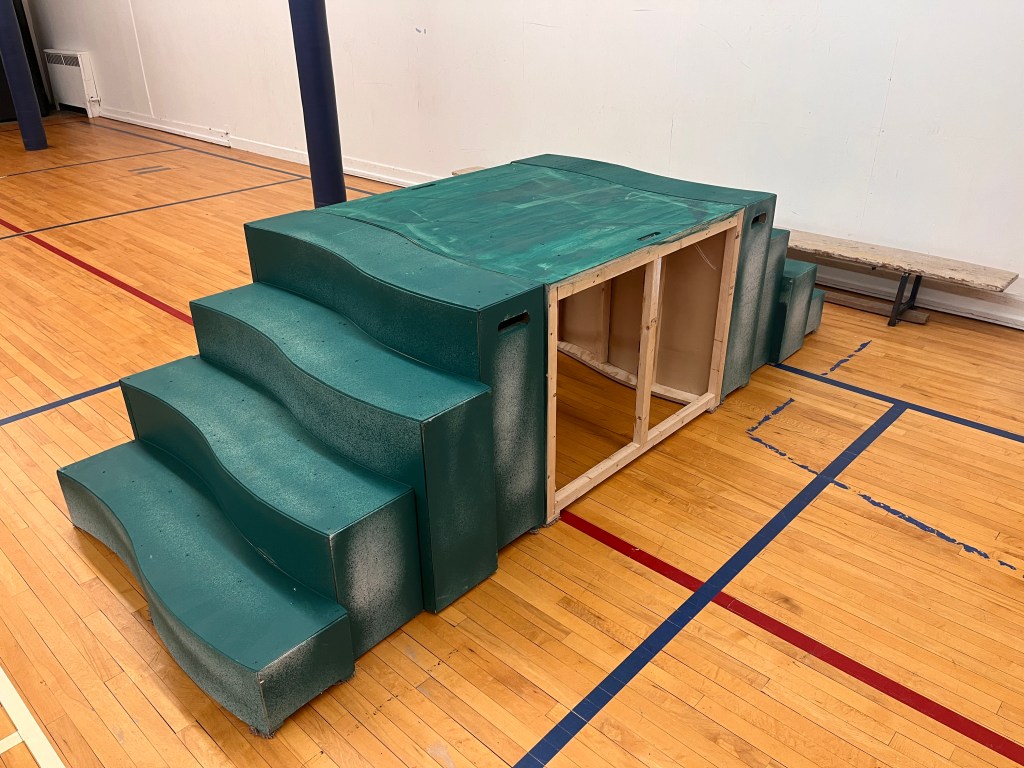
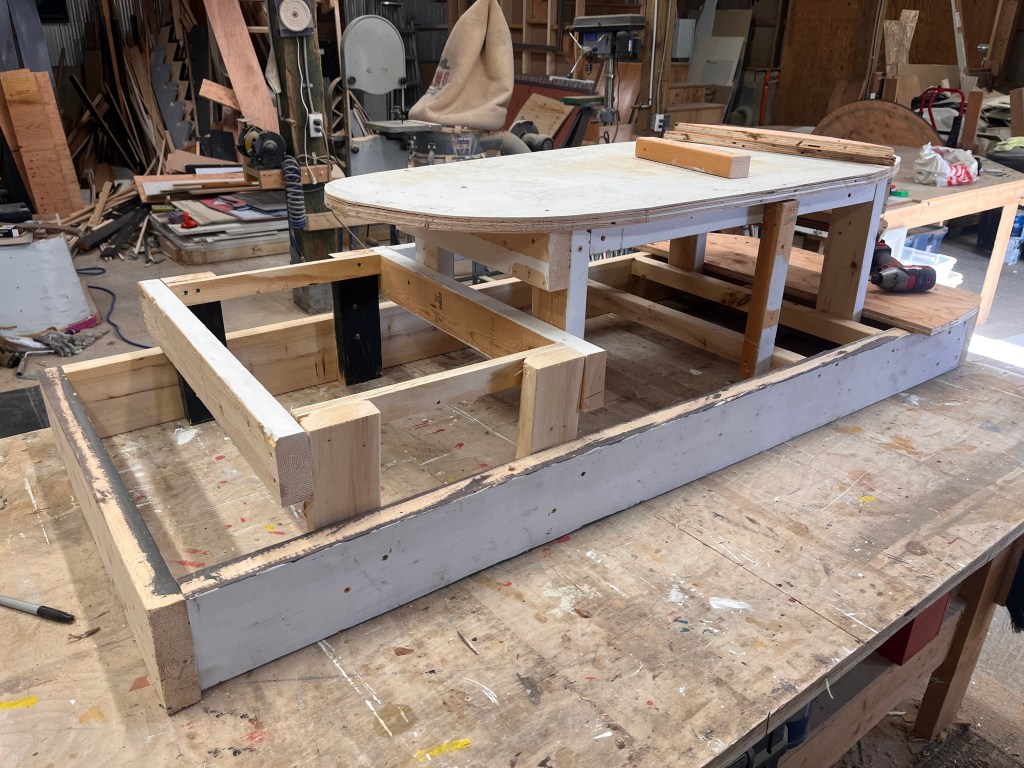
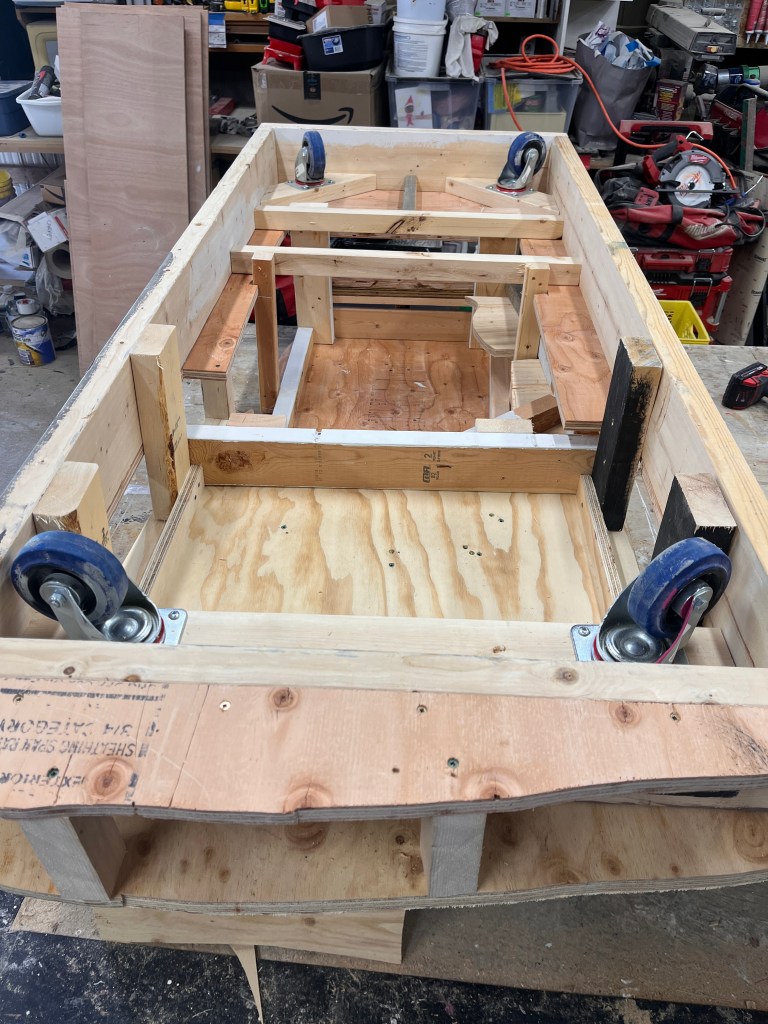
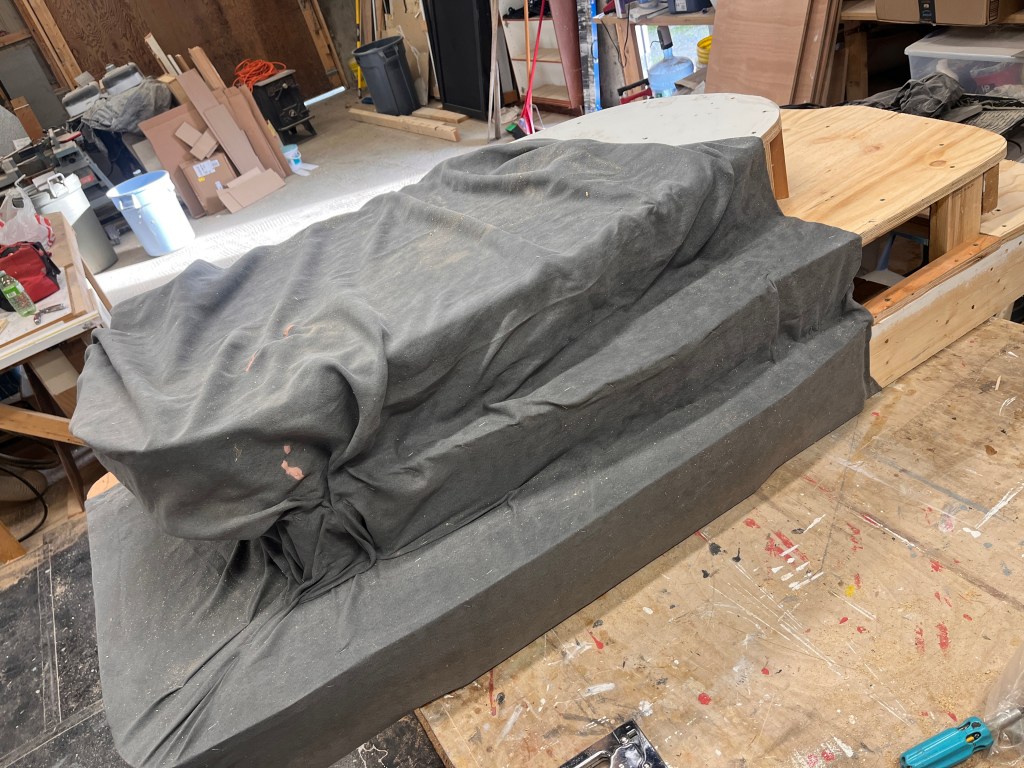
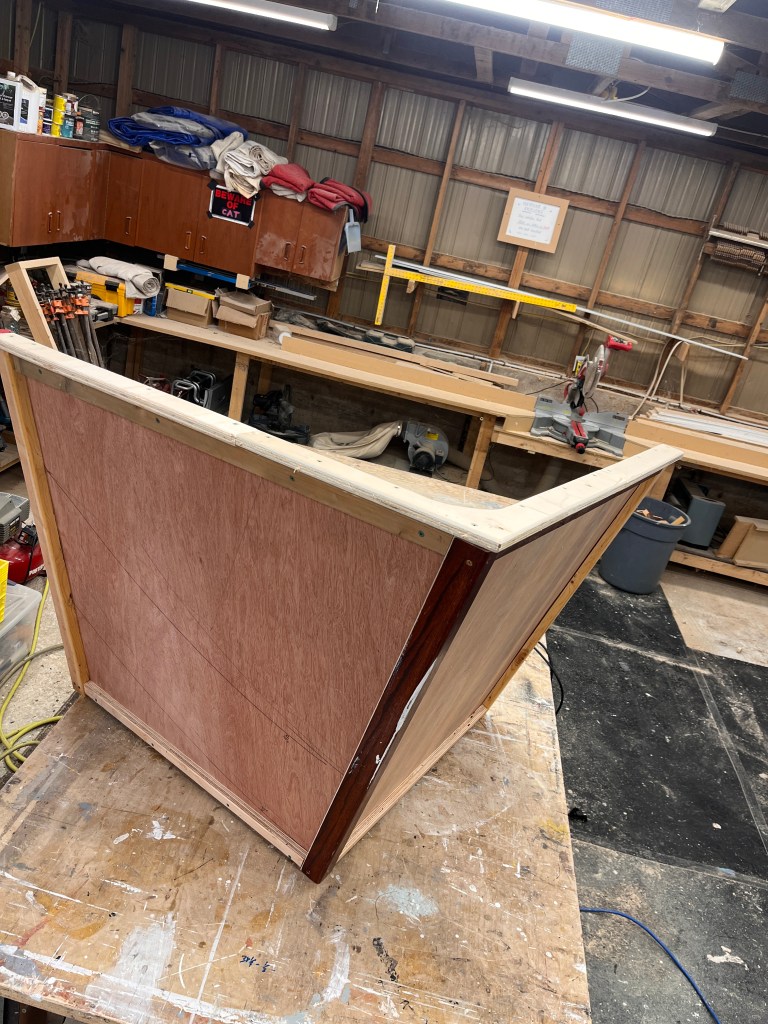
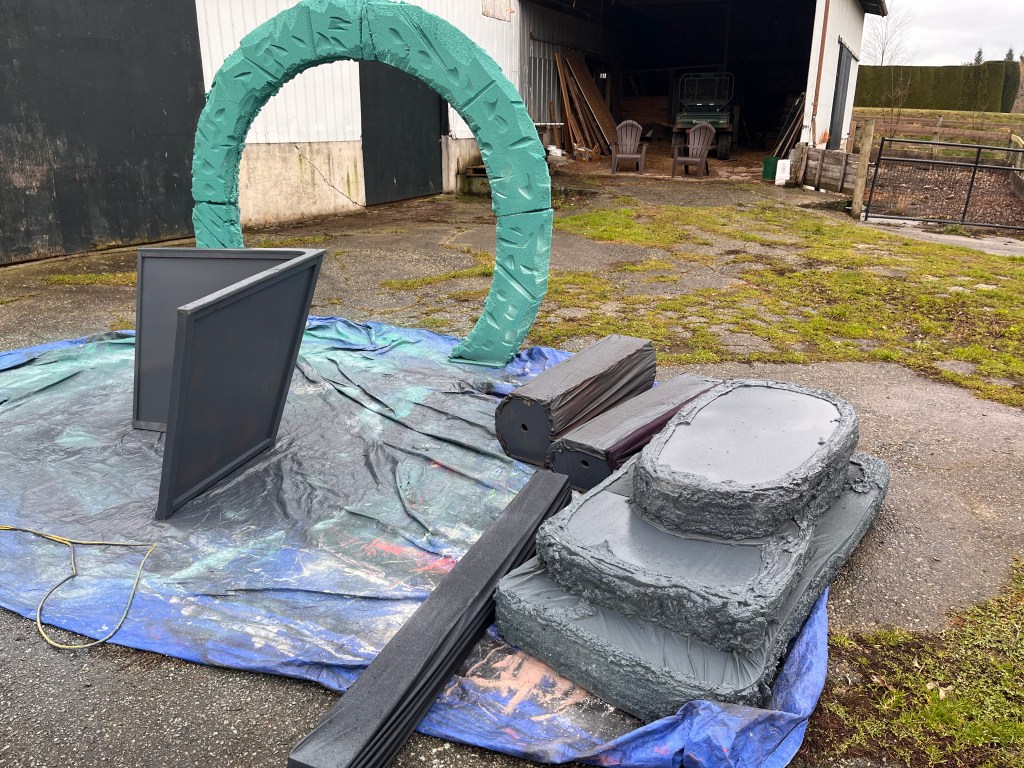
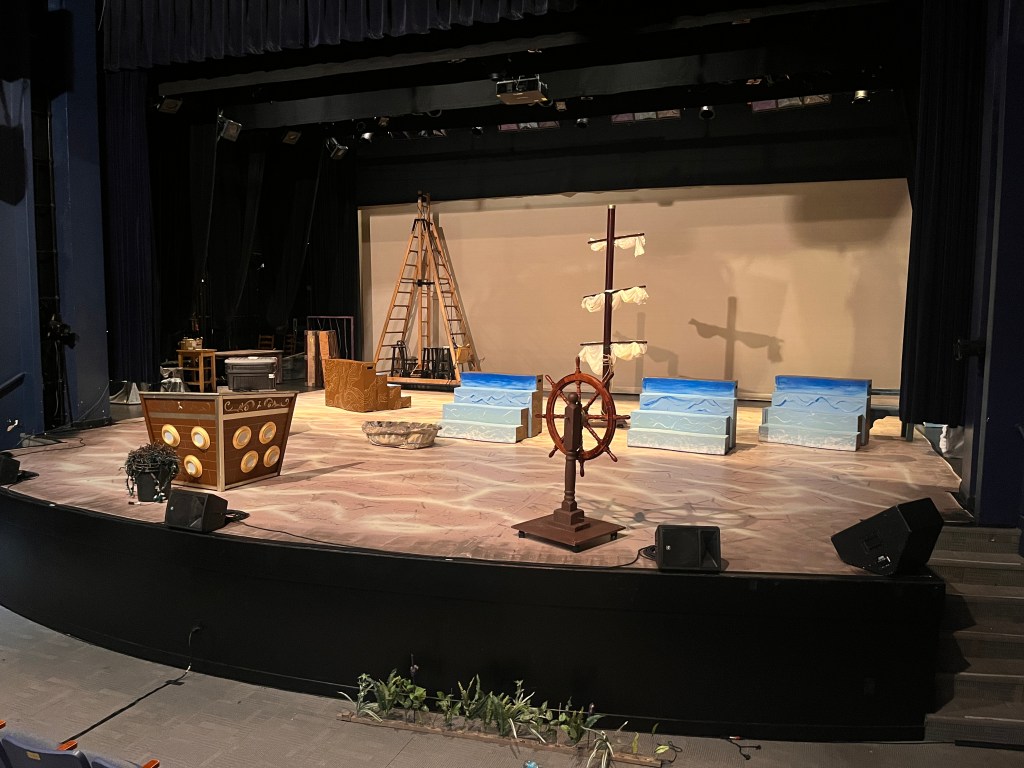
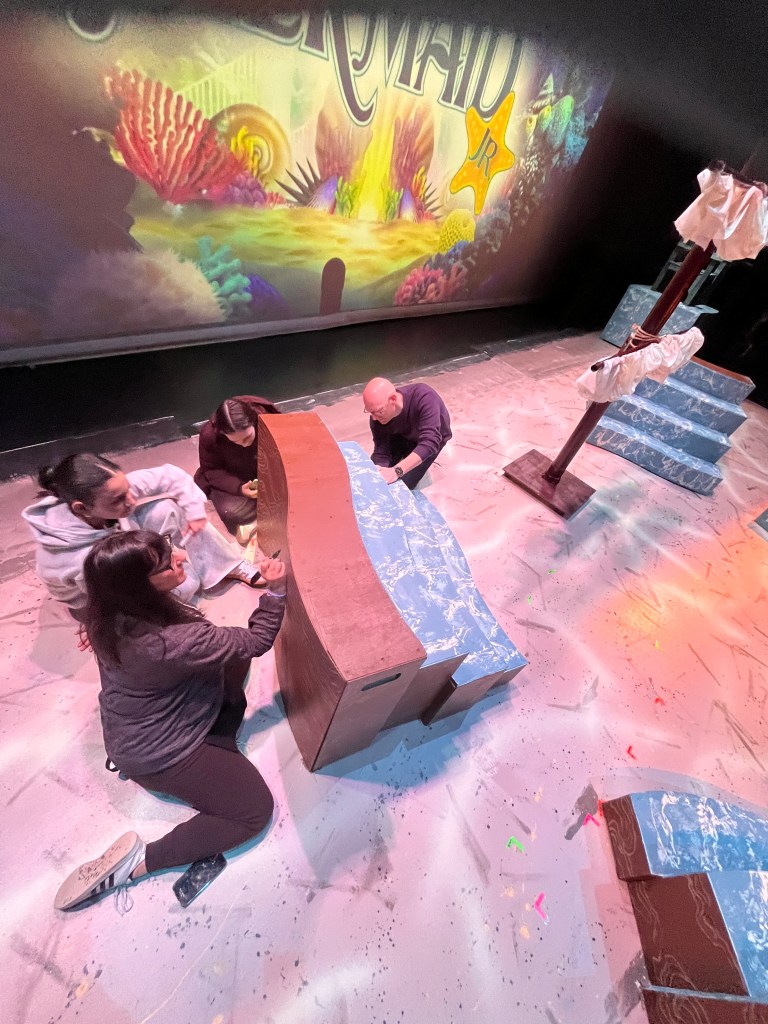
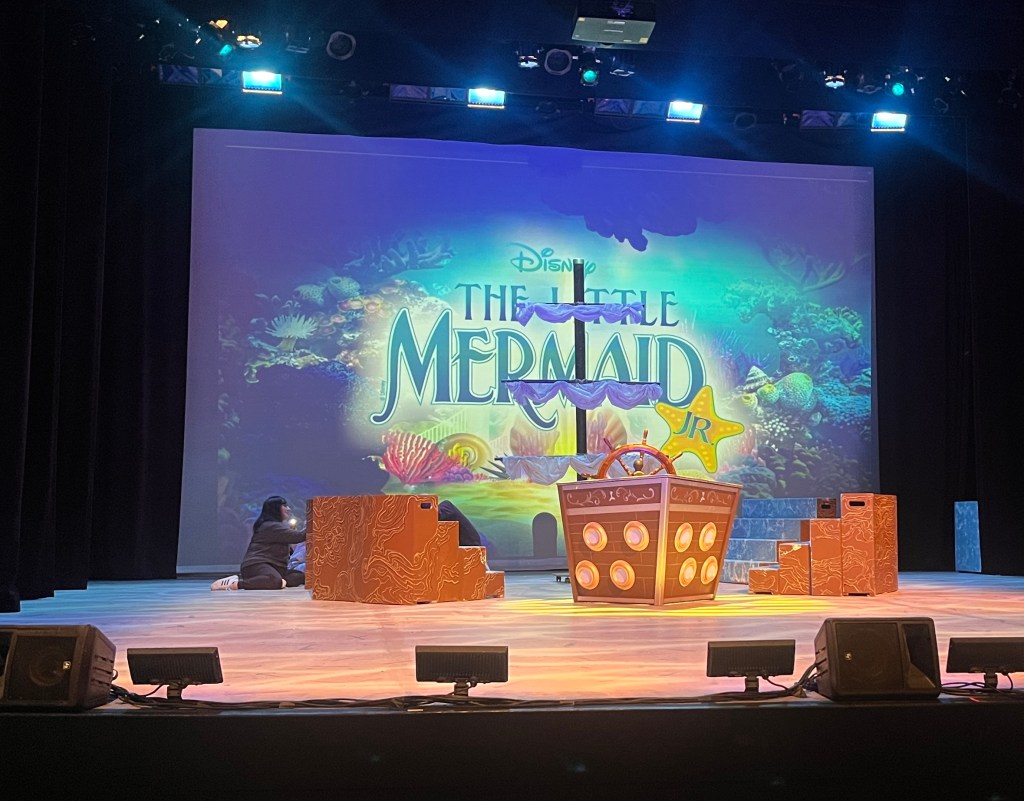
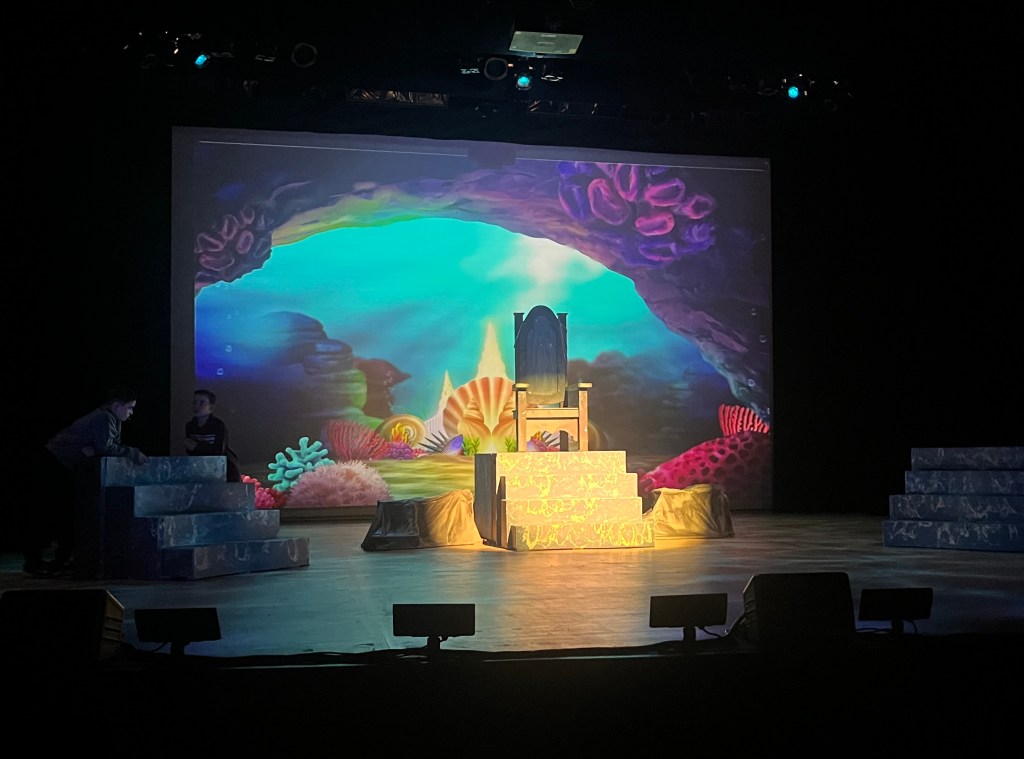
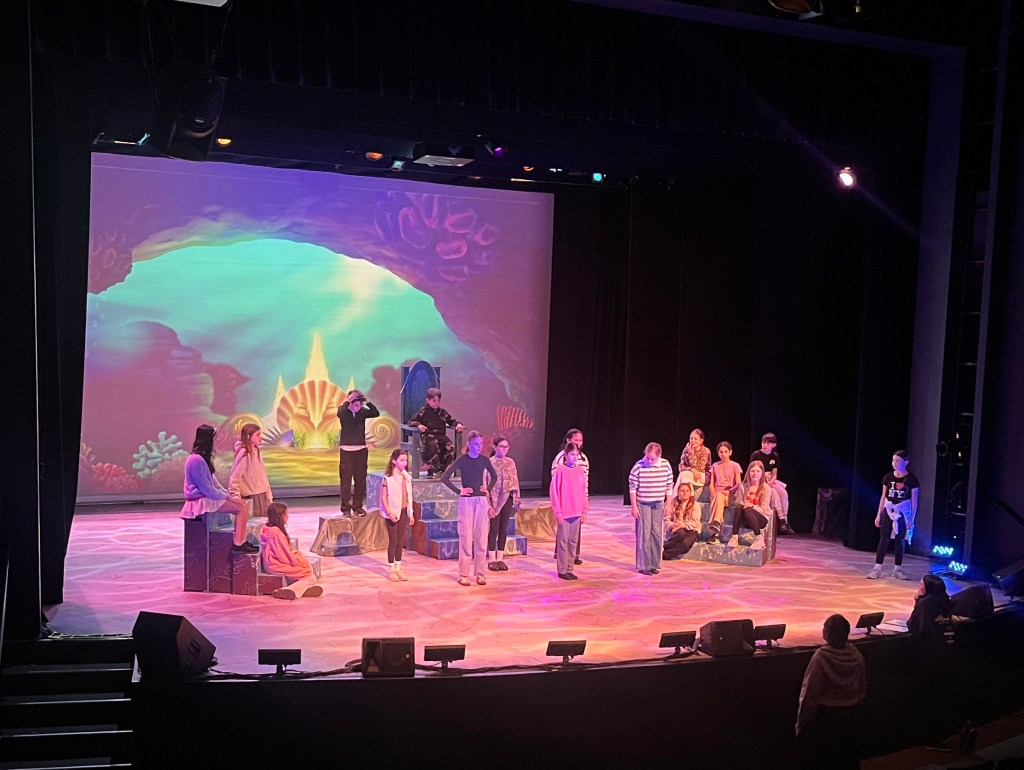
The first main thing to build for rehearsals were the stairs. There are 4 of them and I am quite proud of them. They are wavy, interlocking, and fit together with a wavy platform as well. Their main purpose was to give levels for the many performers. But they were versatile as they could be used for the sides of the ship, and the various palaces.


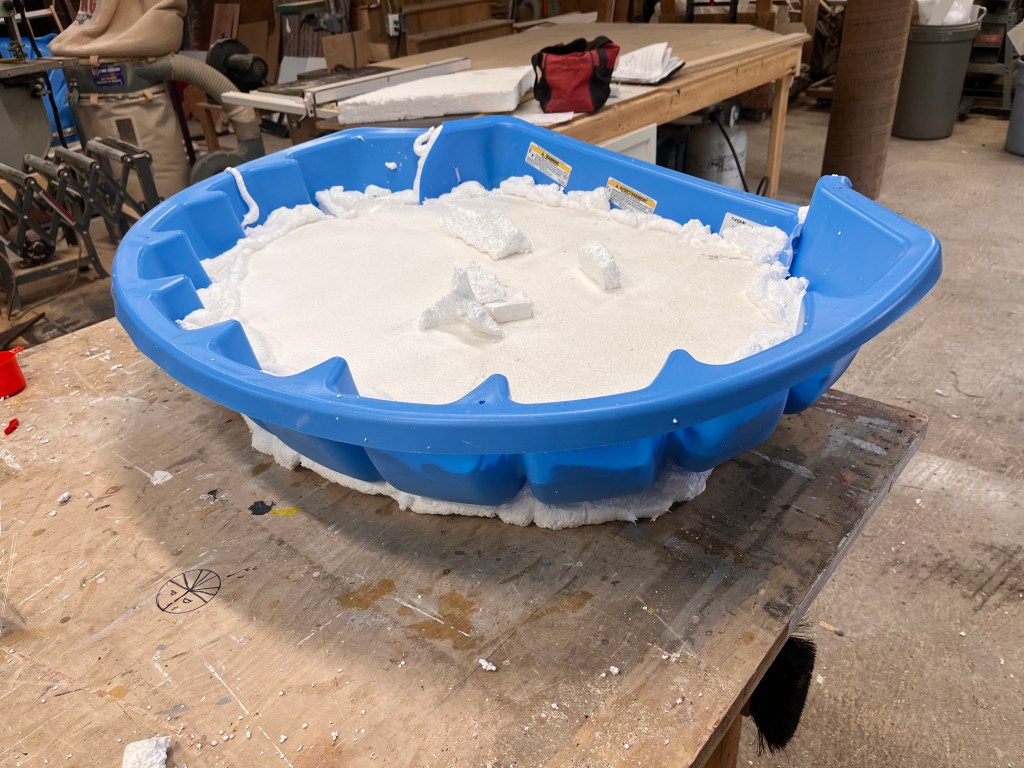
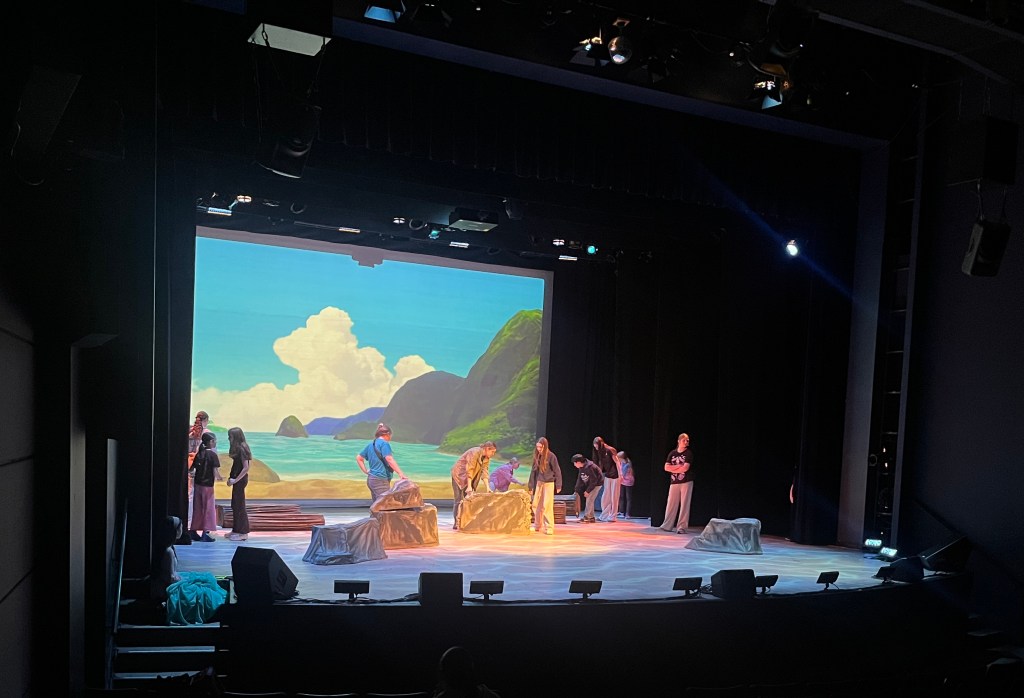
I then made a large rock on casters. (I also provided 5 other lighter rocks that I had made for Anne)
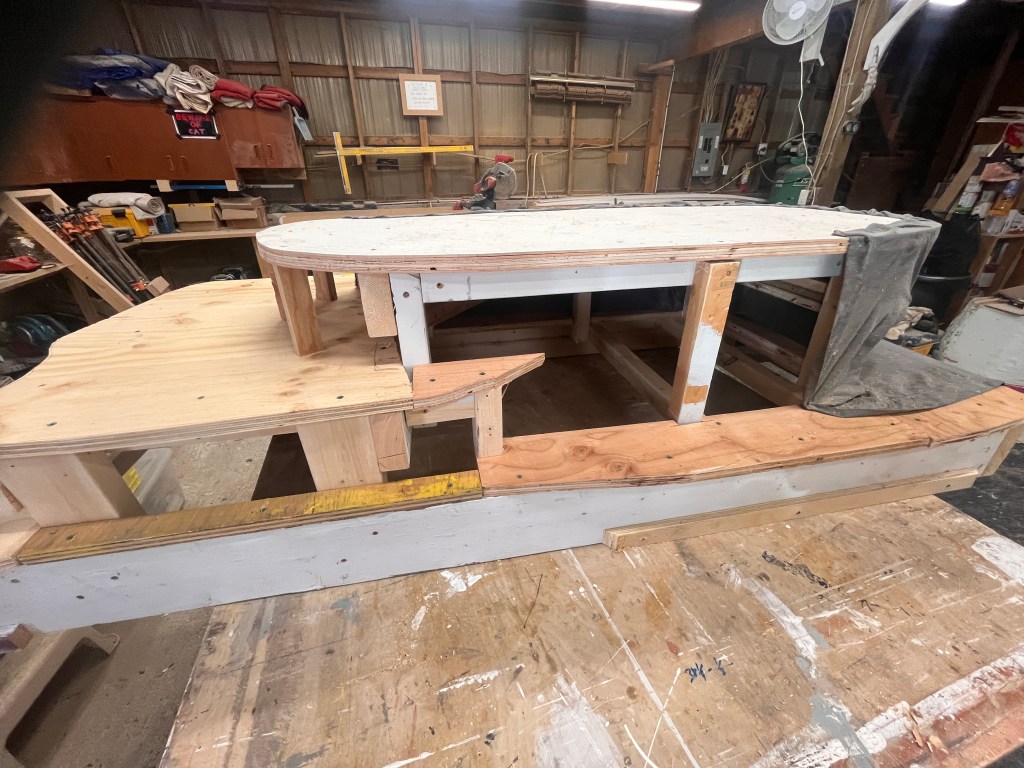

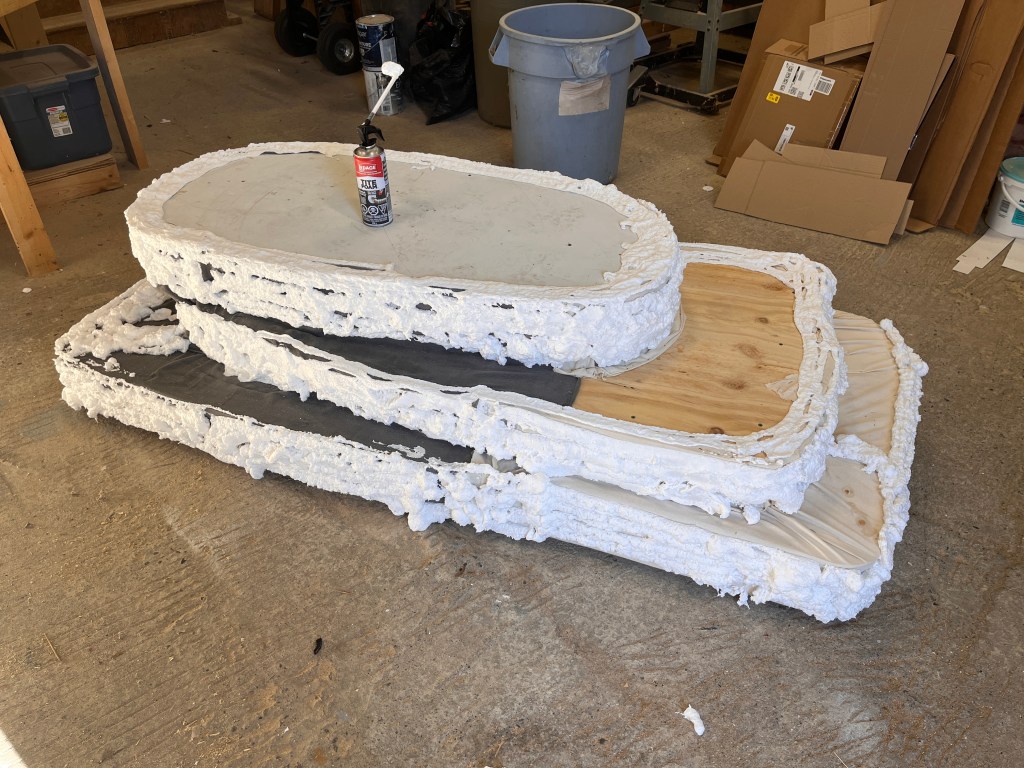
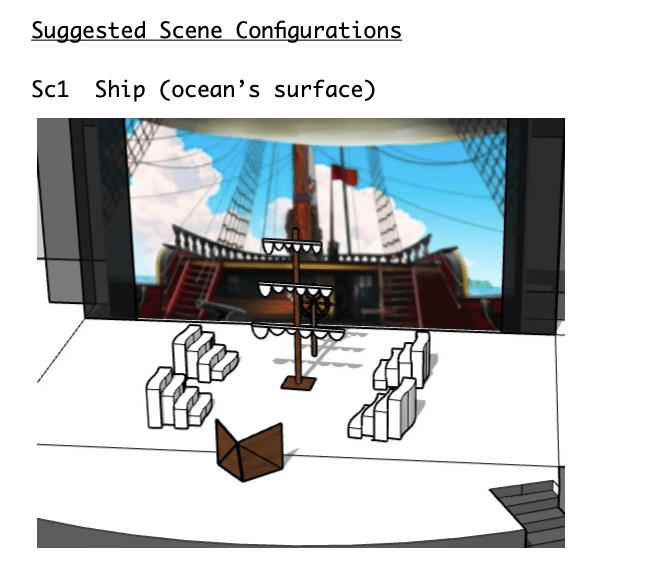
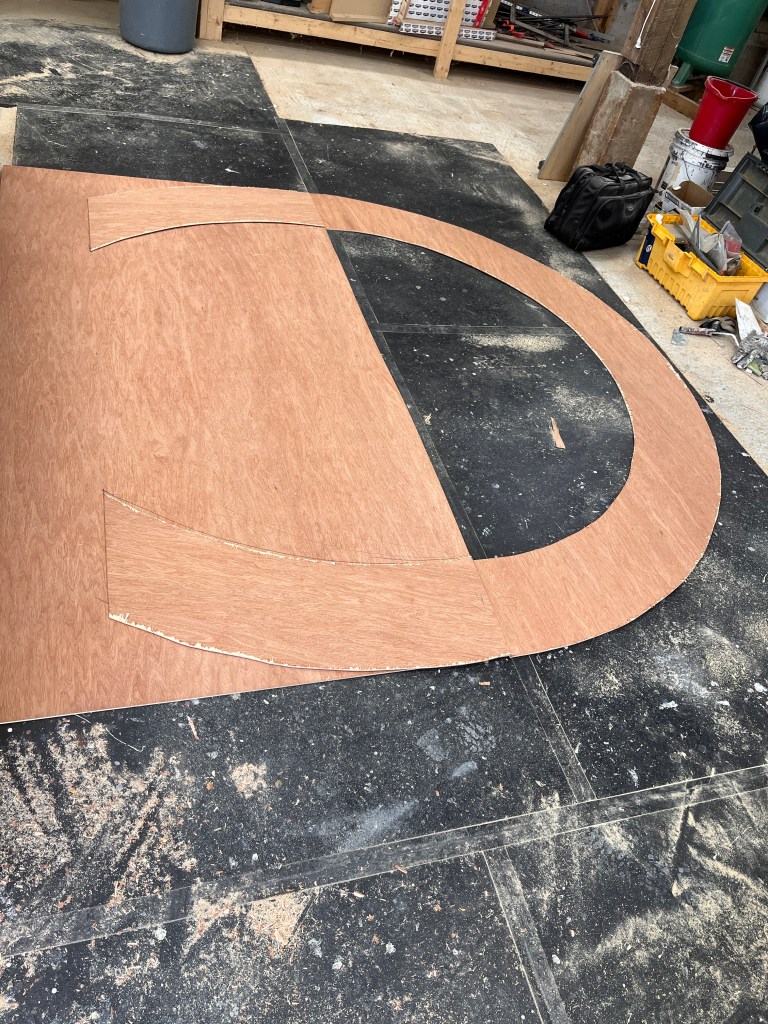
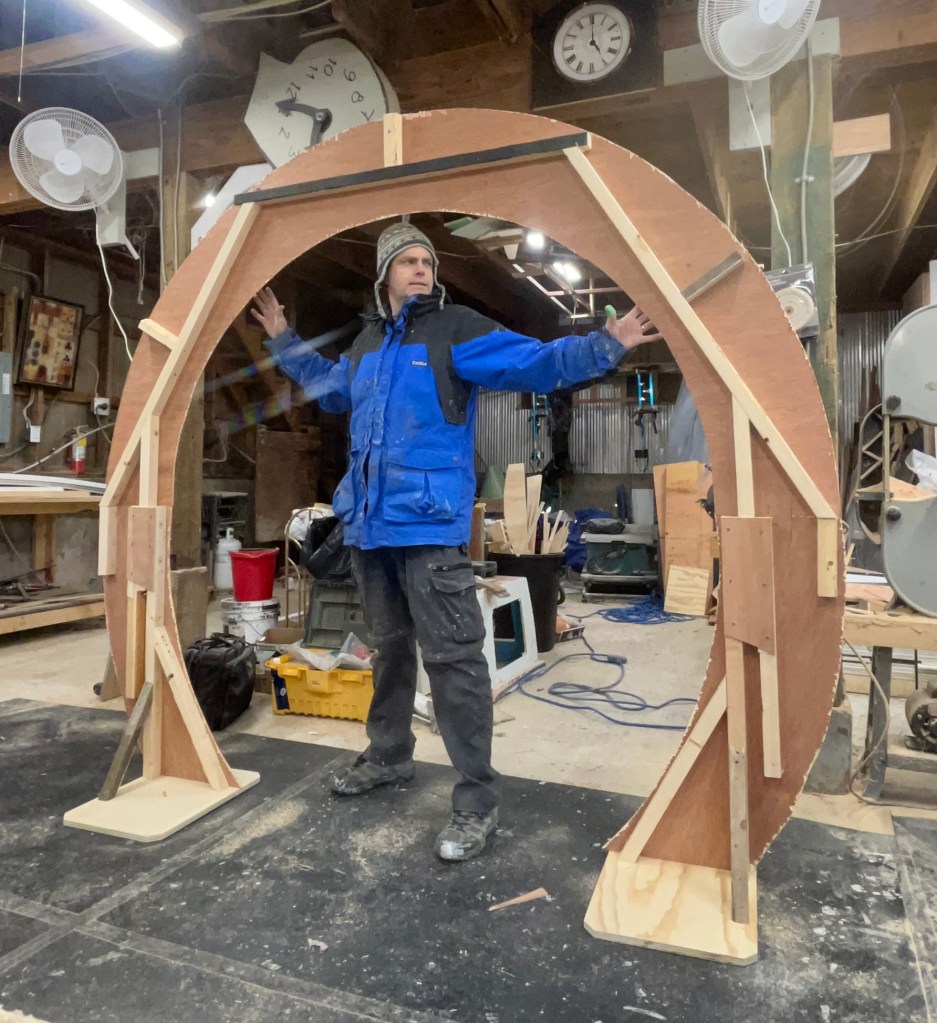
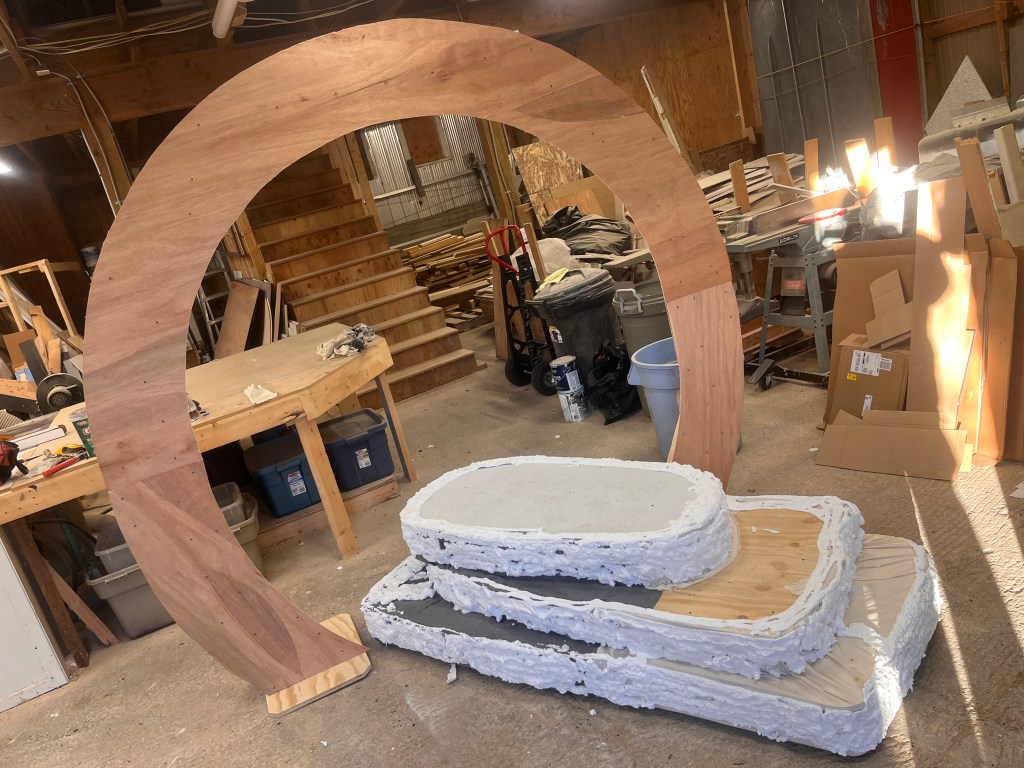
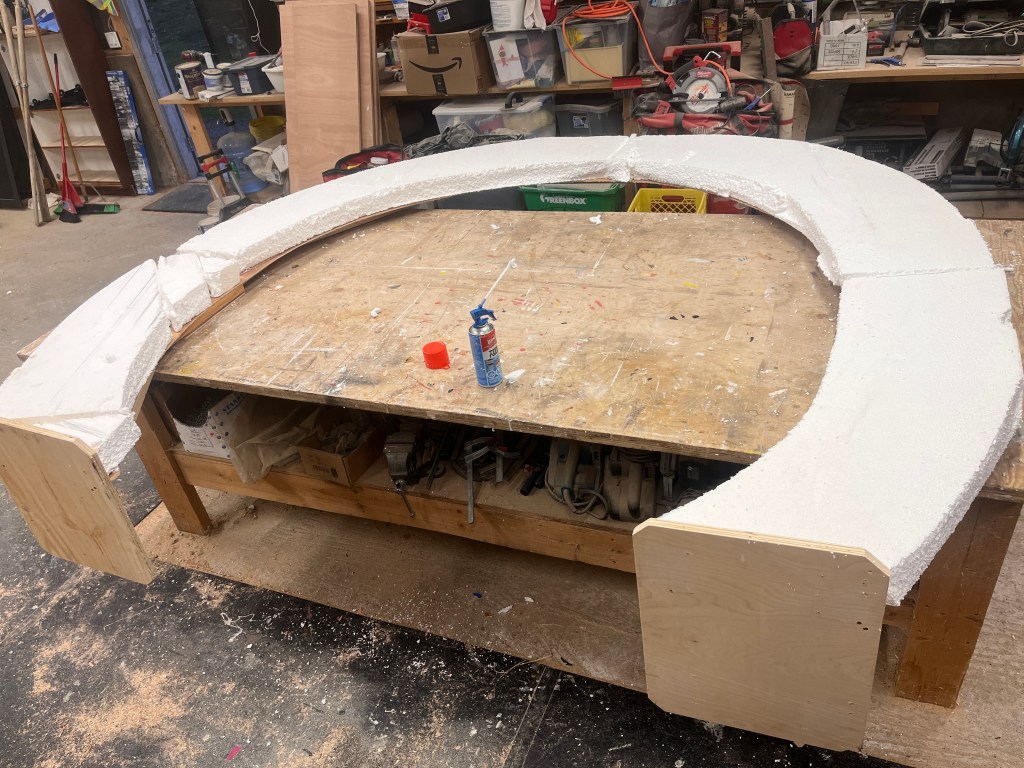
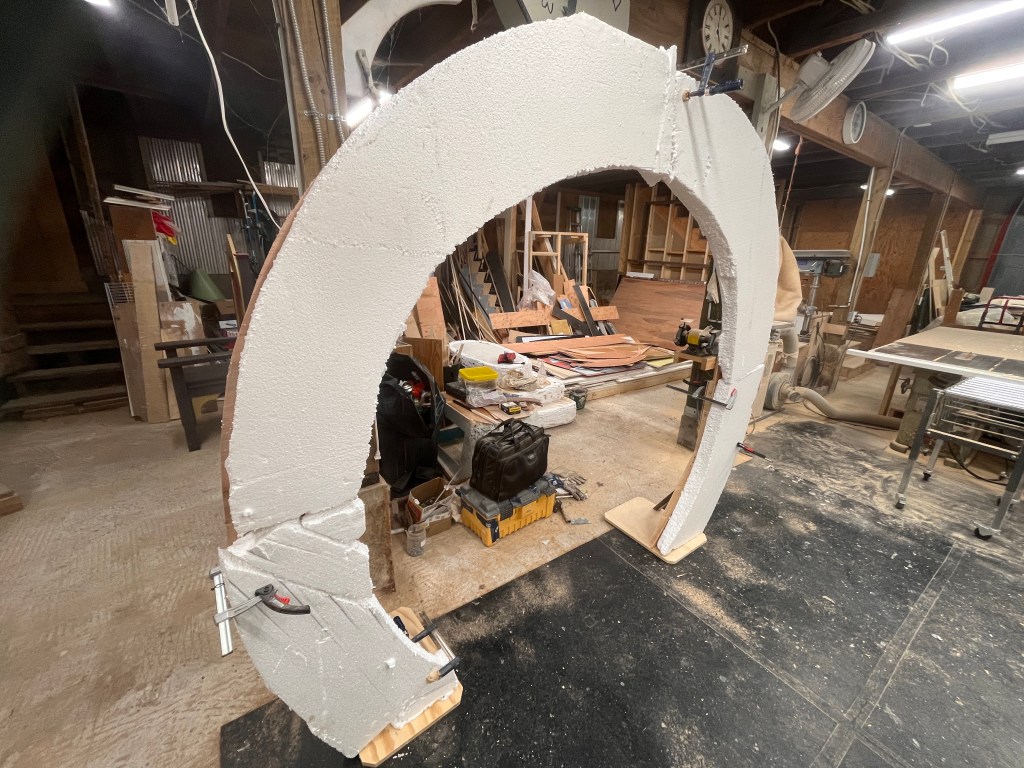
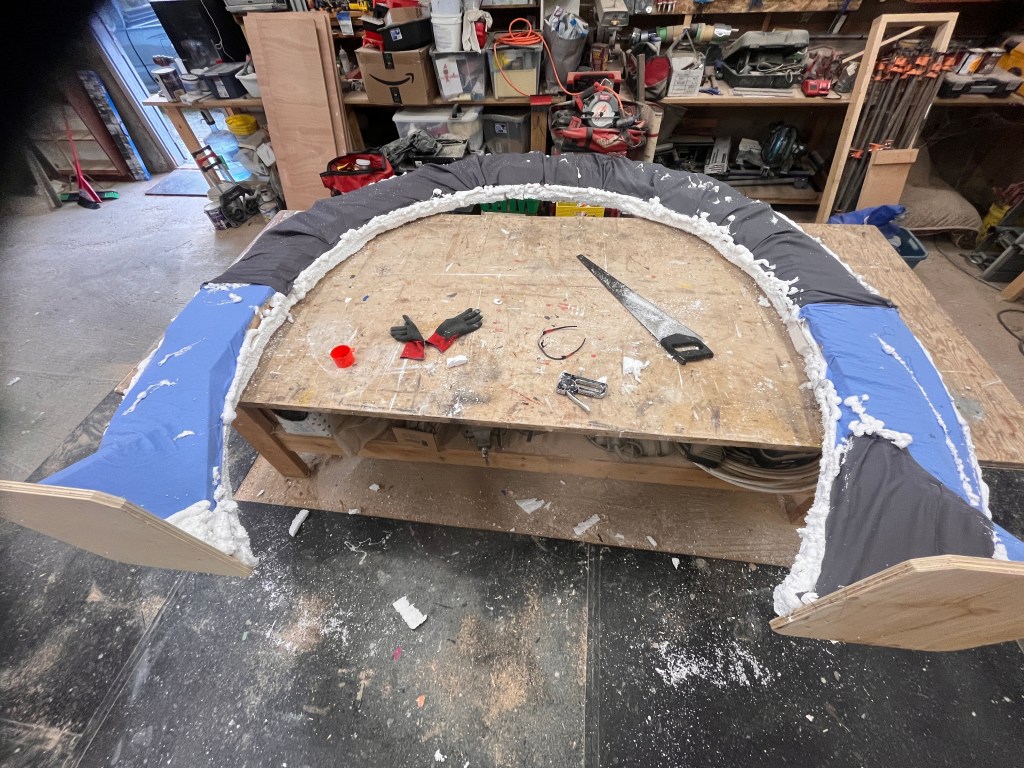
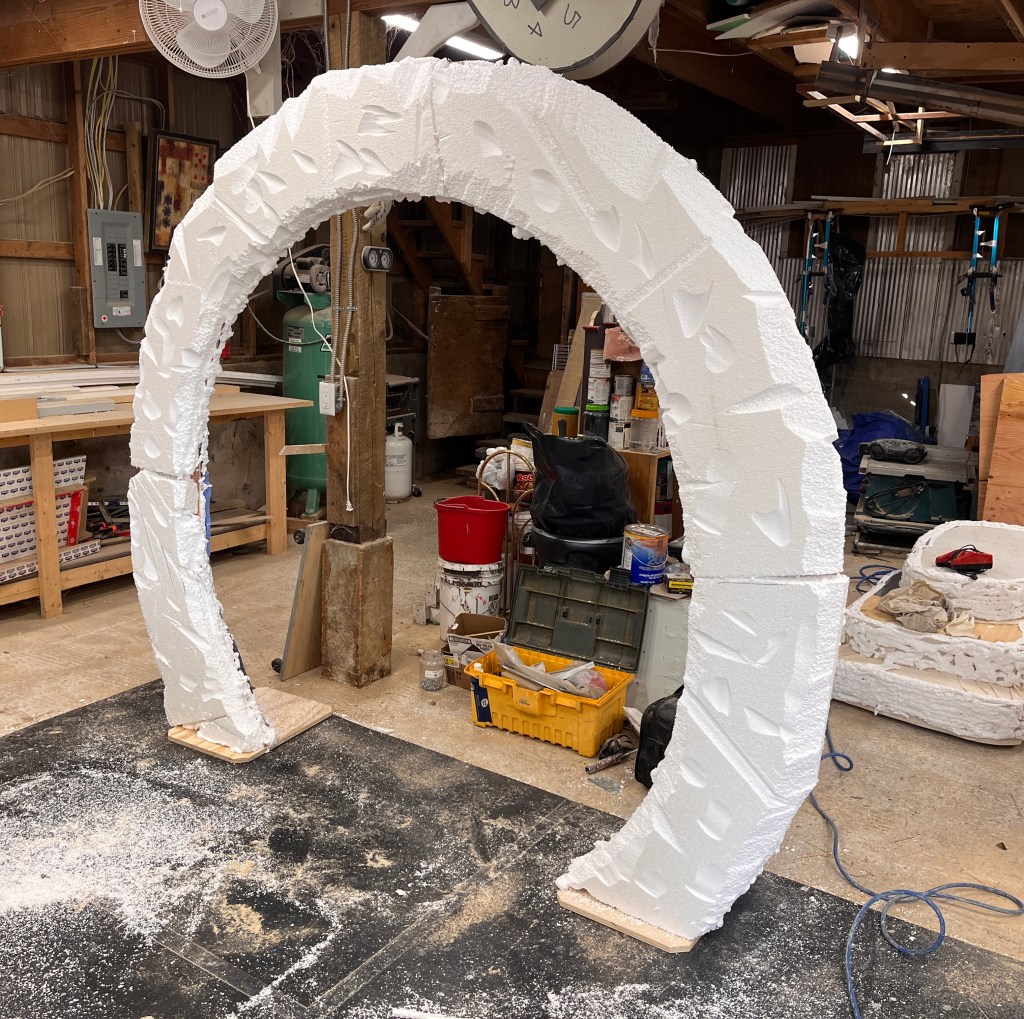
The next project was a custom styrofoam arch and a ship’s hull. I used expanding spray foam to glue styrofoam to a 2×2 & luan frame. I then carved the styrofoam with a circular saw.
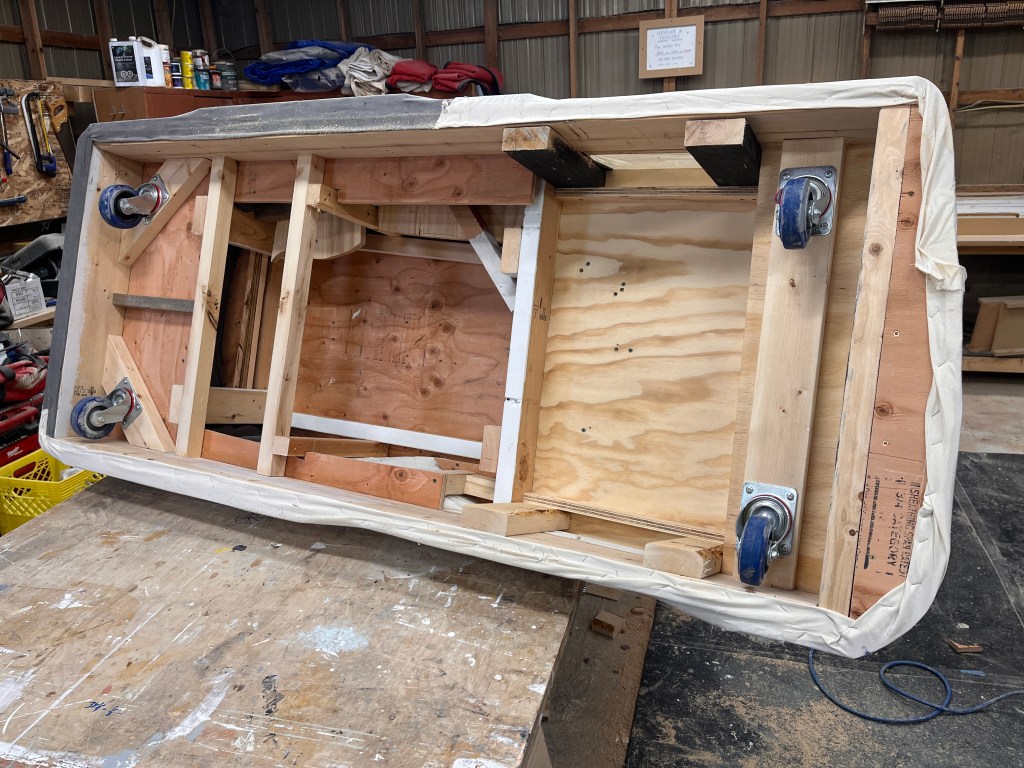
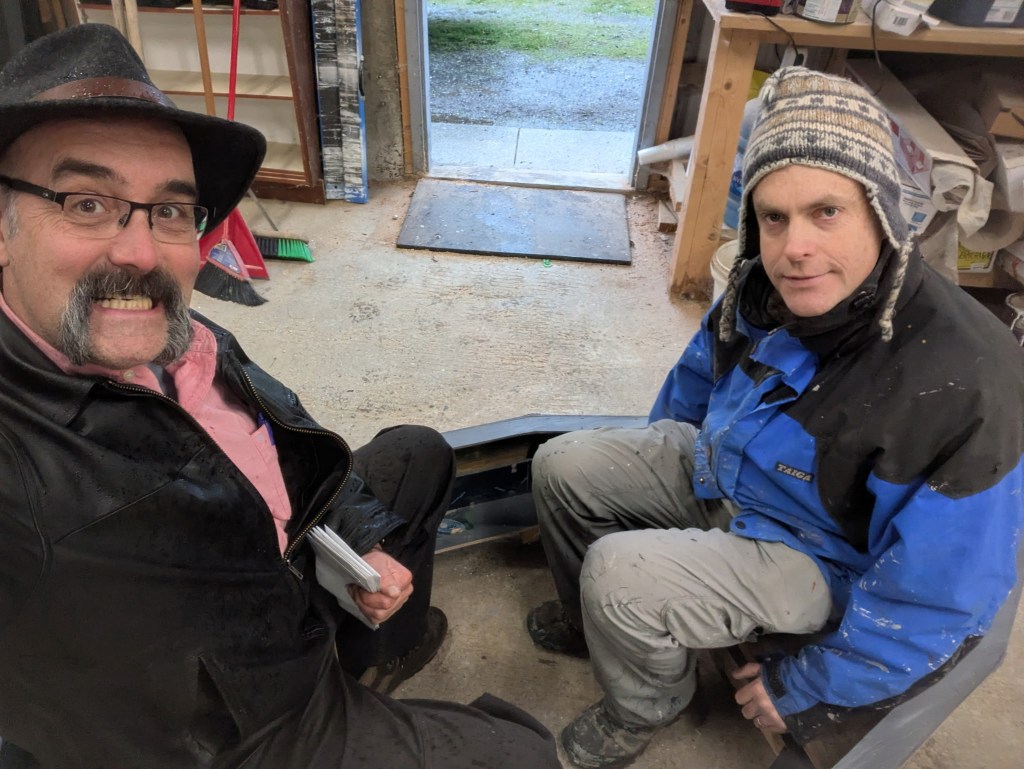
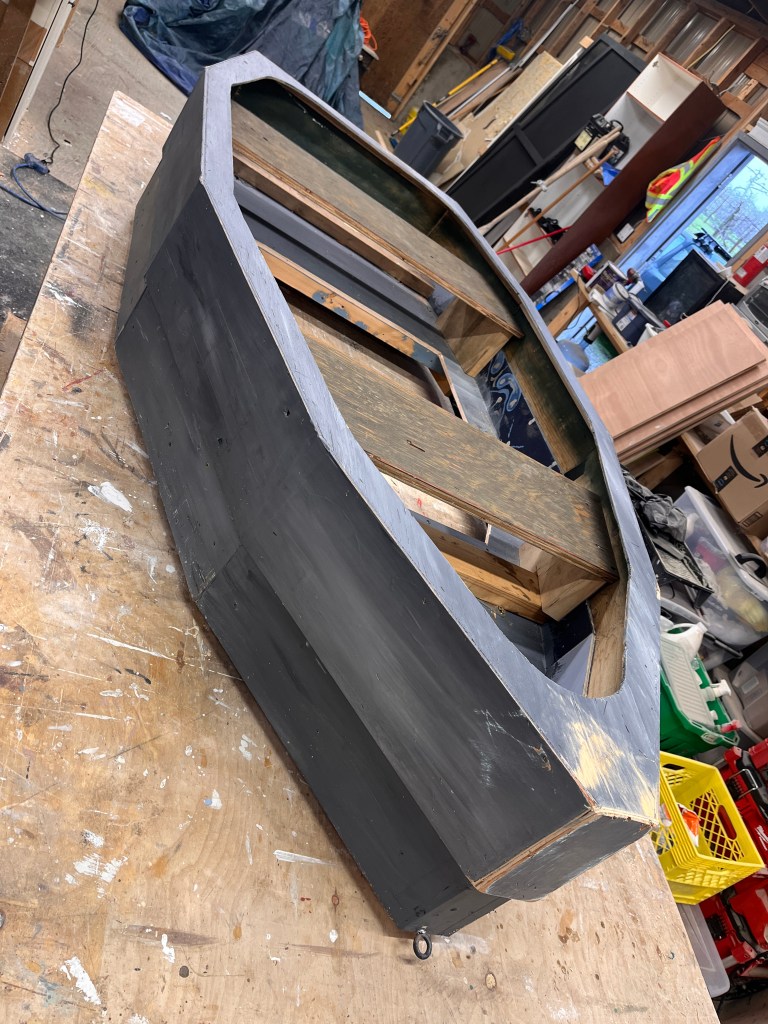
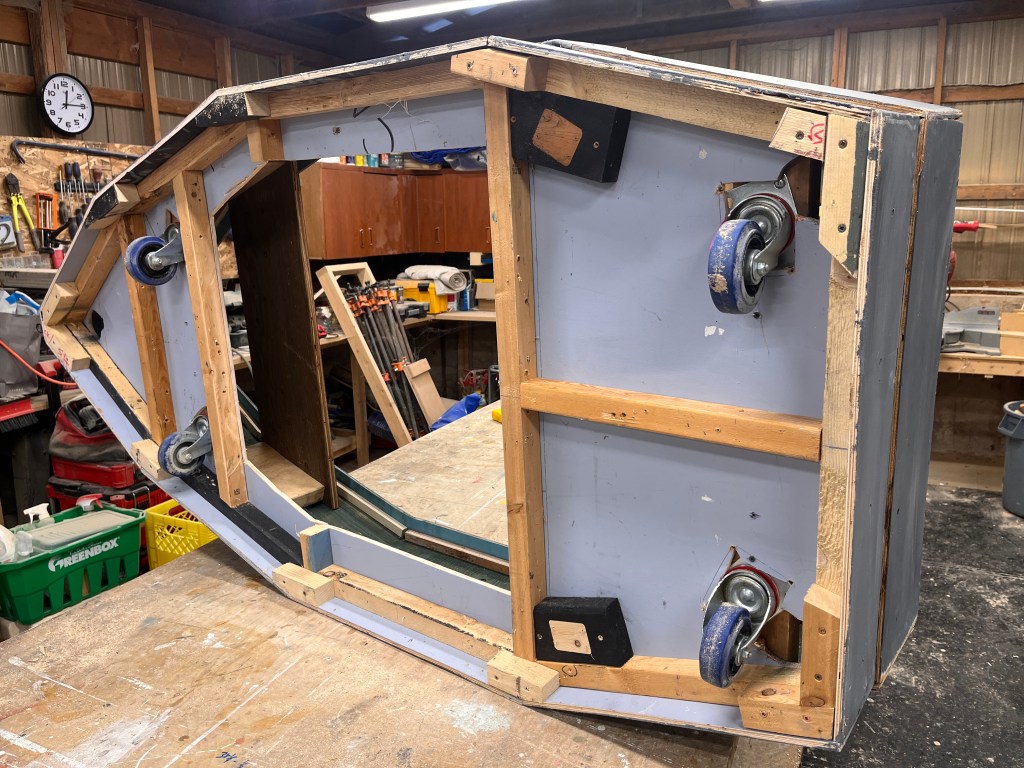
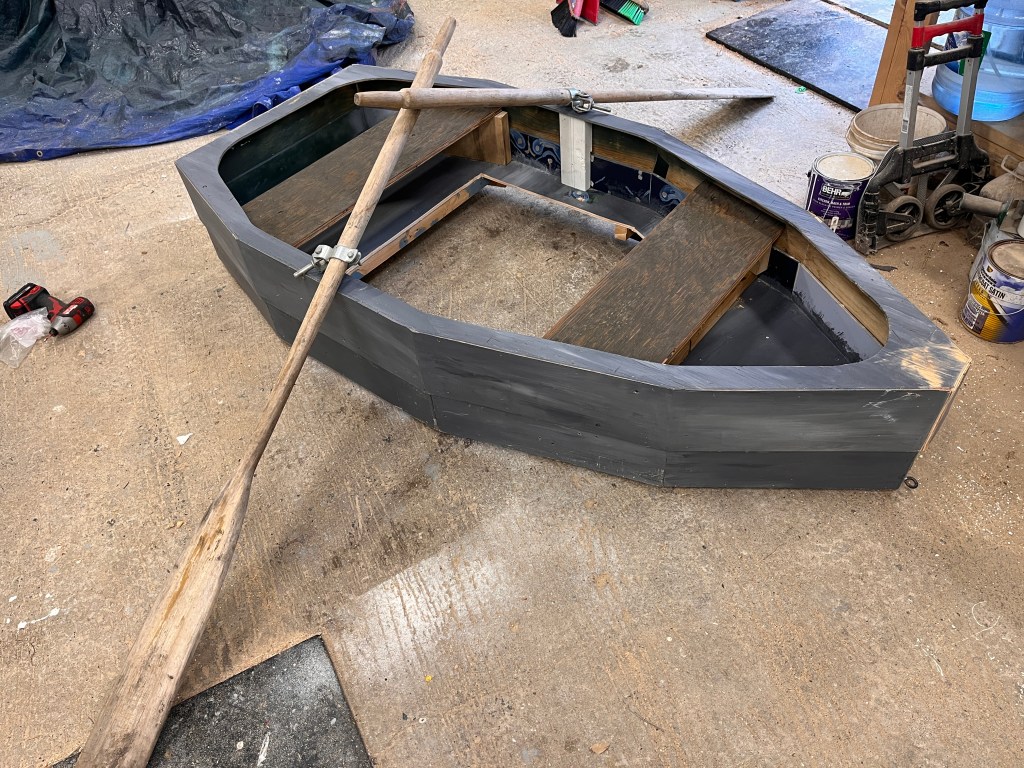
I modified the boat I made for Anne into a row-able boat. Dave and I went fishing with it, in the workshop. Later the school requested I make it higher because the actor’s knees were visible moving (it was foot propelled). I did make it higher, but felt it did ruin the effect a bit because it was so high.
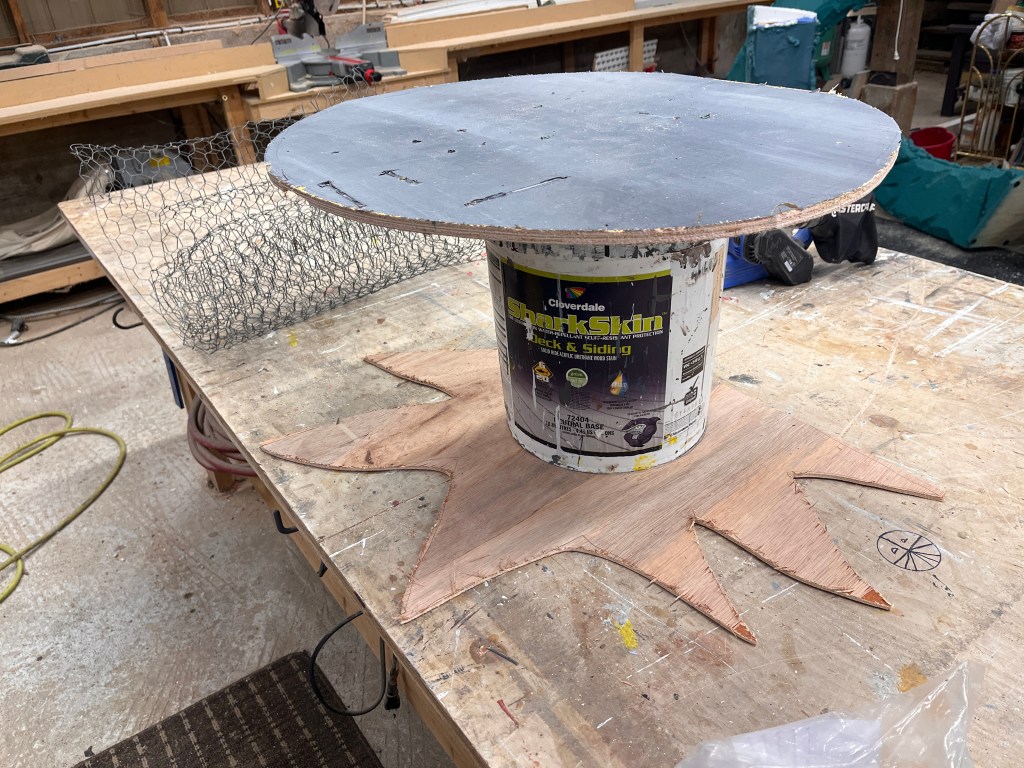
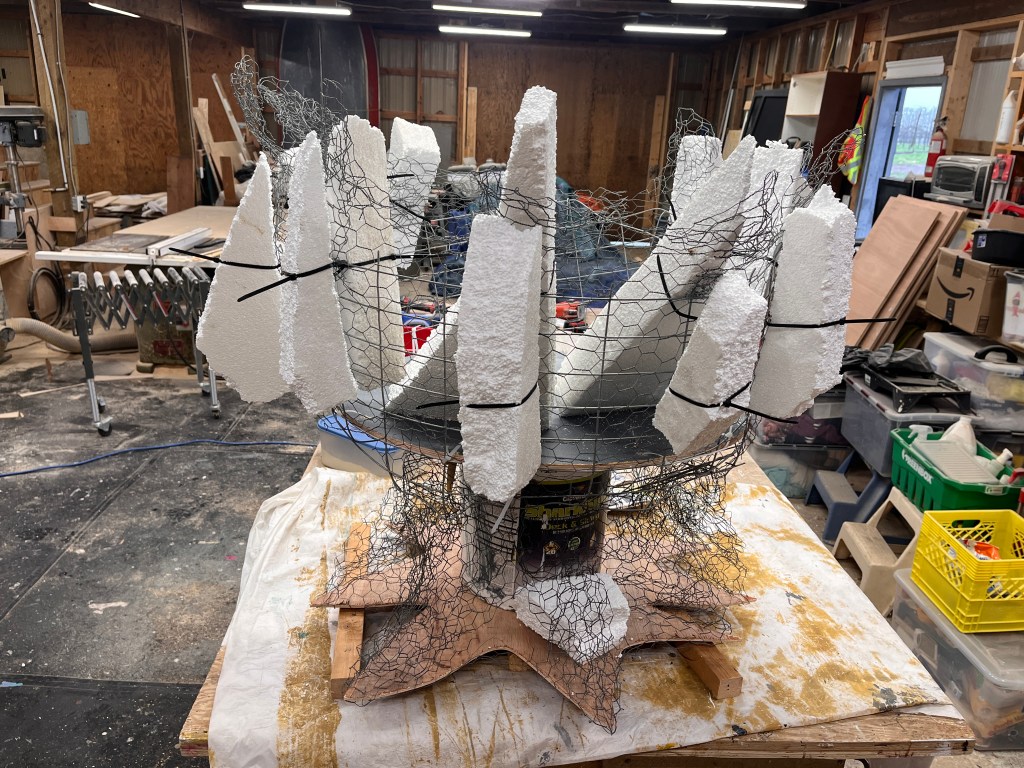
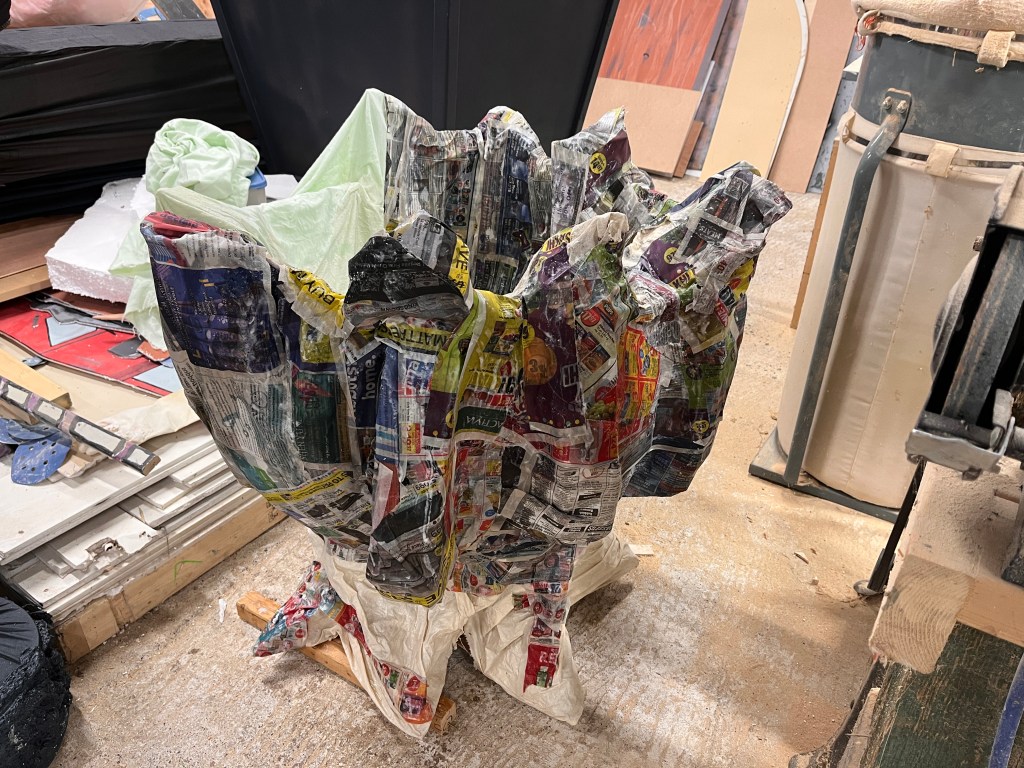
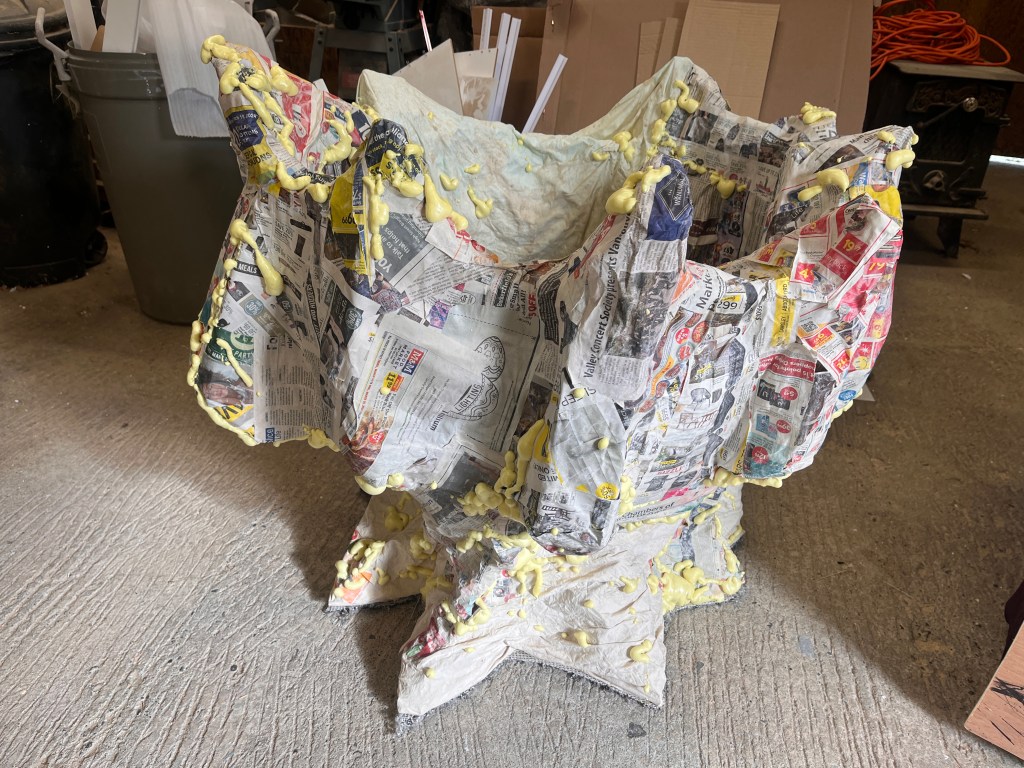
Next I worked on Ursula’s cauldron. I made it out of a bucket, chicken wire and paper mache. It was quite fragile and large and ultimately the school asked me for another smaller one because this one was awkward to use, and falling apart a bit… I ended up passing it on to another school and built the smaller one as requested, which worked quite well. I stuck purple lights inside and a battery powered fog machine and got a very cool effect.
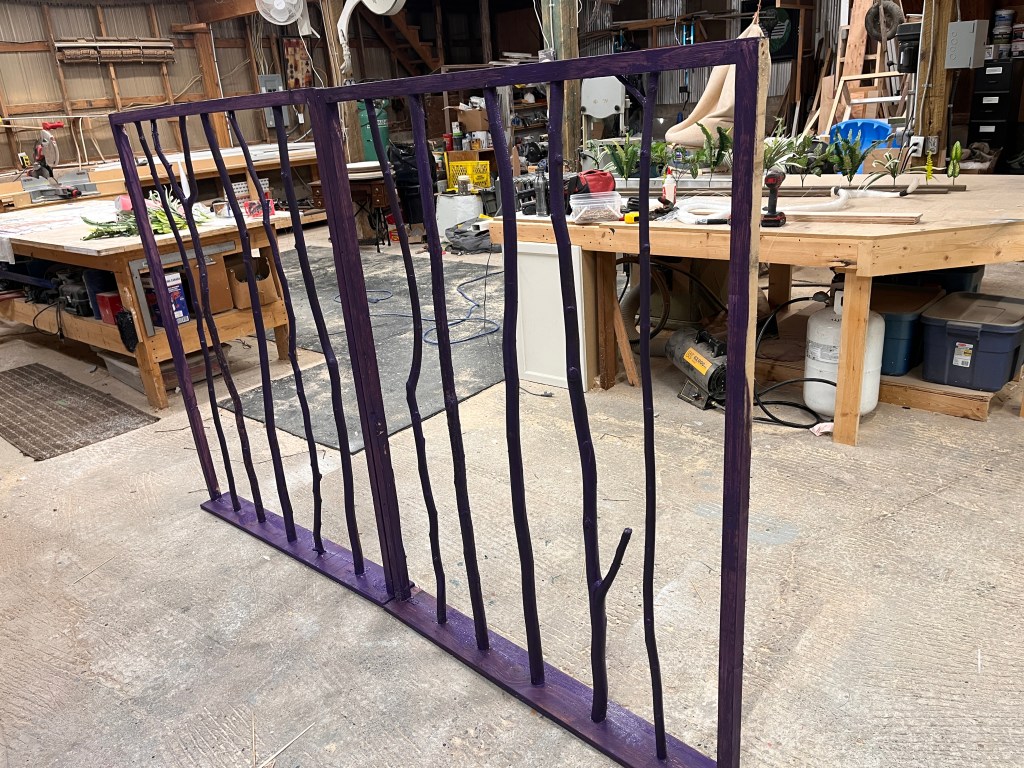
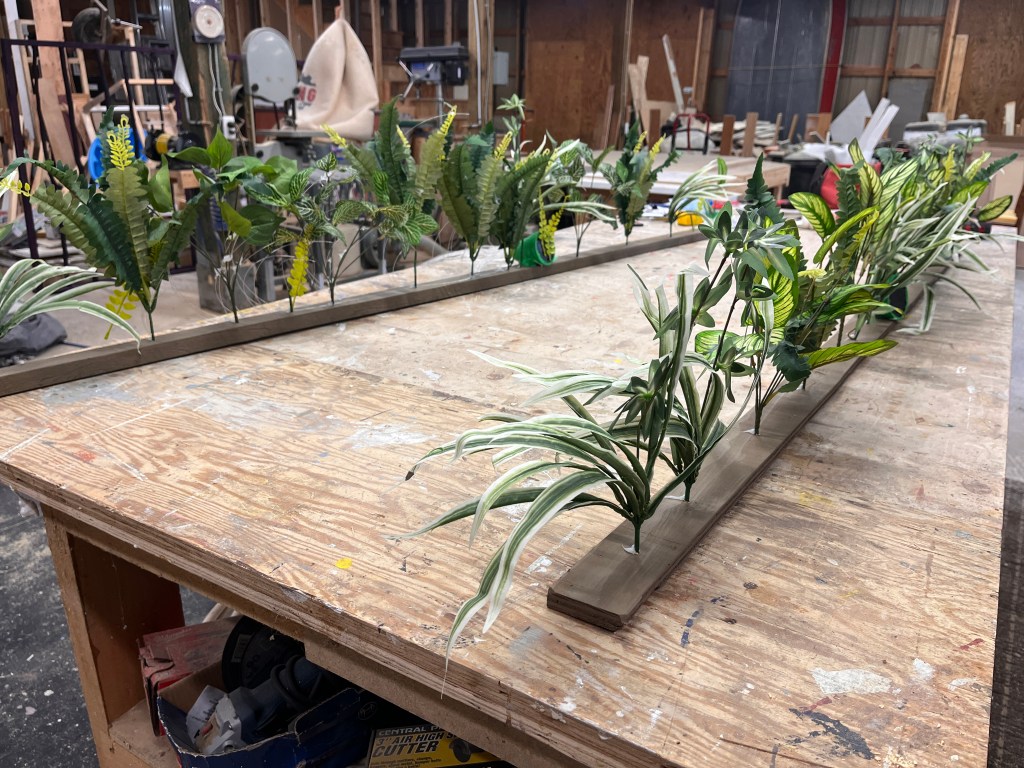
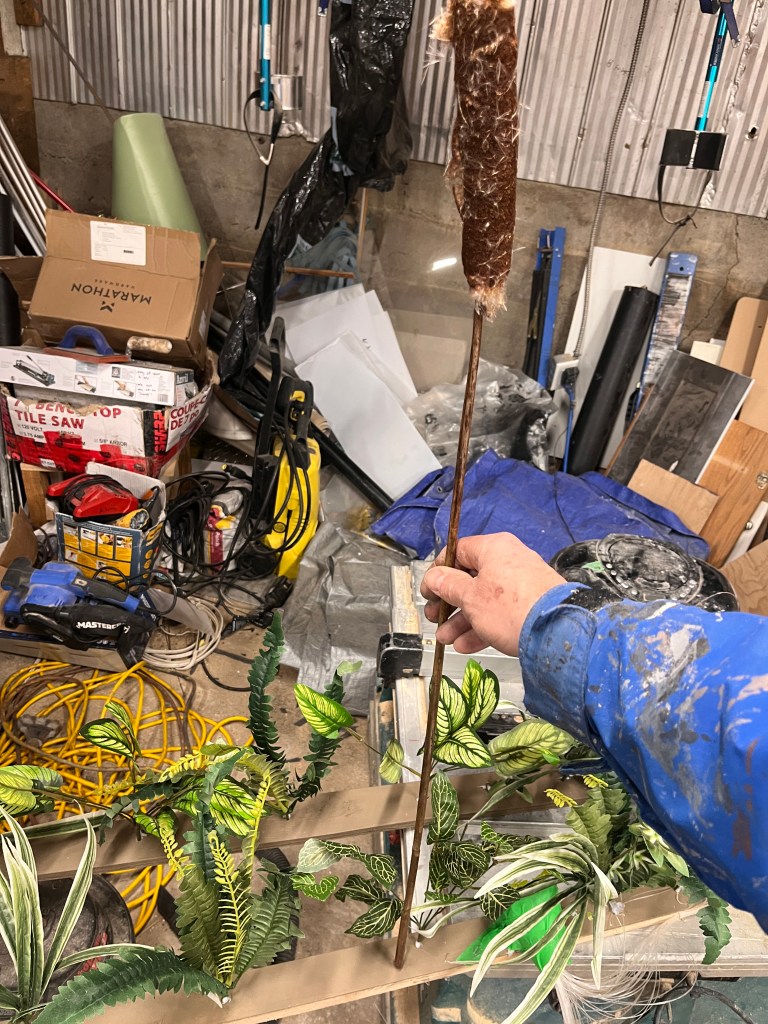
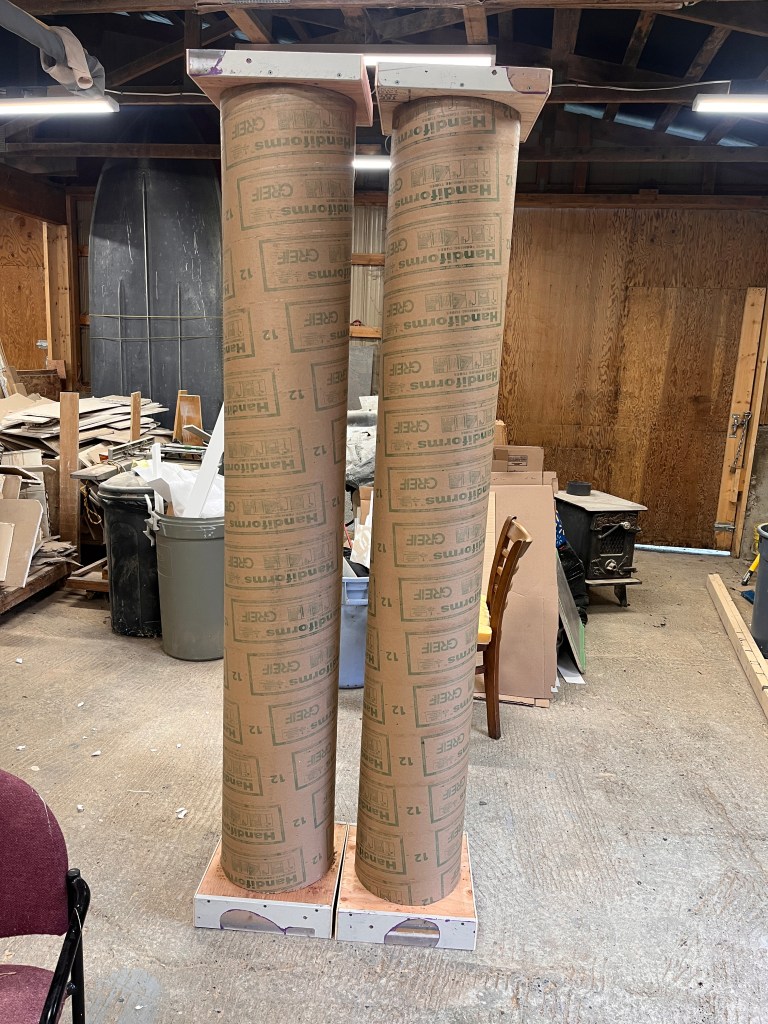
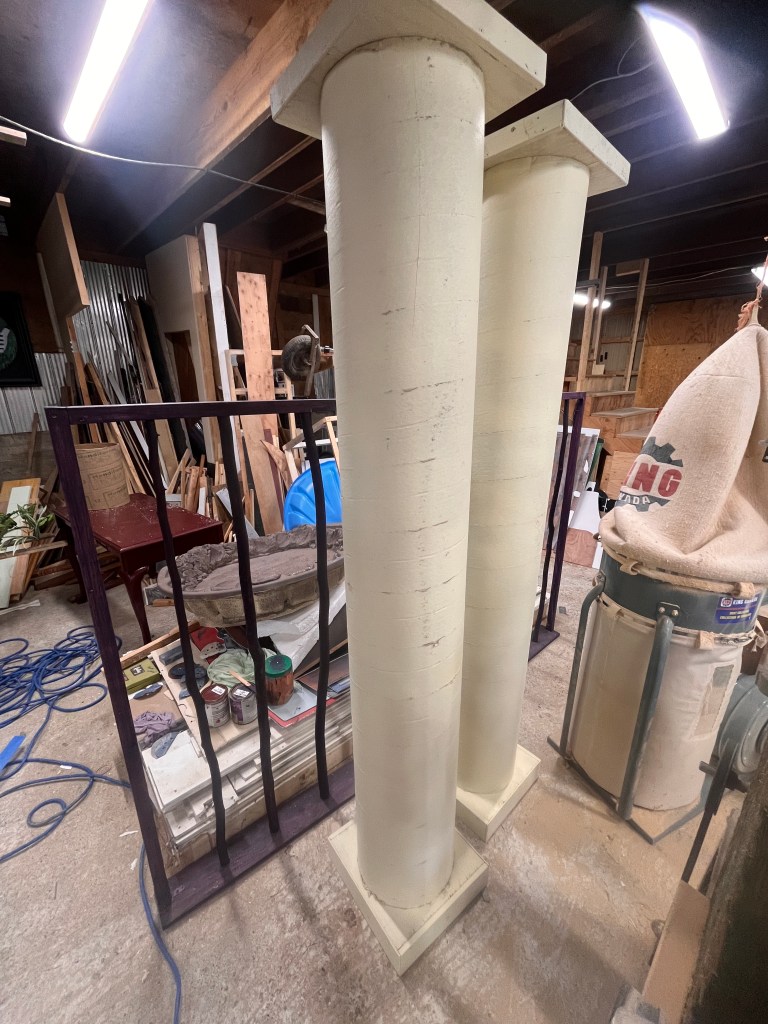
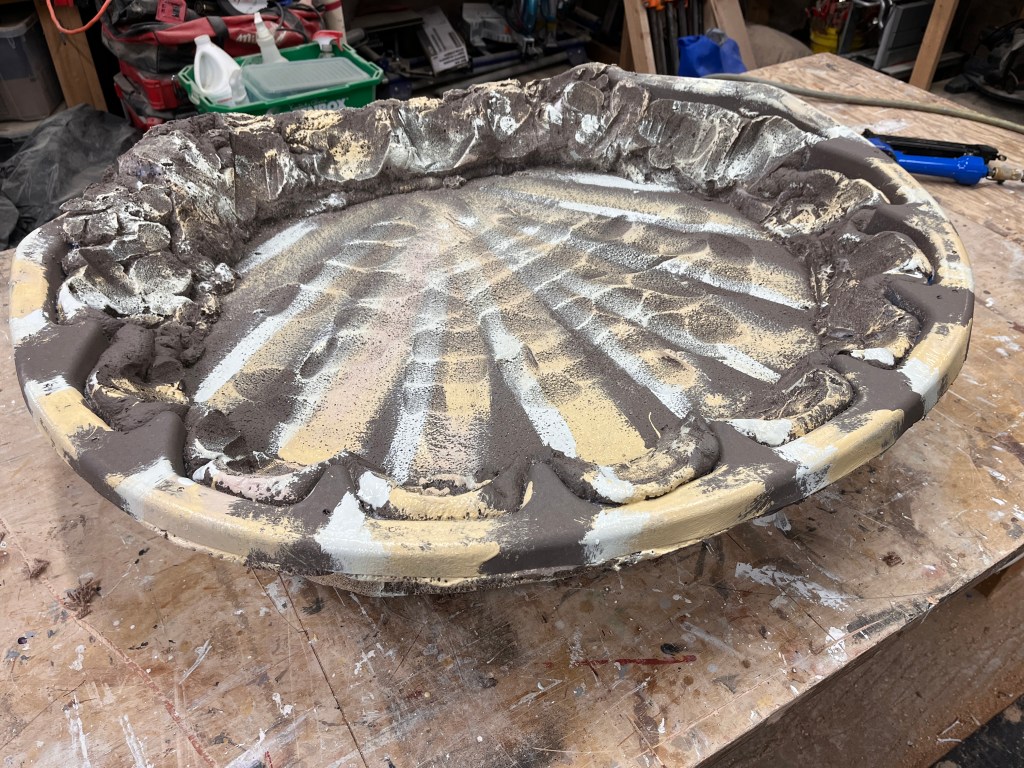
A few other little things – some jail bars made of crooked branches, a half shell, reeds and columns…

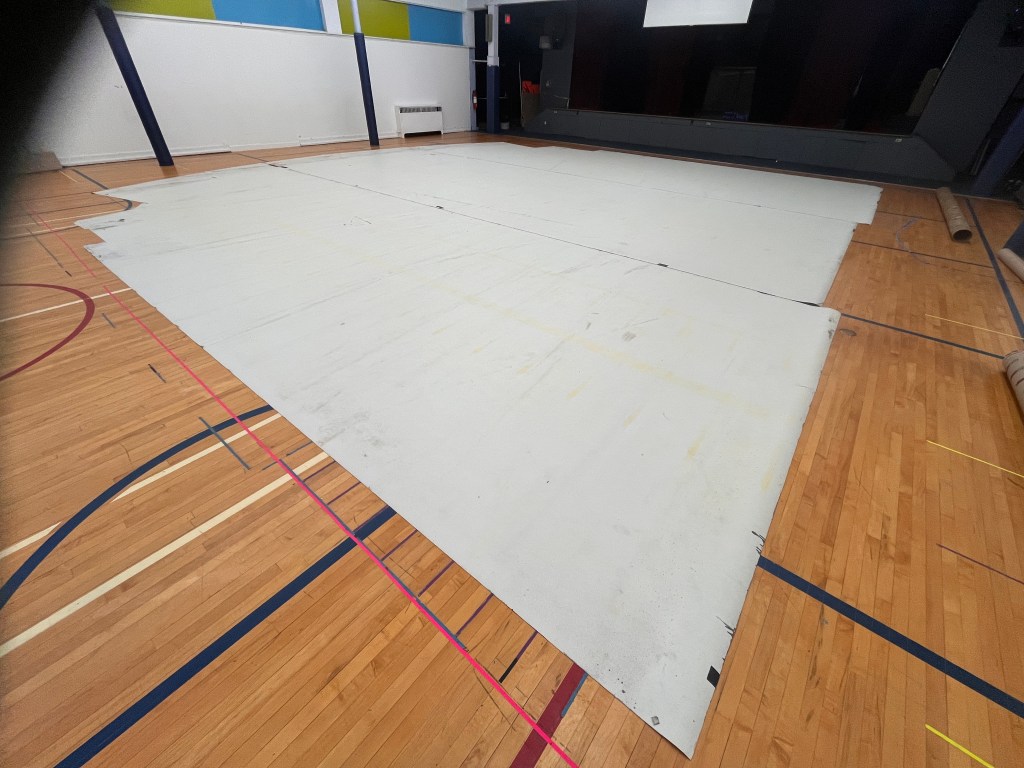
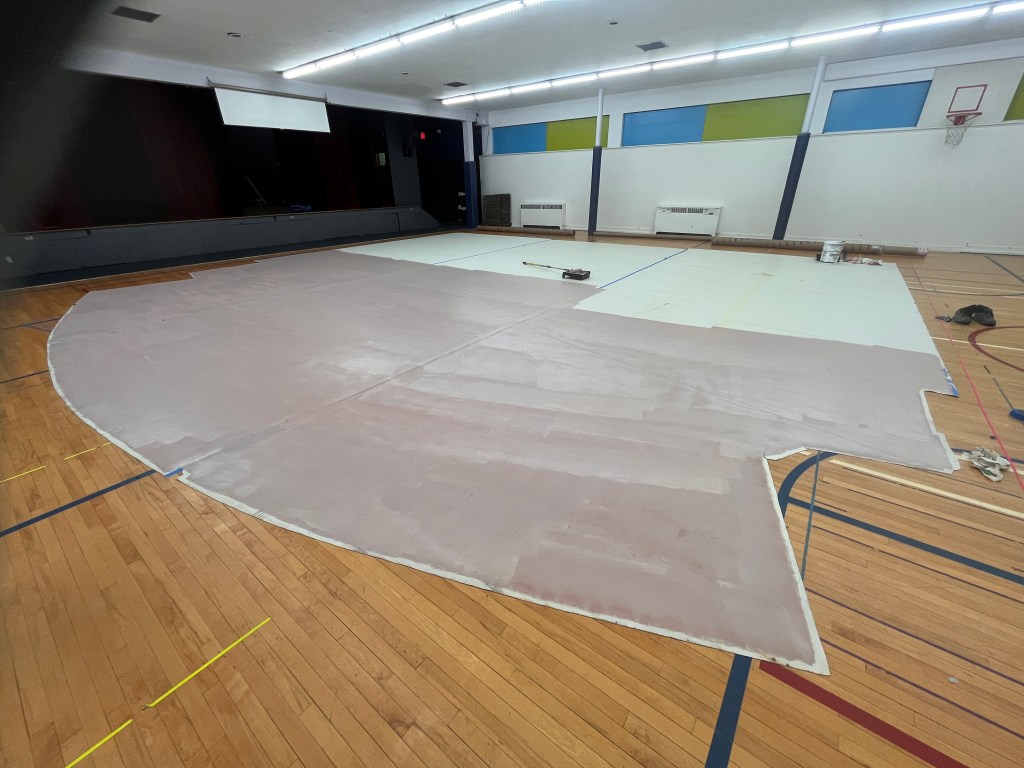
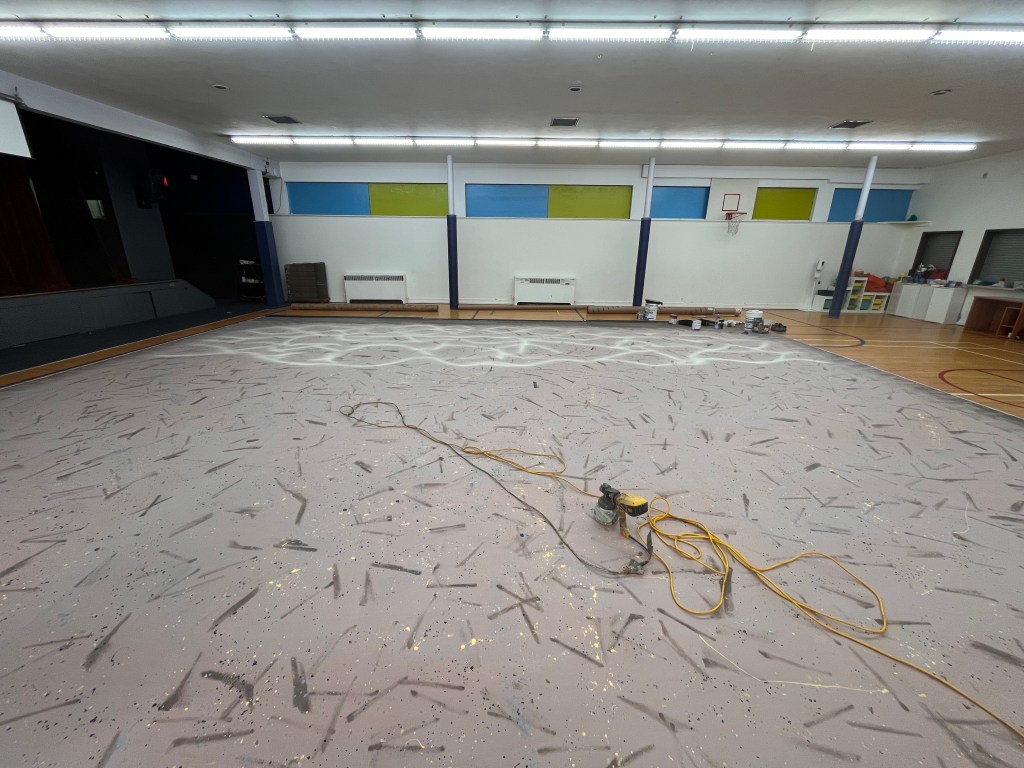
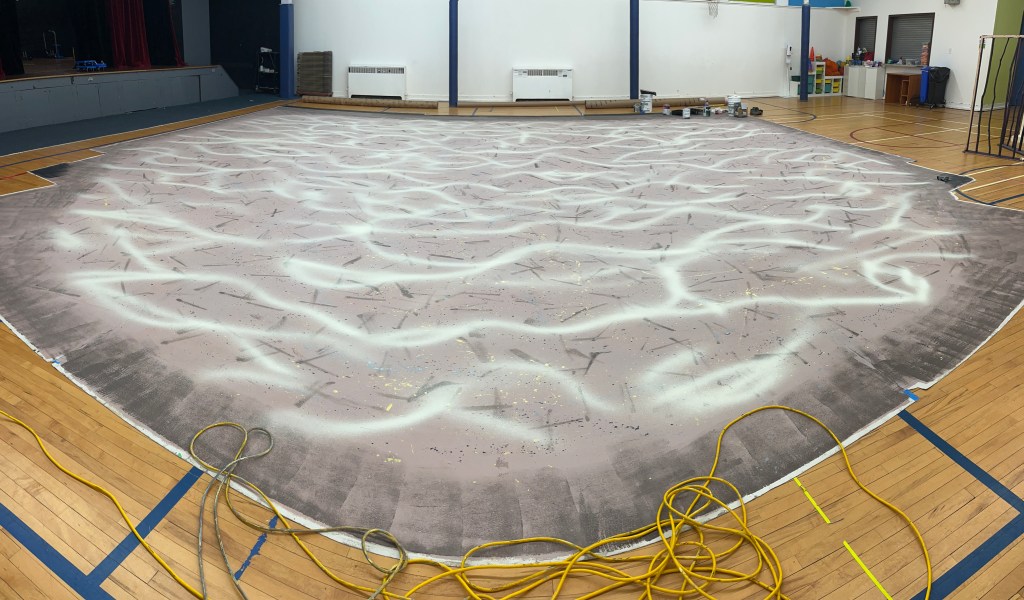
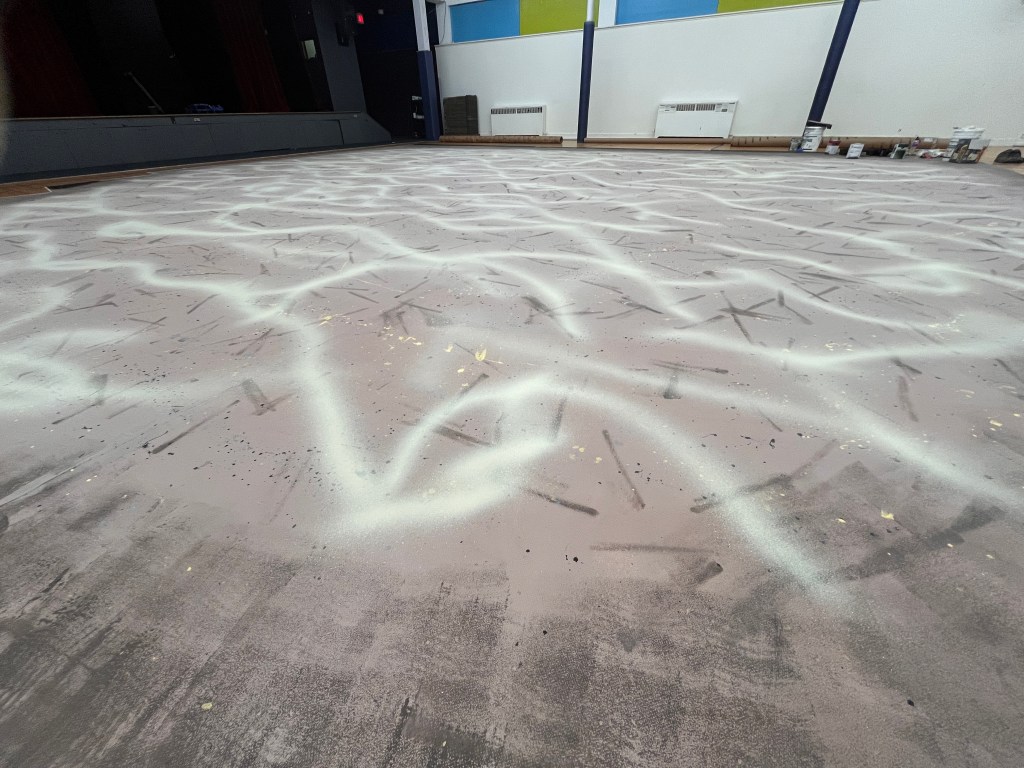
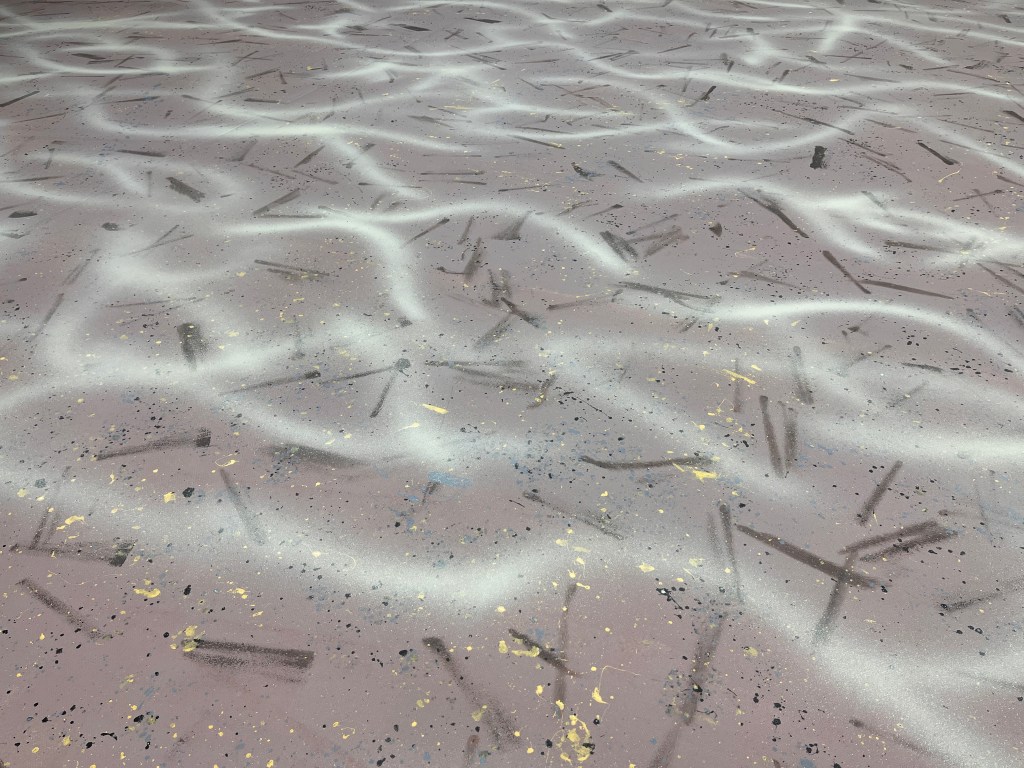
And last but not least, the piece de resistance, the vinyl floor!
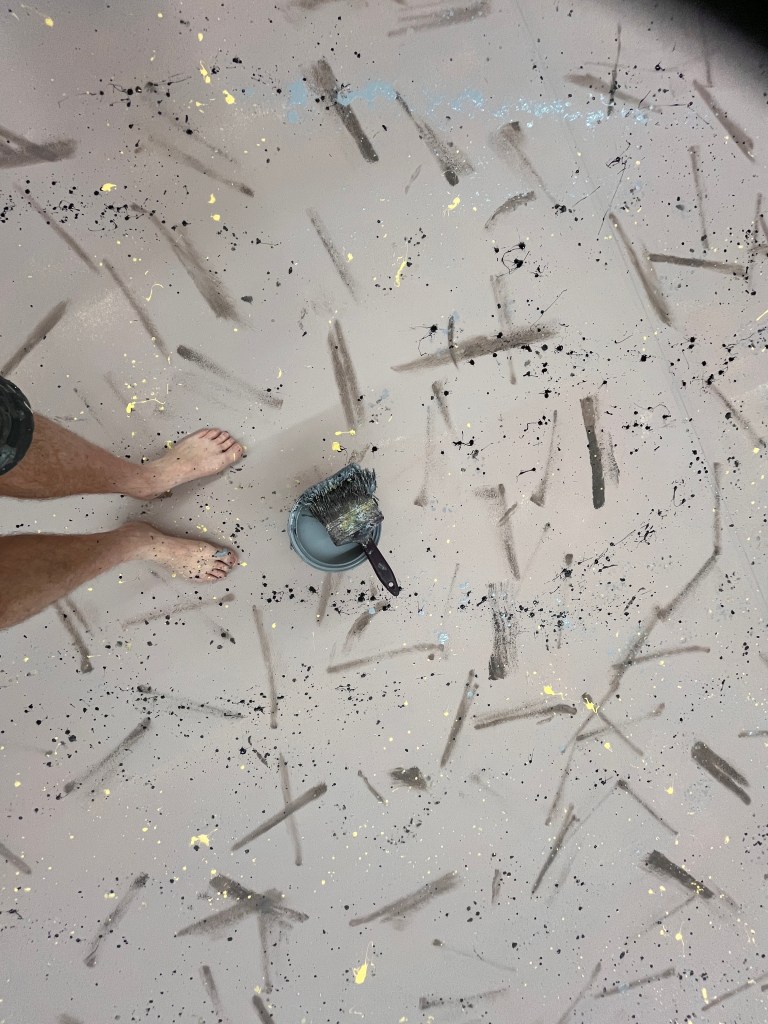
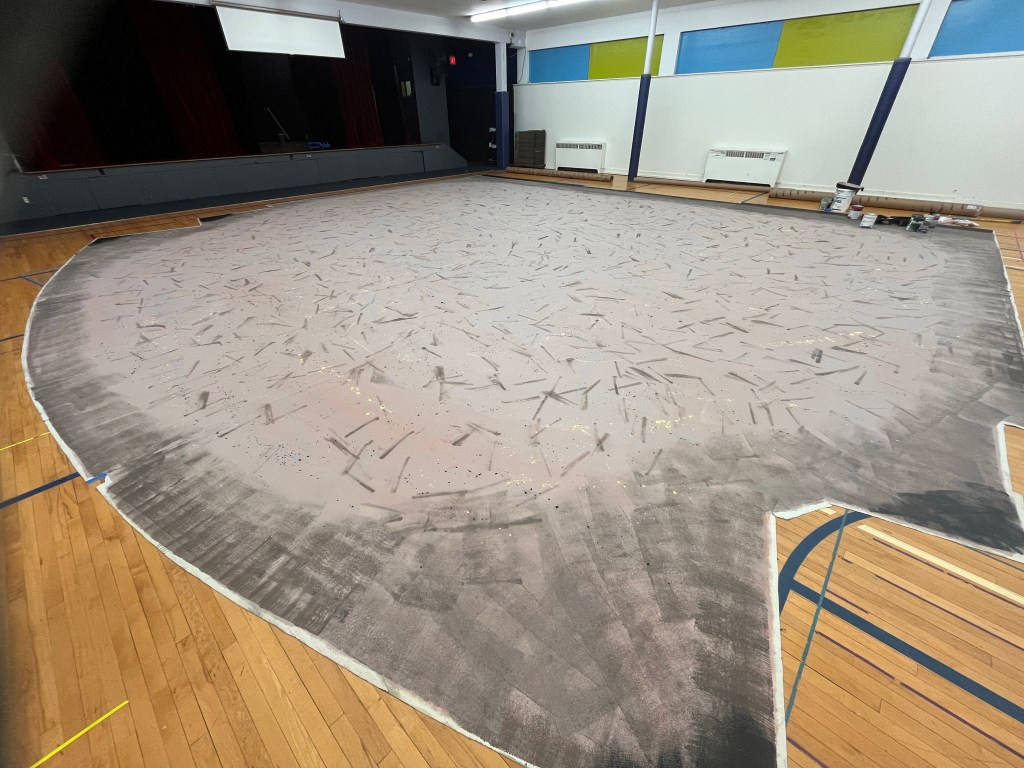
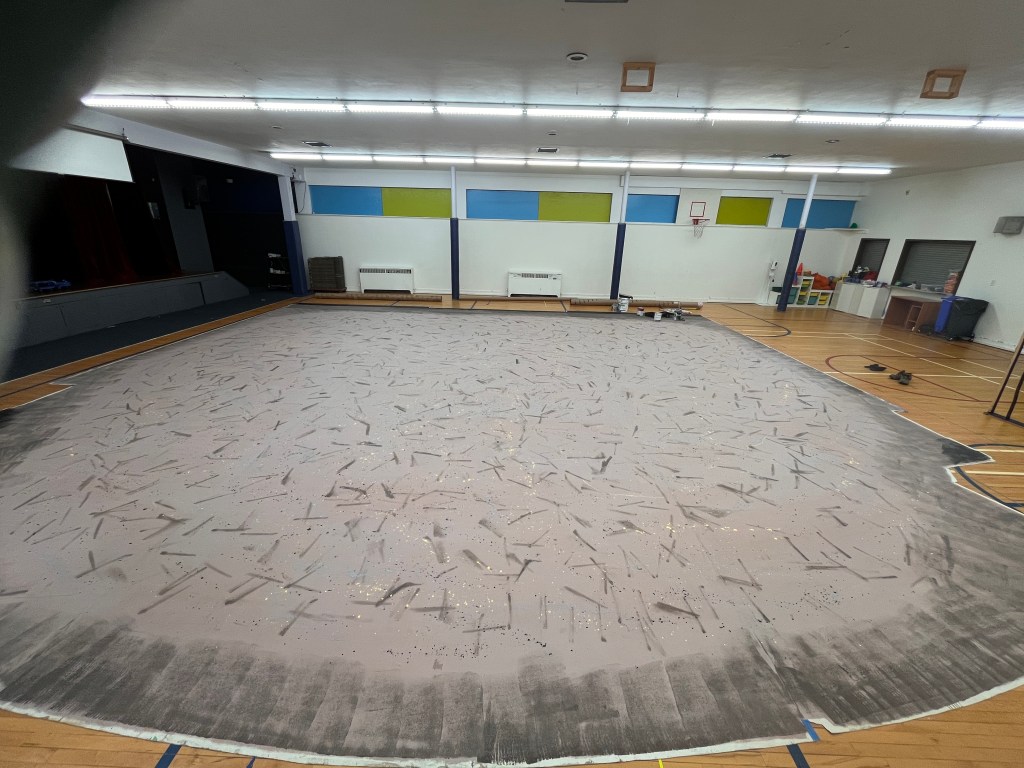
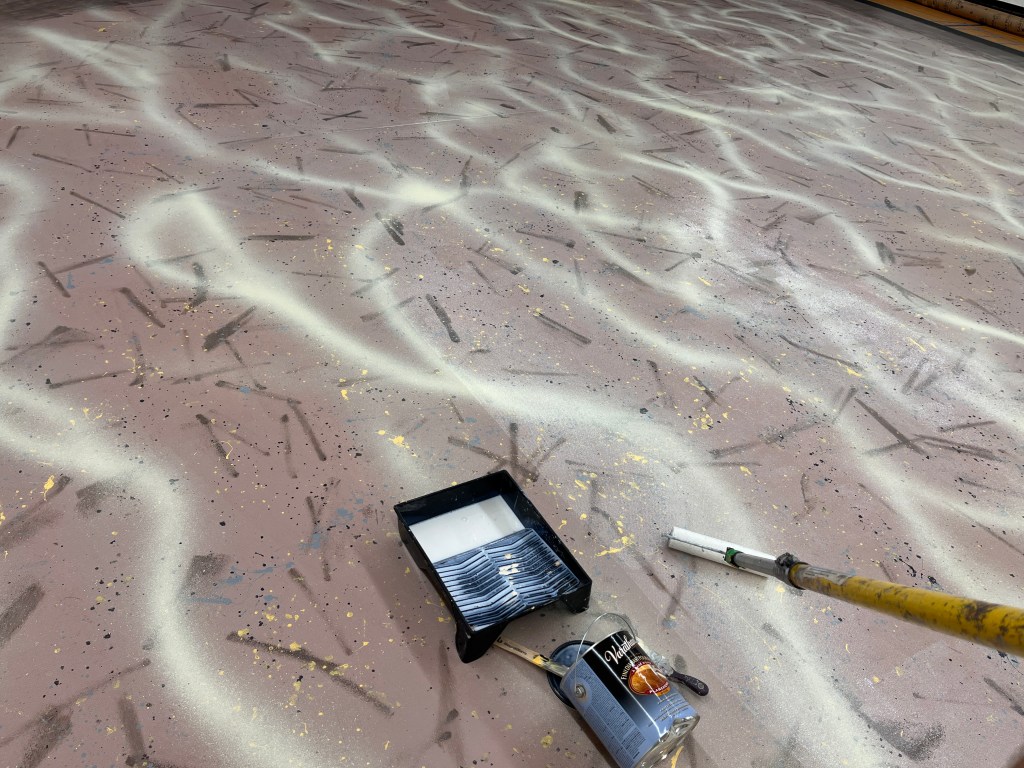
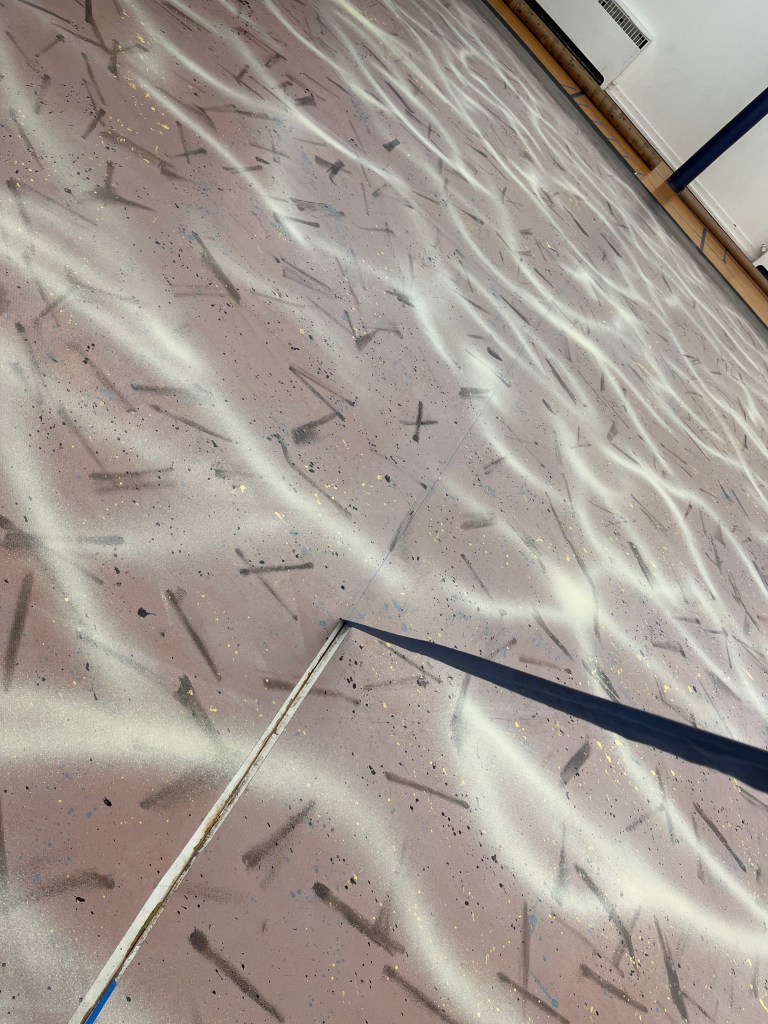
This was my 3rd time painting this large chunk of sheet vinyl in the school gym. On Friday night I did the base coat and all the texturing, let it dry overnight, and on Saturday I put a clear coat on it and prepared it for rolling up on Sunday when the cast was back. I was going for a sandy ocean floor but I added some “wavy light” lines with my spray gun, which seemed a tad bold at the time but I think it really worked out well.
What generally works for me when buying floor paint, is that I go to my local pro paint store (Cloverdale Paint where I rarely shop because their paint is so expensive, but it’s also very good quality and I know it will stick nicely to the vinyl). They usually have a variety of 5 gallon pail “mistints” that are very reasonably priced. I buy a few other 1 gallon mistints and mix my own base colour and go from there. In this case I was quite worried that my mixed base colour turned out too pink, so I added quite a bit of texture over it, and it turned out very good.

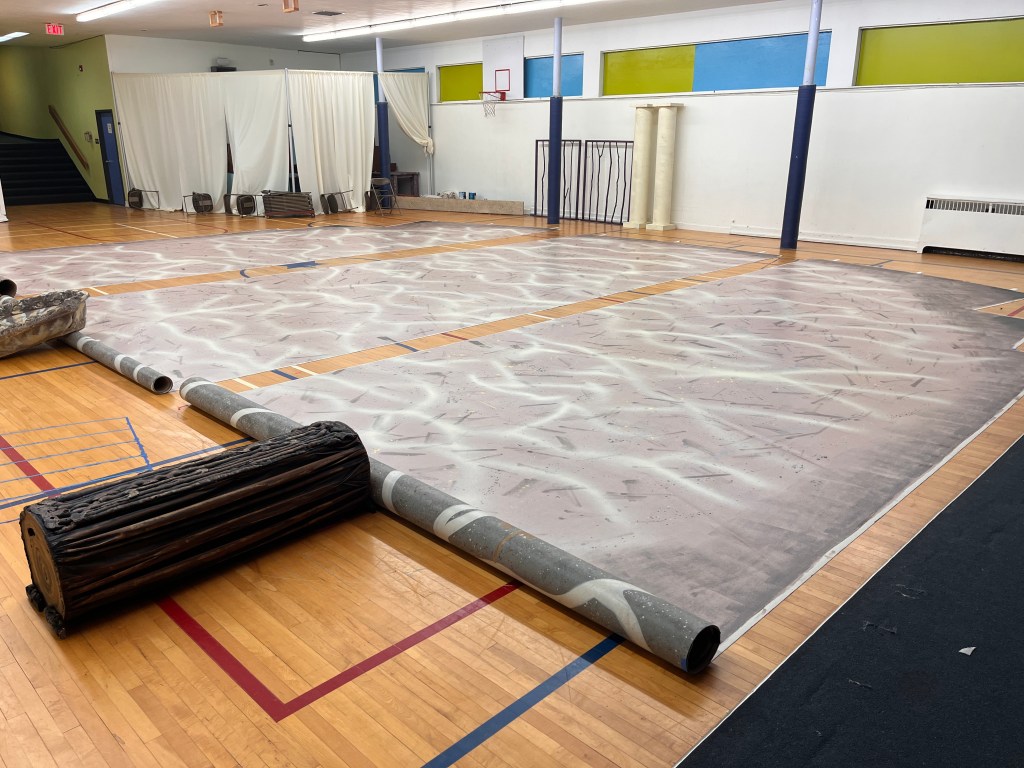
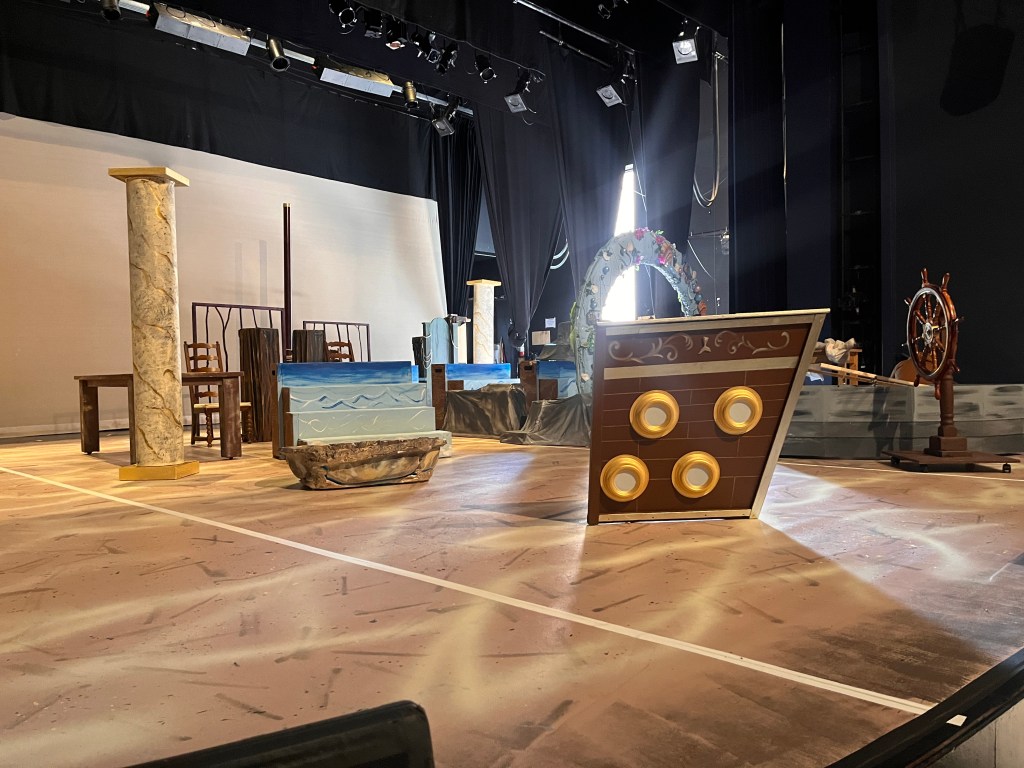
And then finally it was load-in day! Due to the nature of the set design, there was no large structure to build on site! So it was a matter of laying down the floor, painting the seams, and sliding all the set pieces around while V built lights. I also repainted part of the stairs. (I should mention I didn’t paint much of the set at all actually – a parent volunteer did most of it and did a fantastic job).

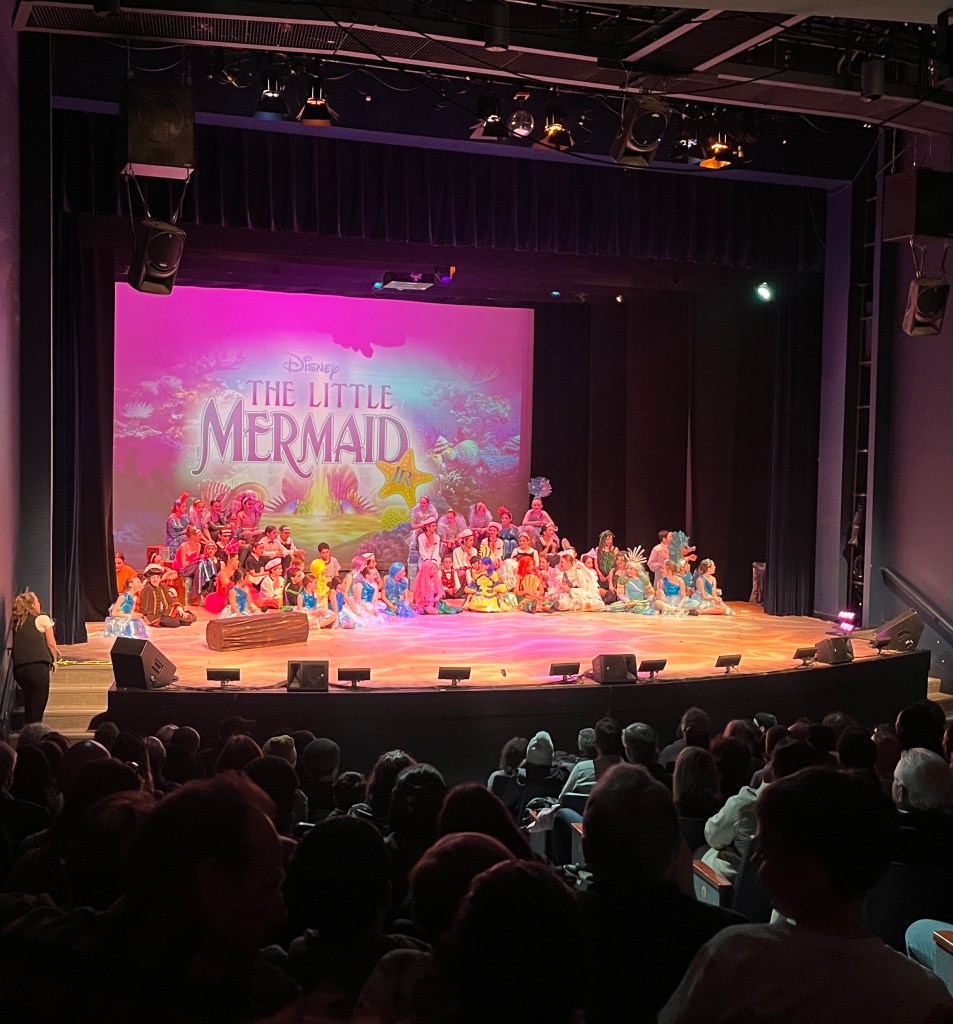
More production photos to come, hopefully! But here is the last scene with the kids (all 70 of them!) before we took it all down: