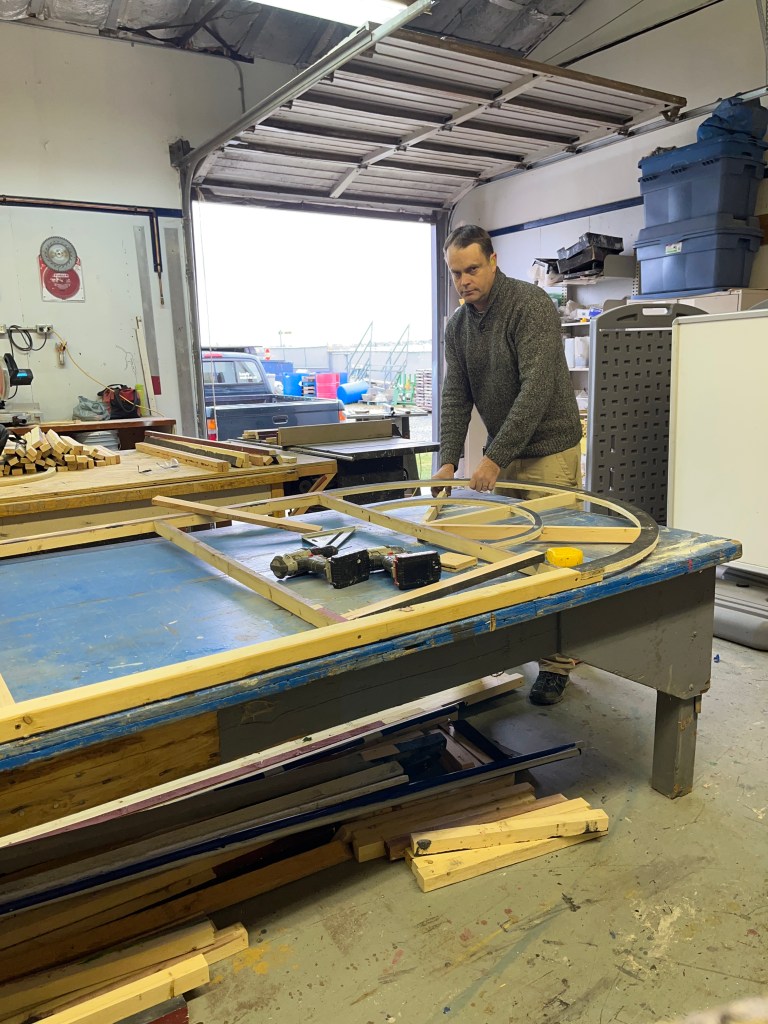
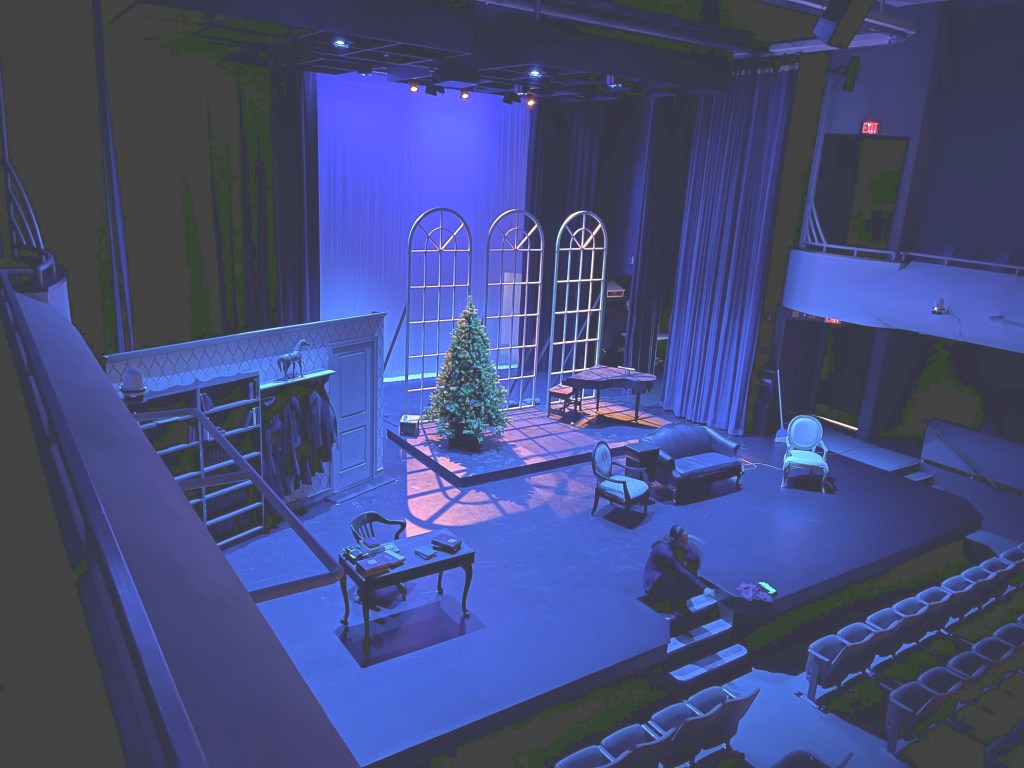
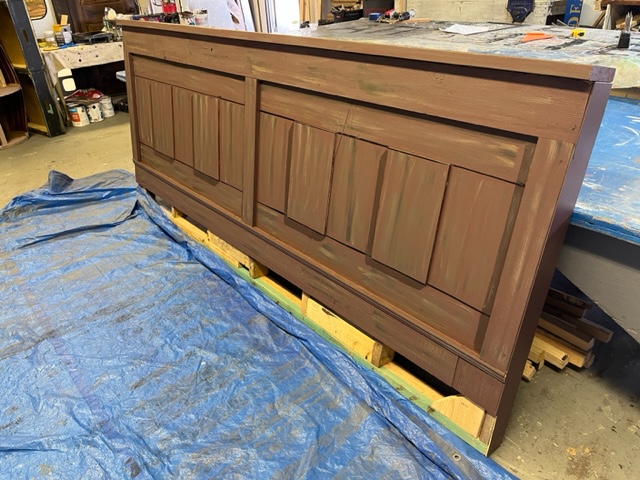
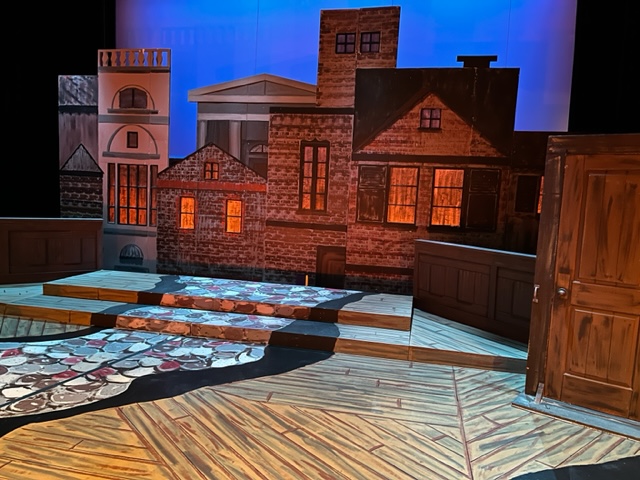
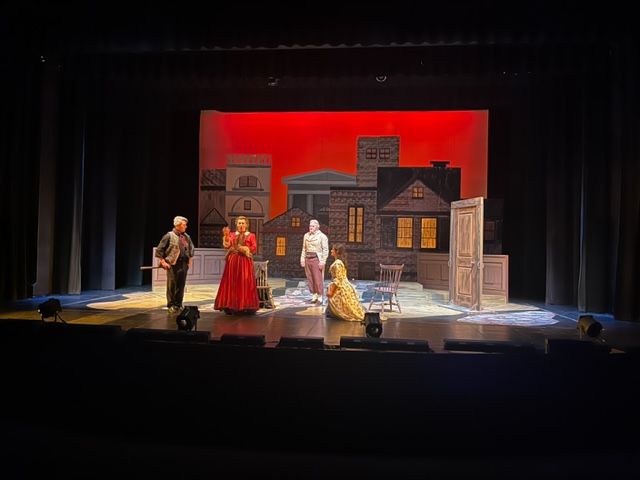
A small set built and run by Gallery 7 right before Christmas was this little gem, Miss Bennet: Christmas at Pemberley. Due to venue constraints (MCA Abbotsford), our set had to be struck twice after load-in, so we kept it fairly simple. Design is by Jeff Kiers, and it was directed by Sarah Green.
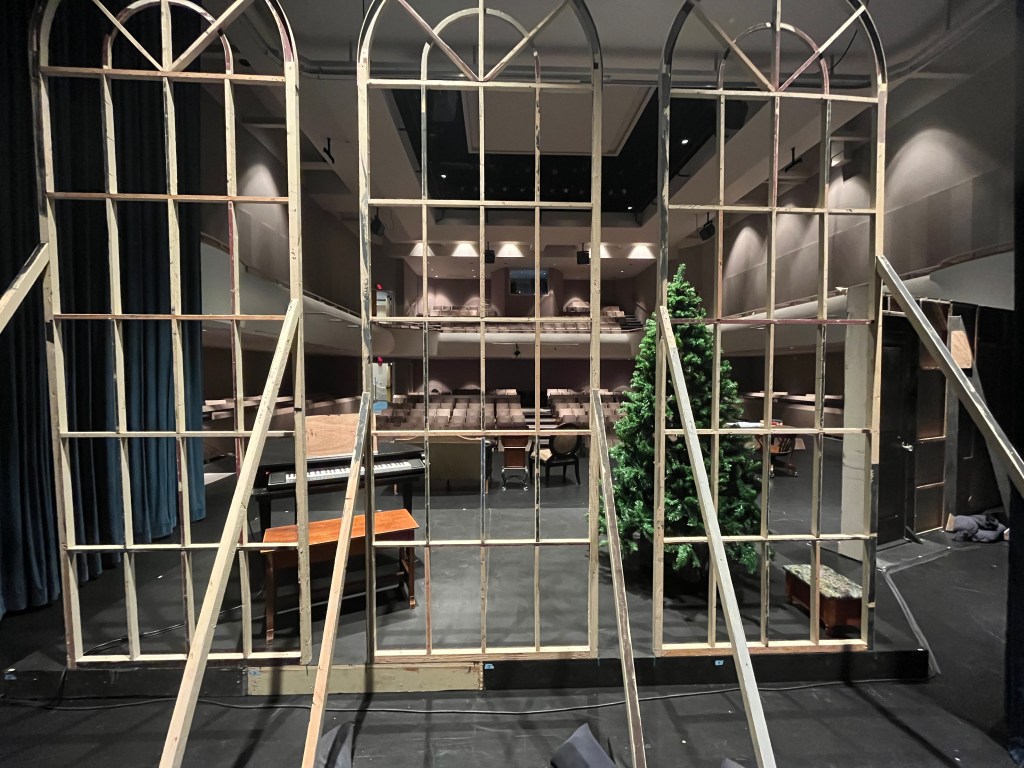
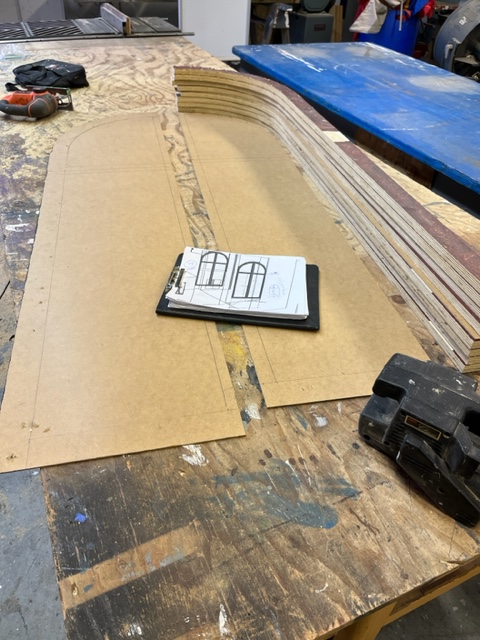
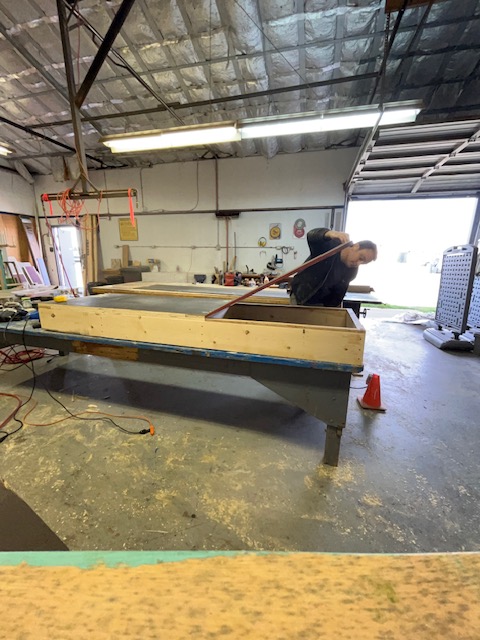
Building 10 foot high windows
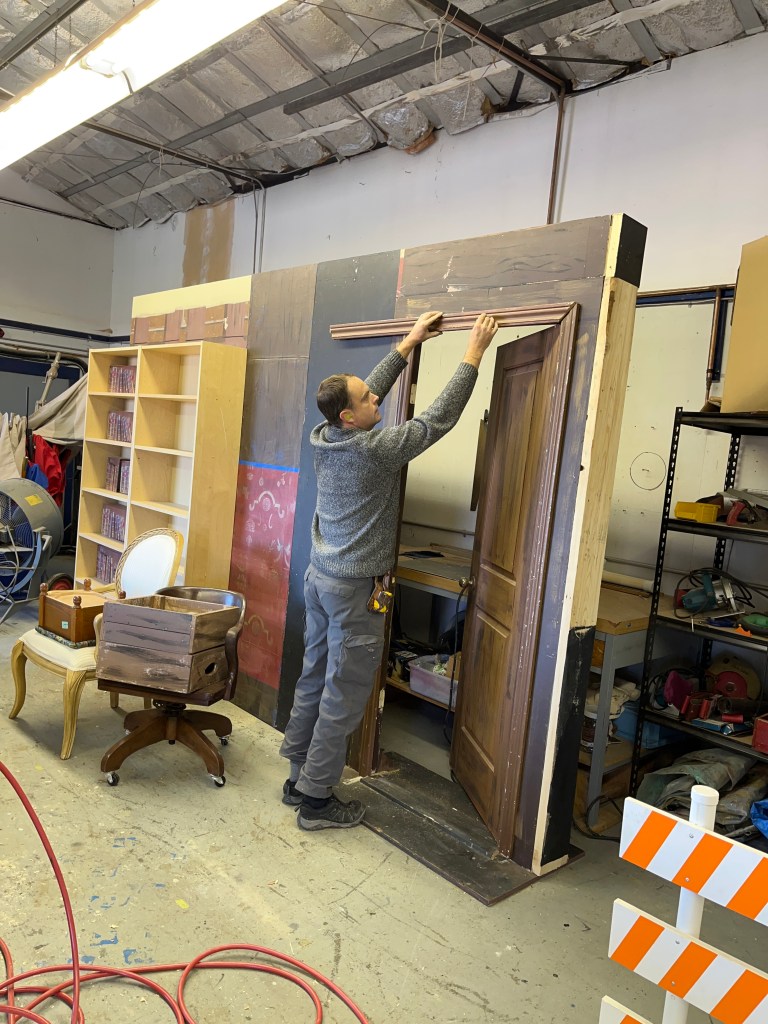
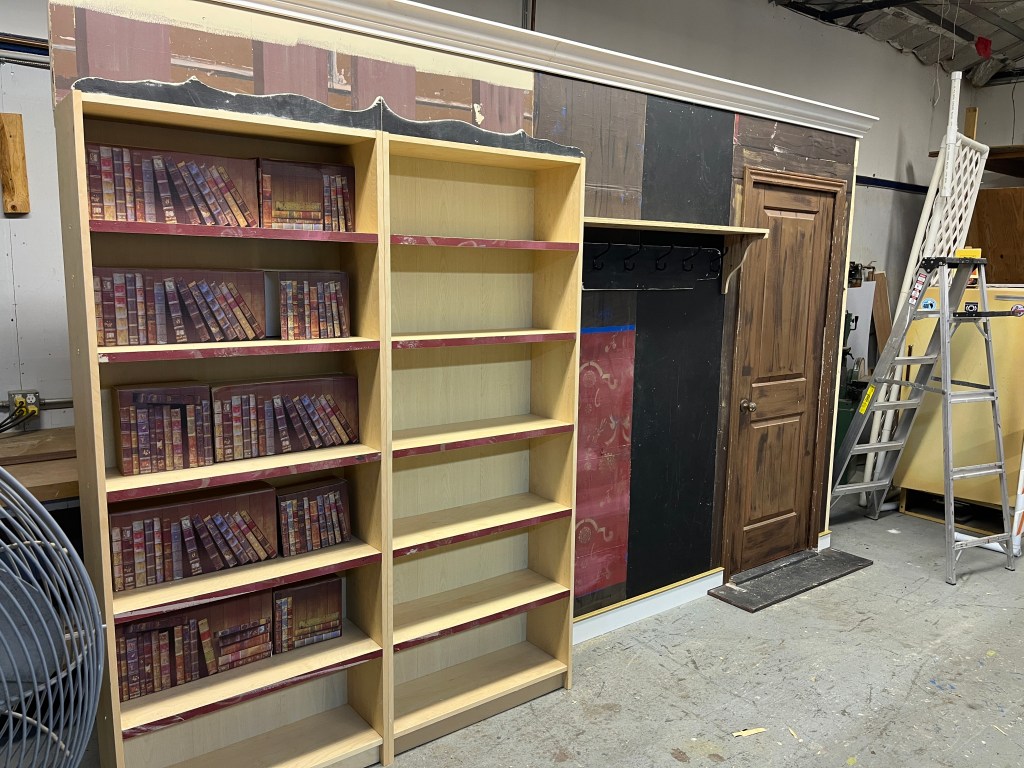
We had a library/entrance door on stage right, and a living room area on stage left.
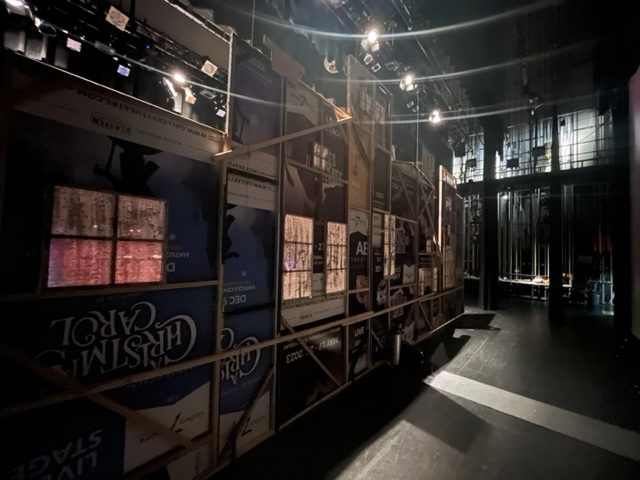
View from backstageStage during light build
It was a lovely Christmas play; I attended closing night on Dec 23 with my daughter.
Don’t get me wrong. I did a lot of stuff right this year. As a handyman I’m doing so many different things in my job that there are quite a few opportunities for big mistakes if I’m not paying attention. And many jobs worked out wonderfully. However there are three that stick out in my mind – three too many – that I wish had gone the other direction.
Glass insert in door falls out: I replaced an oval glass insert and frame in a front door. A month or two later a good gust of wind sent it toppling to the floor. I had forgotten the silicone bead on the outside.
Round-up on some cedars. I read the directions on the bottle fairly carefully but somehow missed the part about watering it down 50 to 1. I very carefully applied roundup to a bunch of weeds. Somehow despite my care, a little bit got onto some nearby cedar trees (young ones) and caused some branches near the ground to turn brown.
Fireplace glass falling out on a gas fireplace. I cleaned the glass on 4 gas fireplaces in one house. Four months later, one of them fell out suddenly. I checked them and none of them were seated properly. Fortunately no one was hurt.
I was lucky, or blessed, that there was no lasting damage from any of these things. There certainly could have been. All of my customers were gracious with me. After learning about the problems, I made every effort to show up, fix what I could, as fast as possible. What makes it worse is that they were all small, fast jobs – half an hour each – with a low payout for me at the time, but in hindsight, high risk.
The other thing these had in common is that the problems all took time to show up. They were fine for months, and then suddenly I got the call. (What else is waiting to bite me??)
Anyway, so far I haven’t had to use my liability insurance. I hope to keep it this way!
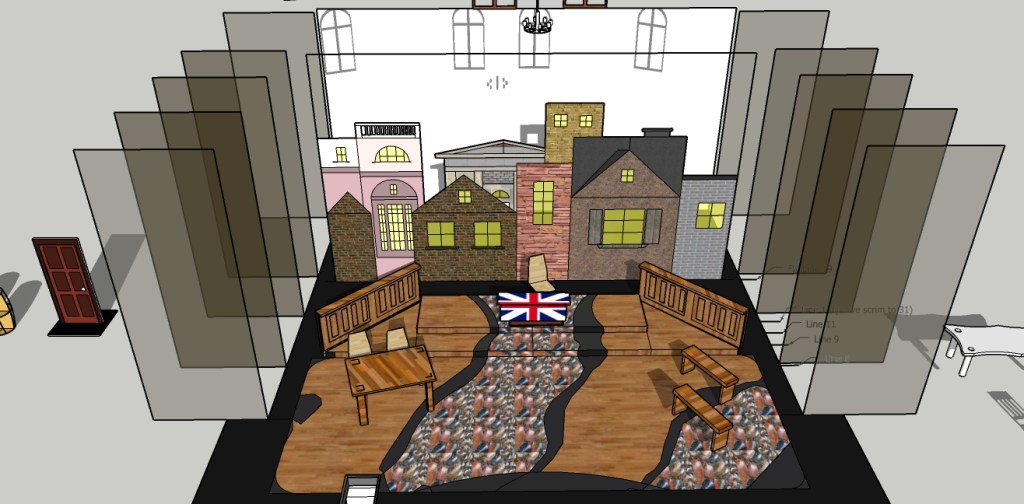
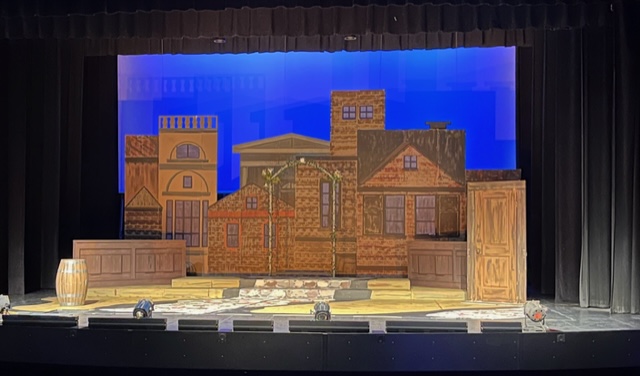
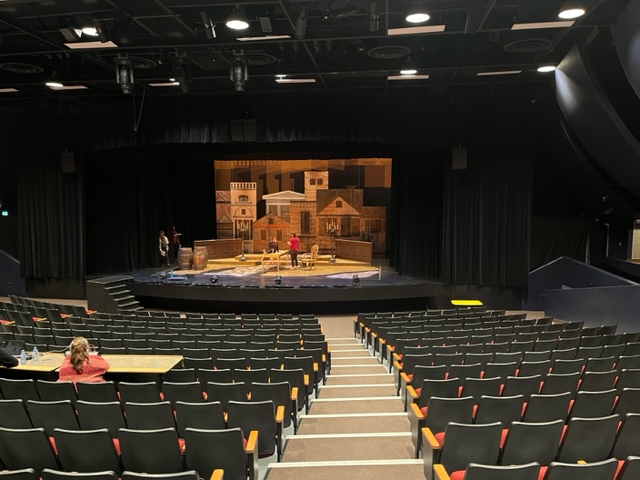
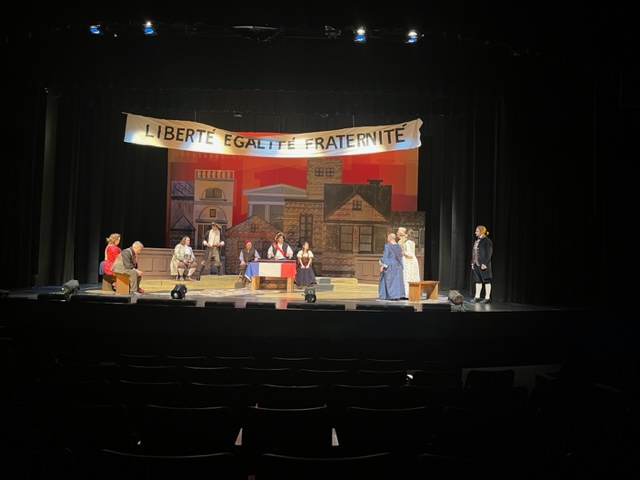
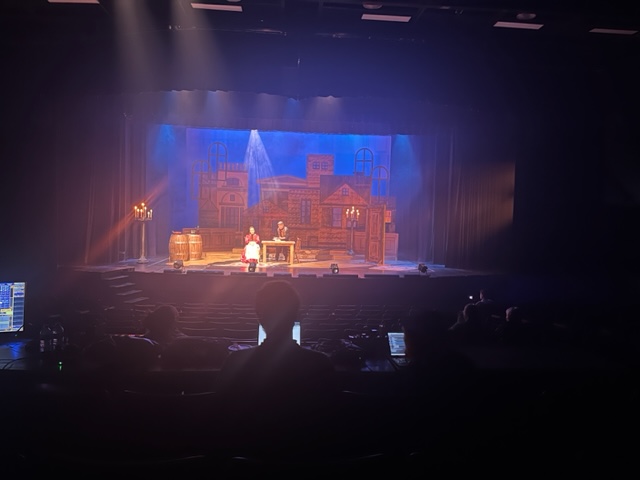
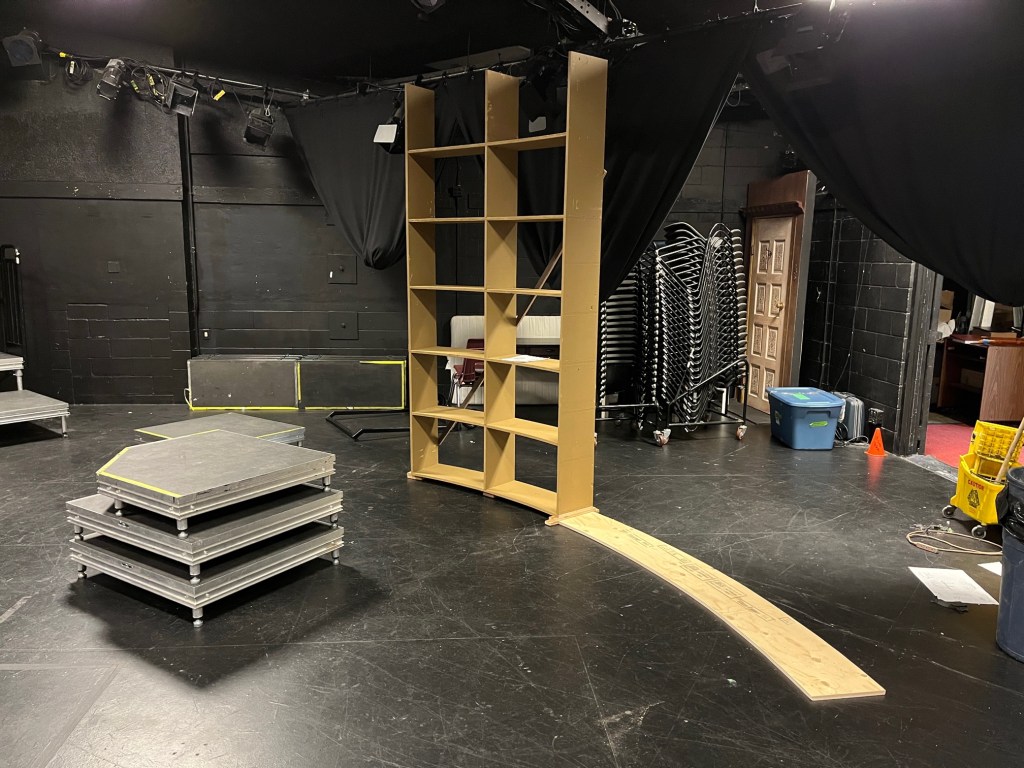
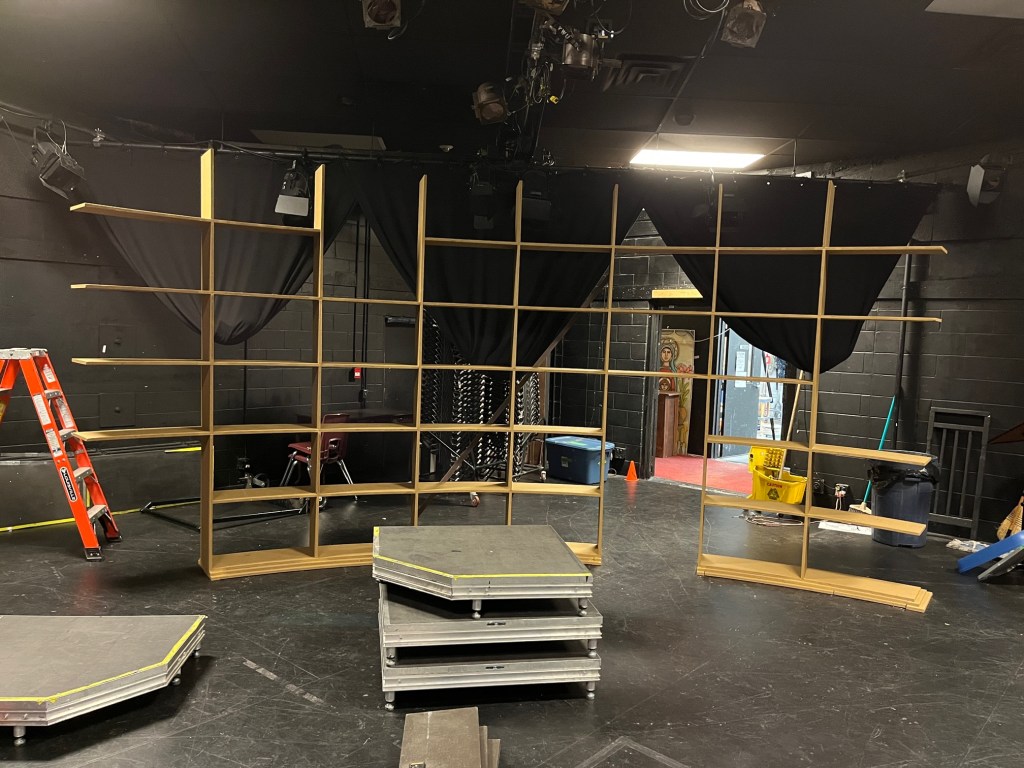
Gallery 7‘s production of A Tale of Two Cities is now playing at Abbotsford Arts Centre. I designed and built the set. Here are some pictures!
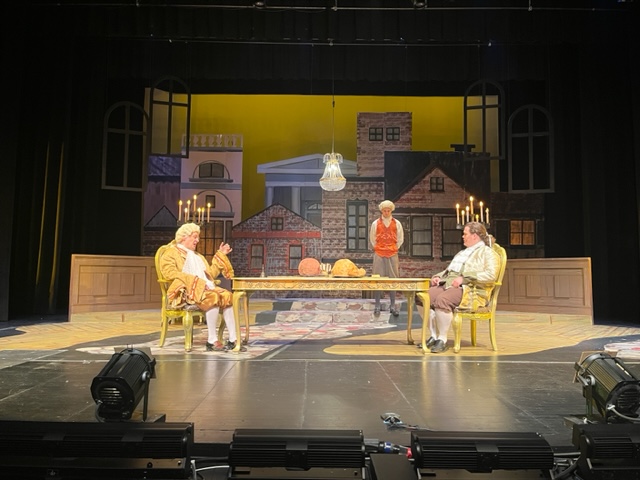
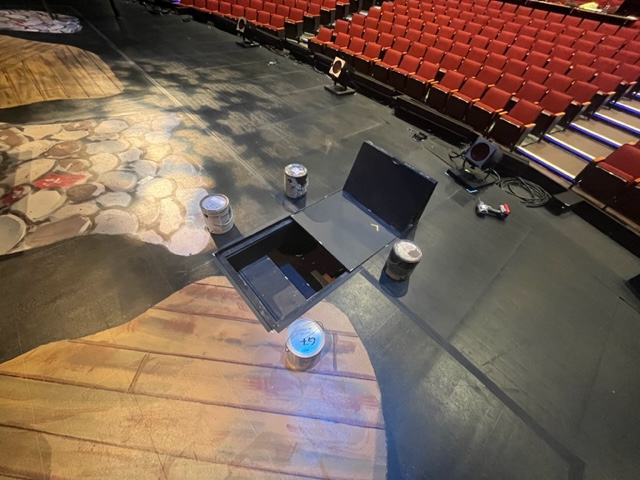
Design was fairly simple: Floor with trapdoor, a couple of risers, and backdrop of a city skyline, with some furniture to create different scenes.
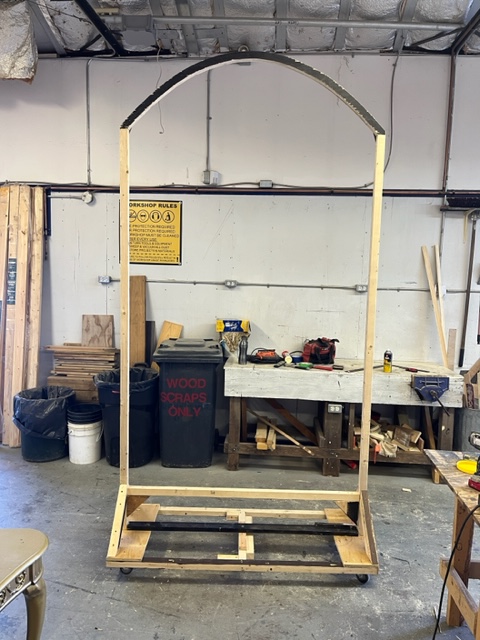
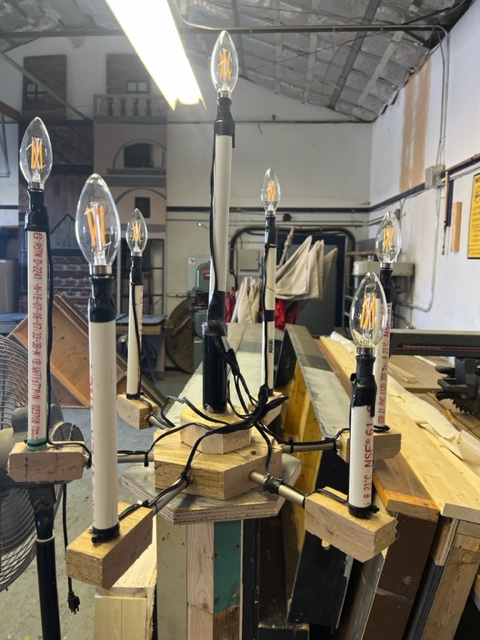
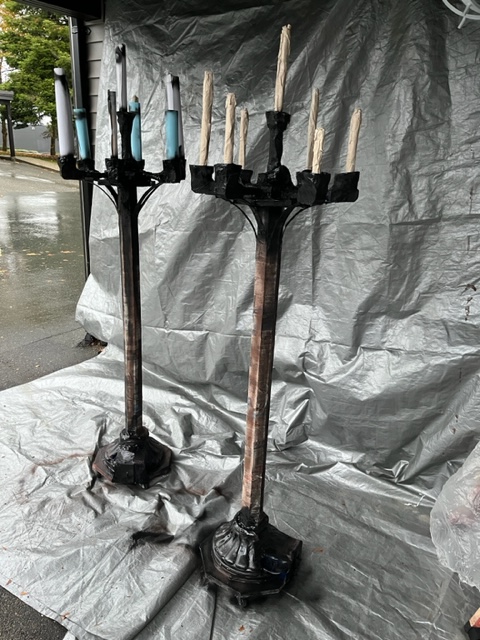
These show some of the build in progress: windowframes, flooring, candelabras, wedding arch, walls, trapdoor stage plug, chairs.
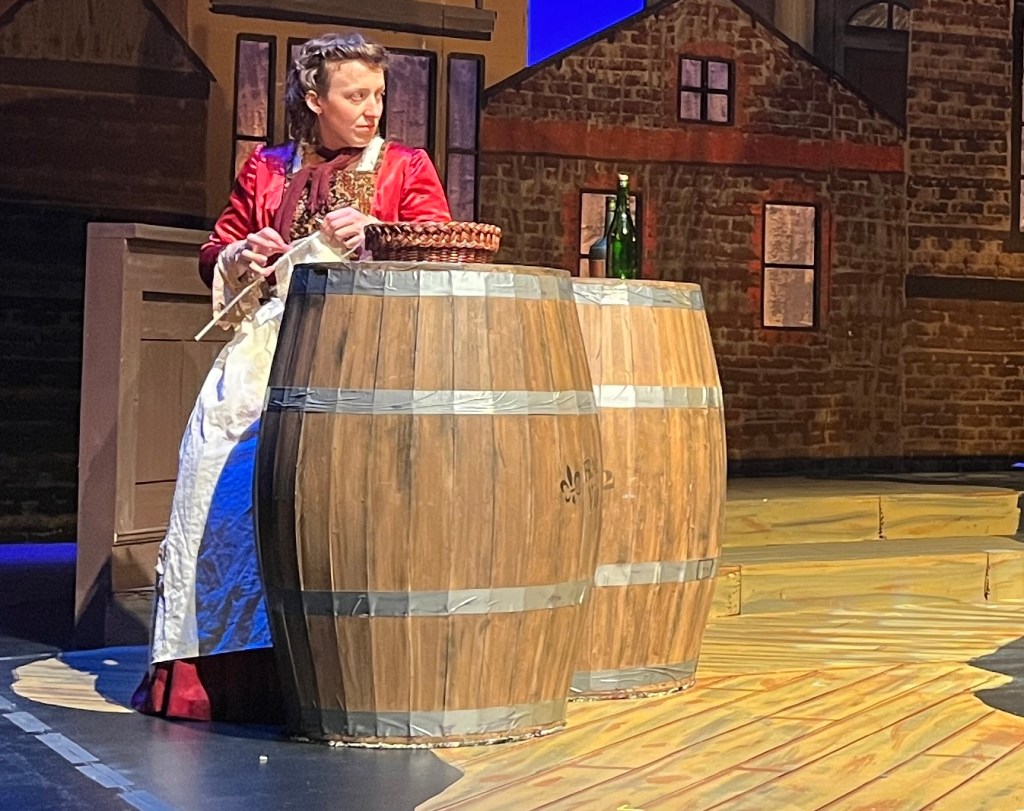
There were also some custom barrels which I cover in detail in this blog post.
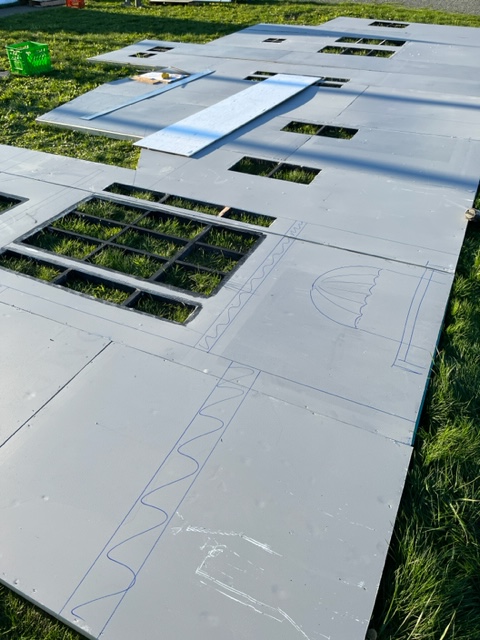
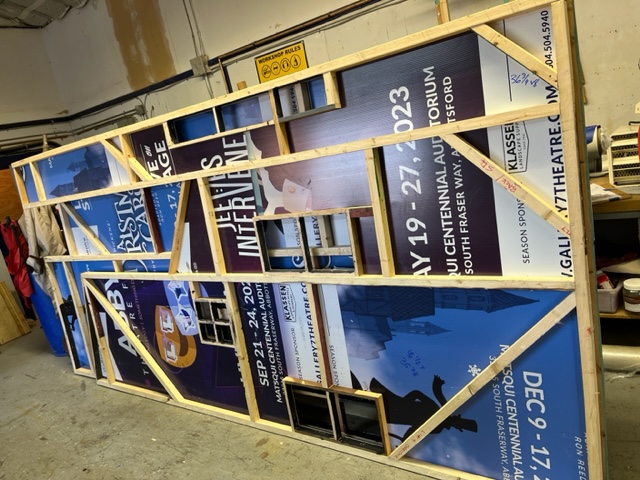
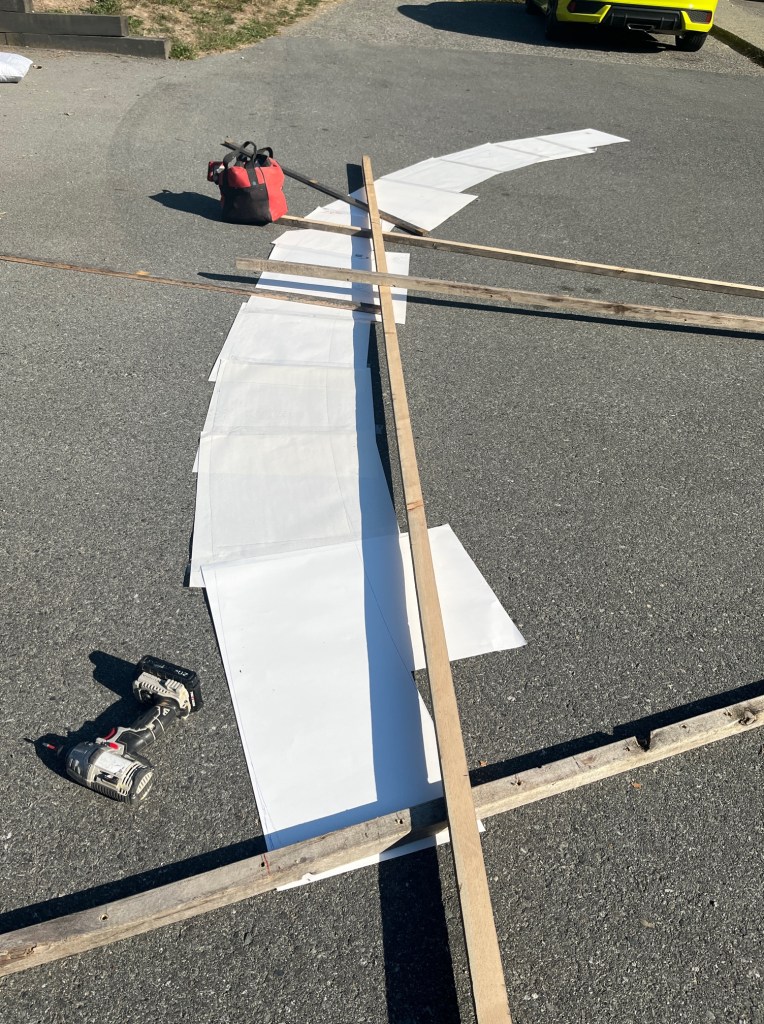
The backdrop was a large undertaking, being 30 feet wide by 15 feet high, with windows that could be lit from behind.
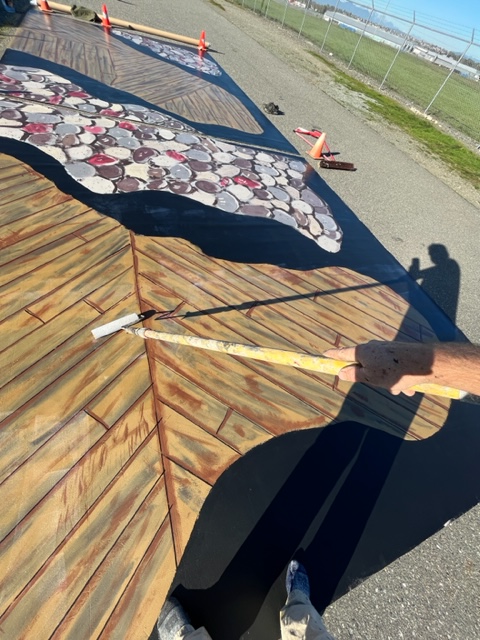
It was flown in, so needed to be structurally sound. It was constructed of 2×2 SPF and recycled coroplast. Windows were painted muslin. Brick work was painted with a roller with slats cut out and dipped in various colours of paint.
(Director: Gabe Kirkley; Lighting: Ken Hildebrandt; Costumes: Dani DeJong; Props: Becki Cormier; Set Design: Andrew Potts)
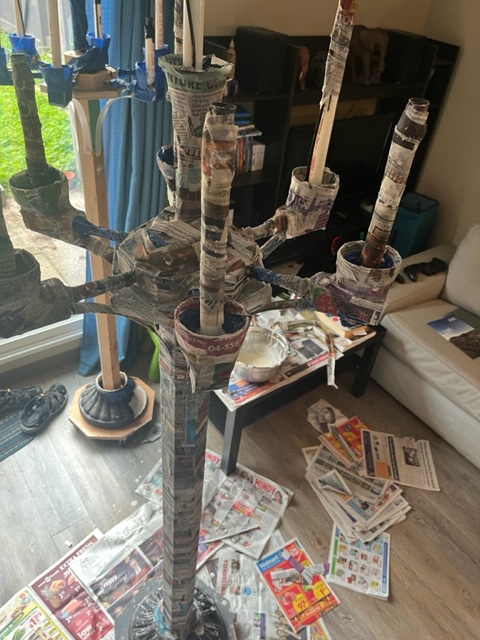
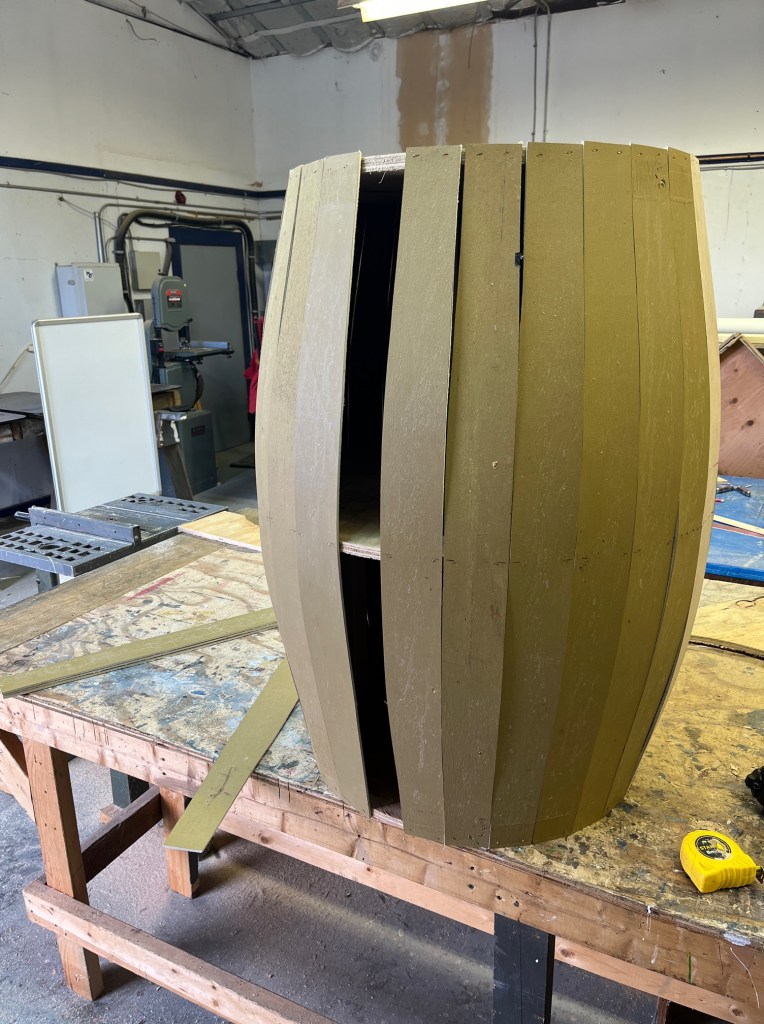
For my recent build A Tale of Two Cities for Gallery 7 Theatre, we needed three barrels. One was to be carried and ‘spilled’ and the other two were to set the scene for the Defarge’s wine shop.
A Tale of Two Cities, Gallery 7 Theatre, November 2023
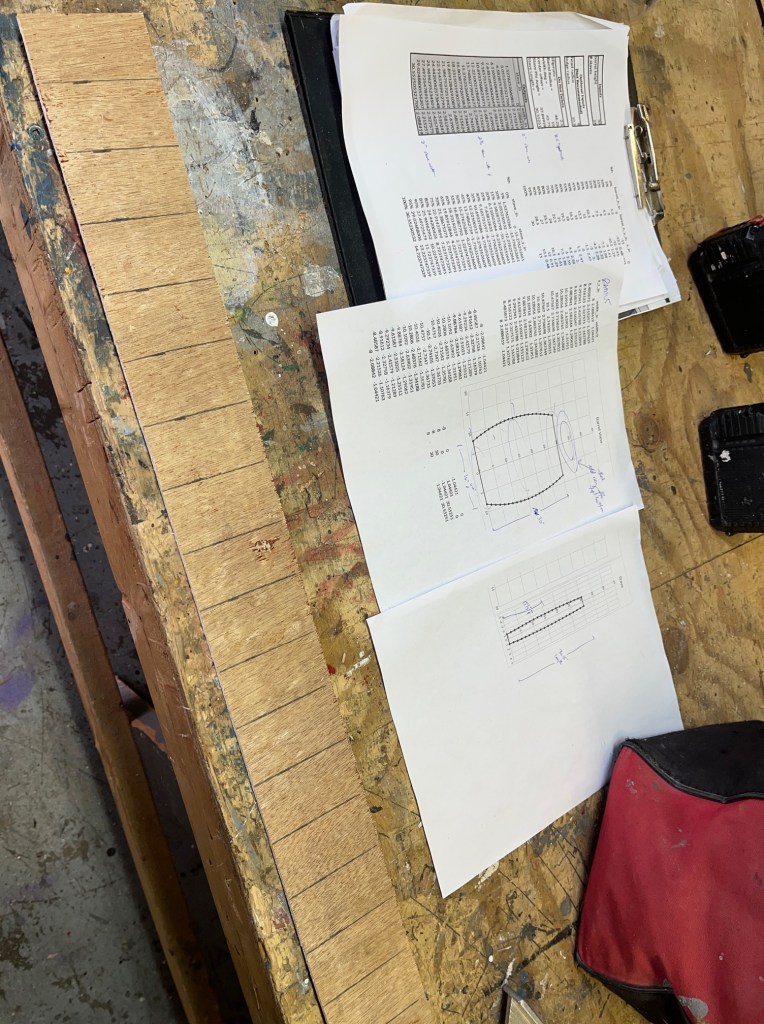
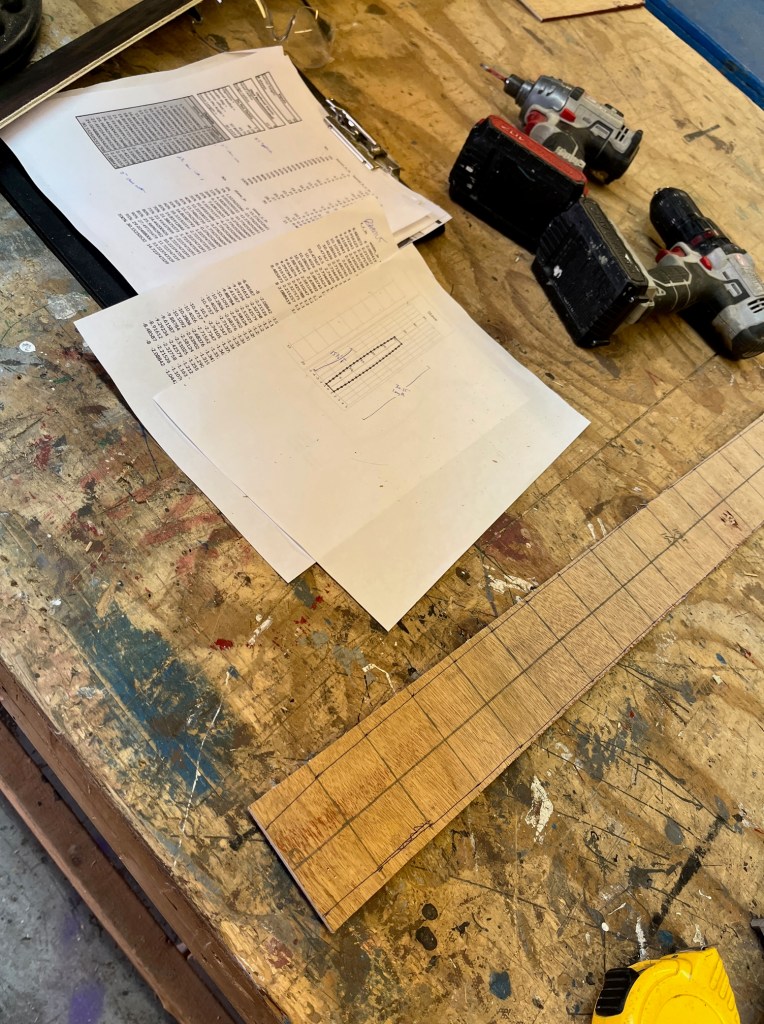
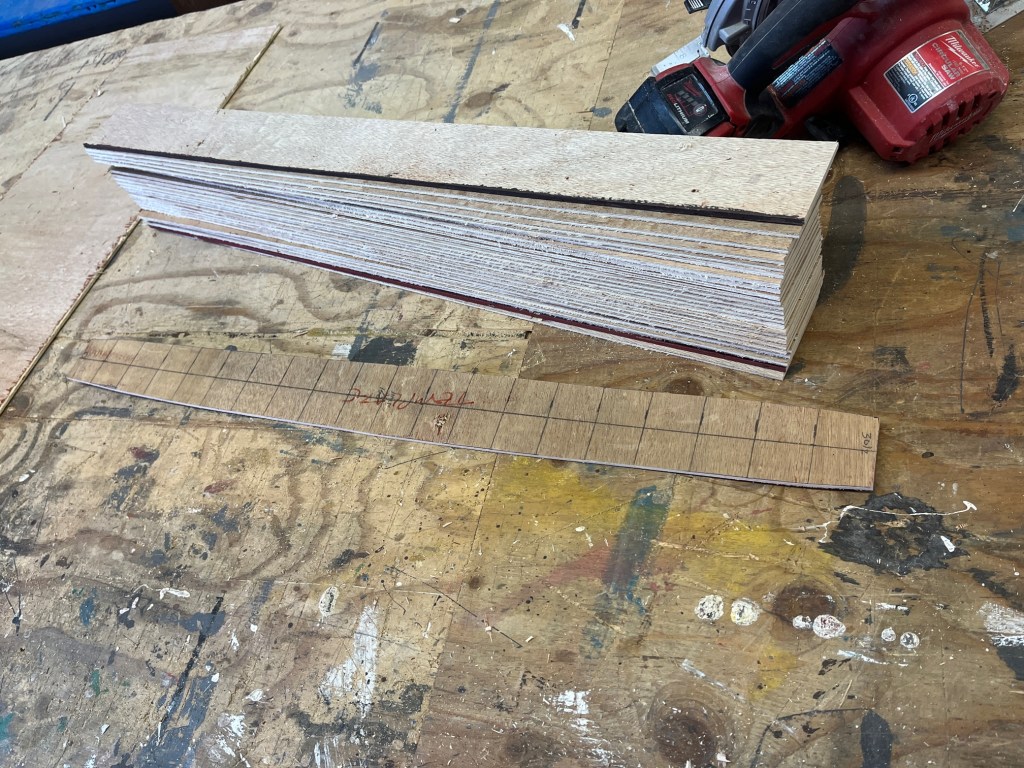
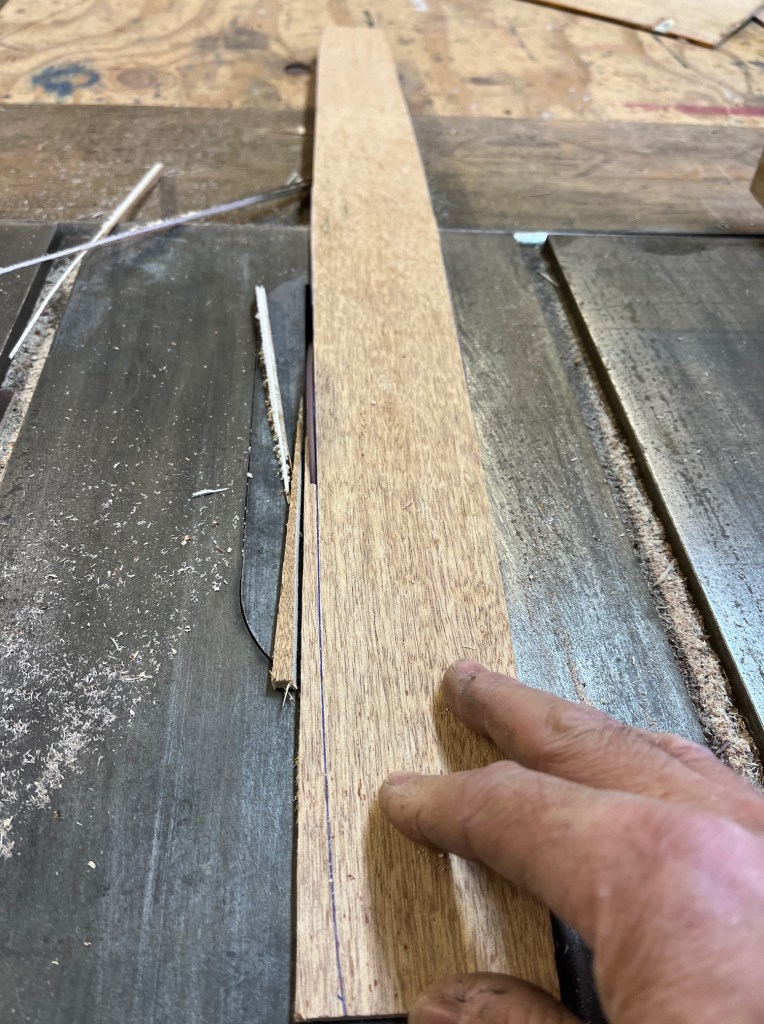
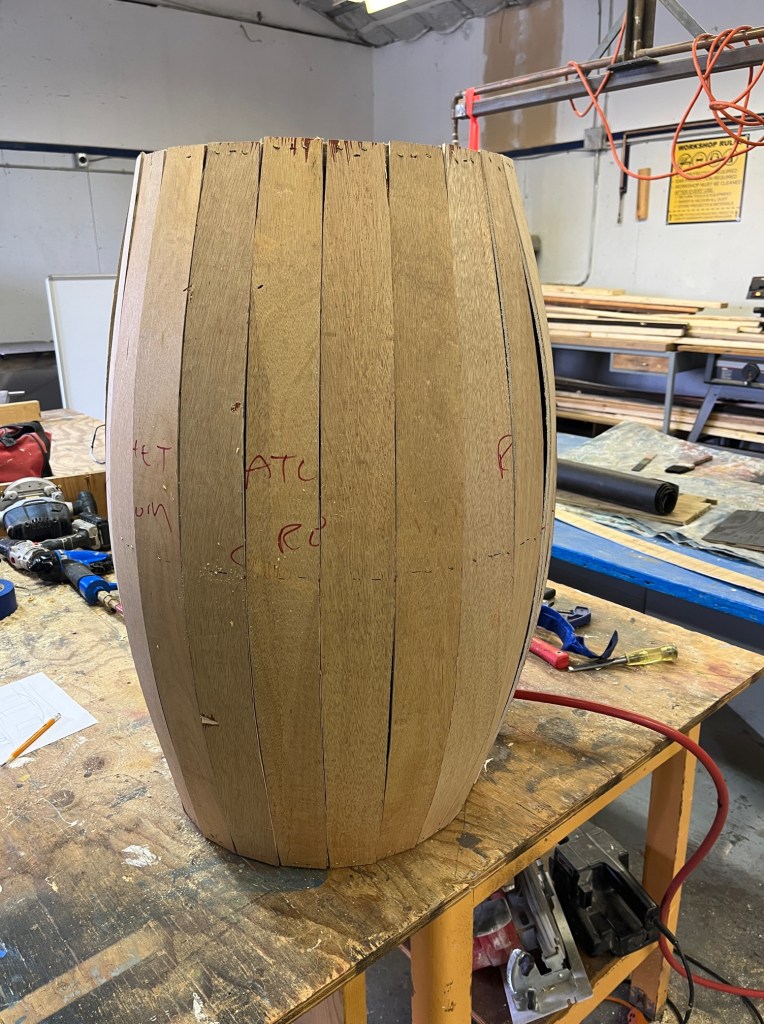
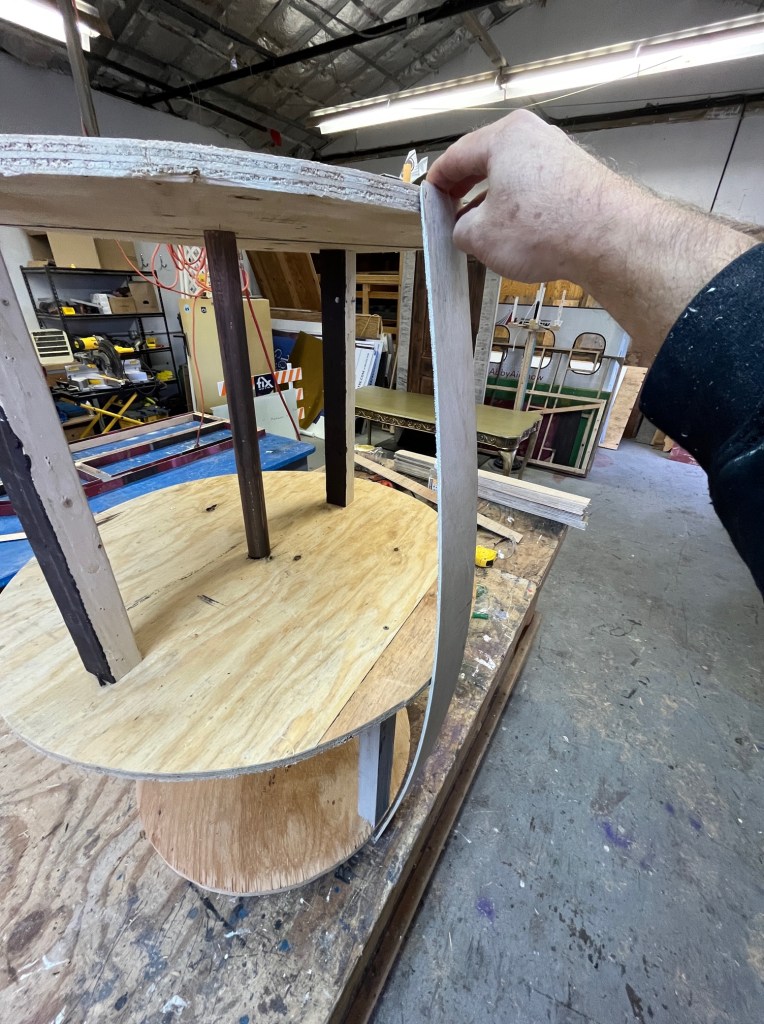
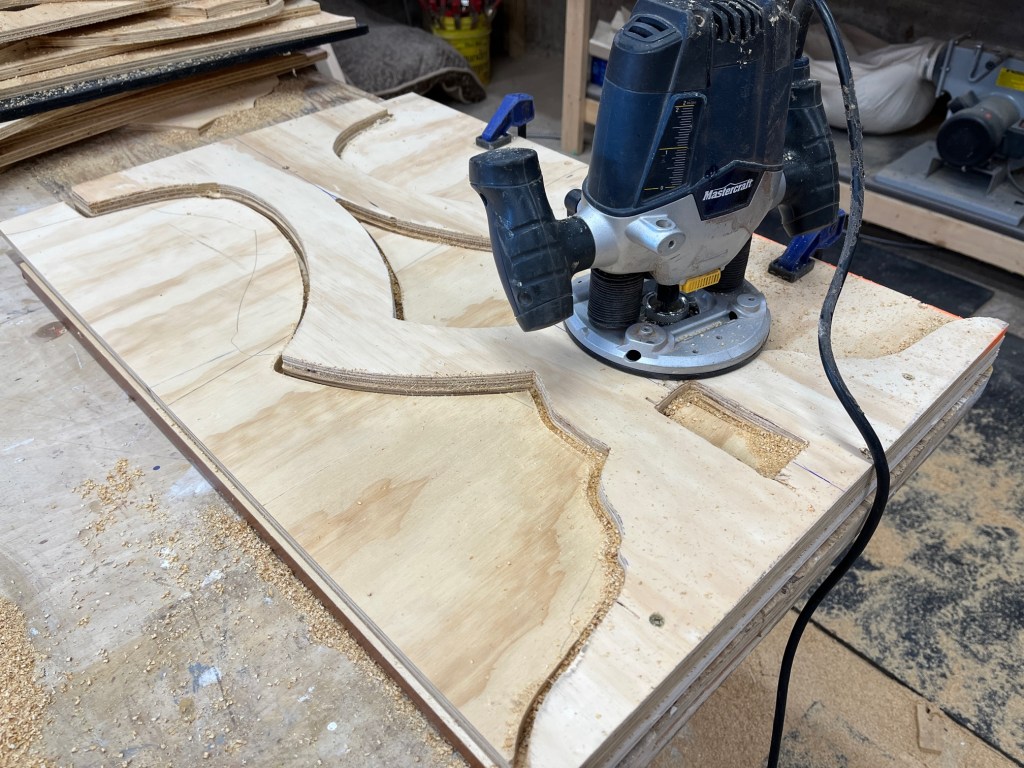
I found a helpful spreadsheet on Popular Machinist (link here) that helped me to know what size to cut the staves. I was able to plug in my dimensions (height, radius, etc) and it plotted out accurate numbers. I then transferred those measurements to a piece of 3/16 mahogany plywood to make a template; then cut all the curved staves with a table saw set at a small angle (please do not attempt to do this unless you are comfortable with power tools).
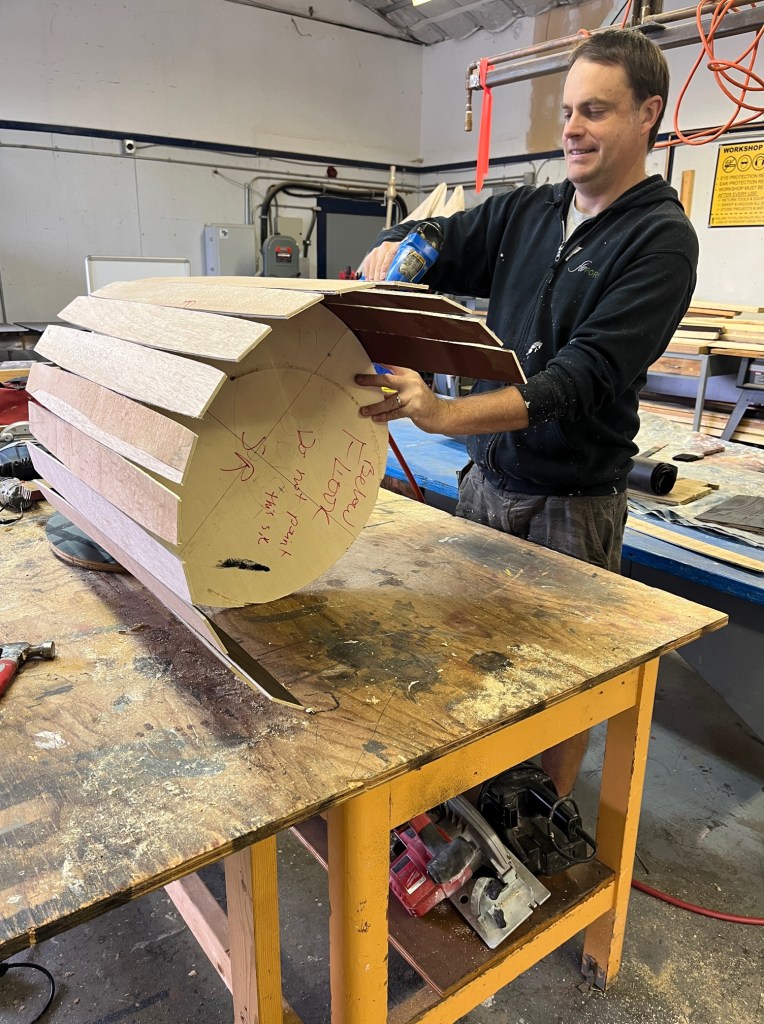
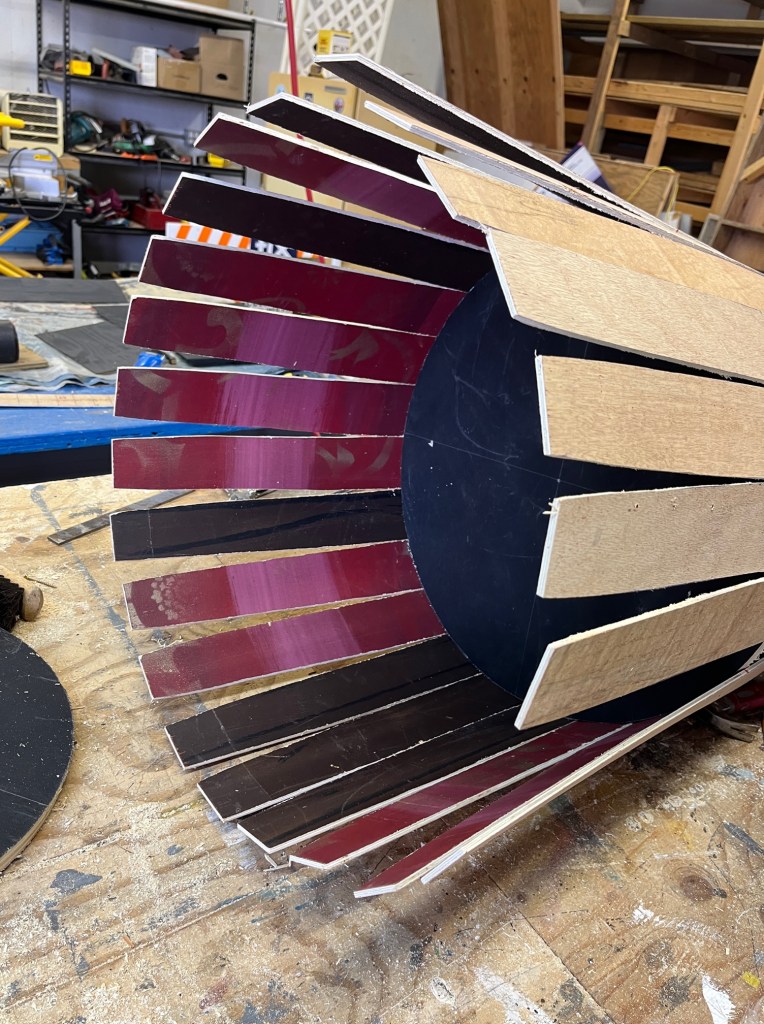
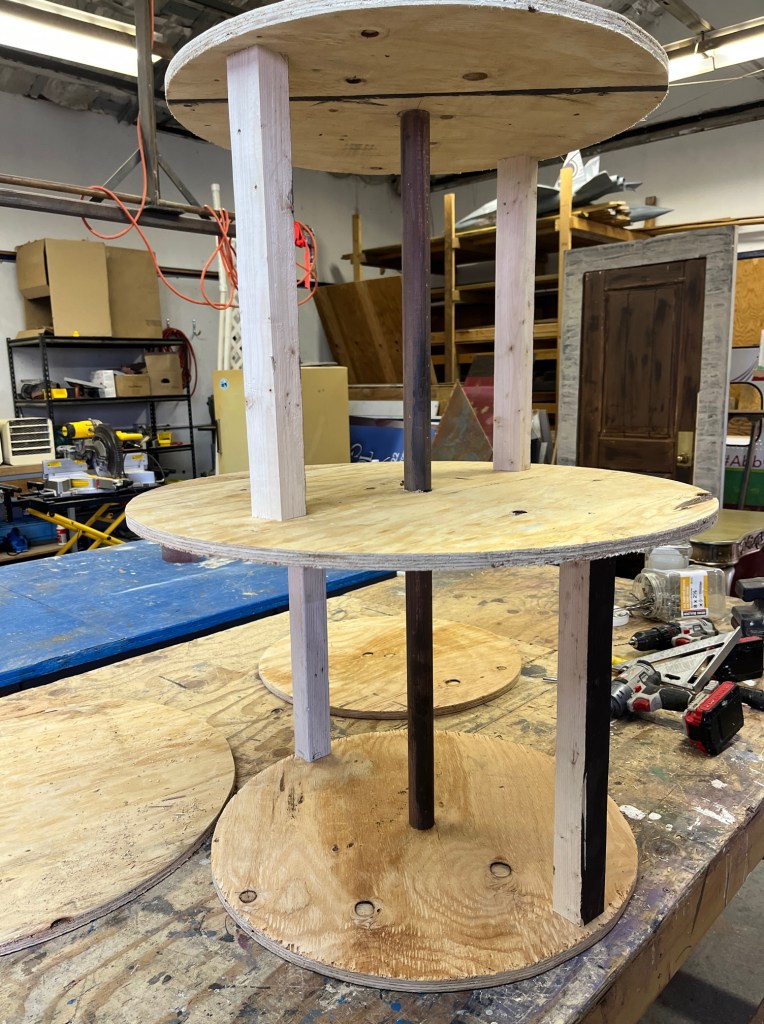
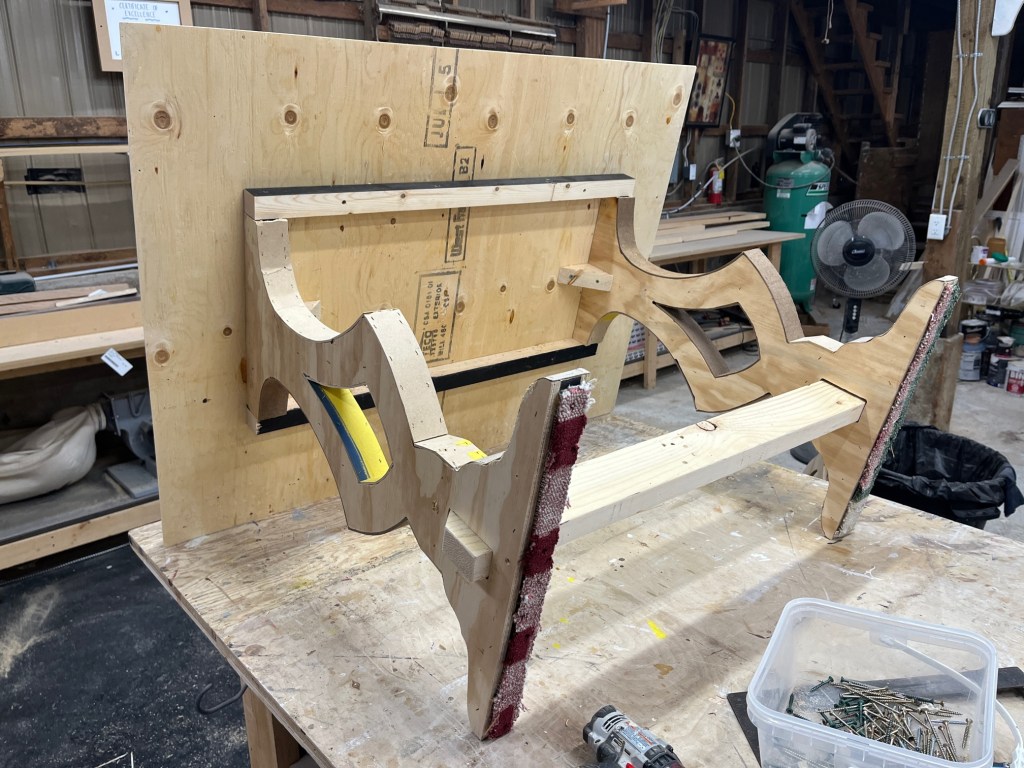
I cut the head,foot and middle circles out of 3/4 plywood, then stapled the staves on with some help from my assistant. After the first one, I added some extra interior structure before I stapled the staves on, and it was much easier to keep everything even.
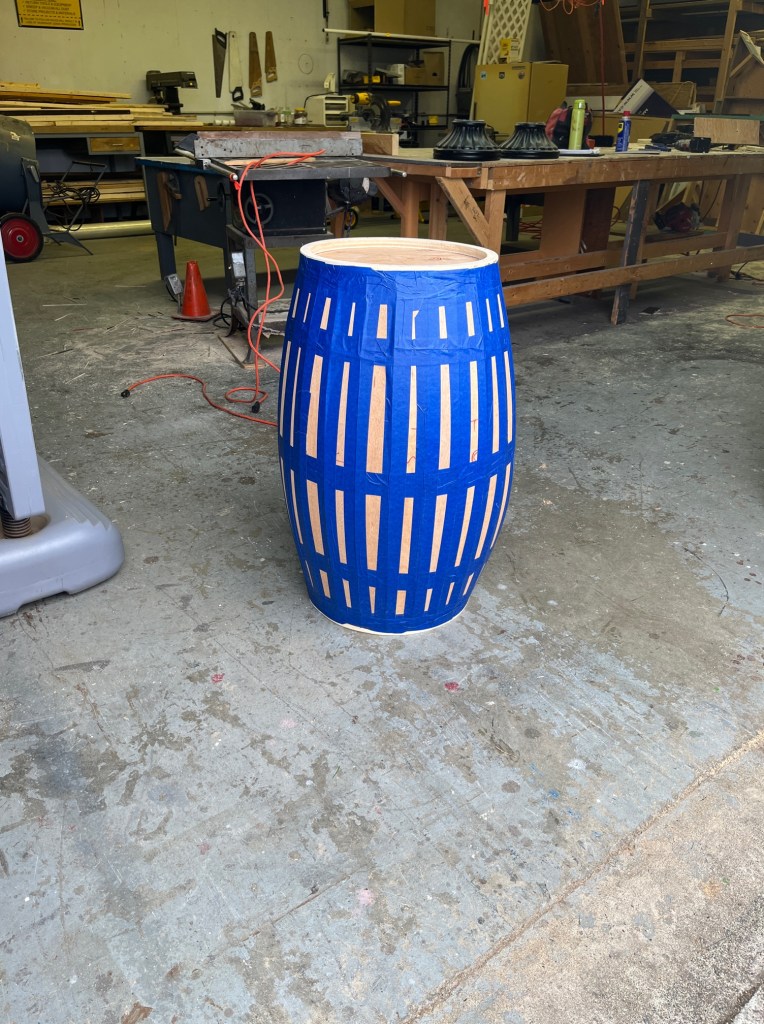
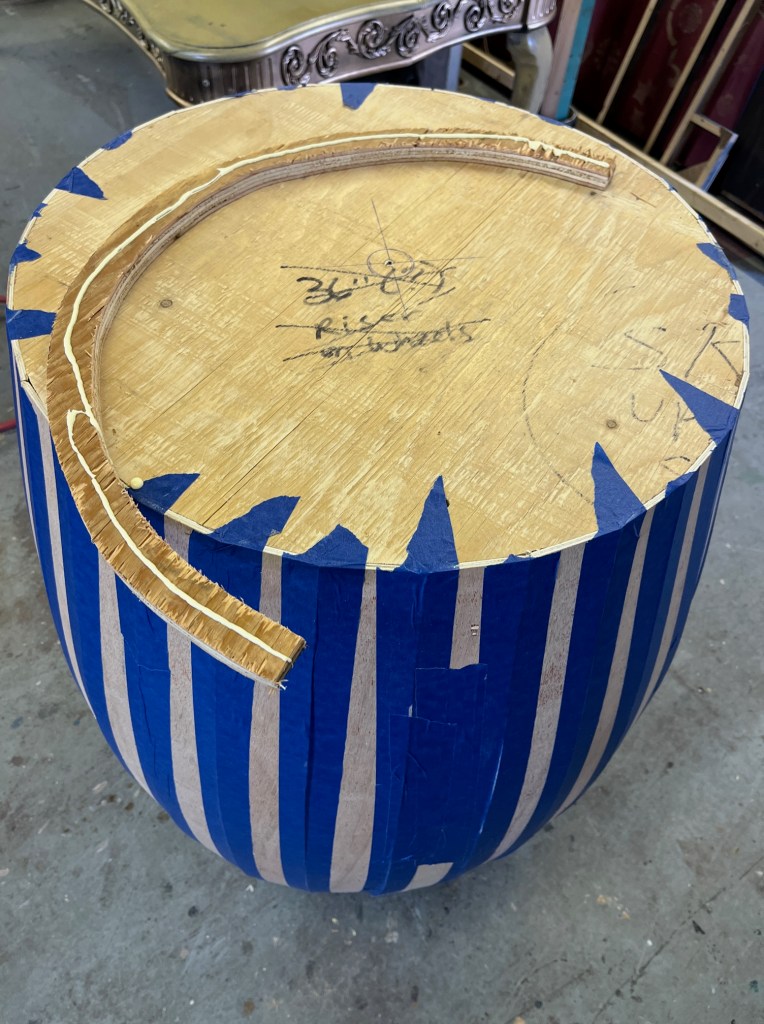
There were some small gaps – these would be difficult to make perfect unless cutting everything with a CNC. My solution was 2-inch painters tape to cover the seams and give some structural support.
To protect the top and bottom and also to look more realistic, I added a ring of plywood as well.
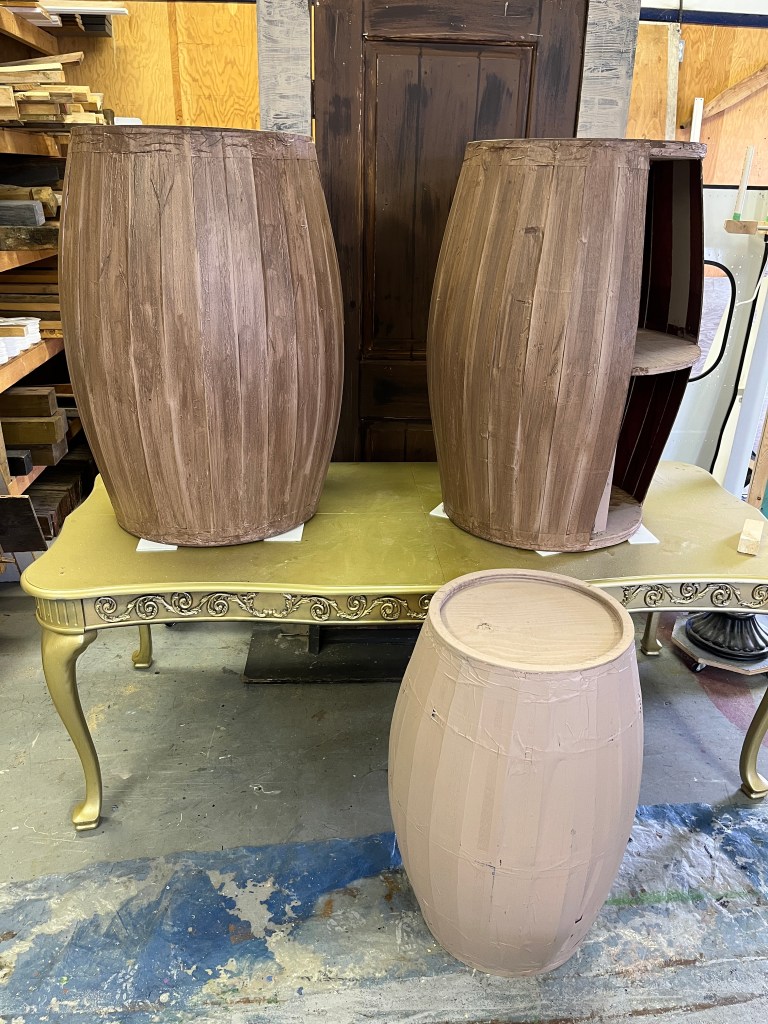
My assistant did a great job of painting them and even added some Parisian stamps for realism. The final touch was a few rings of duct tape to simulate metal bands. I also added a few “bung holes” to the prop barrel. One of the larger barrels had a shelf inside so wasn’t completely enclosed, as well.
Overall, they worked really well. They are lightweight, reasonably sturdy, and (I think) realistic. And cheap – I was able to make them for the cost of a couple rolls of tape, since I had plenty of scrap plywood.
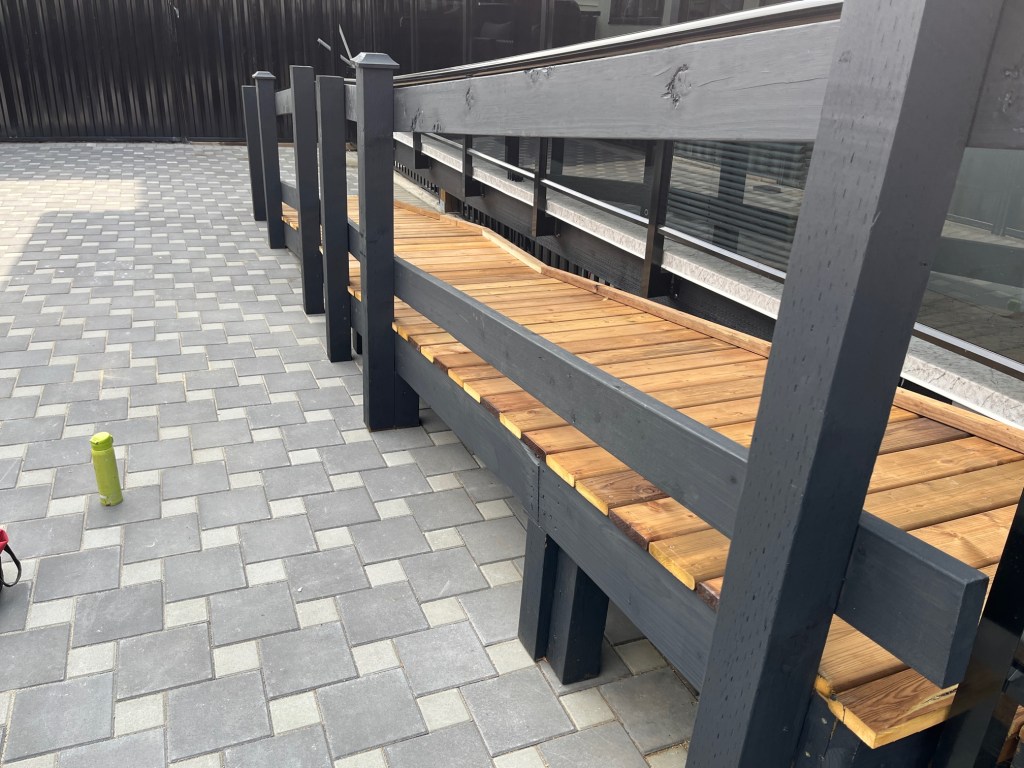
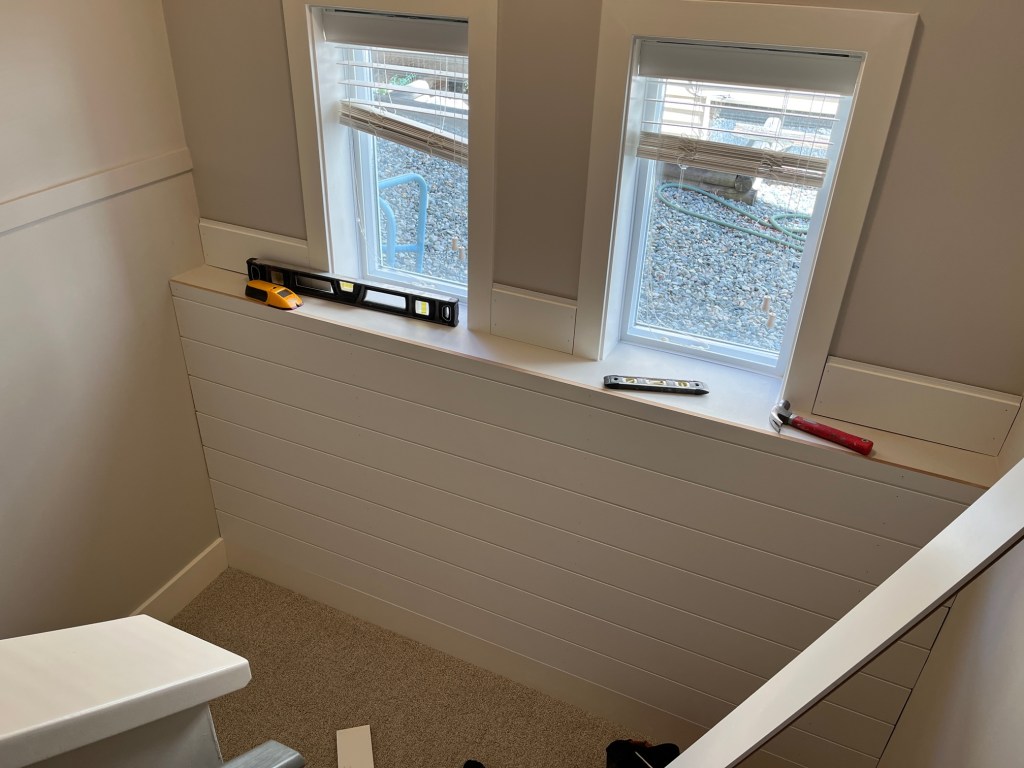
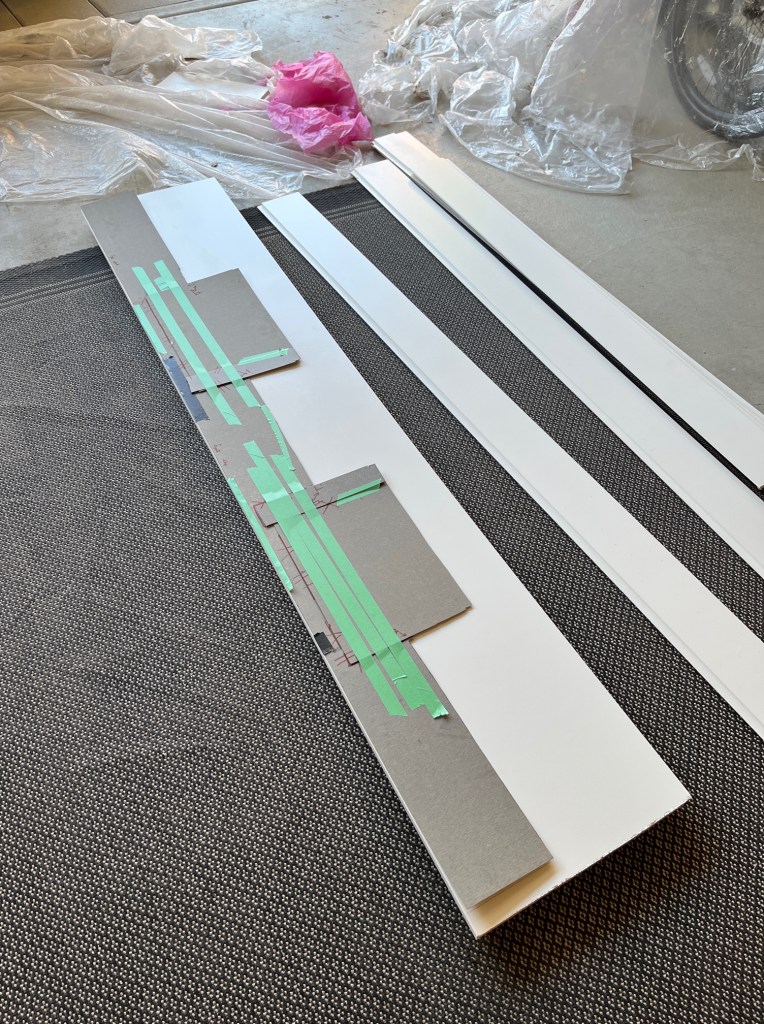
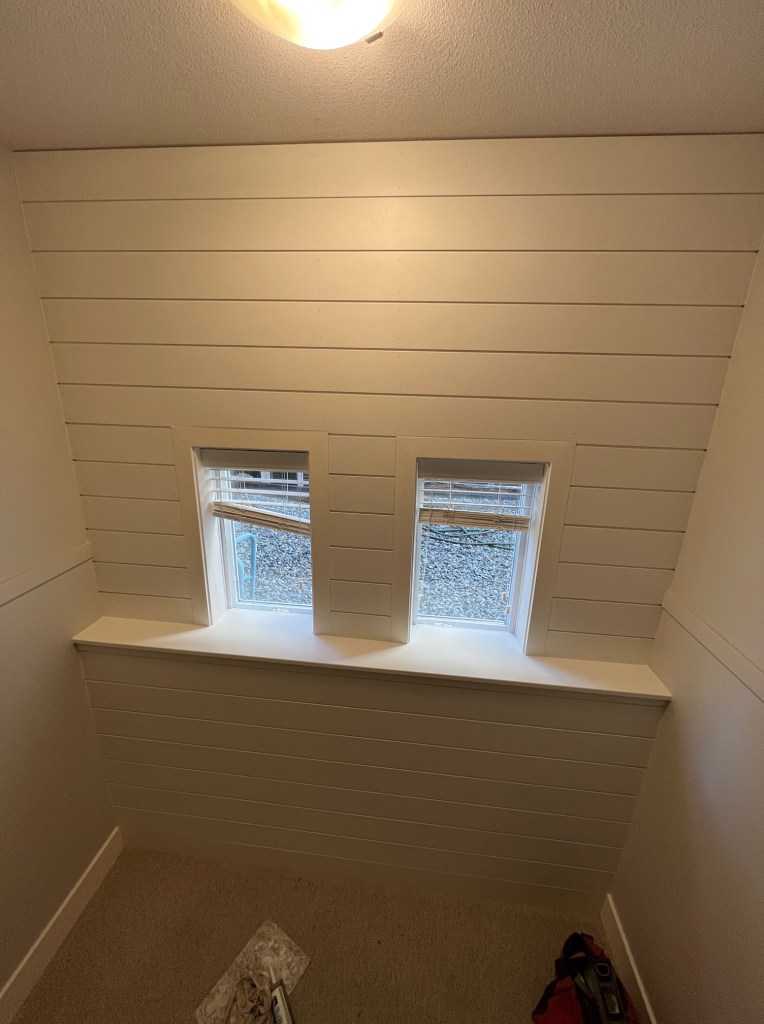
Awhile ago I put up an accent shiplap wall for Janice and Dale; they called and wanted another one. I measured the wall, then picked up the MDF shiplap and left it with them to paint, and to acclimatize to the house as well for a few days. Later I came back to install it.
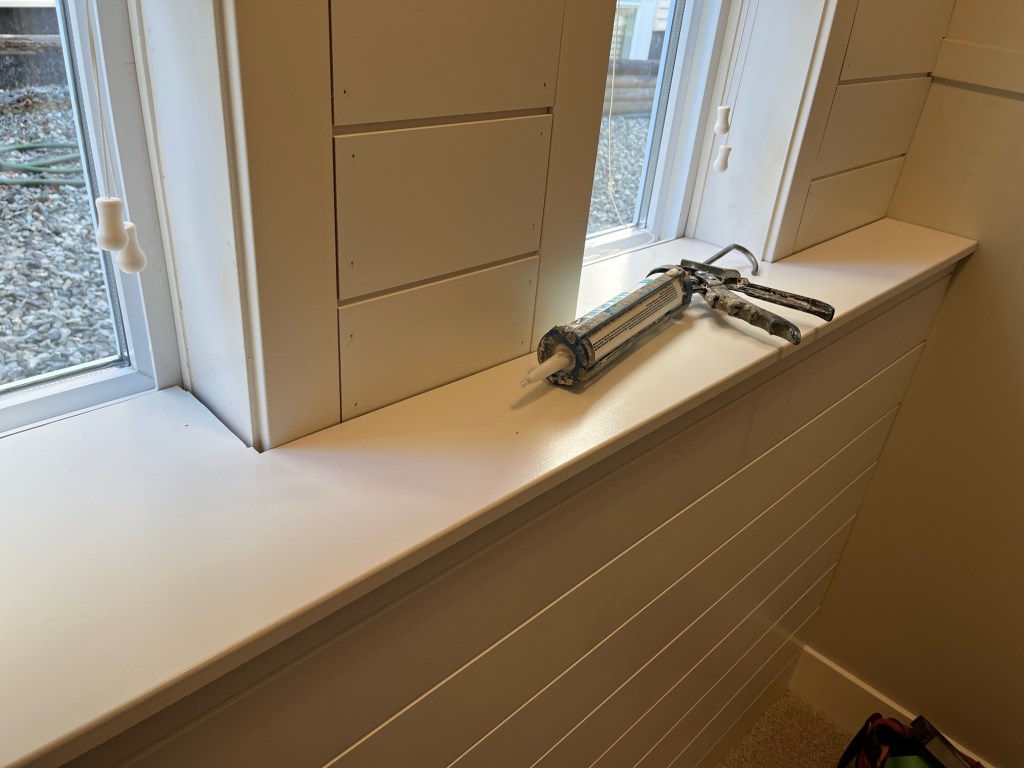
This is an exterior wall with a built-out area where the foundation wall meets the windows. The issue with shiplap here was that you could see the top of it when it reached that transition. My solution was a small bar/shelf that covered it a little bit.
Before shiplaphalfway donetemplating the barDone and waiting for customer to finish with a bit of touch up paint
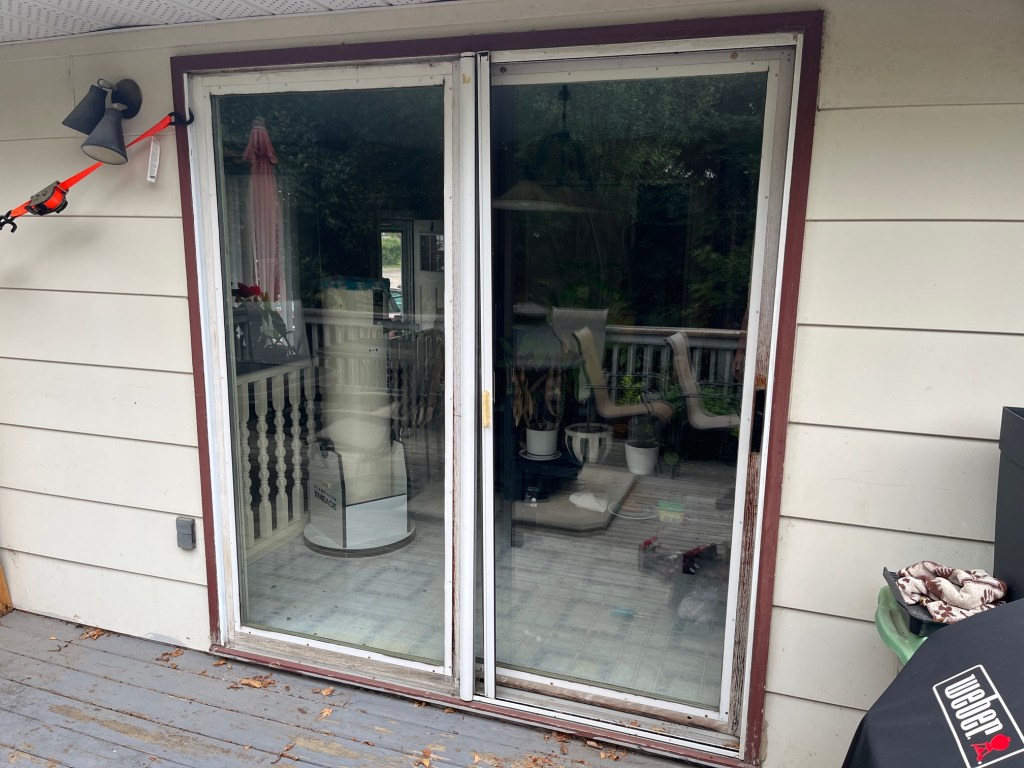
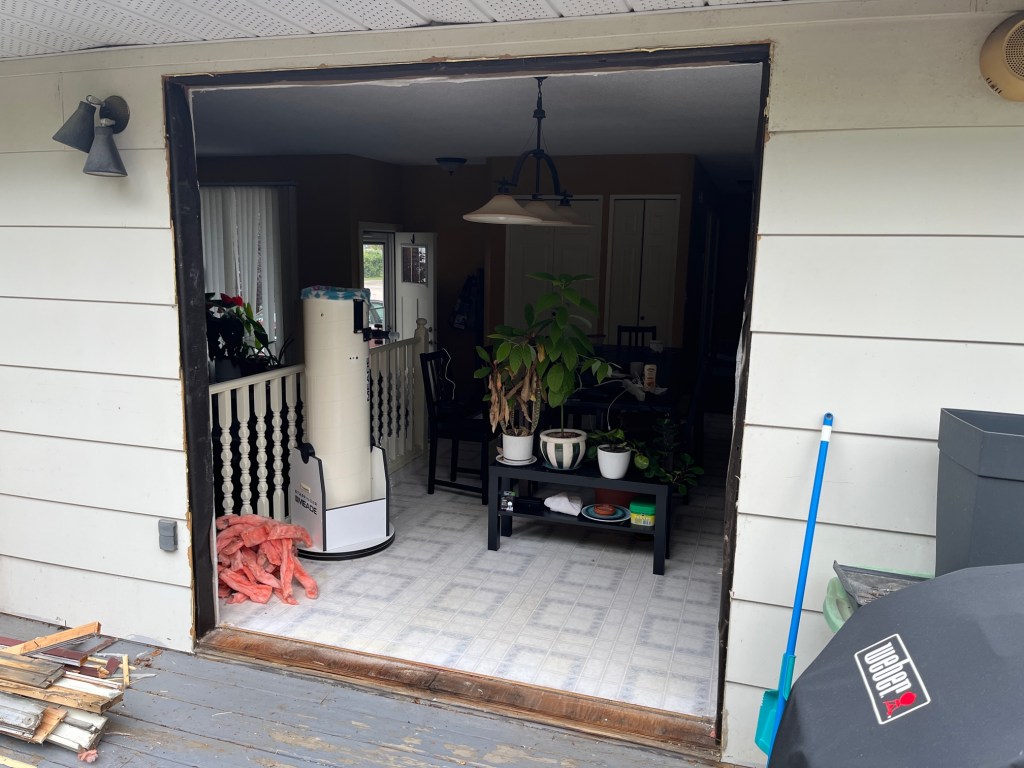
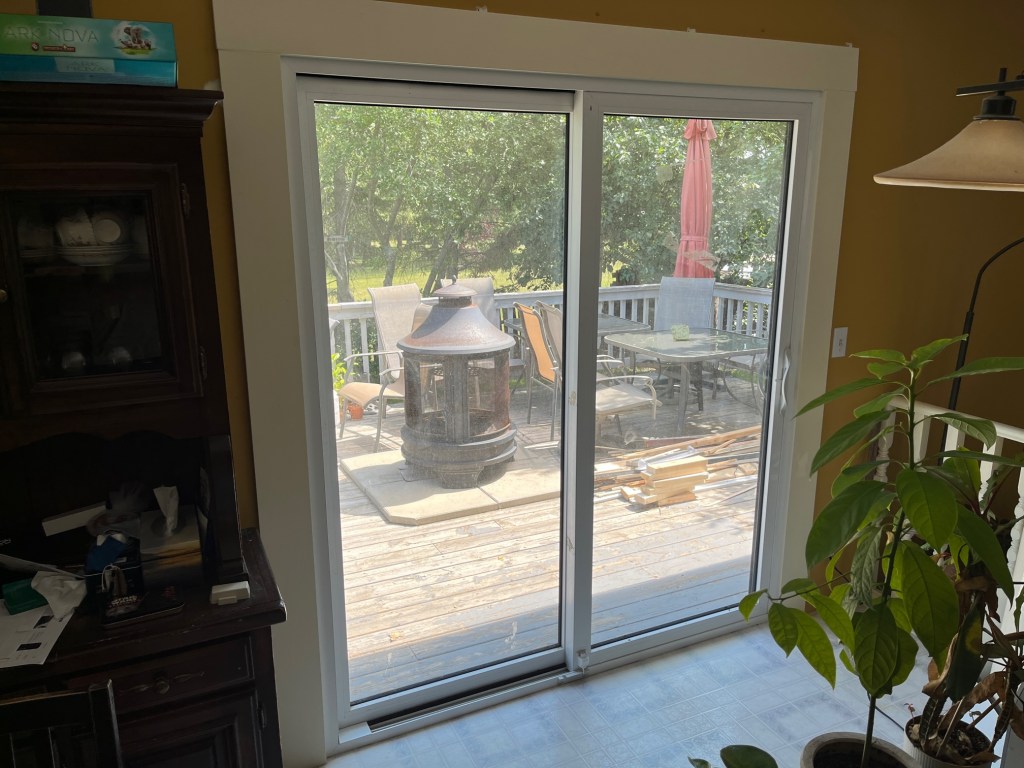
I asked my wife’s cousins if they had any work for me while we were visiting their area; they had a patio door that had been waiting awhile to be installed. So I removed their old one and replaced it. The new one was smaller so there was a little bit of extra framing involved.
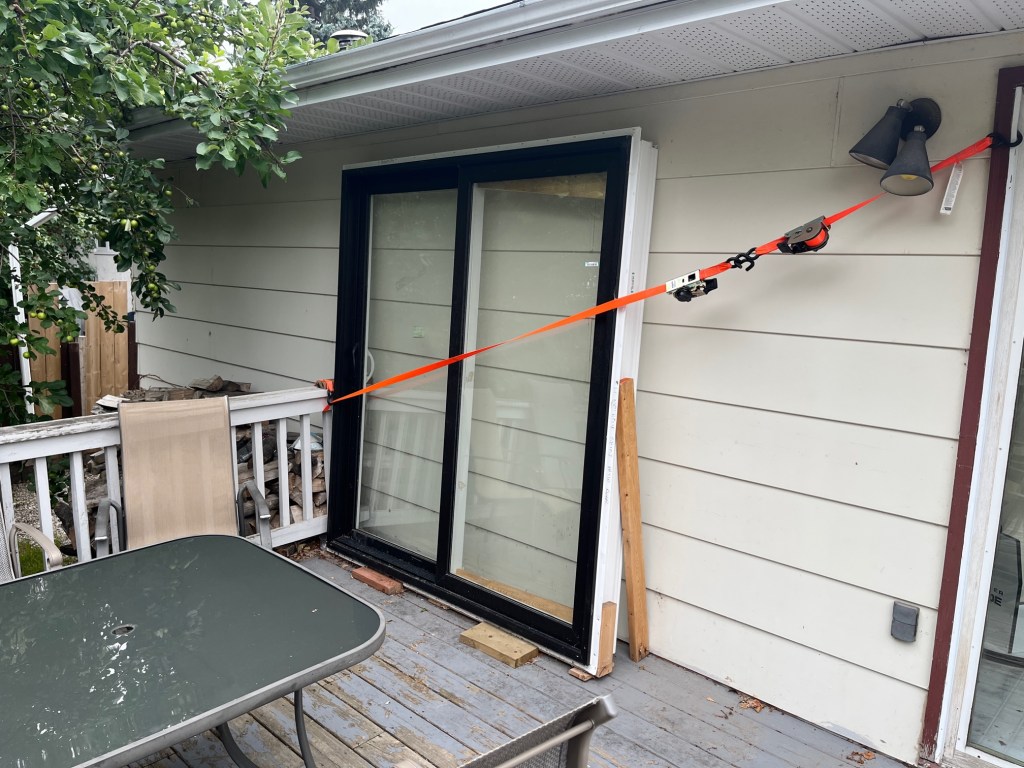
Old doorNew Door waiting patiently
I wasn’t able to remove the main glass panel from the new frame – I thought it would be easy but it seemed quite secure. It was manageable though. The sliding one definitely had to come out to make the frame lighter!
New, wider mouldings had to be installed inside and out. This tends to happen when a bigger framing gap is created! However it worked out nicely because they are already framing their outdoor doors and windows with wider mouldings anyway.
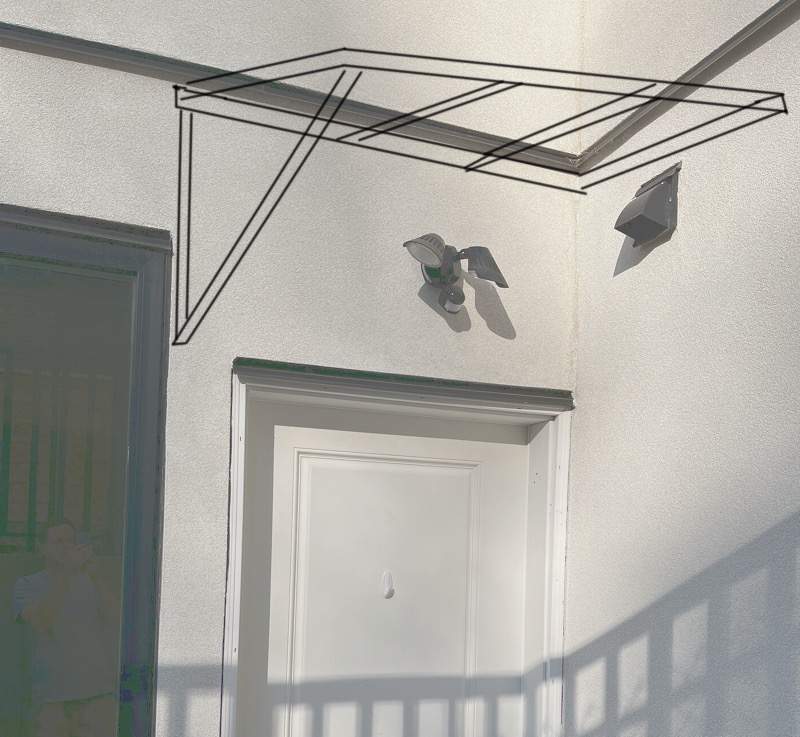
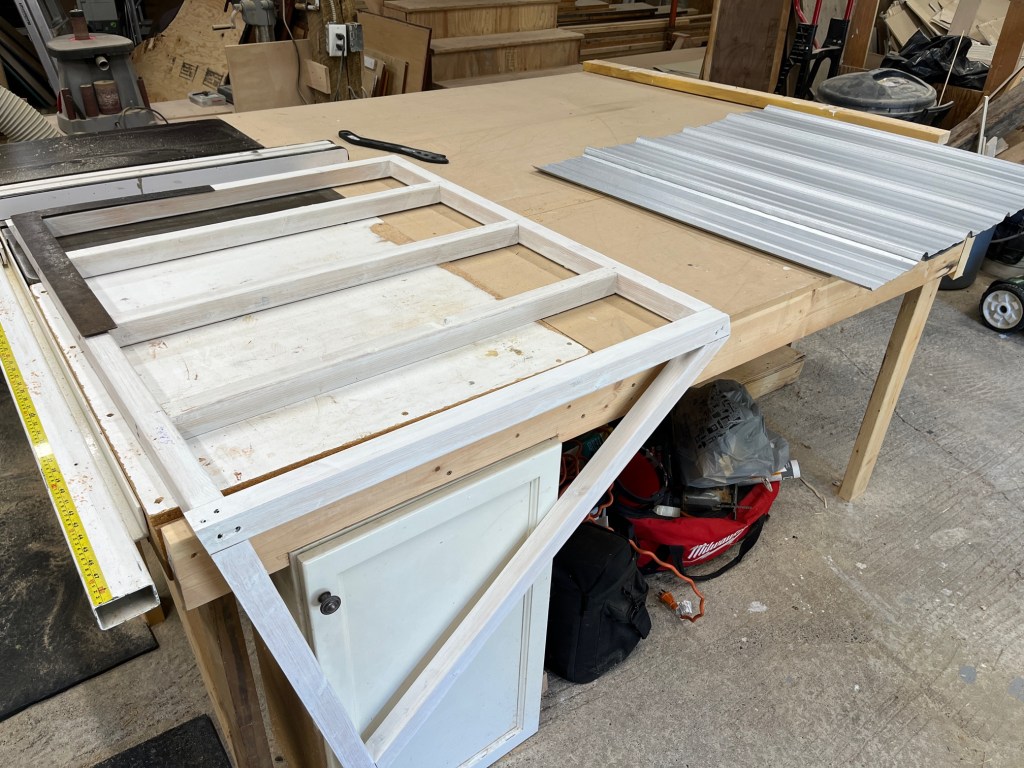
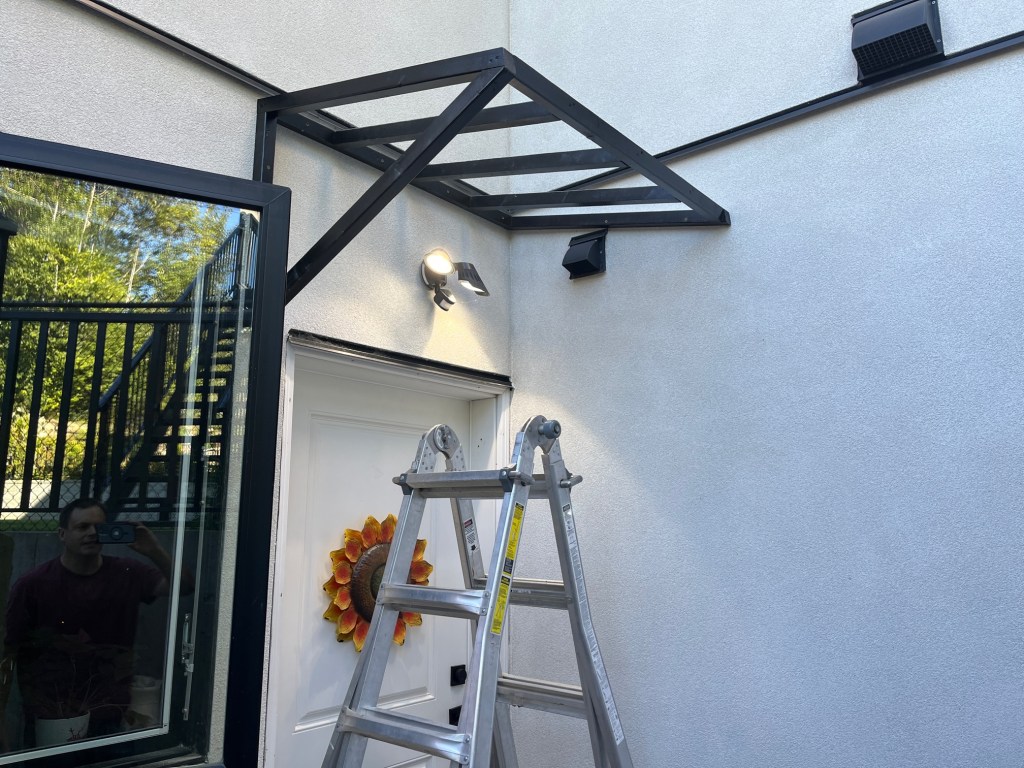
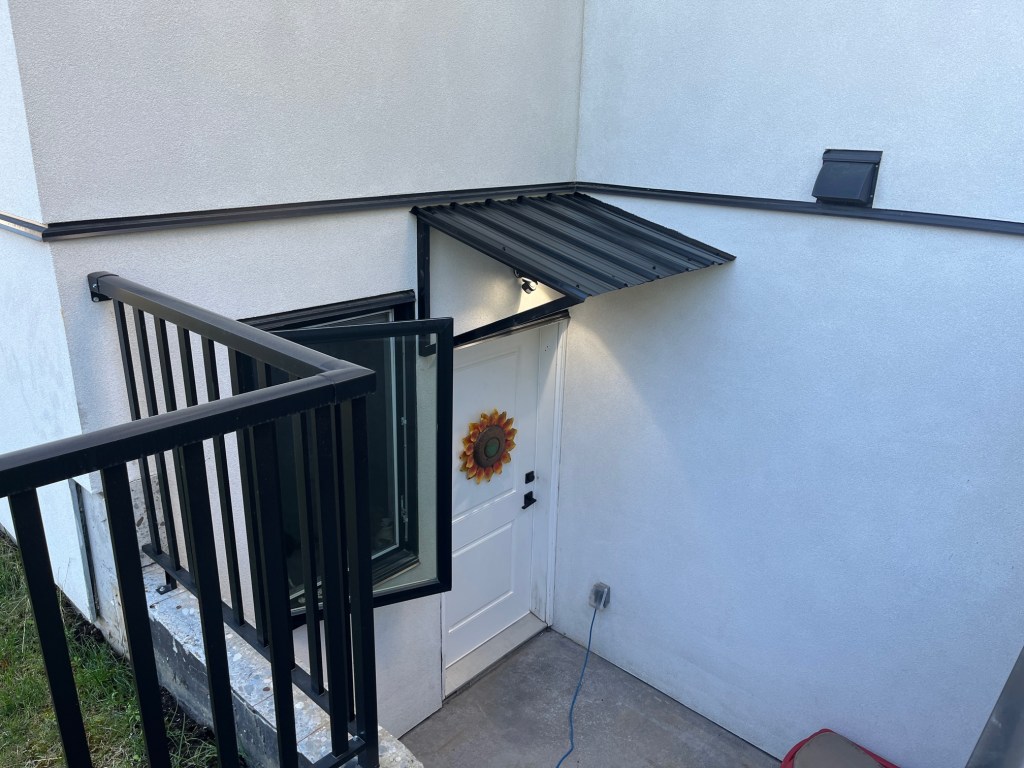
Here’s another tin roof over an exposed basement door… these new $2M houses really need to start adding some sort of overhang on these things… too much water gets in.
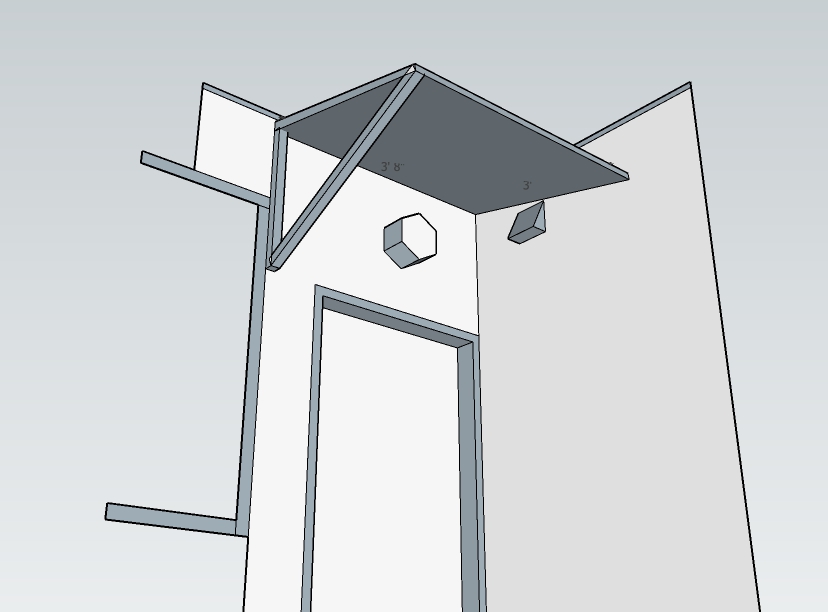
SketchUp model helps determine angle cuts later
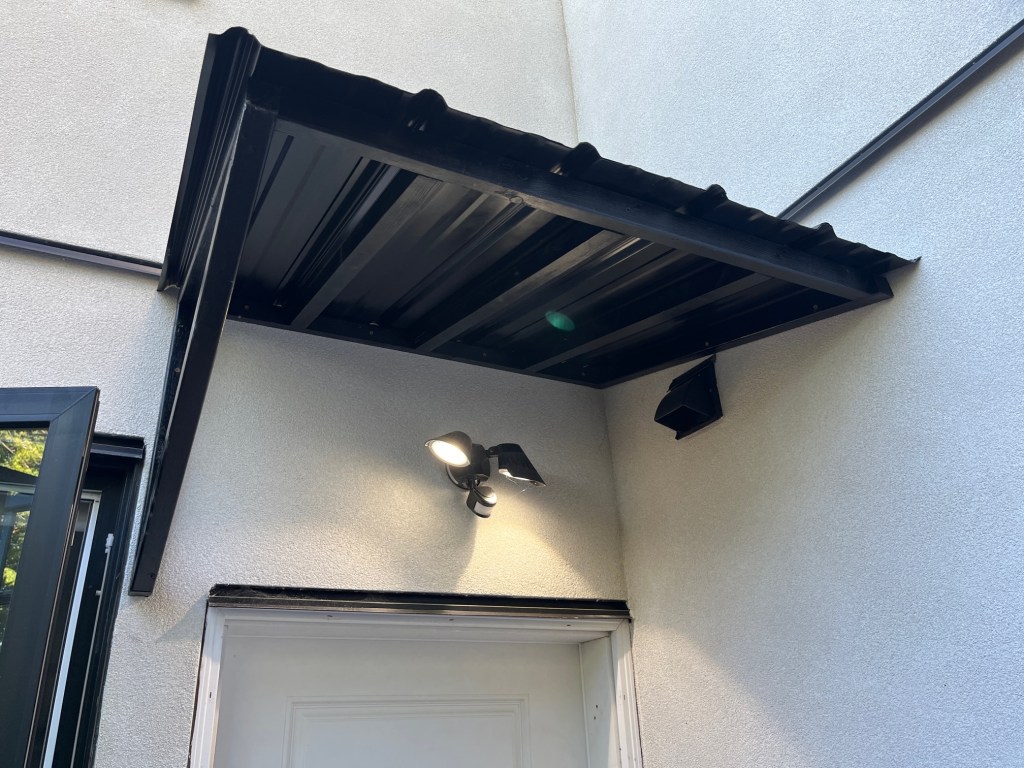
The important part is to avoid the light and the vent and still snug under the flashing.
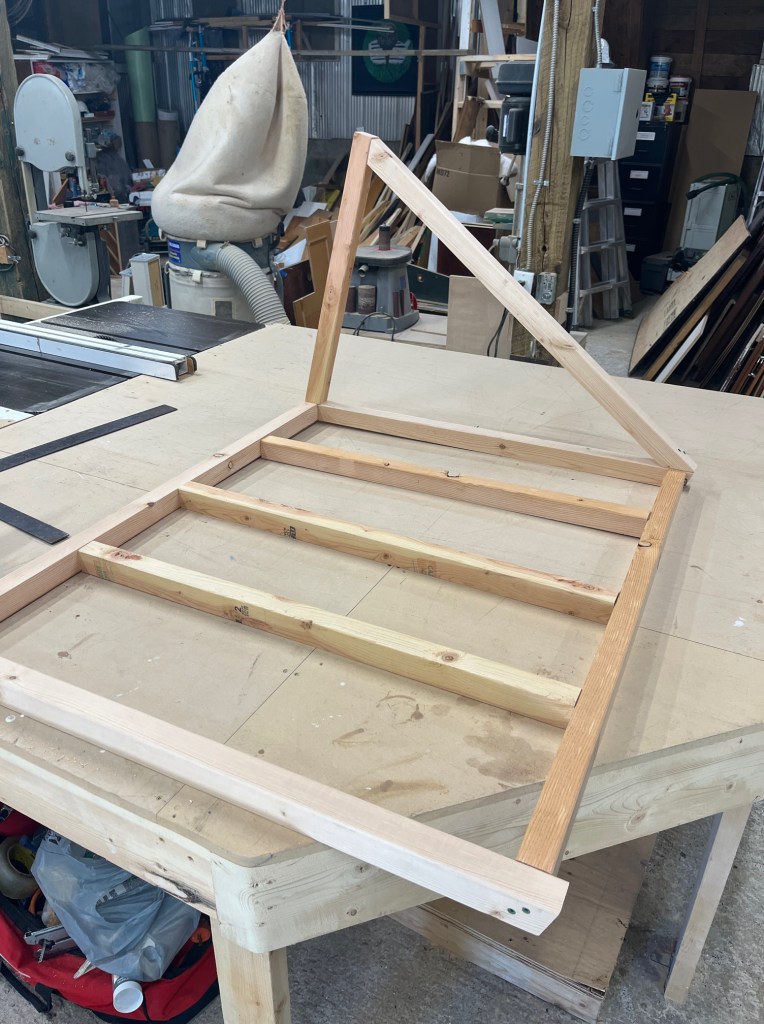
Ingredients: fir 2×2, primer, black spray paint, screws, and galvanized roofing.
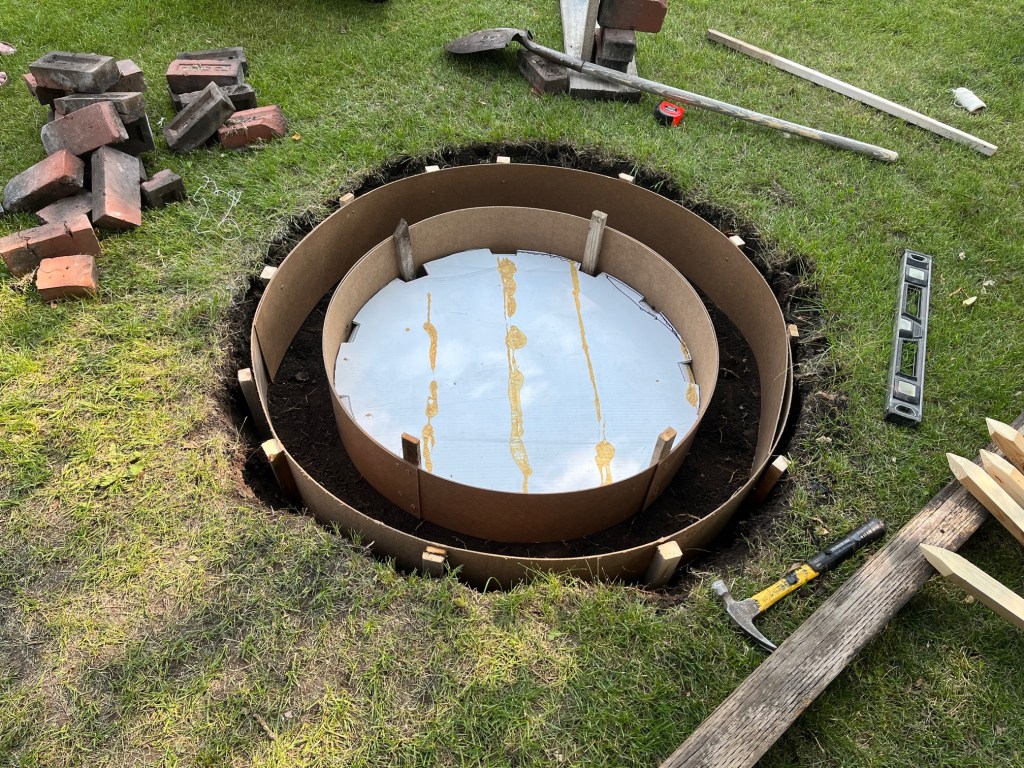
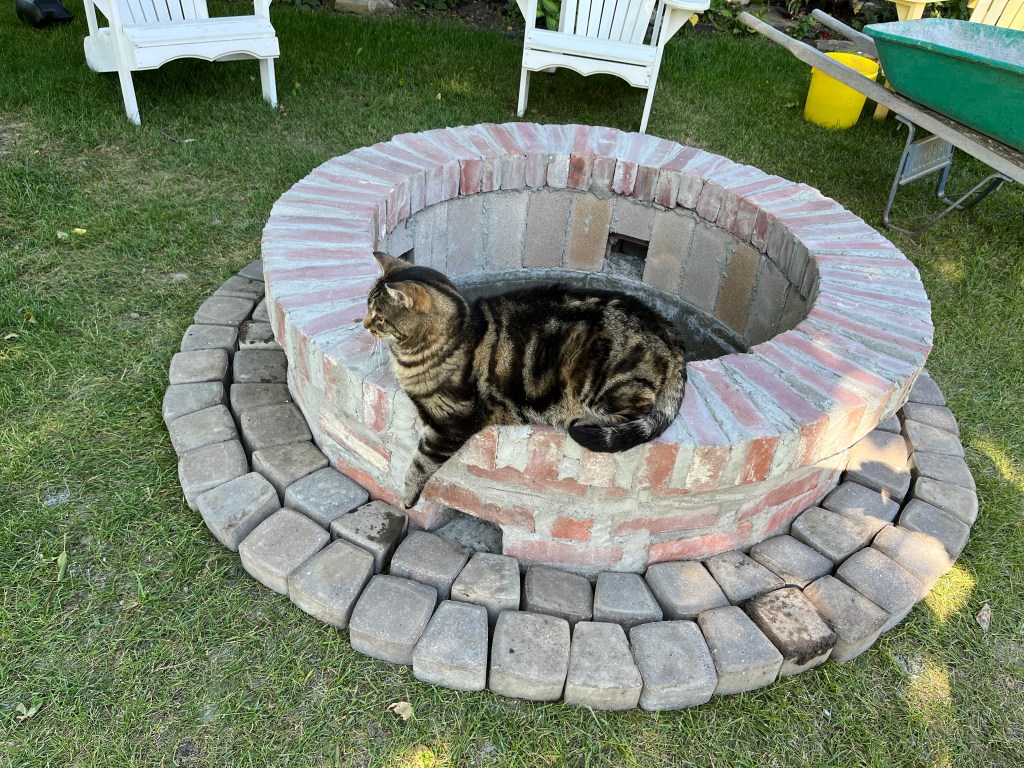
I helped my father-in-law build an outdoor firepit. He found instructions on the Family Handyman site. He had some bricks from an old building or chimney and we re-used them for the outside and top ring.
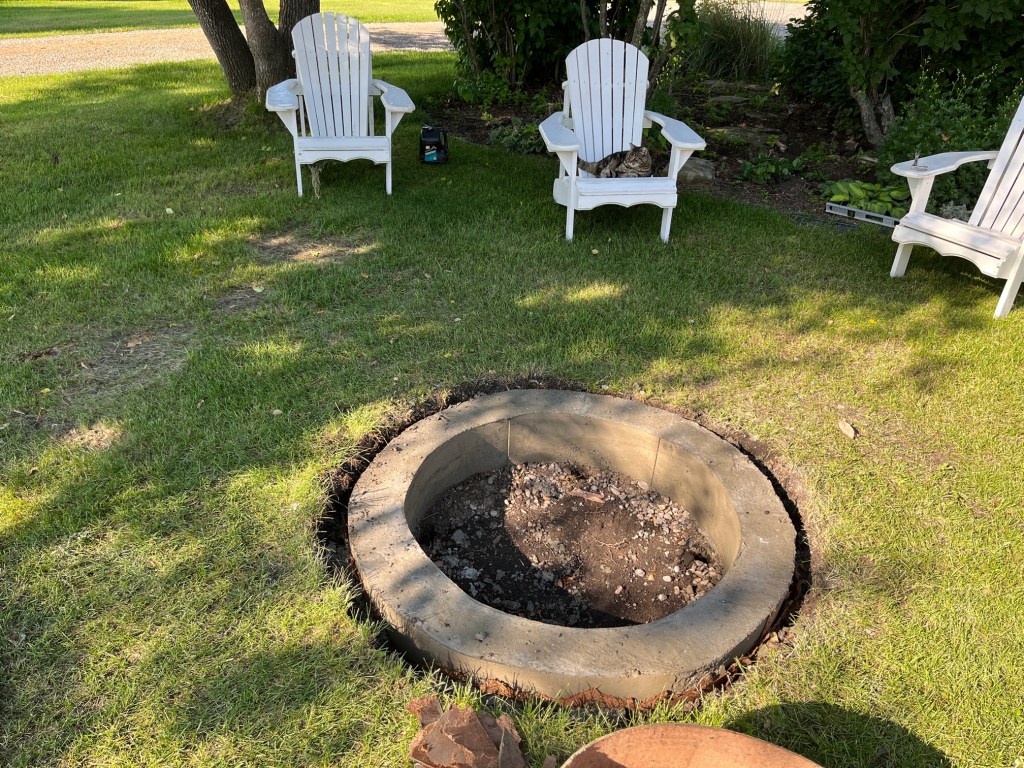
First we poured a ring base with some 1/8 hardboard and stakes and cement. We left a round piece of coroplast in the middle to help keep the circle shape.
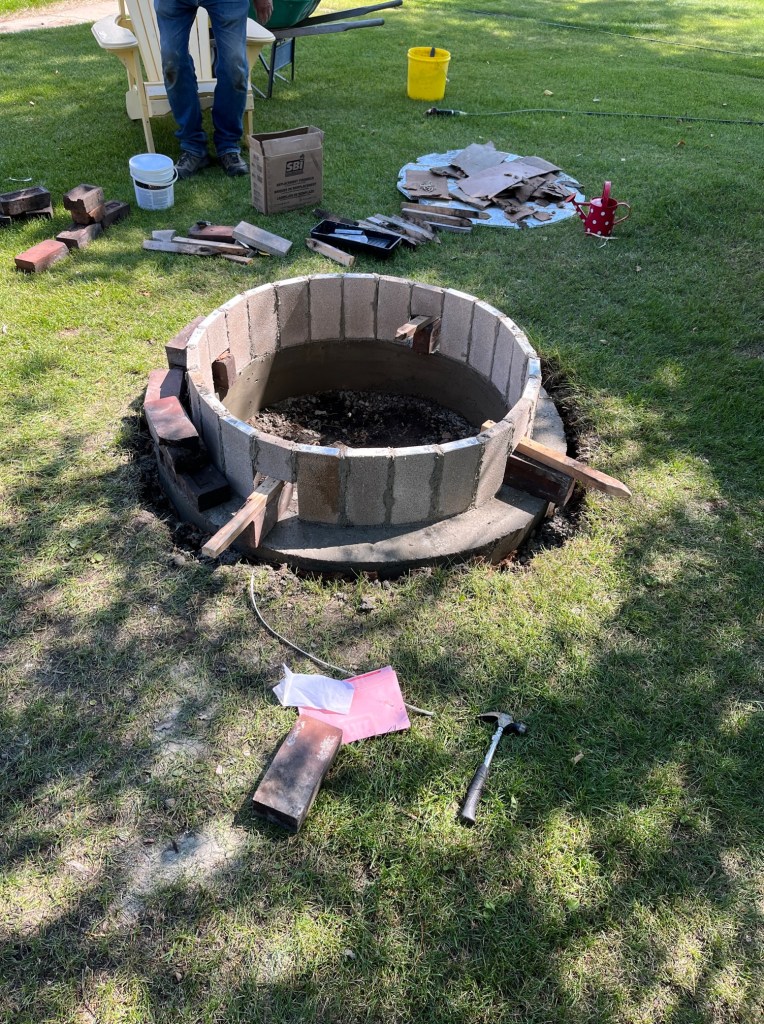
Then we used a special mortar to glue on the firebrick (safer than regular brick near the heat).
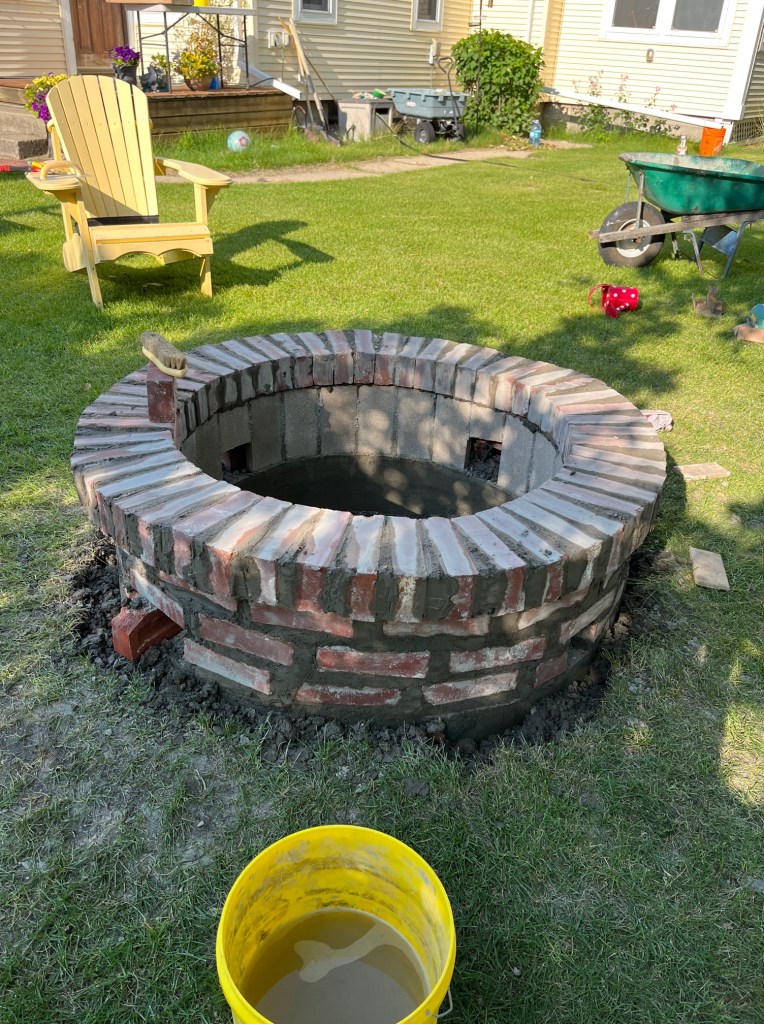
Then we tired our hand at bricks and mortar. It was not easy and I was not super happy with how it turned out, but it does look okay. It was my first and likely my last attempt at bricklaying!
We didn’t get to have a fire while we were there, because the mortar has to cure for a week first…maybe next time!
Oh yes – we also added a ring of blocks around the base using a gravel/sand base. The cat was not much help.