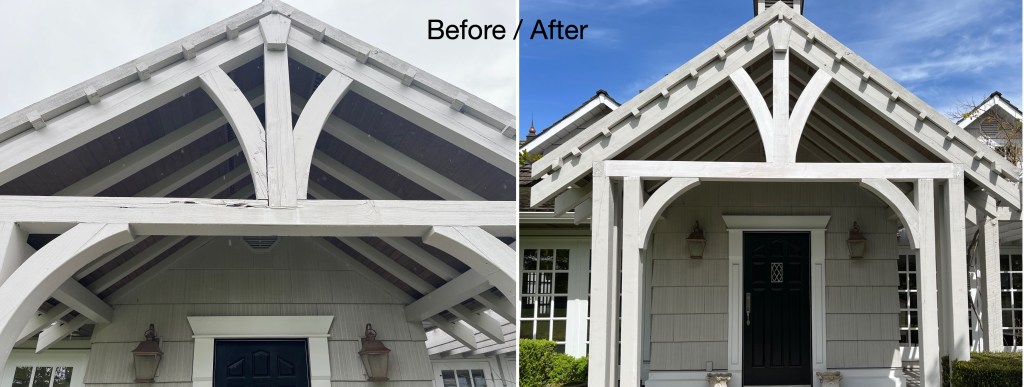
Sandee had been talking for a few years about enclosing her porch. Other projects came first; and then she got a quote or two but they were quite high. I wasn’t really up to taking on a large project like this so I didn’t, until one day I said OK, I’ll draw something up… and the rest is history. The price was really a fraction of what others were quoting… surely not as professional, but I thought it worked out pretty well in the end.
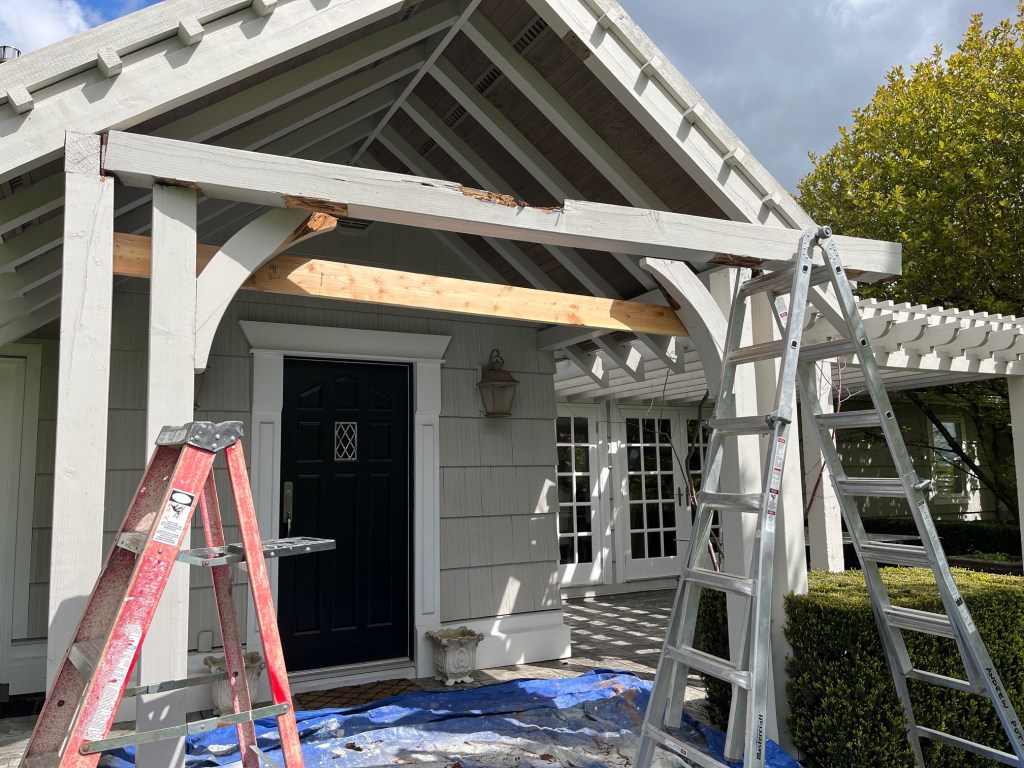
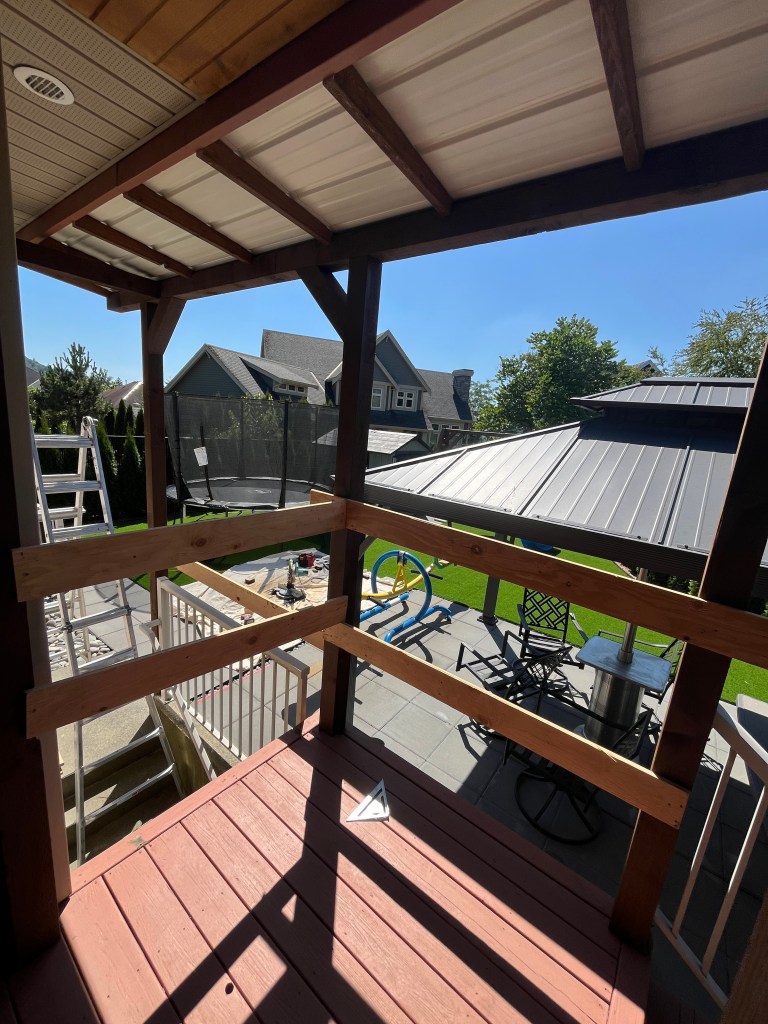
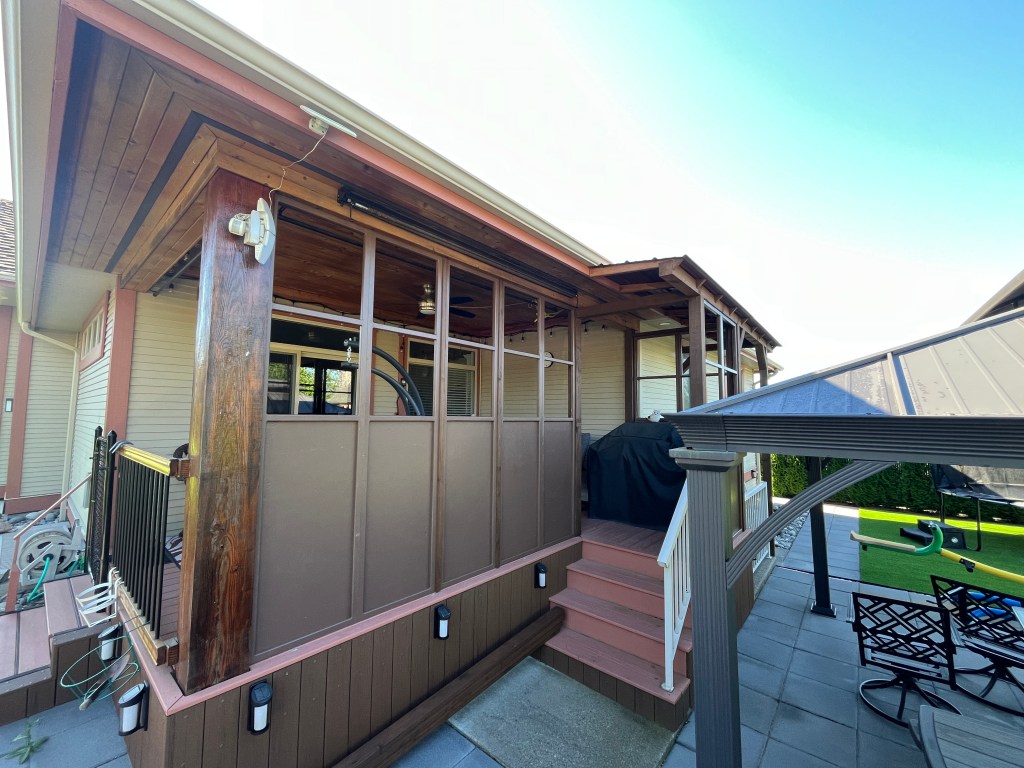
Before: The 2 biggest complaints were the wind (it gets very windy in the winter especially) and the afternoon blinding sunlight. Rain and snow were also considerations. Every season, furniture has to be stored out of the weather, etc.
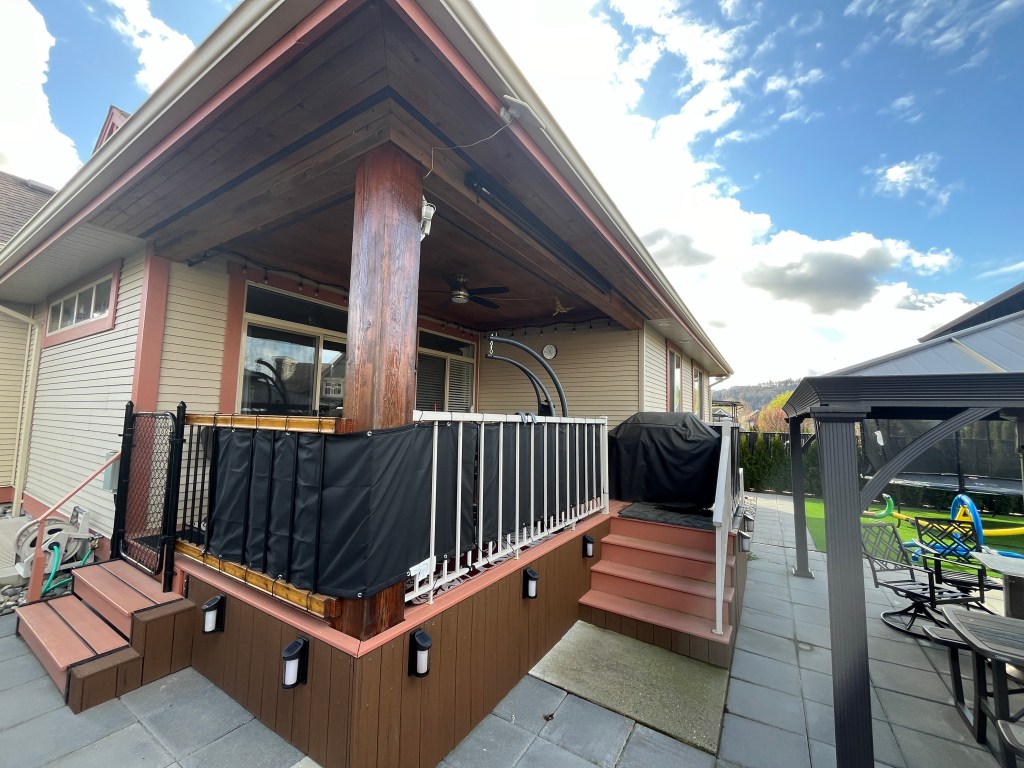
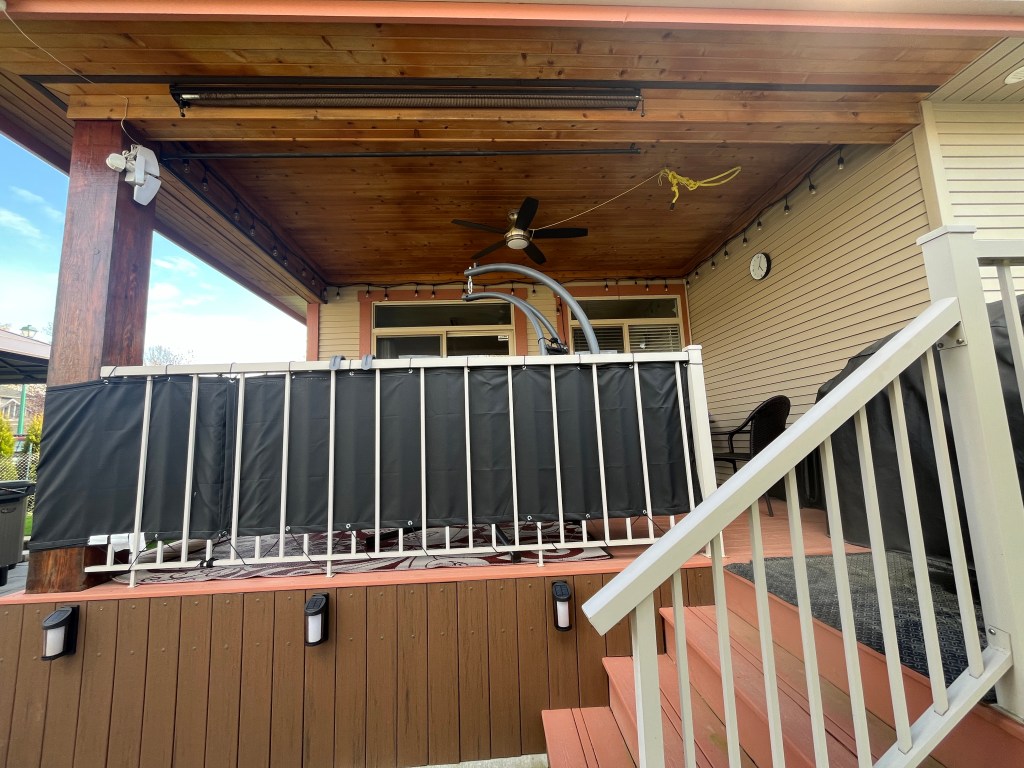
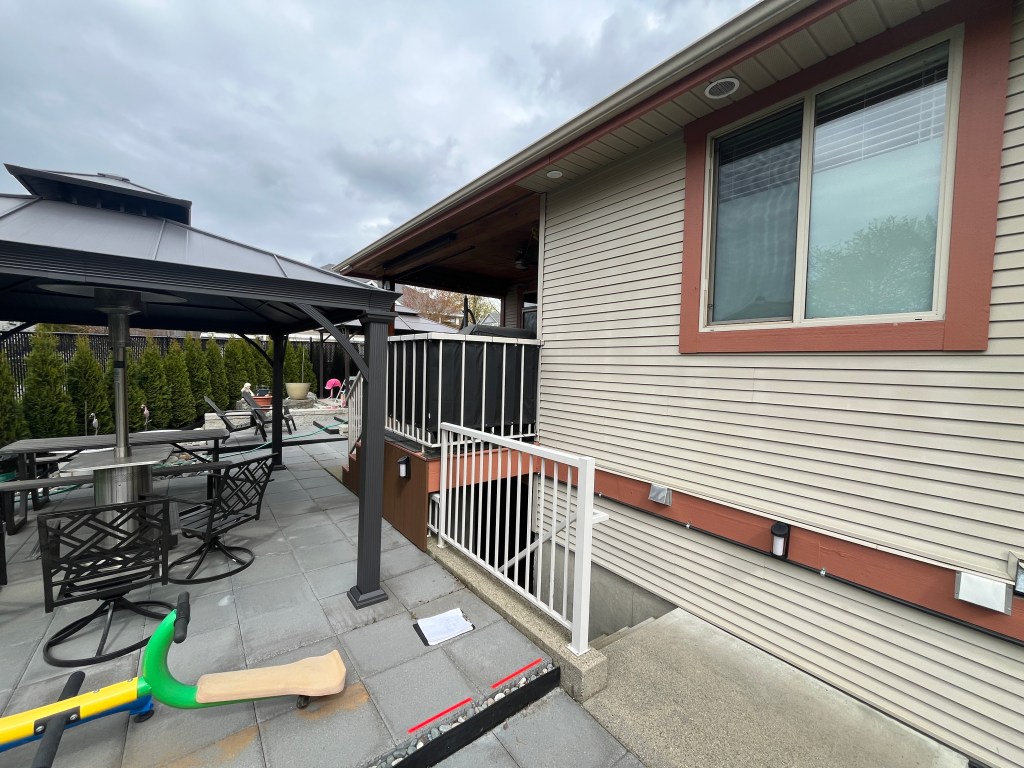
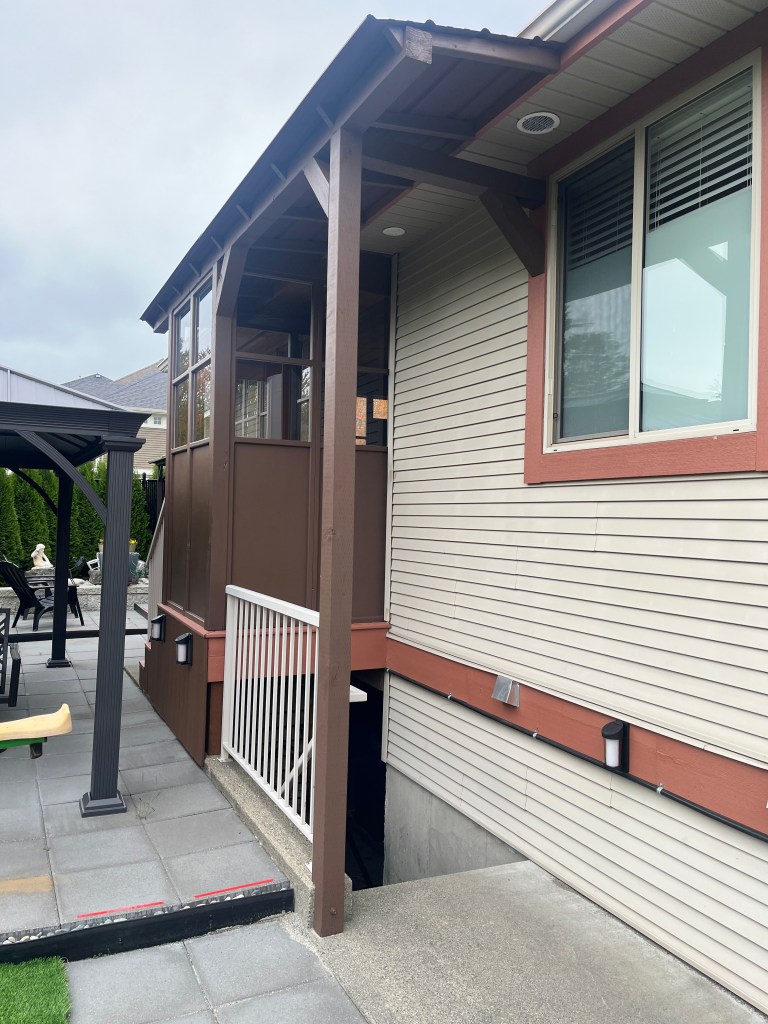
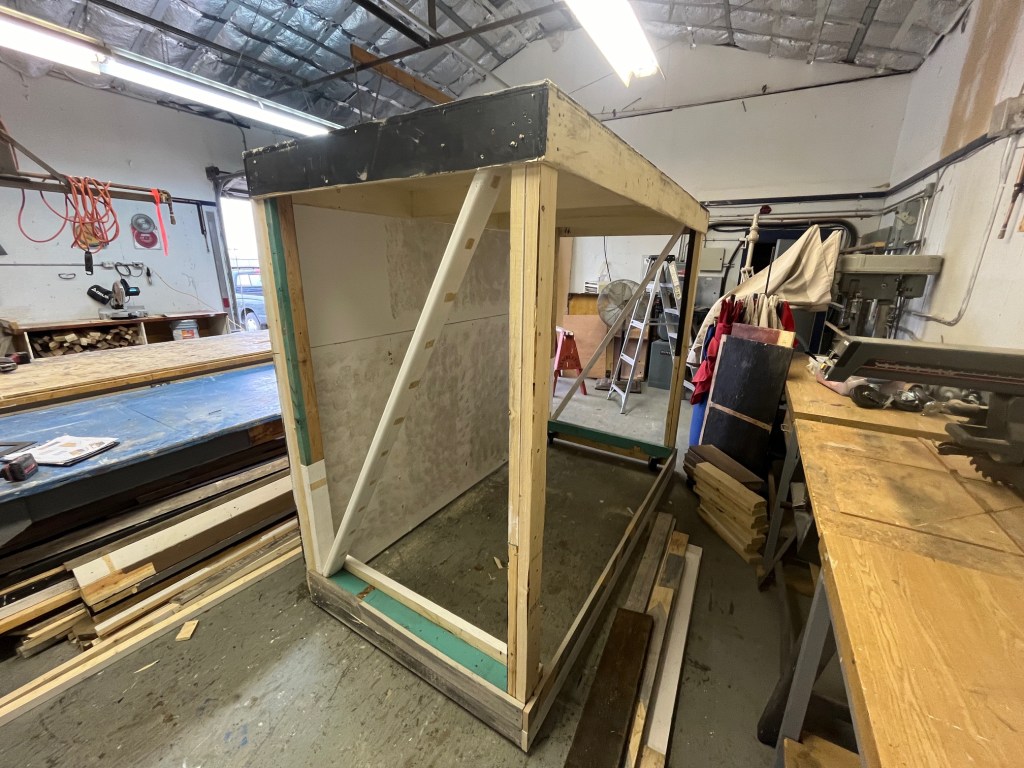
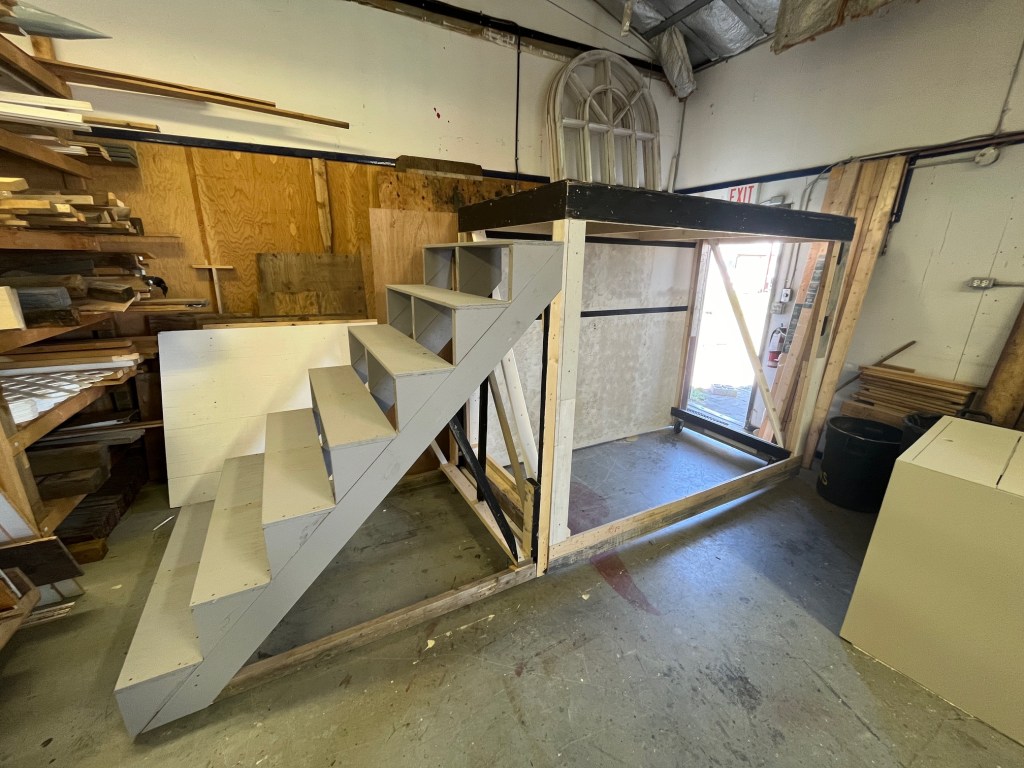
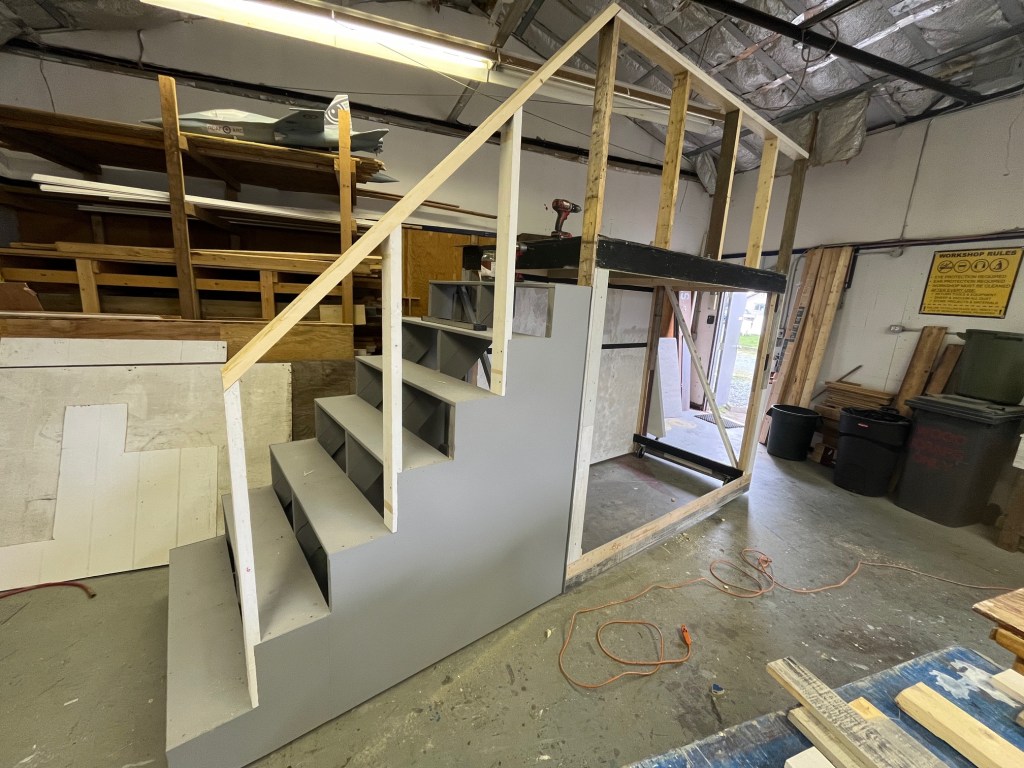
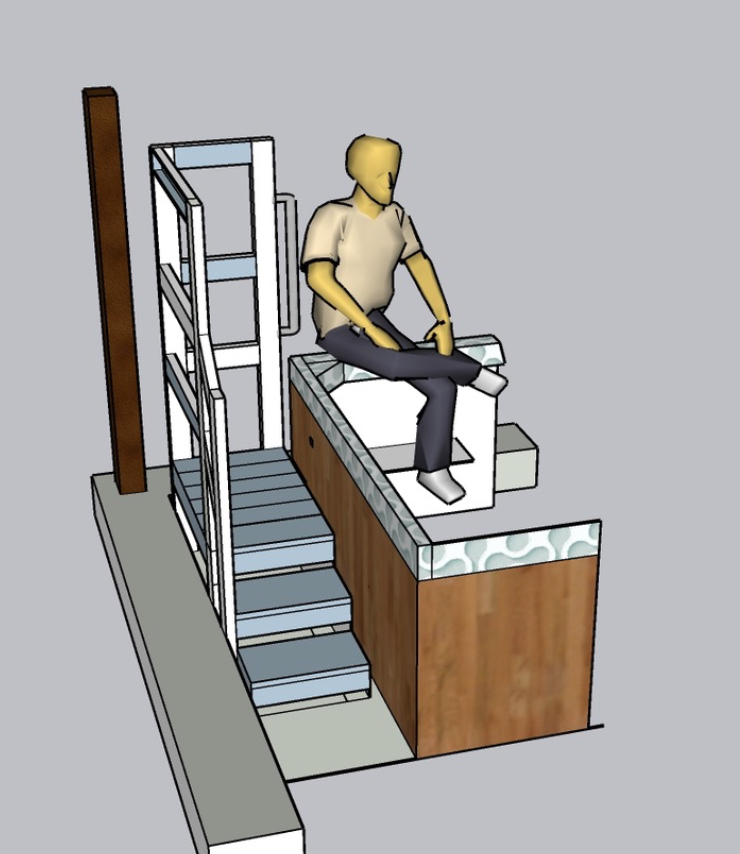
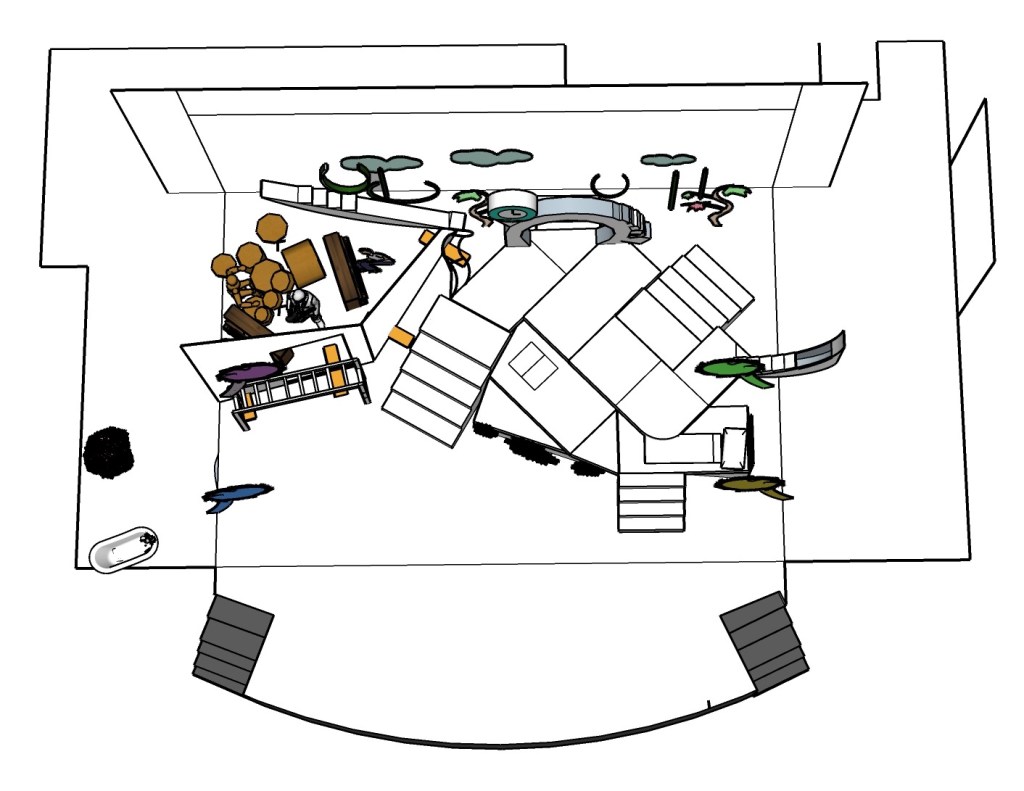
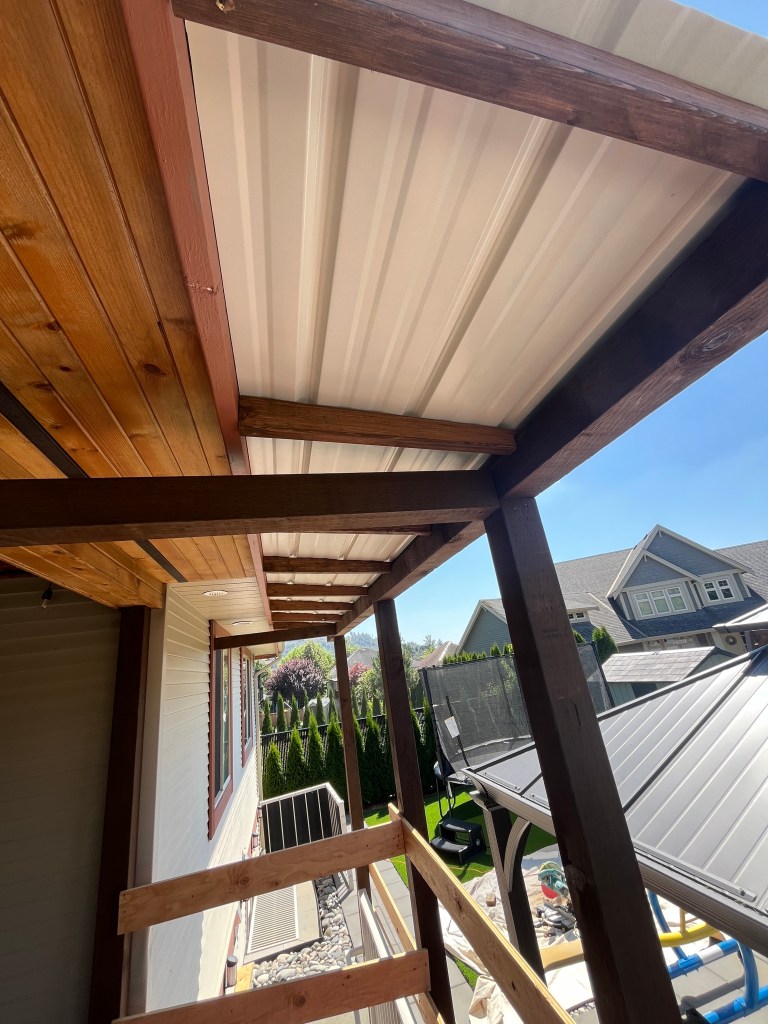
My proposal was to add a little bit of roofing over the open stair area and then enclose all of it with wood and glass panels.

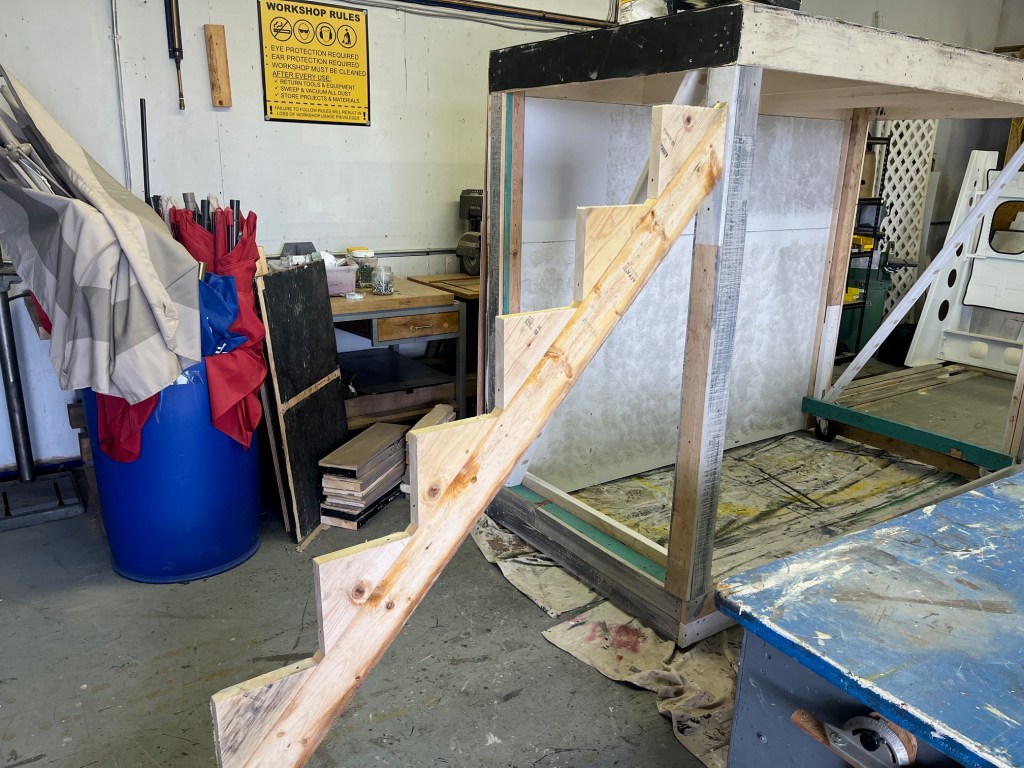
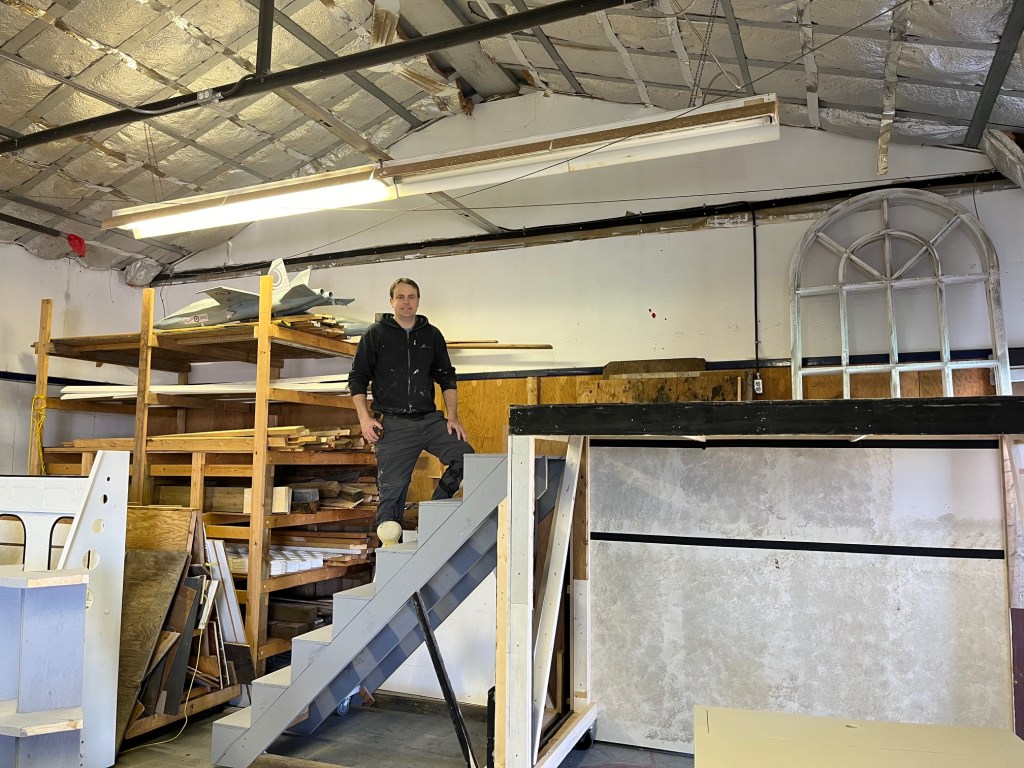
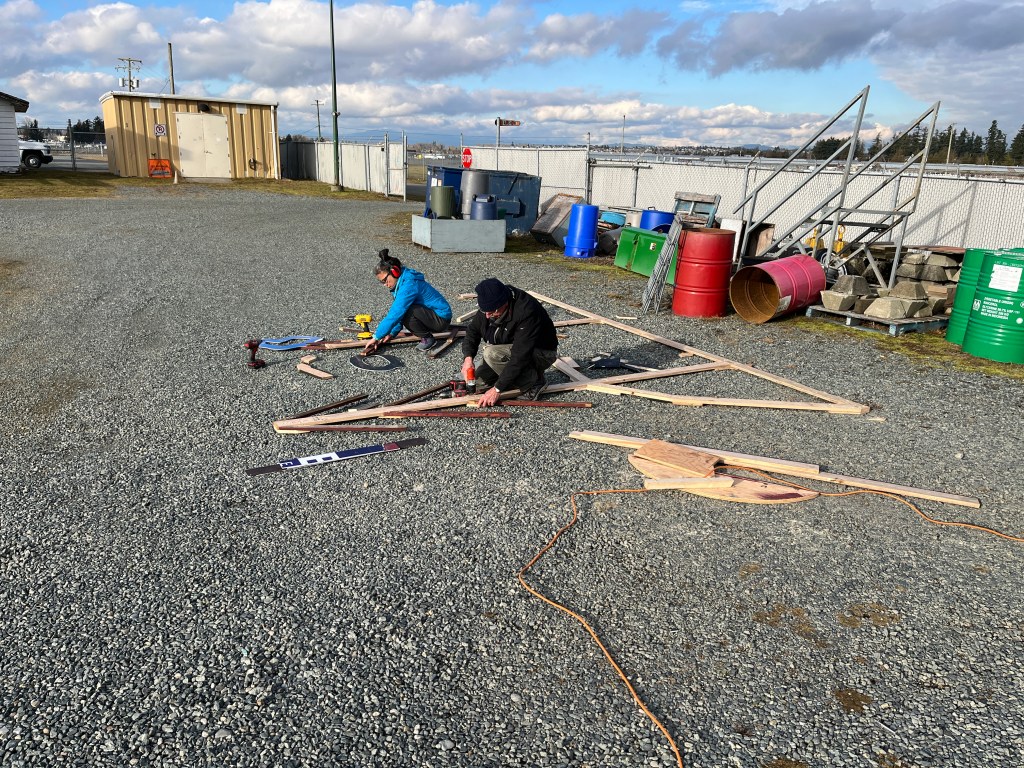
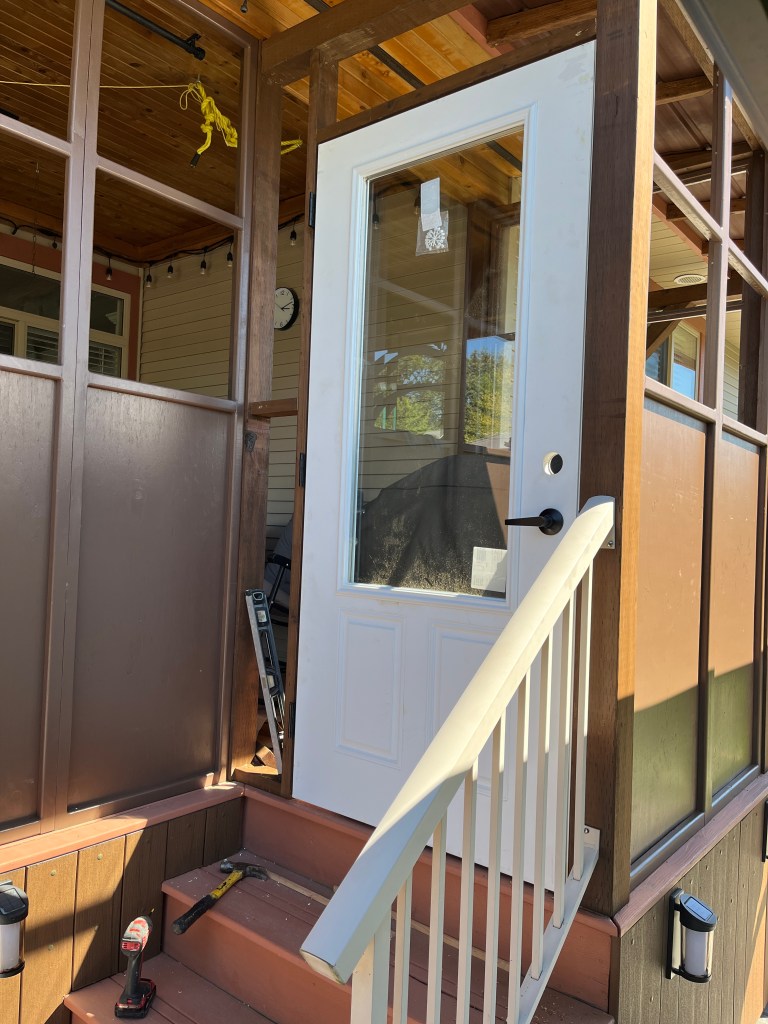
After we ironed out the details, I set to work adding 4×4 posts for roof and doorway framing:

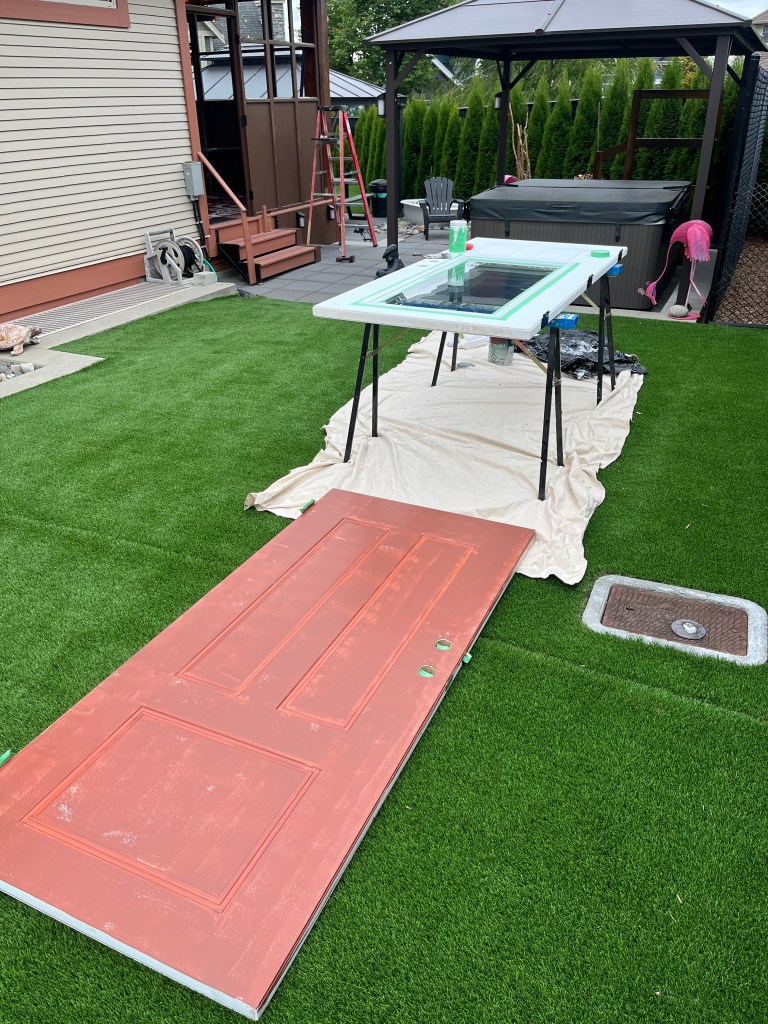
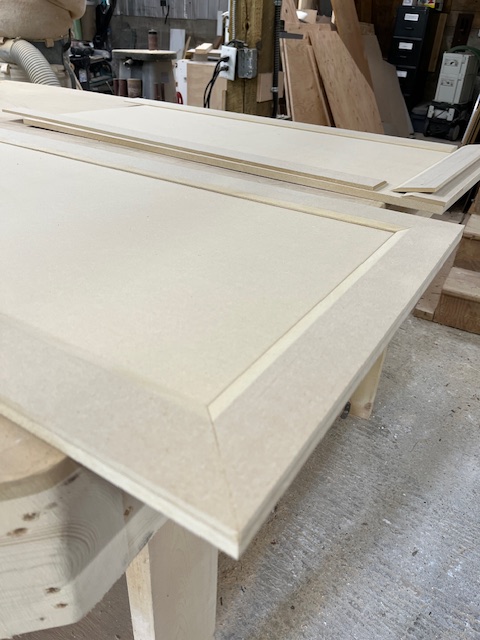
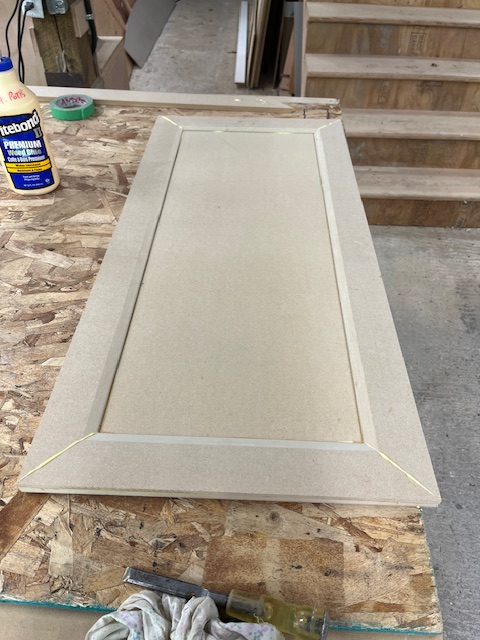
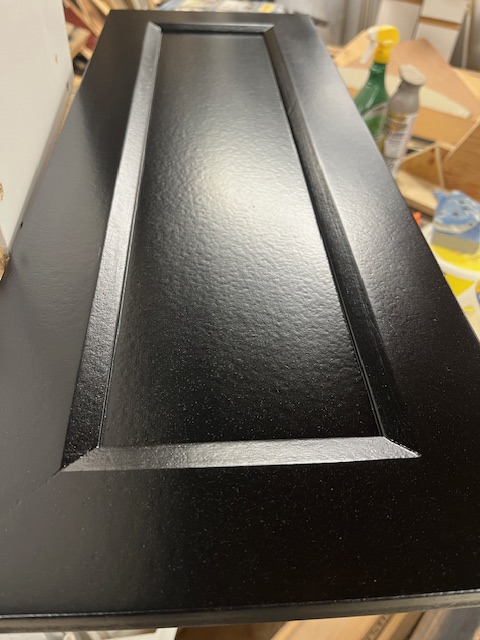
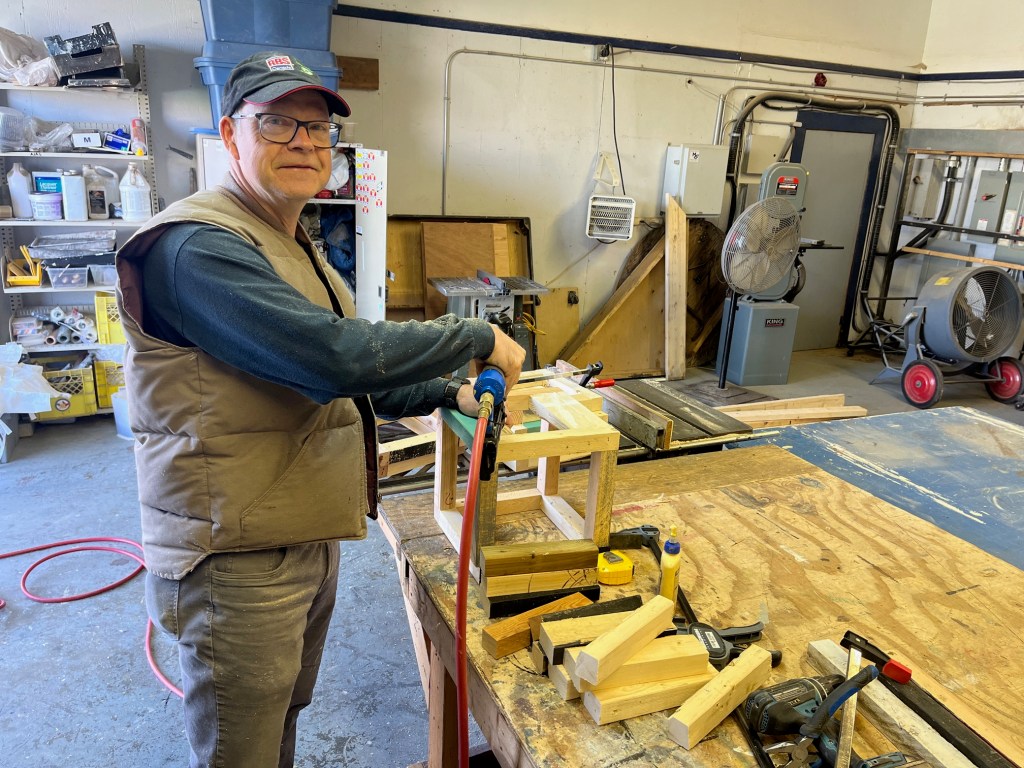
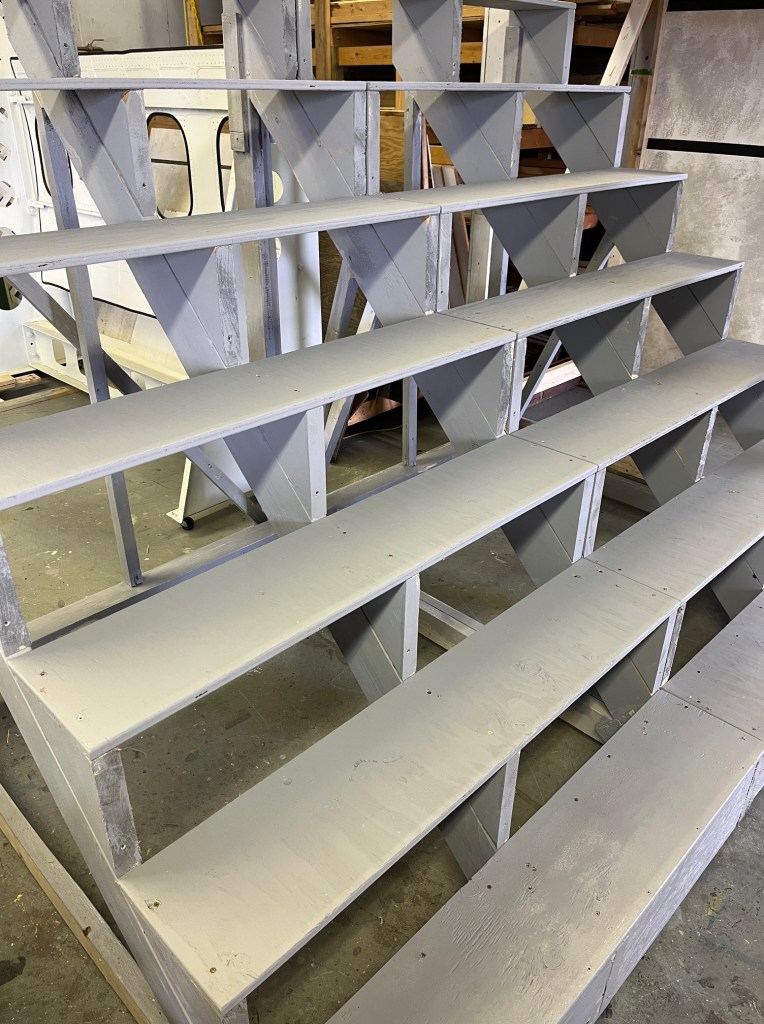
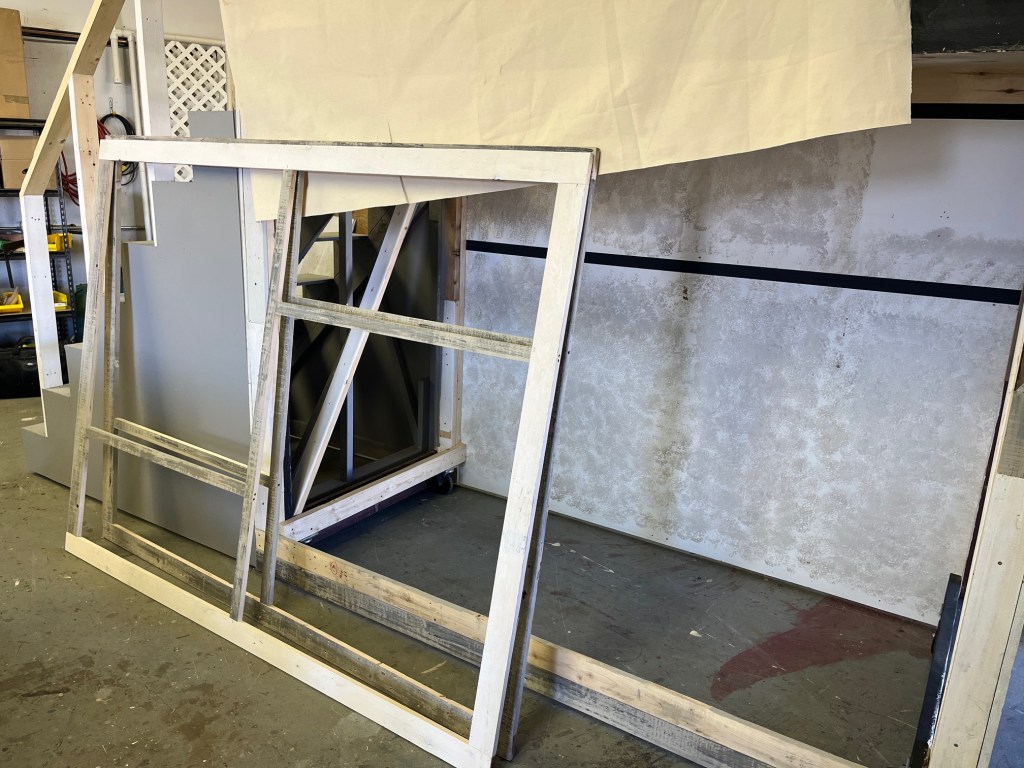
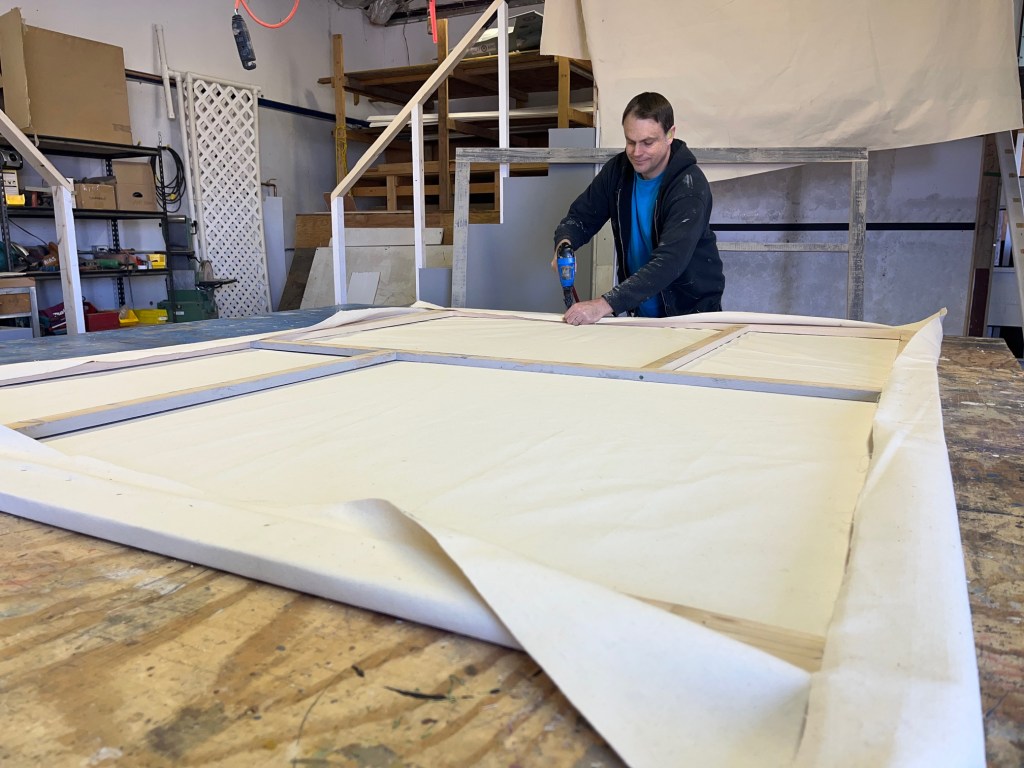
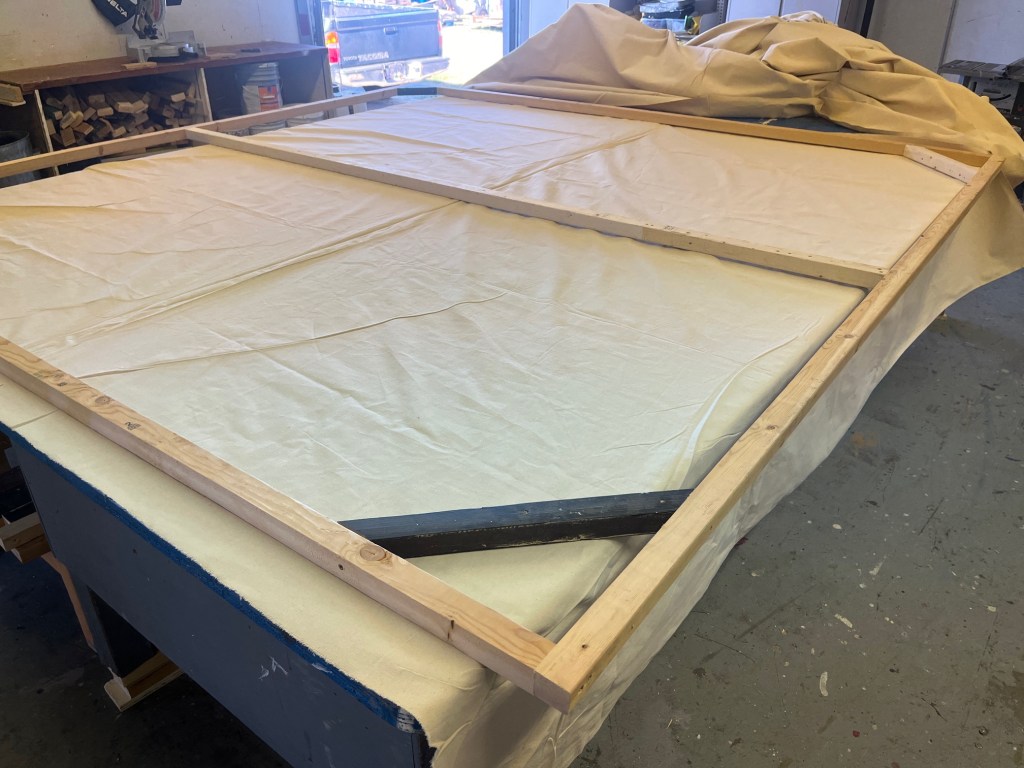
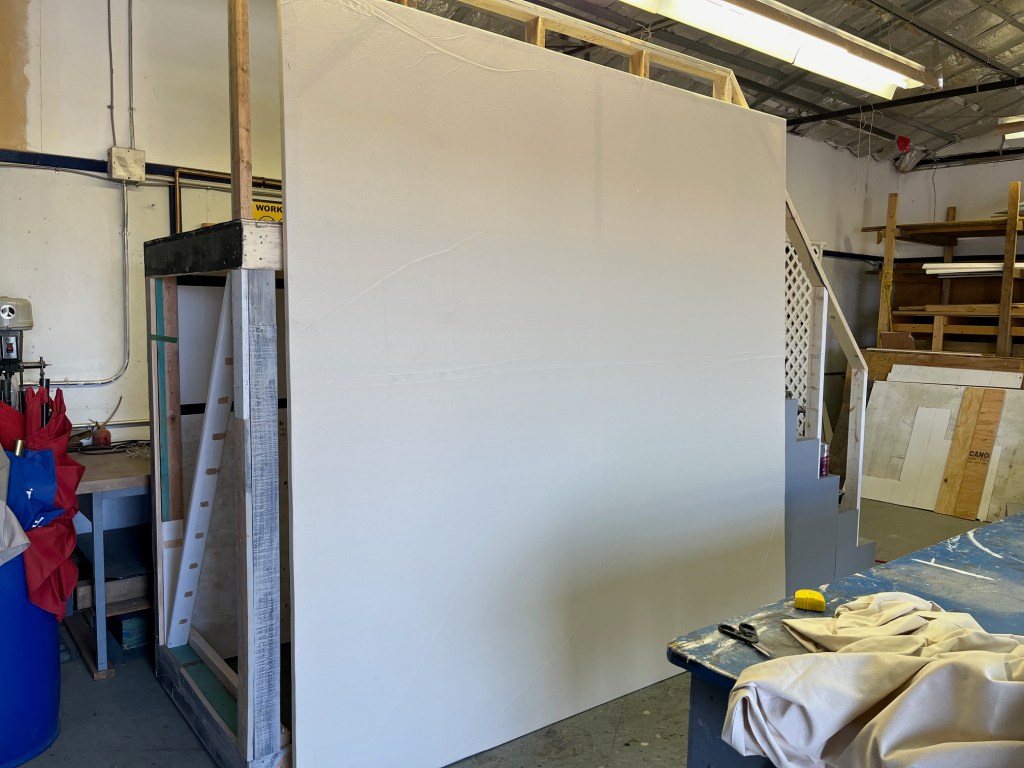
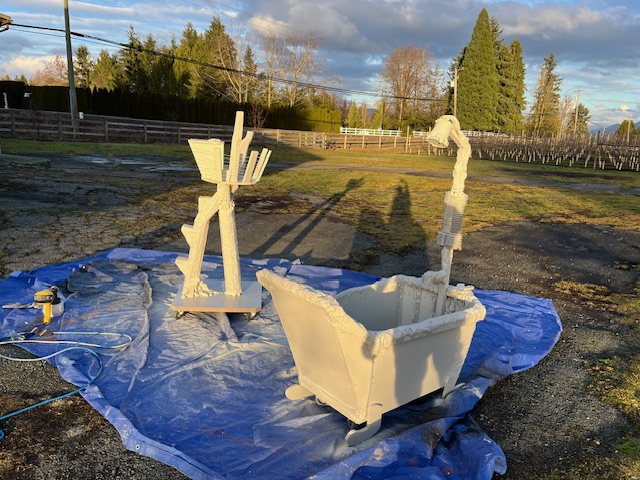
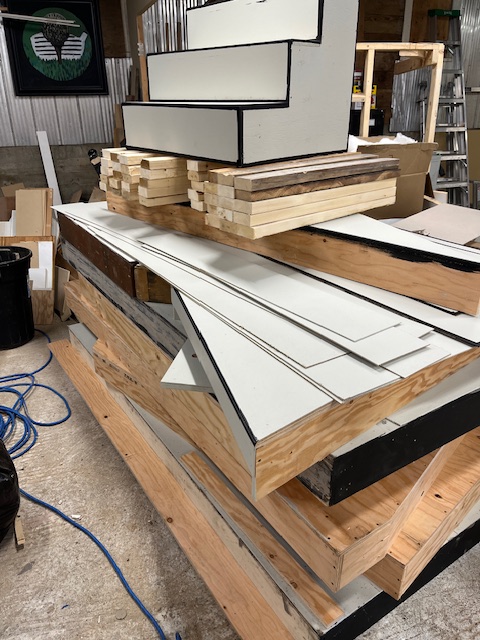
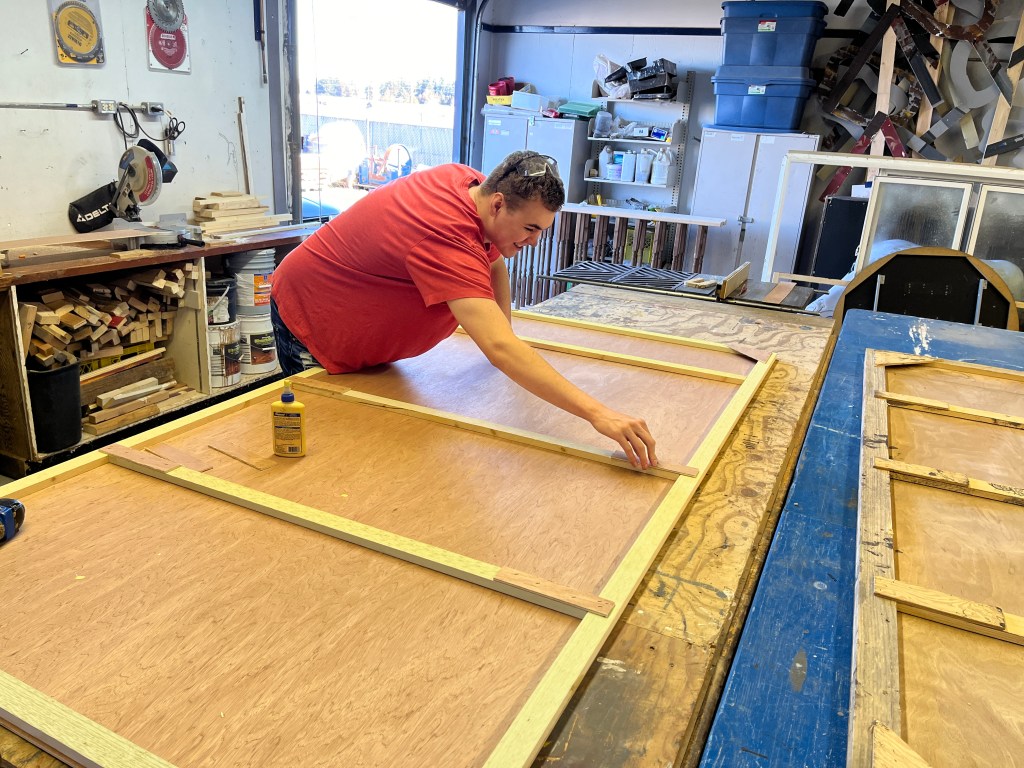
Next I started building frames out of douglas fir 2x2s and 3/8 fir plywood, all primed with primer/sealer, and painted both sides with exterior paint.
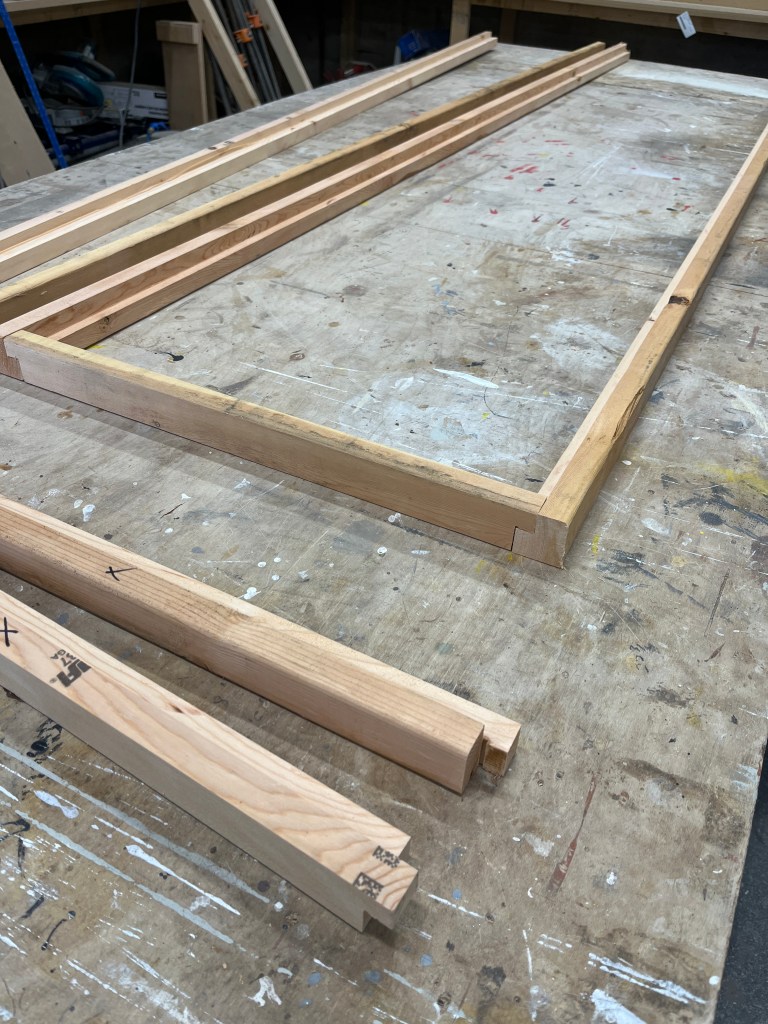

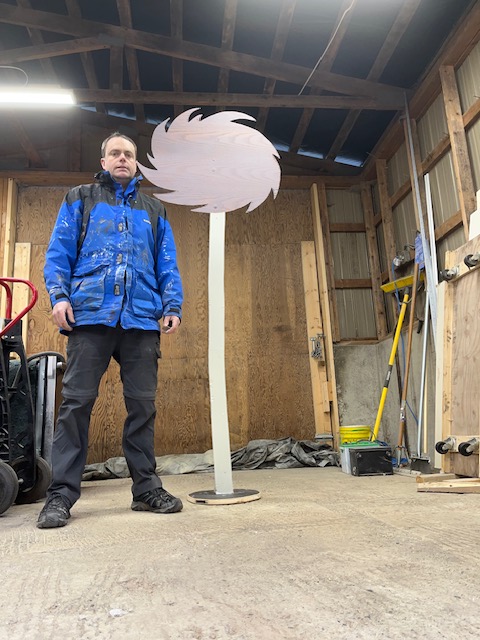
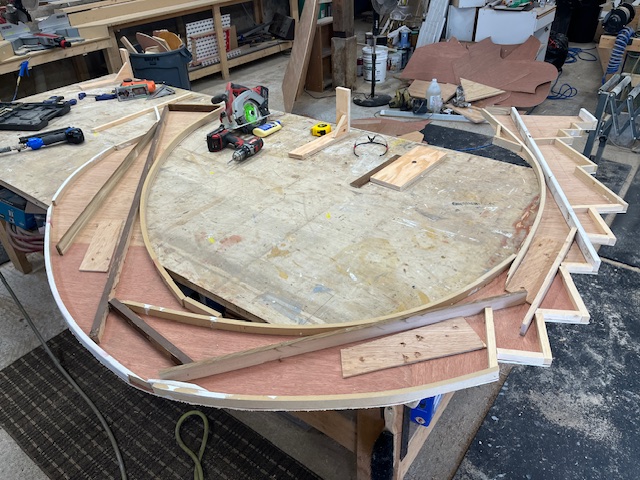
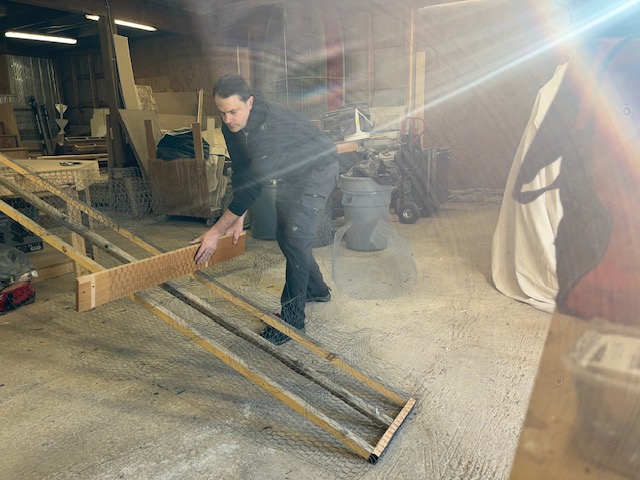
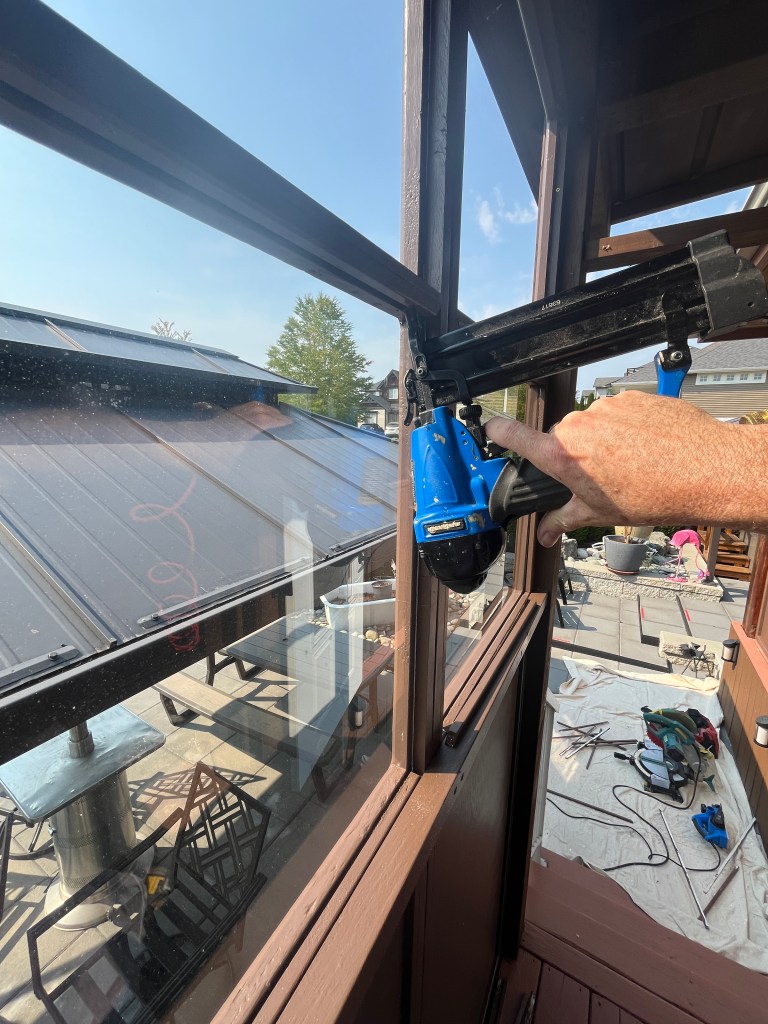
It was slow and steady work, custom making each part, filling, sanding, painting and installing it, but I slowly made my way around the perimeter.
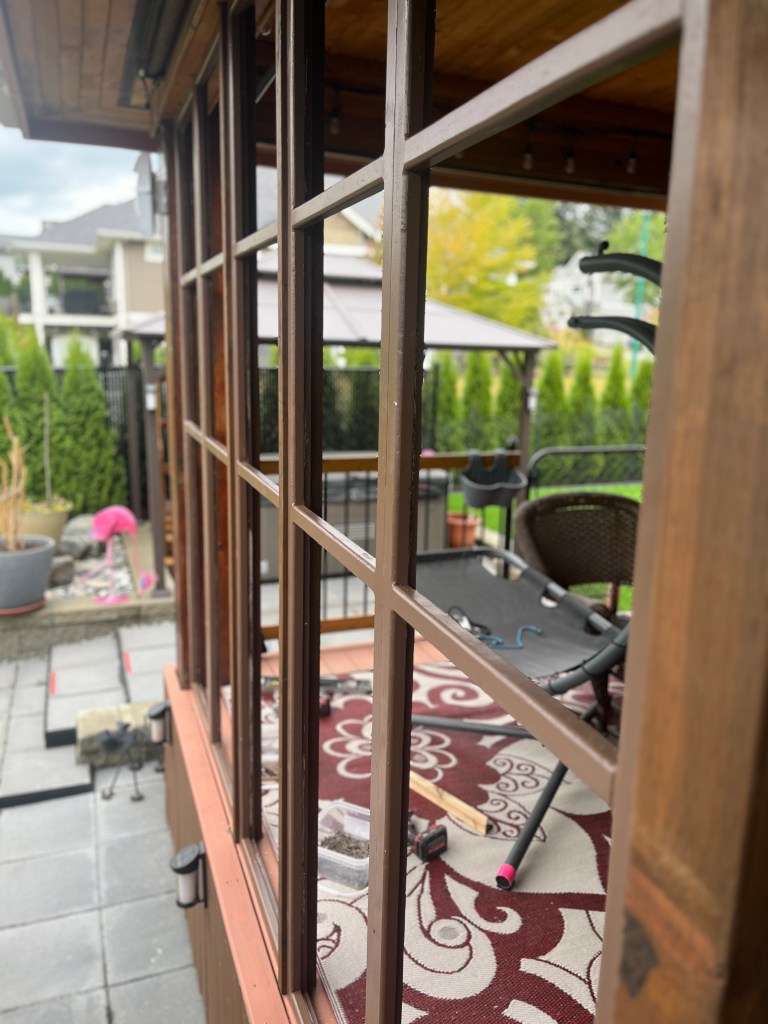
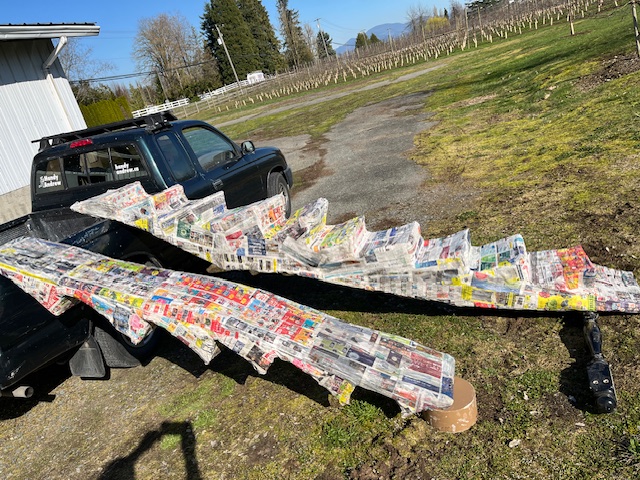
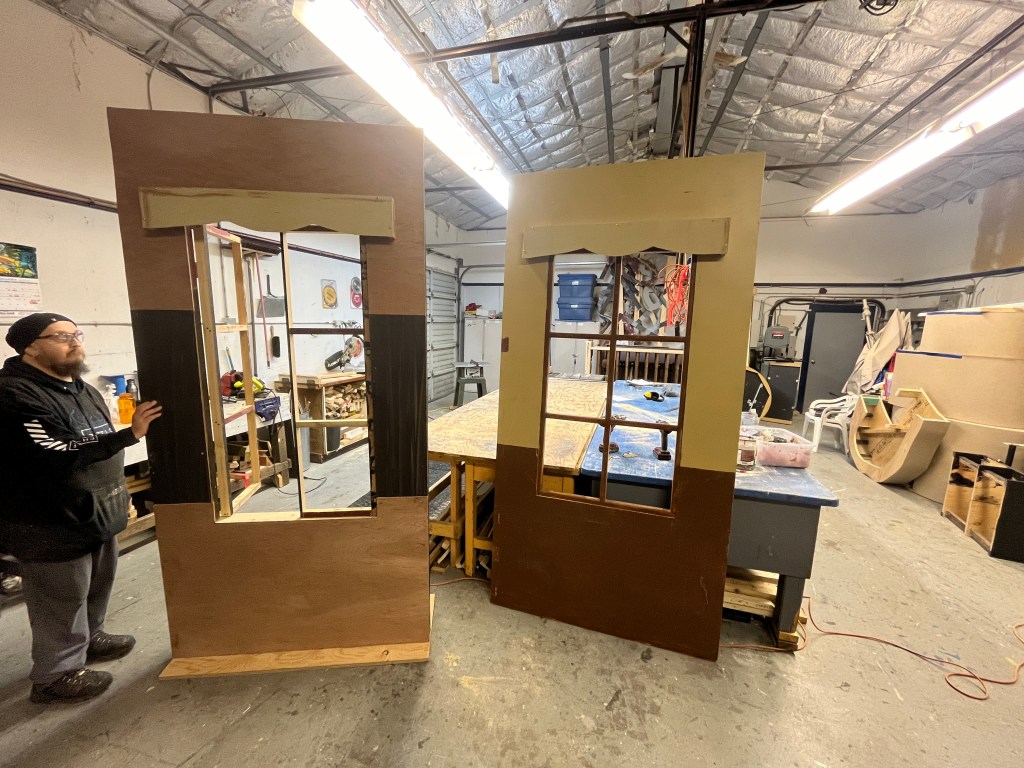
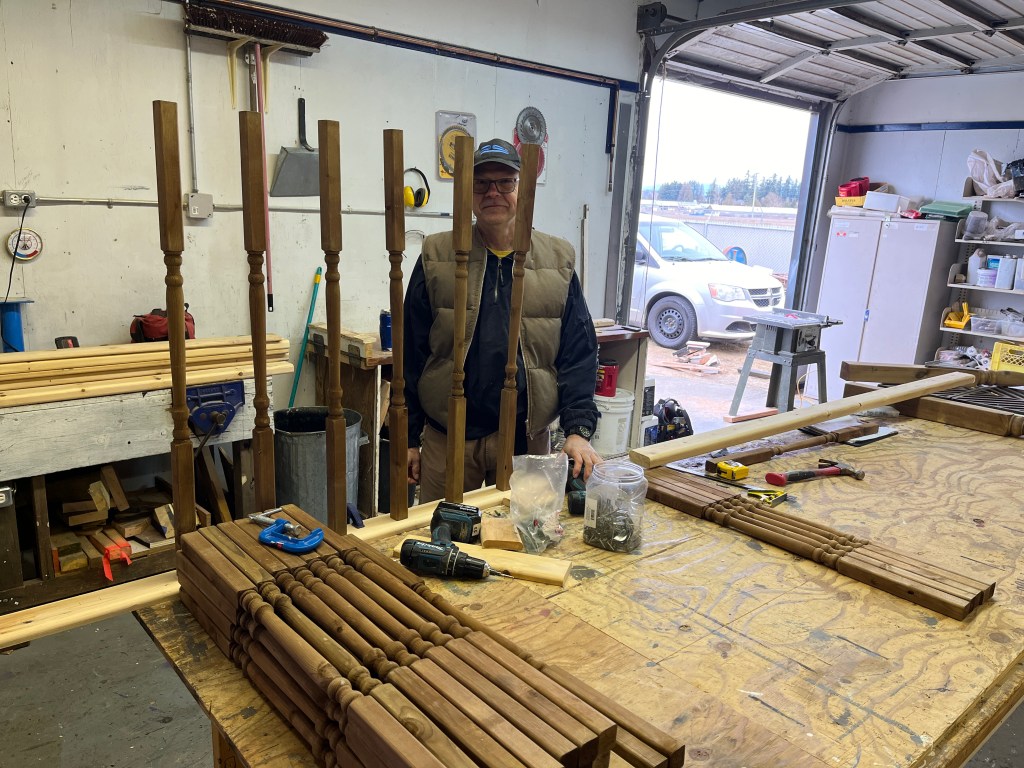
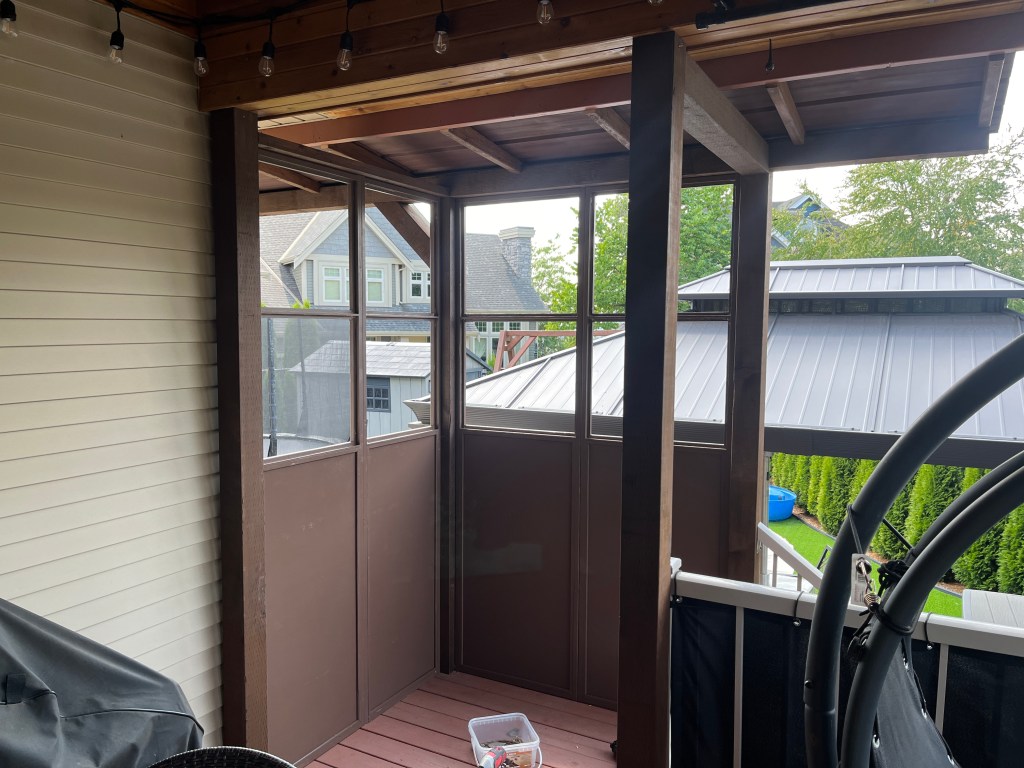
This was followed by exterior doors, glass, and hundred of mitred sticks (framing trim). (Please do not ask me to cut and paint another stick in my lifetime)
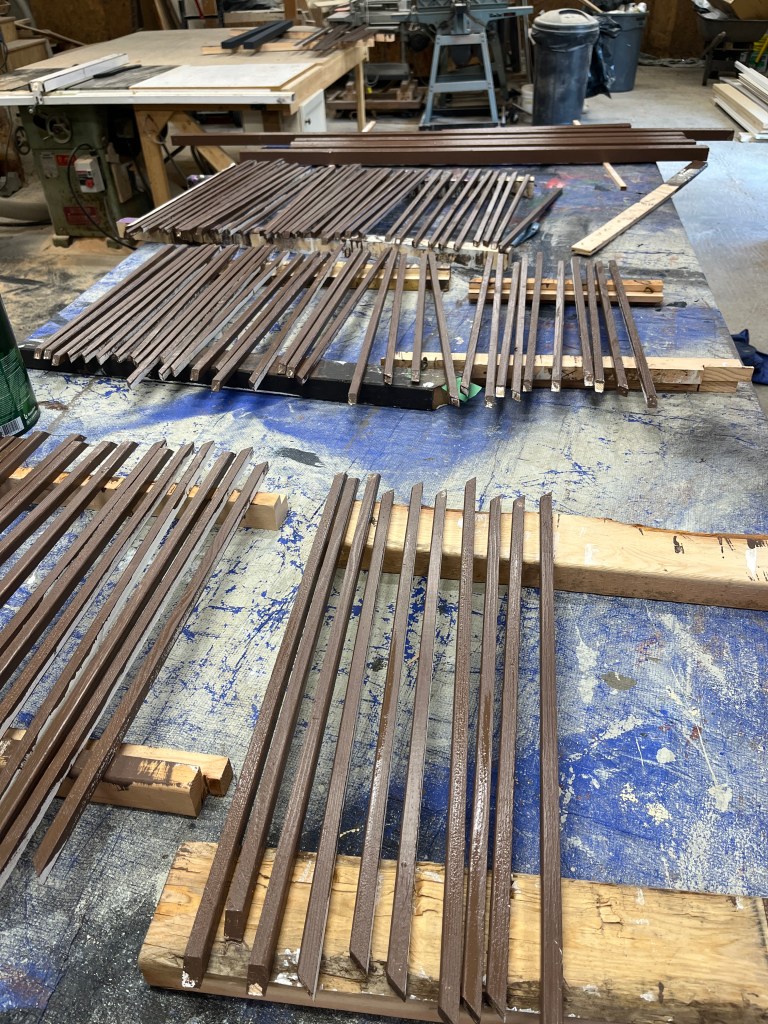


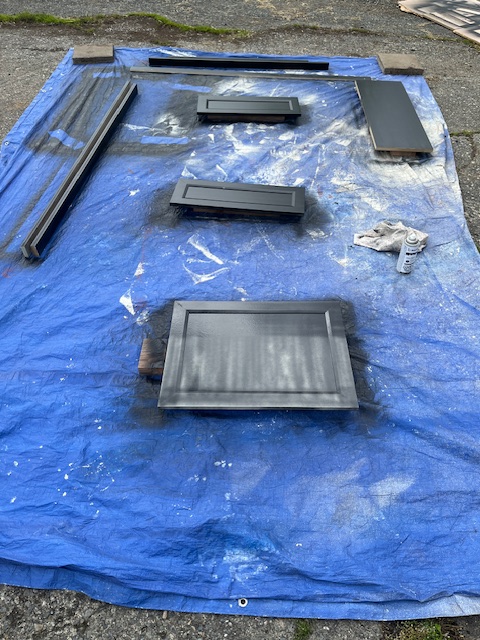
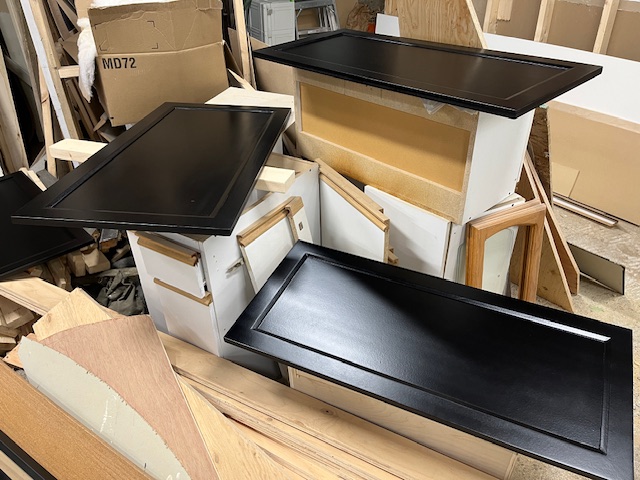
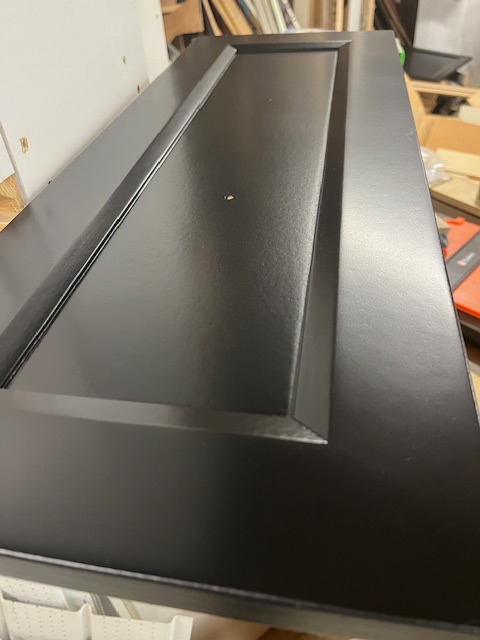
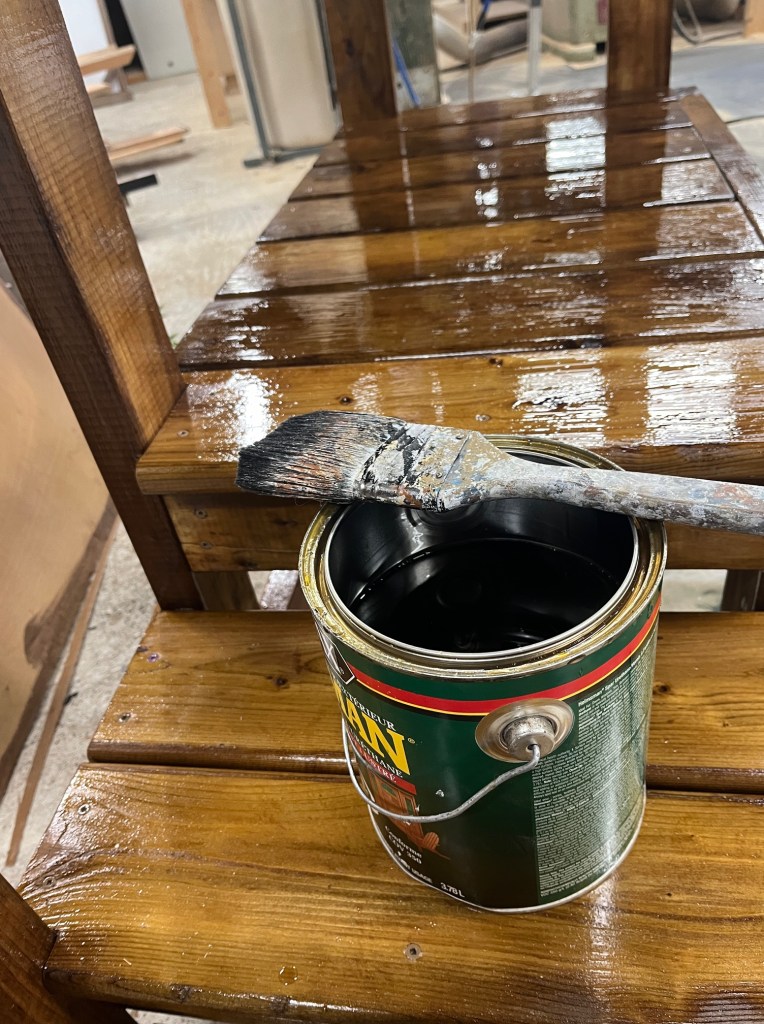
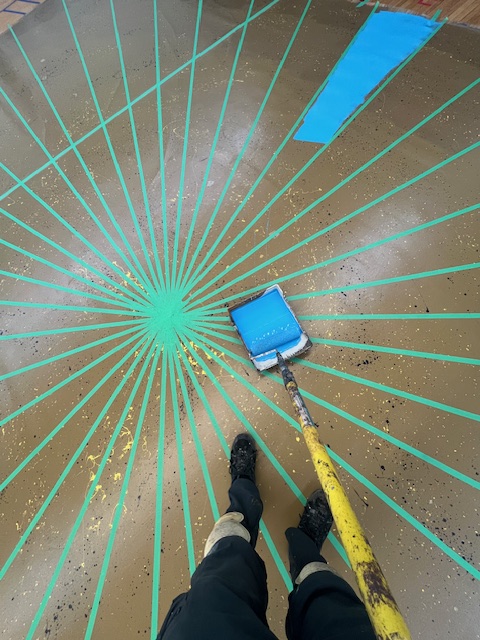
Painting took the longest of any part of the job, I think. I’m not super fond of painting but if I have to do it, I do it!
Turned out pretty nice! Took a big chunk of the summer too.