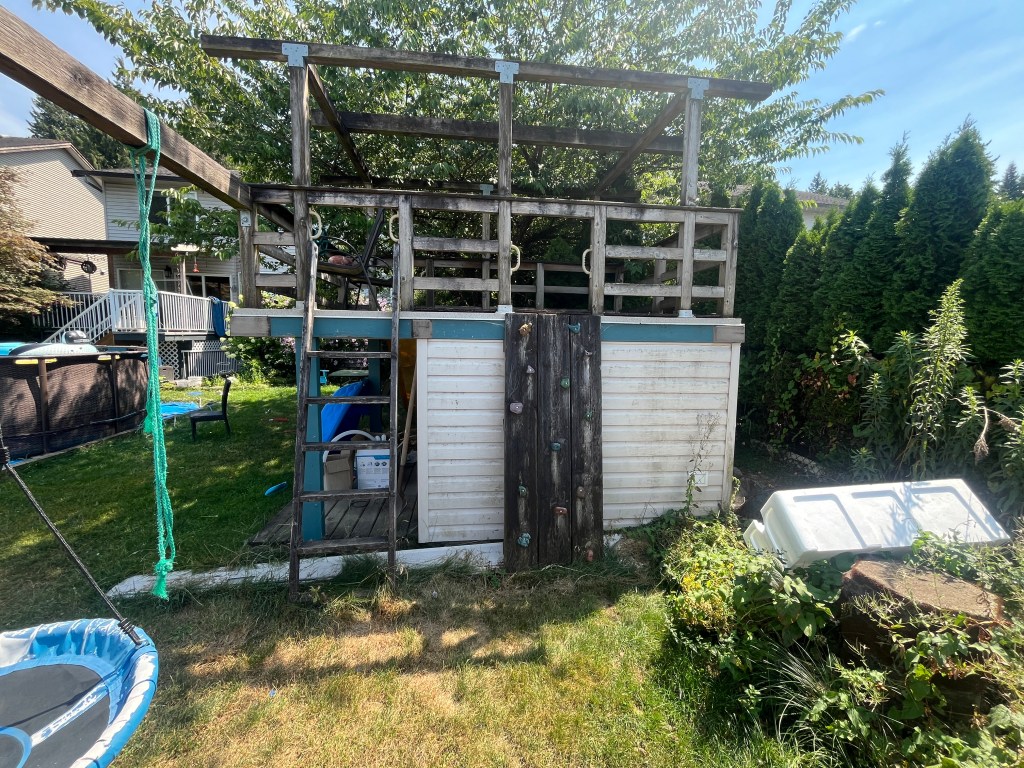
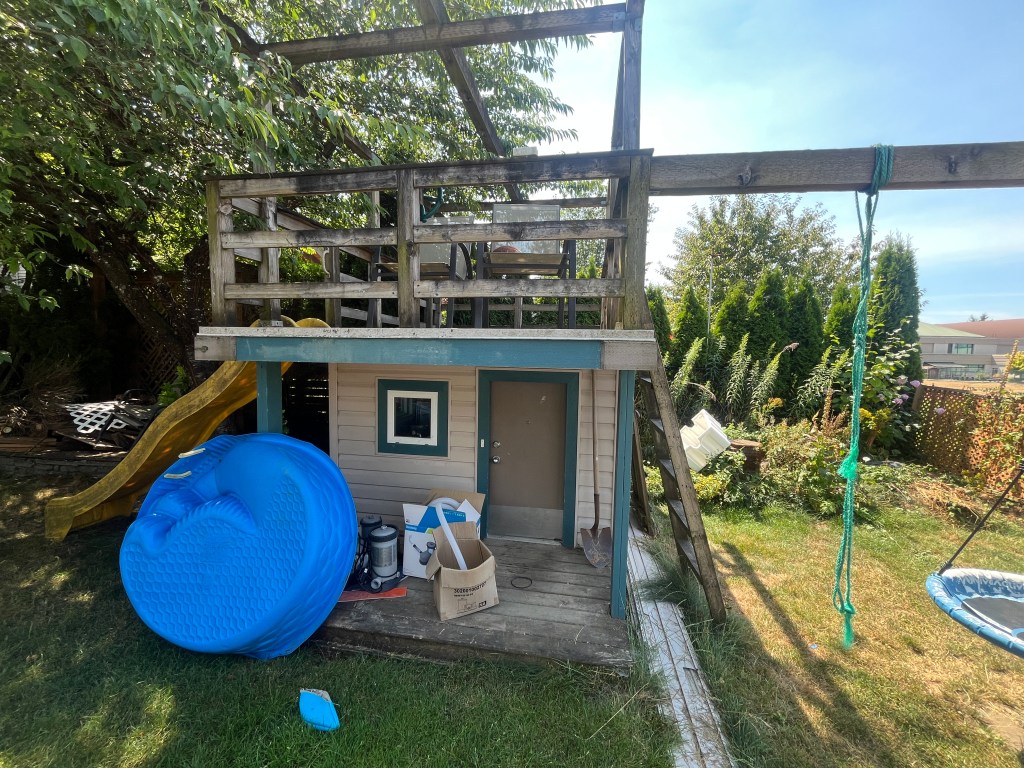
My customer Misty had a nice playhouse in her backyard, but the kids had outgrown it and it had some water damage on the deck/roof. So I provided an estimate with a cost comparison between dismantling and disposing (to build a new shed) versus using the existing structure, which had a solid foundation, to expand it into a use-able shed.
before – side viewbefore – front view
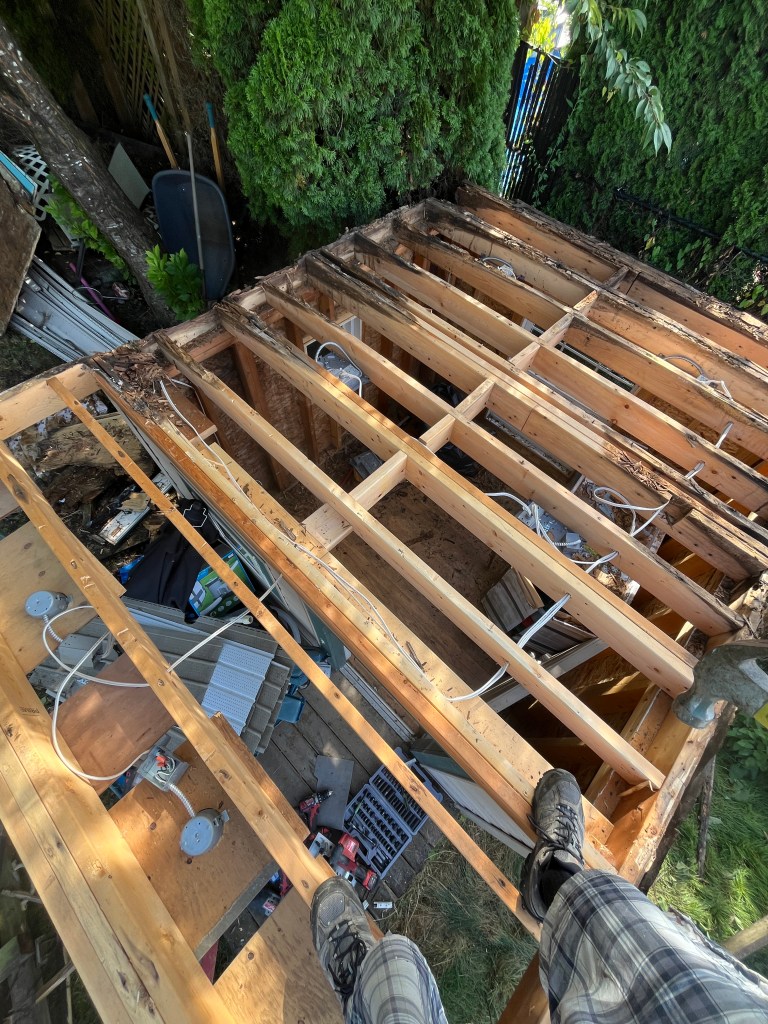
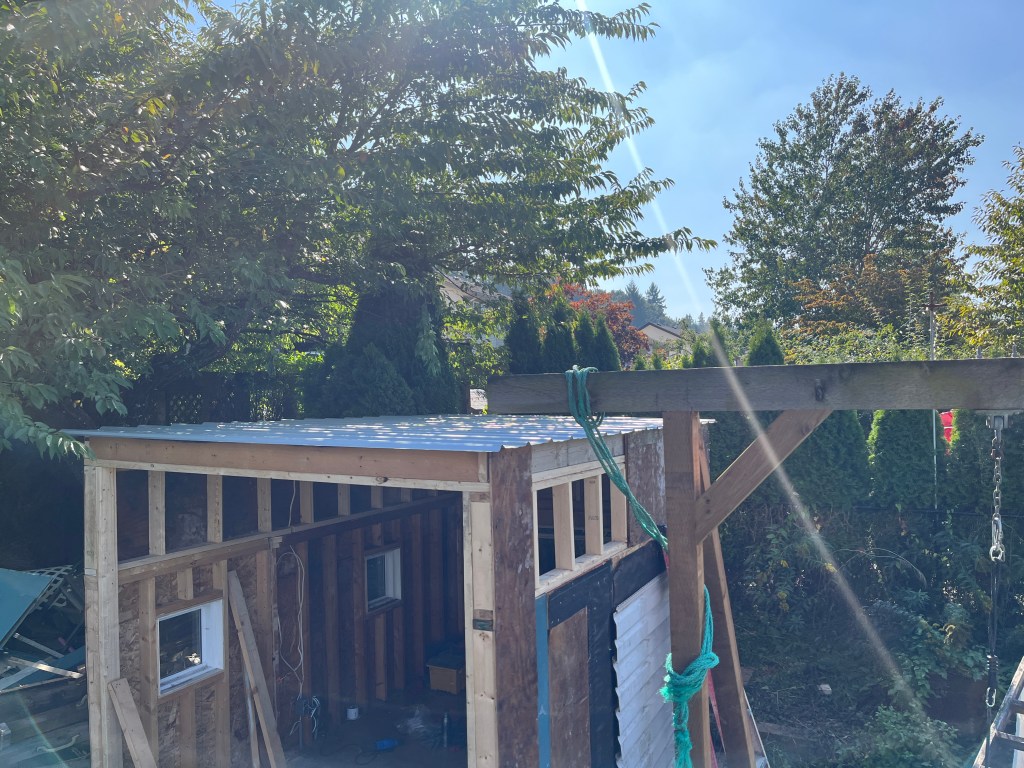
She decided to go with the second option, so I added a new post for the swingset (which was attached to the playhouse), and then dismantled the top railing etc. I found water damage in some areas of the roof.
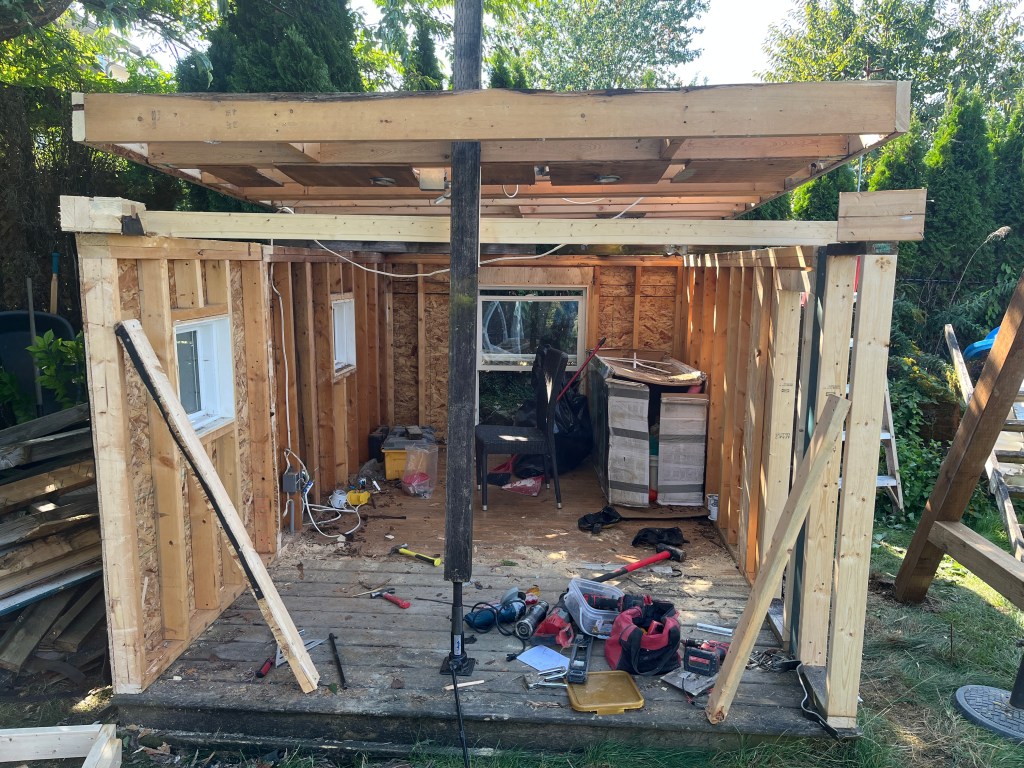
But, for the most part it was stable, so I replaced some joists, jacked them up, moved the front walls out to the edge of the deck, and added about 2 feet to the wall height. I had to repair a few soft spots on the walls as well.
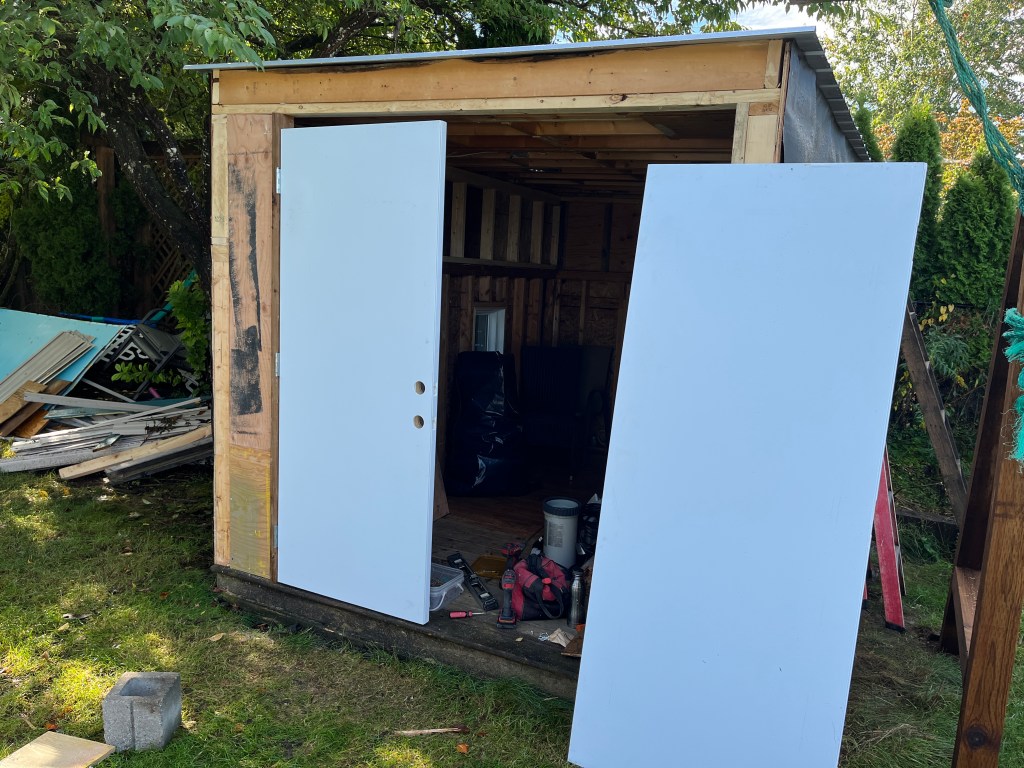
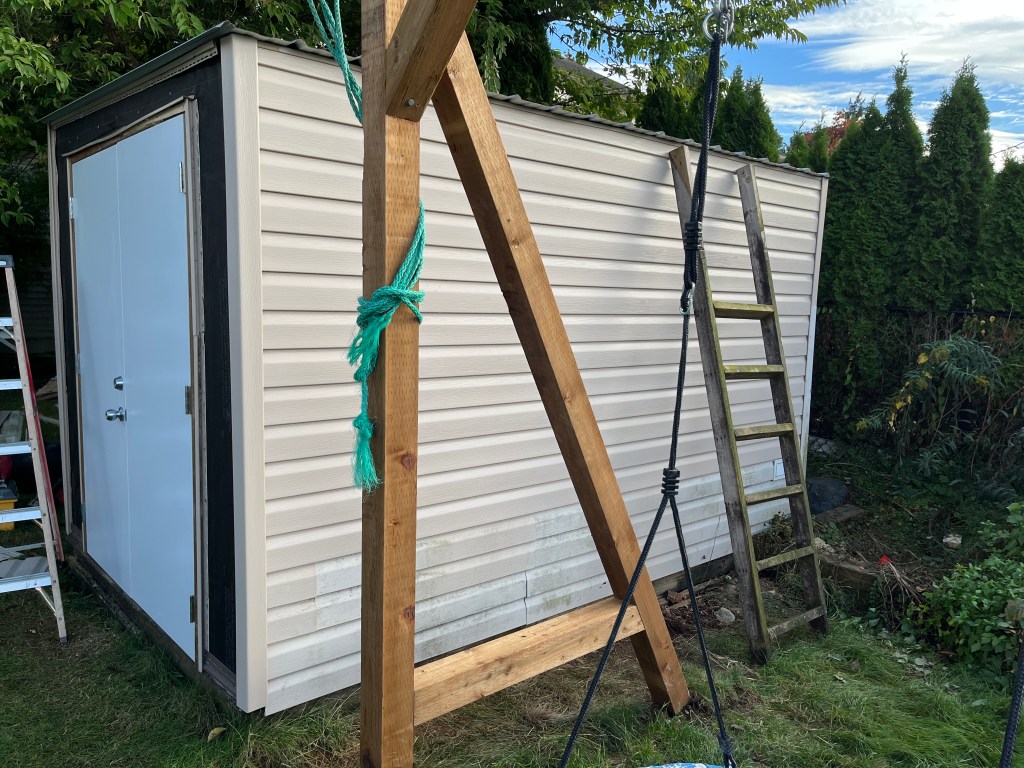
Then I added a metal roof, some exterior doors and replaced/added to the siding.
I was fortunate with the September weather to be able to time it where I could get the roof on before the rains started…
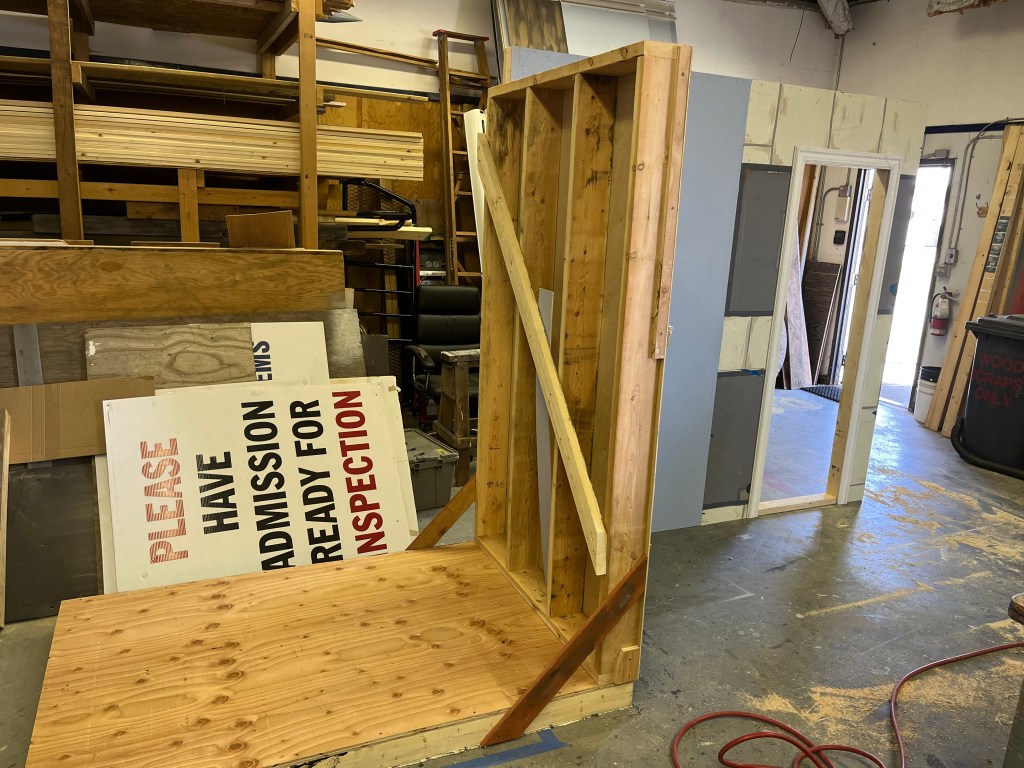
This is mostly for my own reference, but maybe you can use it too. I build sets every summer for Gotta Sing Gotta Dance and they like to use foamcore set pieces (ie “flats”) because they are so lightweight and easy to manoeuvre.
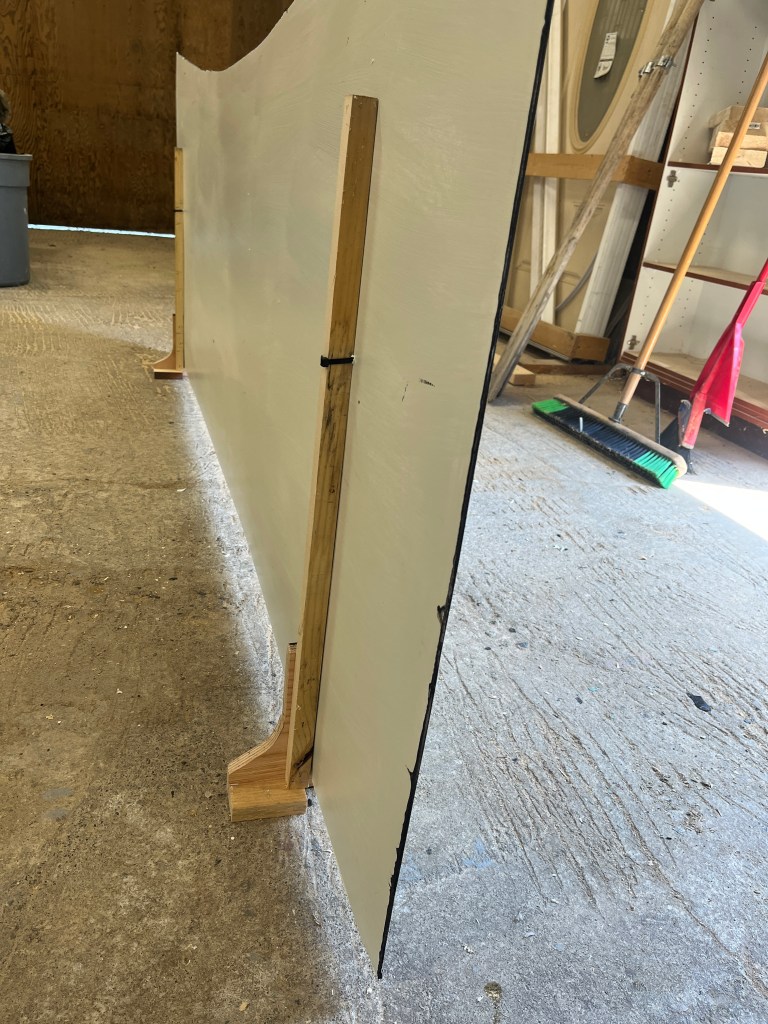
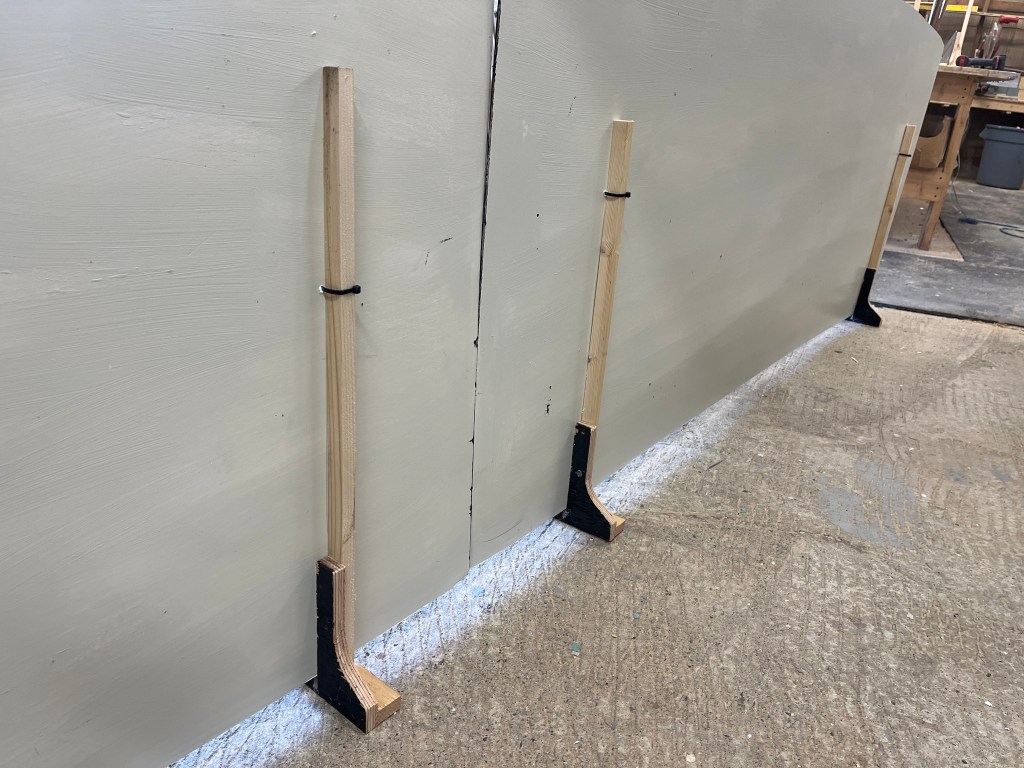
The problem with 3/16″ foam core is that it doesn’t quite stand up straight on its own and it needs a frame (when standing higher than 4 feet, anyway). So most of my time is spent building lightweight frames for the foamcore to be zap-strapped to.
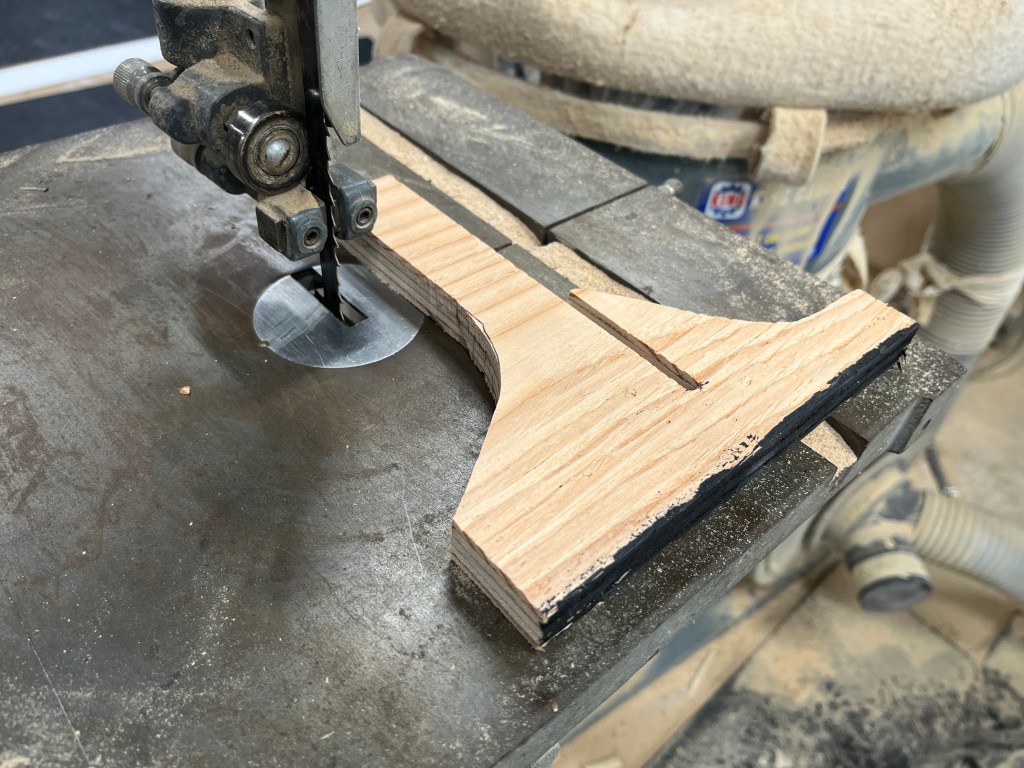
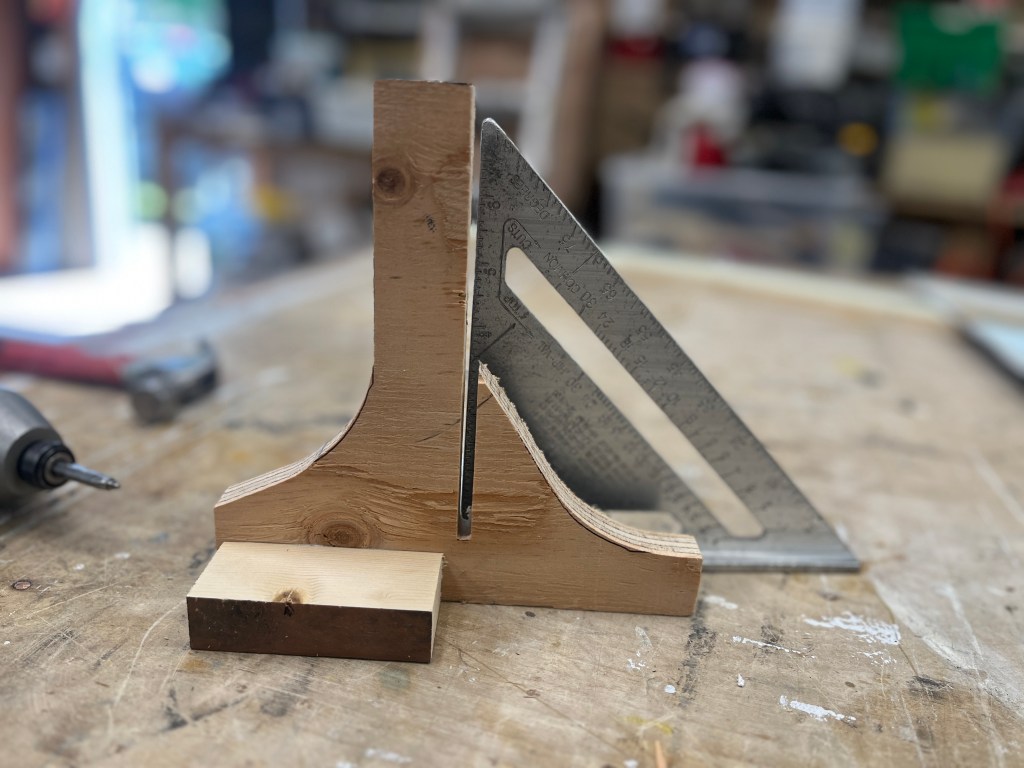
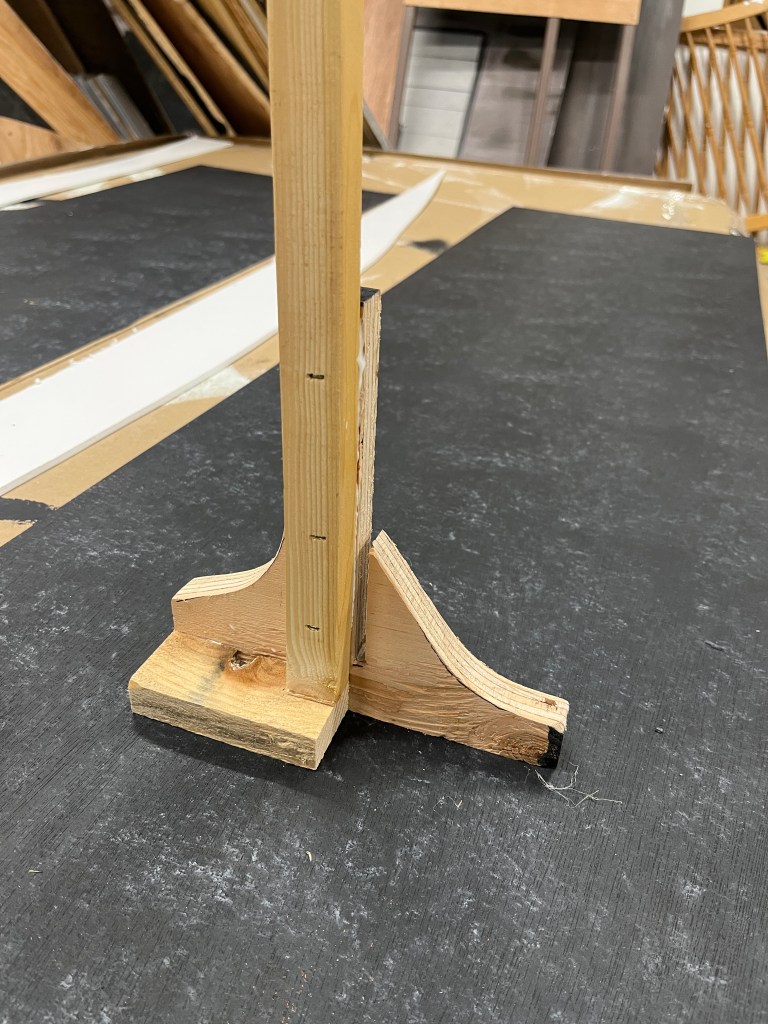
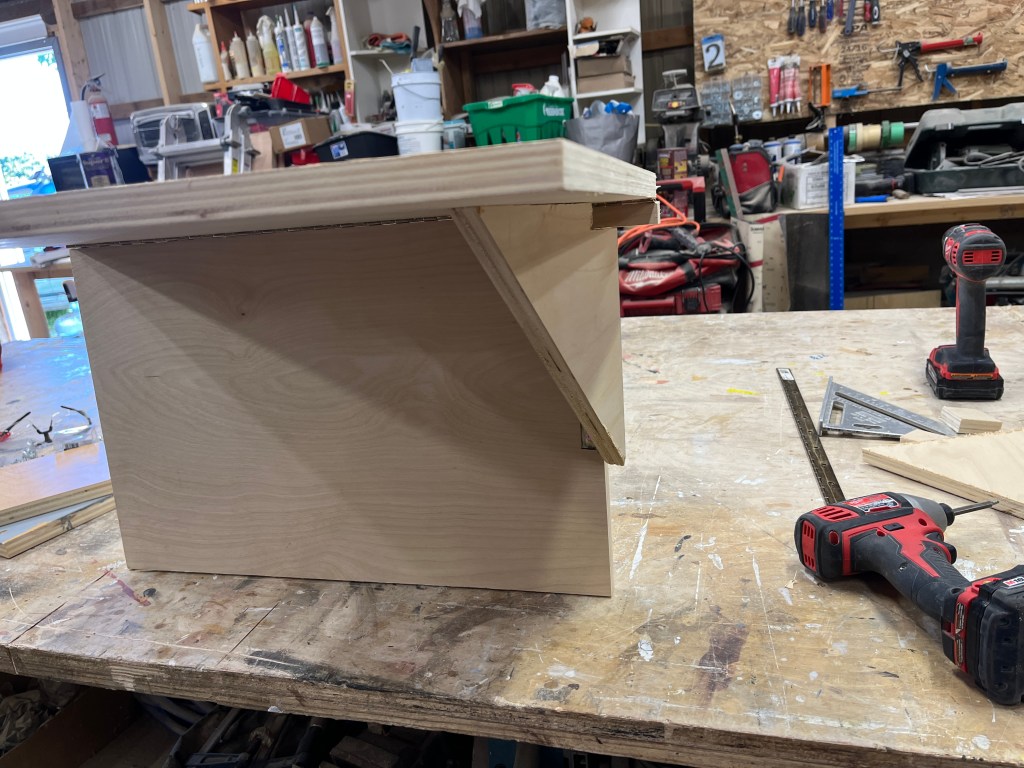
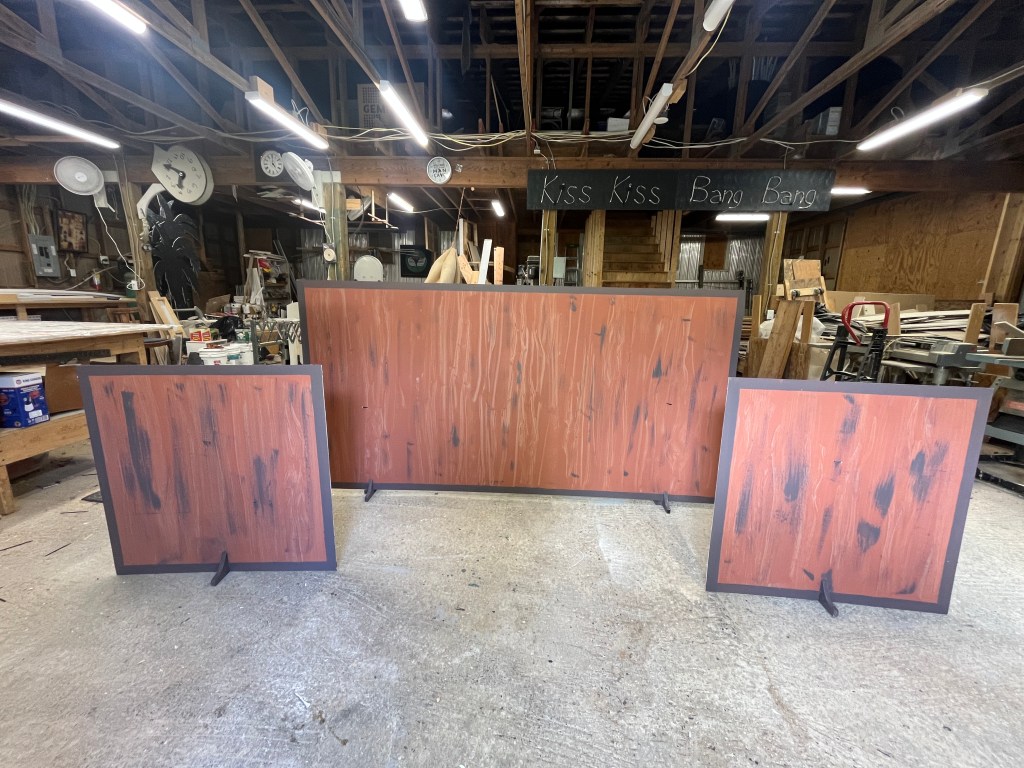
However when the foam core piece is 4 feet high or less, it can be held up with very little effort. I made some wooden blocks that worked quite well for quite a few pieces. Here they are:
I cut a scrap piece of 3/4 plywood into the odd shape above. The slot is for the foam core to fit snugly in. The angle of the slot is not 90 degrees – it is slanted back slightly (1 or 2 degrees) so that the foam core rests mostly on the back (taller) side.
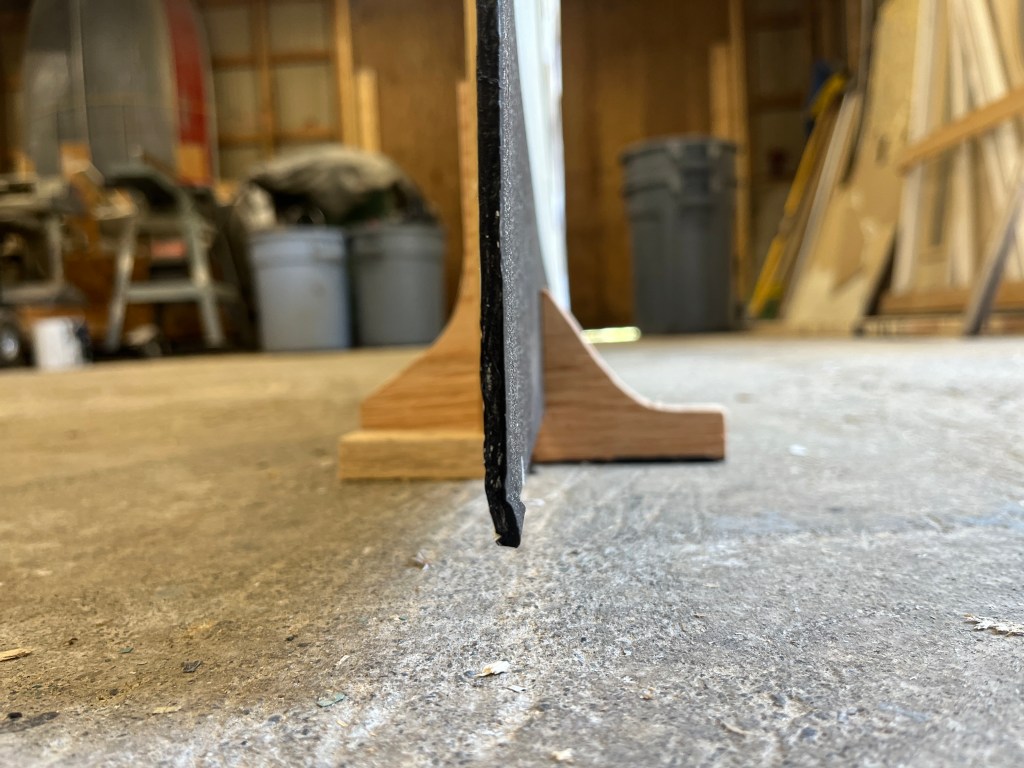
I then glued+stapled a vertical stick to help with rigidity. Then zap strapped the stick to the foamcore (yes, you can sometimes see it protrude through the front if you look for it)
The zap straps just slide off the sticks if you want to remove the bases for transport. You have a set piece light enough to pick up with one hand, that stands up by itself.
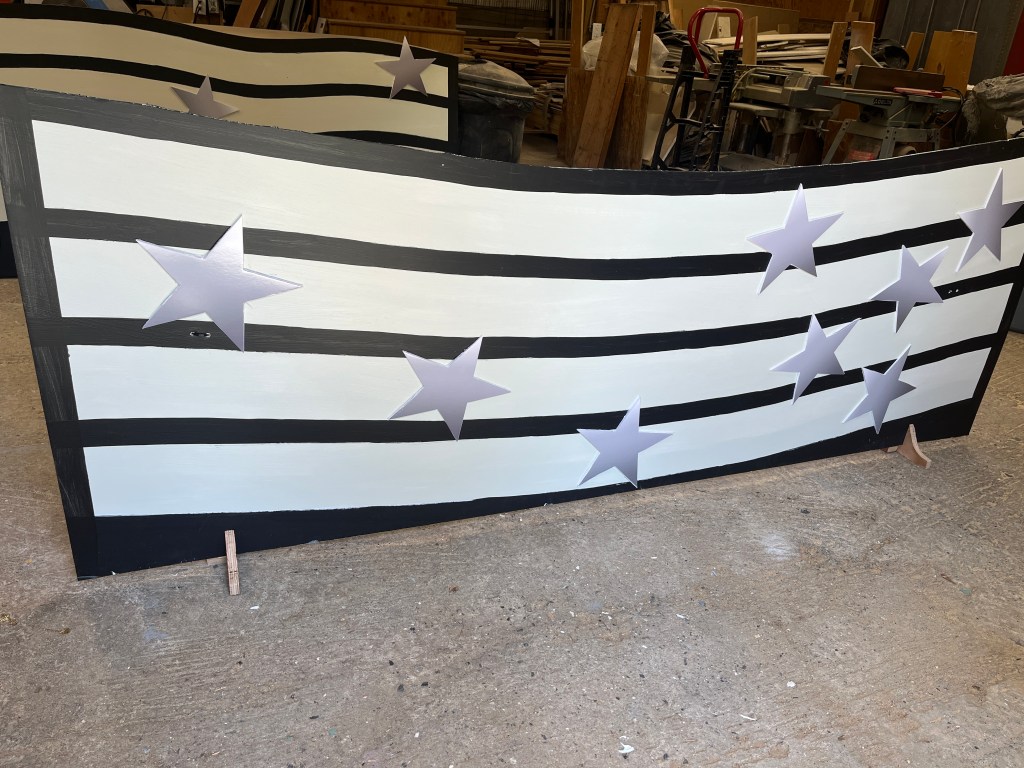
Bonus tip: when painting foamcore, always paint both sides, or you get major warpage.
Bonus tip #2: foamcore is generally more expensive than plywood of the same thickness. But it can be ordered in bulk in 4×8 sheets from your local printshop for some savings.
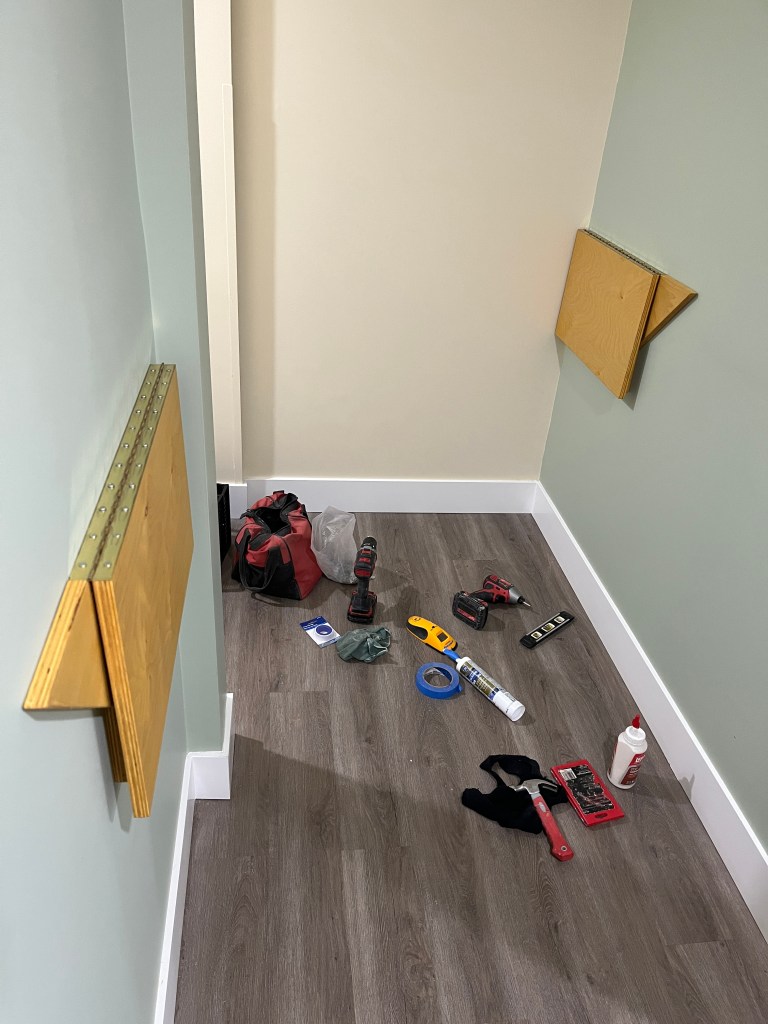
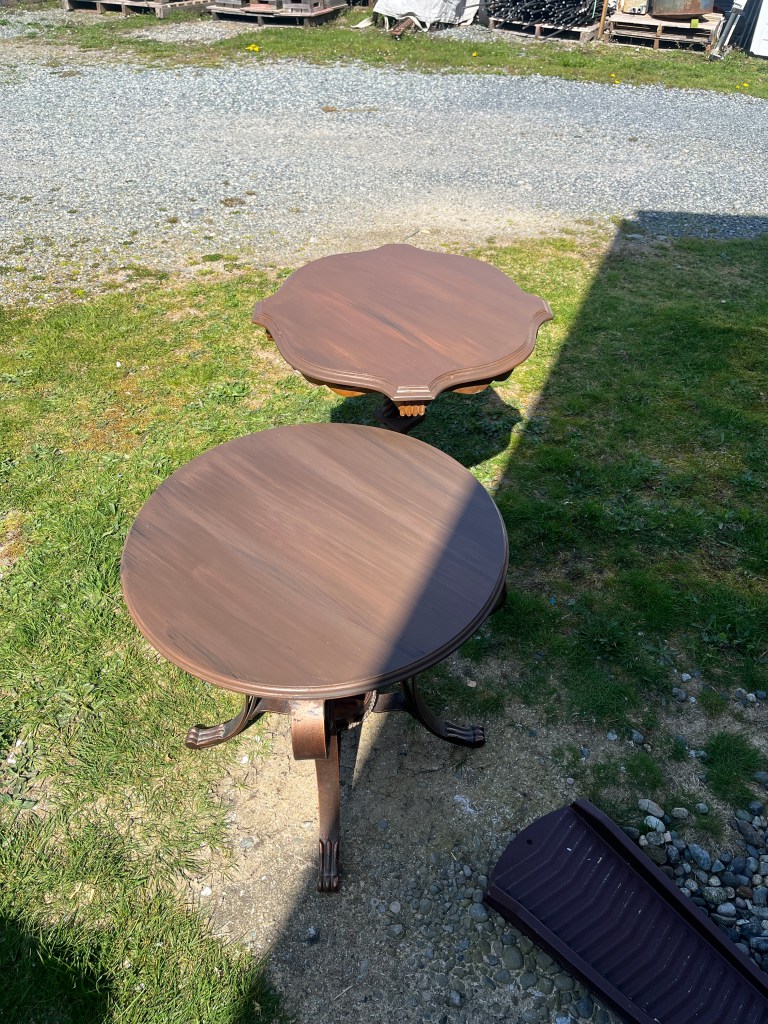
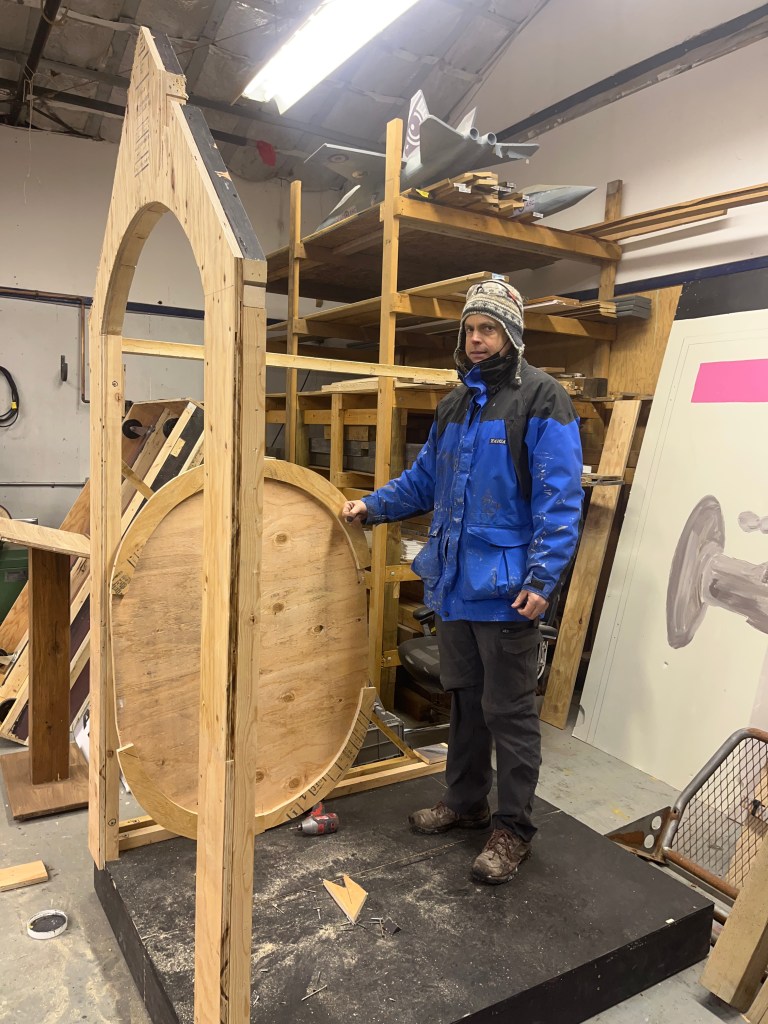
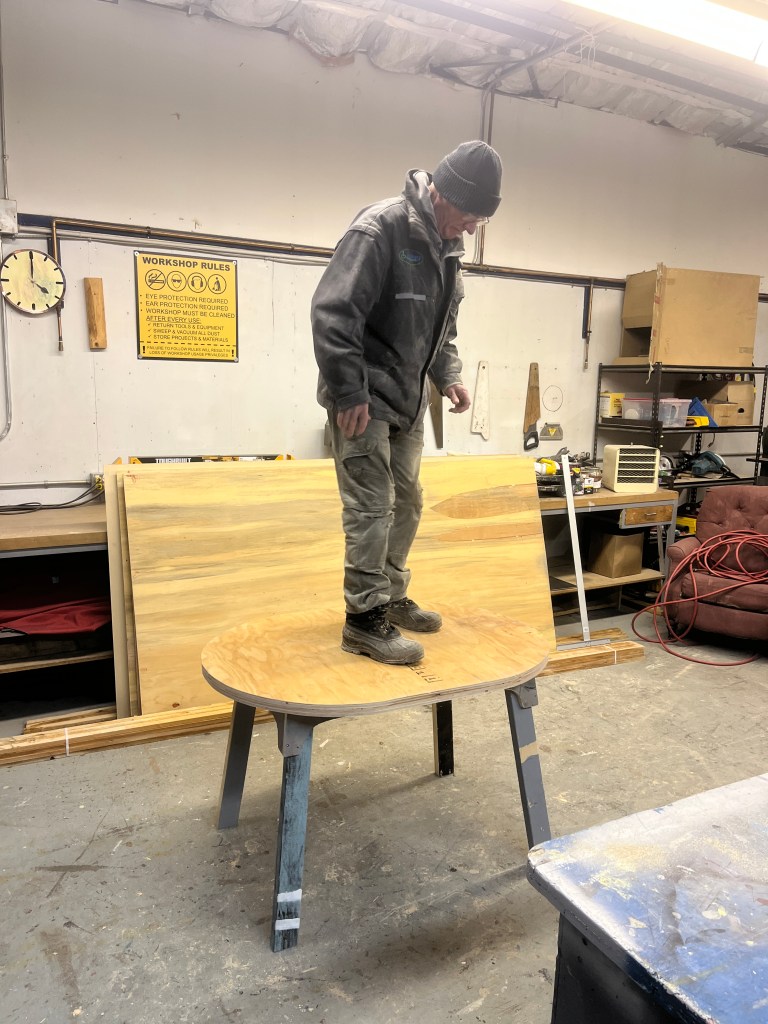
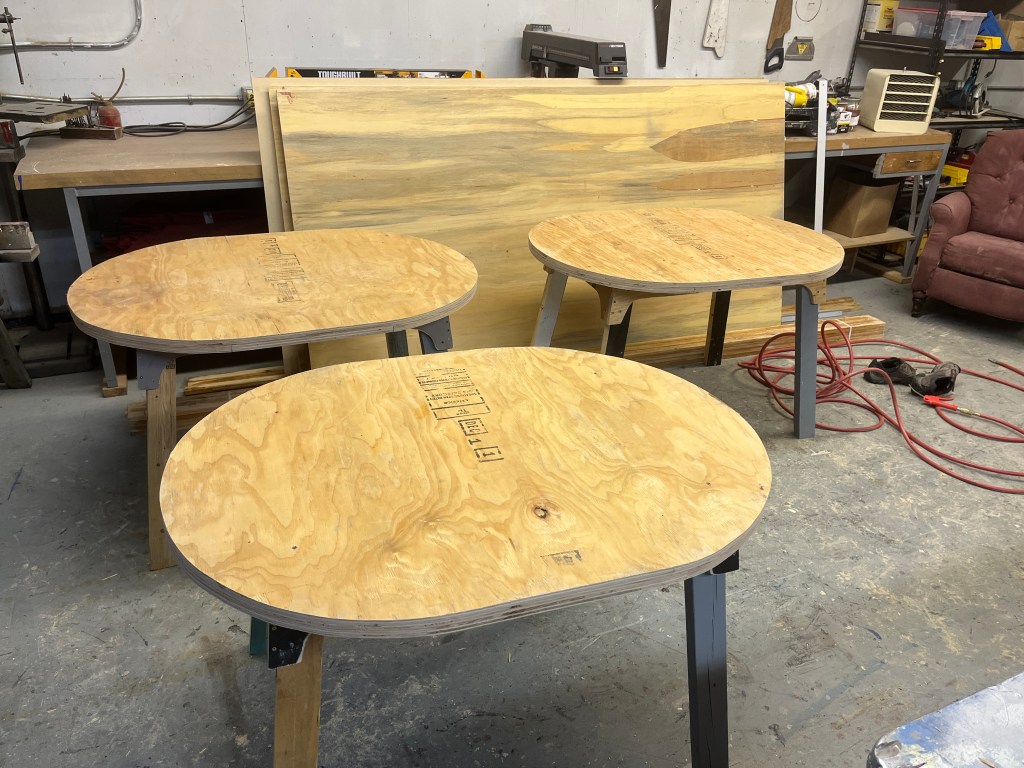
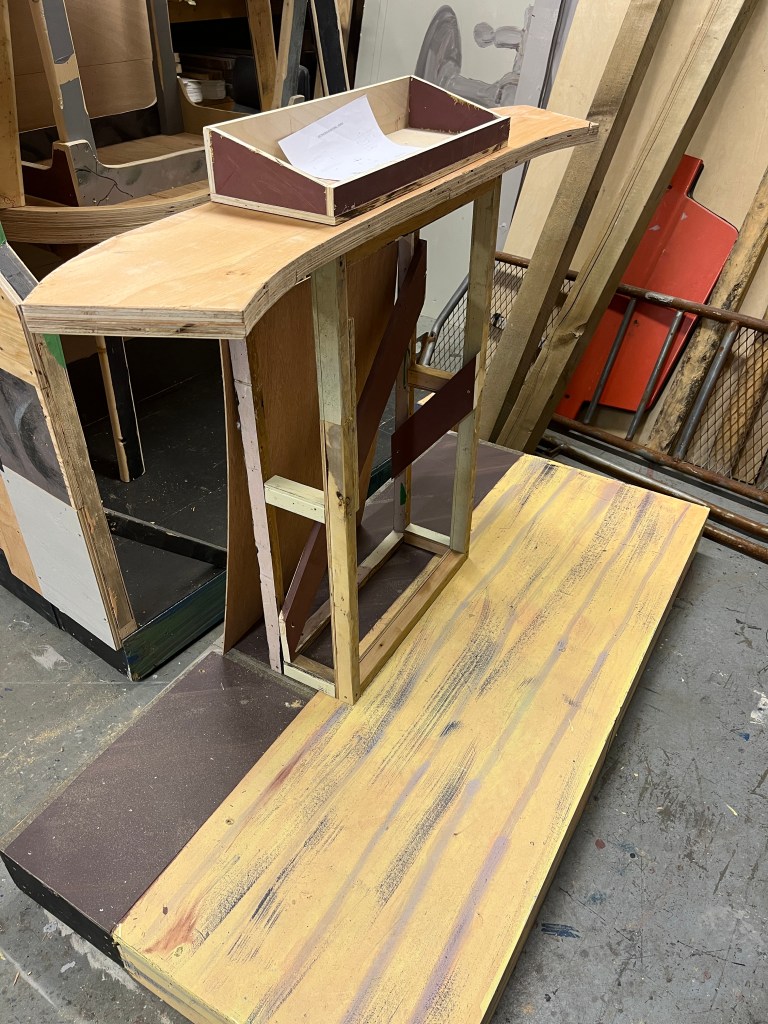
Move over, IKEA. Andrew’s Tiny Tables are here. (Ha ha)
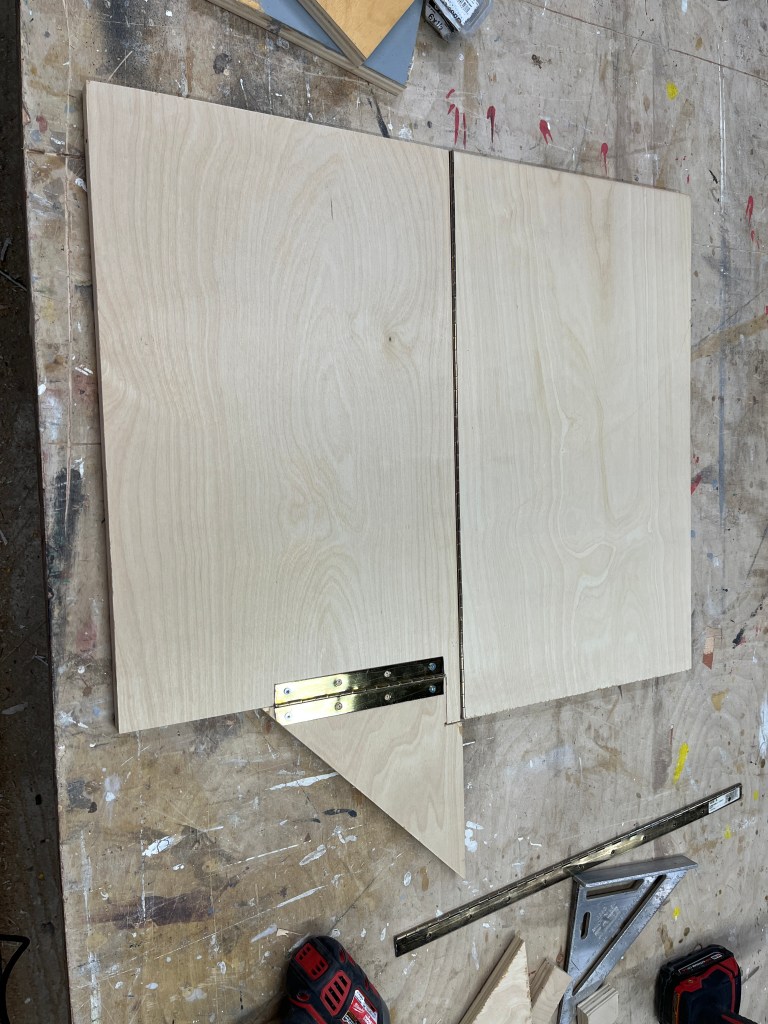
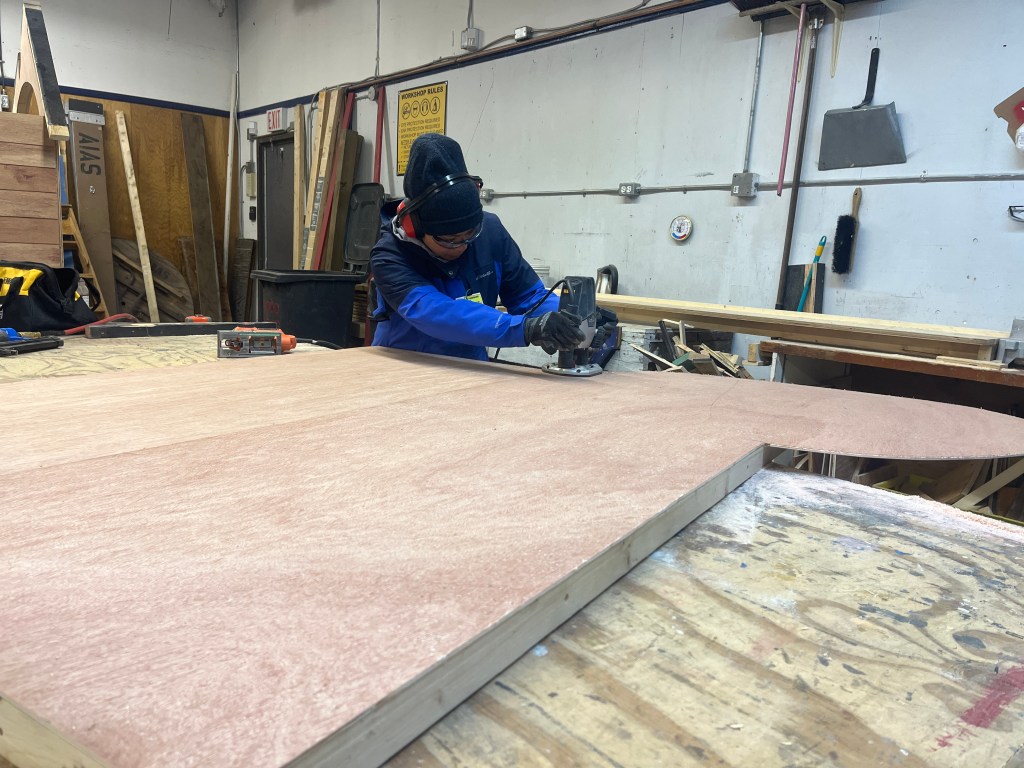
Noel asked for some small lunch tables for his clinic staff that wouldn’t take up much space. I whipped these together in a couple of hours and was quite proud of them, and he said they work well.
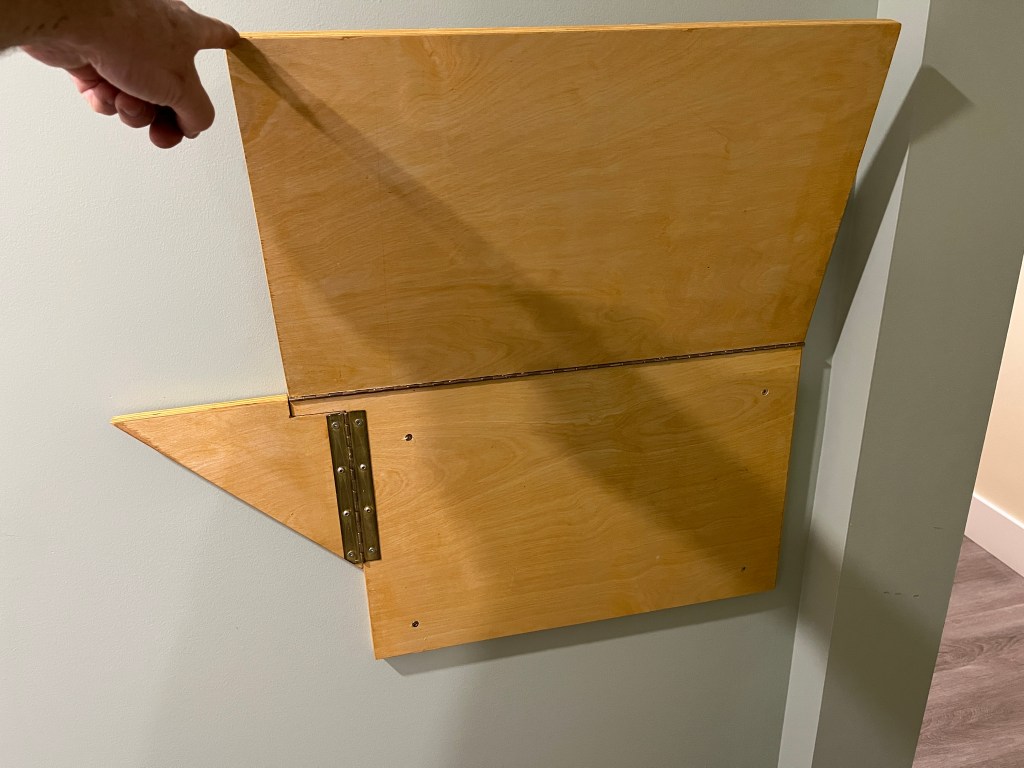
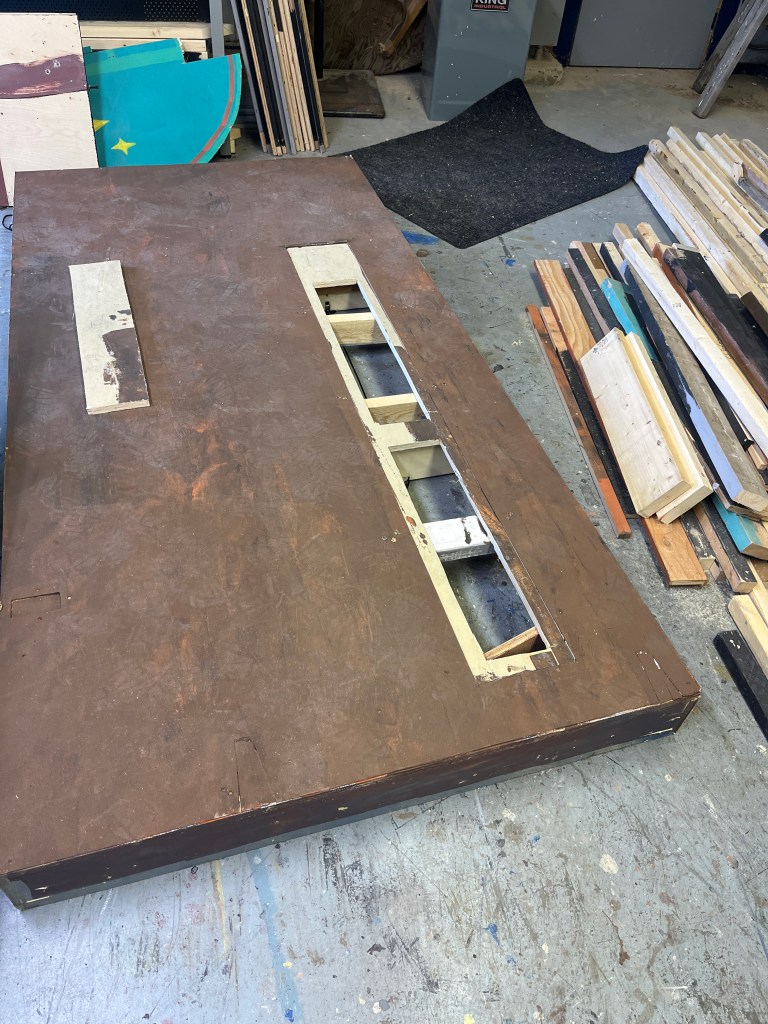
They are made of 3/4″ birch plywood and brass piano hinges. And they are fastened to studs in the wall. They stay in place using gravity, plus a tiny bit of friction.
I finished them with Watco (Danish oil, golden oak colour) which is very easy and fast to use, so they could be installed the same day as being built and finished.
When folded up, they stick out from the wall a hair over 1.5 inches.
To set them up, simply lift up the flap, and then pull the triangle piece out to use as a support, ensuring it is below the table.
I guess I need to give them a Swedish-sounding name. How about “Schmöggledblork”?
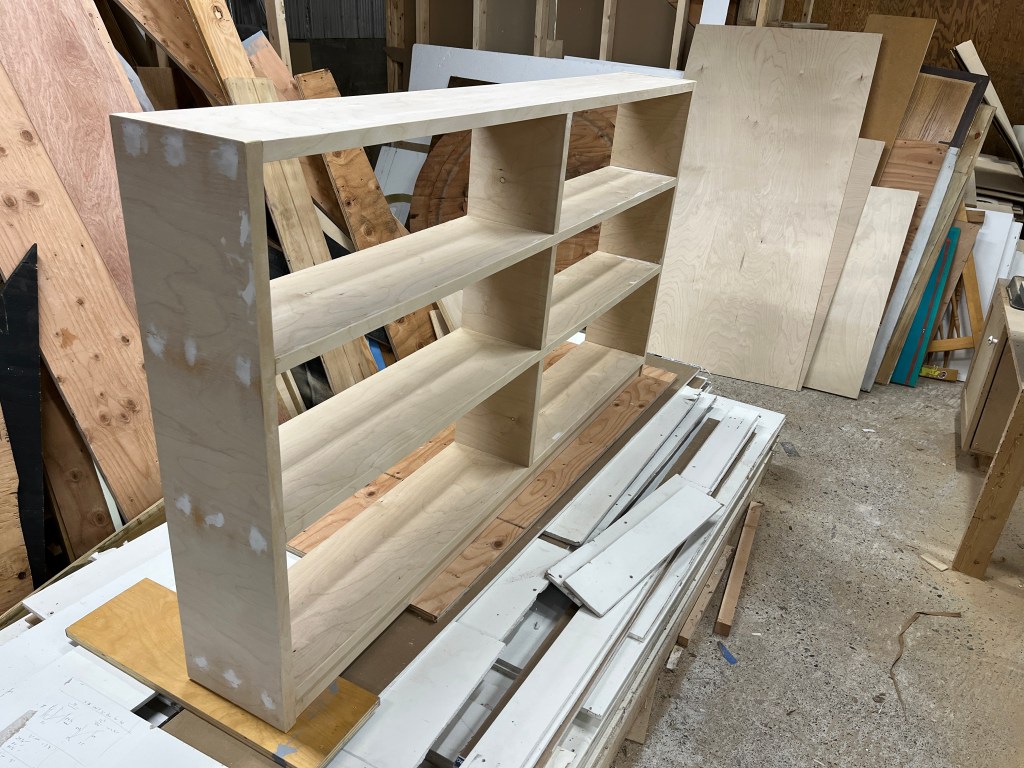
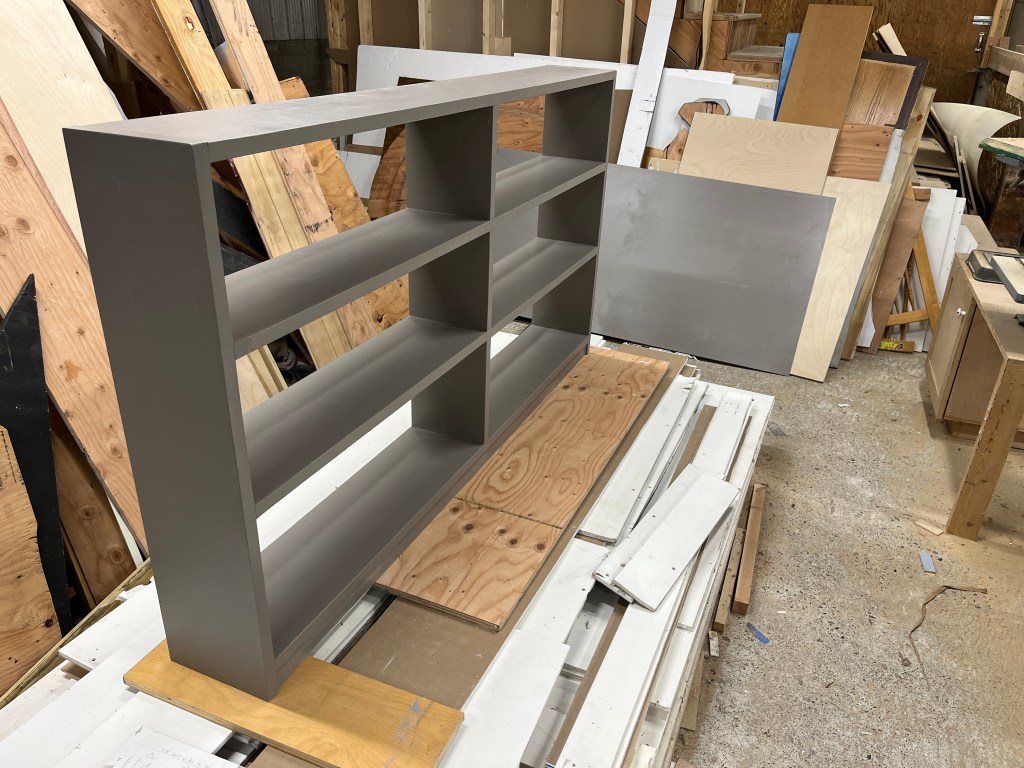
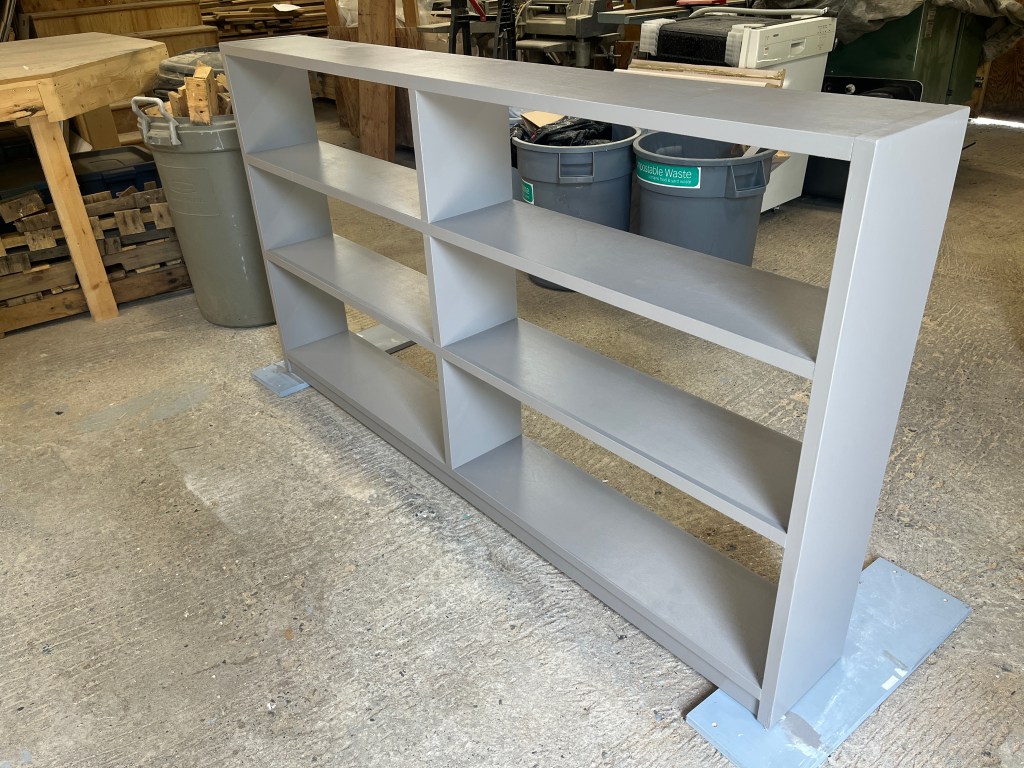
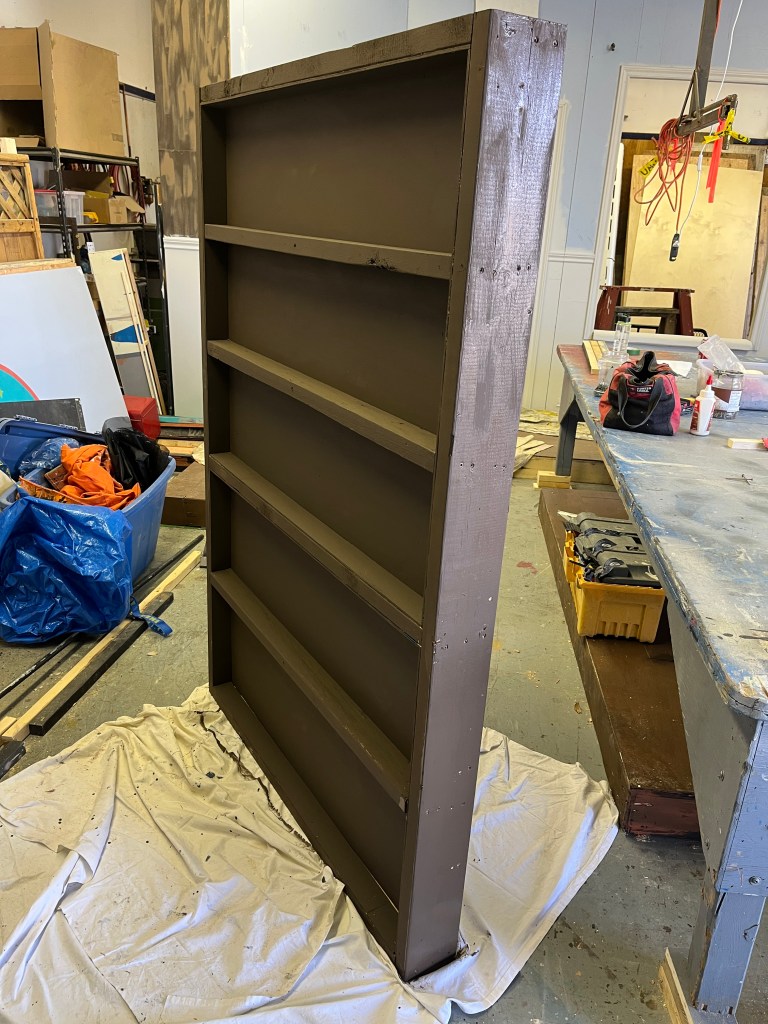
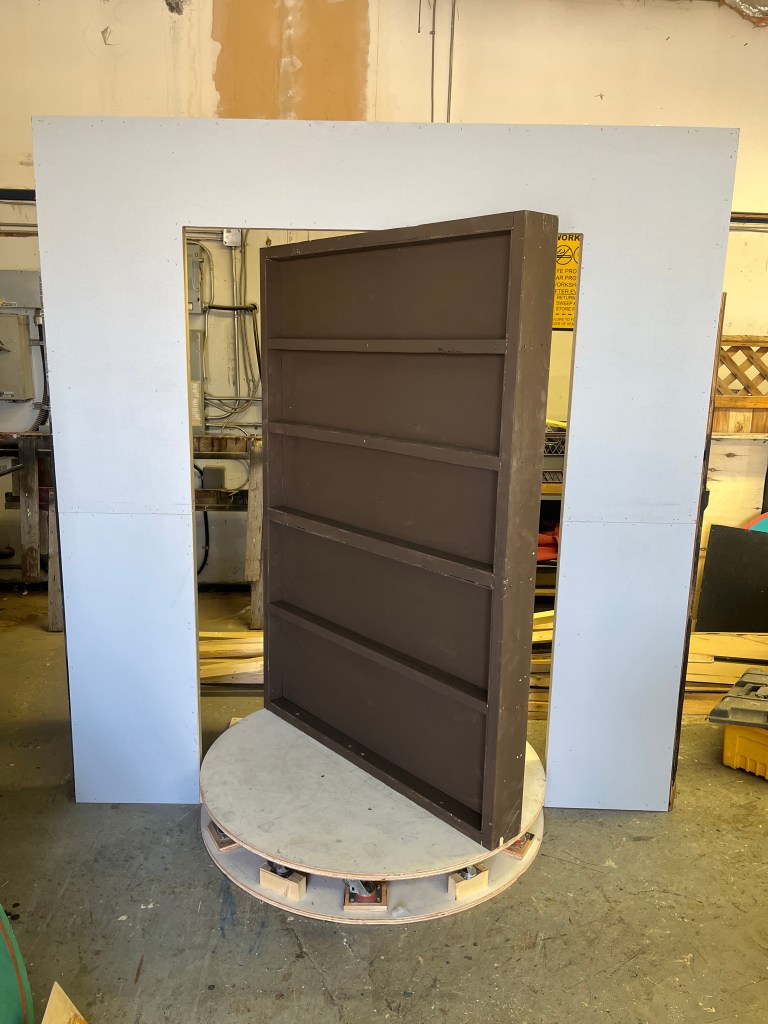
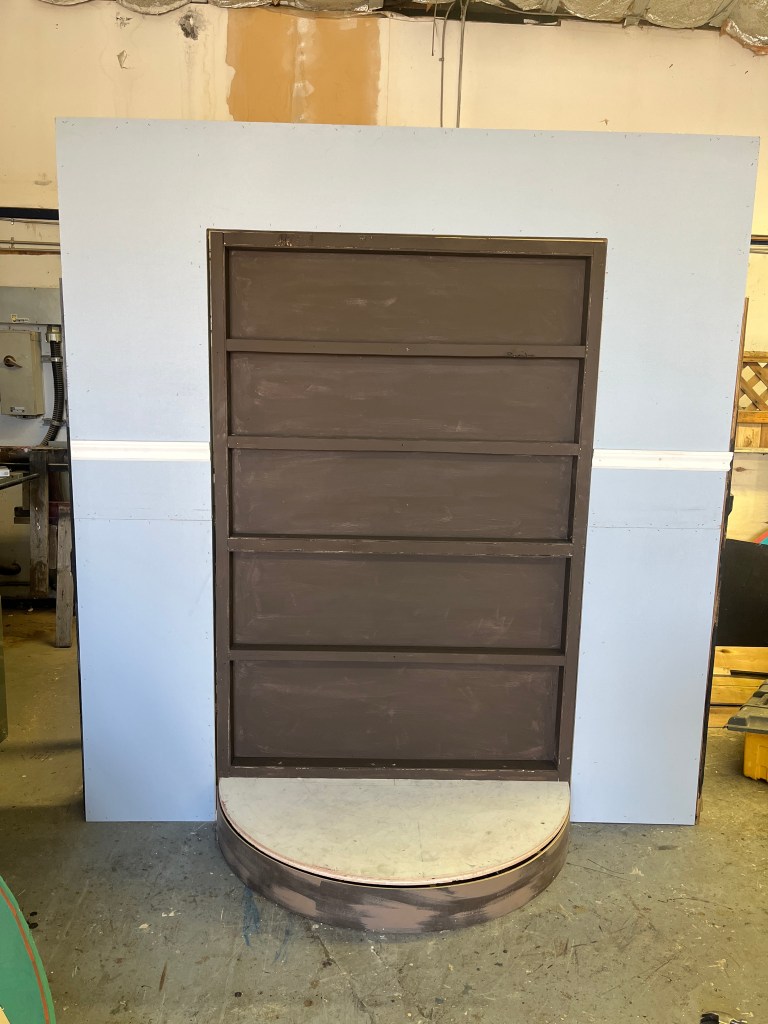
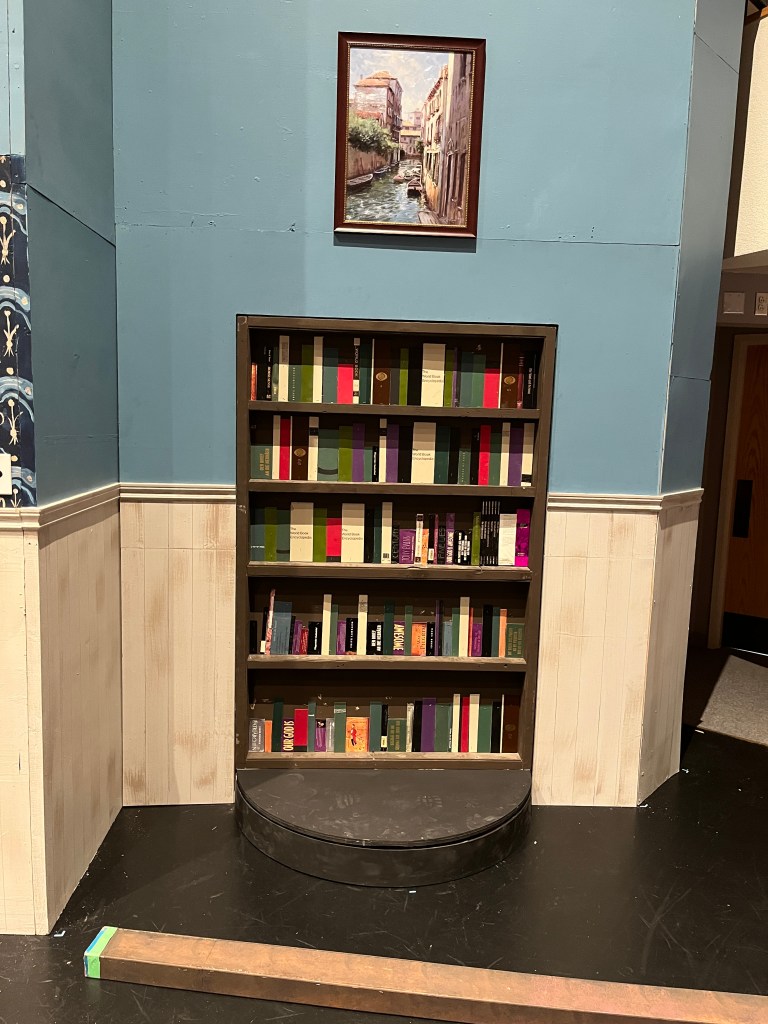
Carol ordered a custom bookshelf, specifying 1 inch thick boards that were 9 inches deep. She also wanted the edges taped when she heard I wanted to use plywood. Fair enough; but I haven’t had a lot of success with iron-on tape (and it wasn’t available that wide) so I made my own by cutting thin strips of plywood and gluing them on. The shelf was painted with Arrow Wood cabinet paint.
It was quite heavy/awkward to deliver, so I left the back off (inset; pictured in the 4th picture), and stapled it on after carrying the shelf up the steps to the 2nd floor.
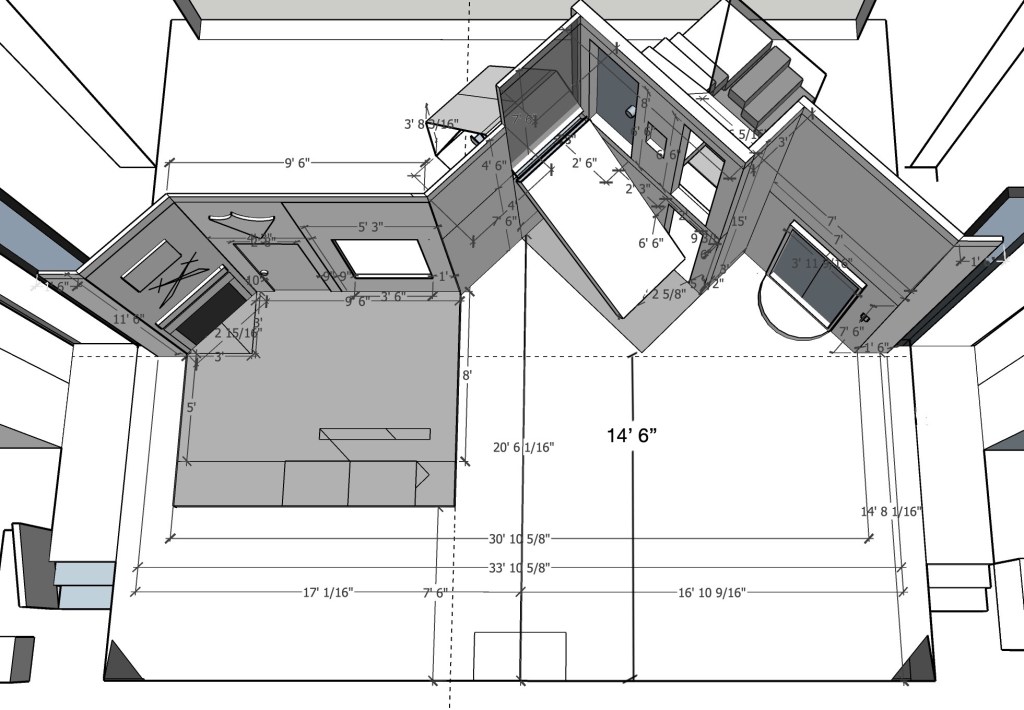
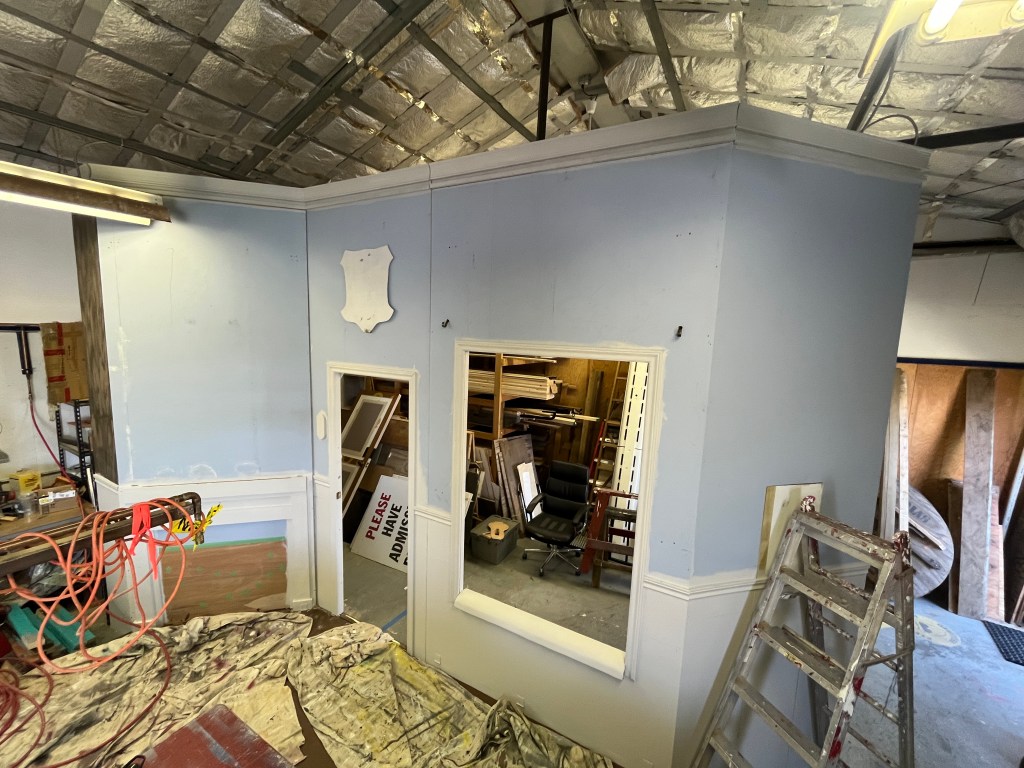
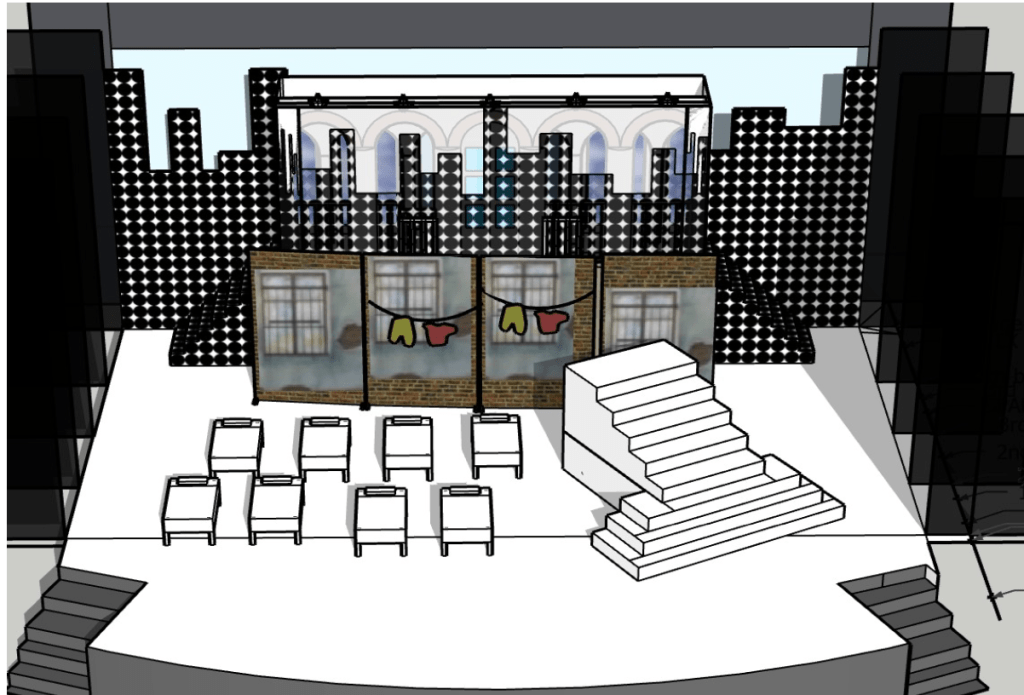
Law Law Land was this year’s summer production by Gotta Sing Gotta Dance Vancouver, a musical theatre camp held at the JCC/NRT. It is produced once at the end of July, and once at the end of August, with different musical theatre students each time (3-show run). The July production had over 60 performers. I was contracted to design and build a versatile, lightweight, creative set, mostly working with the producer (the indefatigable Perry Ehrlich), but also the director and other choreographers.
The material of choice is 3/16 foamcore, because it is light and holds its shape reasonably well. It’s more expensive than plywood or MDF, but for this production it makes a lot of sense.
design for Law Law Land
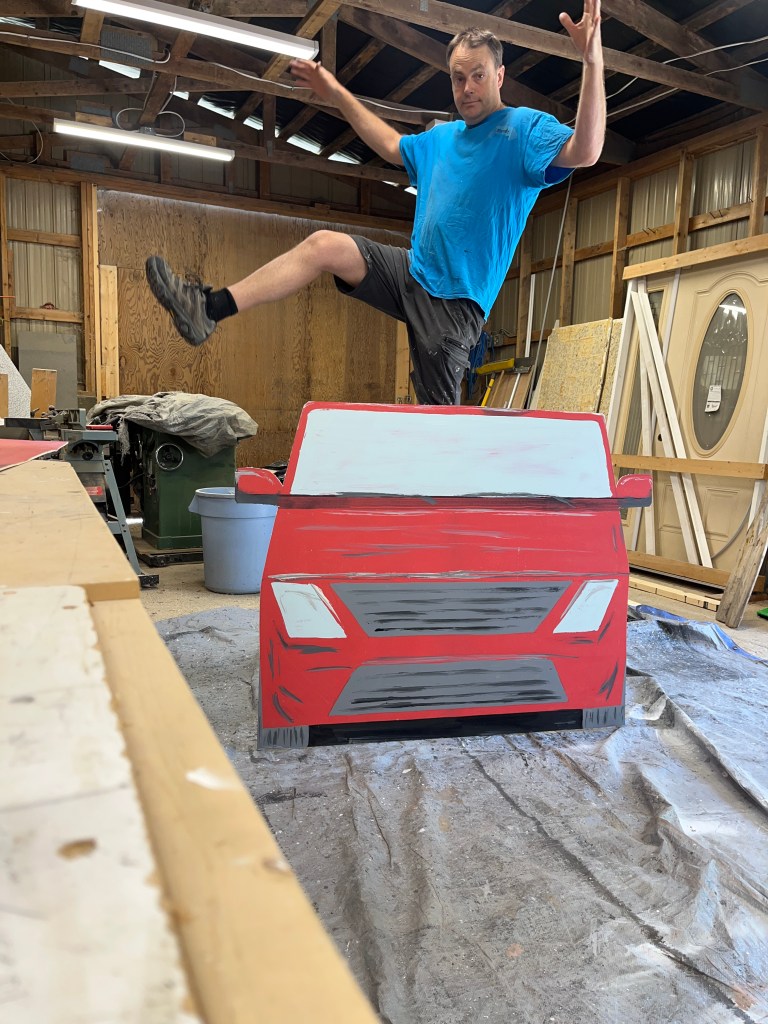
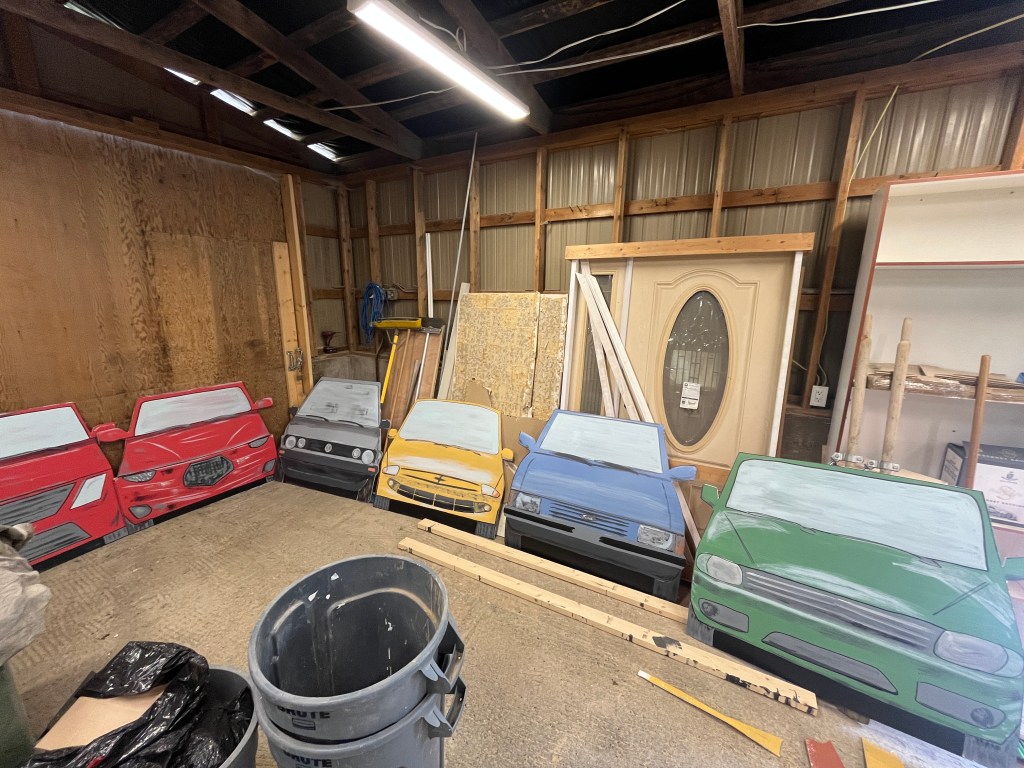
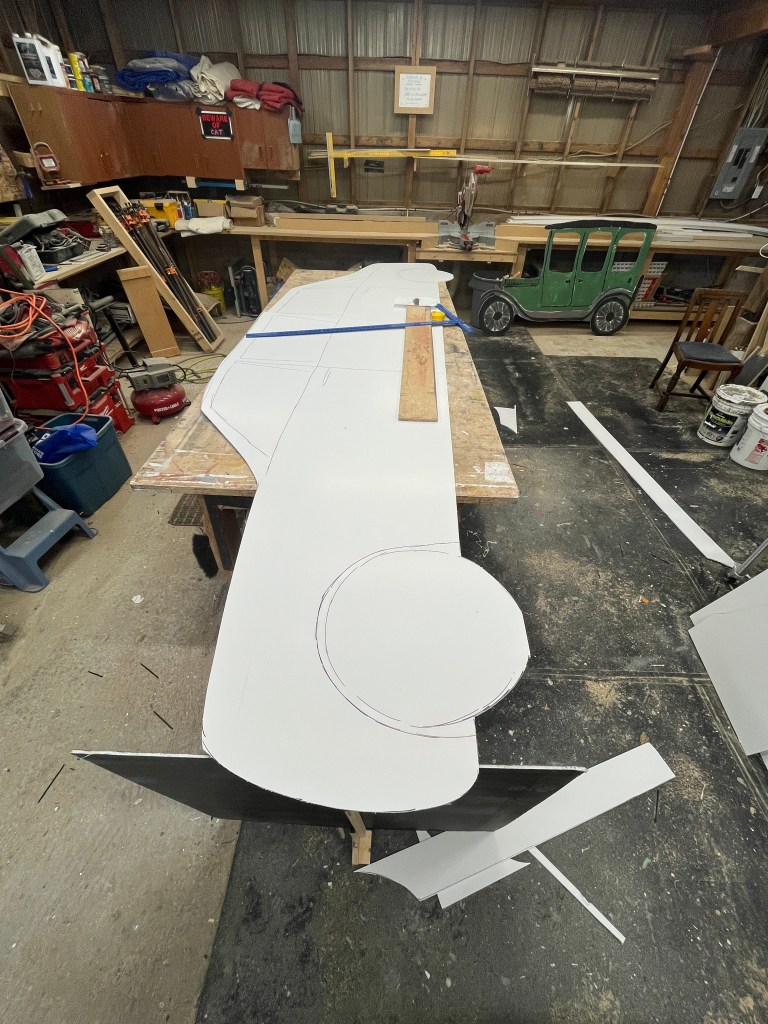
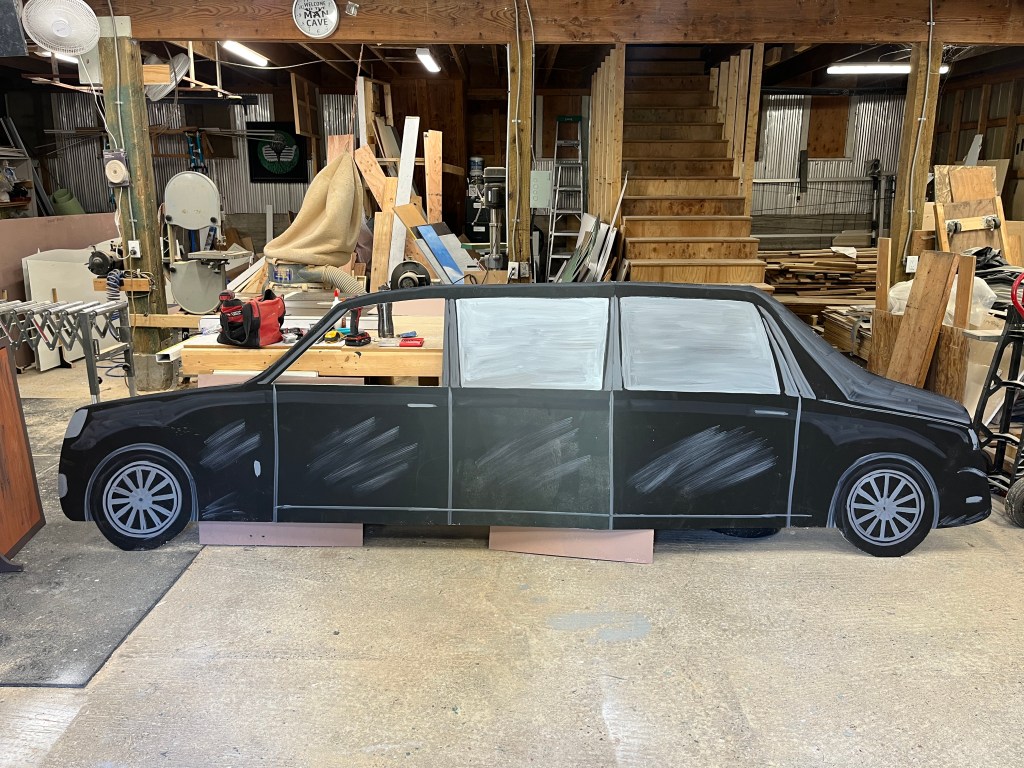
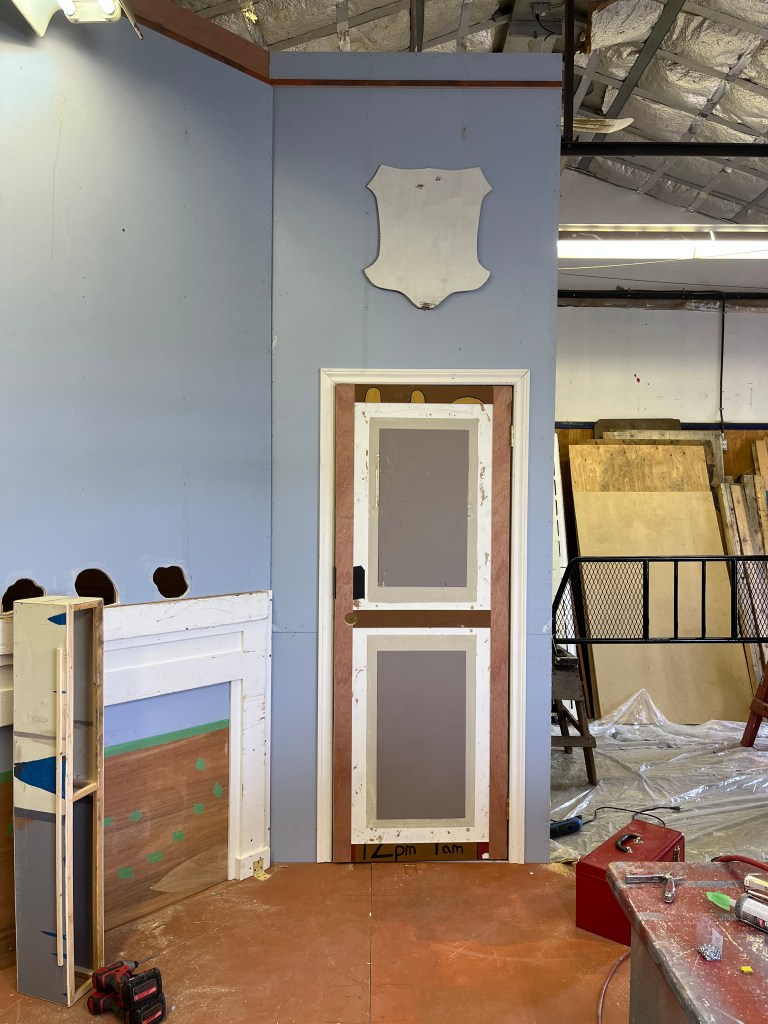
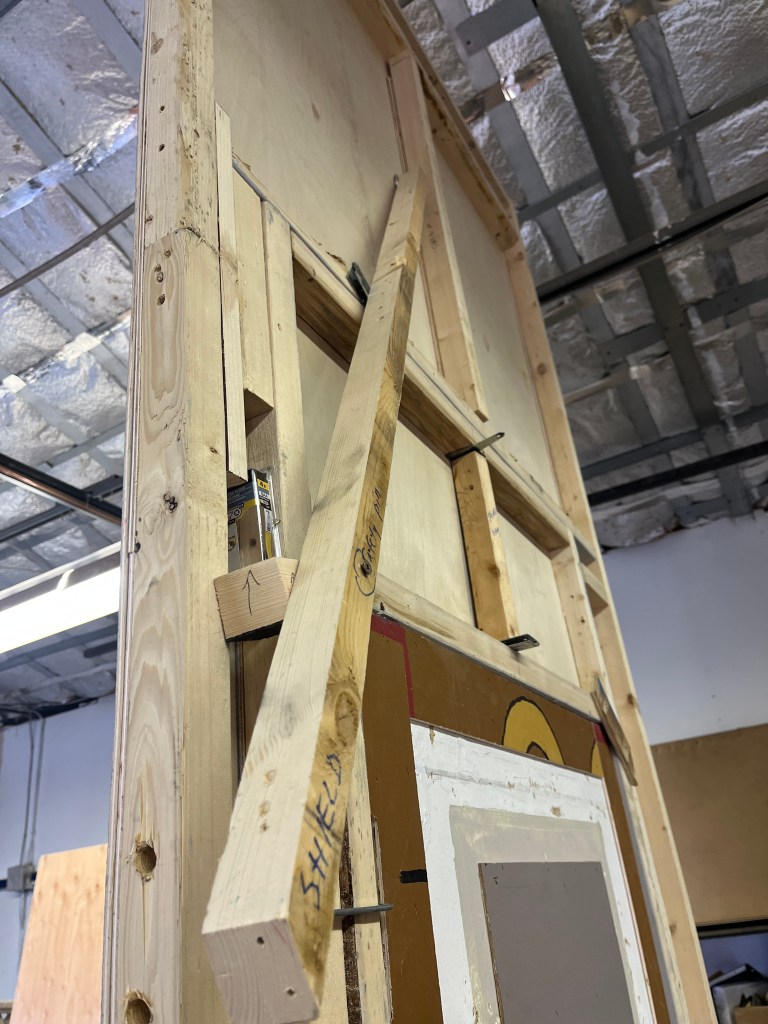
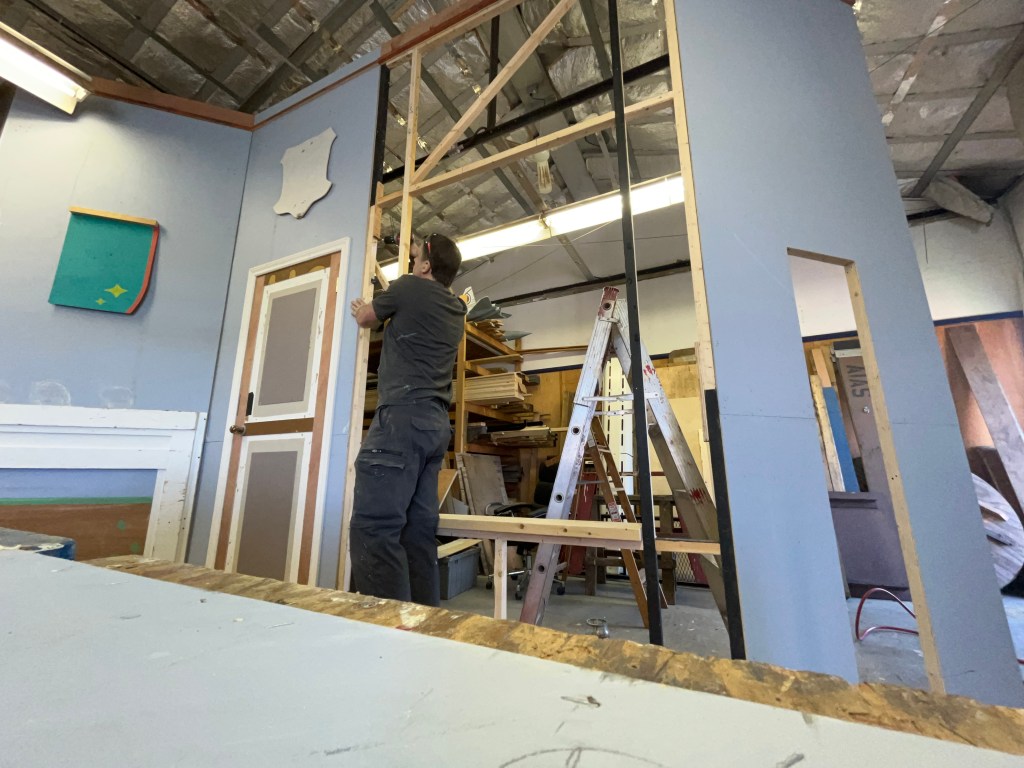
I spent a week plus in the workshop cutting, painting, and building pieces. Here are some build pictures:
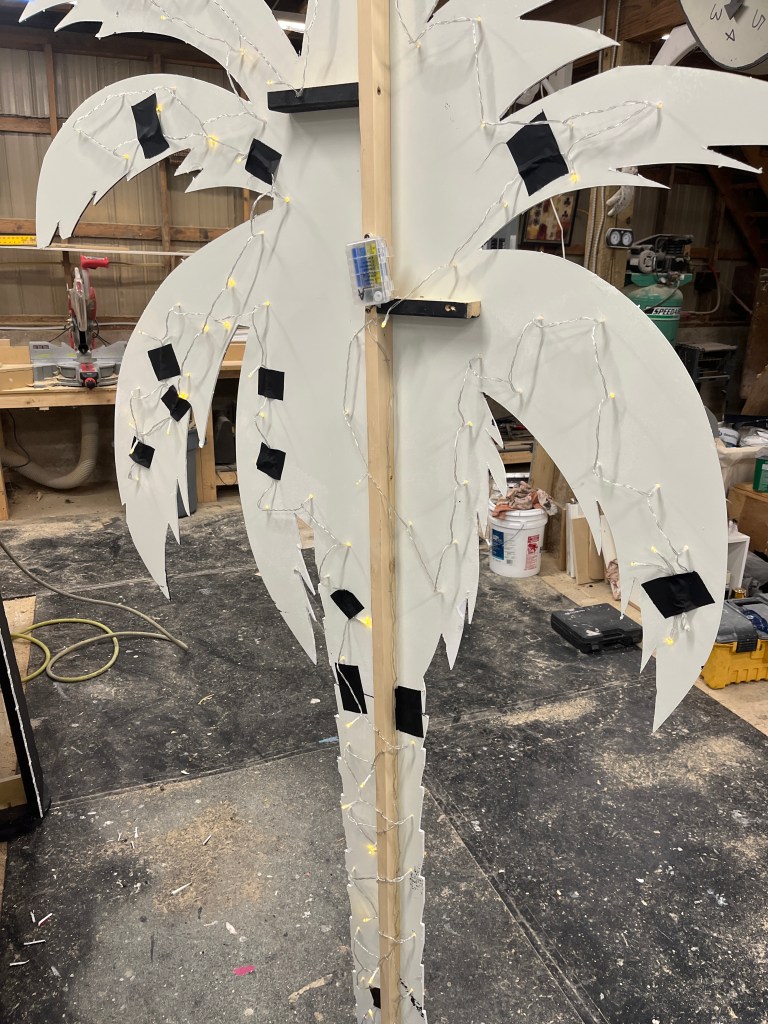
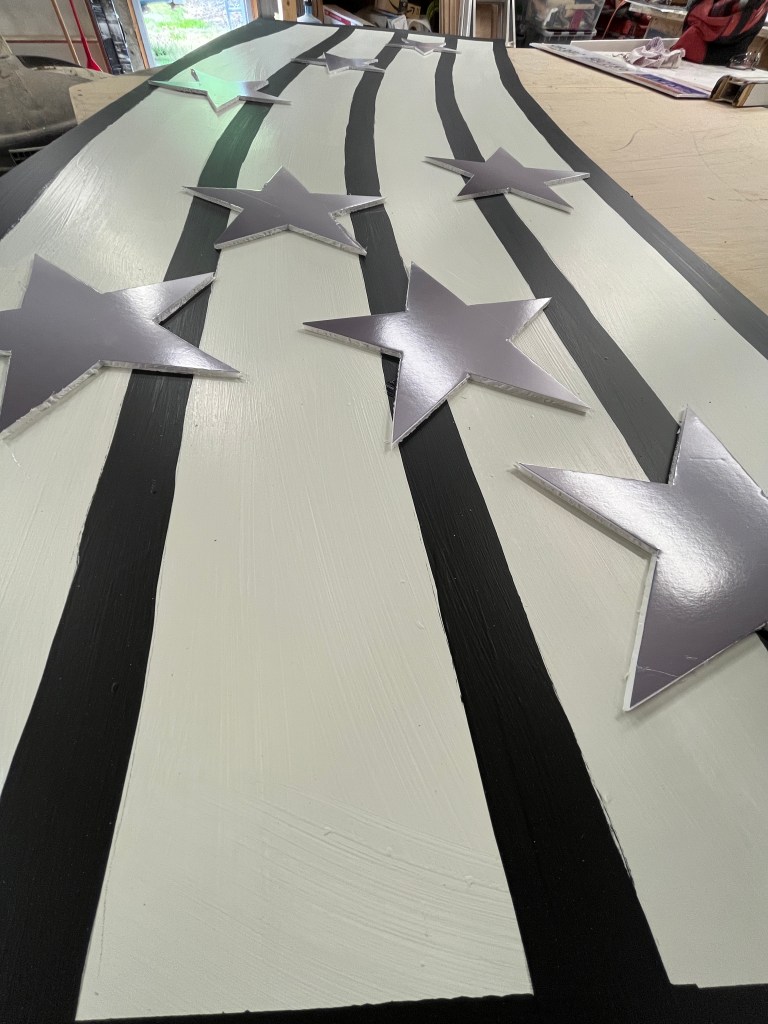
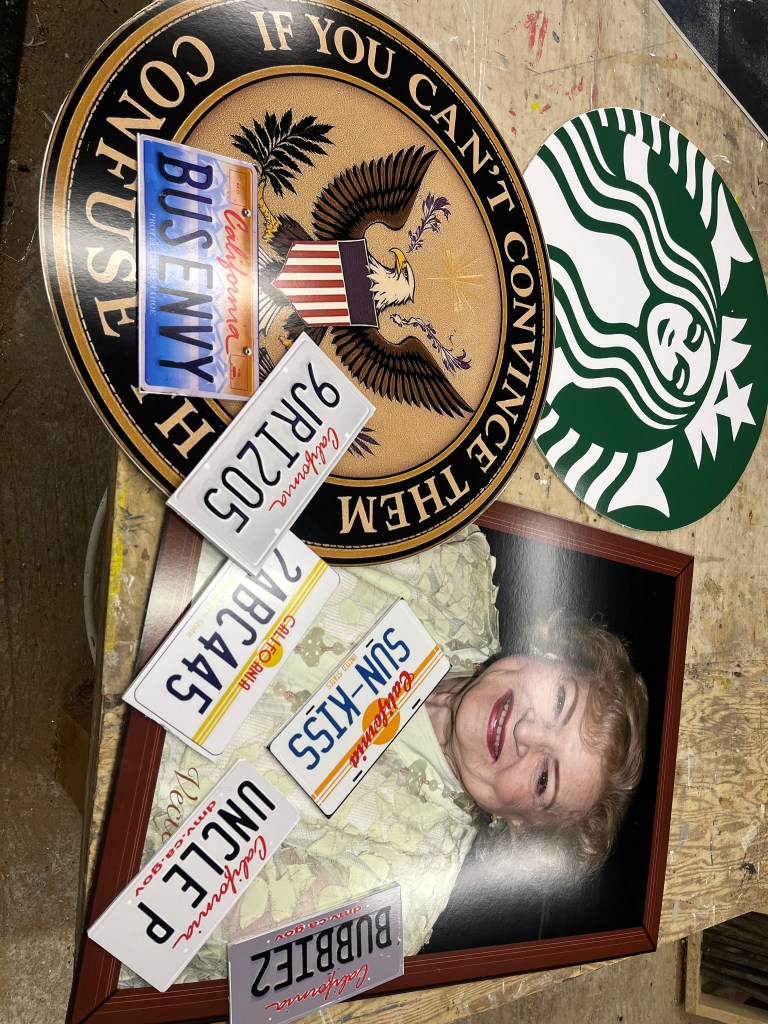
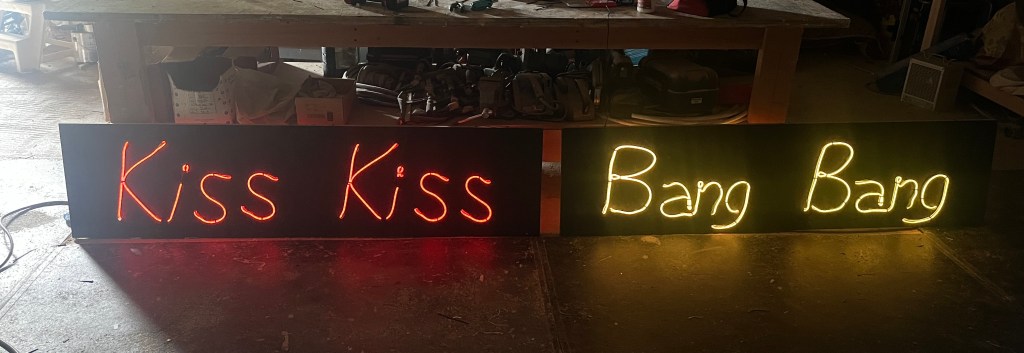
practising dancing on carcourtroom backdrop6 2D carscustom chandelier4 palm trees with twinkly lightsflat to partially obscure bandprint shop order graphicsneon sign (fly)judge and witness boxes2D limoKingsley mansion backdropelastic holder for cars
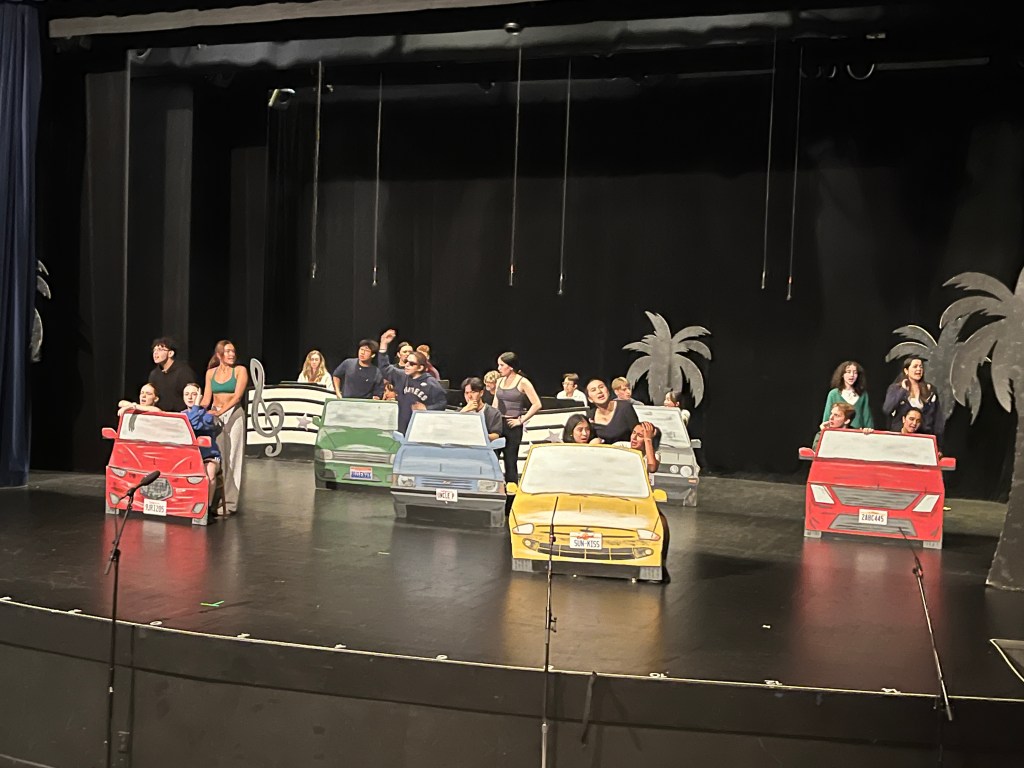
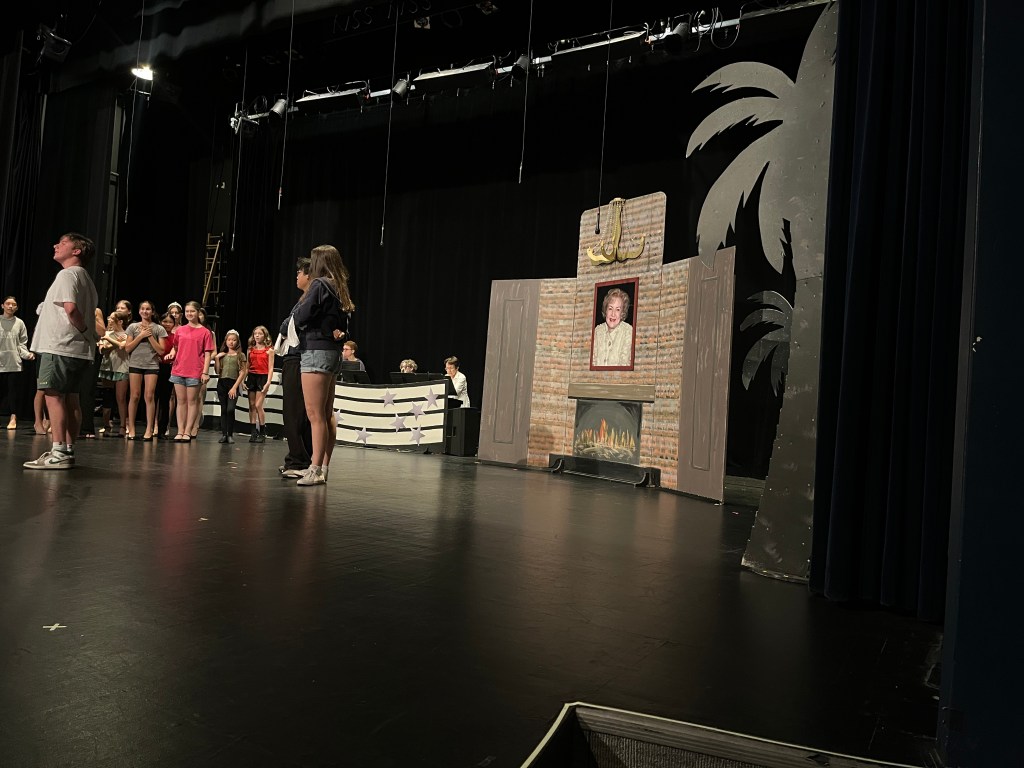
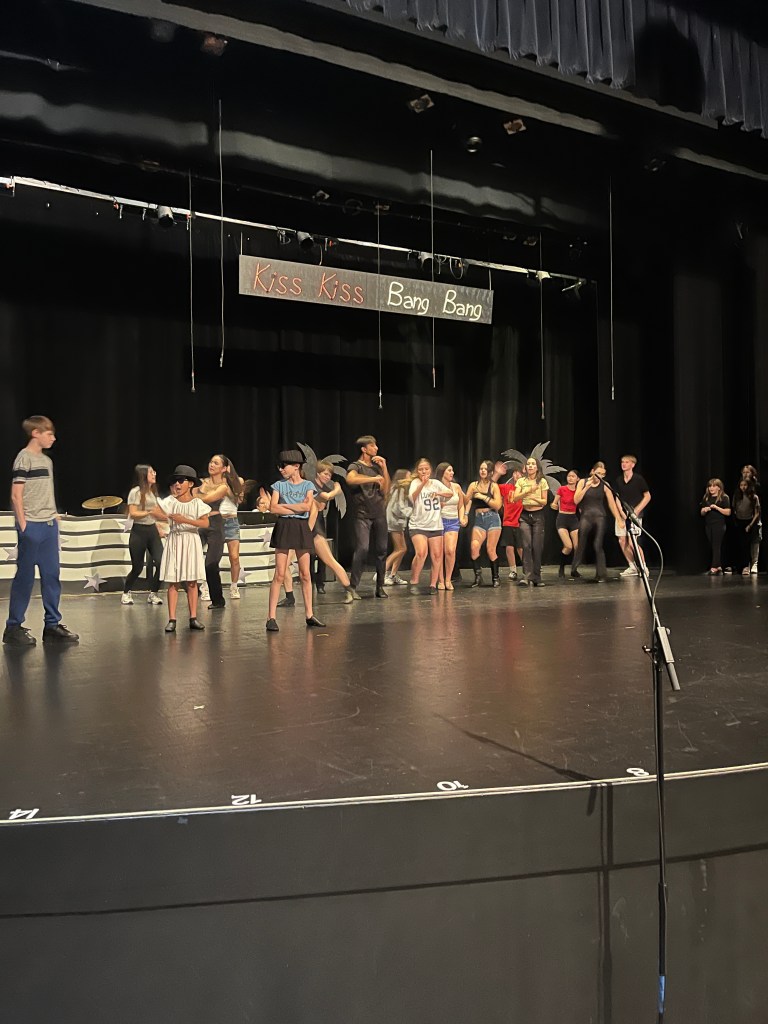
I don’t have any pictures from the show (yet) but here are some rehearsal shots:
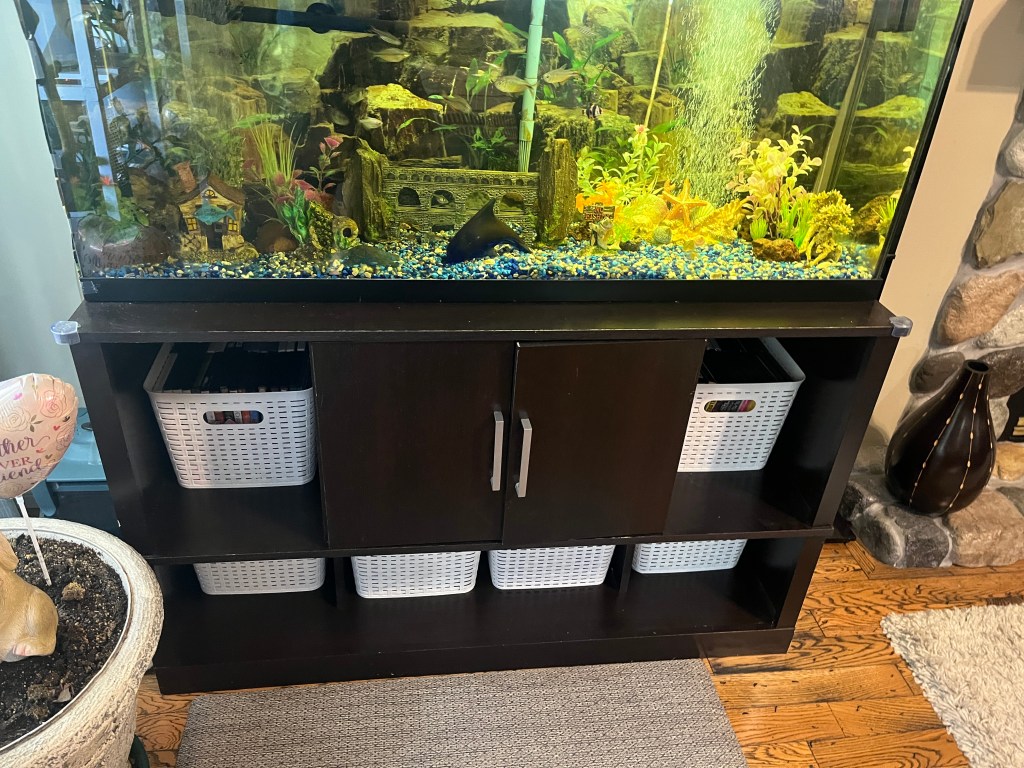
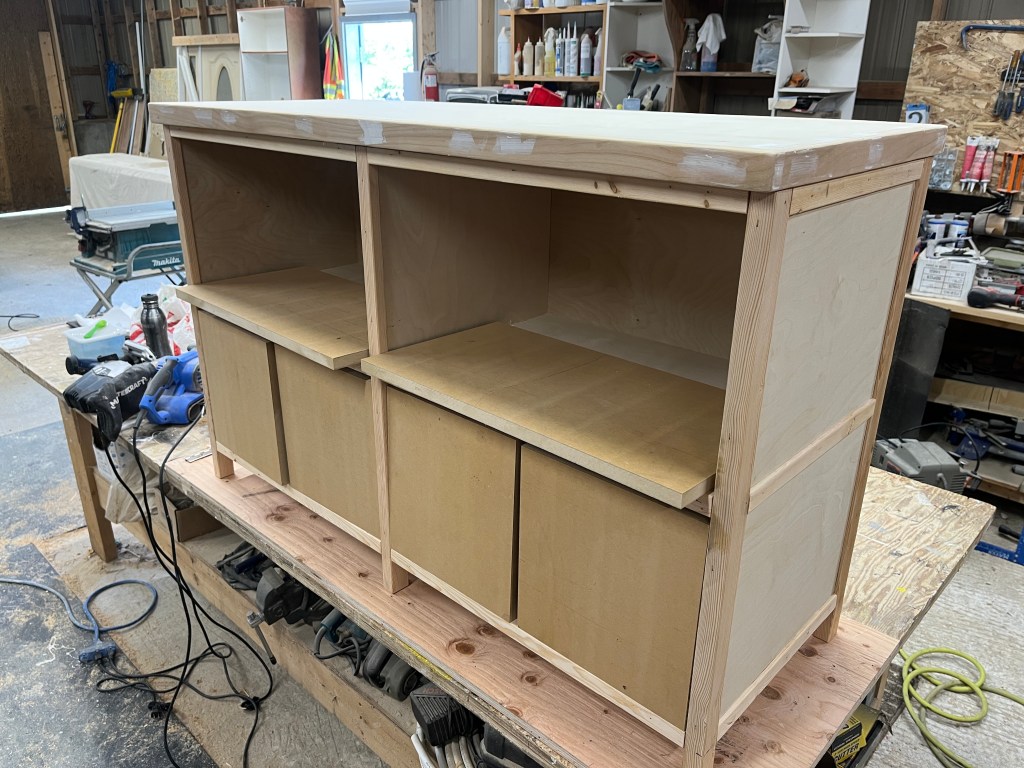
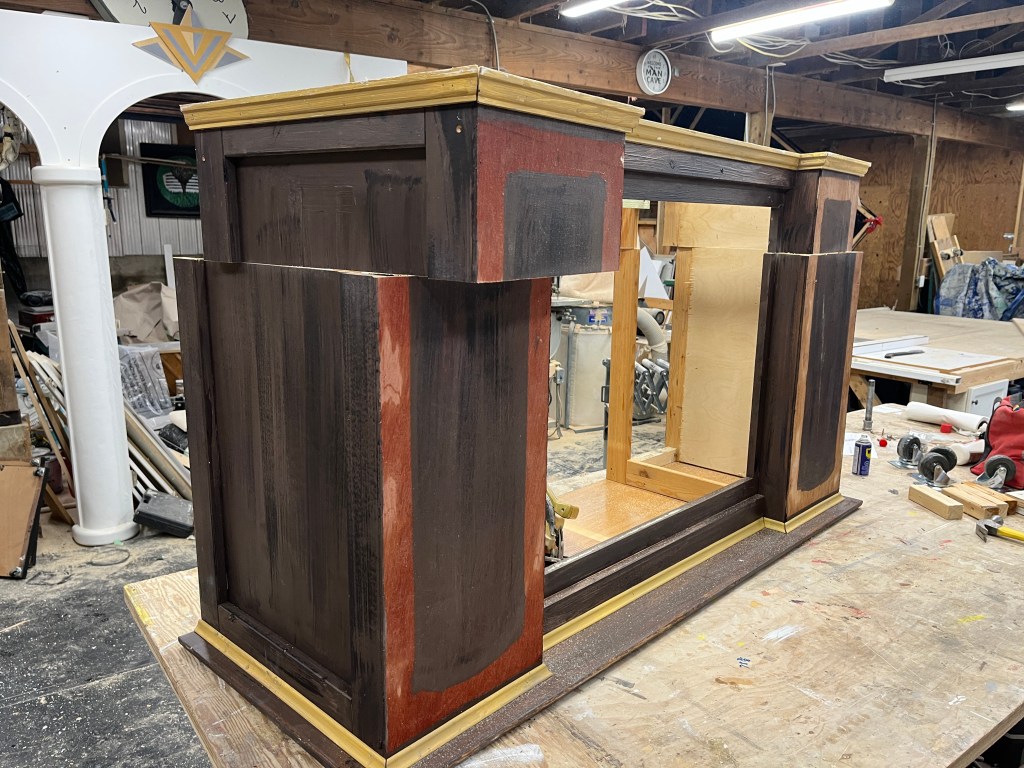
This is just a table that holds a fish tank but I thought of it as the “fish tank cabinet.” Josephine asked me more than a year ago to make it and I finally got around to do so. Her old one was made of particle board and the water was causing some damage.
previous cabinet
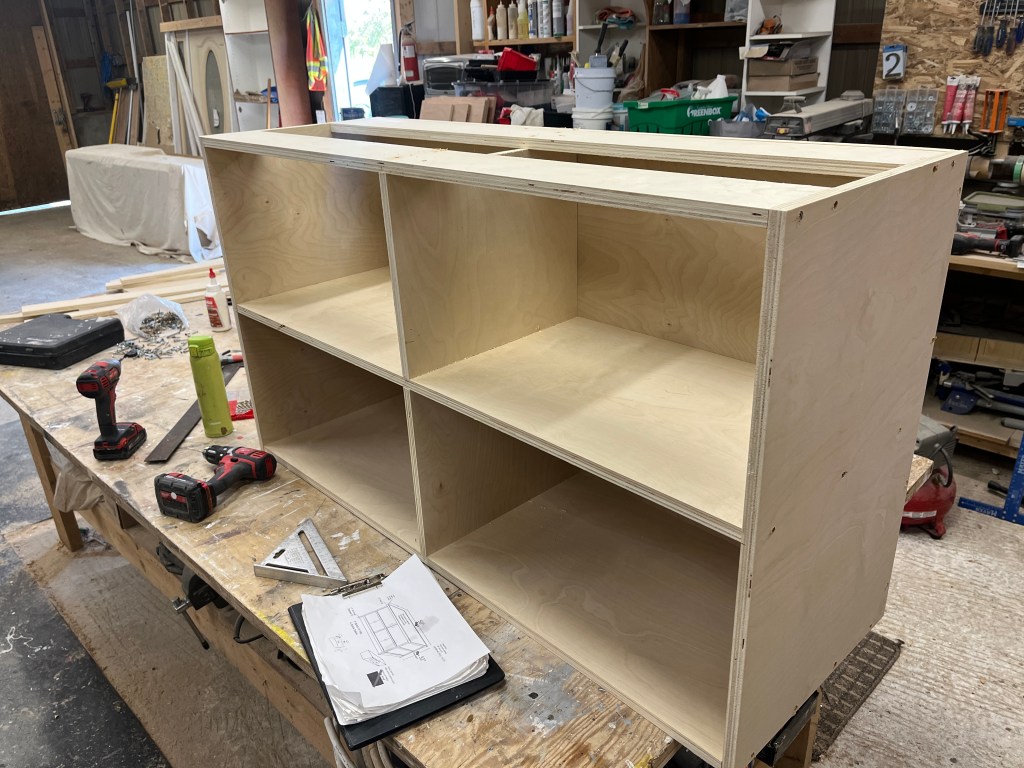
So I took some measurements, taking special care to make sure the baskets would fit in the new one. (I made a mistake writing them down and luckily J caught it a year later when I sent off the final draft, because otherwise this post would look very different!)
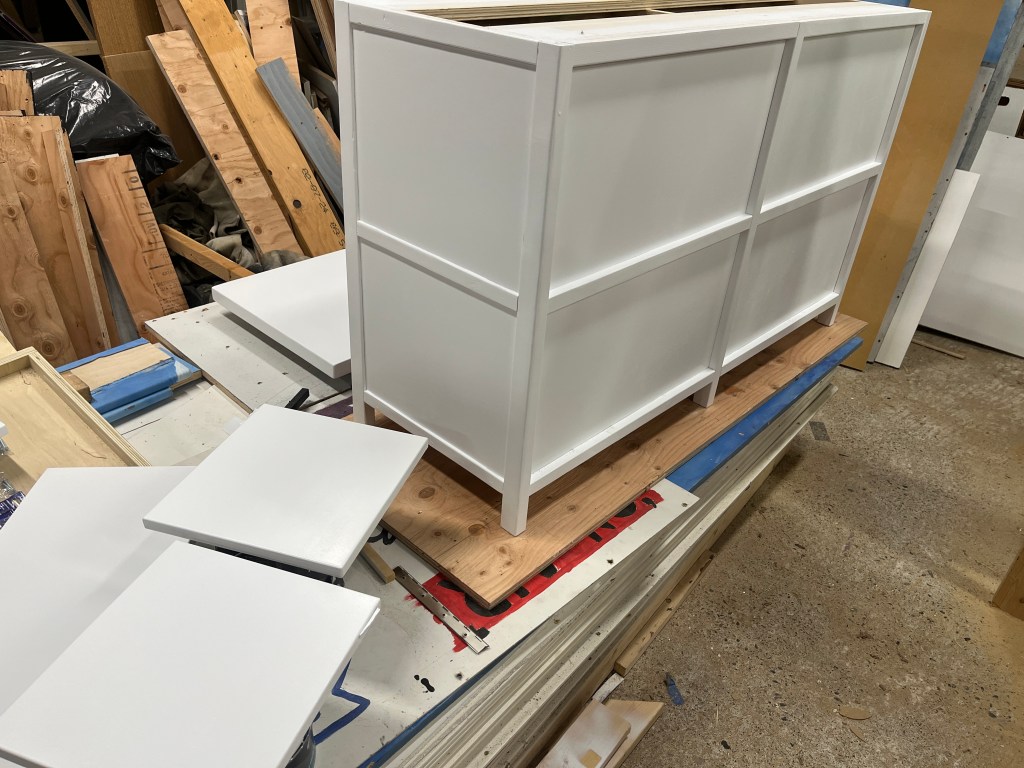
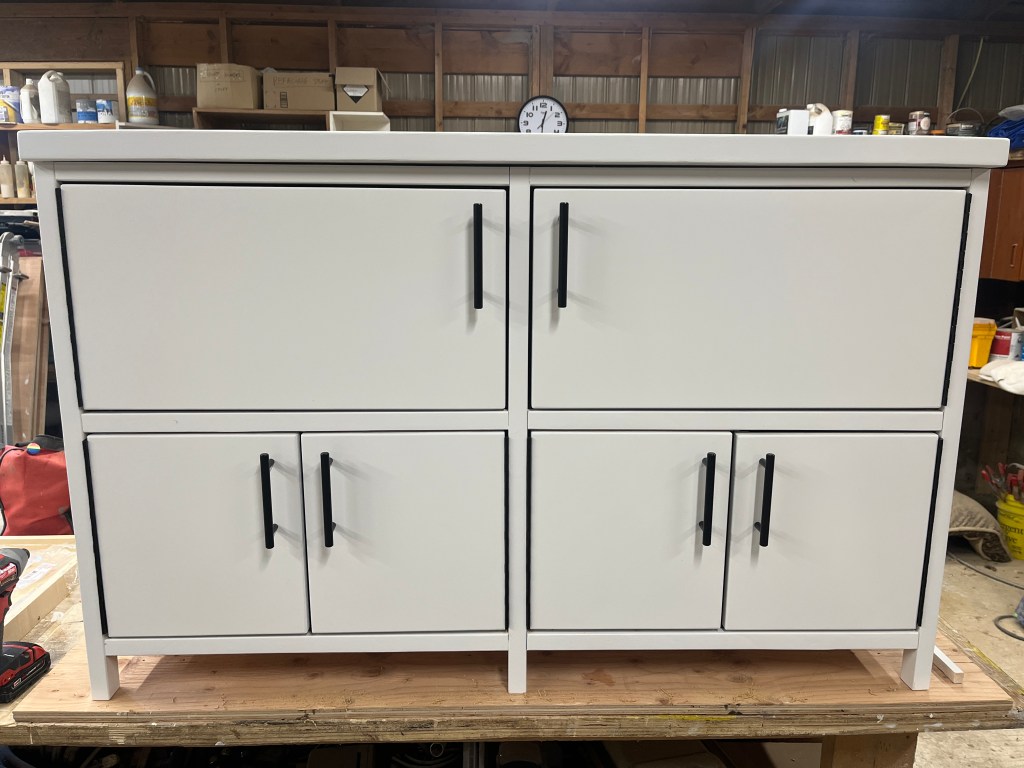
I made everything out of birch plywood, with birch edging glued around the top, and fir mouldings and legs. Doors are MDF.
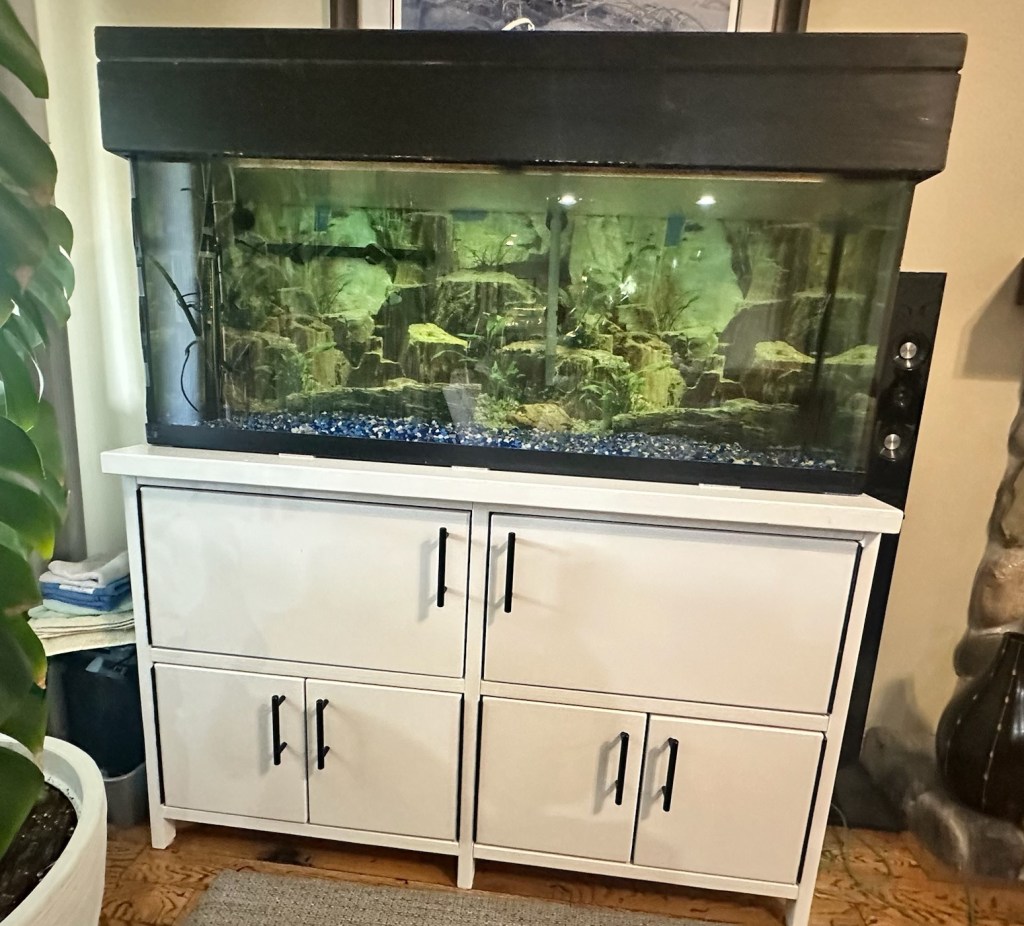
I took my time with it, worked through a bout of Covid here and there, took a few days to paint it. Hinge are black piano hinge with magnetic catches. Here it is in all its fishy glory:
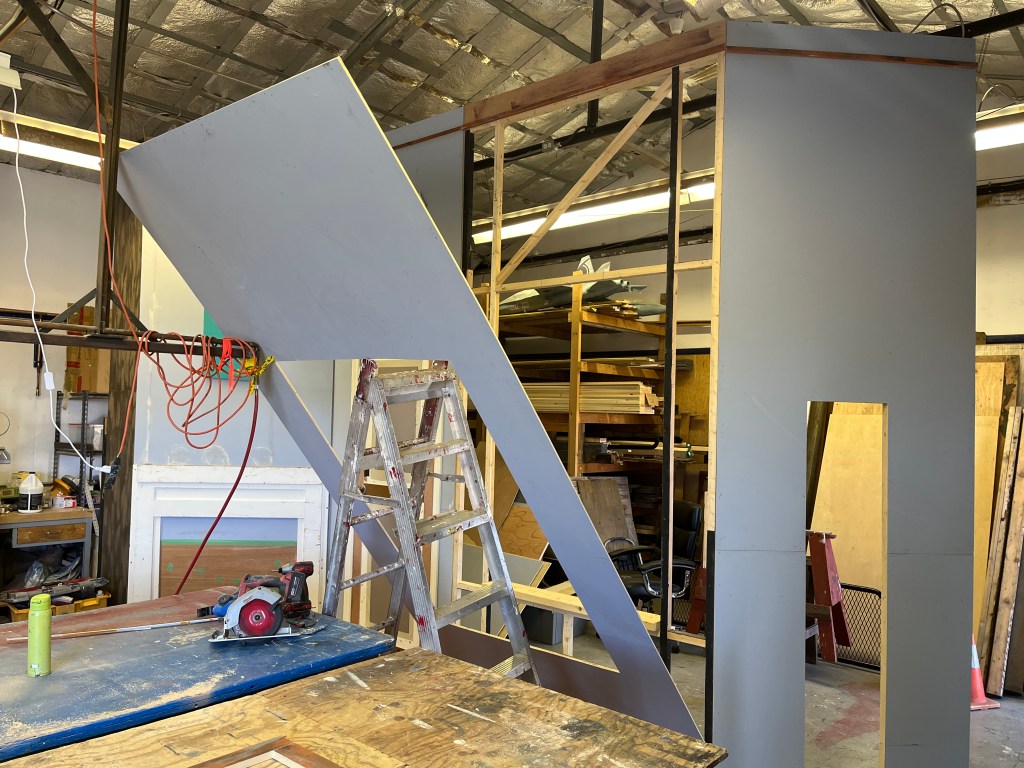
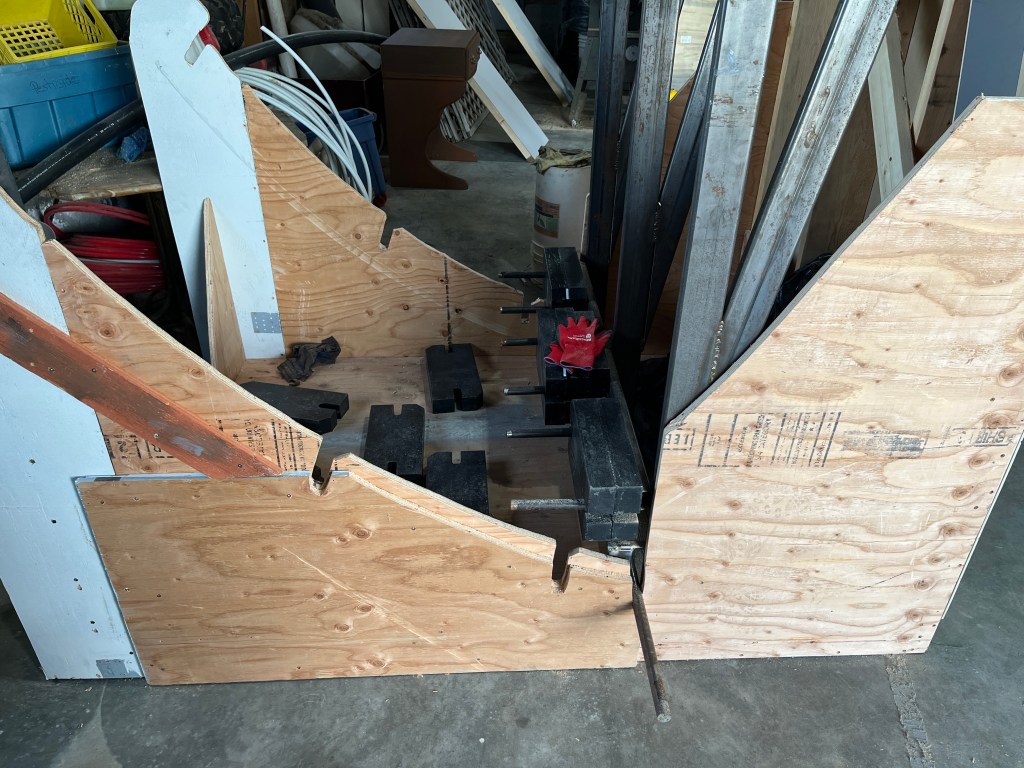
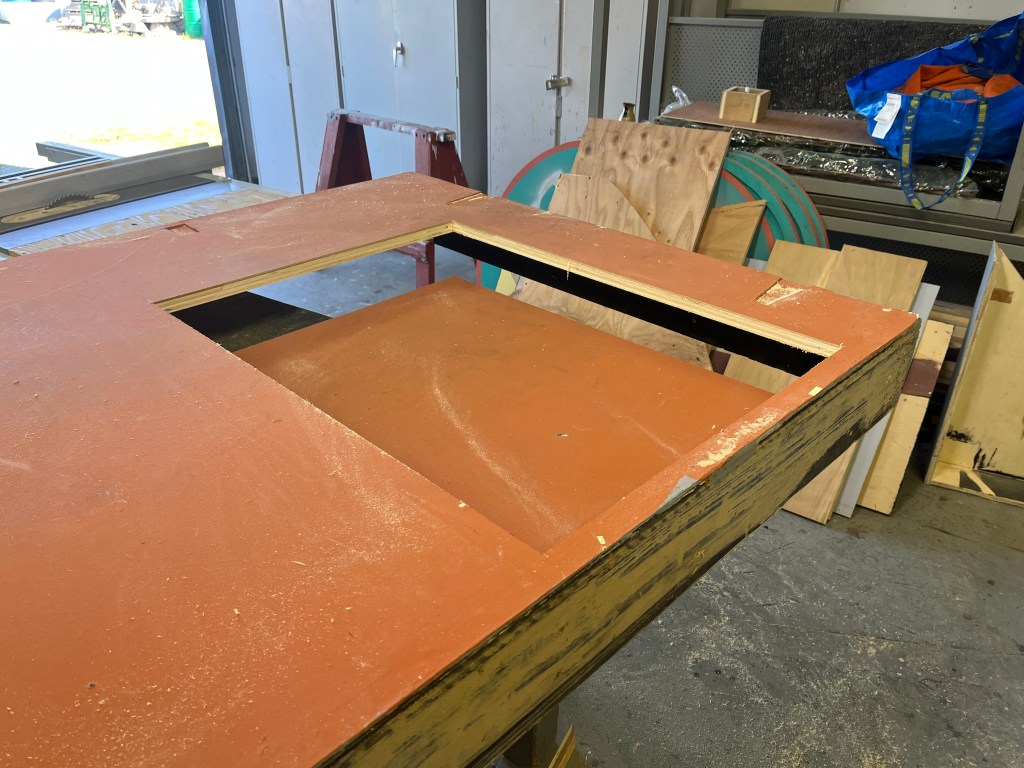
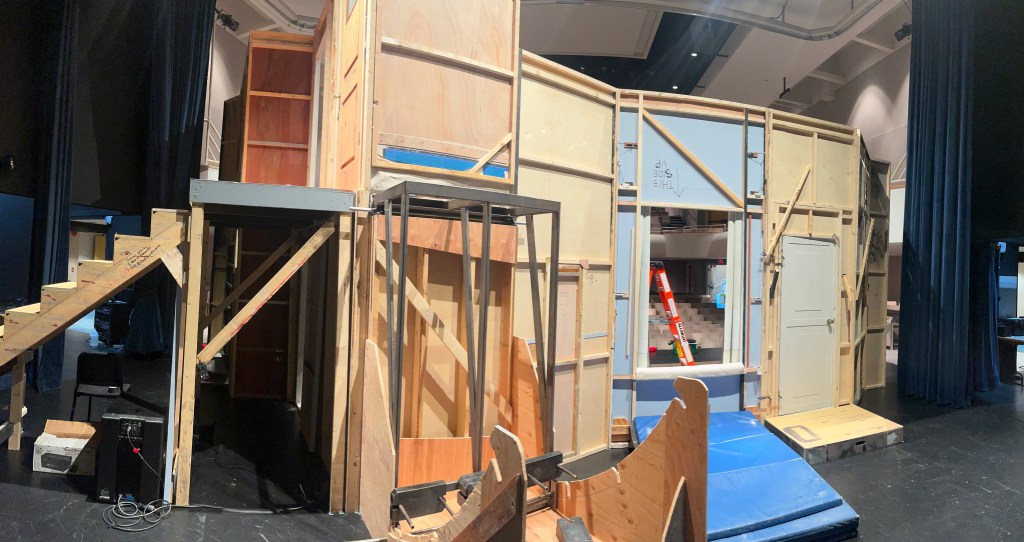
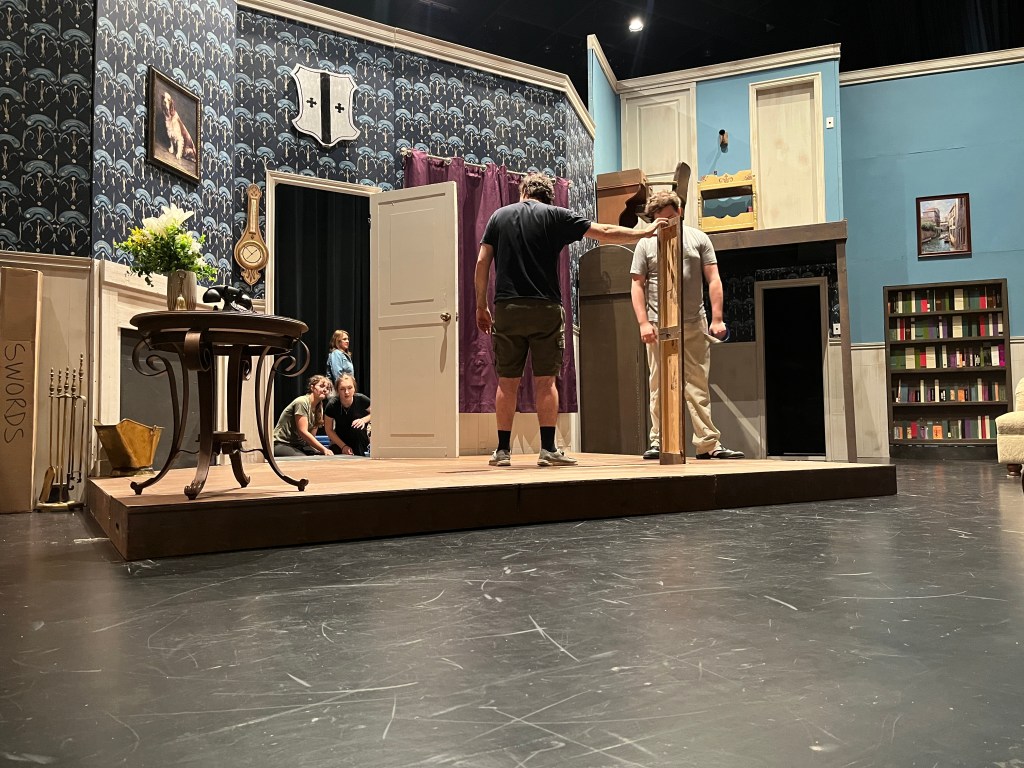
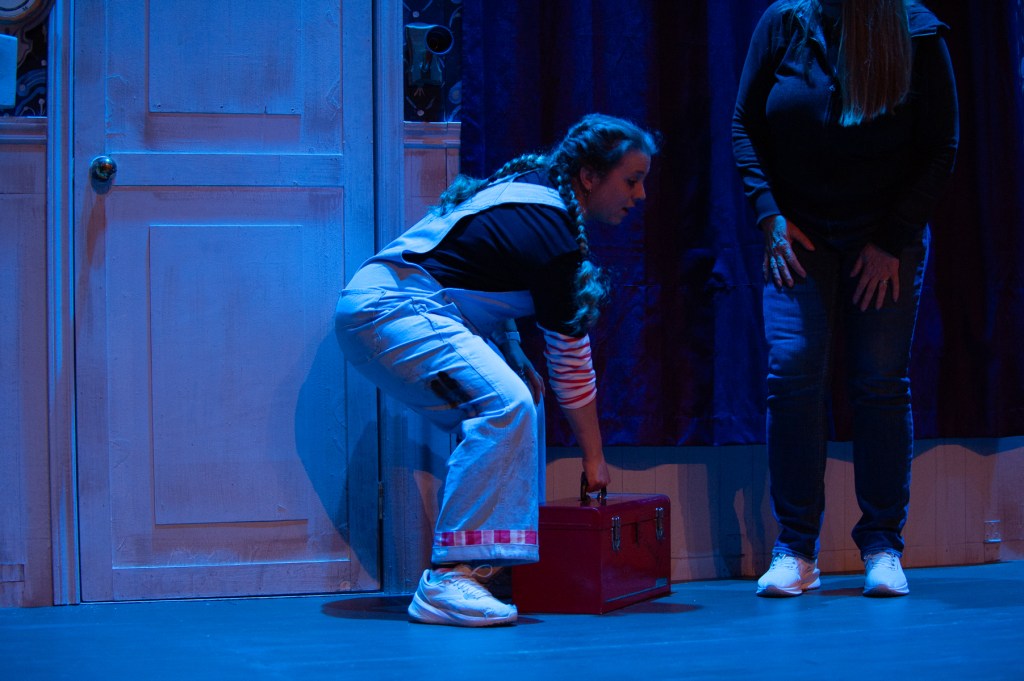
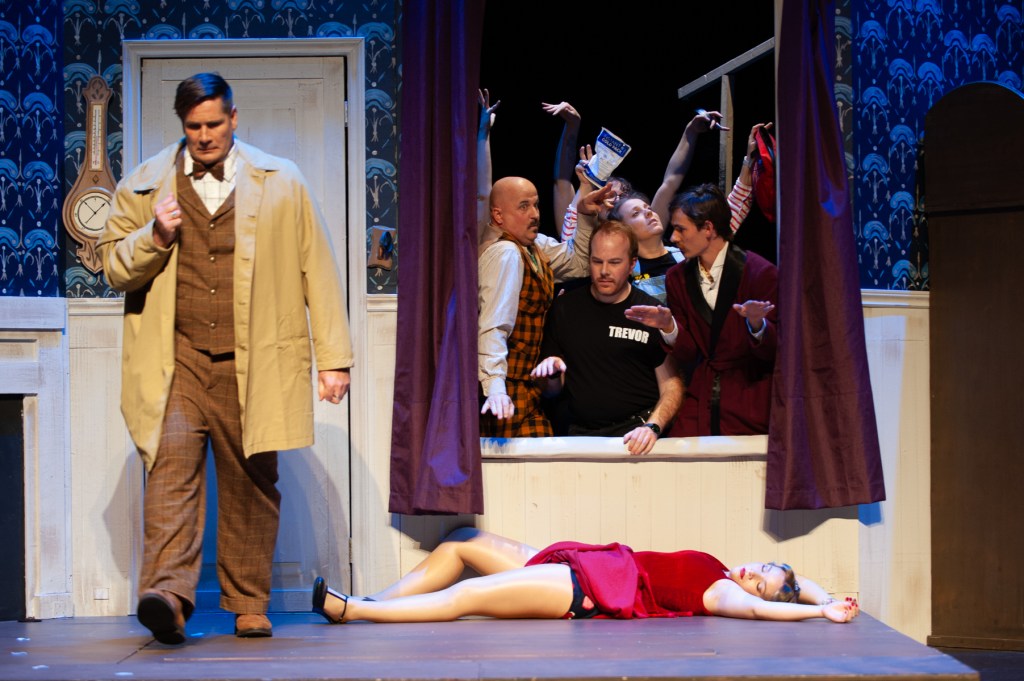
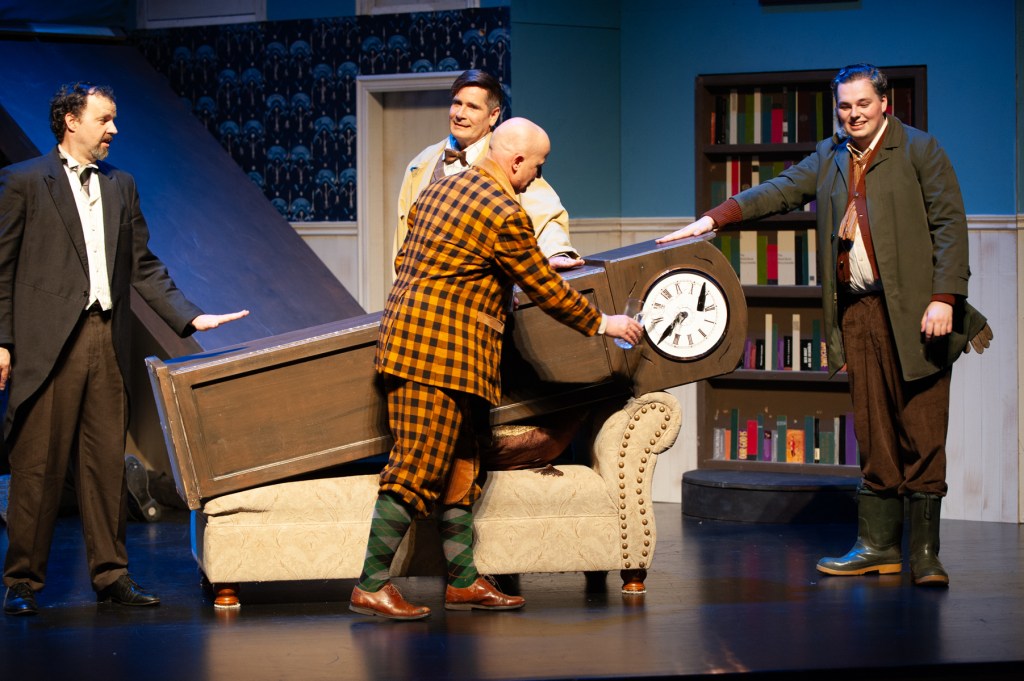
The Set Build of my career… that’s how I felt about this one. It took twice as long as the average large set build. Most of the first 2 weeks was me just scratching my head and trying to figure out how to do stuff, but eventually it started to come together!
Here are some photos of the build and a couple of the finished set. Other relevant credits: Set Design by Jeff K, directed by Kerri N, Lighting by Nigel B, props by Shannon T.
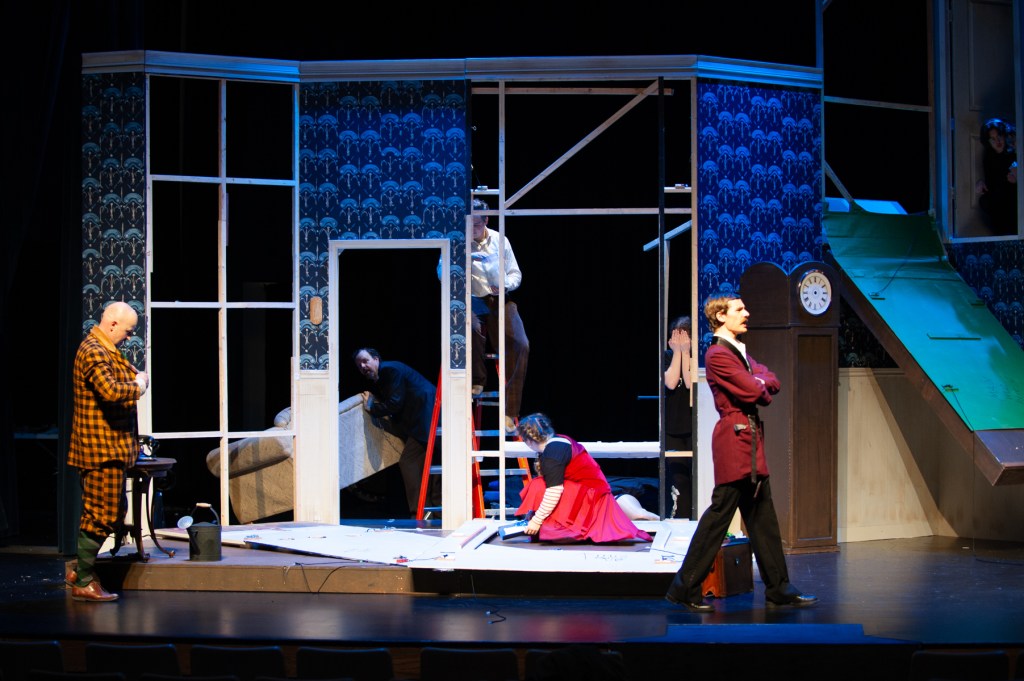
This was a large undertaking for our community theatre (Gallery 7 Theatre). There were a lot of considerations, such as not damaging our venue rental, and the fact that we had to strike during tech week for a council meeting, so we had to be able to disassemble things fairly easily. The designer, Jeff, gave me some sketches on graph paper and I plugged them into Sketchup to make sure everything would fit. He also made a great model for the actors to reference.
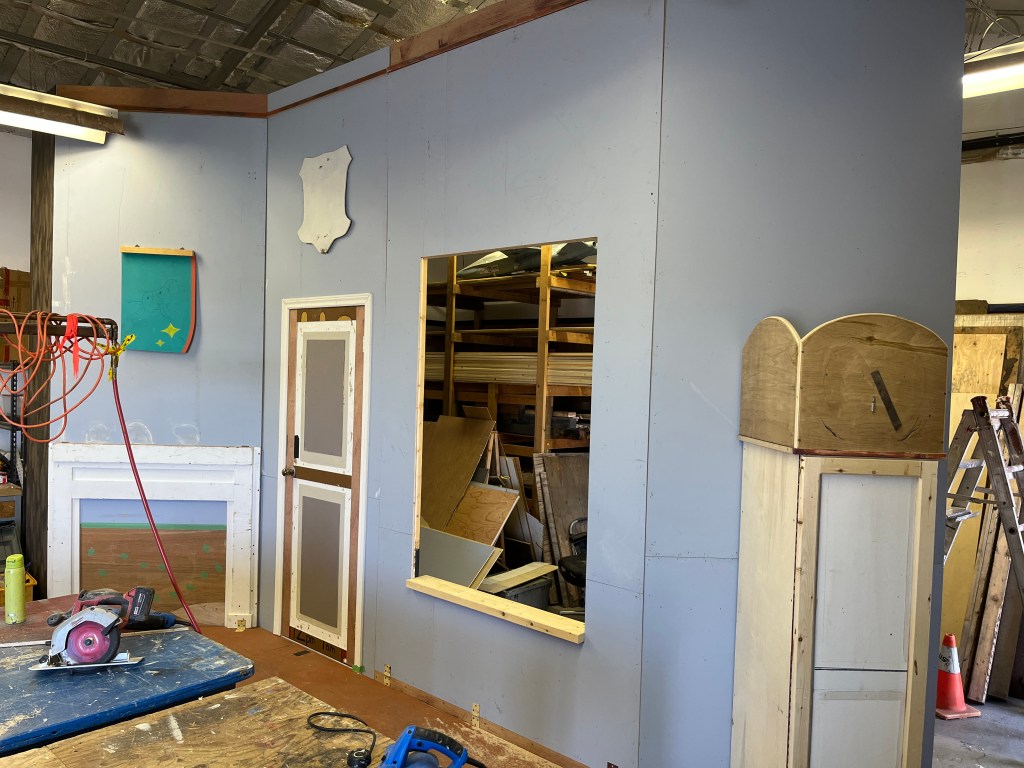
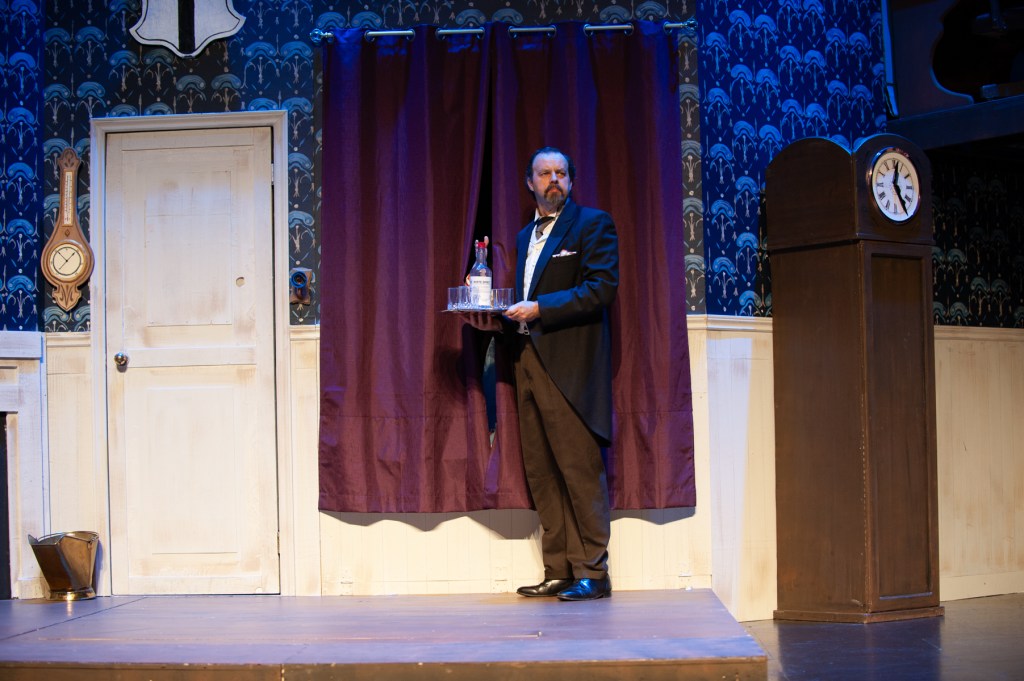
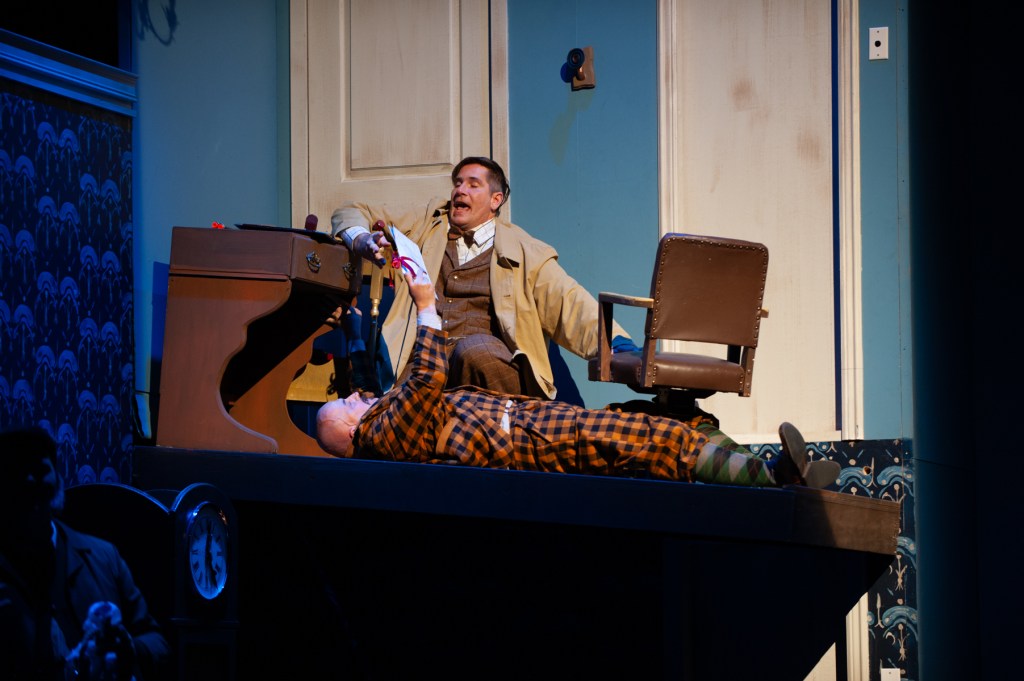
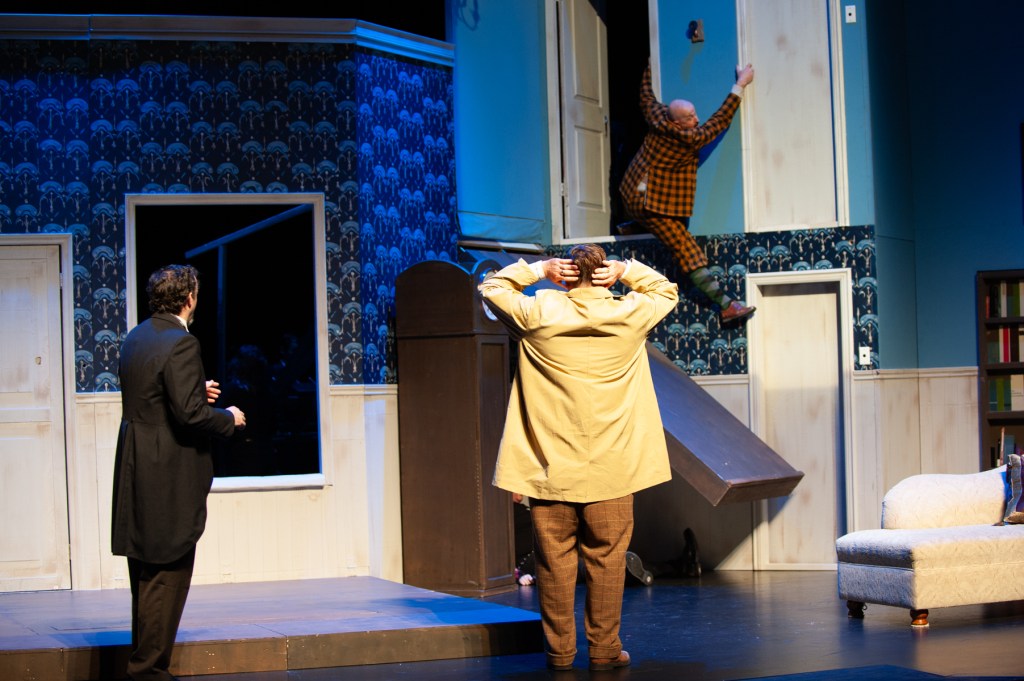
It still fell to me, however, to make everything work. I attended several rehearsals and provided some rehearsal set pieces such as a doorframe, clock, and chaise. Stage management was terrific at communicating needs such as which way a door would open to hit an actor, how high the windowsill should be, etc.
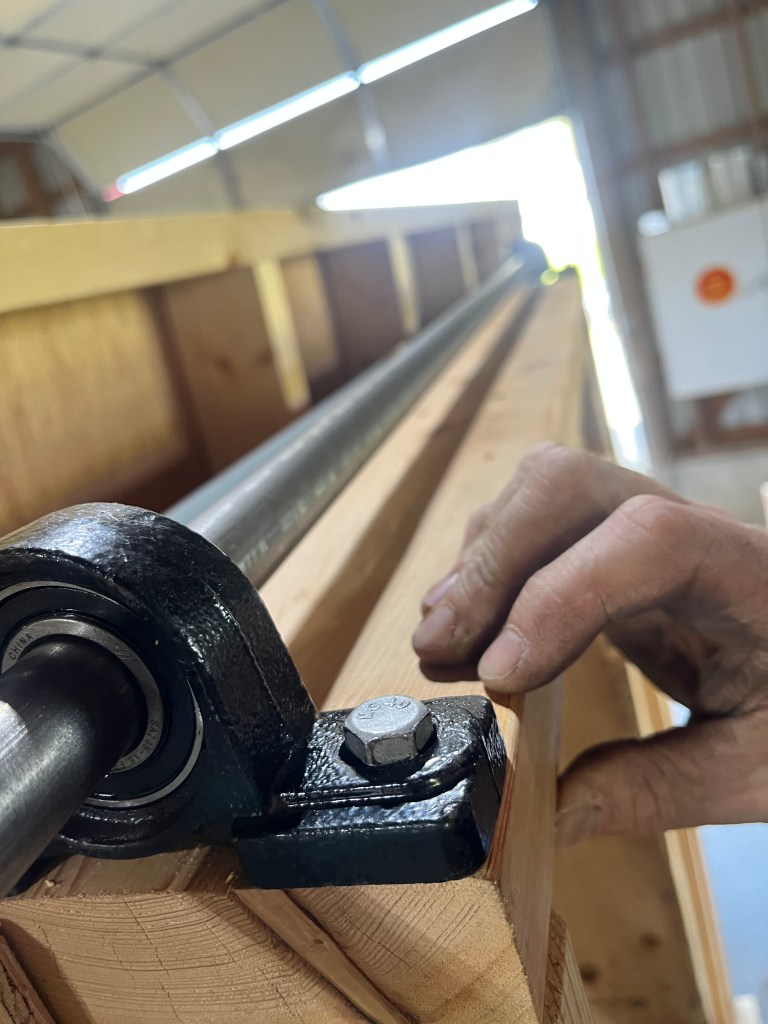
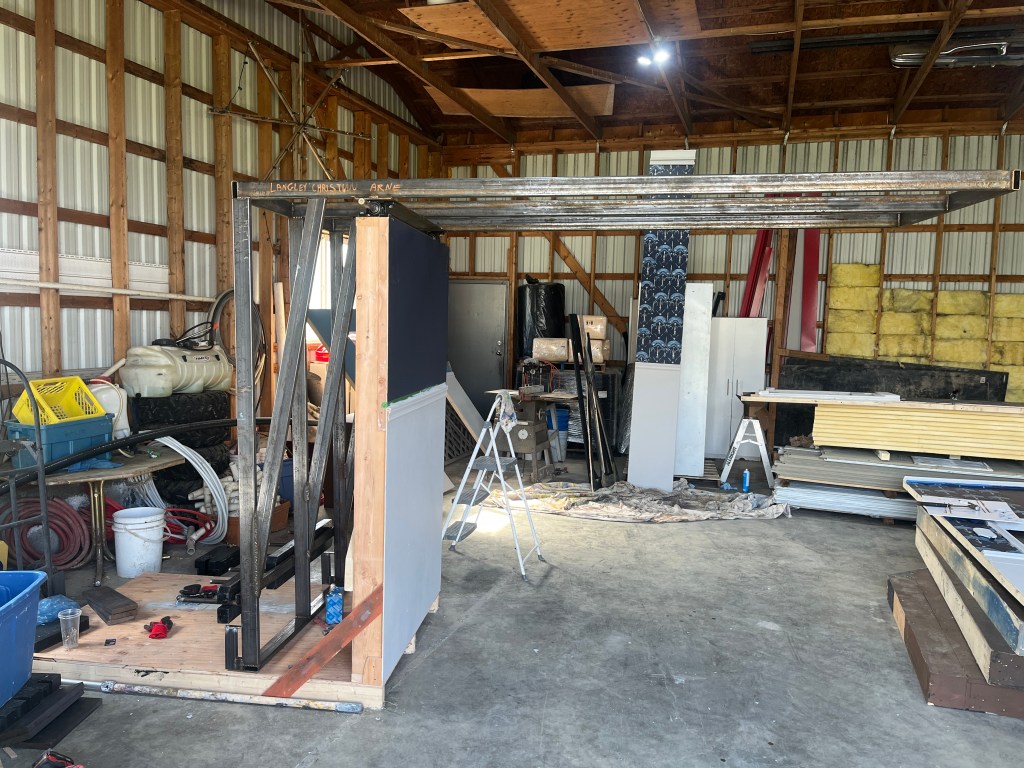
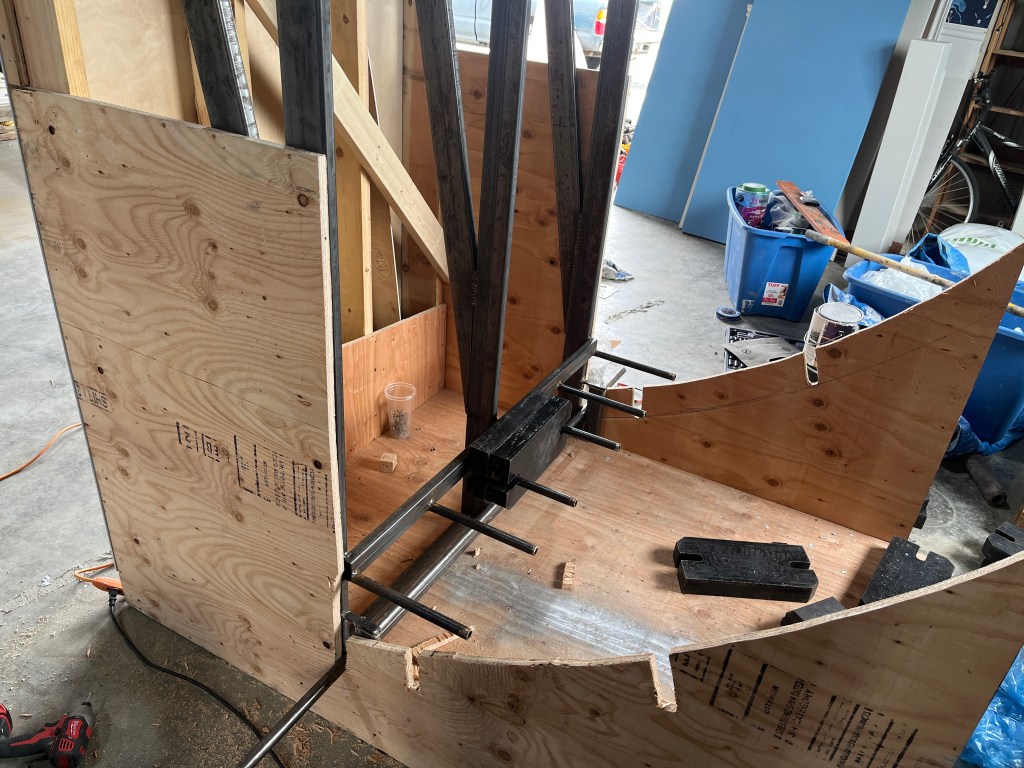
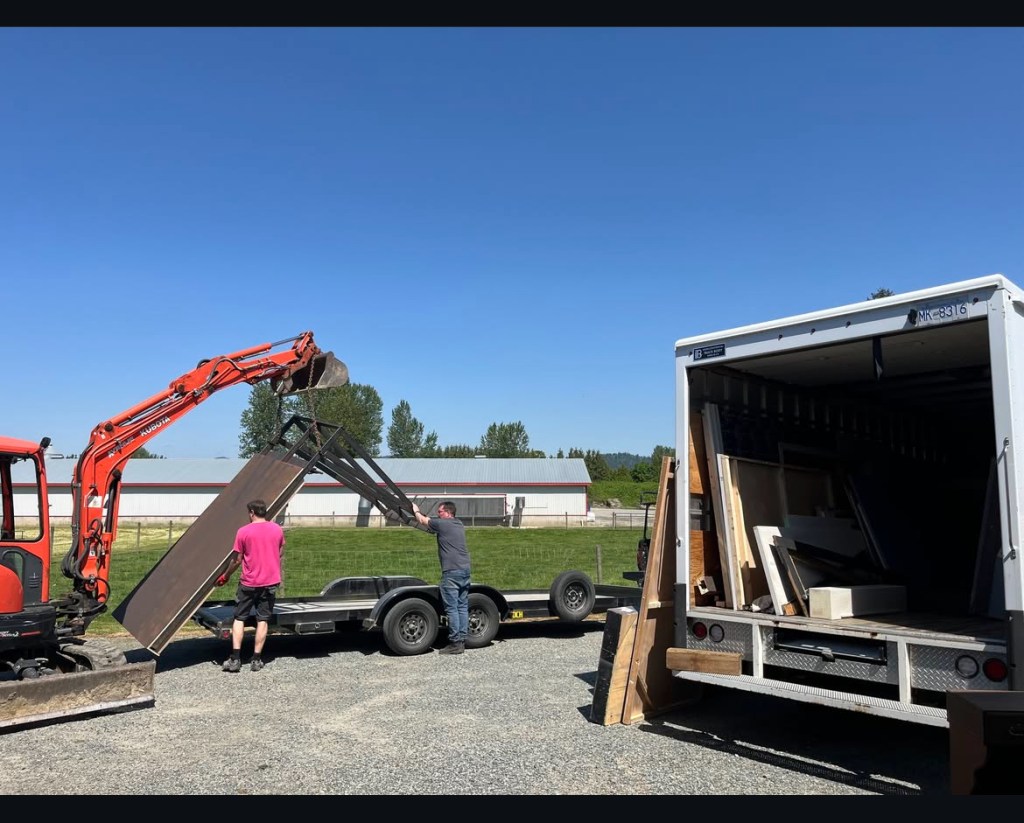
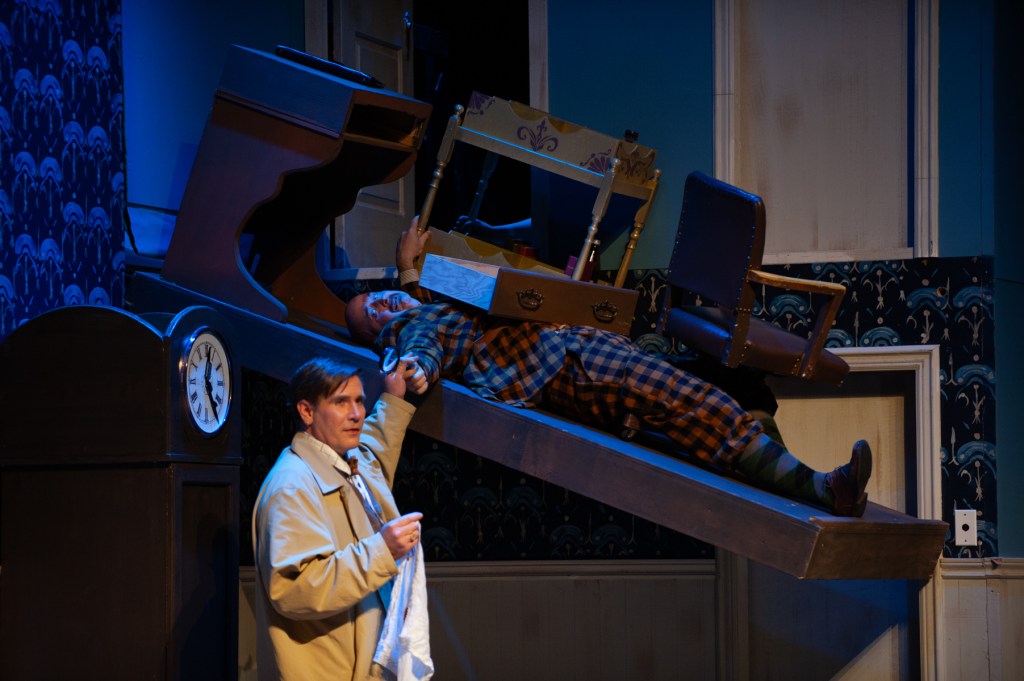
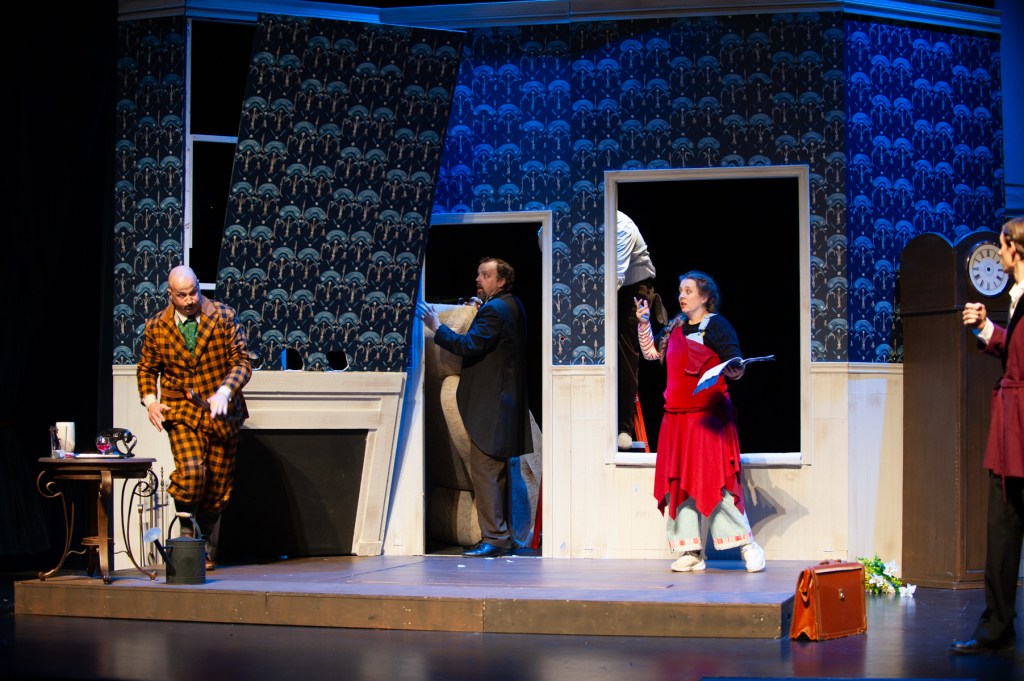
Another challenge was the platform that falls. Gallery 7 put out a call and found a great welder, Arne L, who volunteered his time to design a steel structure using basic measurements and youtube videos that I sent him. He gave me the costs for steel and based on that we were able to request a slightly bigger set materials budget.
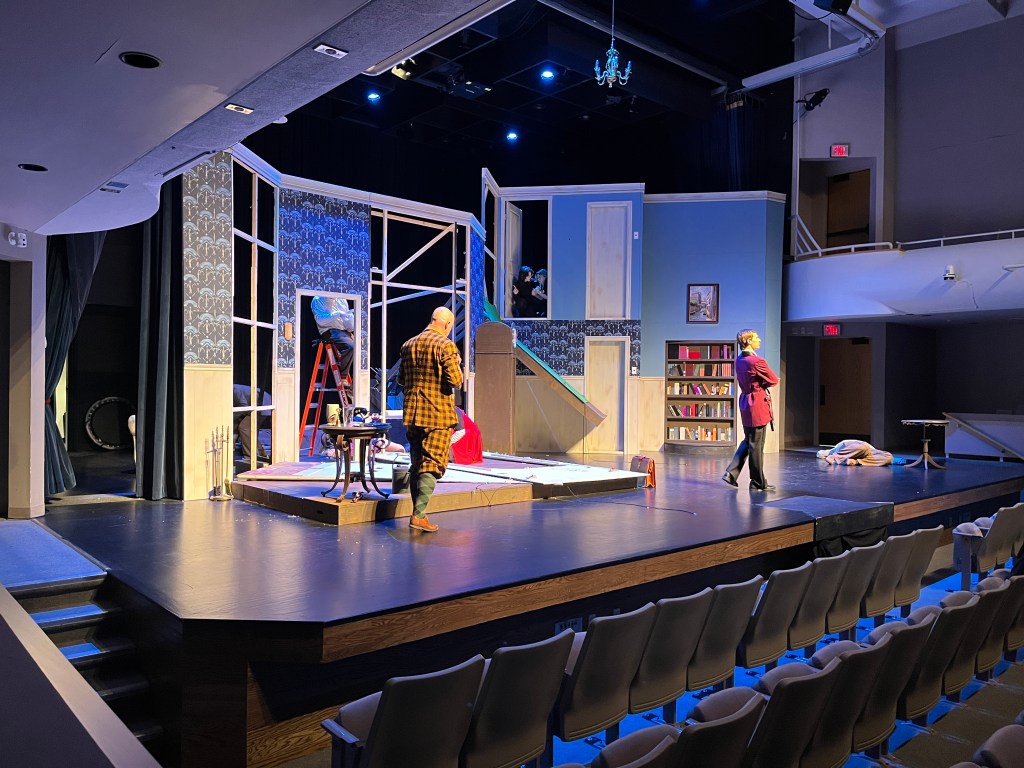
Here are a bunch of photos of the build!
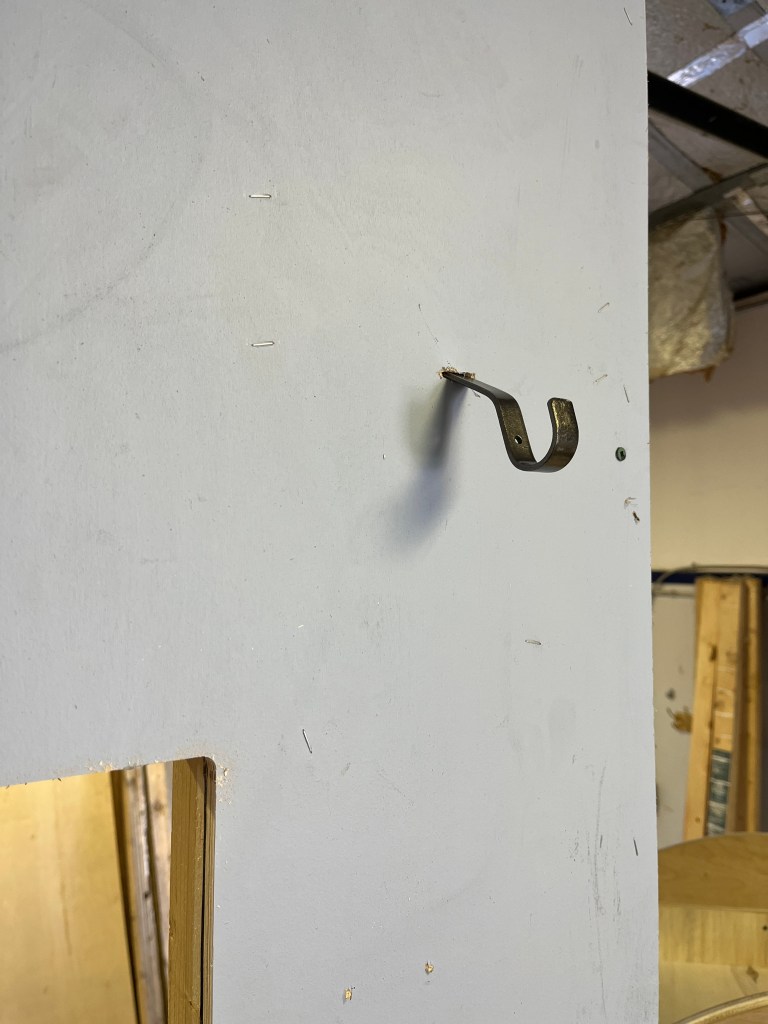
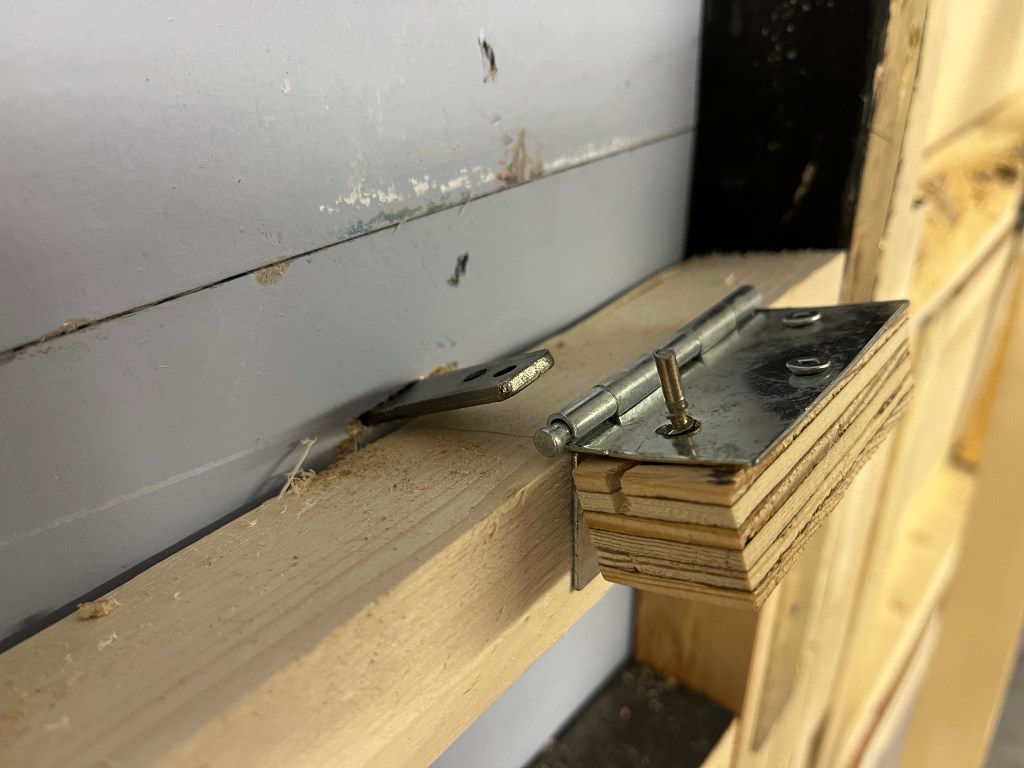
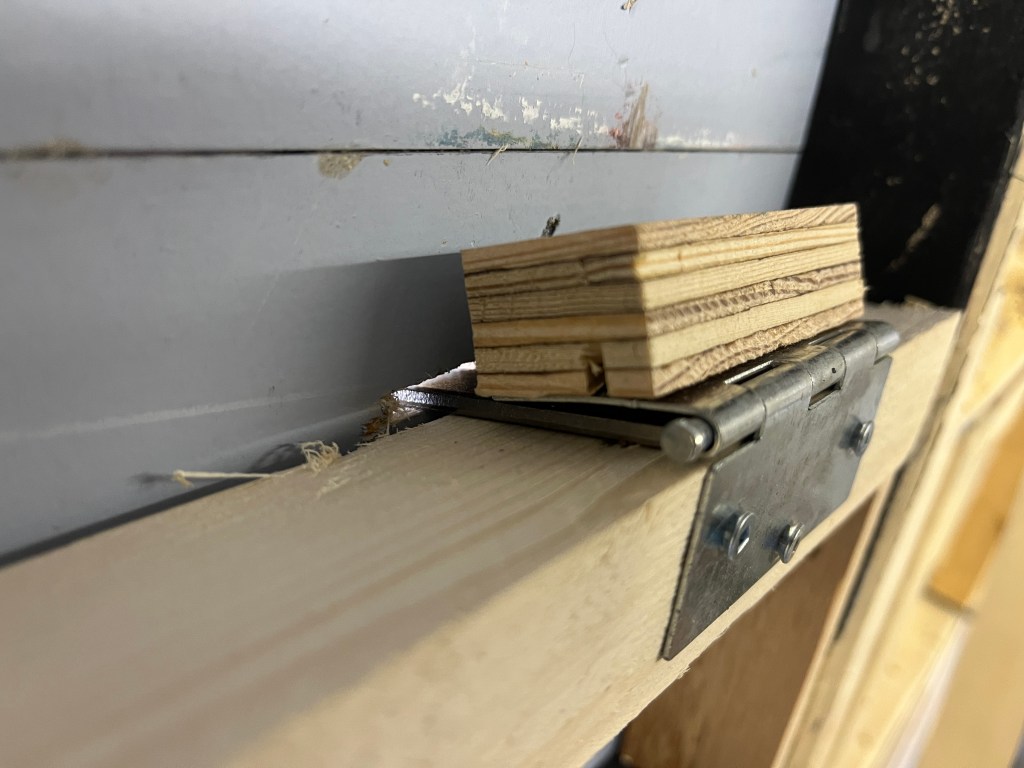
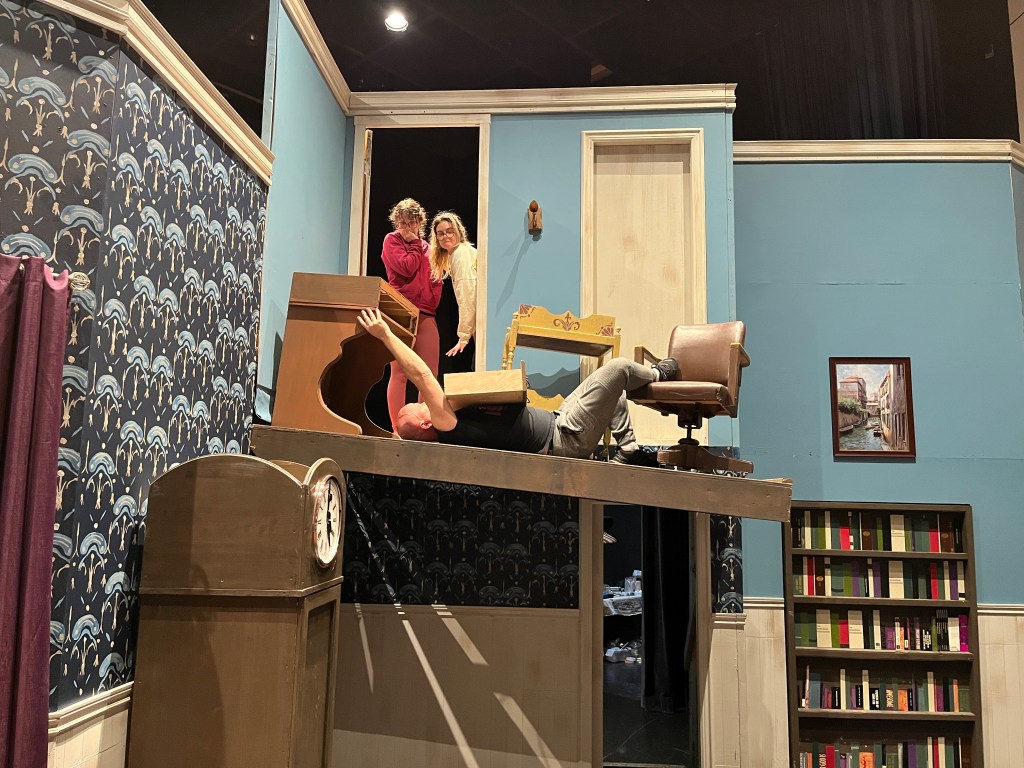
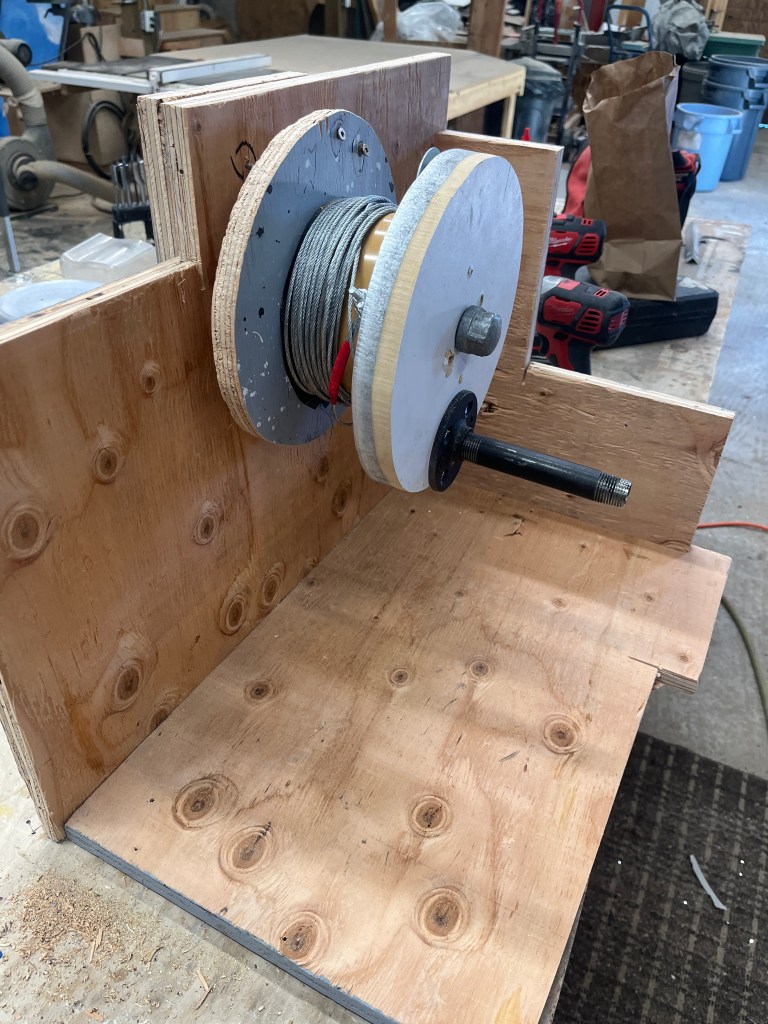
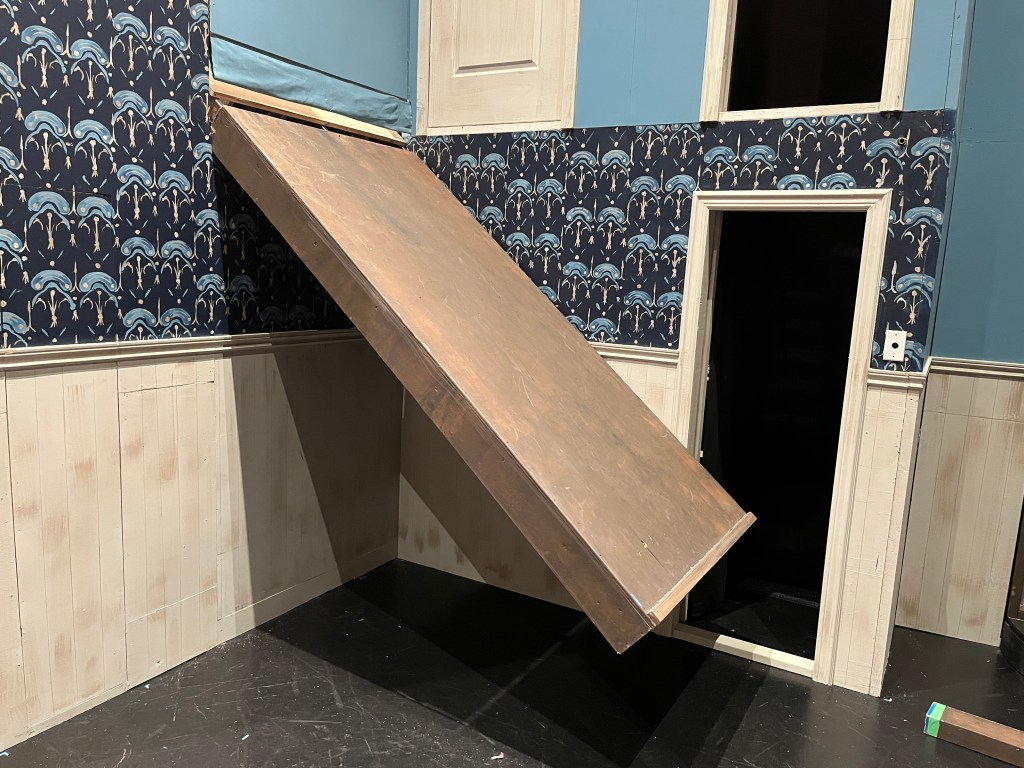
Here is how I made the curtain bar fall – no magnets – just hinges, pins, and gravity. It worked pretty well overall, although not exactly perfectly!
I don’t want to give away too many more secrets, but here are some more things!
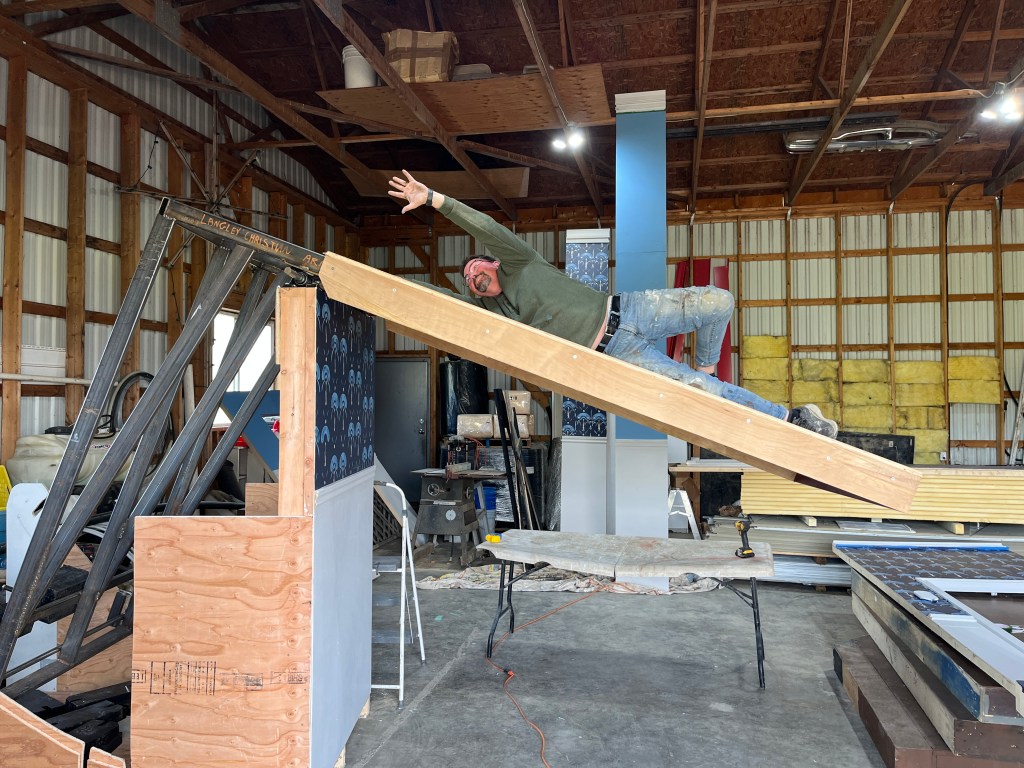
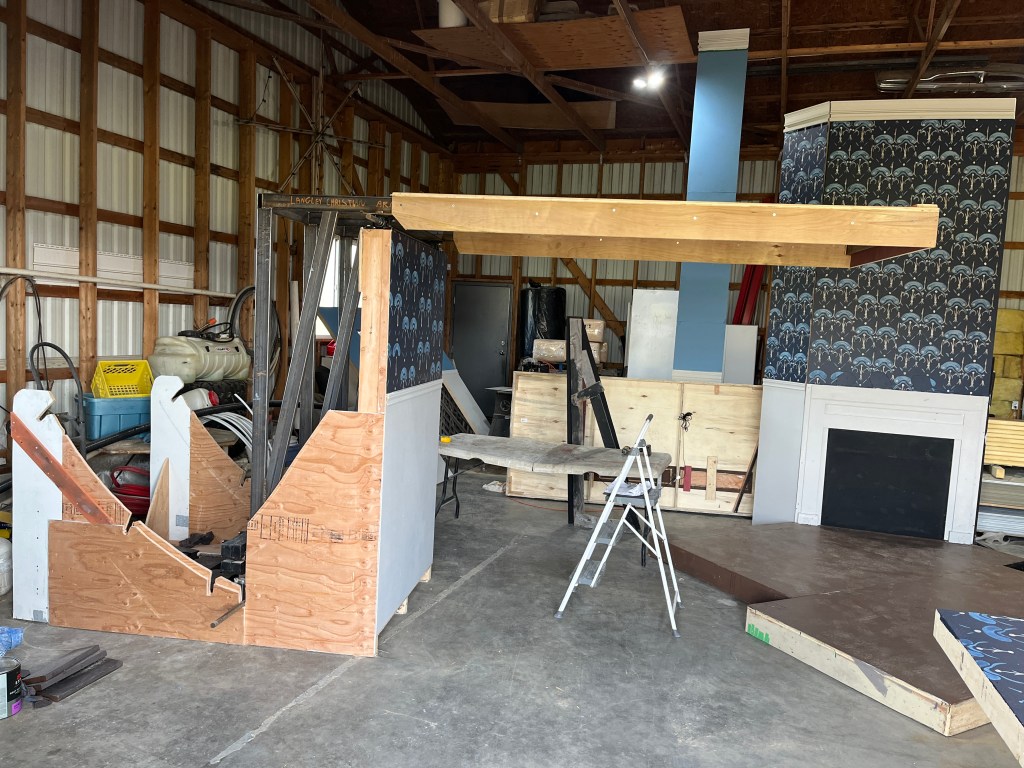
At some point we moved everything to a larger shop to paint, and also test some things:
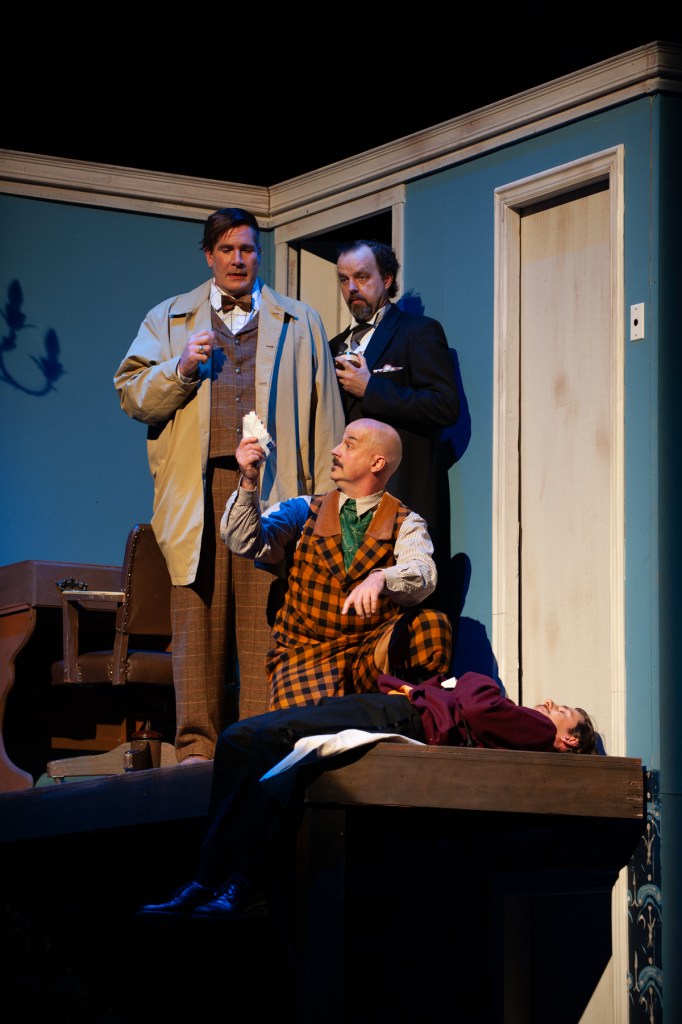
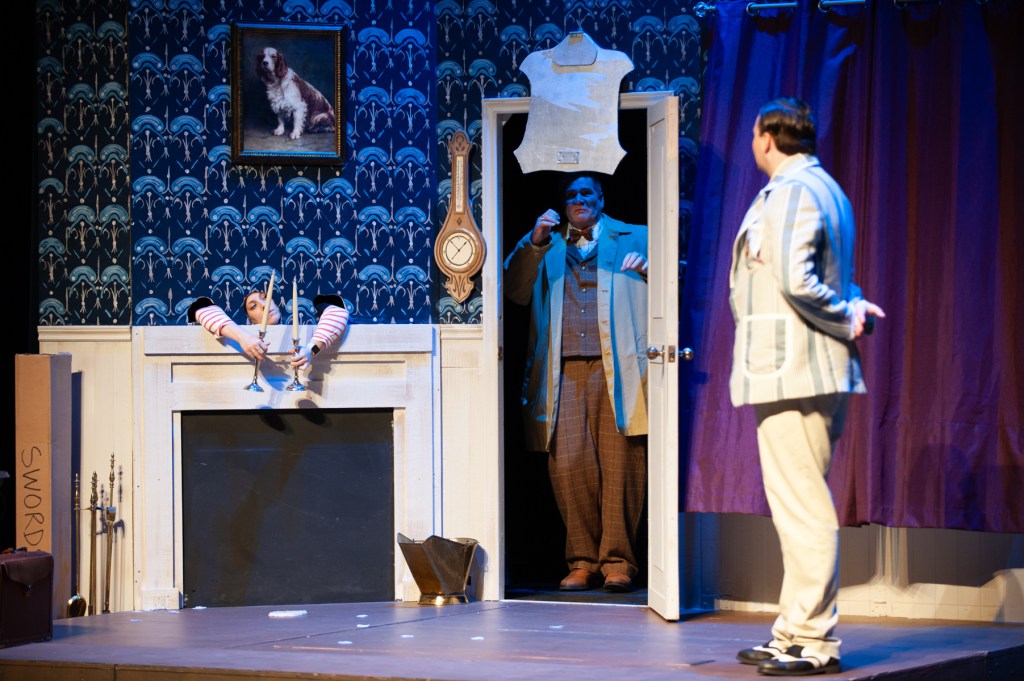
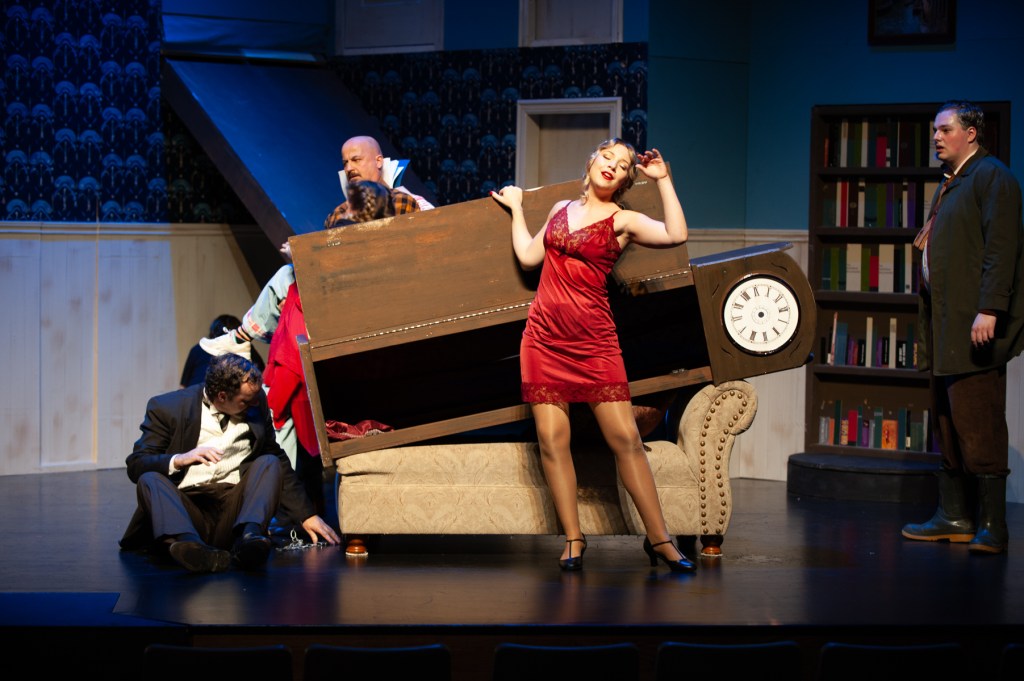
And then we loaded the whole thing into the venue and held our breath while the actors started to play!
It was an intensive tech week while we figured out how to weight the platform, get all the tricks to work at once (there were 2 actor ASMs plus 3 actual ASMs), and fix all the things that kept breaking. So glad it worked well, had a successful run, and no one got (seriously) injured!! What a ride!
The following photos are official Gallery 7 rehearsal photos by Dianna Lewis. They are copyrighted and may not be edited or distributed without permission. Enjoy!
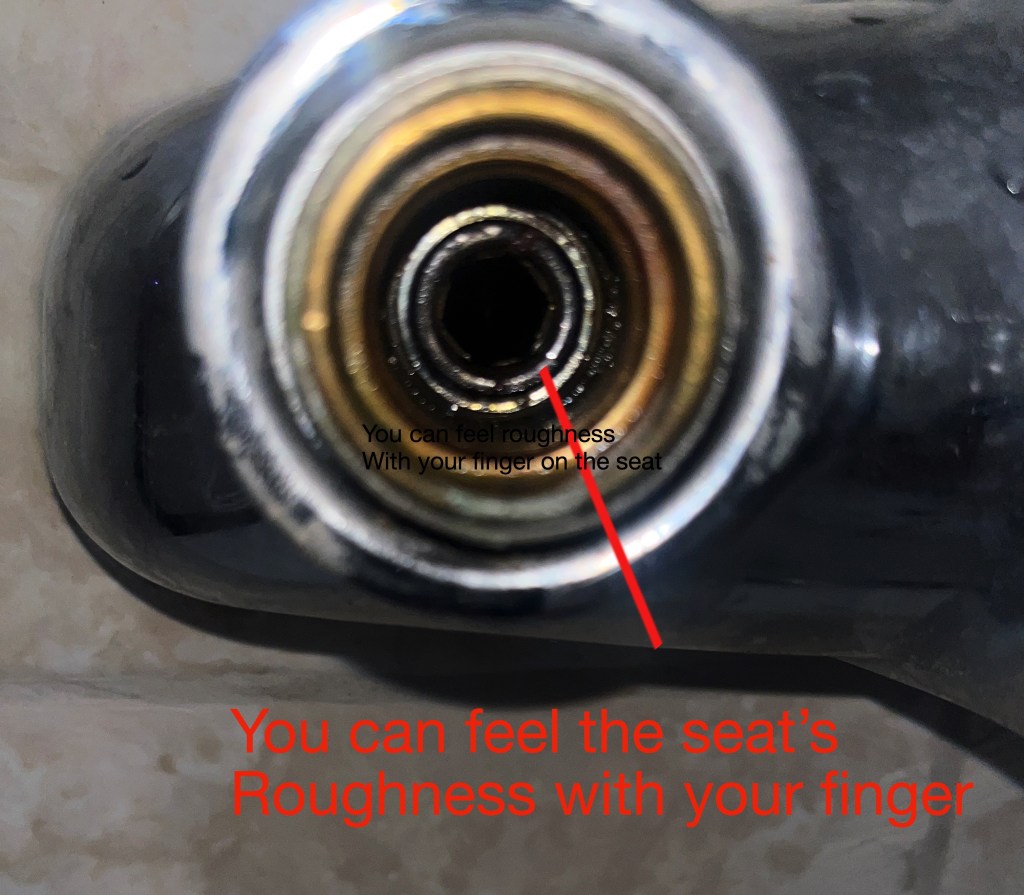
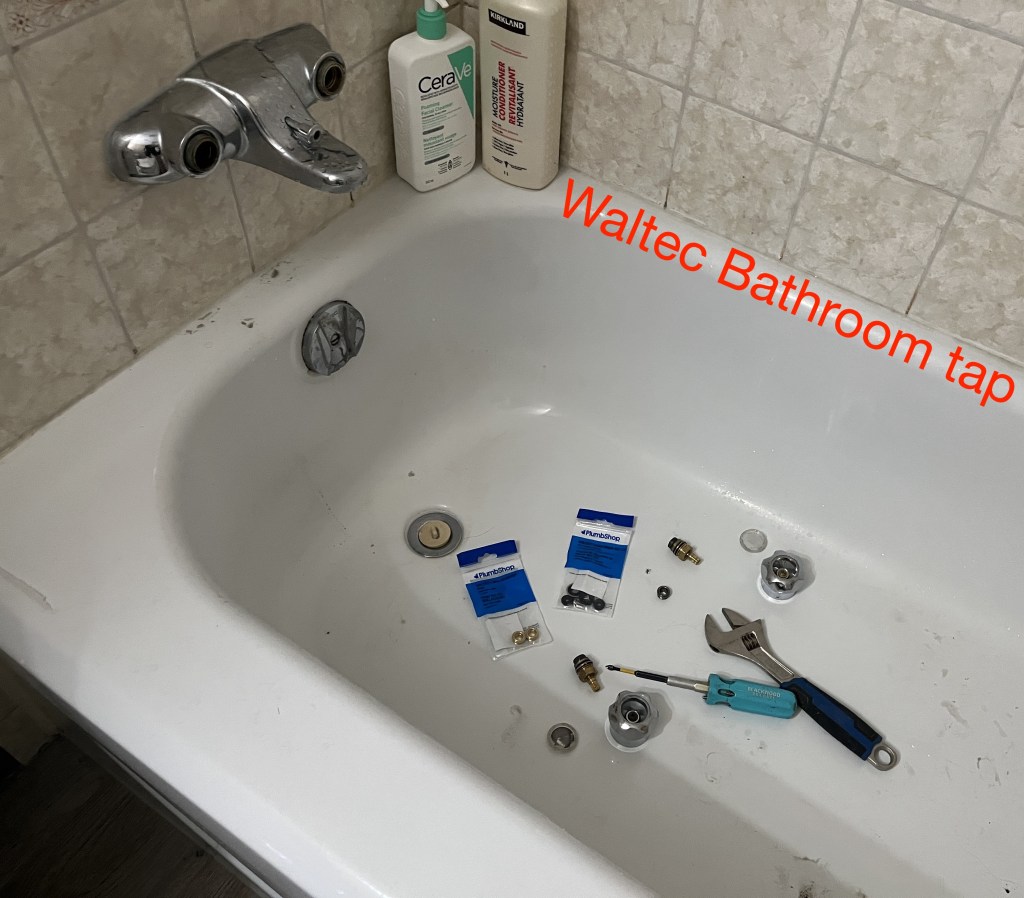
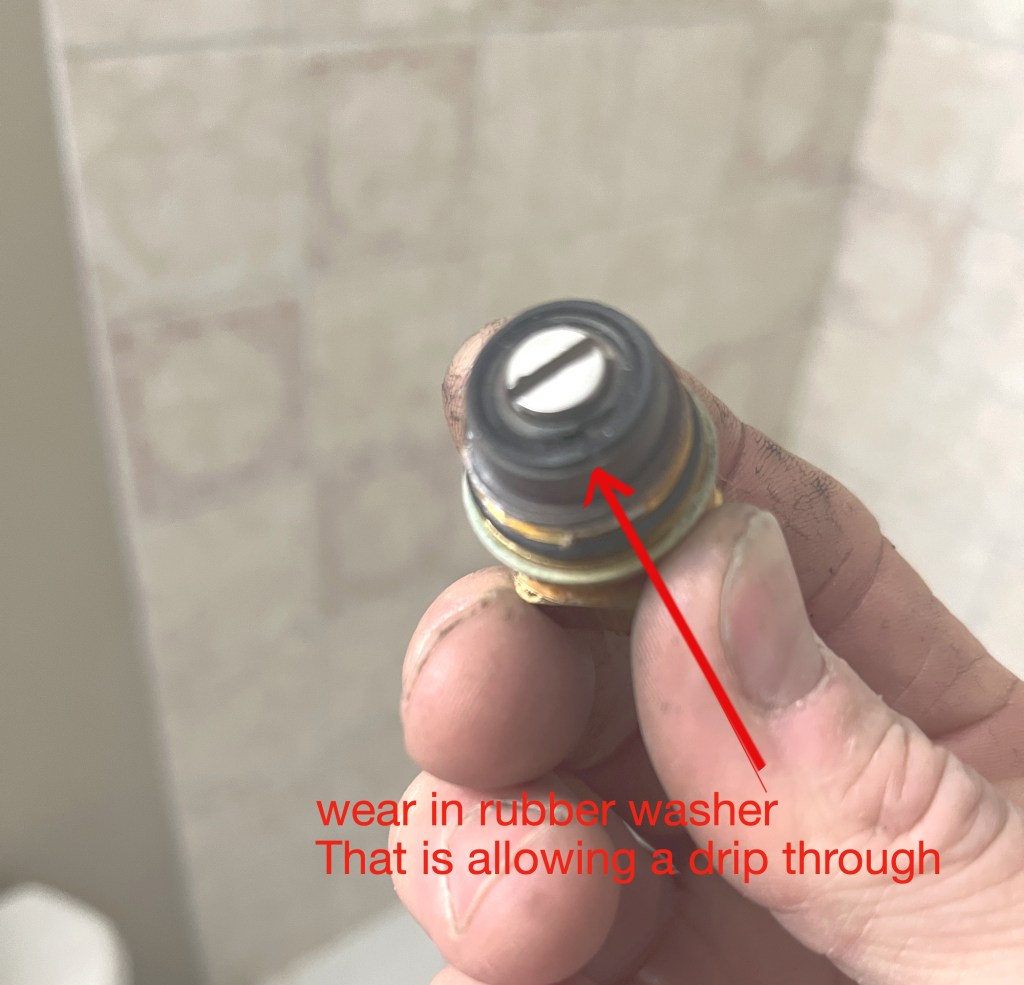
I am not a plumber and this is not intended to be plumbing advice, however I think it warrants a PSA – Public Service Announcement. Do you have a Waltec bath wall tap and you’ve looked at Youtube videos, changed the seals, O-rings, washers, etc, maybe the cartridges? And it’s great for a few weeks and then… drip… drip… drip…? I learned today there is another part to check, which is the “seats.” If they are rough, they scratch up those new beautiful rubber washers you put in last time.
Also, if you can’t get the seat out – what worked for me finally was WD-40, plus a piece of ice stuck in there, plus a breaker bar on my 5/16 allen key. Luckily the whole tap didn’t break, because that thing was very stuck!
I bought the seats for $3.99 at Canadian Tire. Ah… the drip has stopped again! 🙂
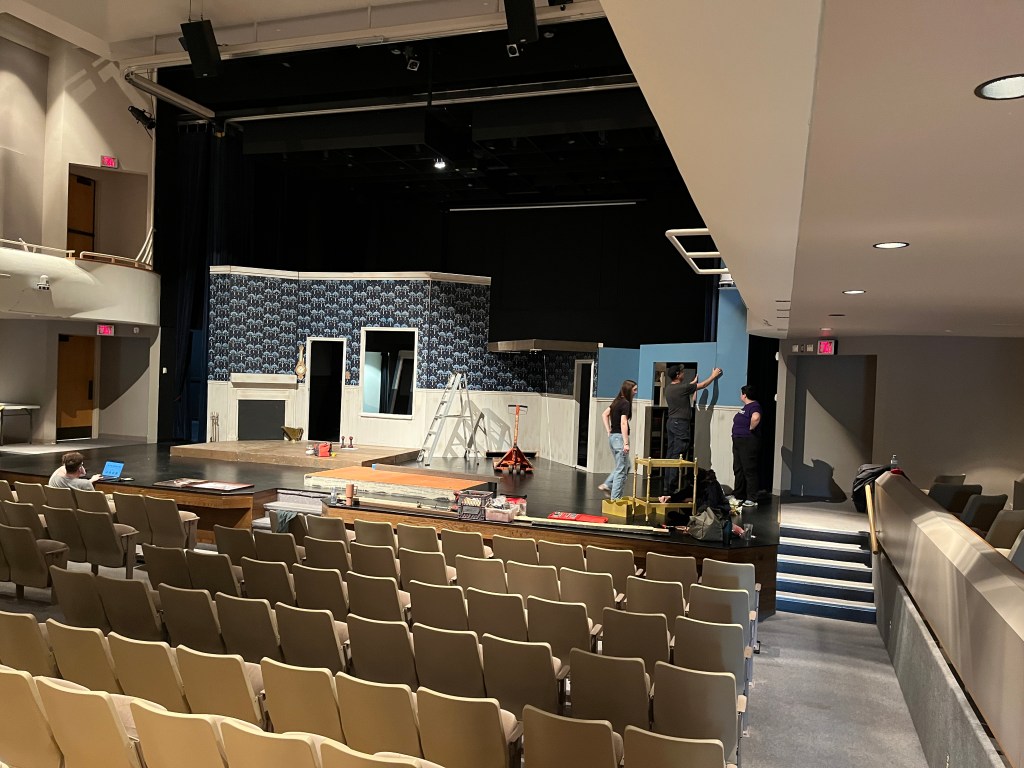
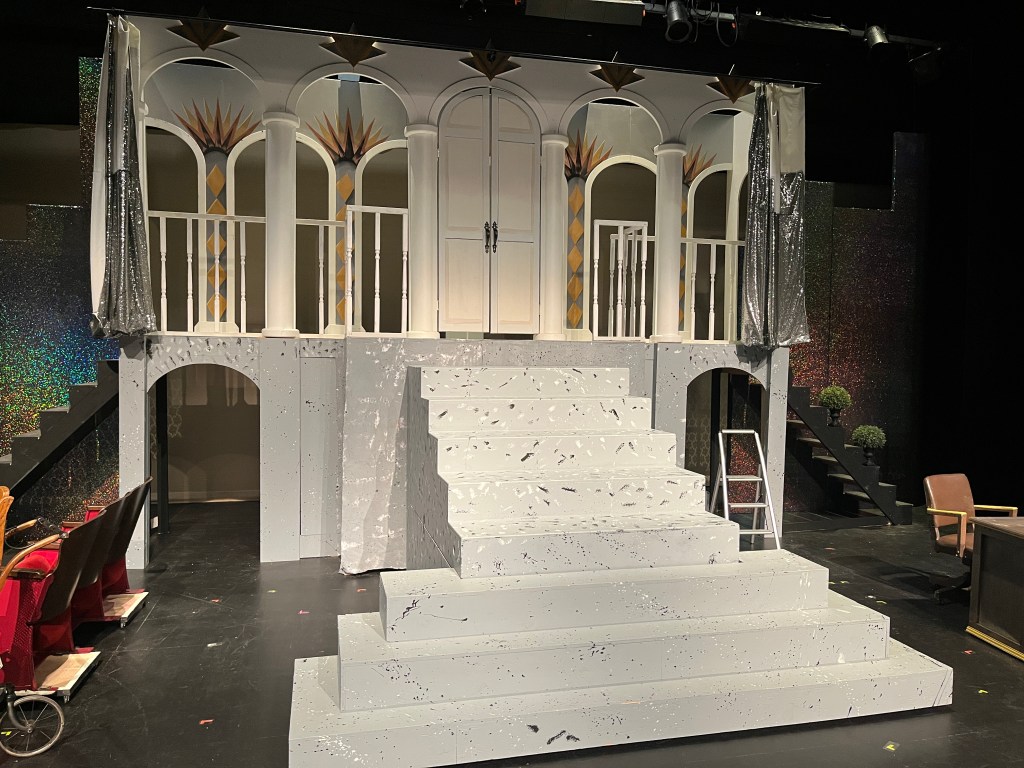
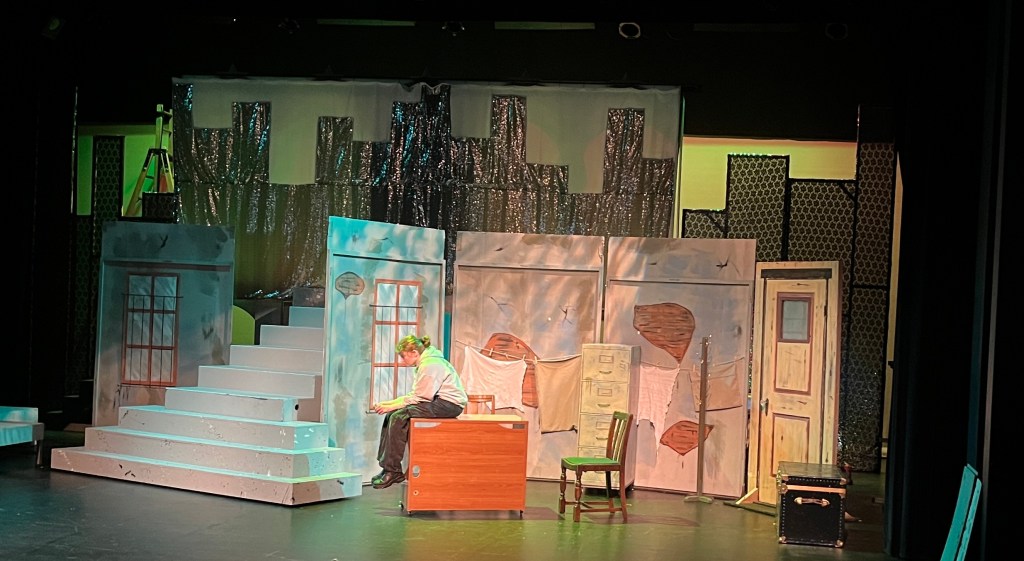
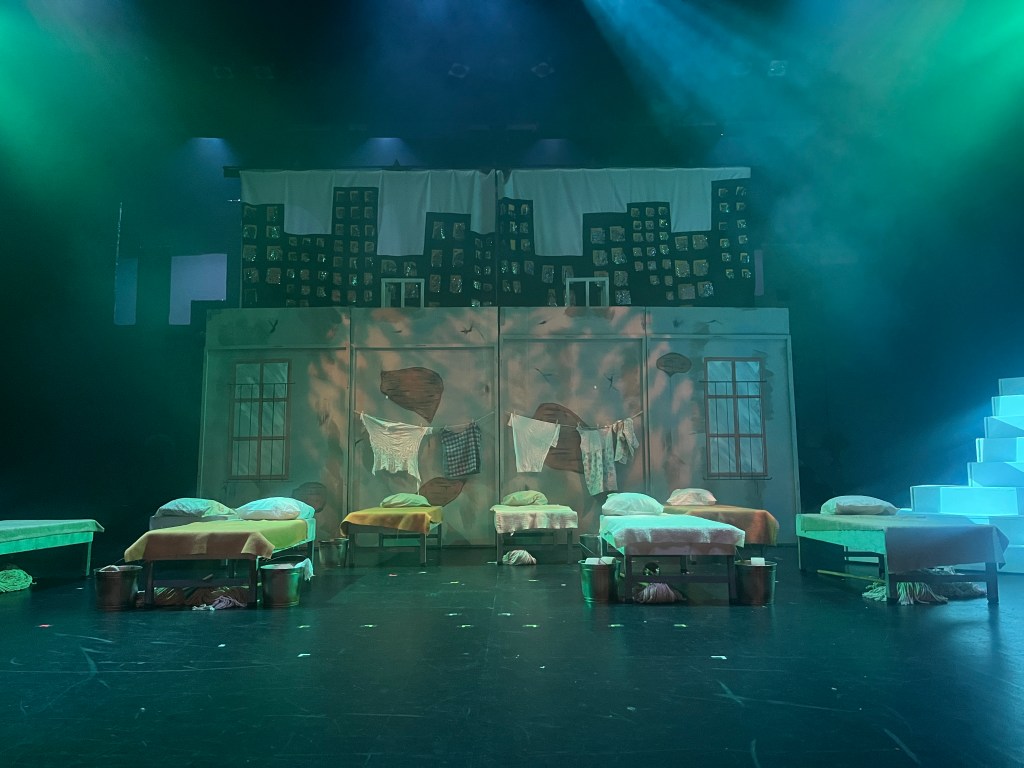
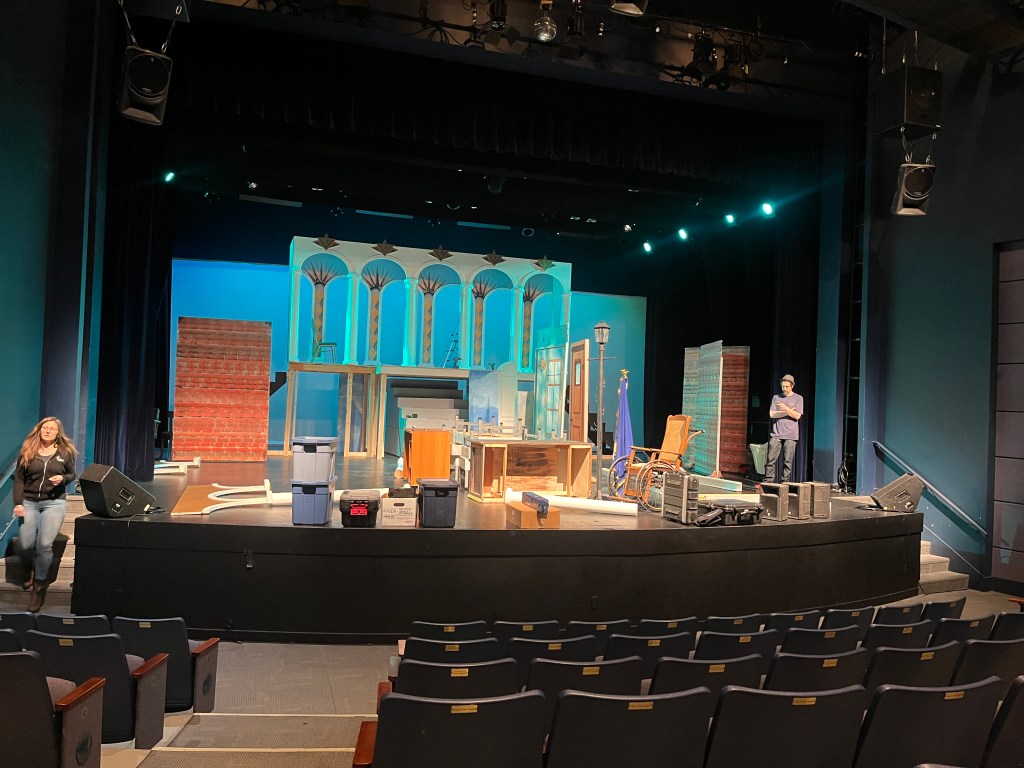
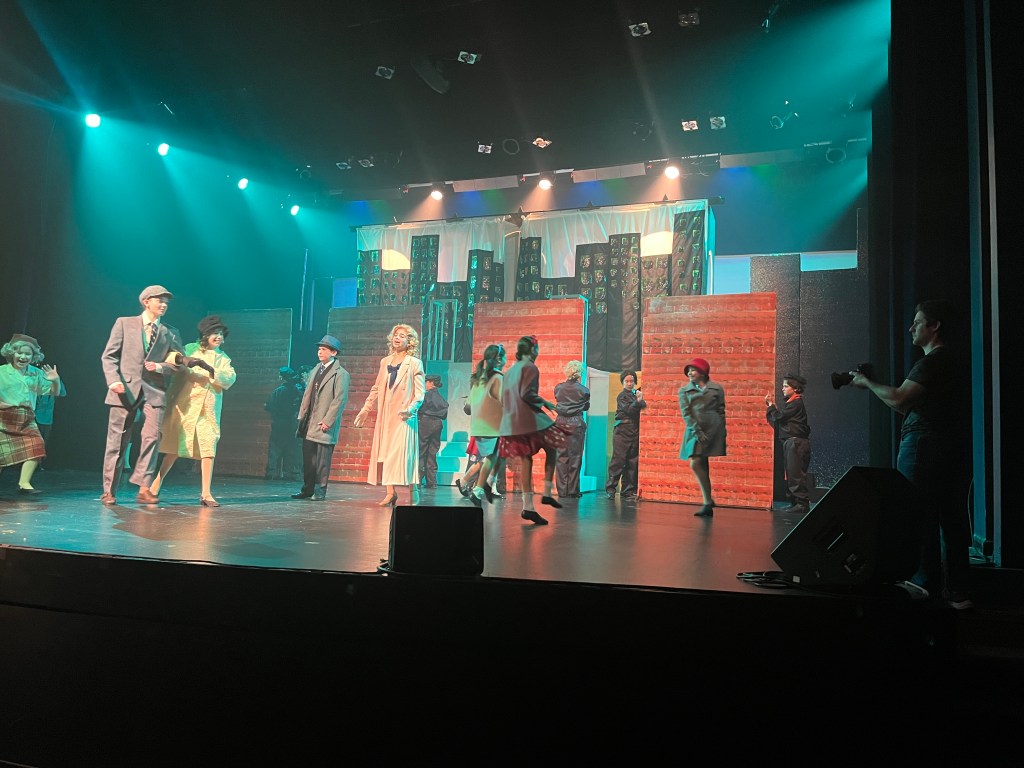
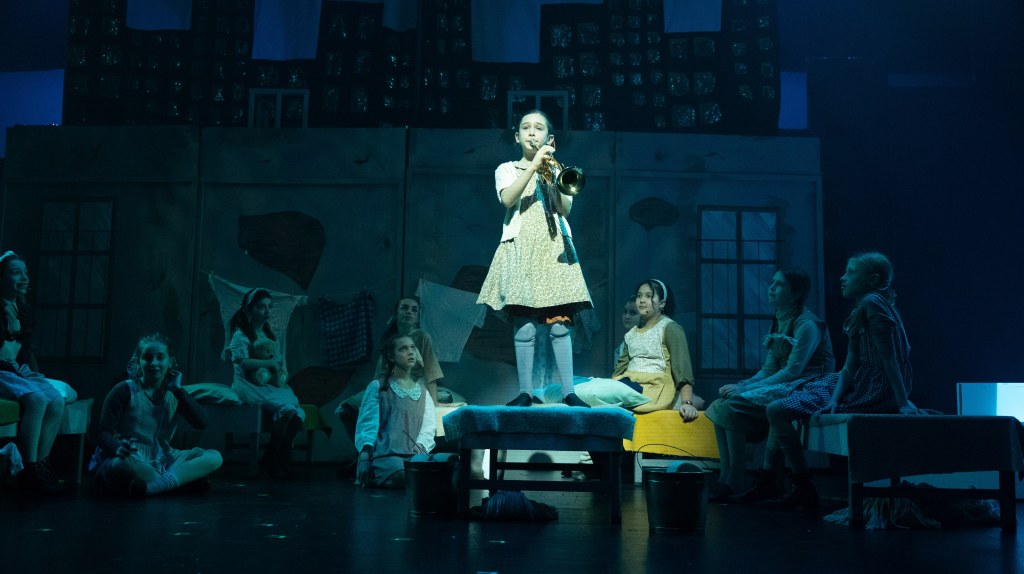
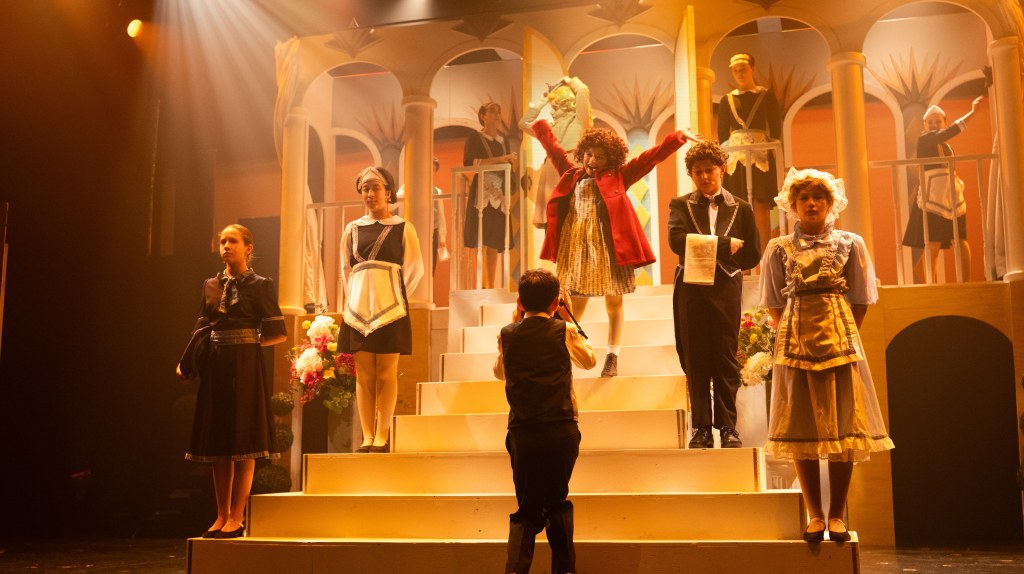
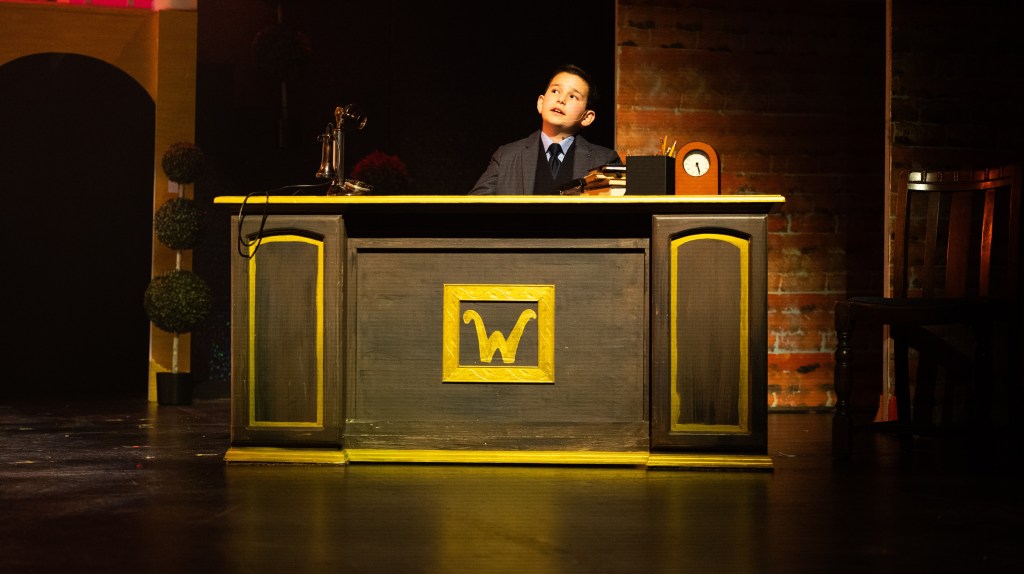
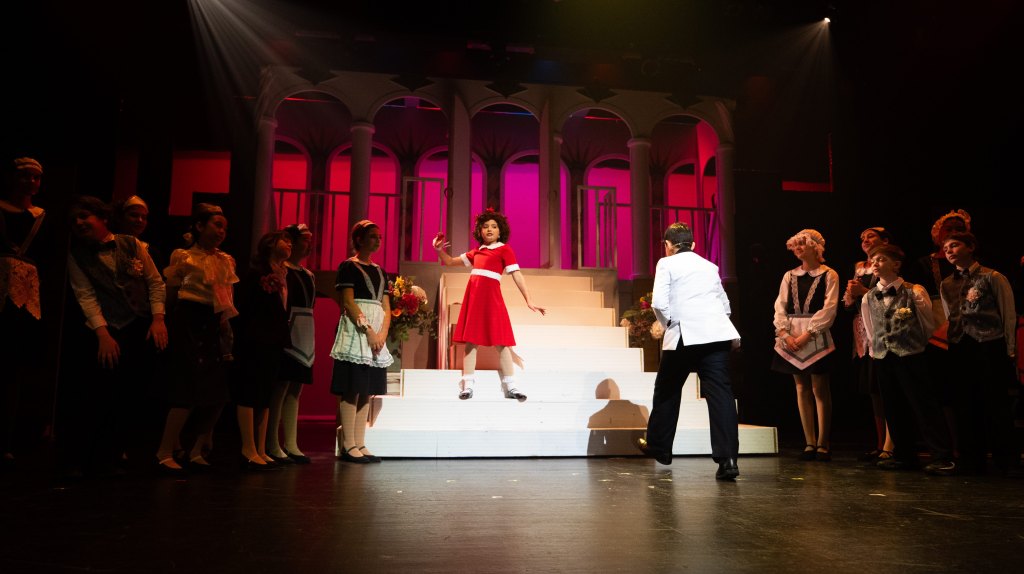
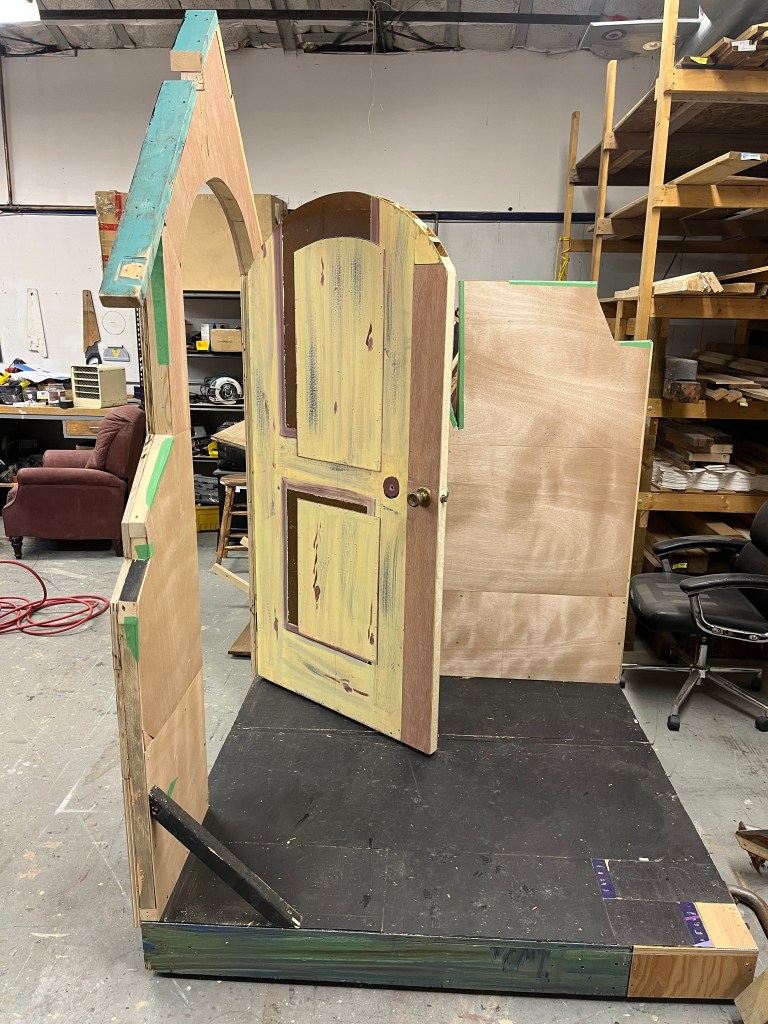
VTT produced the musical Annie Jr. at the beginning of April. I was contracted to design and build the set. (Credits: Dir. K. Smith, Lights V. Bell, Costumes L. Meyers)
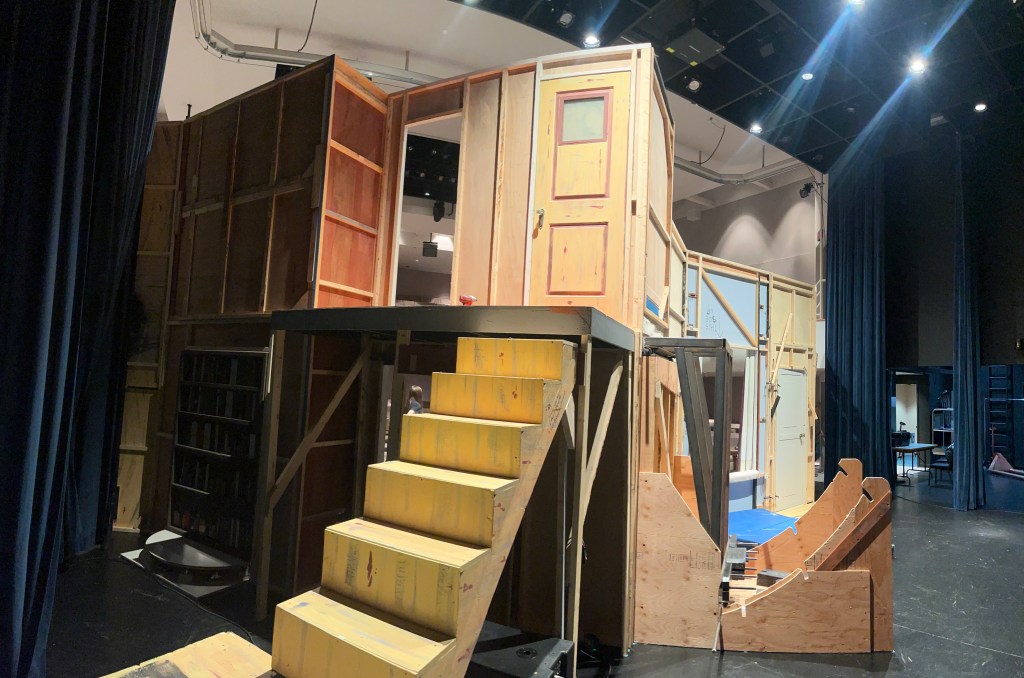
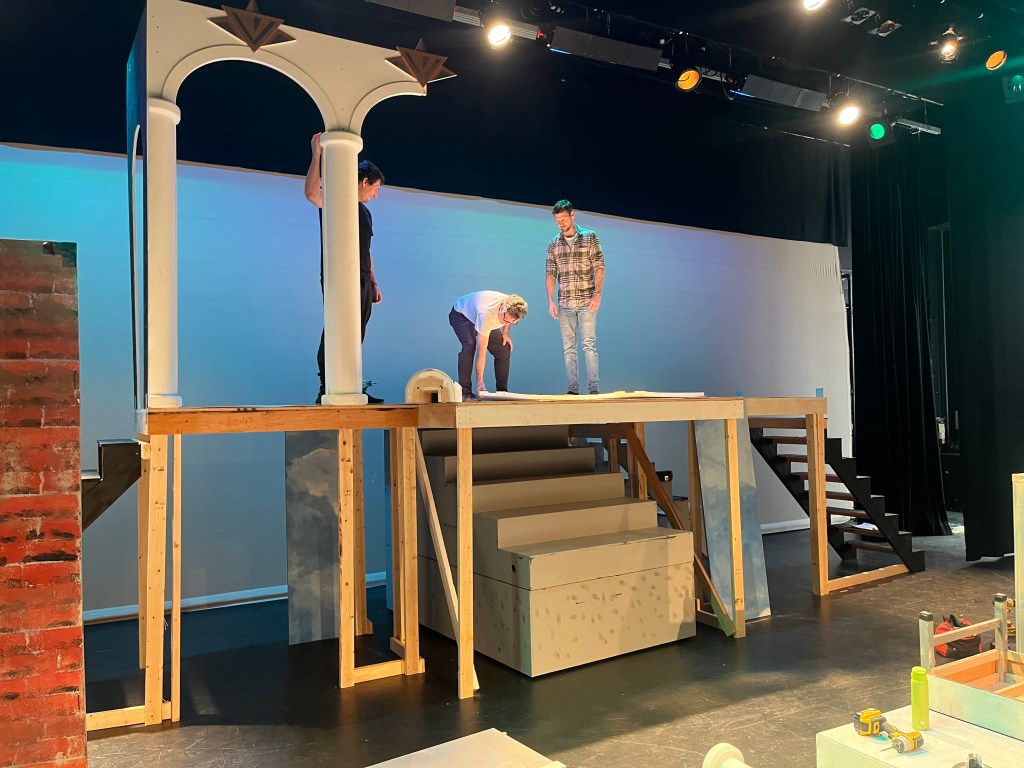
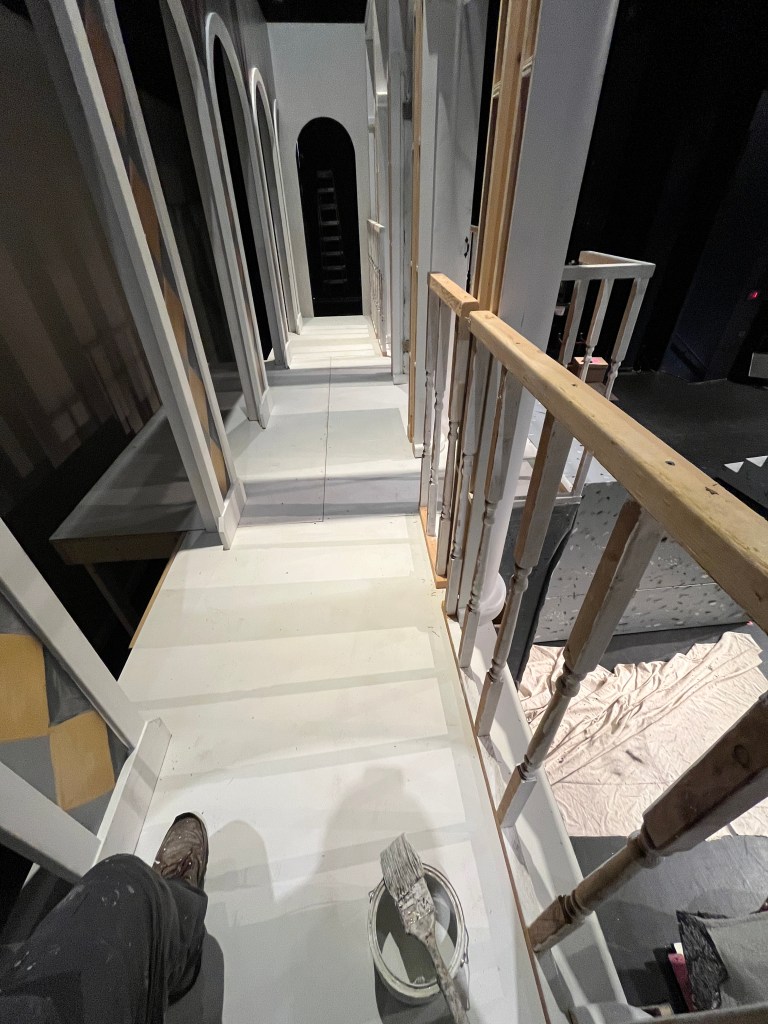
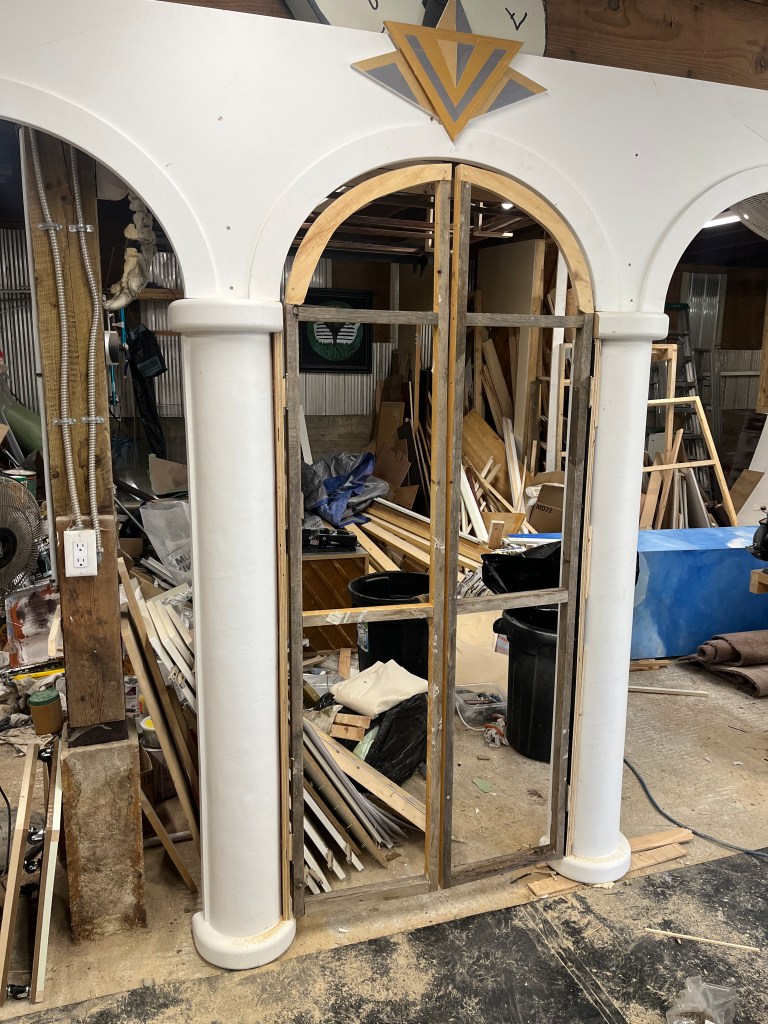
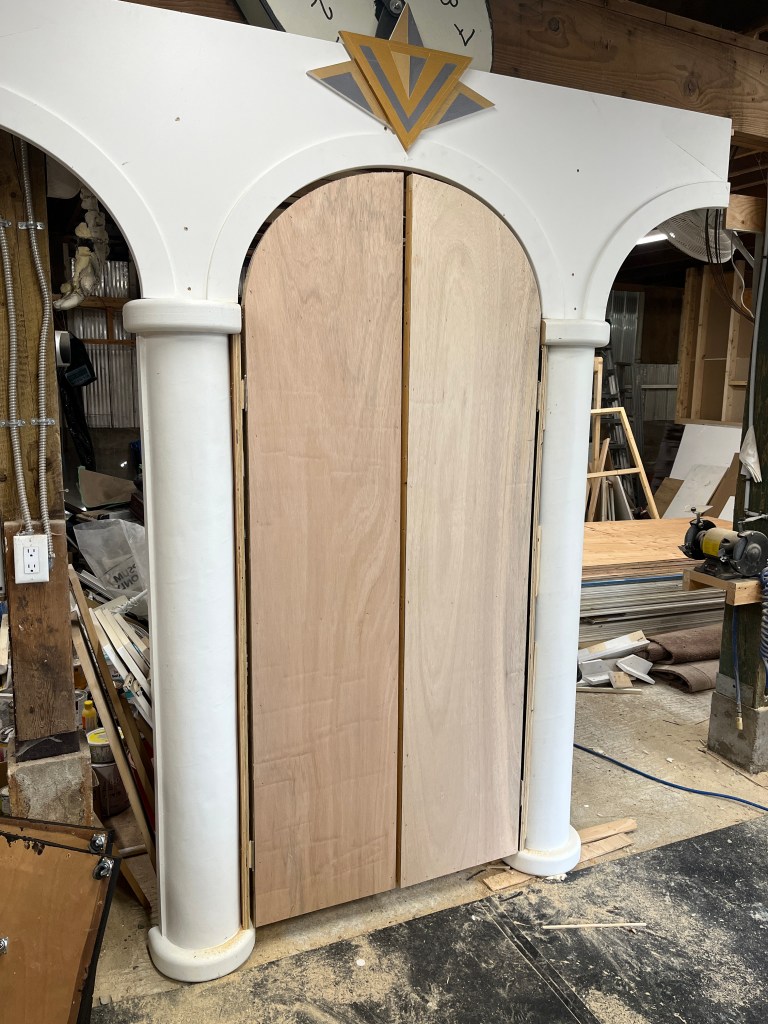
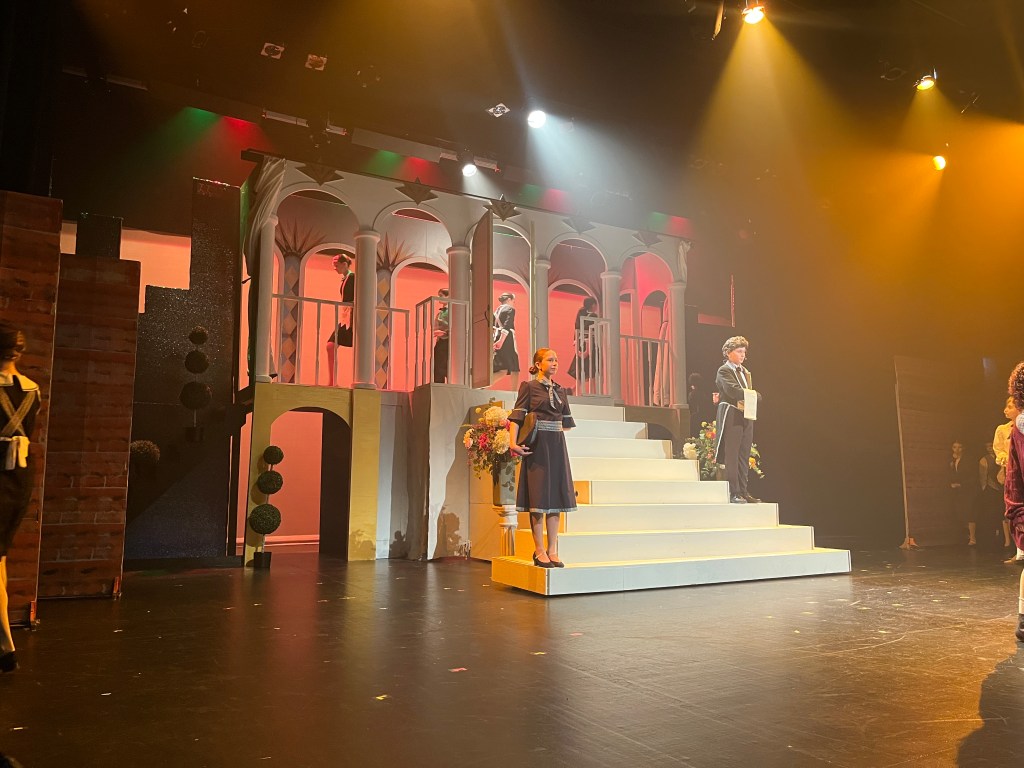
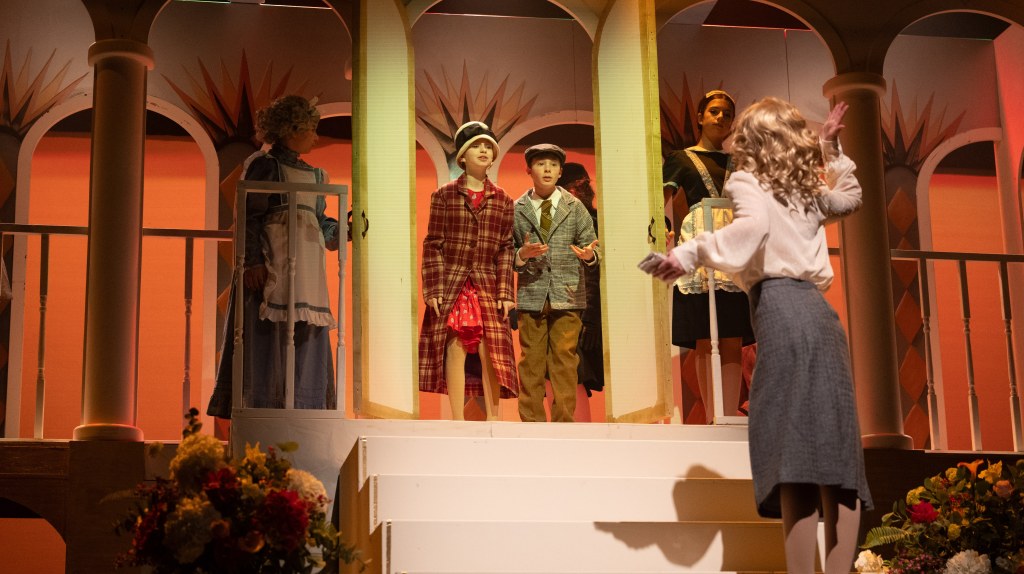
Our starting point was a 19-foot long set of arches that the director secured and stored at the school. This was to be the mansion and the only question was where would it go, and how would it look? I ended up making it a second level, intending to put the orchestra below, but eventually we just used the lower level for stair storage.
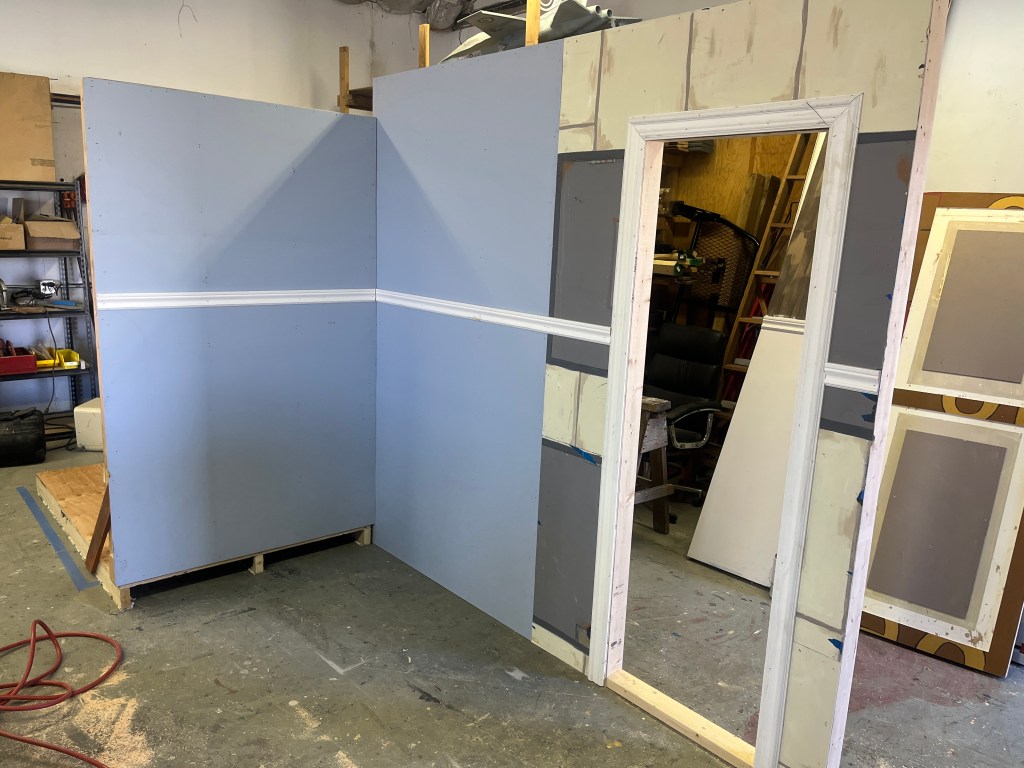
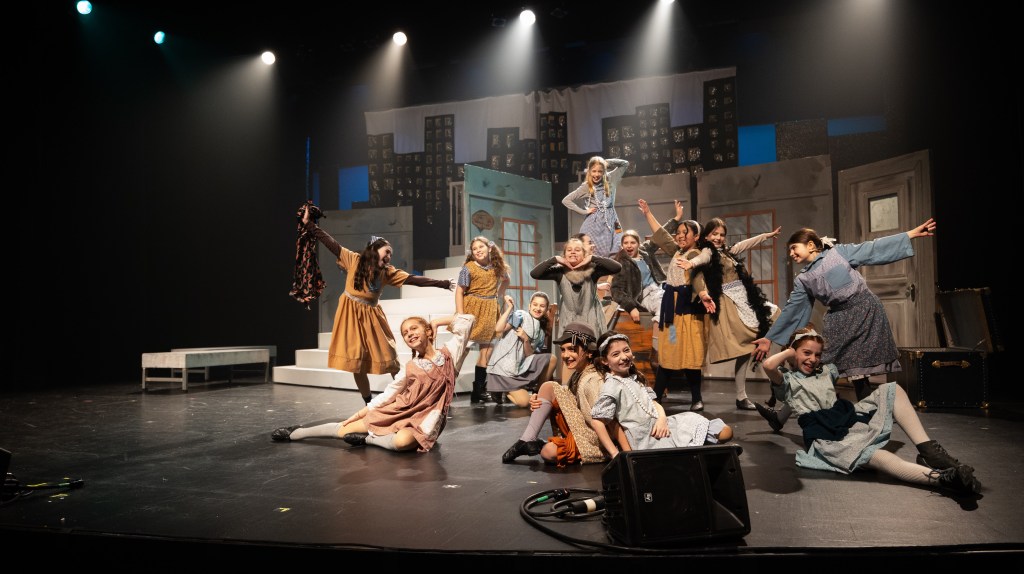
The NRT has limited wing space and no fly tower, so most things had to stay on the stage or be hidden just off-stage. I made 4 lightweight flats that were 5×8 feet to construct an orphanage and brick walls. They were made of foamcore, with wooden frames and legs.
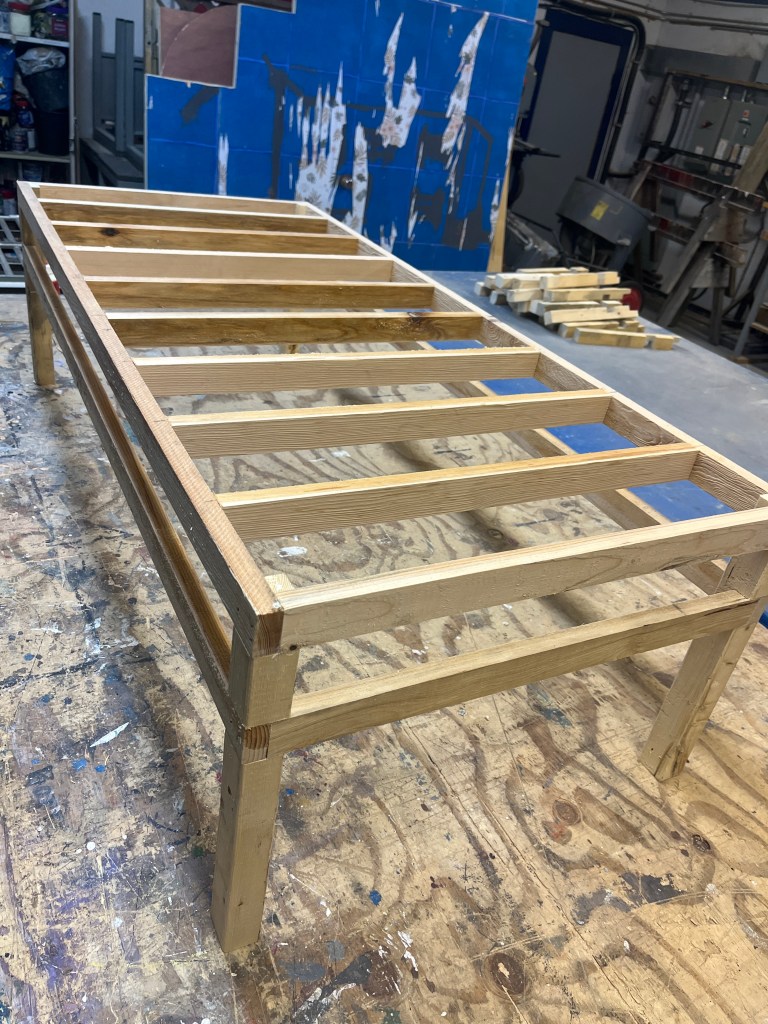
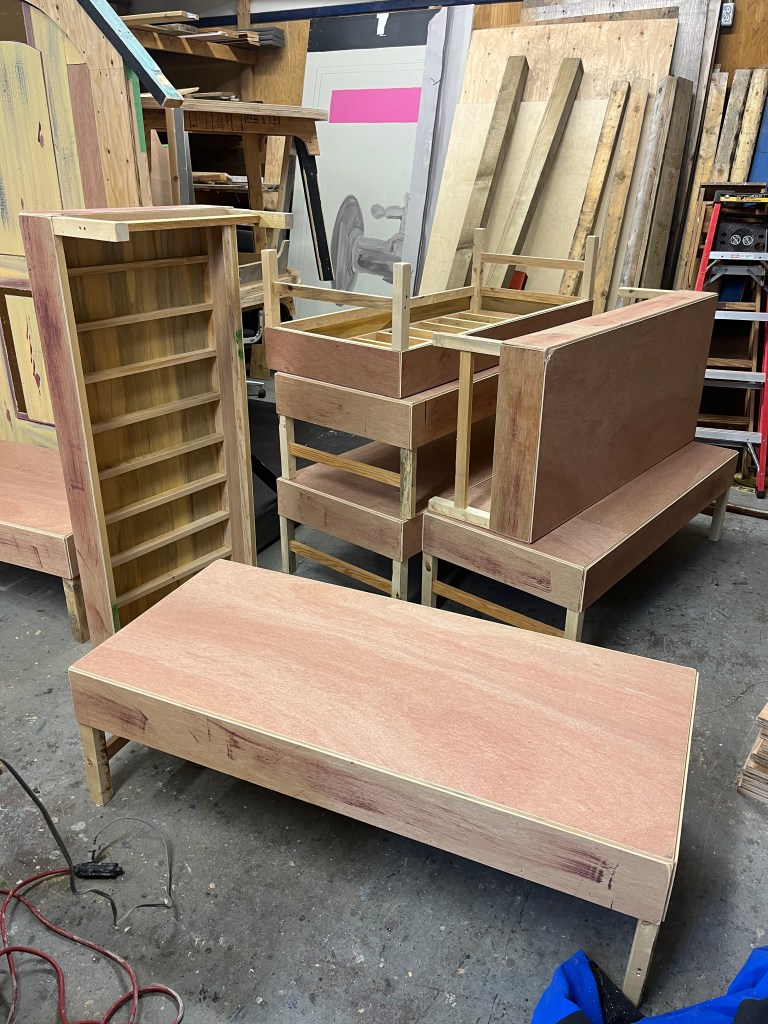
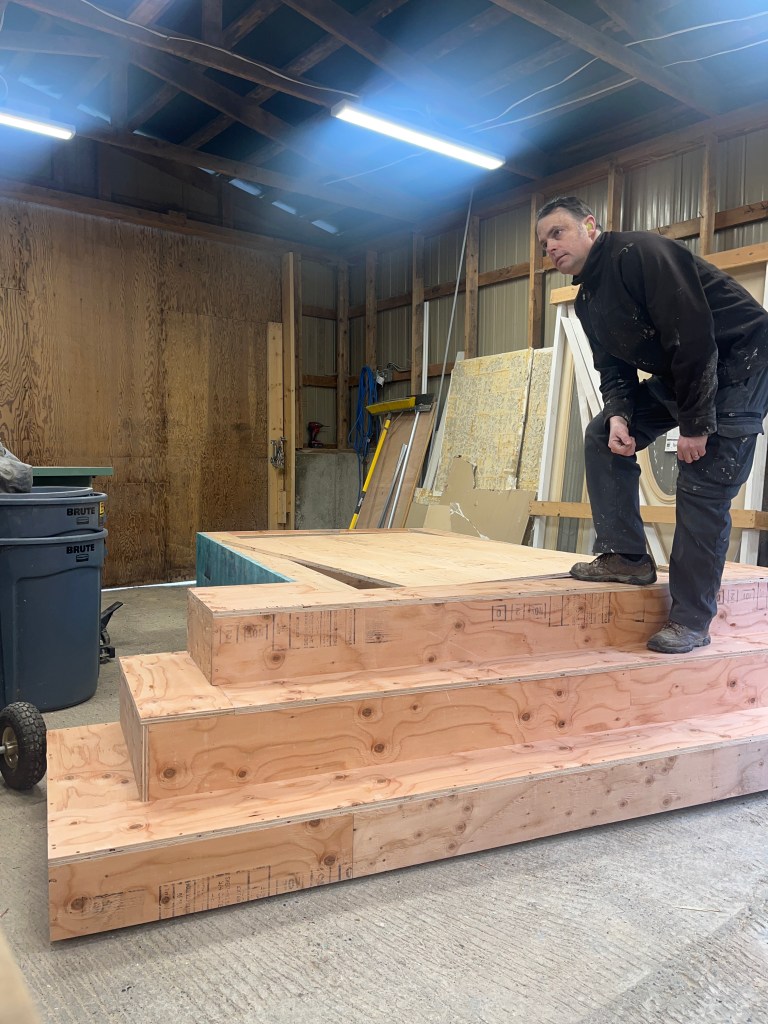
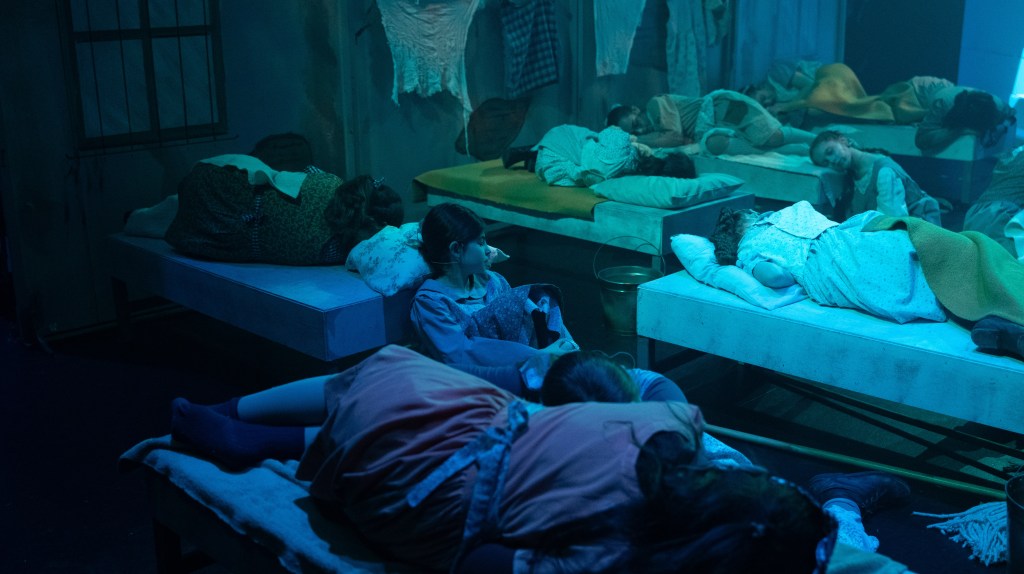
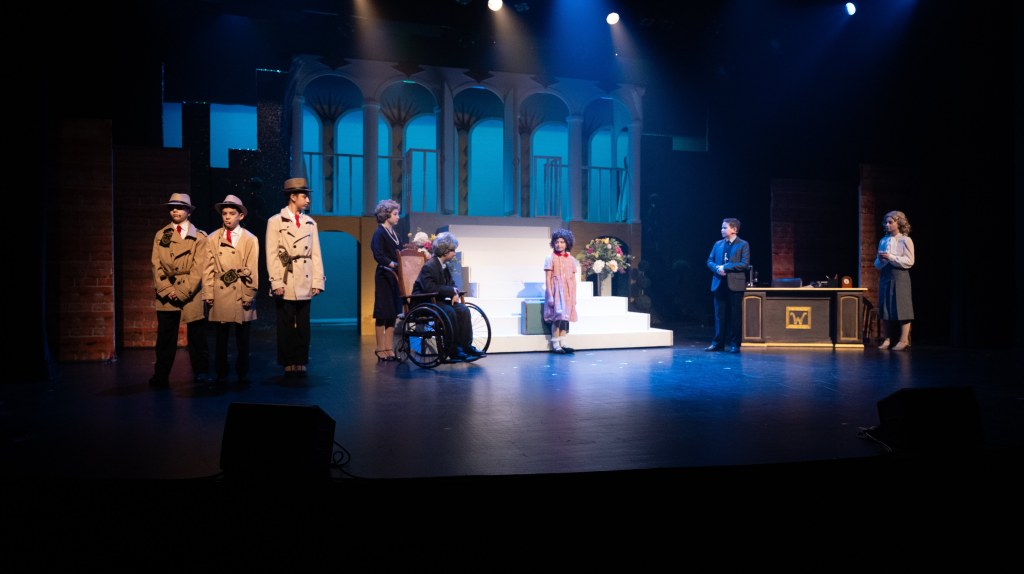
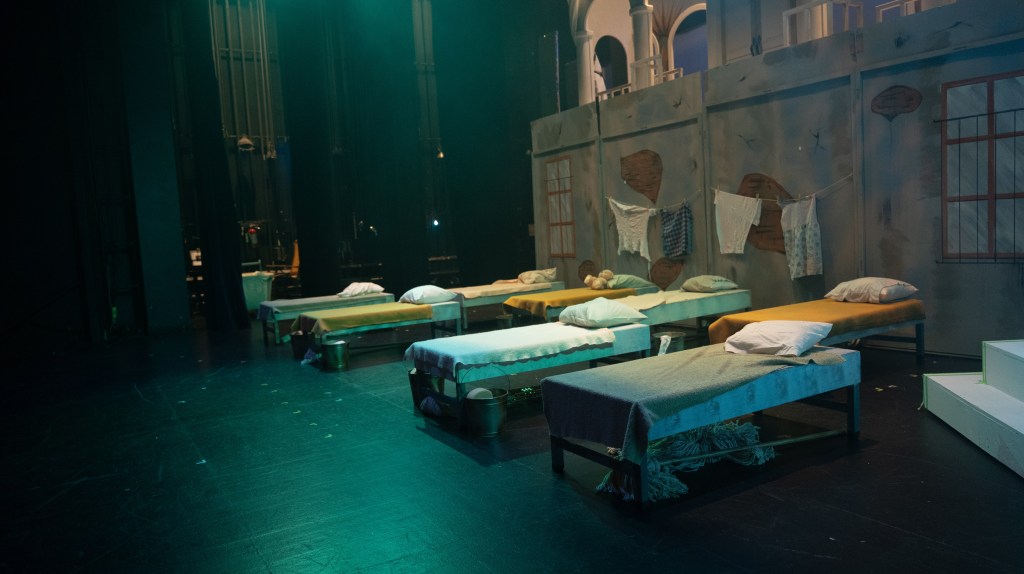
That was the basic set – arches, stairs, and walls. There were many other set pieces needed for the various scene changes: starting with the beds. I was quite proud of these – I made 8 – all very lightweight and stackable. The challenge was how to keep them from sliding around when the kids were jumping from one to another; some rubber furniture feet helped.
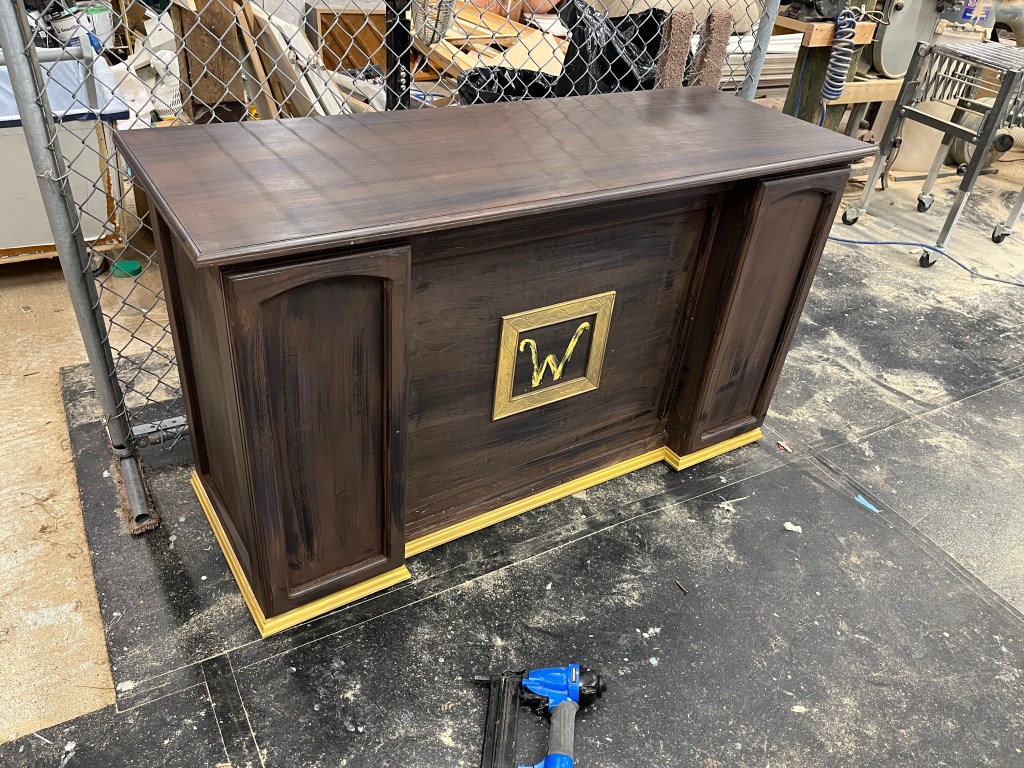
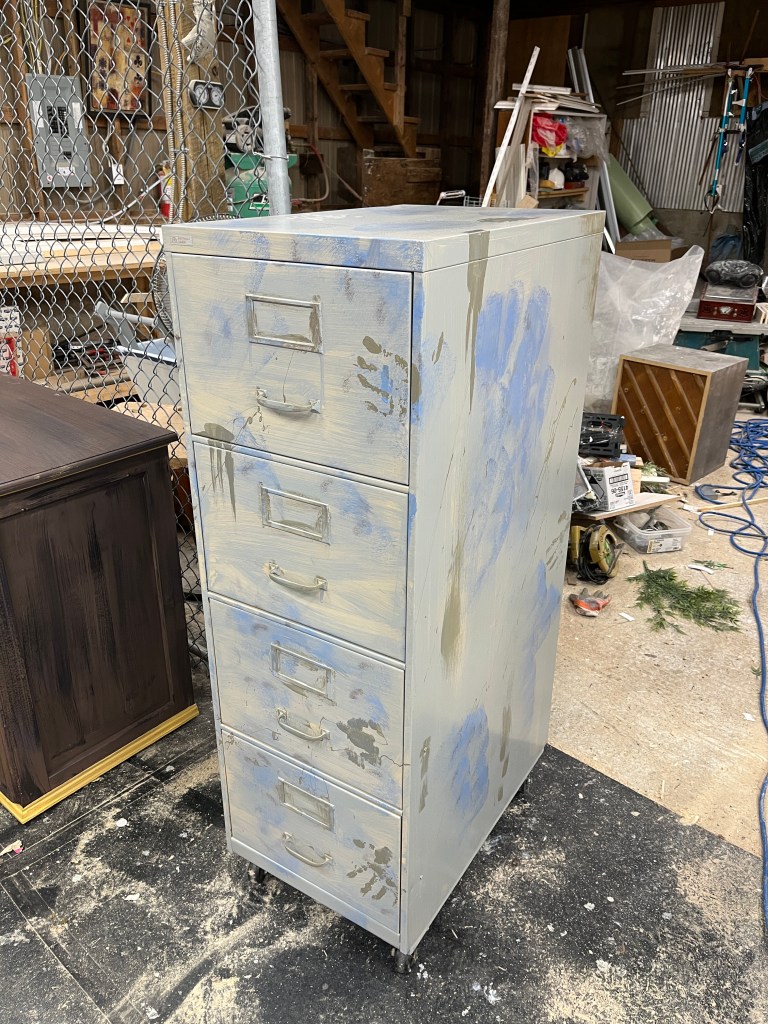
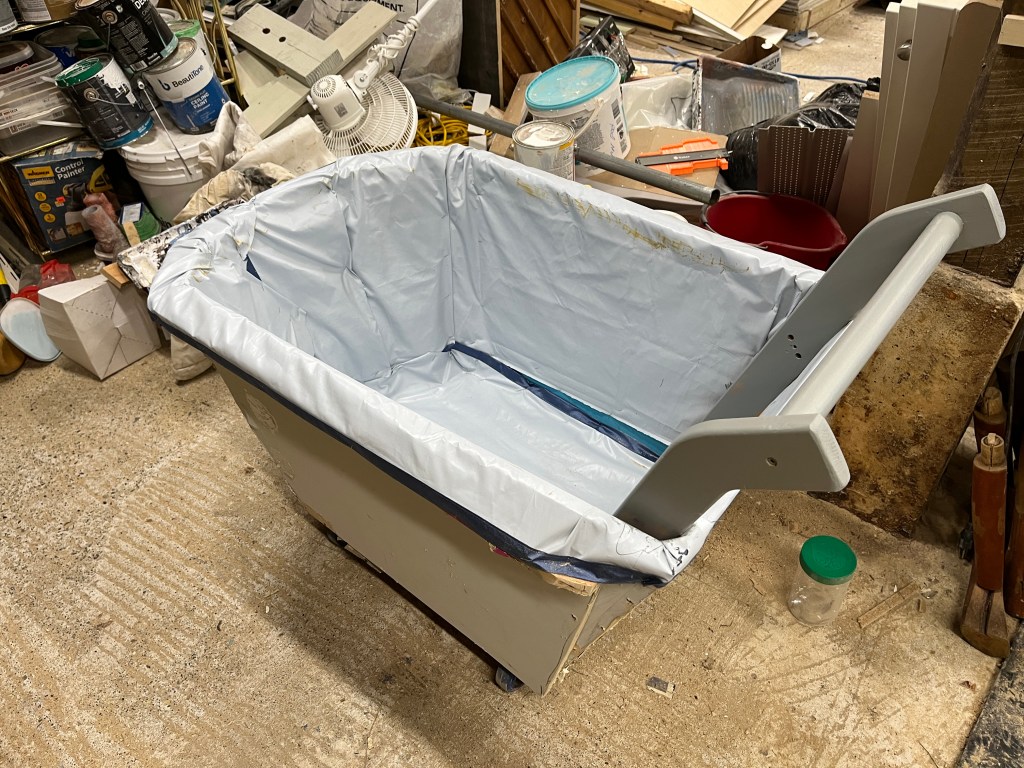
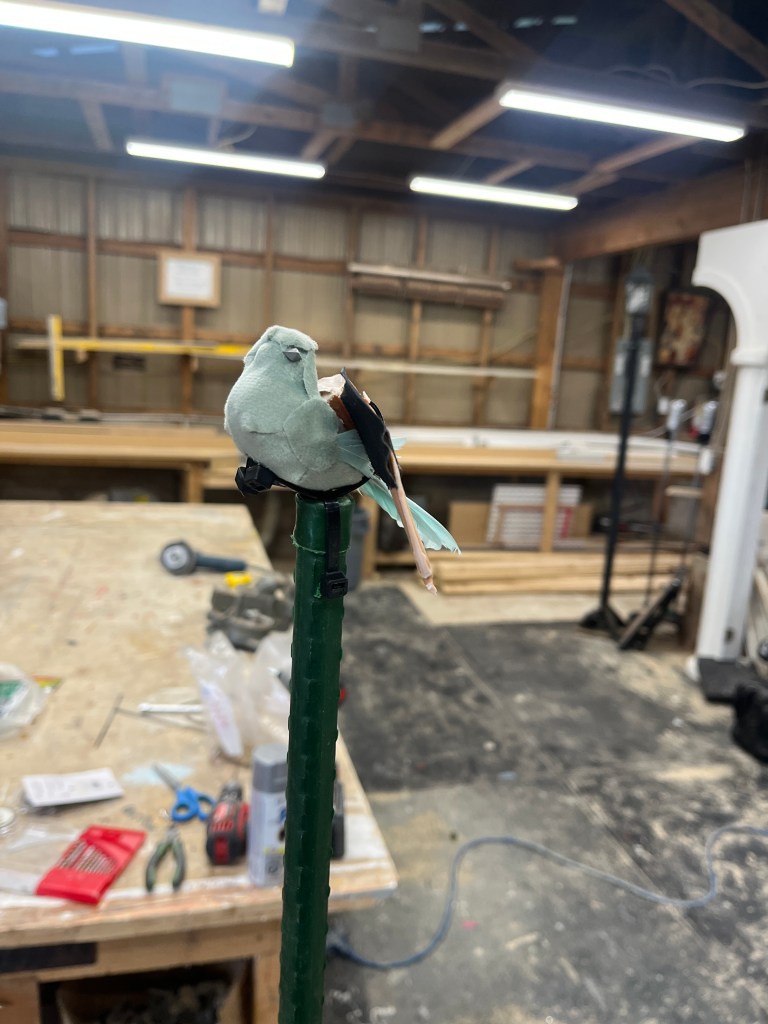
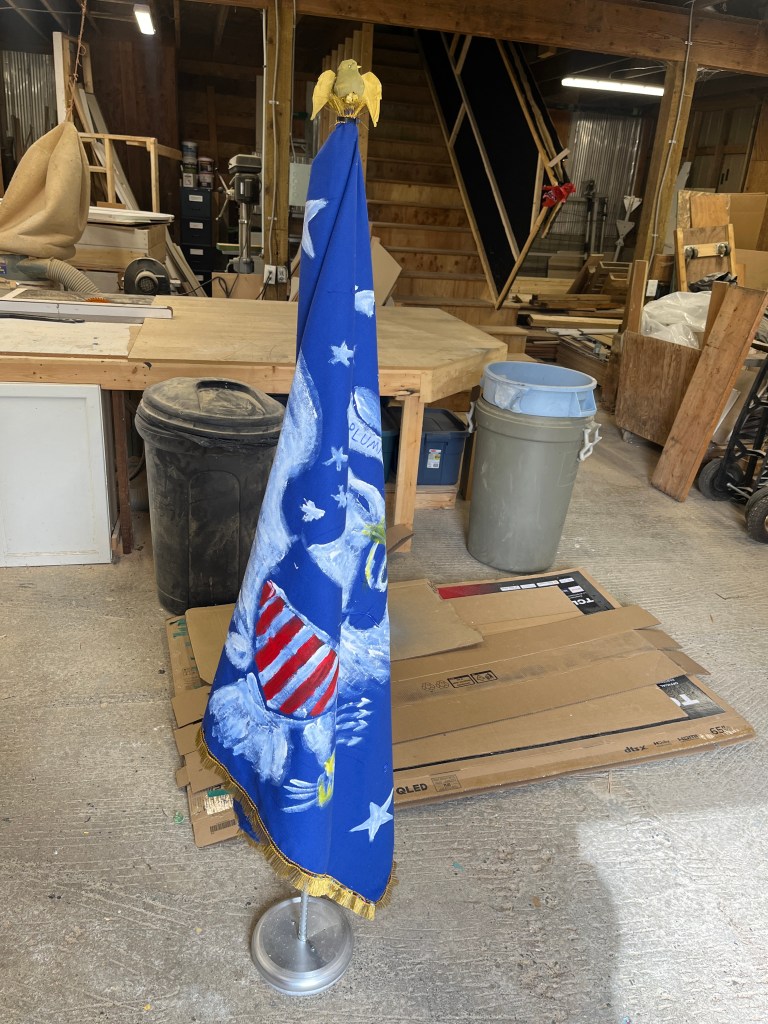
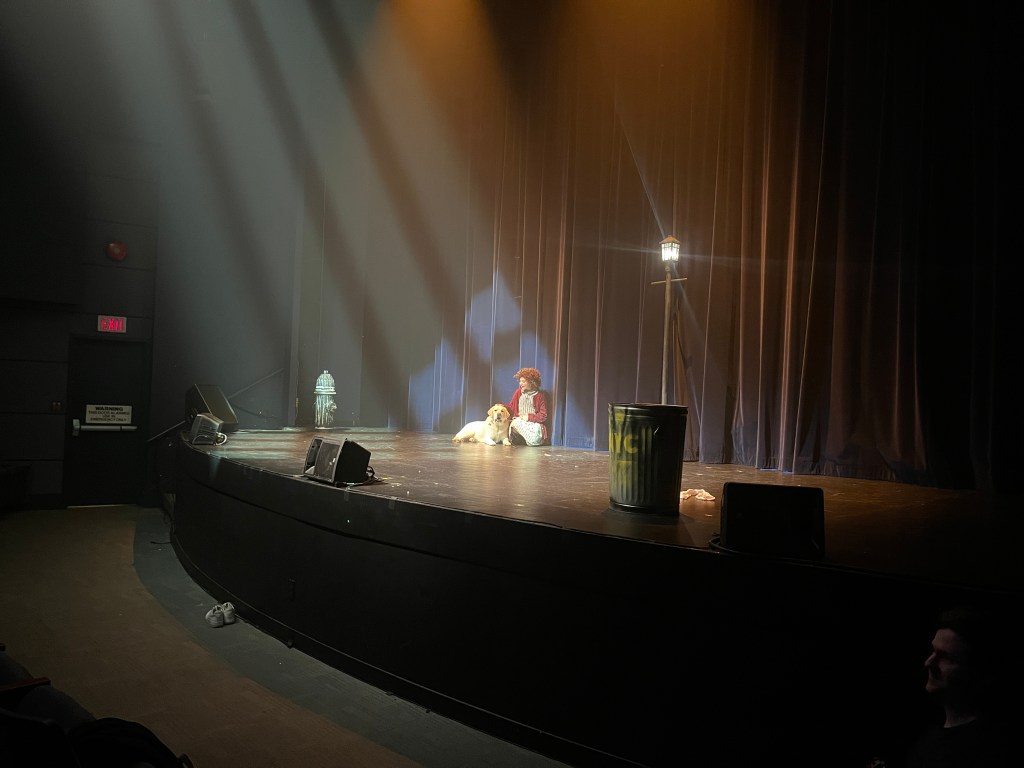
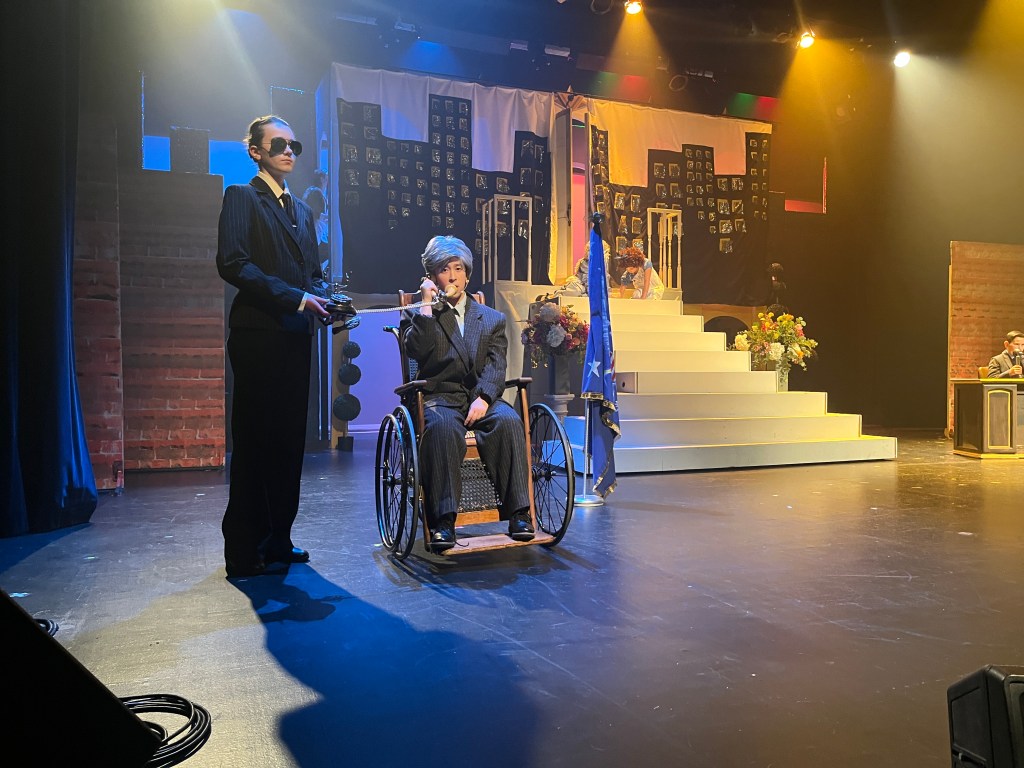
Other fun projects/items were the laundry cart, lamppost, garbage can, fire hydrant, filing cabinet, Warbucks desk (which had to get cut lower eventually), and oval office flag.
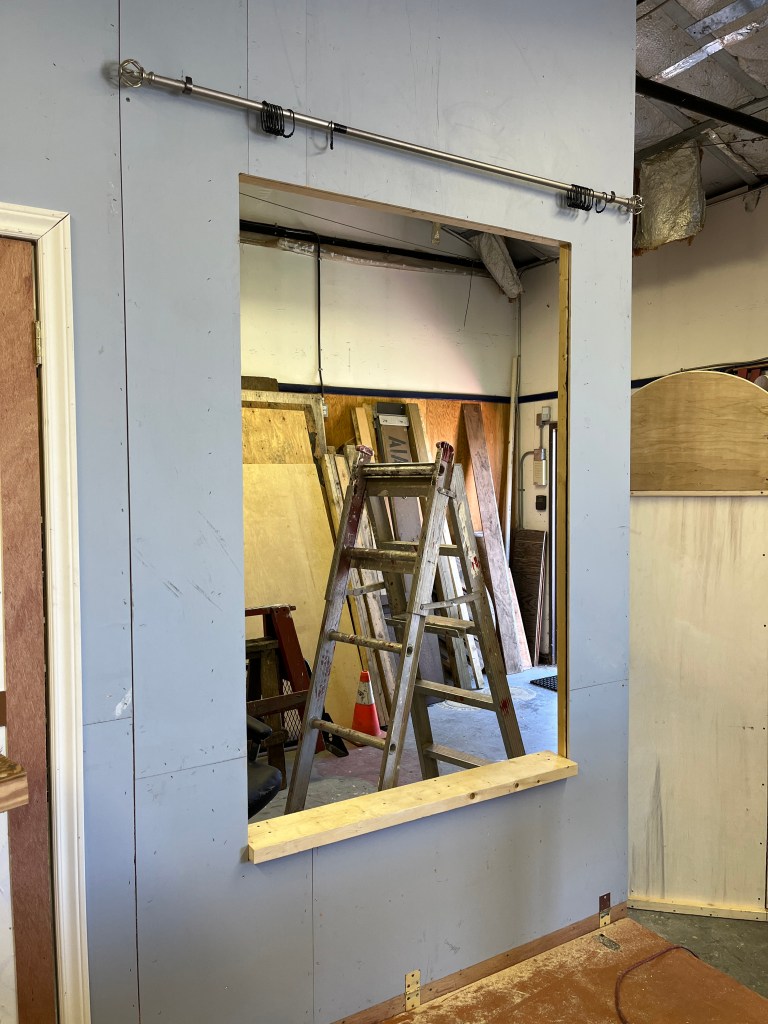
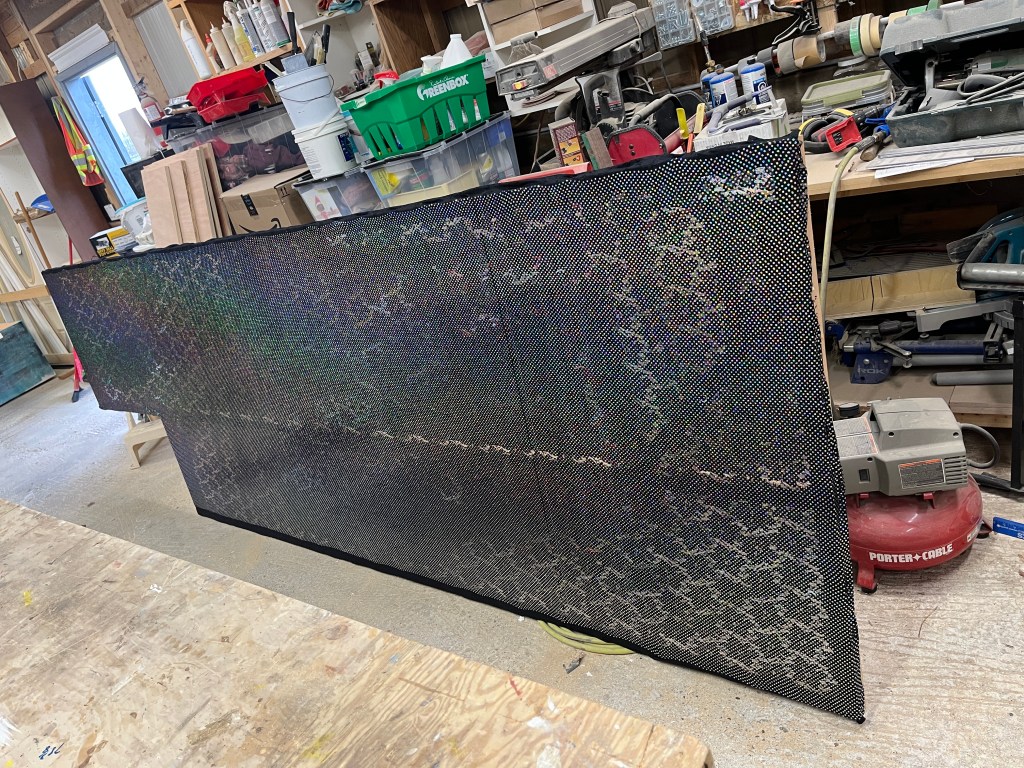
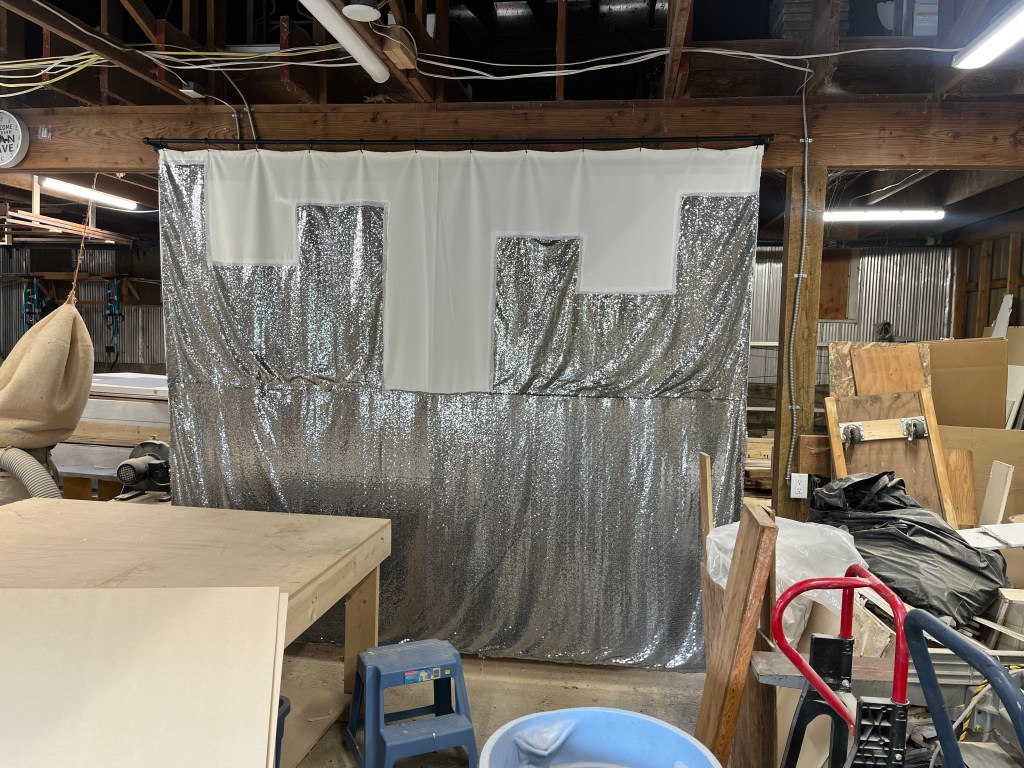
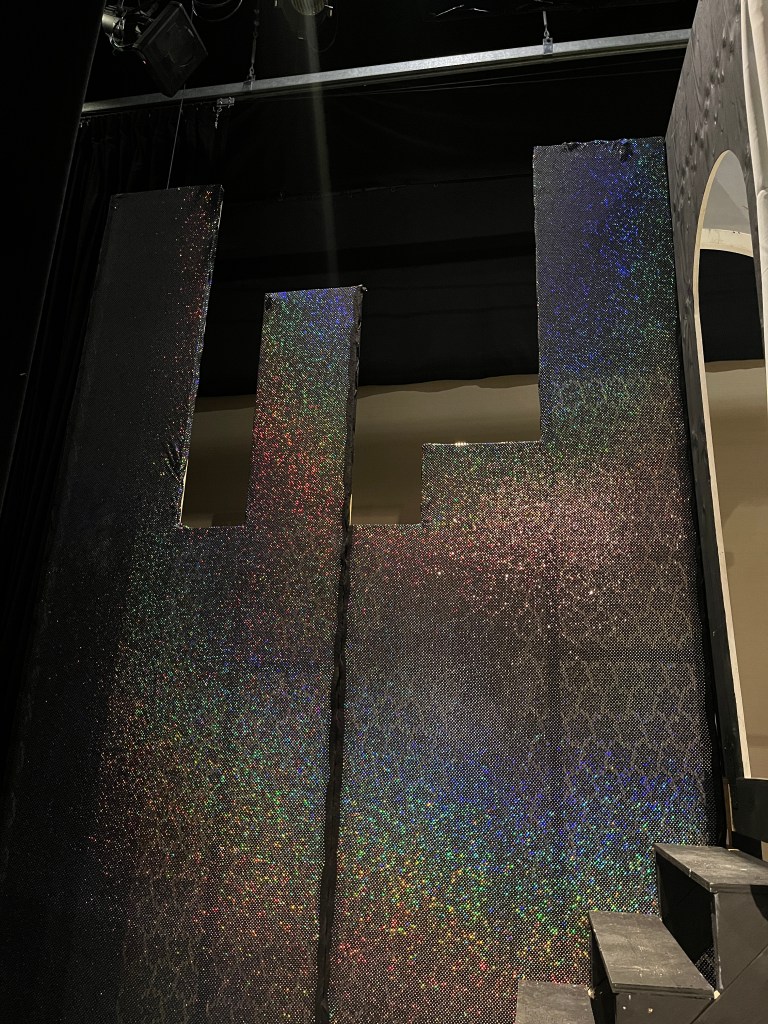
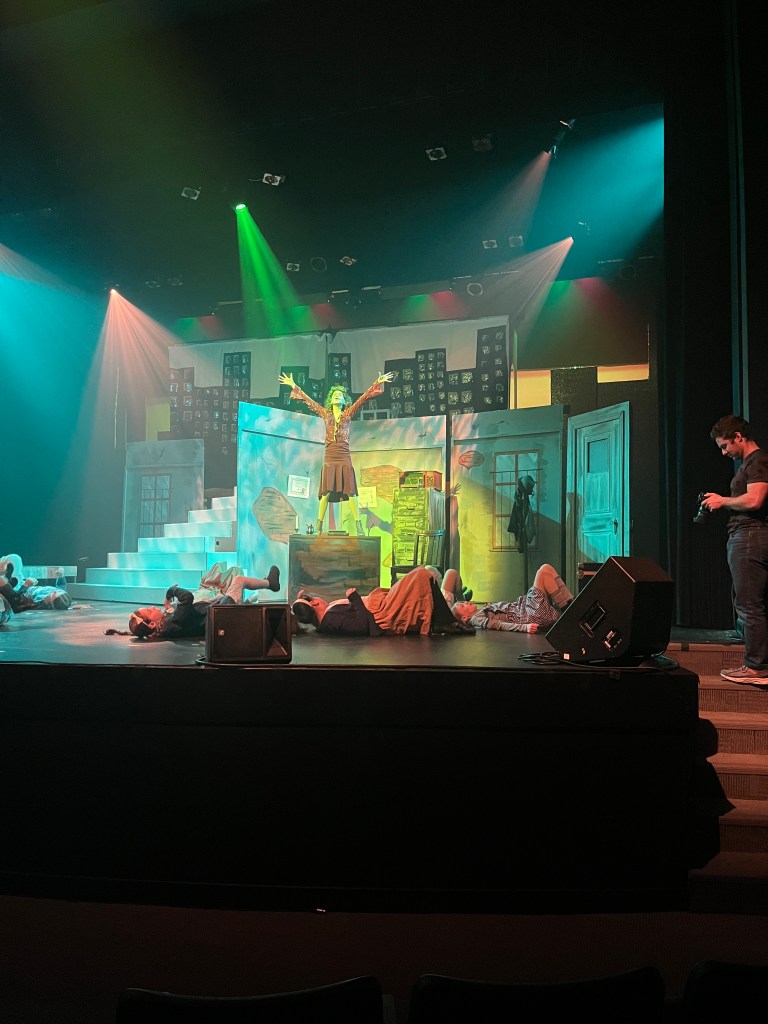
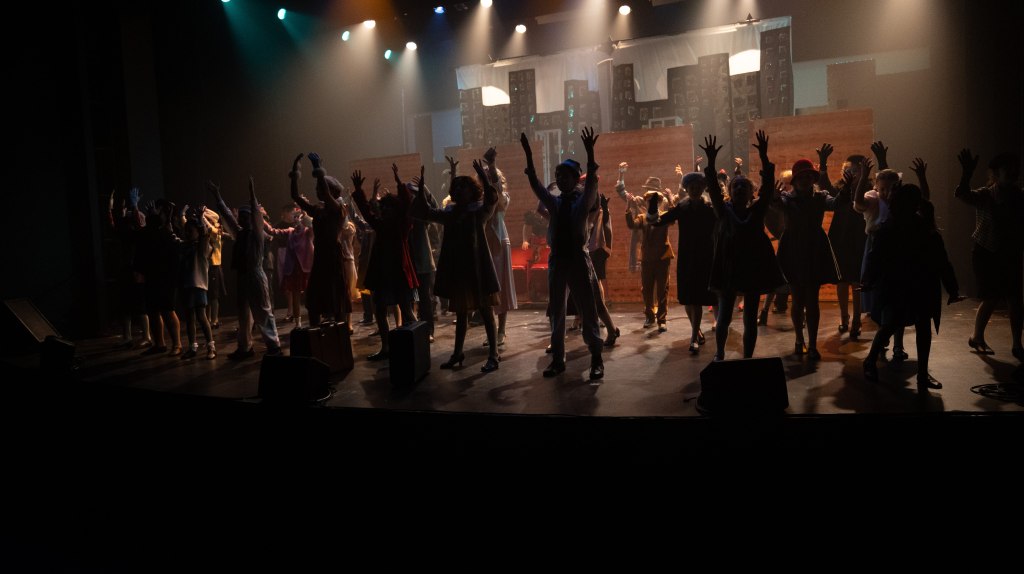
A big challenge for me was fabric – I wanted to hide the mansion at the beginning of the show, but since it was 14 feet high, the 8-foot flats wouldn’t quite do the trick. So I made a curtain rod at the top of the mansion and hung a curtain from that, with a cityscape sewn on. It didn’t quite work for the director, but they came up with a good solution thanks to our amazing costume designer’s help, and we were able to keep the curtain. I also made some large black city skyline frames on the sides, which looked fine, but were not as shiny and shimmery under stage lights as the expensive fabric I stretched on them promised. Live and learn!
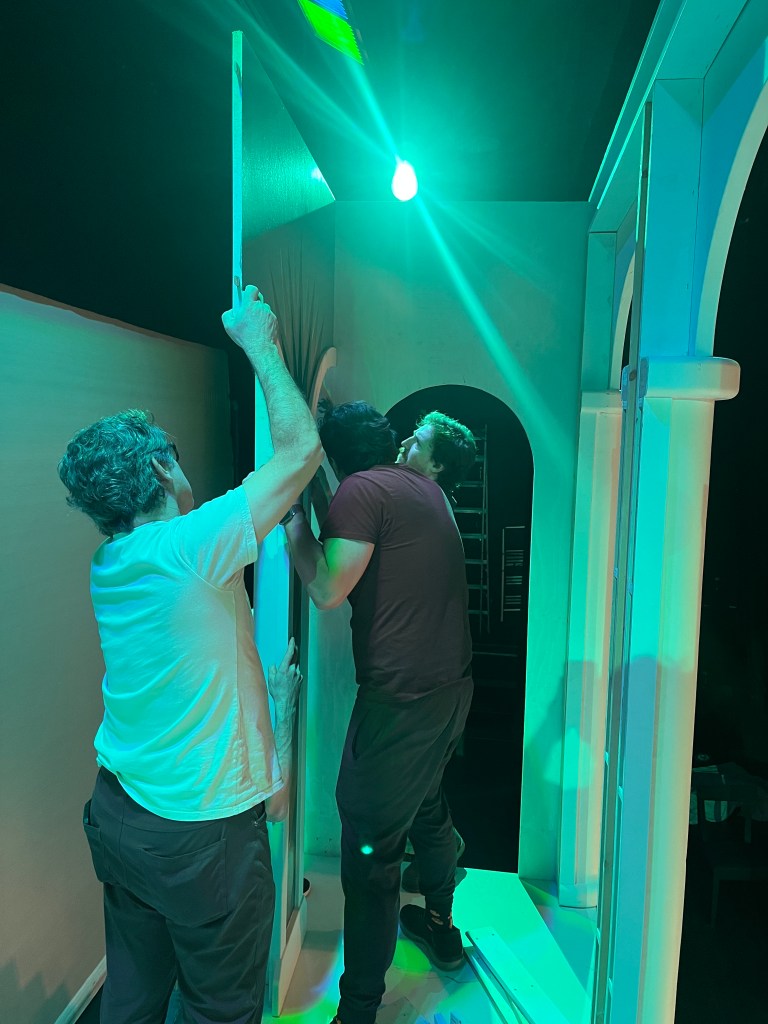
Here are a few more photos of the build/tech process:
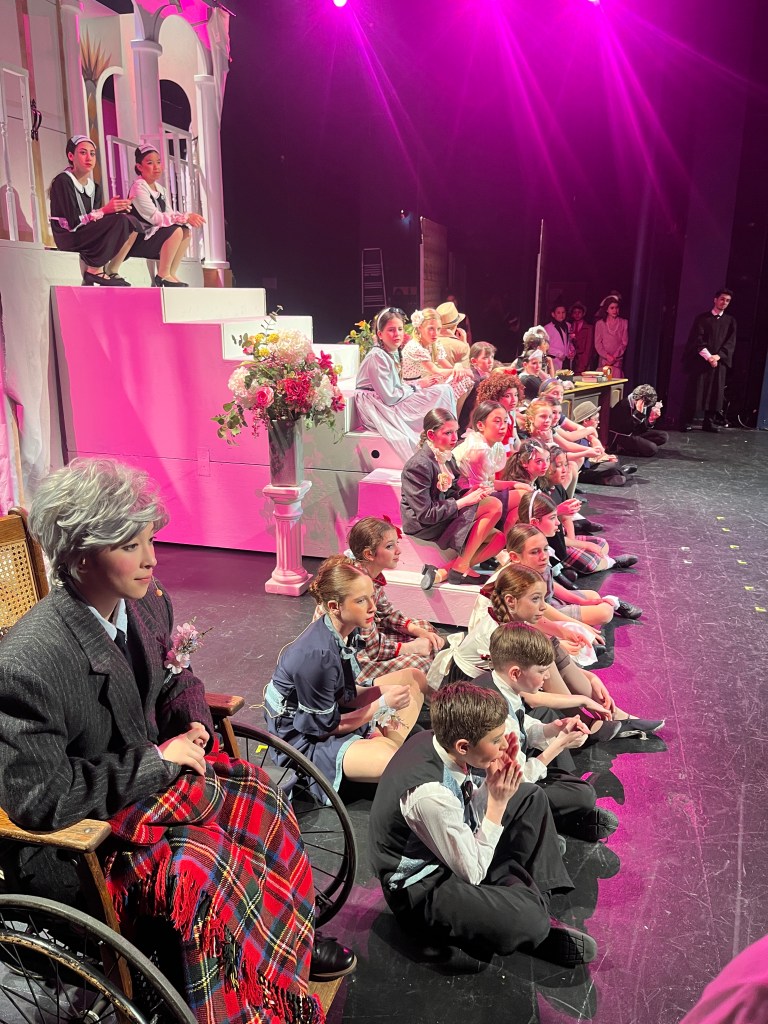
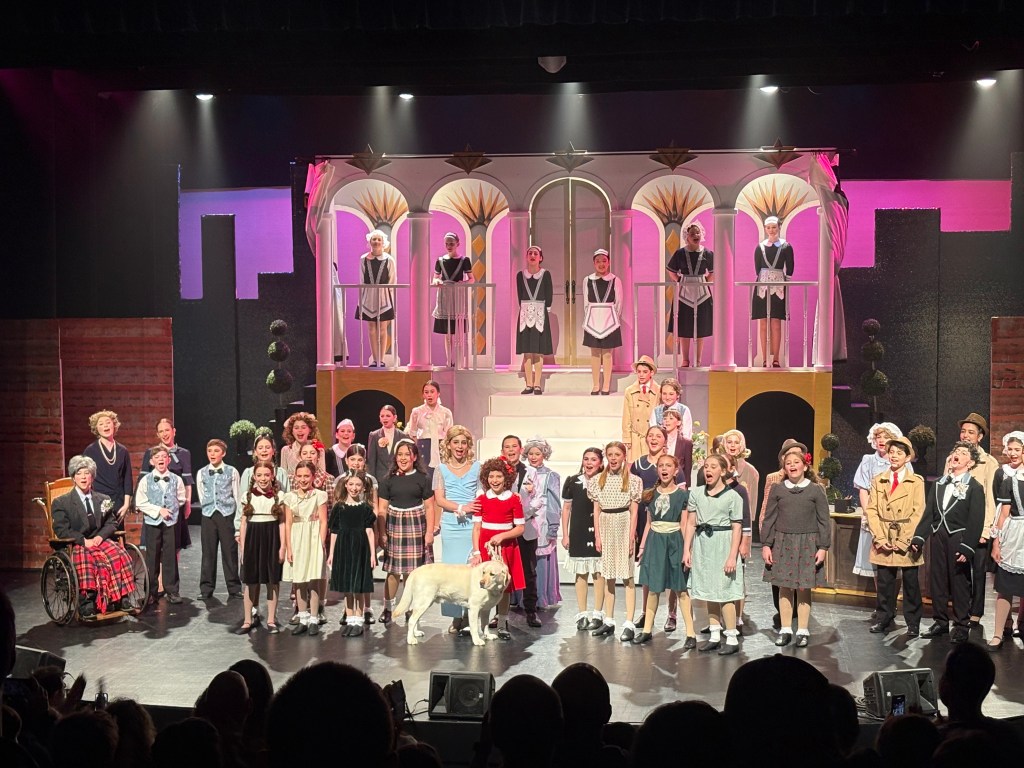
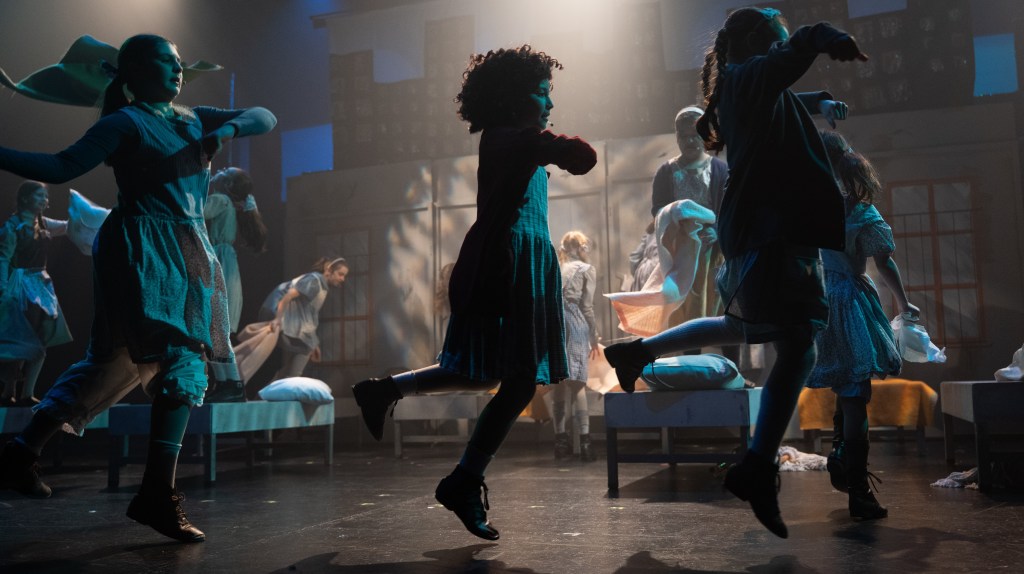
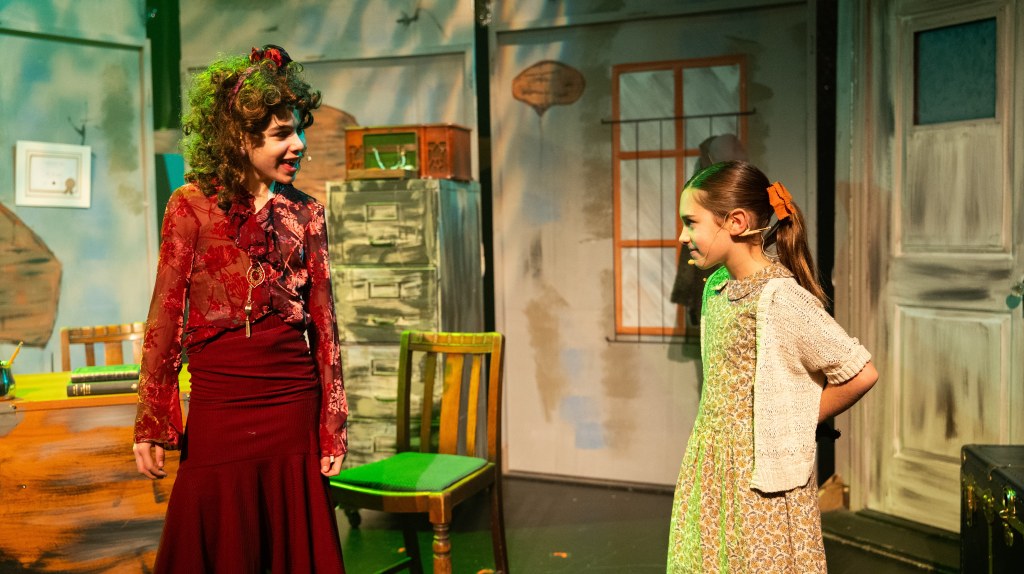
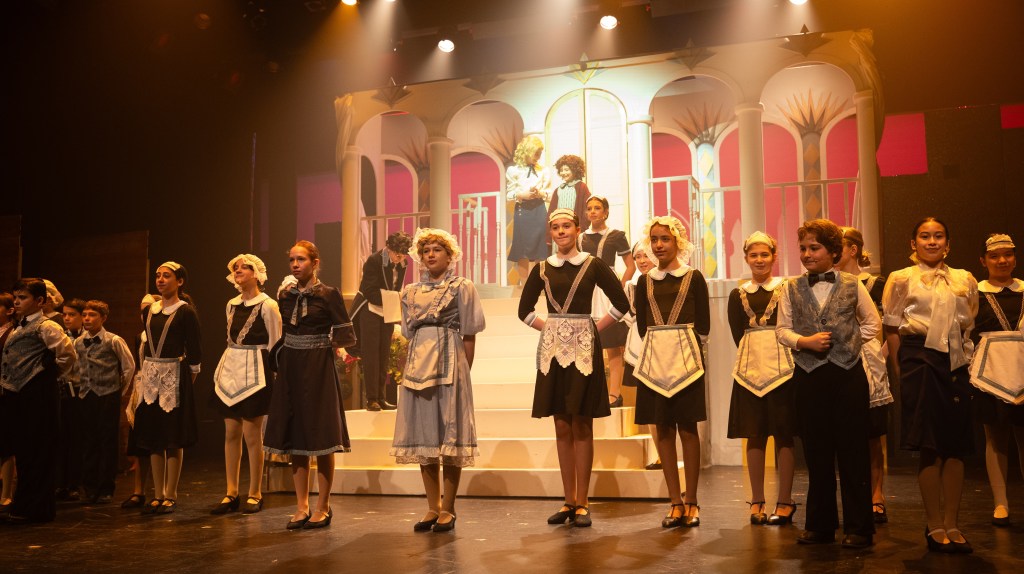
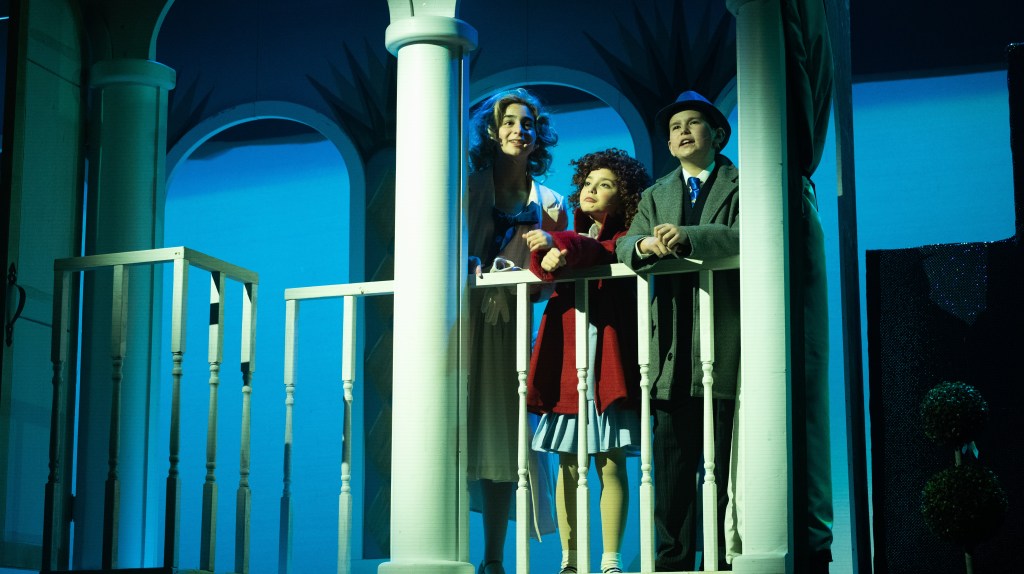
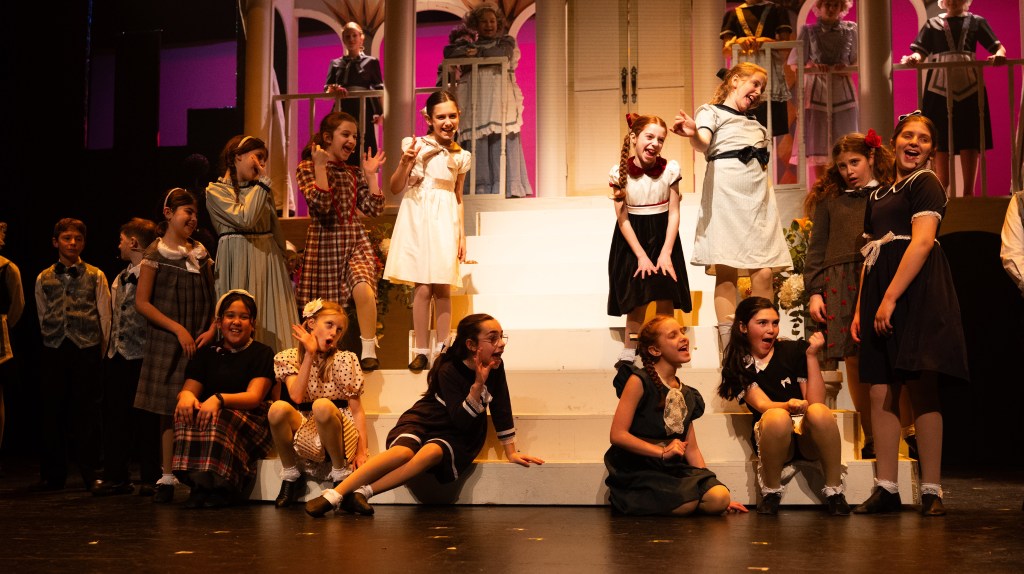
Annie Scenes! Photos by A. Potts:
Photo E. BodmanPhoto S. Karby
Photos by K. Balin:
All photos are copyrighted by their respective authors. Do not use or alter without permission.
Overall, it was a wonderful play. At the end, I was tired. And then I had to take away (most of) the set, and return the rentals, etc… it was time for a break.
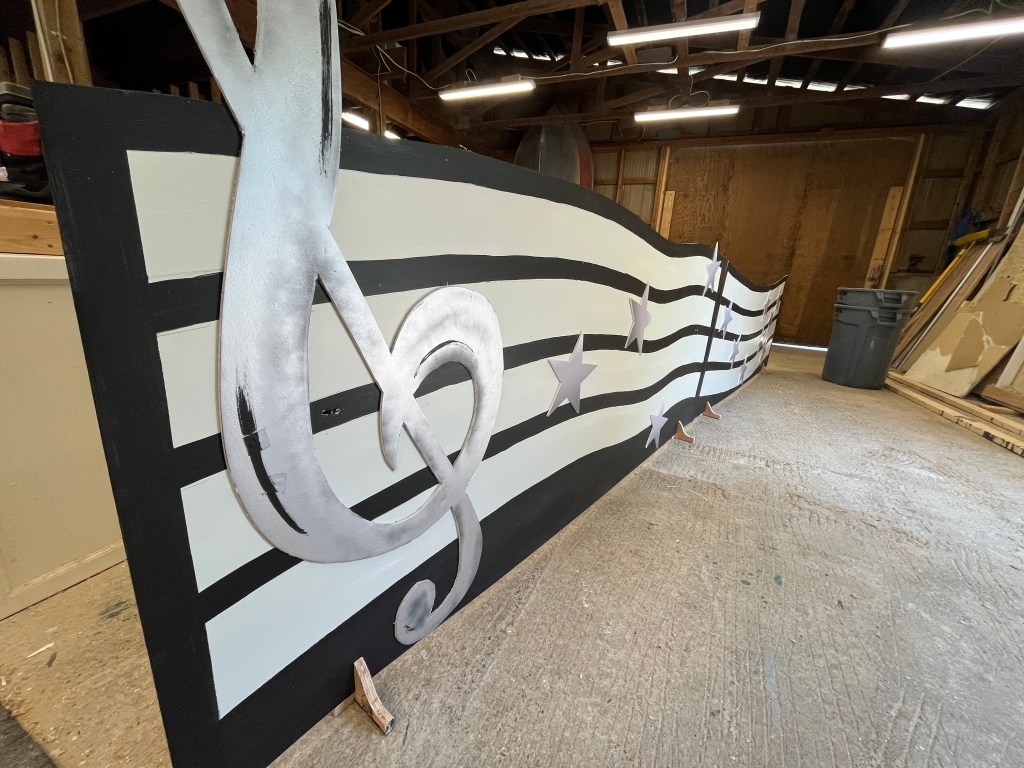
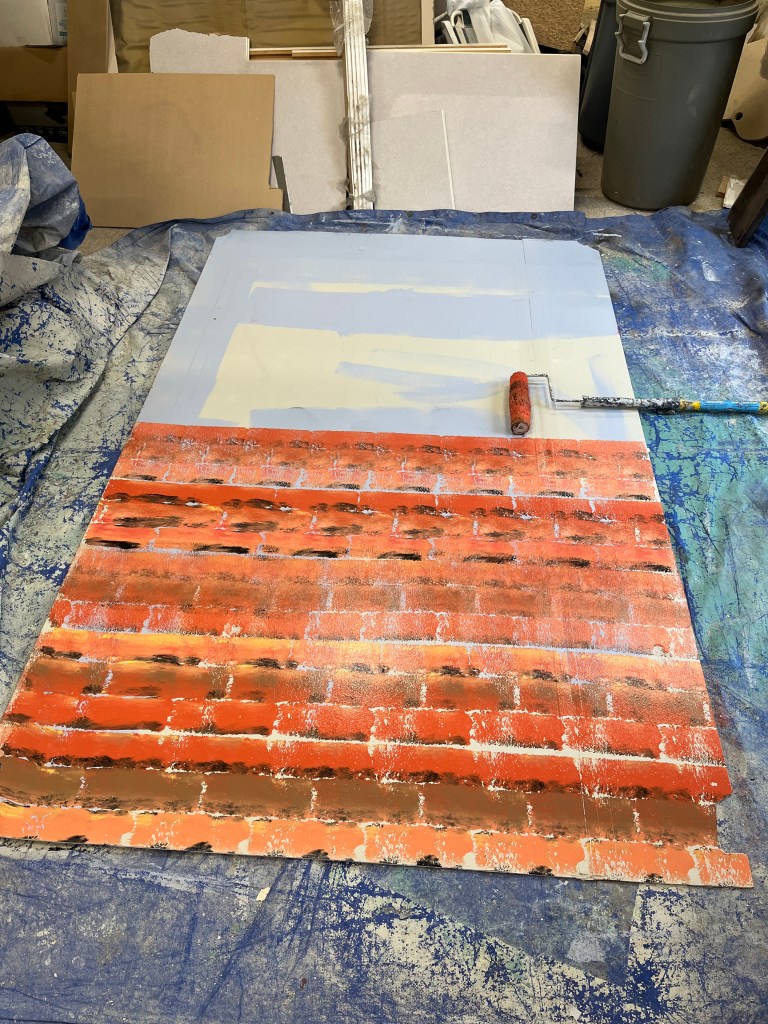
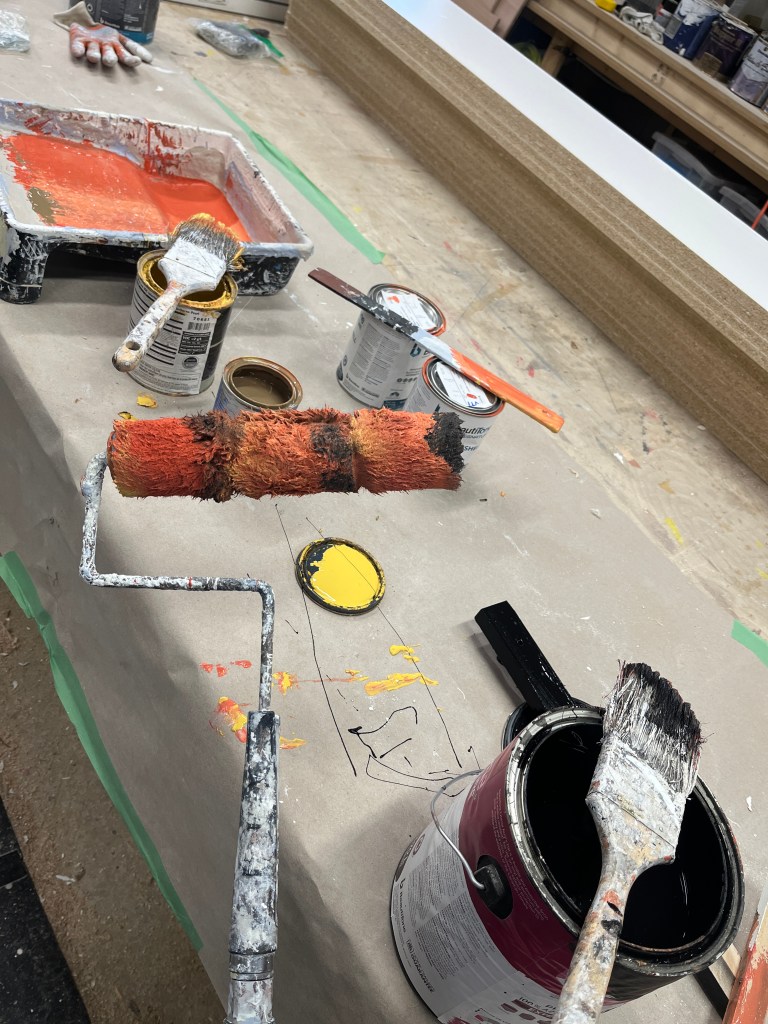
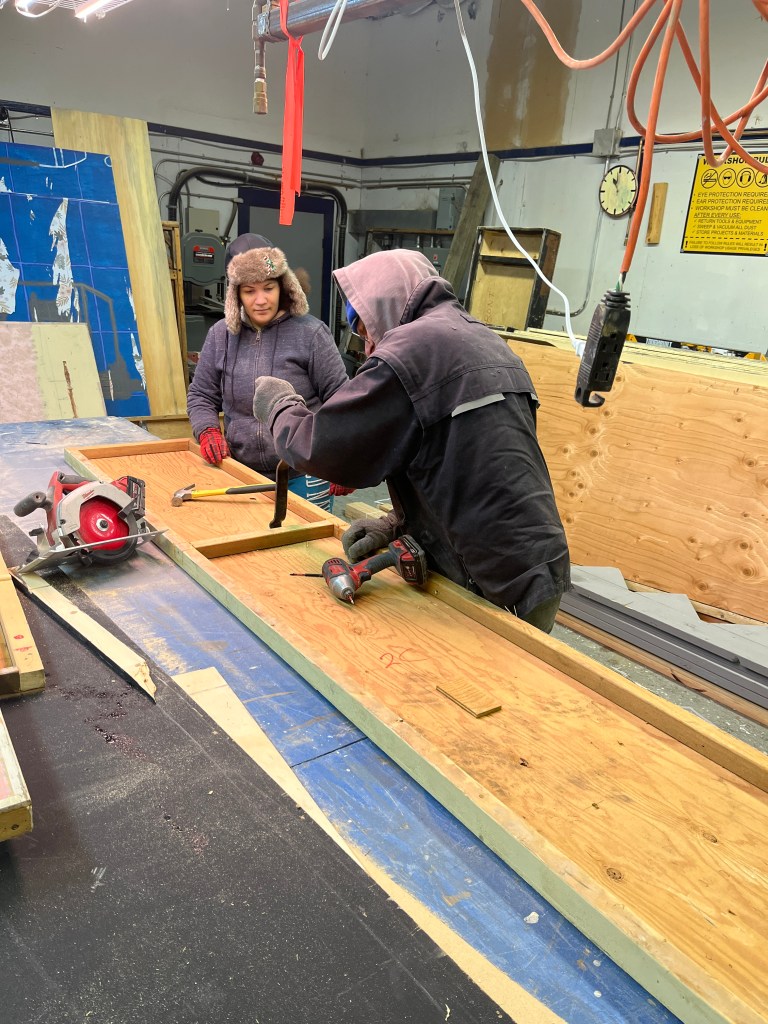
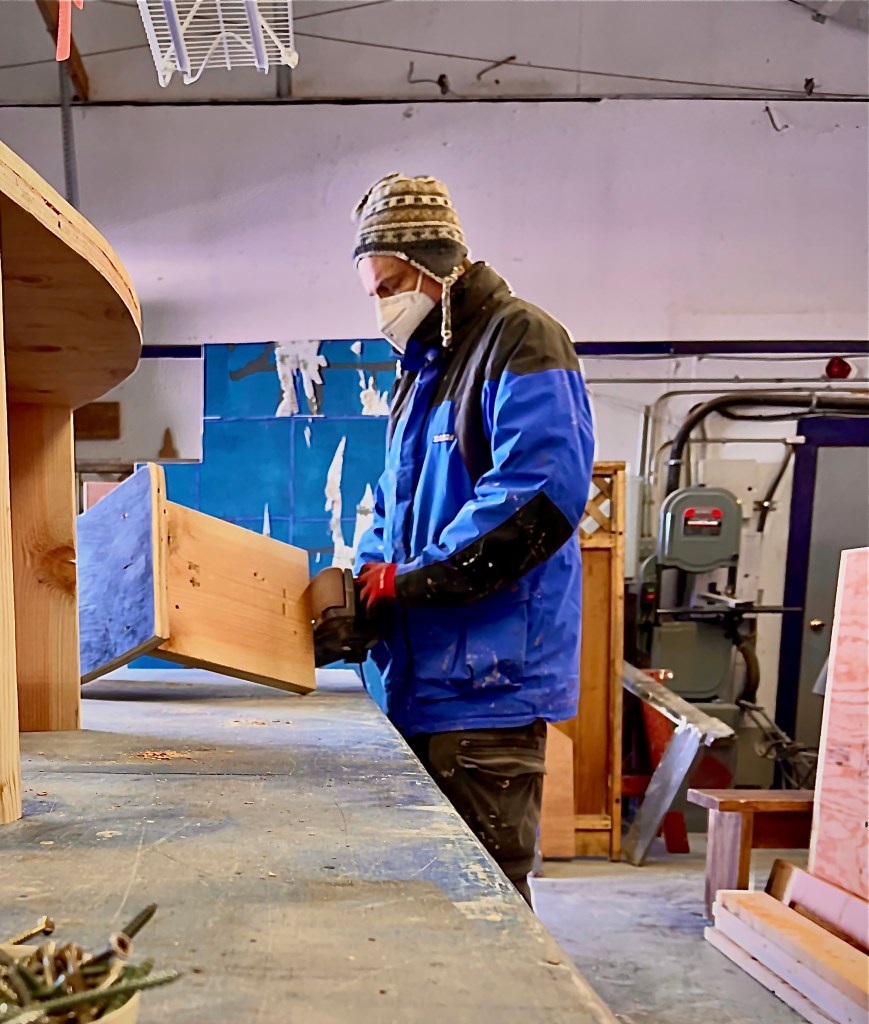
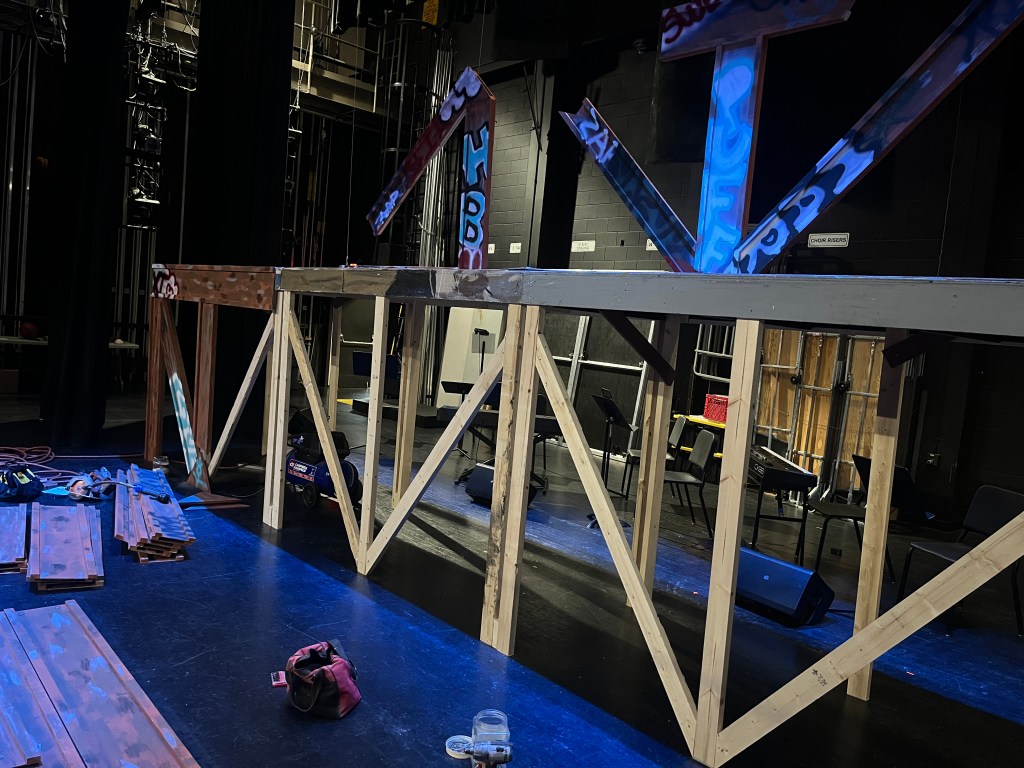
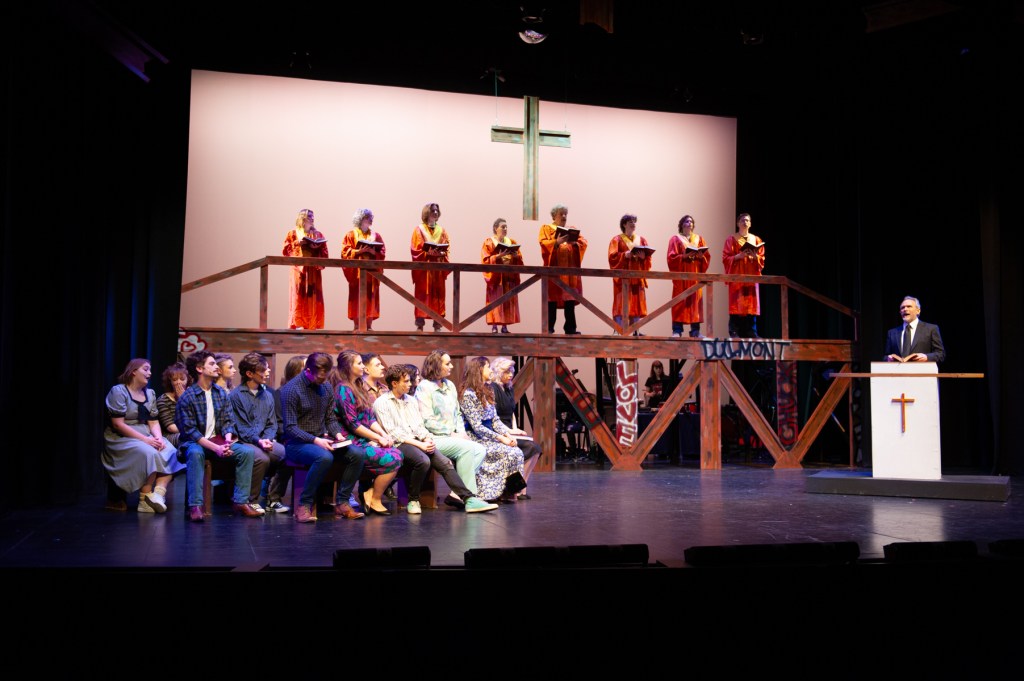
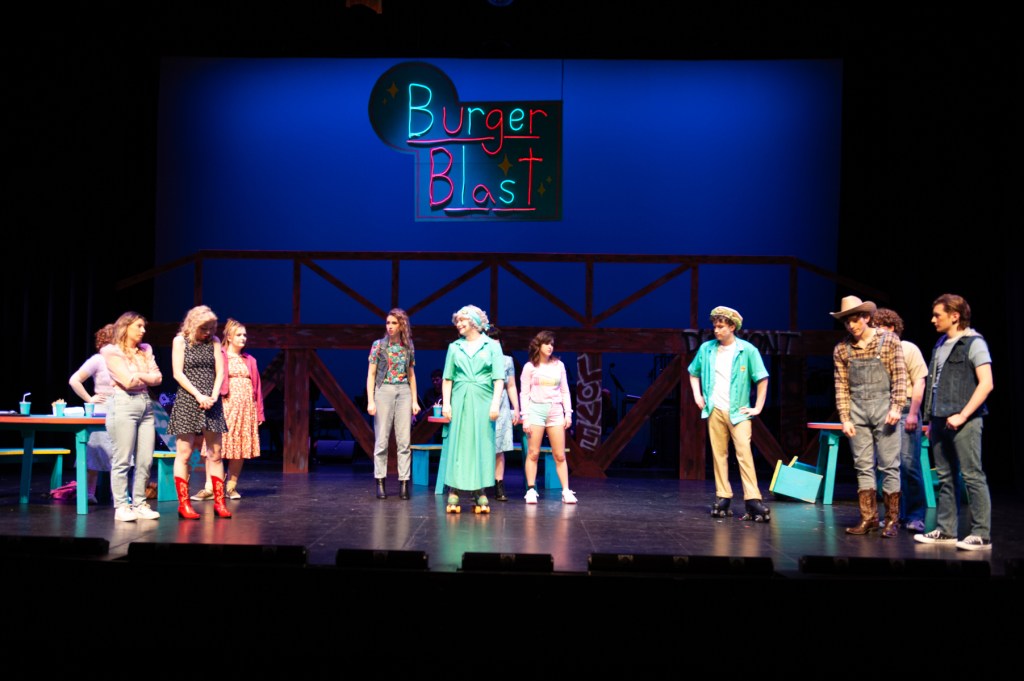
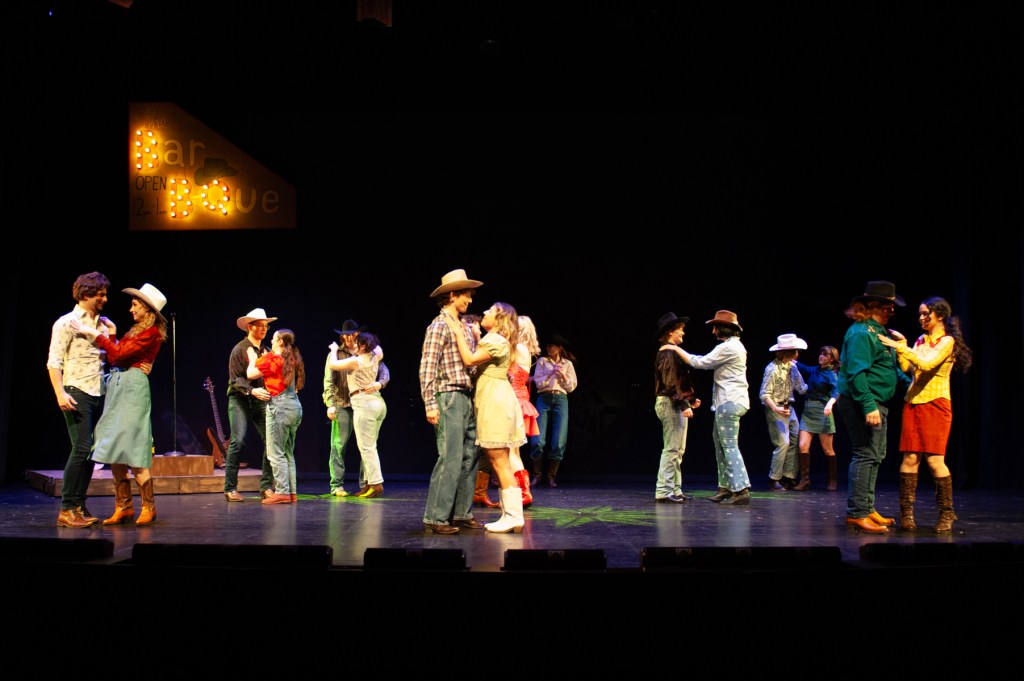
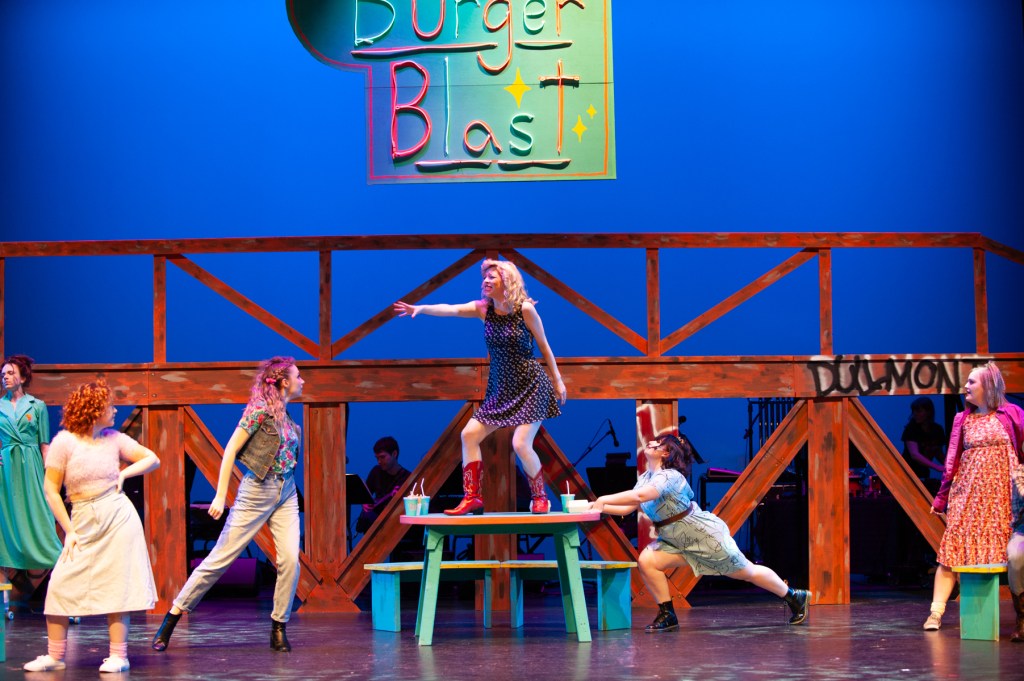
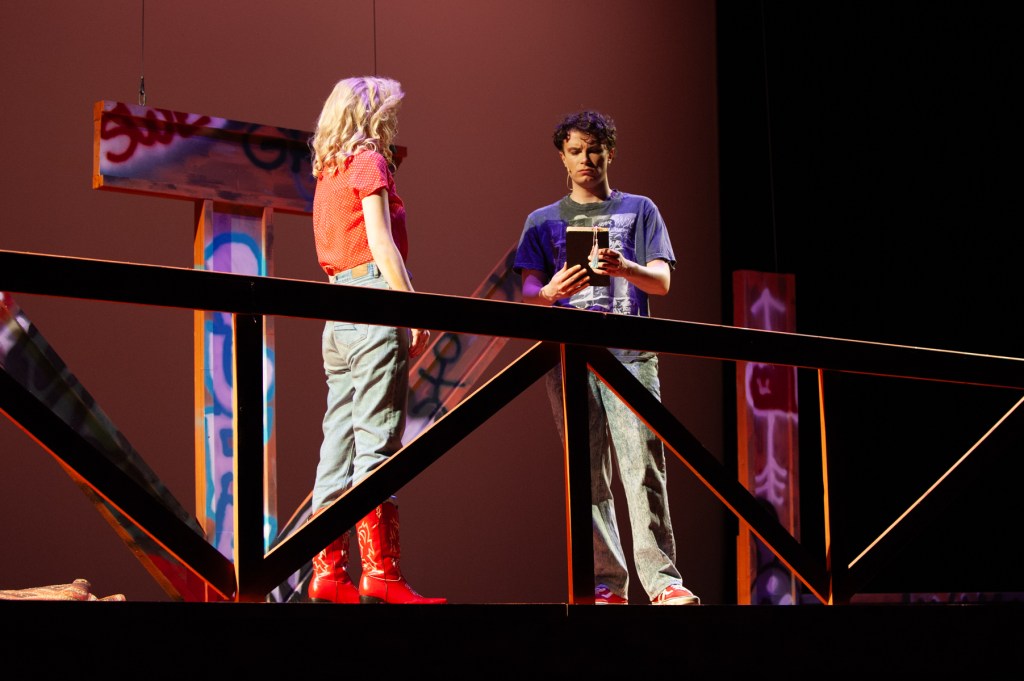
Footloose the musical is playing at Gallery 7 Theatre for the next couple of weeks. It’s a big show with a lot of colour, sound, hundreds(!) of costumes, and sweet moves. The set was built in a barely-heated shop in February during the two coldest weeks of the year, and then the big load-in happened last week, after the set designer finished painting.
Set Design is by Hayley Bamford; director is Kate Muchmore Woo.
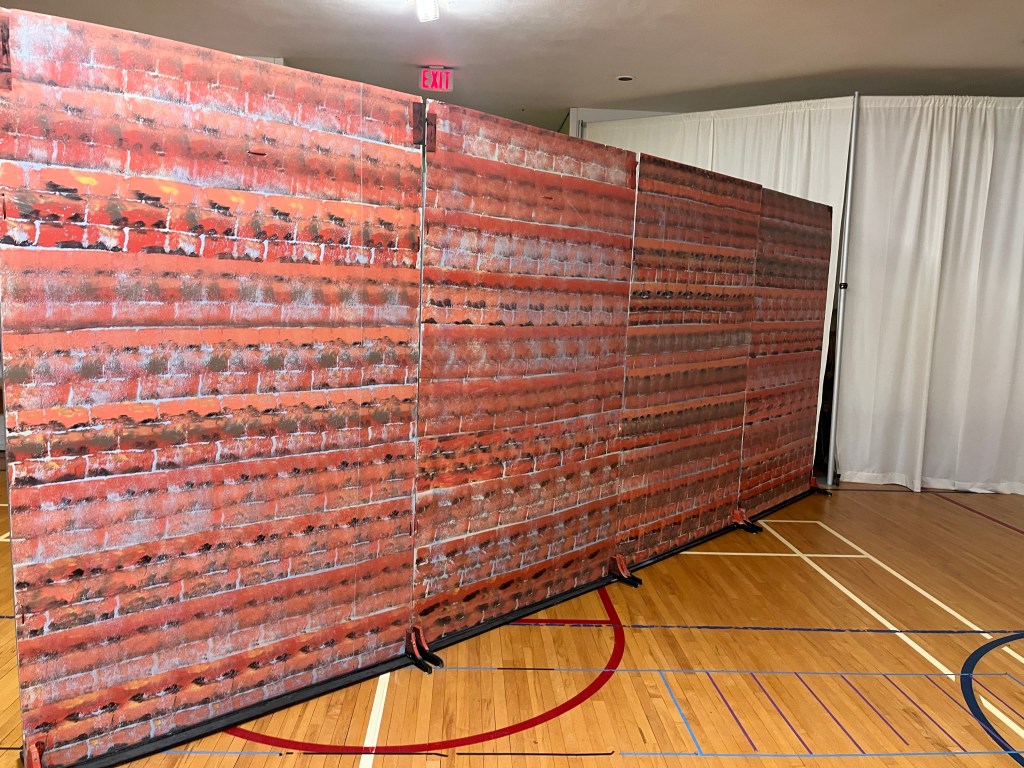
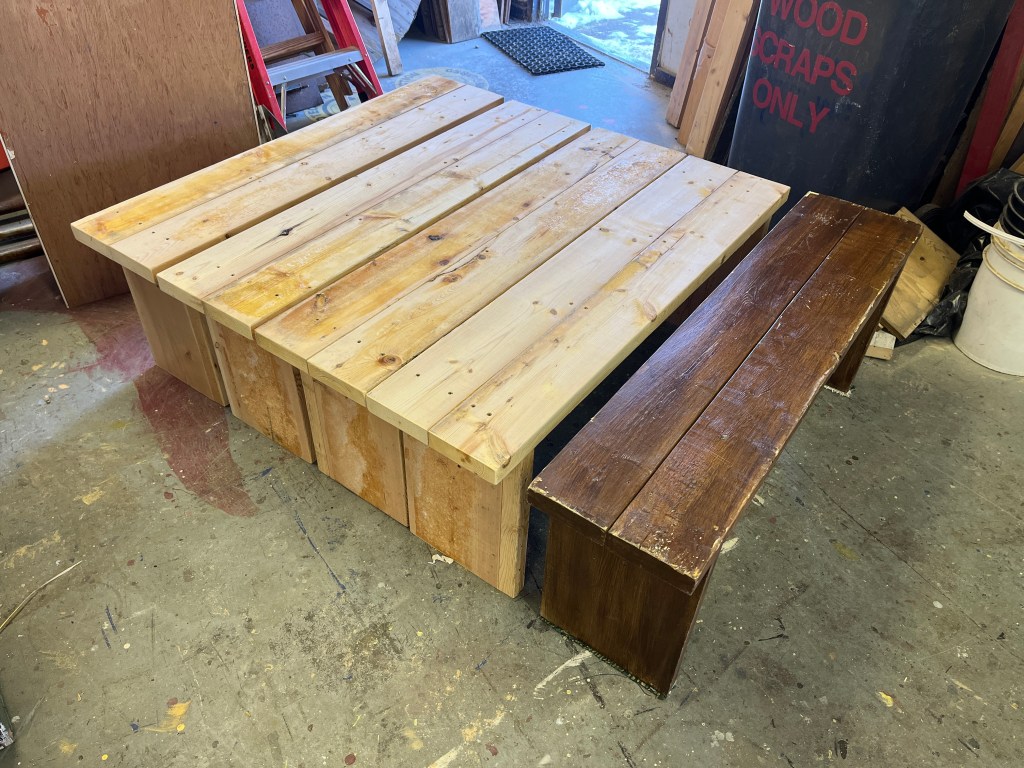
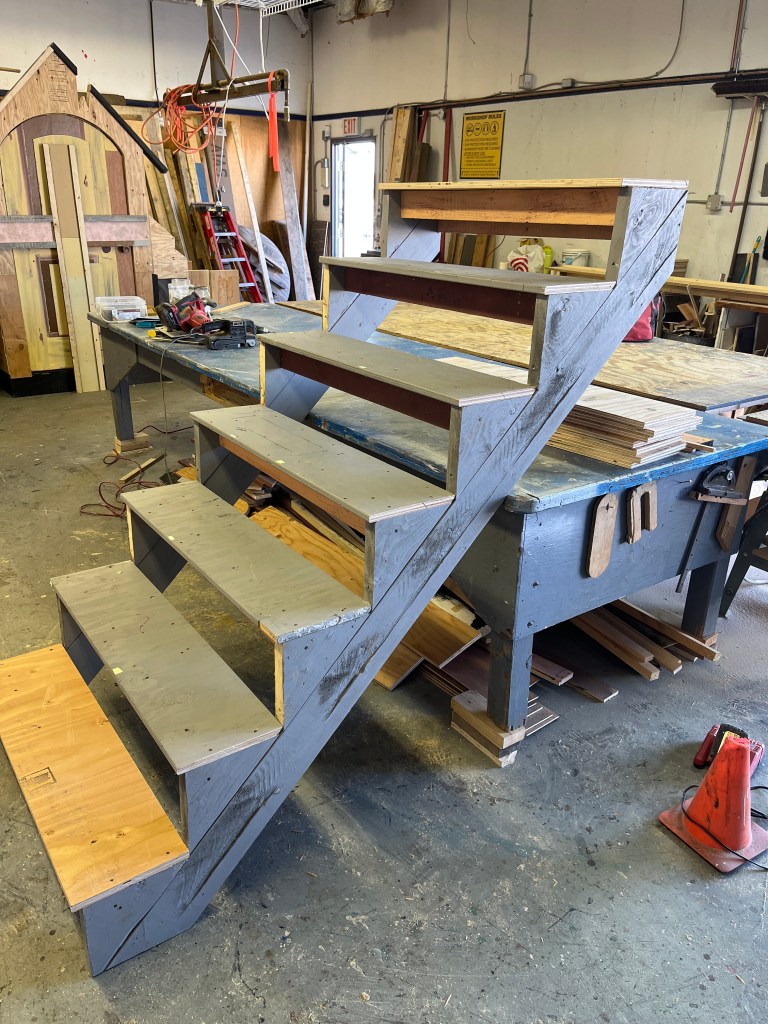
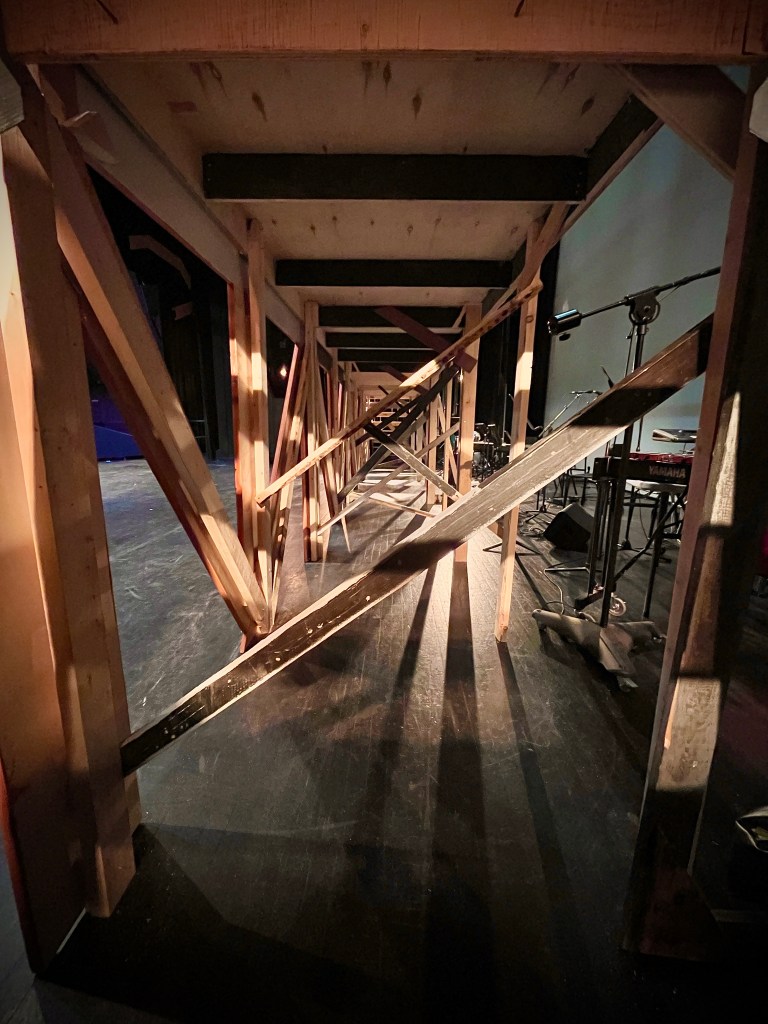
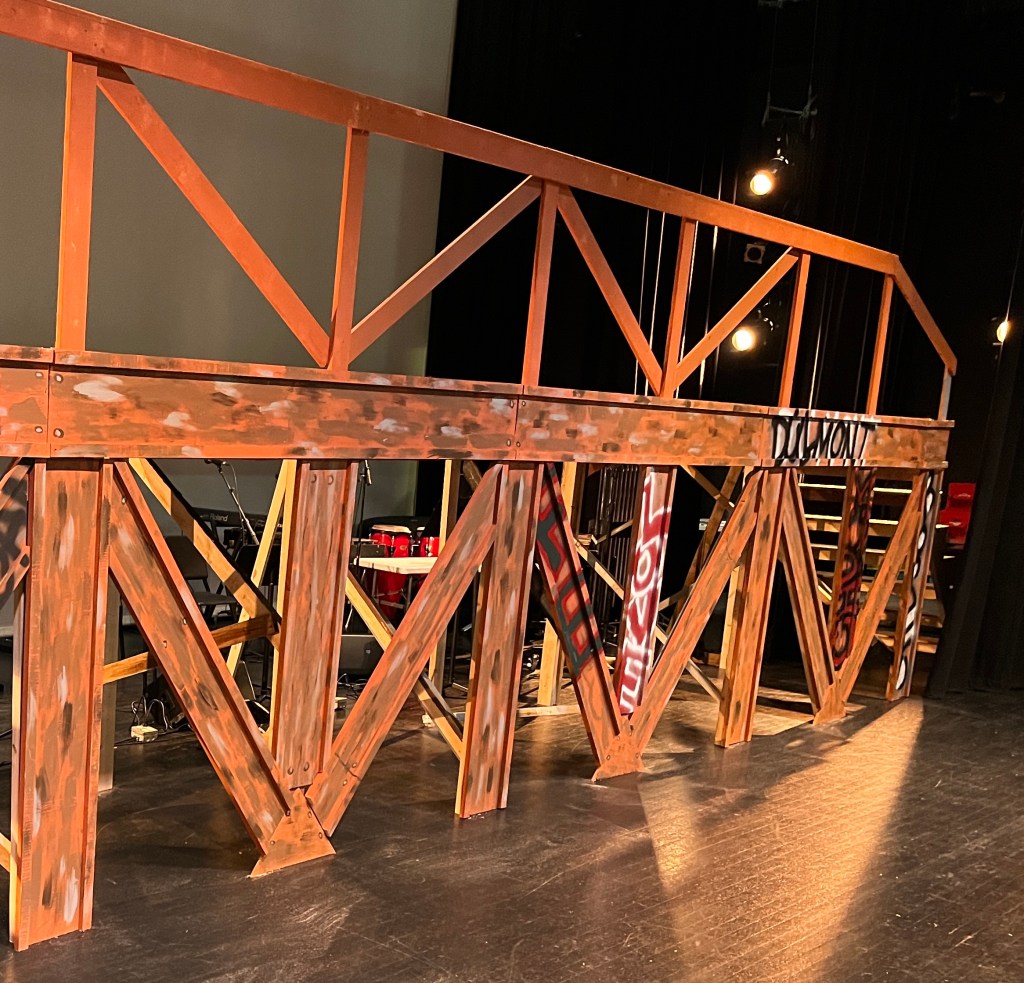
The main set piece is a large stationary railway bridge mid-upstage with the orchestra visible behind it. A large number of wheeled pieces come on and off to set up the large number of scenes. Building focused on tables, platforms, a house, and so on…
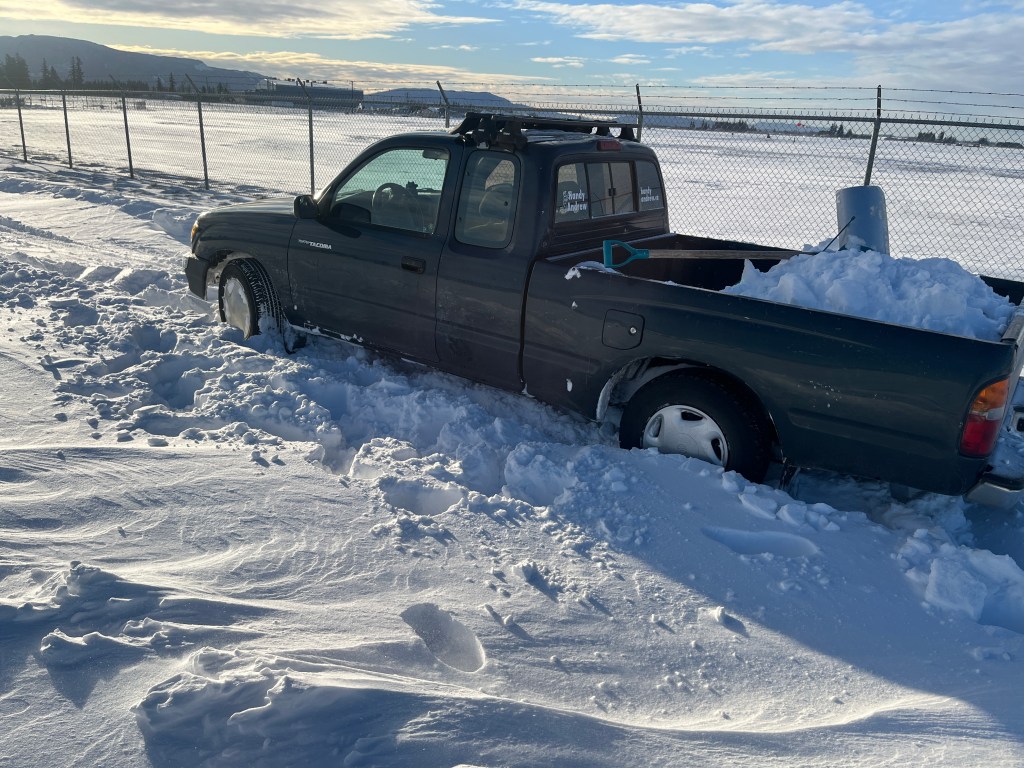
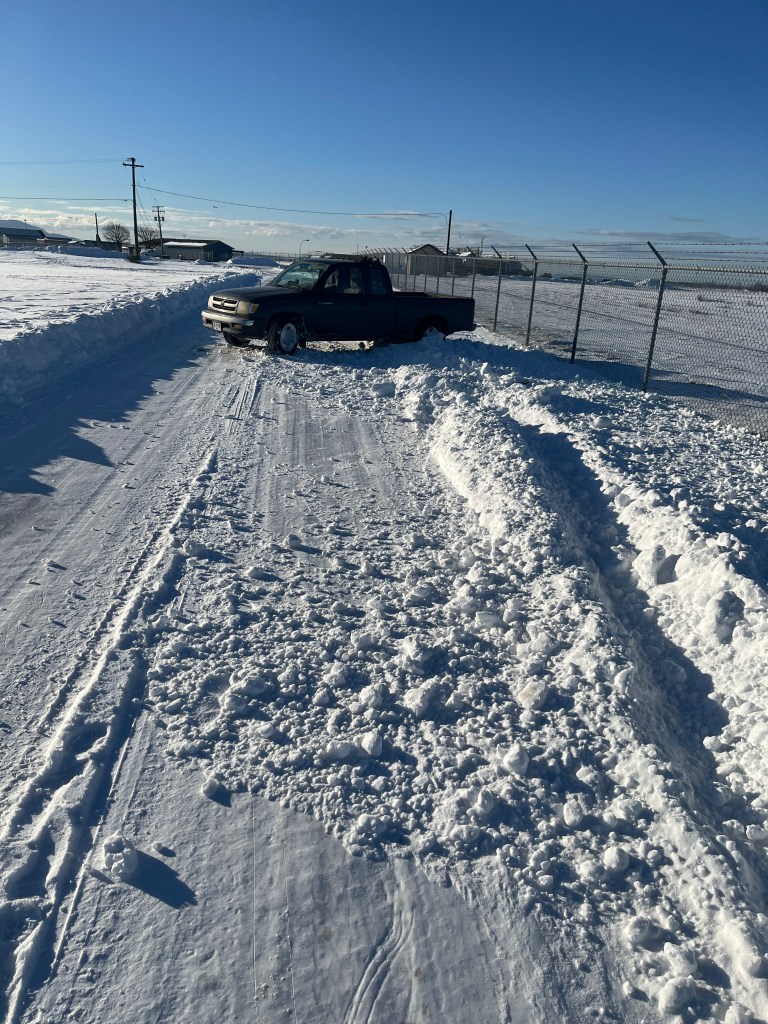
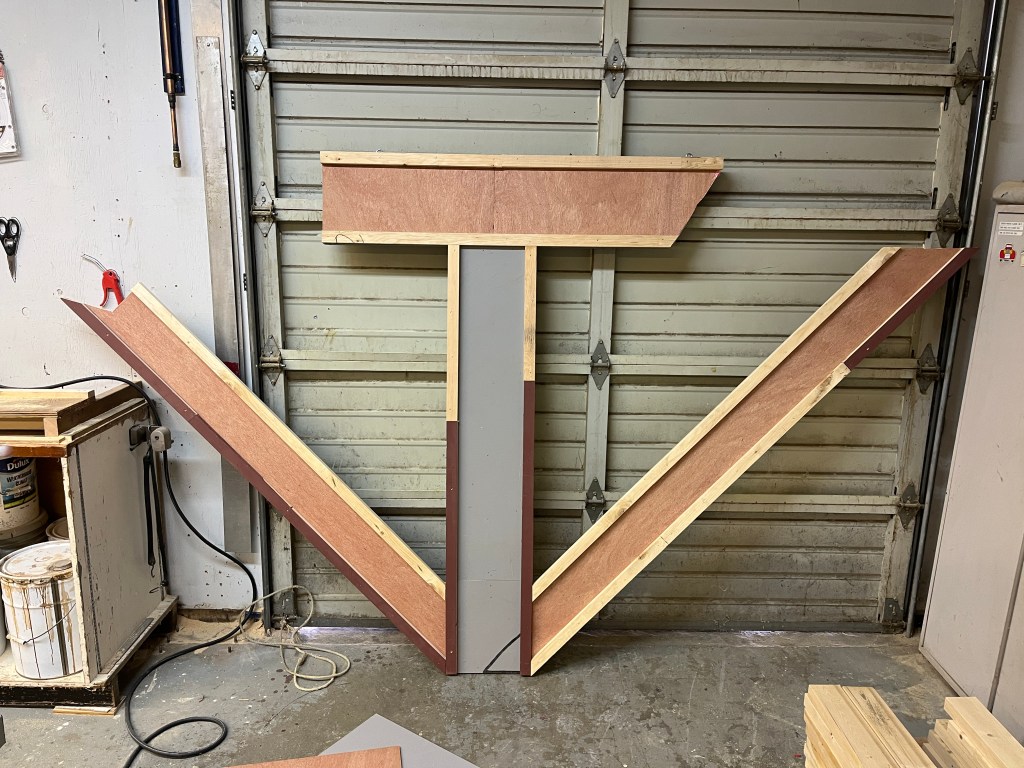
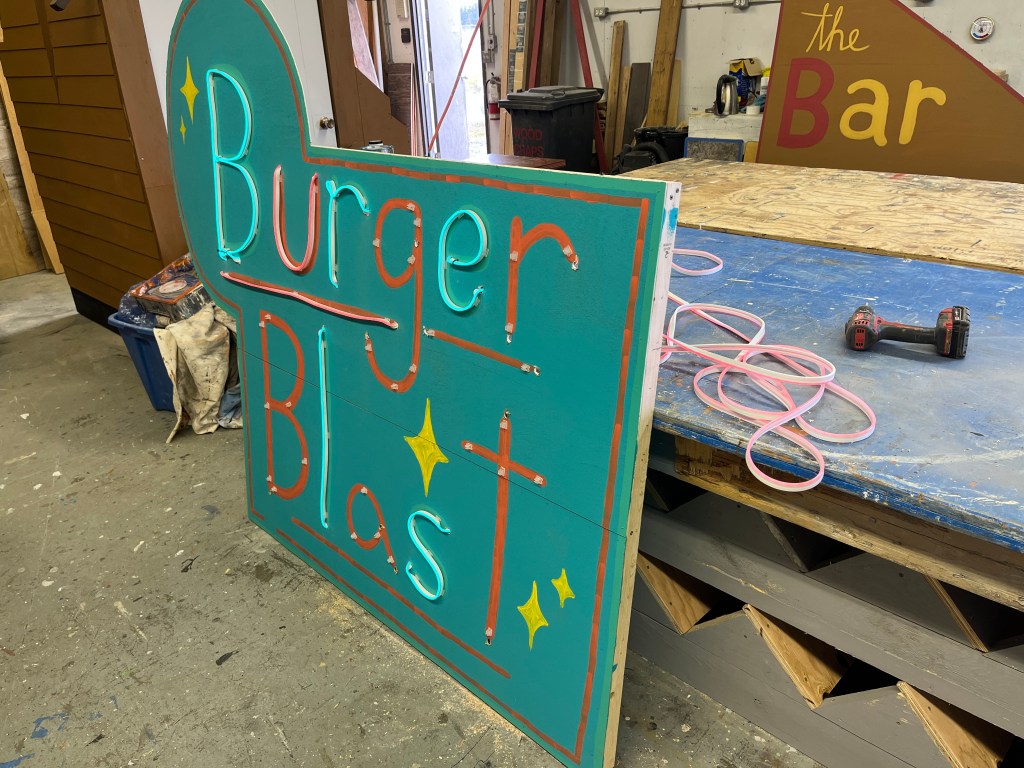
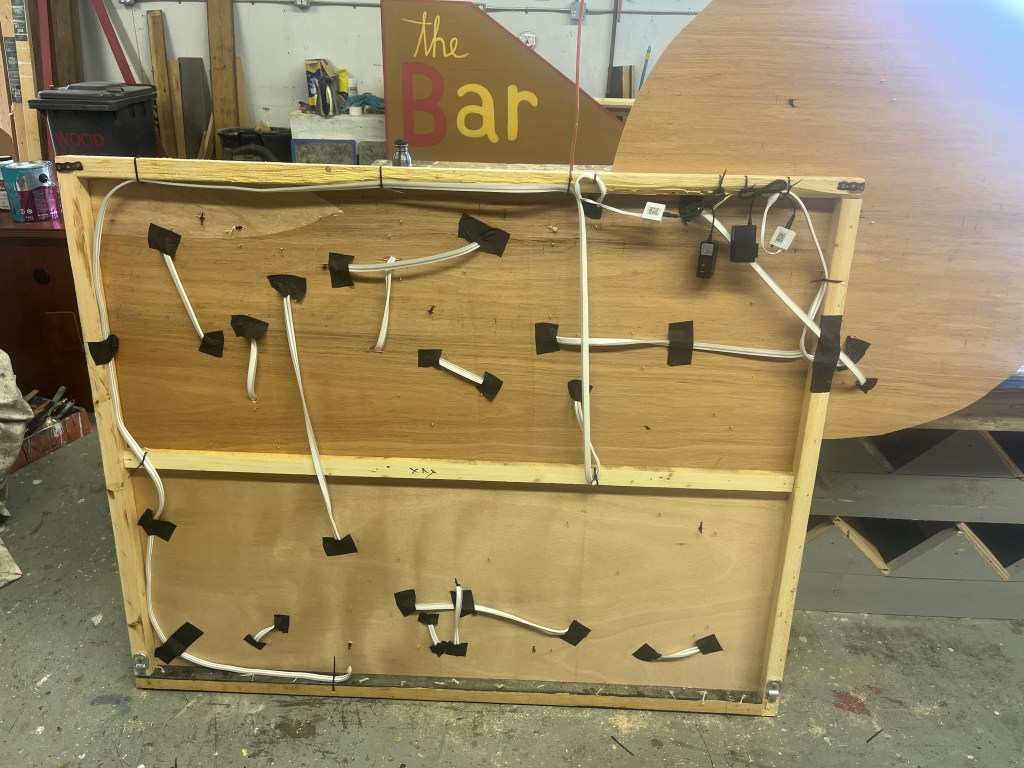
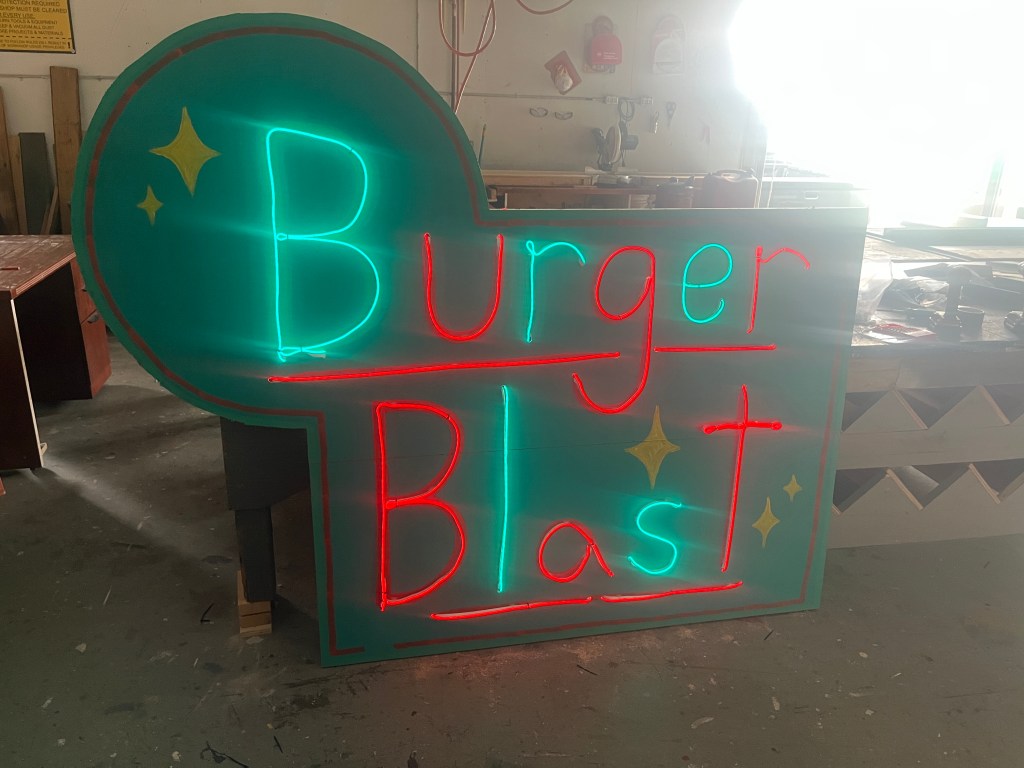
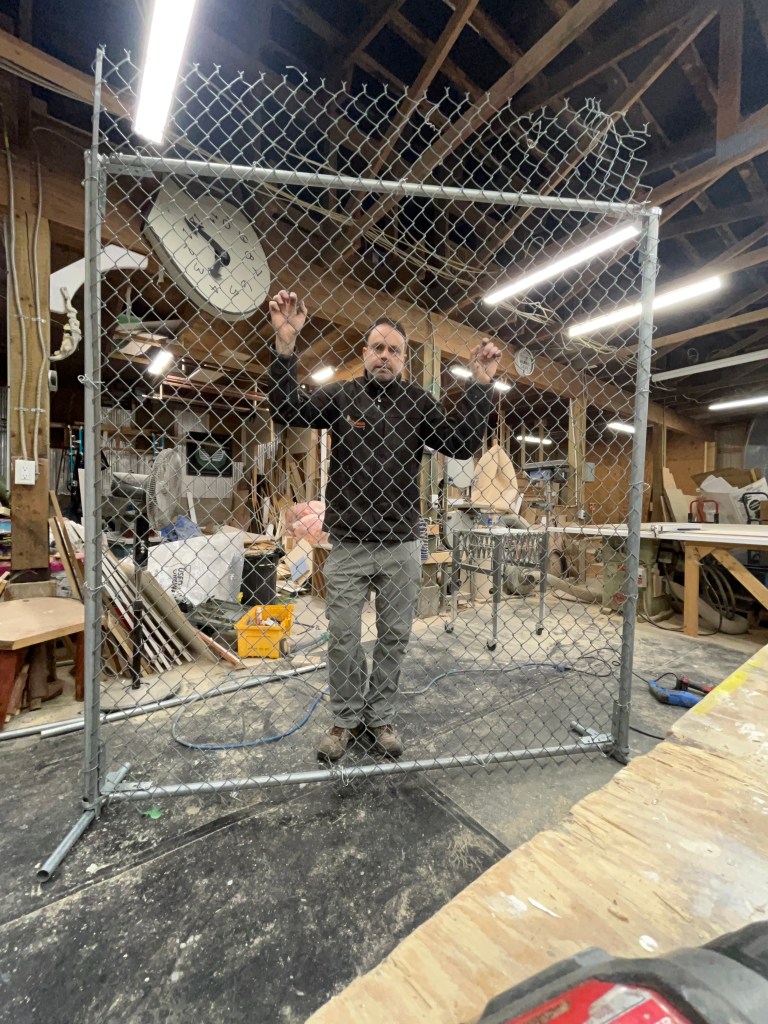
getting stuck as usual…every winter…Dad making tablesDad testing tablesKaren making flieshit black ice and did a 360Aaren and Dad recycling old flats into train girderspulpit/DJ skeletonmaking benches……and more benches…Engineering fliestracing Hayley’s sign with neon tubing (LED)back of the Burger signwiring the BBQ lightscustom fenceLoad in dayForced Perspective Shot – this is important to note! –Last minute railing additionAmazing tagging by Hayley’s friend
The 32-foot bridge is very solid. Some of the bracing/support is hidden. The forced perspective shot posted elsewhere in a set build group got me in a bit of trouble, with a concerned designer even calling in unsolicited from another country…because it looks like a 4×4 unsupported span, but that is not the case. (I just think it’s a cool shot.)
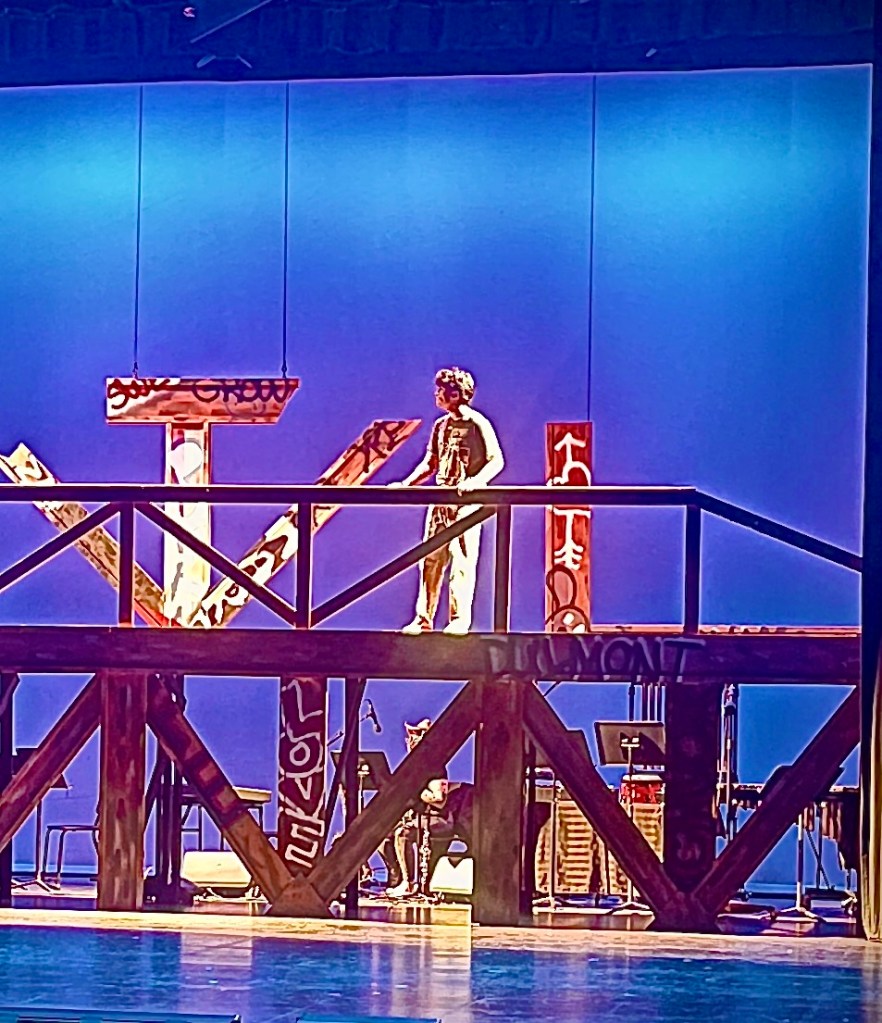
Hayley designed and executed a beautiful set, and I was proud to help make it happen. Everybody cut… footloose!
The following Gallery 7 production photos were taken by Dianna Lewis: