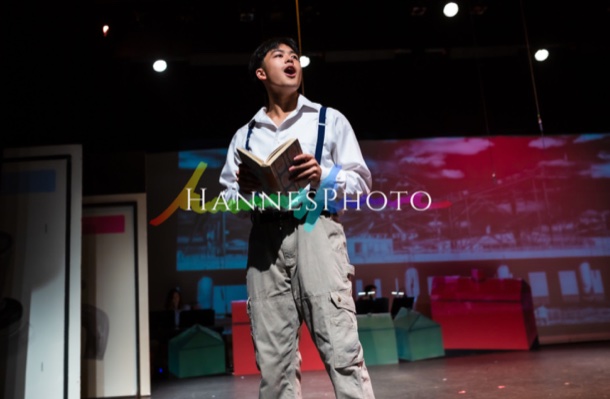
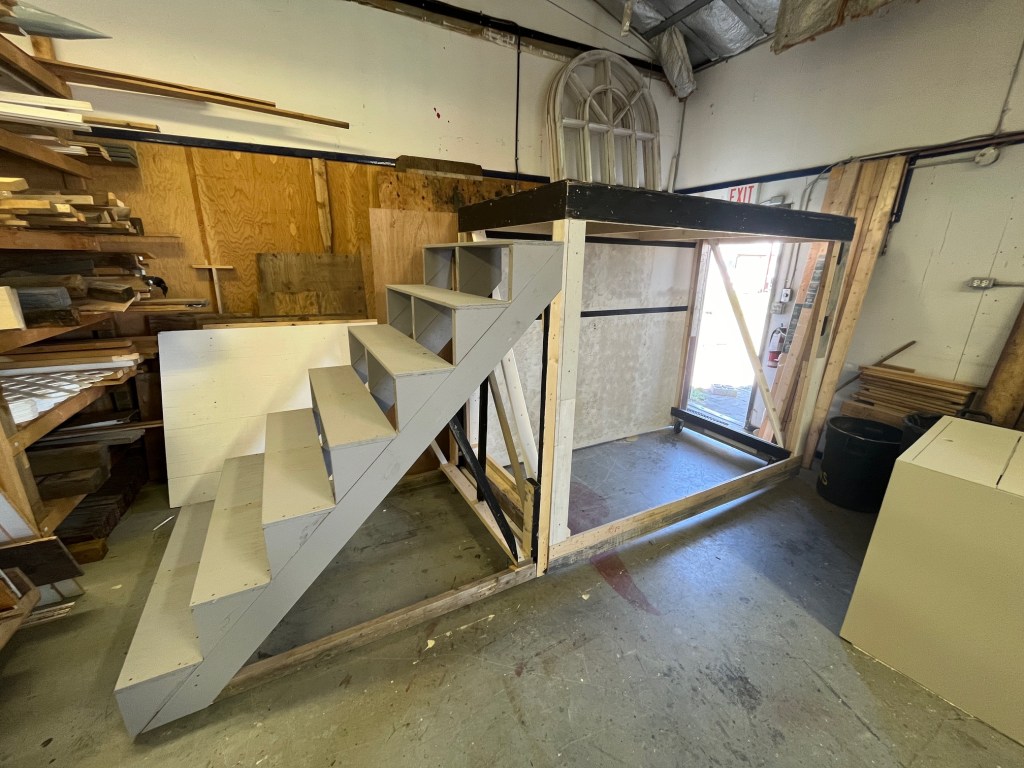
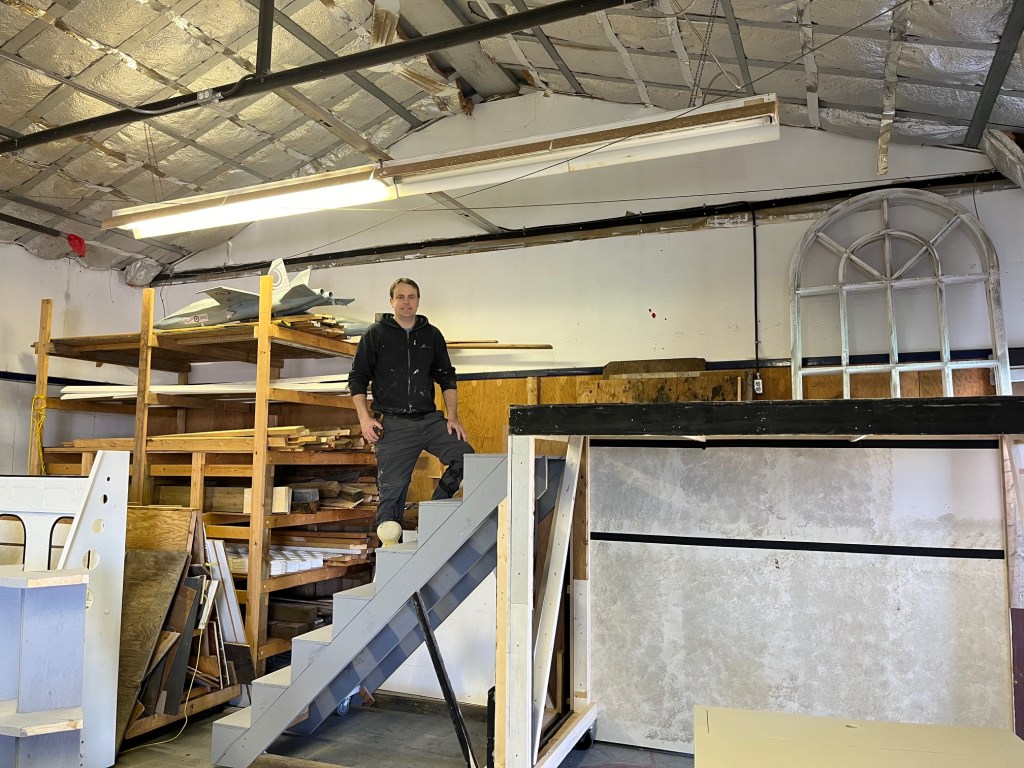
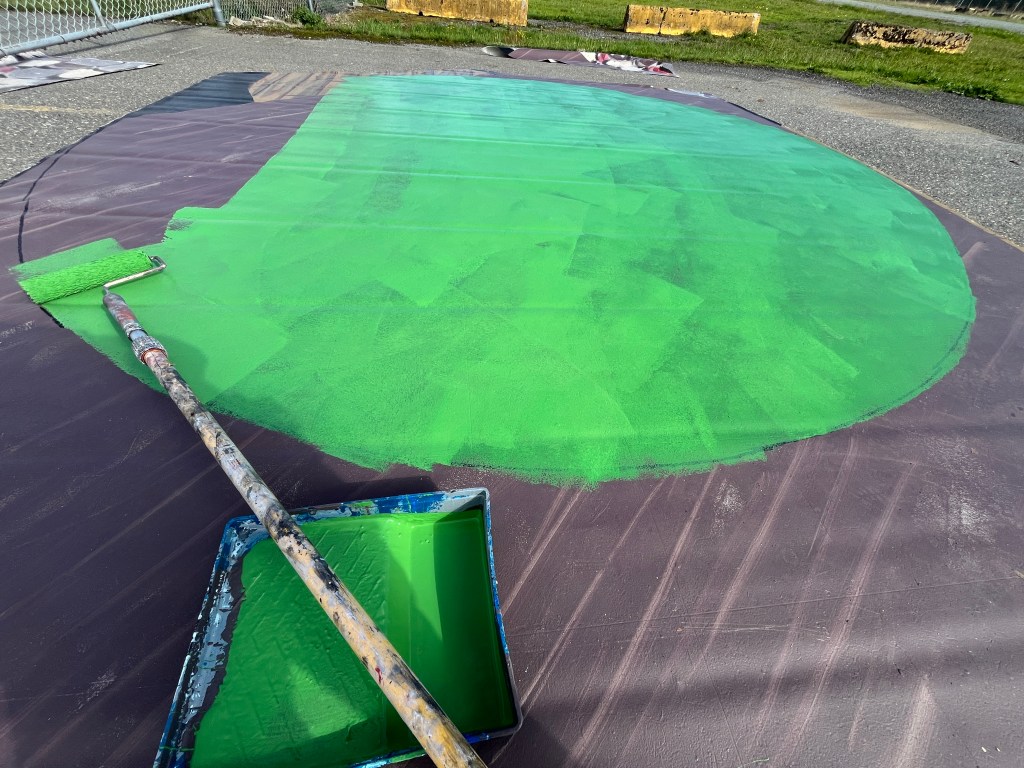
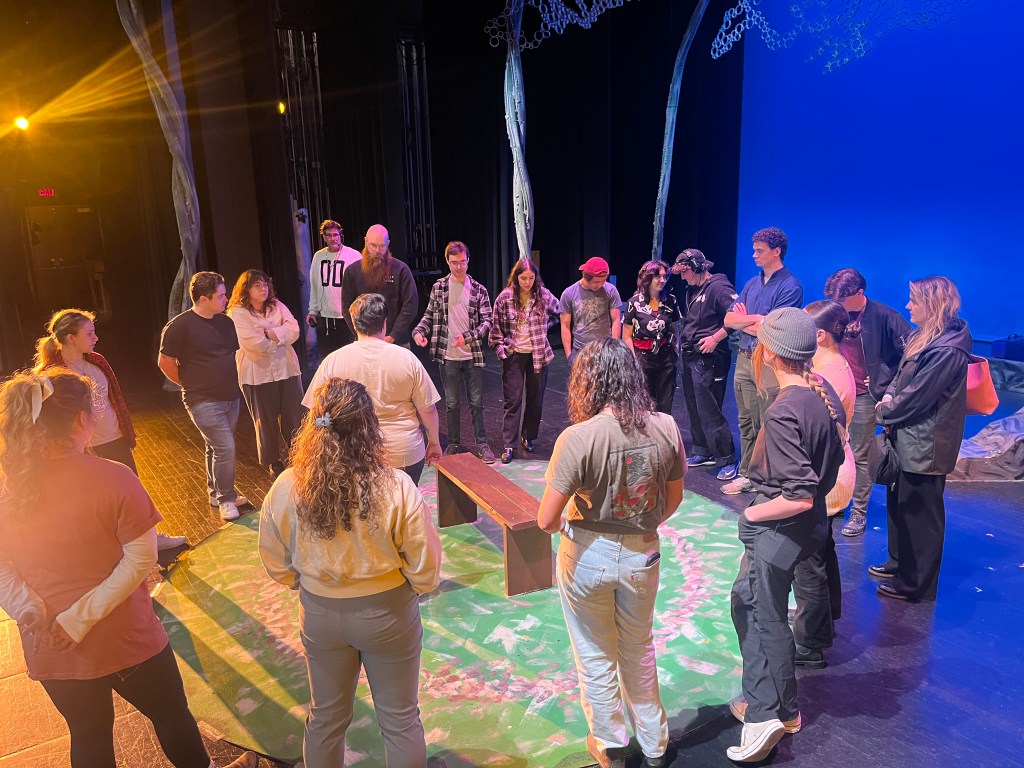
Prince Caspian played at Gallery 7 Theatre recently. Here are a few pictures of the set design and build process.
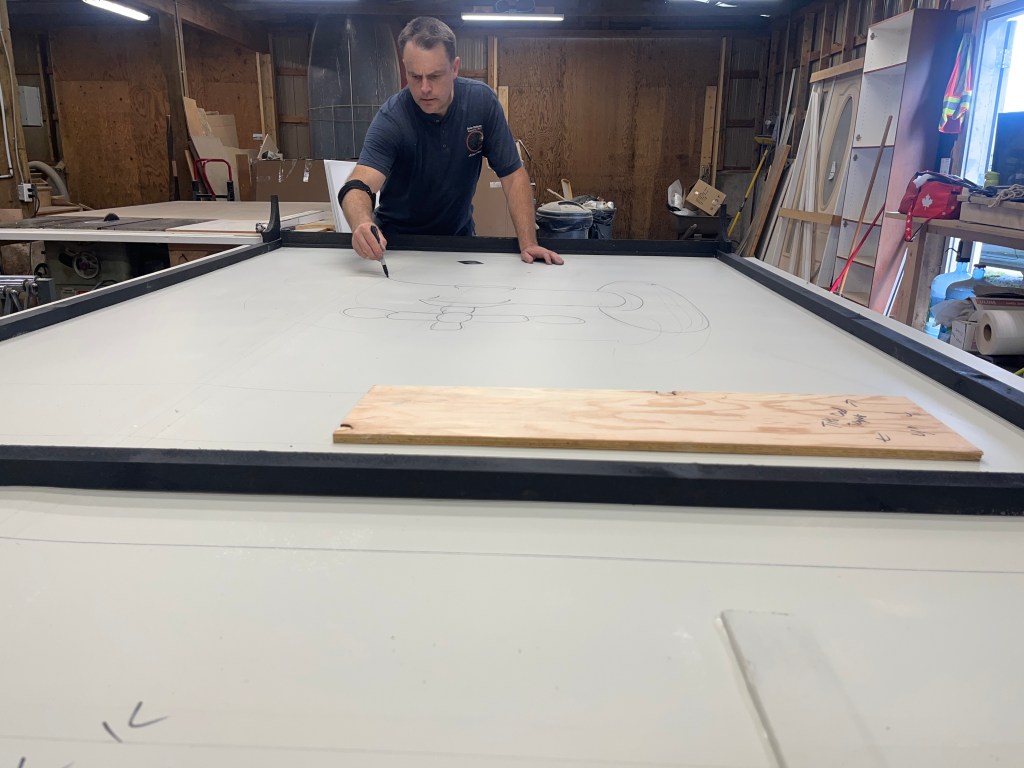
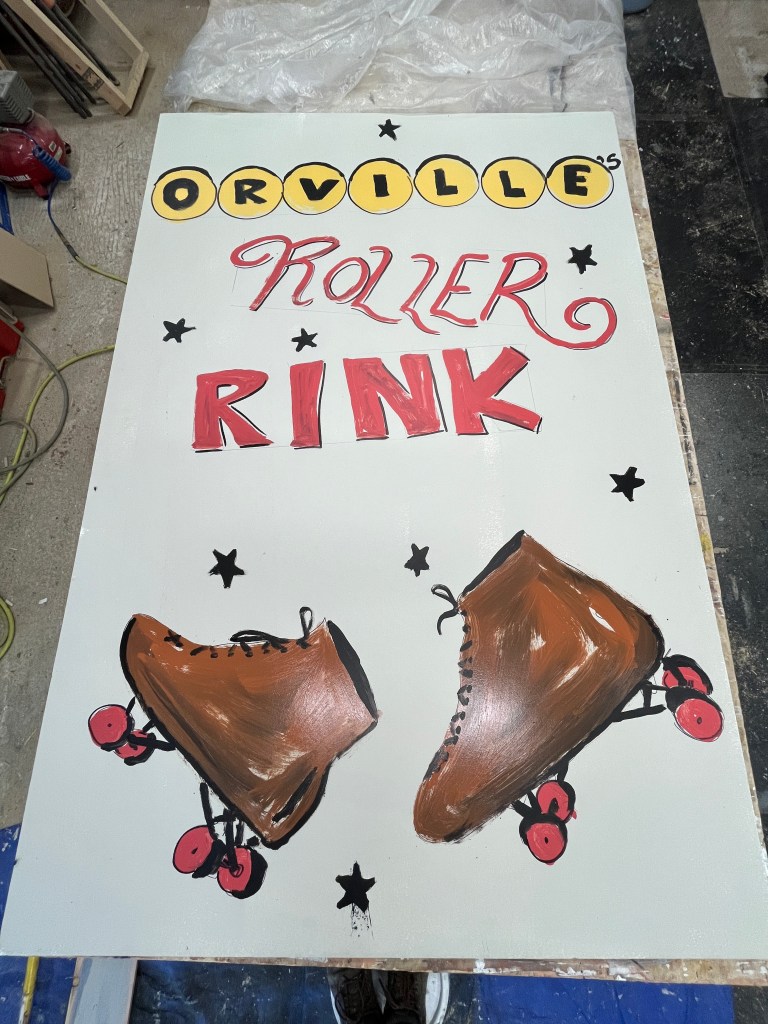
It started with a meeting with the director and other designers, reading the script, and coming up with some sketches and ideas which eventually formed the set design.
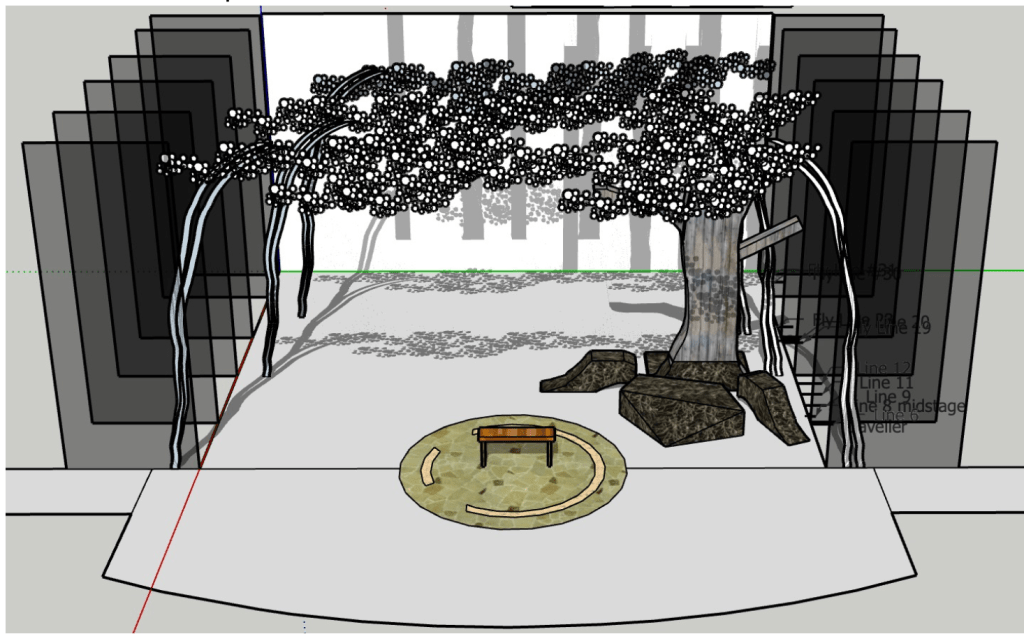
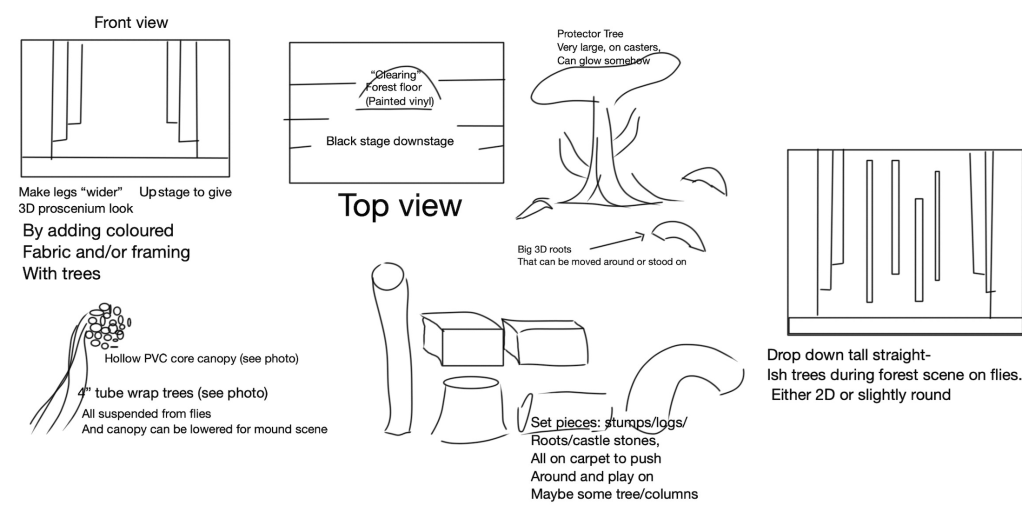
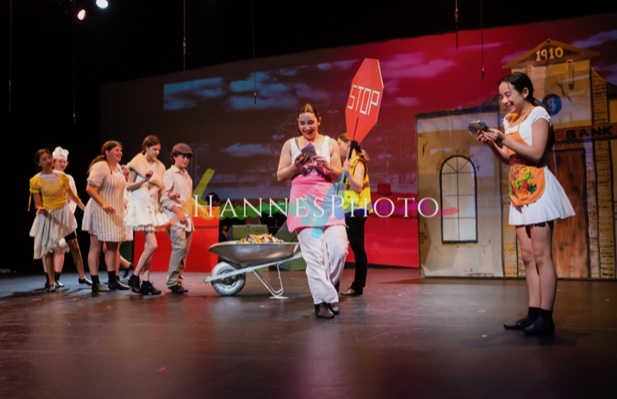
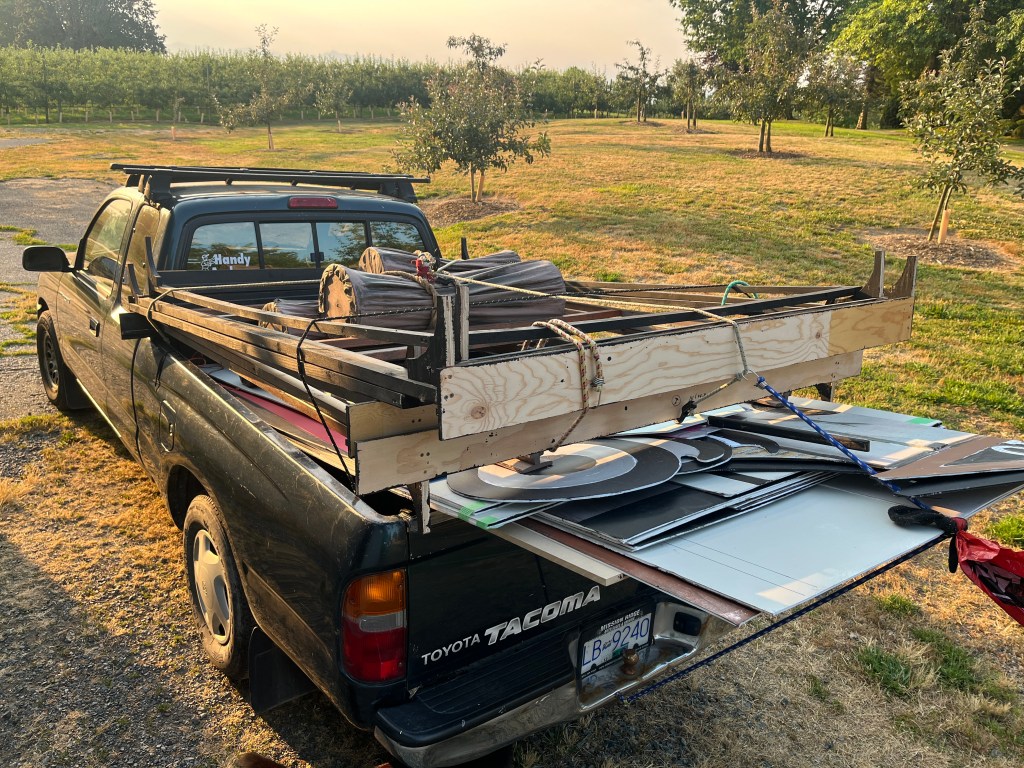
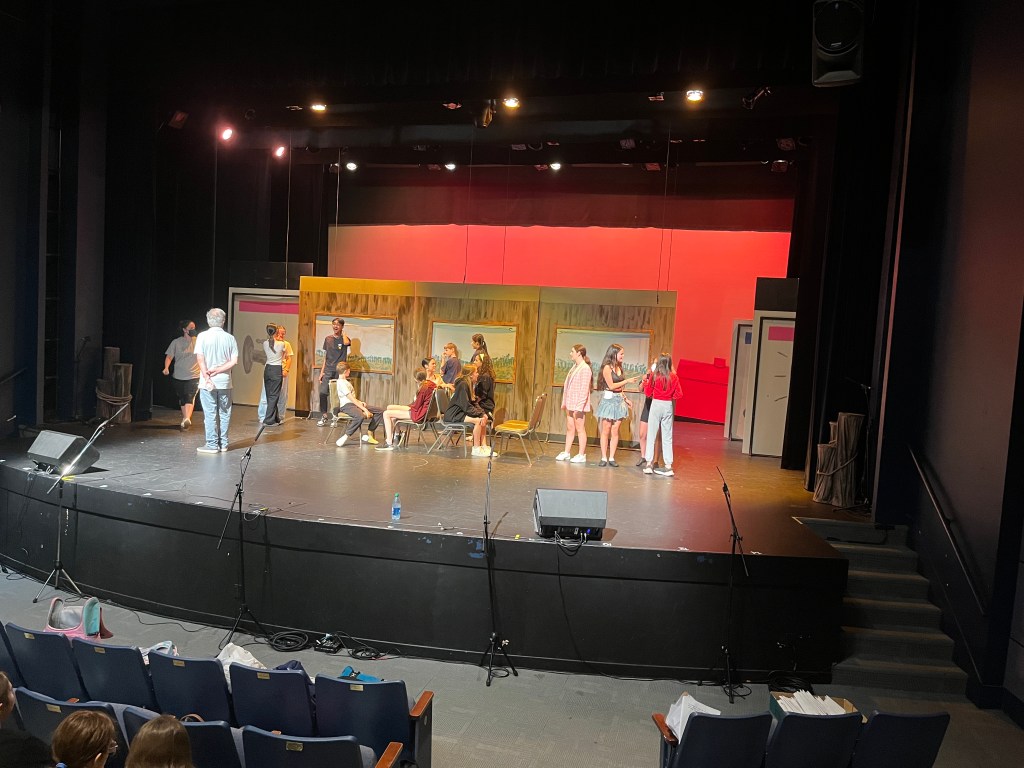
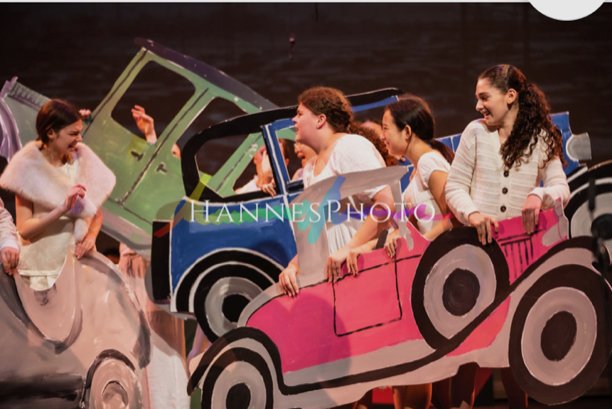
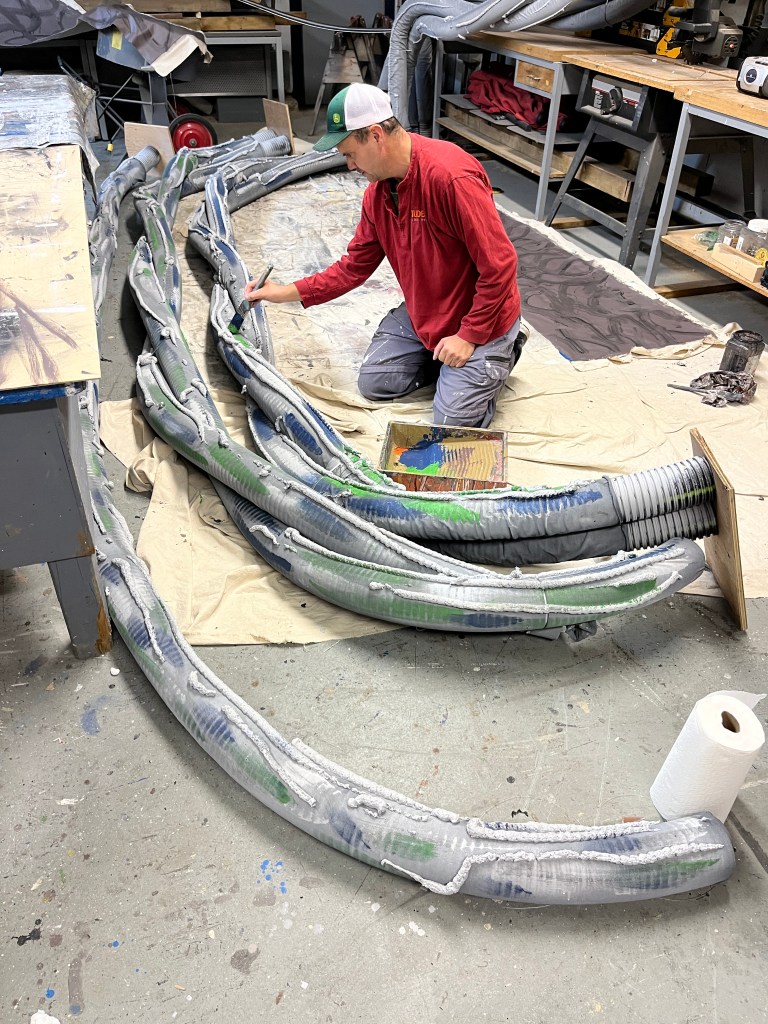
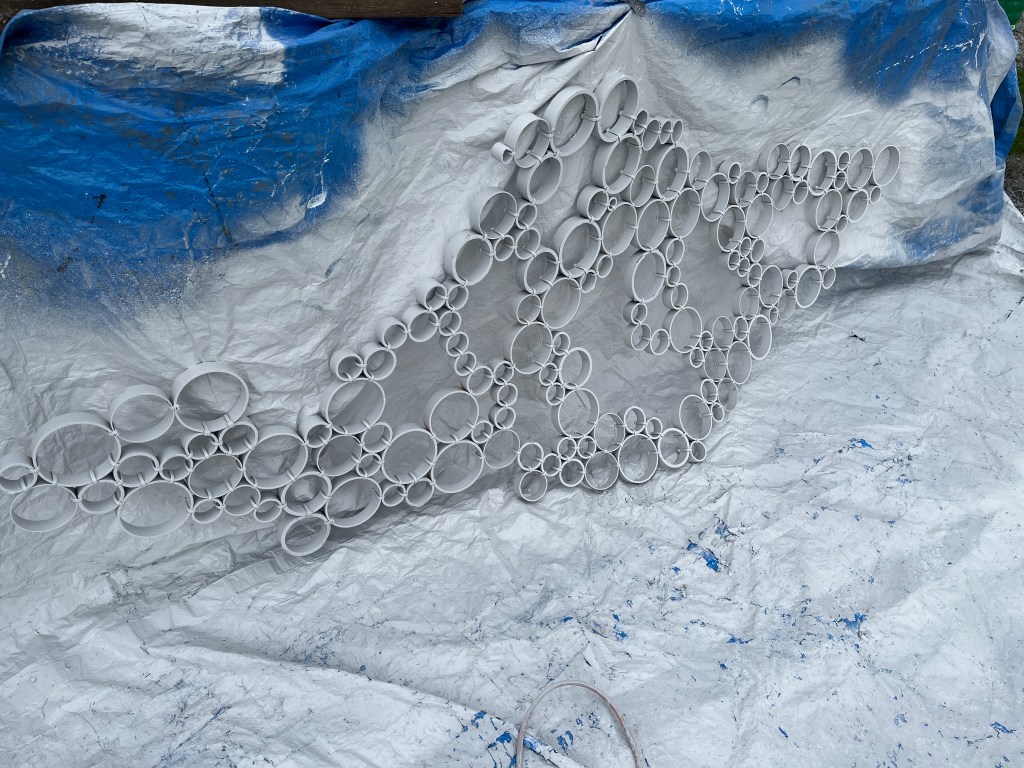
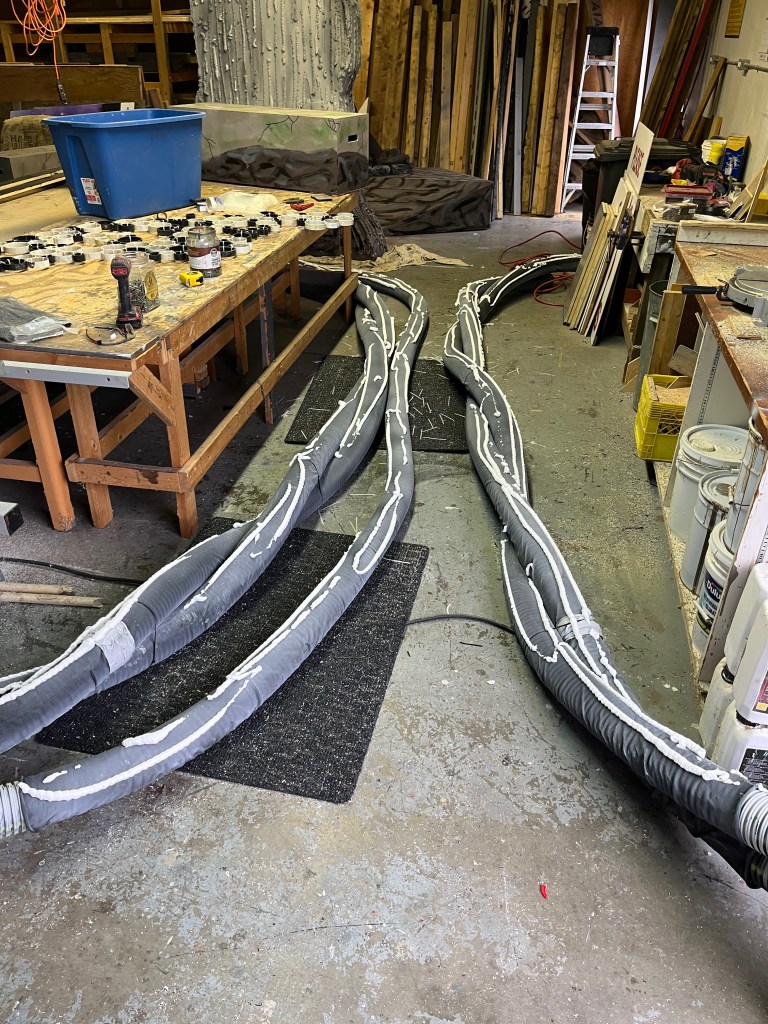
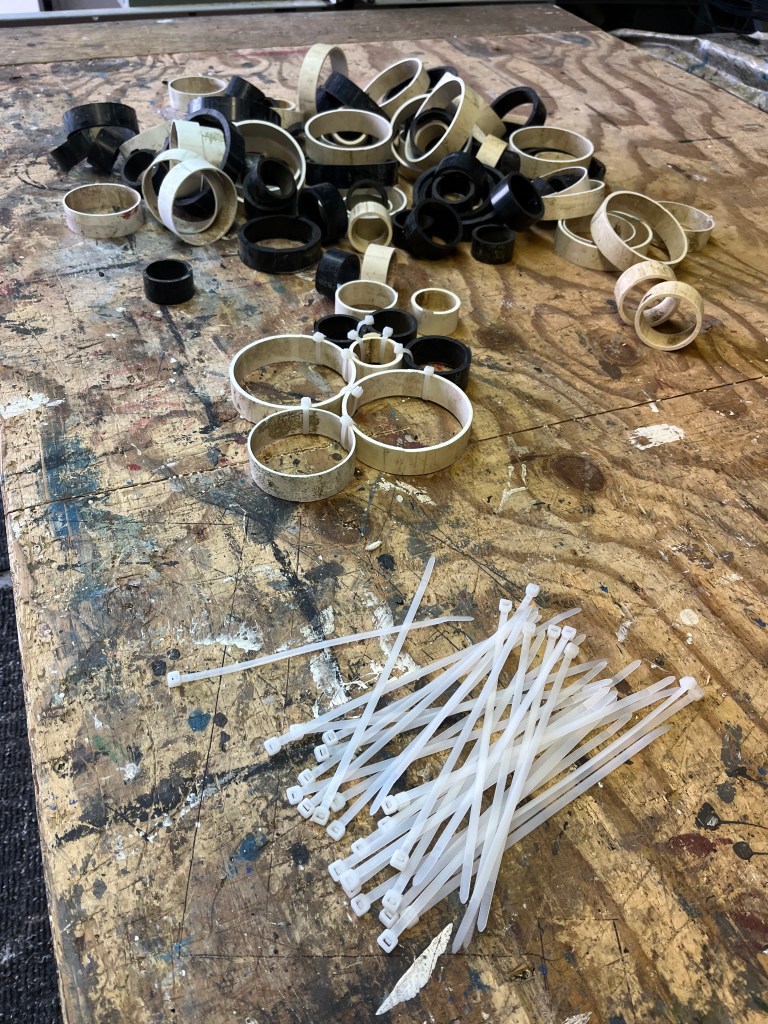
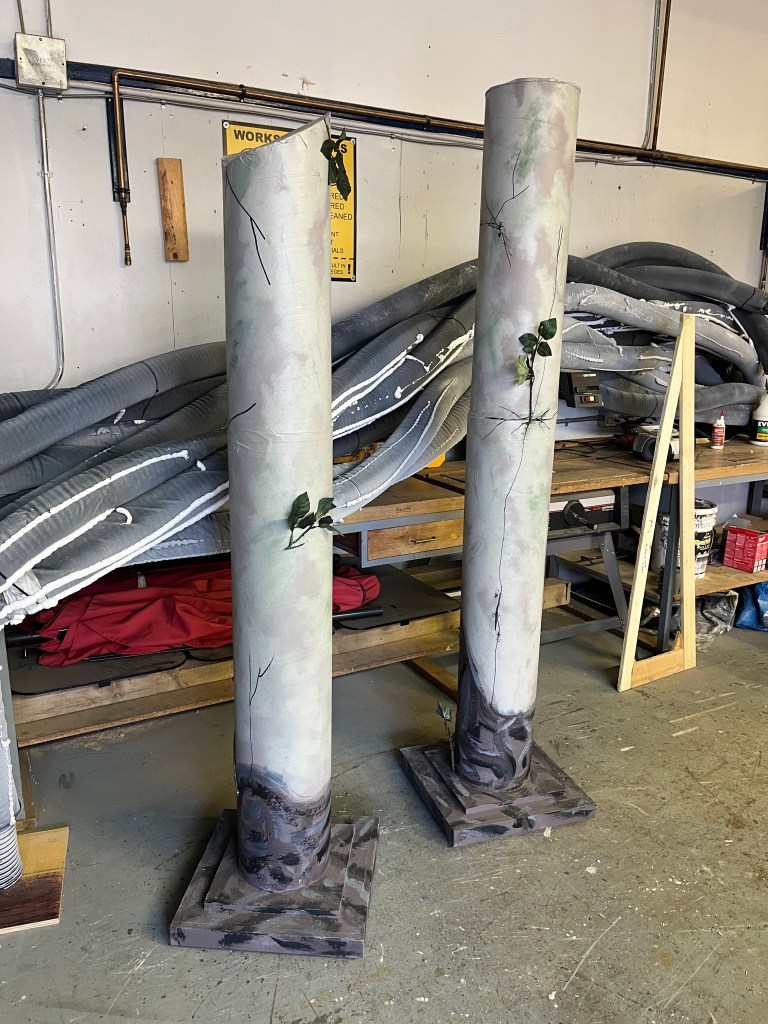
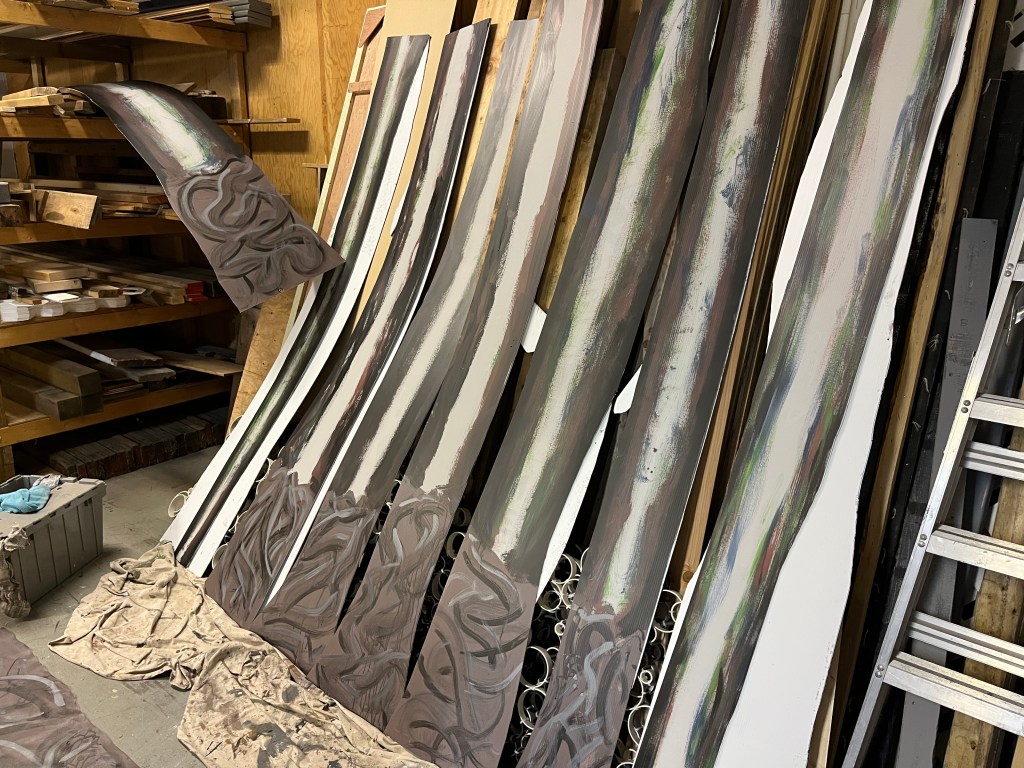
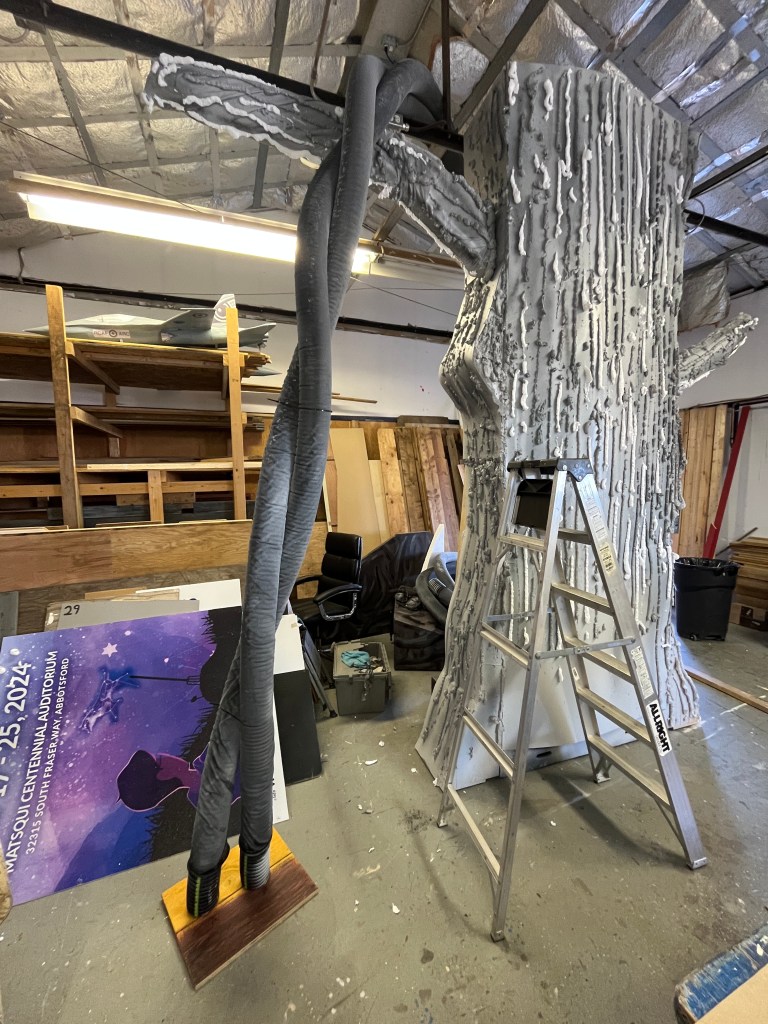
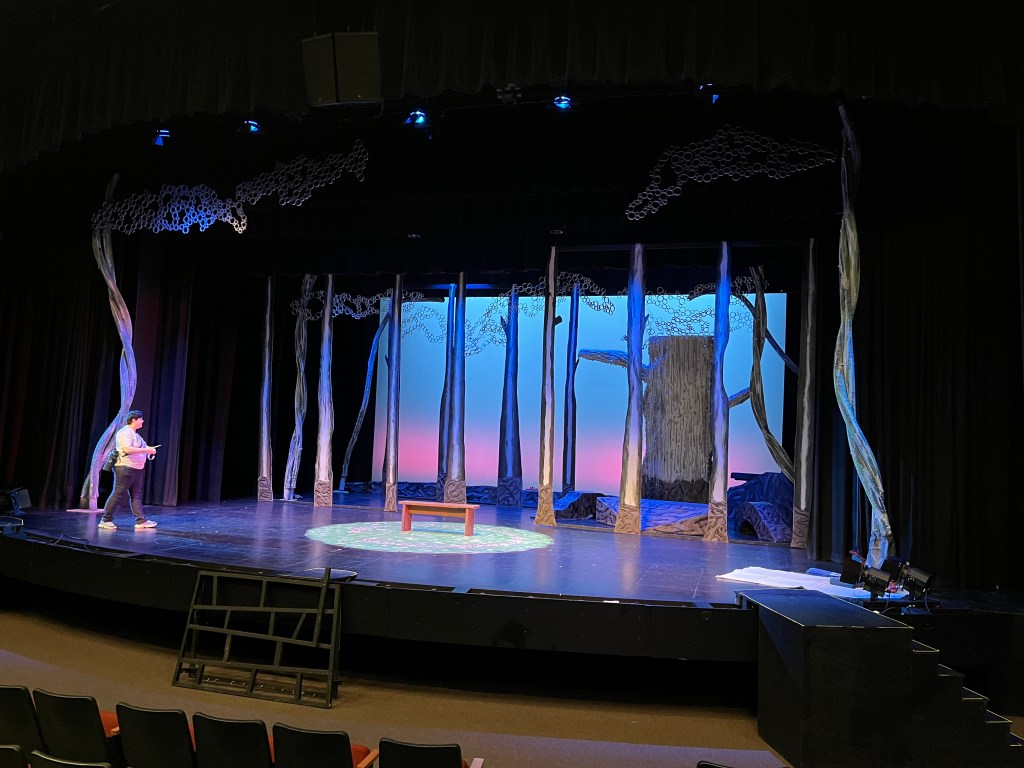
The forest was built with several different kinds of trees (including by the actors themselves, which were creativily portrayed by the costume designer). I borrowed an idea from Youtube about making the tree canopy out of PVC pipe. I had some scrap ABS pipe and scrounged some other pipes elsewhere; the biggest cost was the 3000 zip ties. The flexible trunks were made of flexible drainage pipe and the big moveable tree was a regular set piece on a riser.


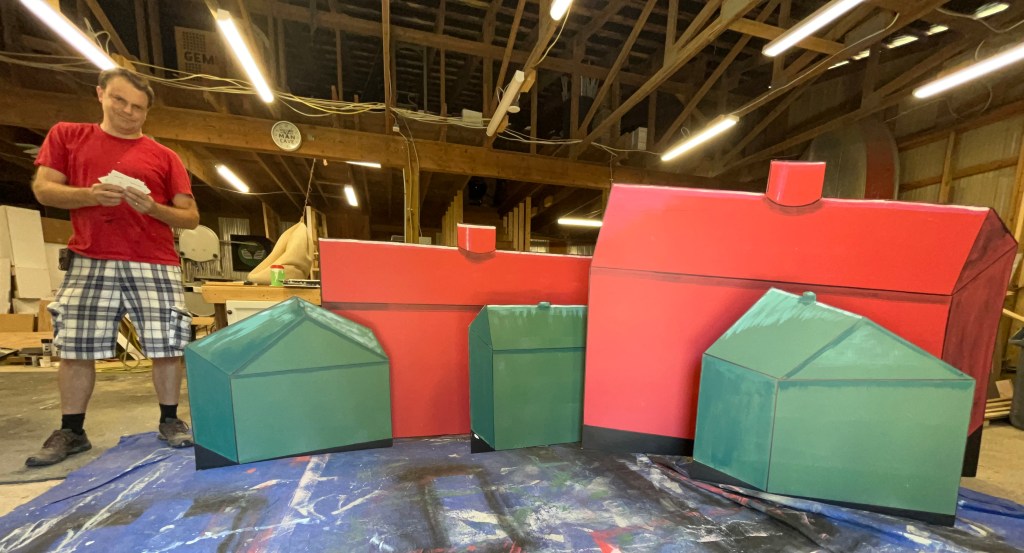
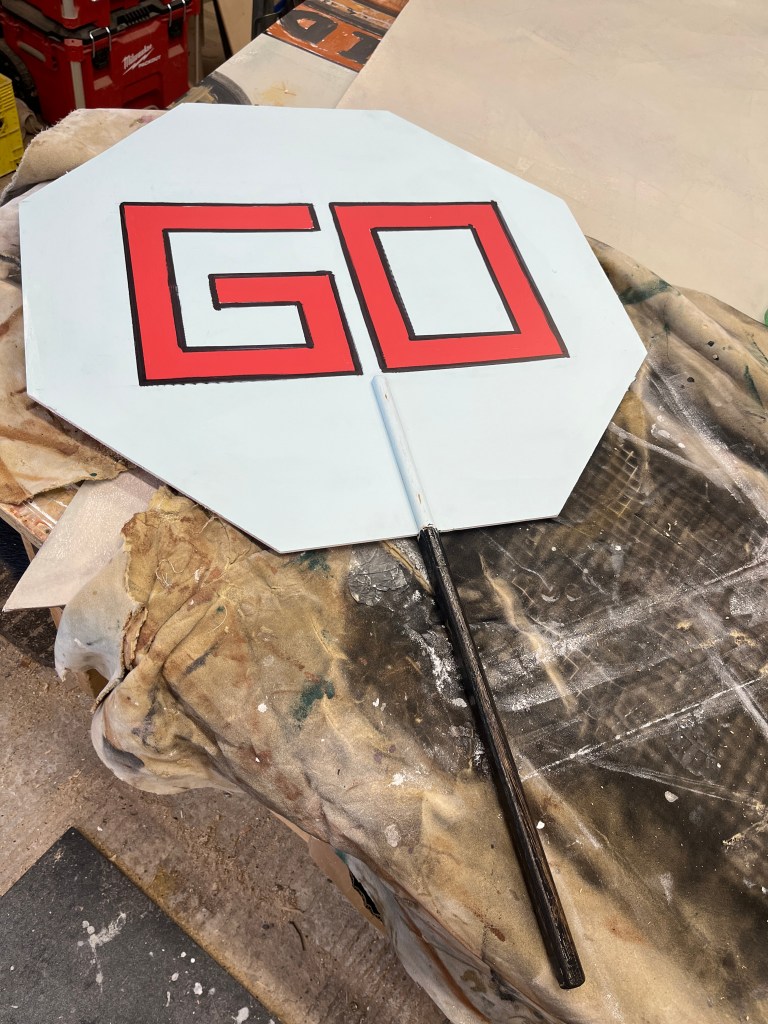
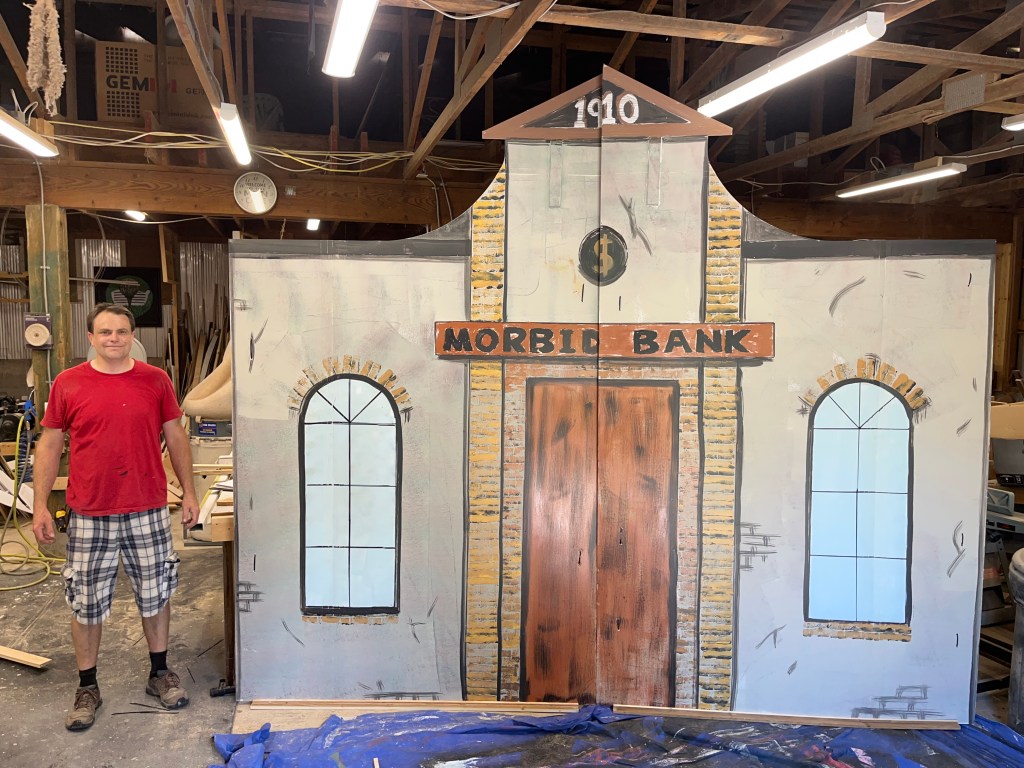
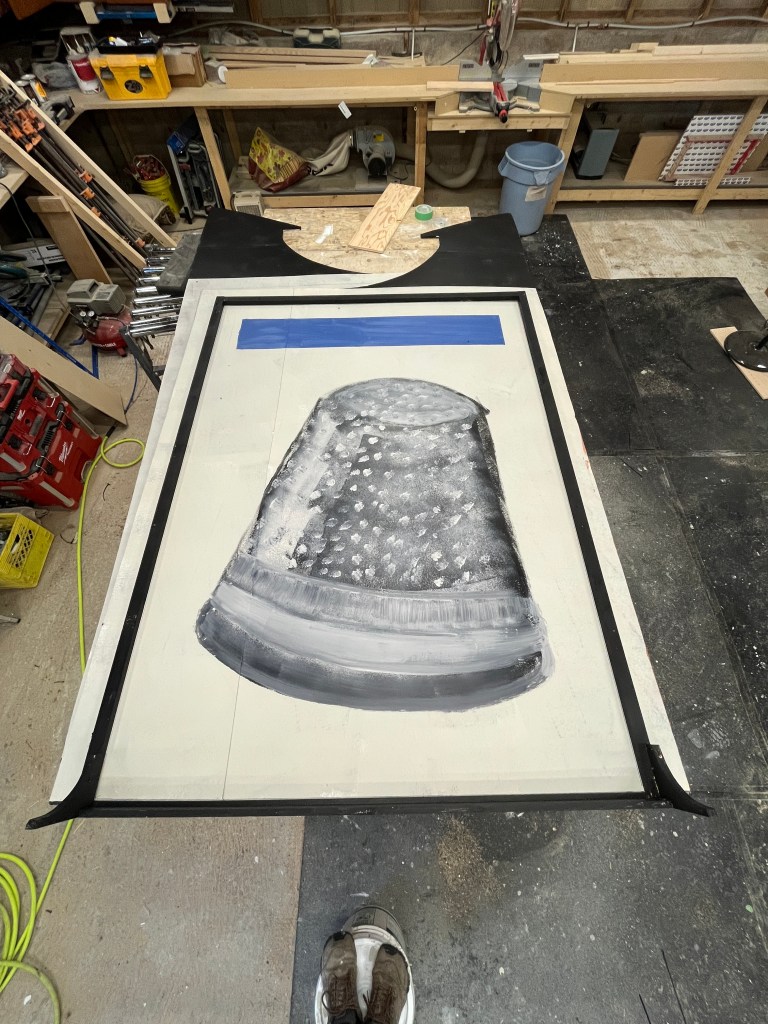
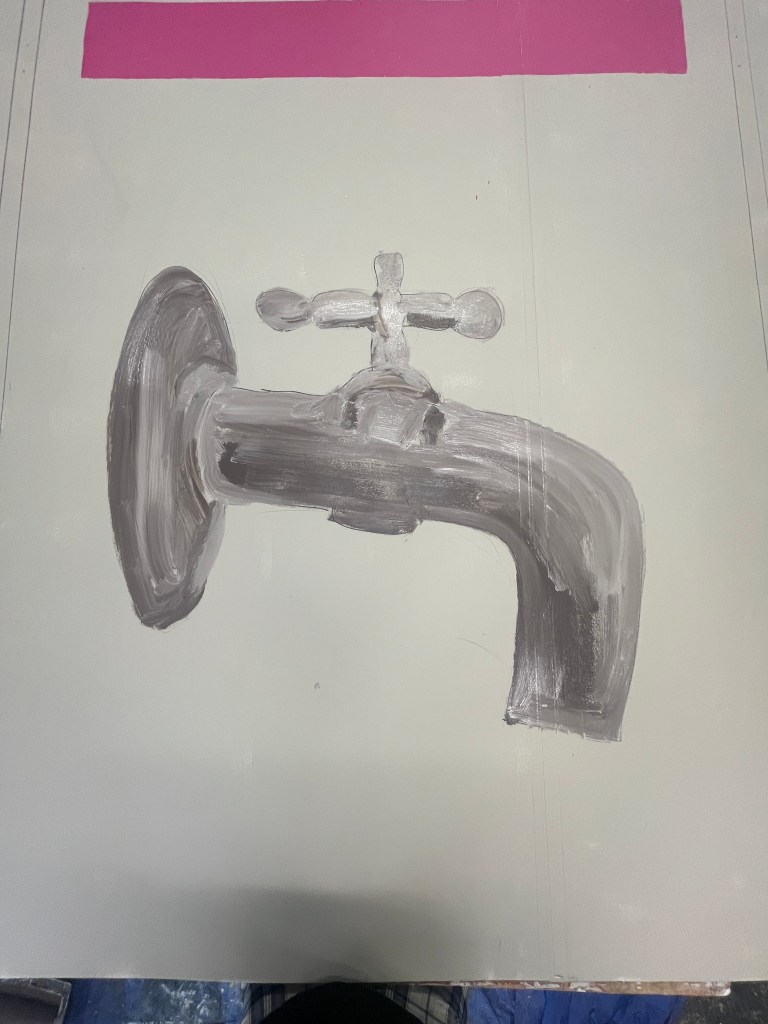
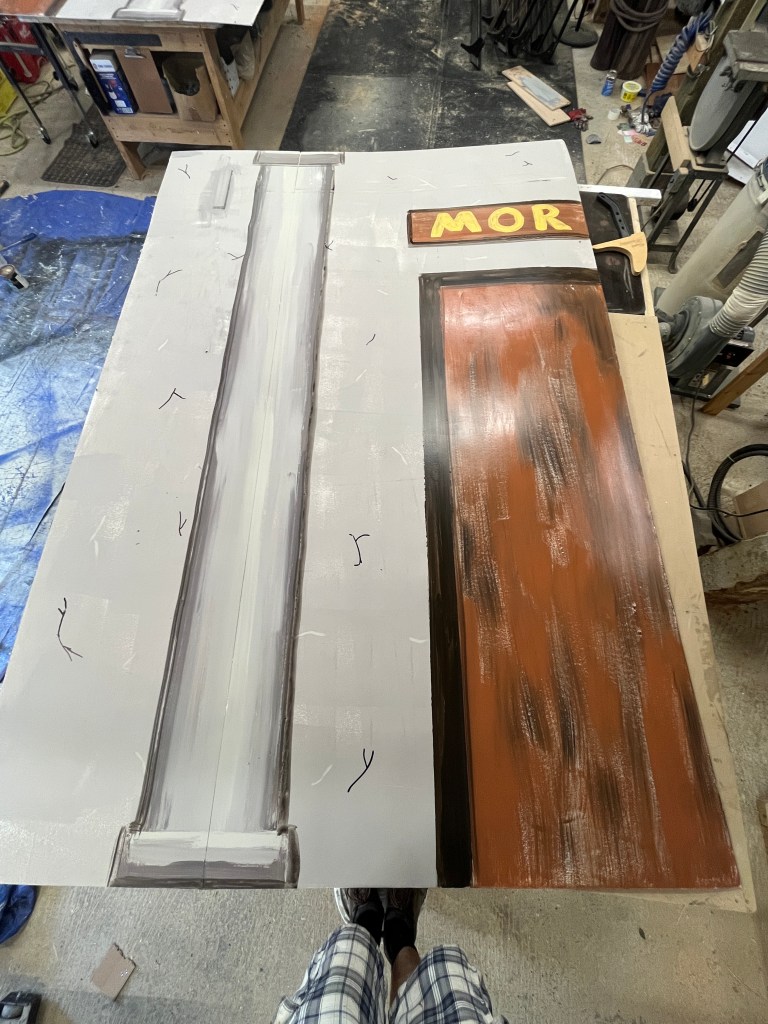
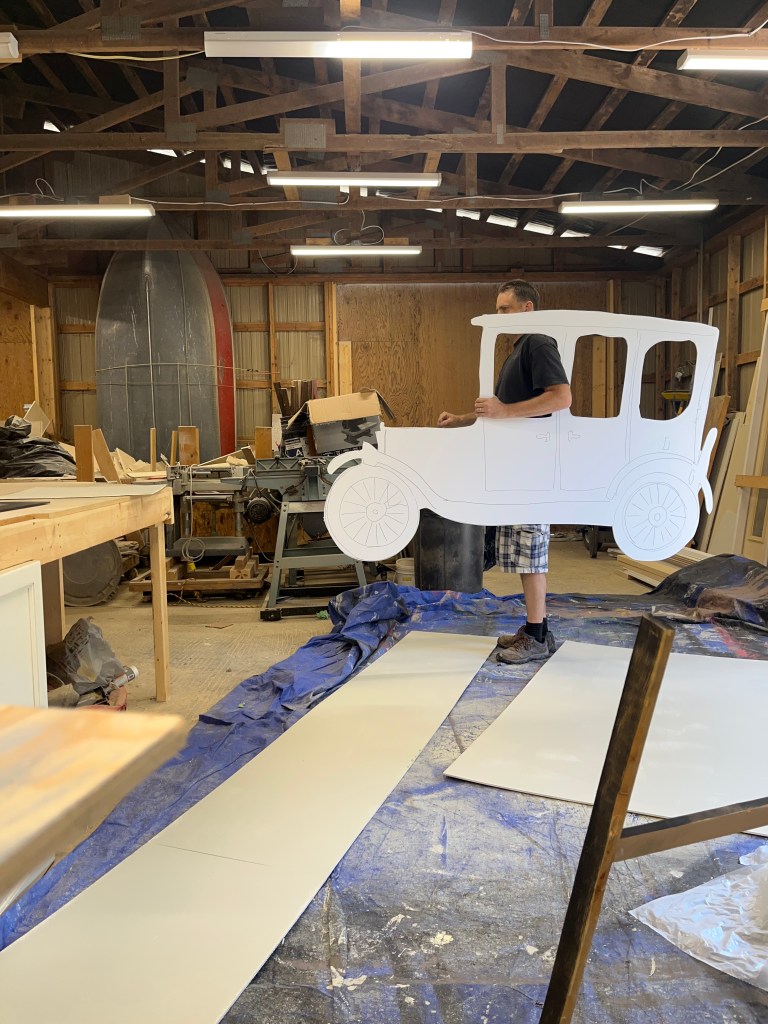
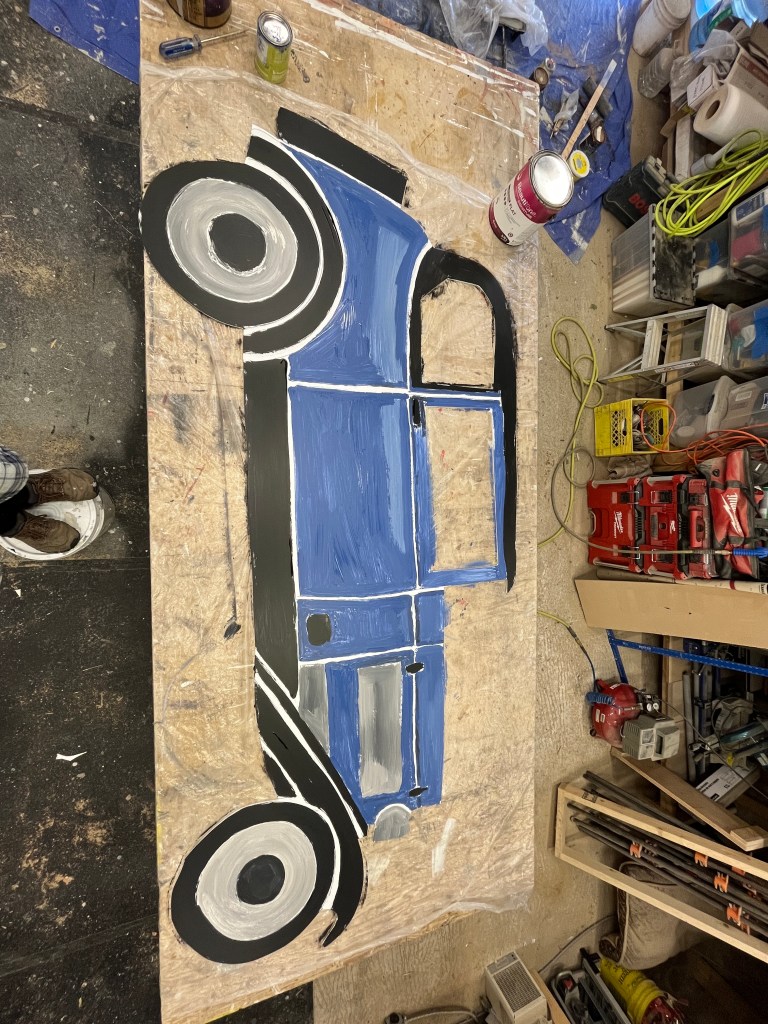
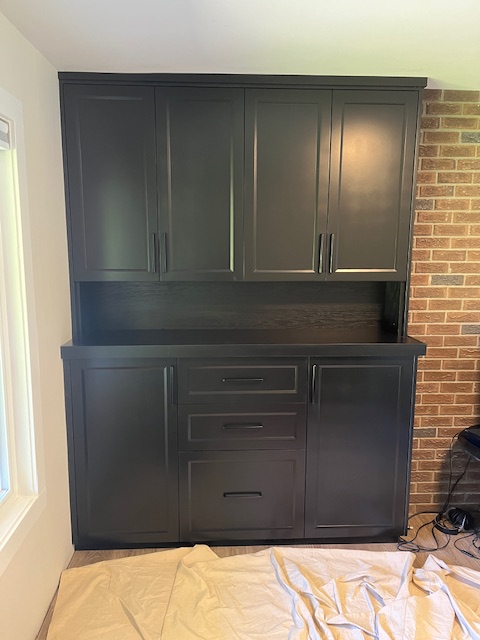
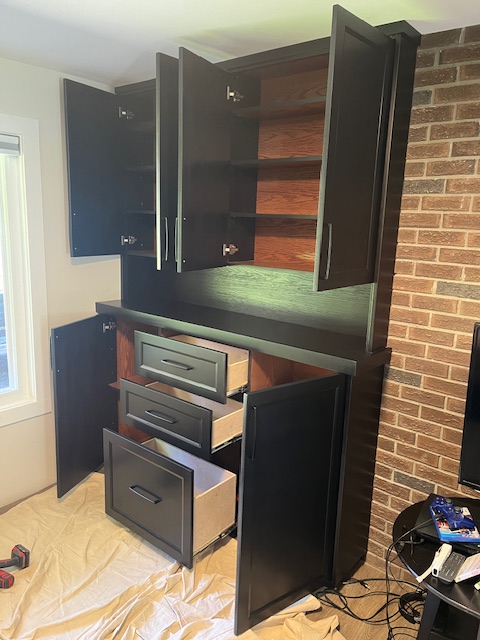
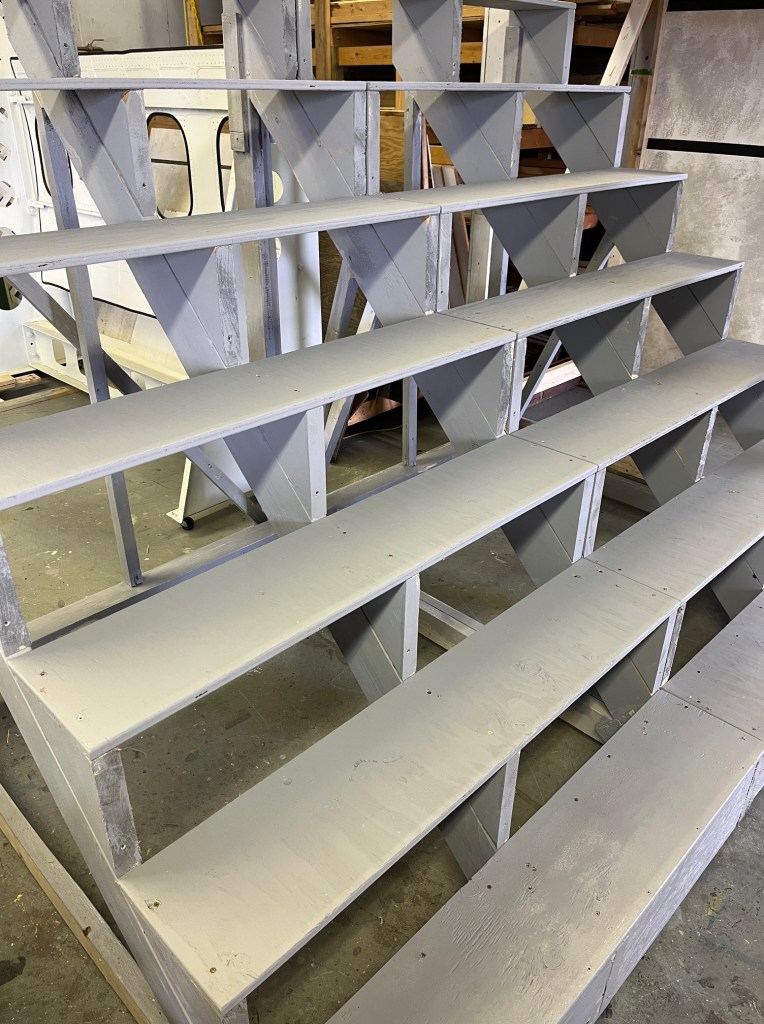
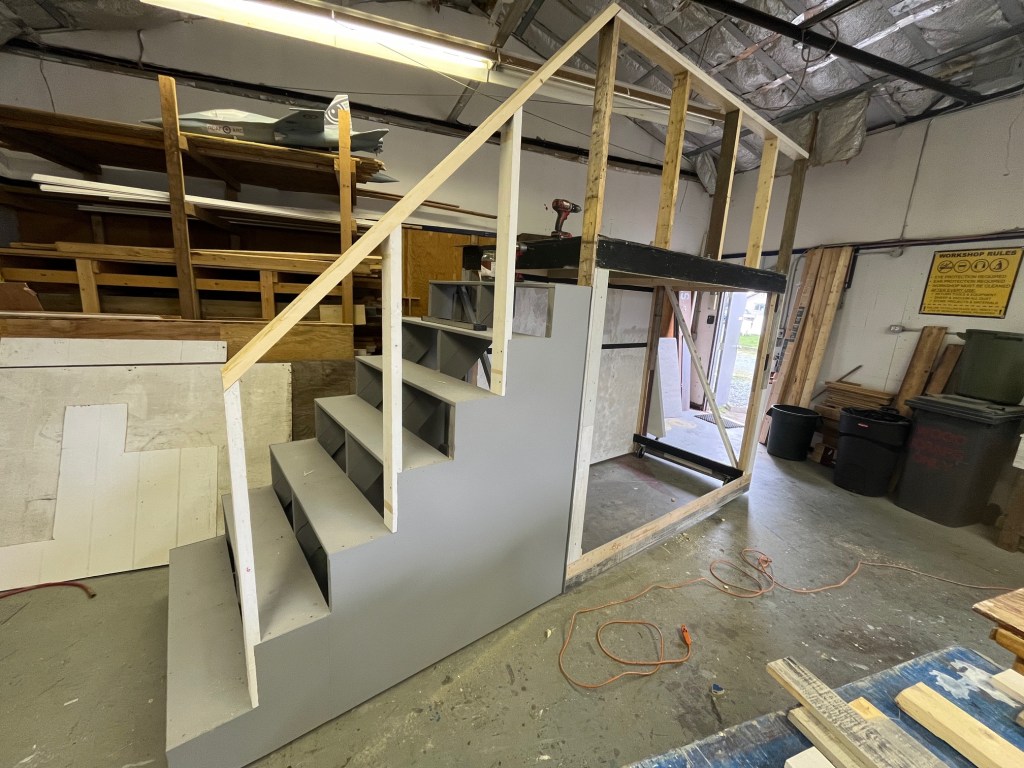
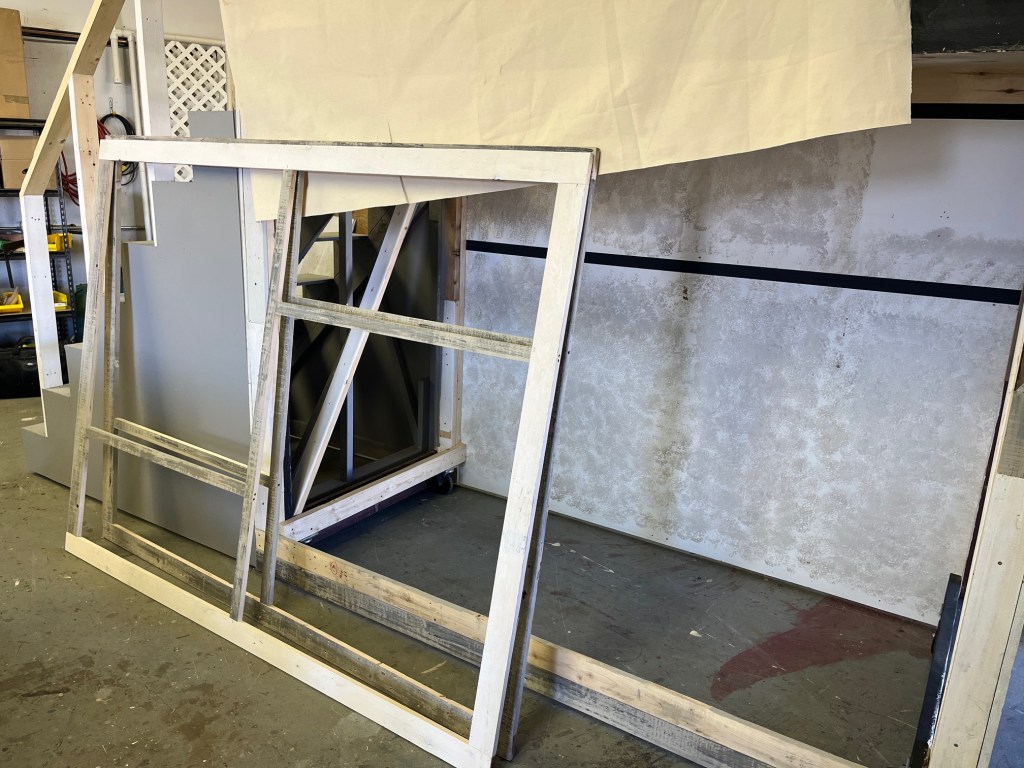
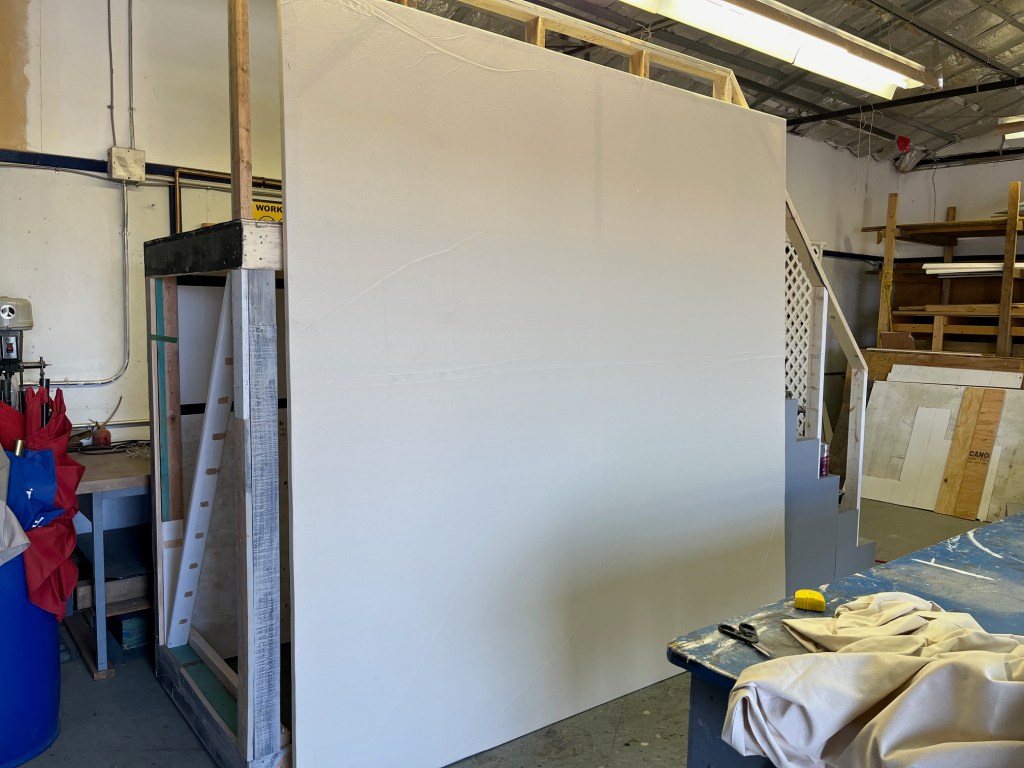
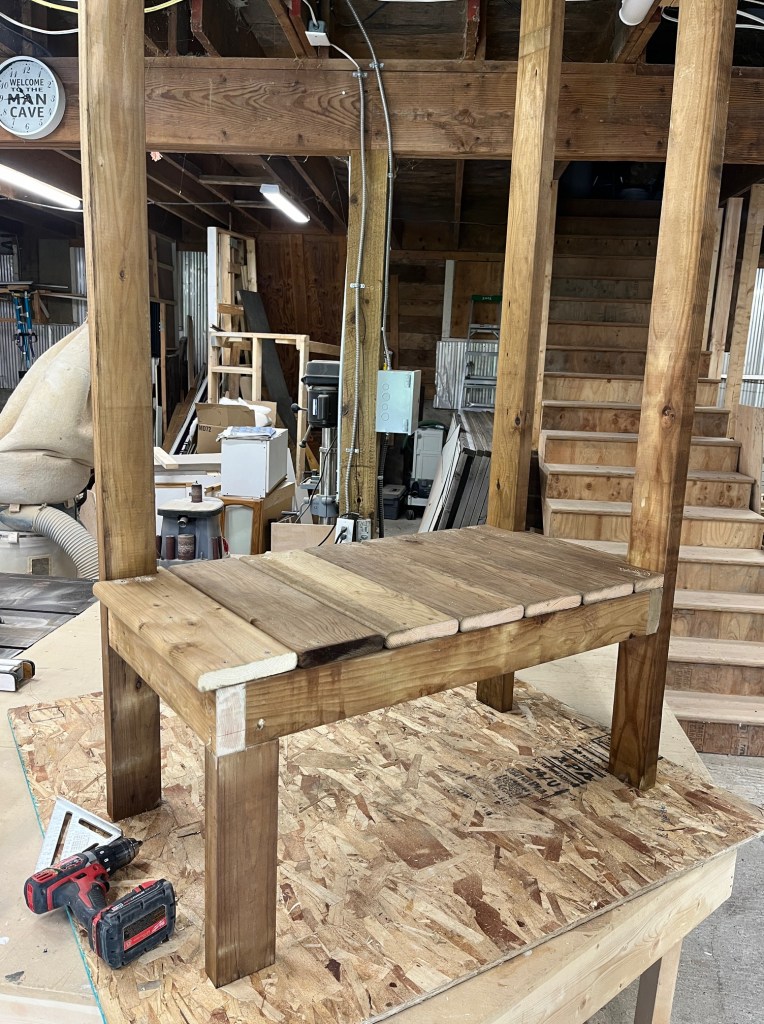
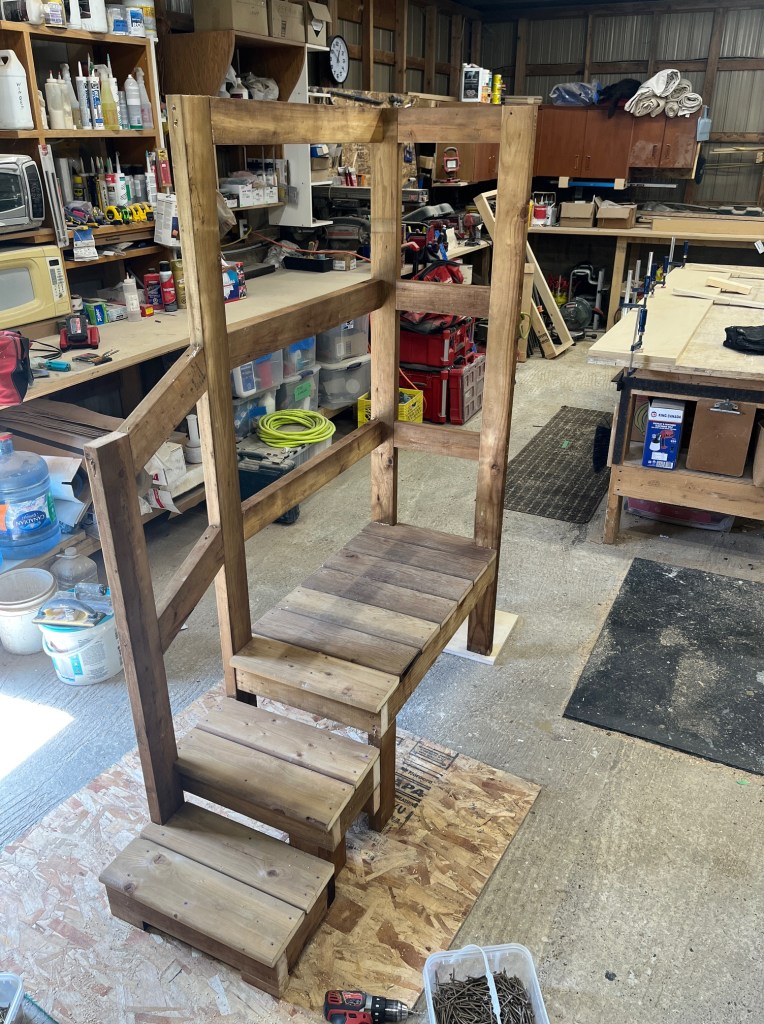
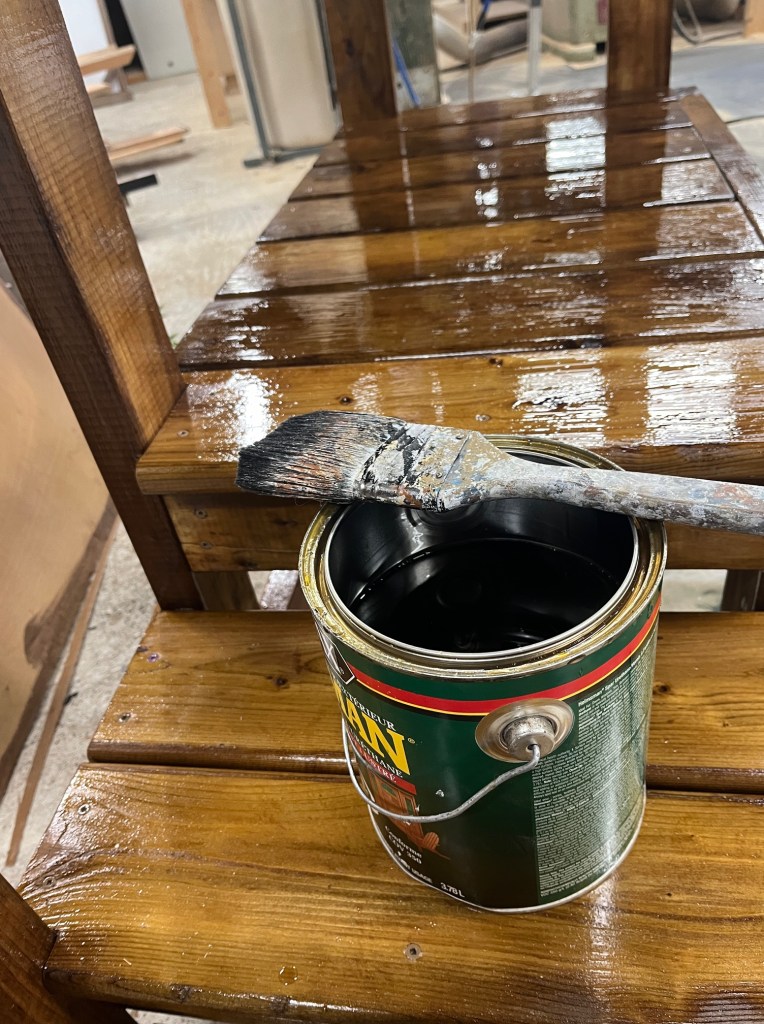
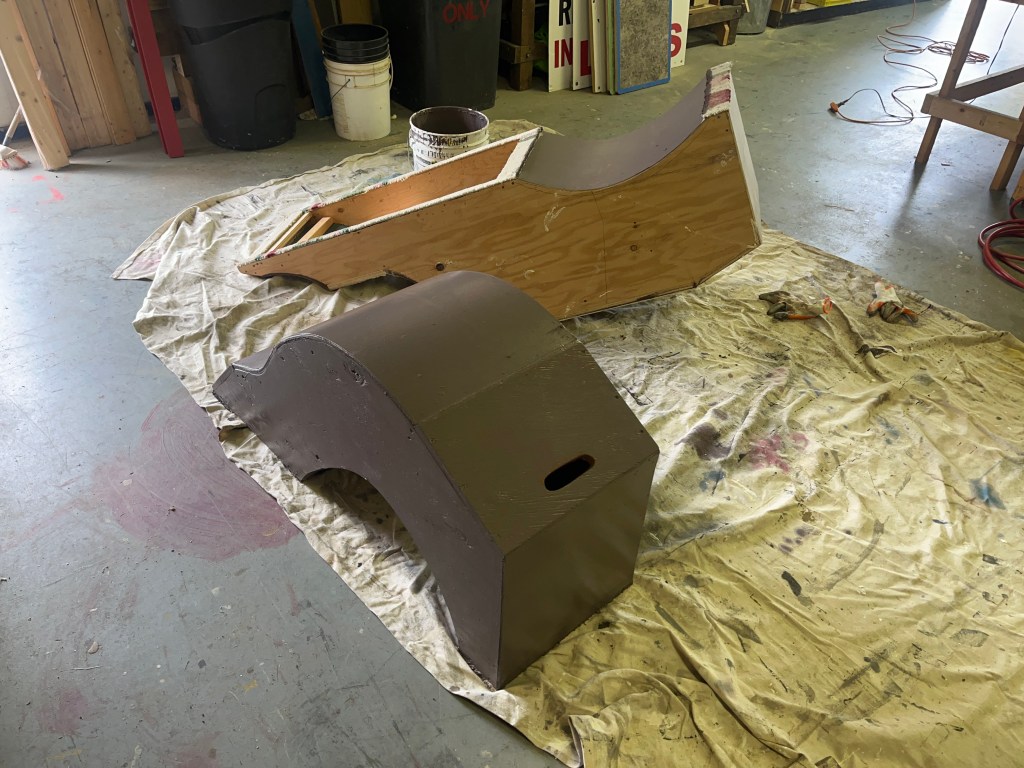
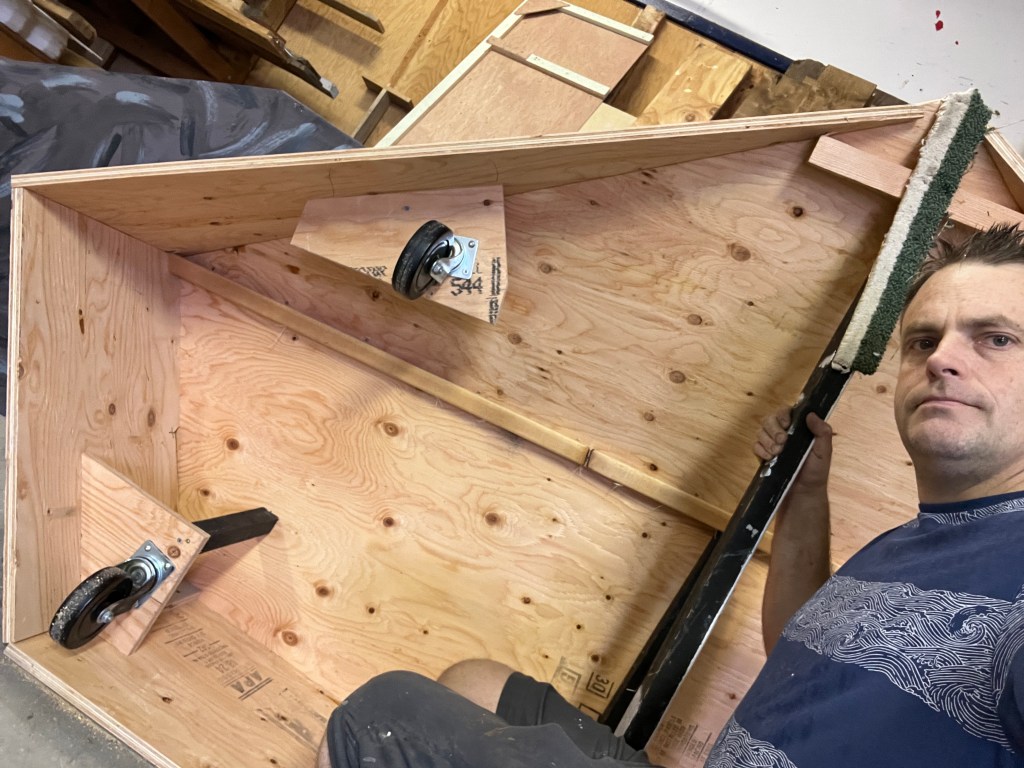
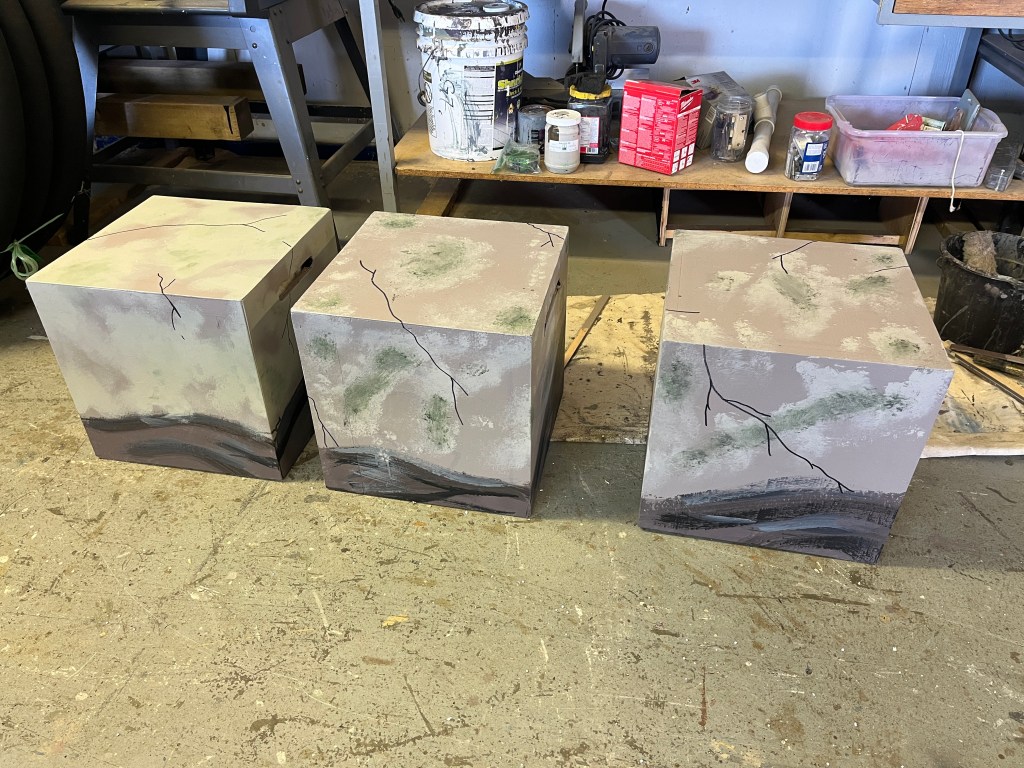
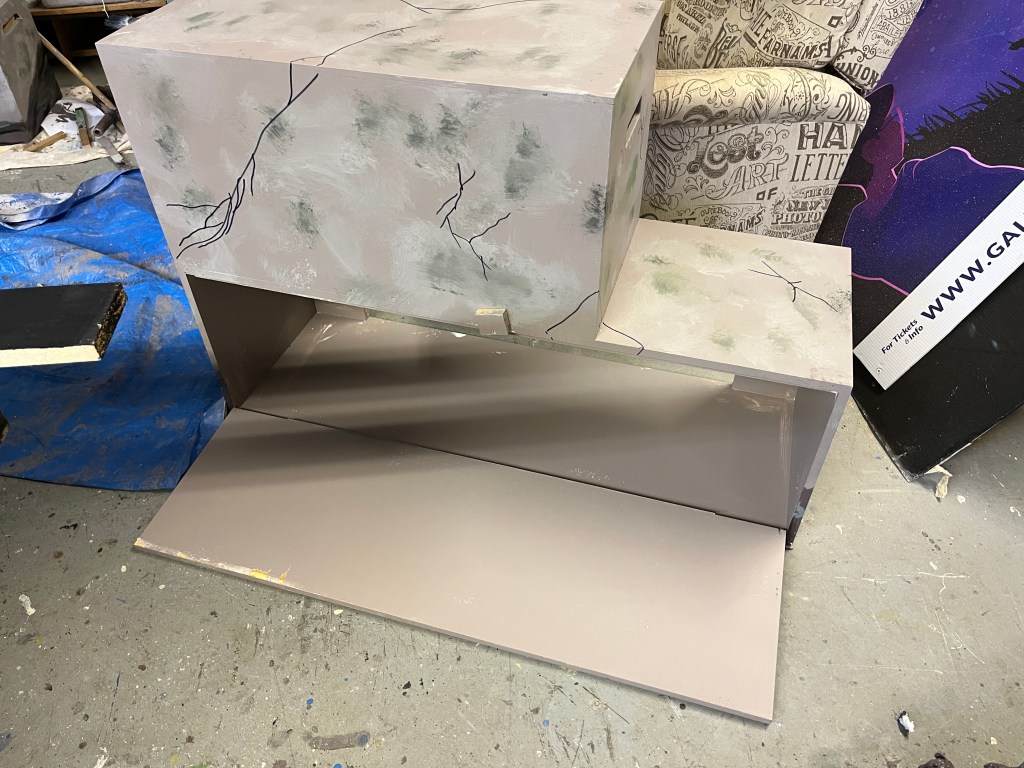
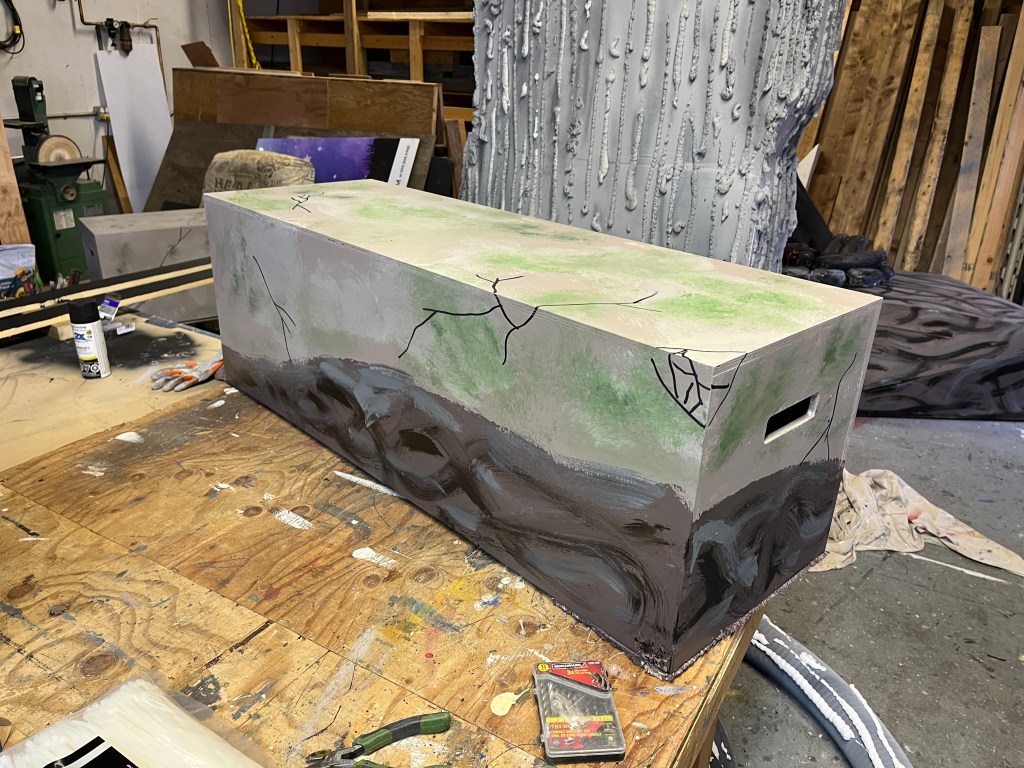
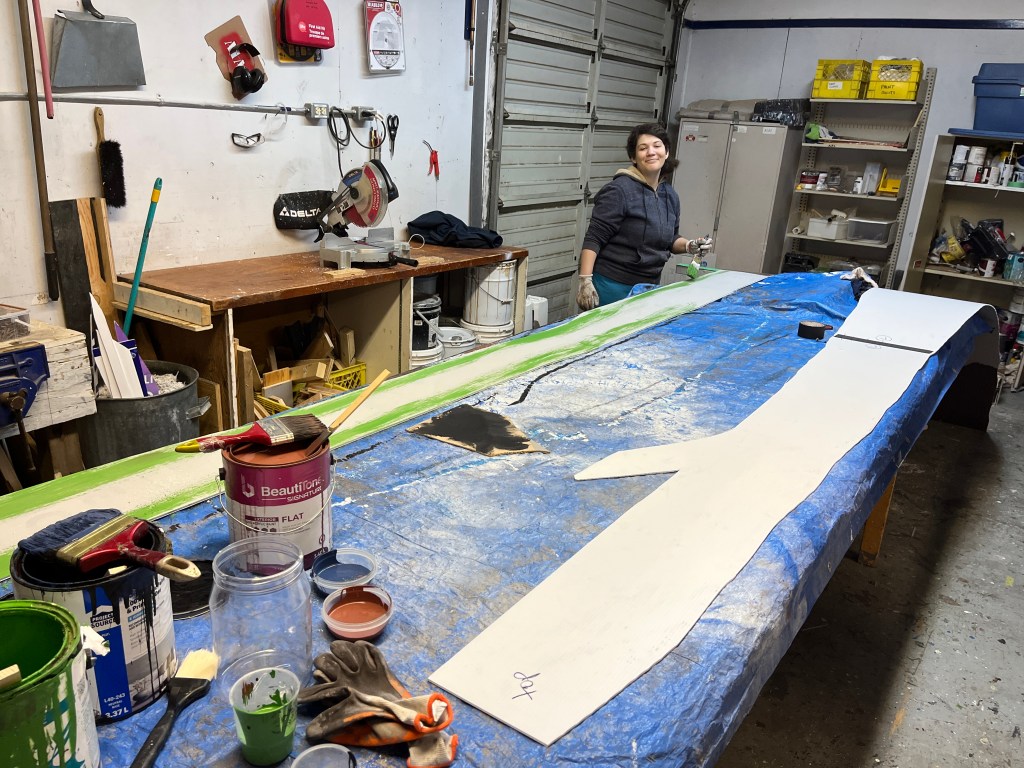
There were also the usual set piece suspects – boxes and furniture…


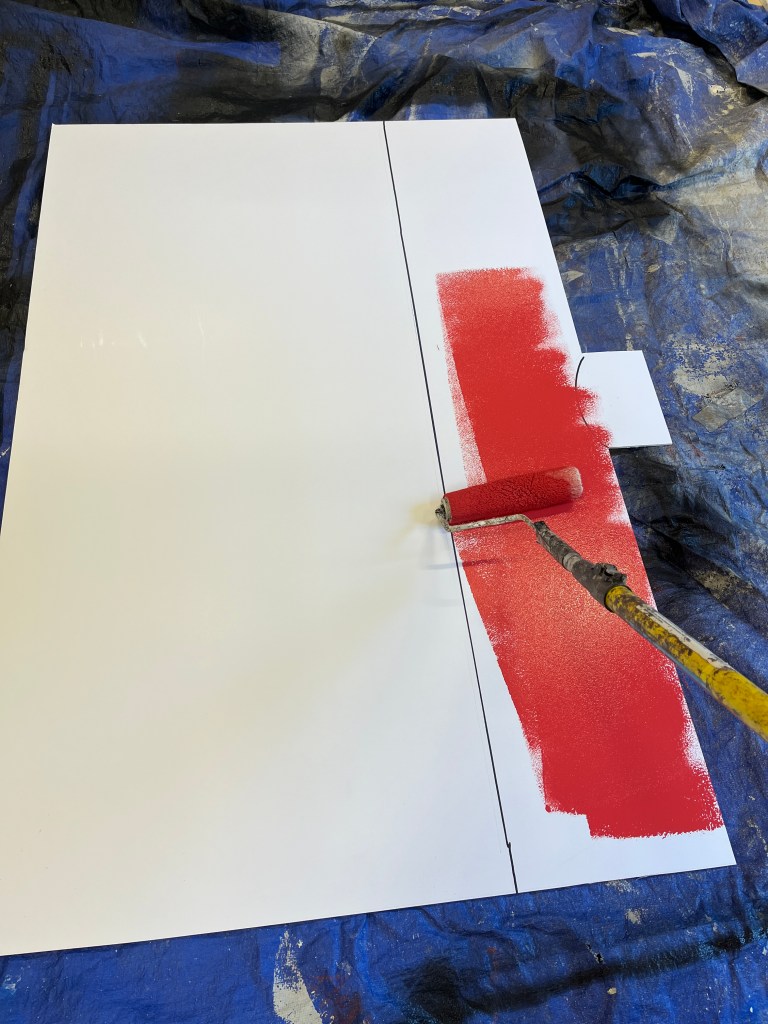
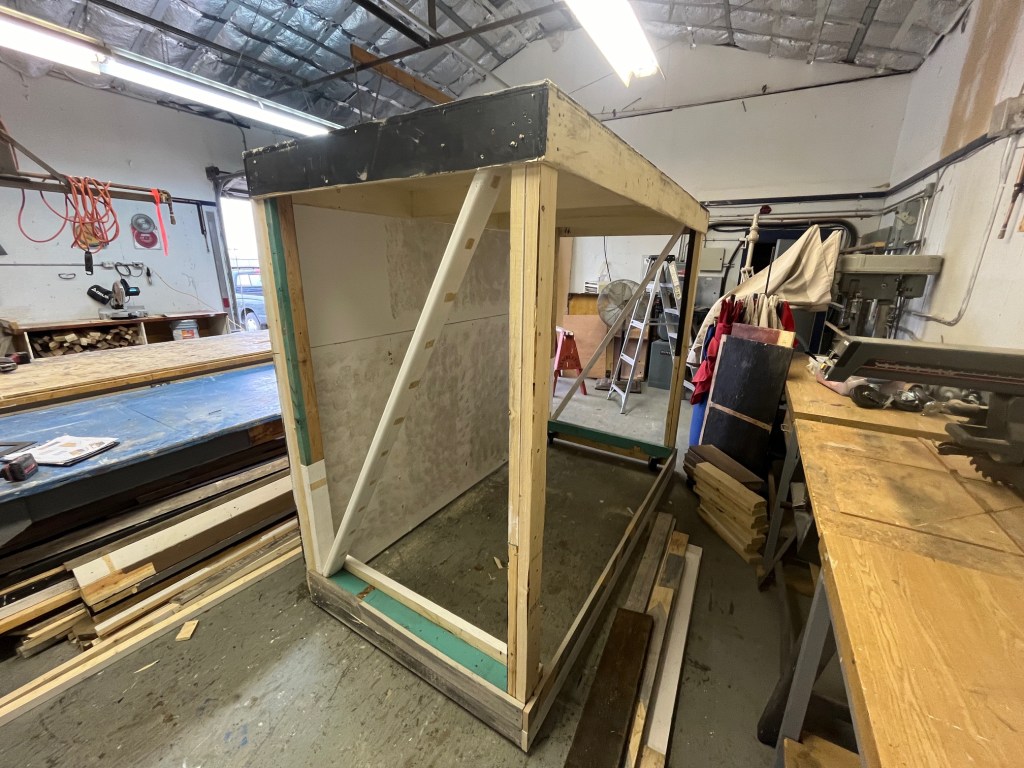
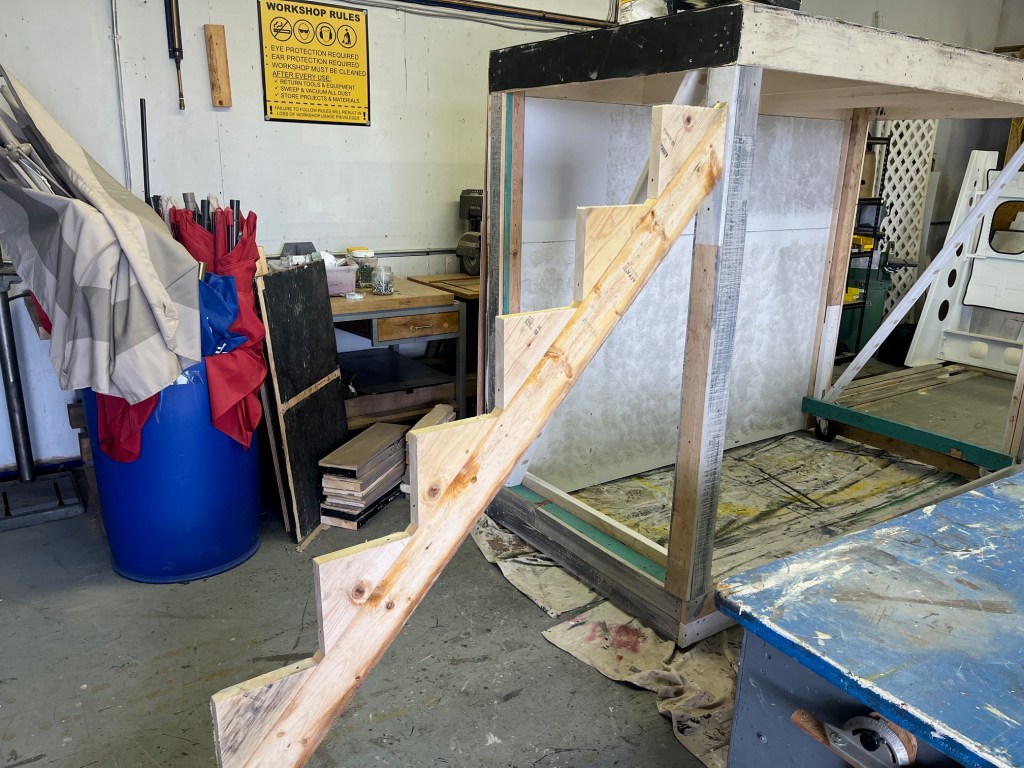
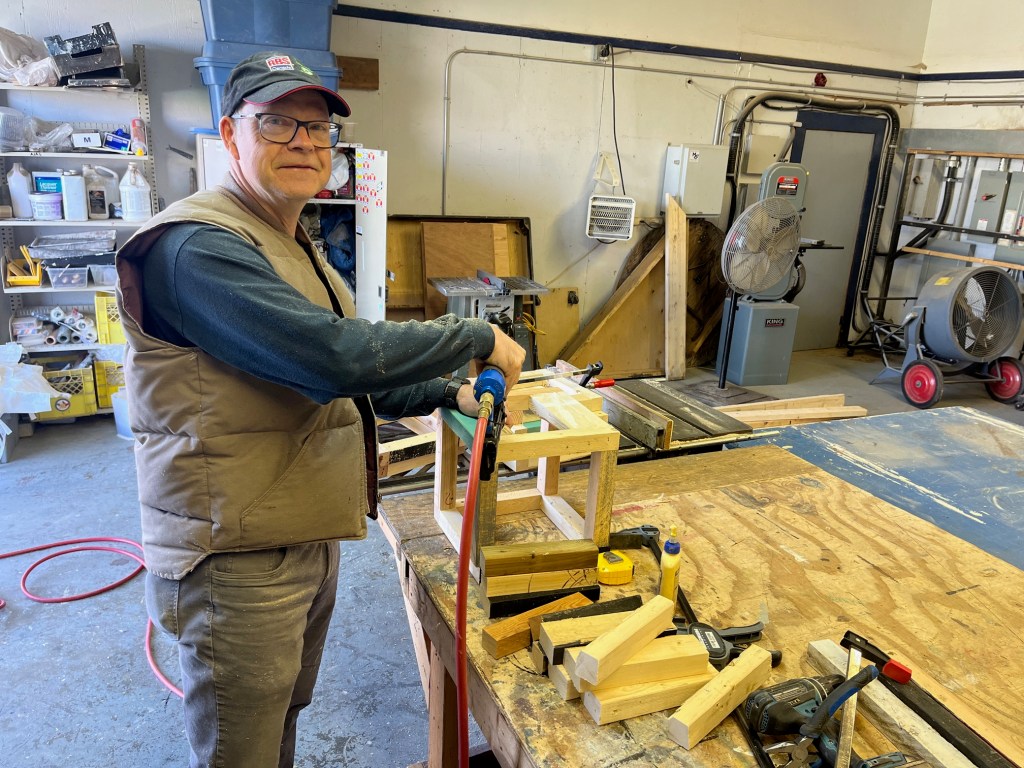
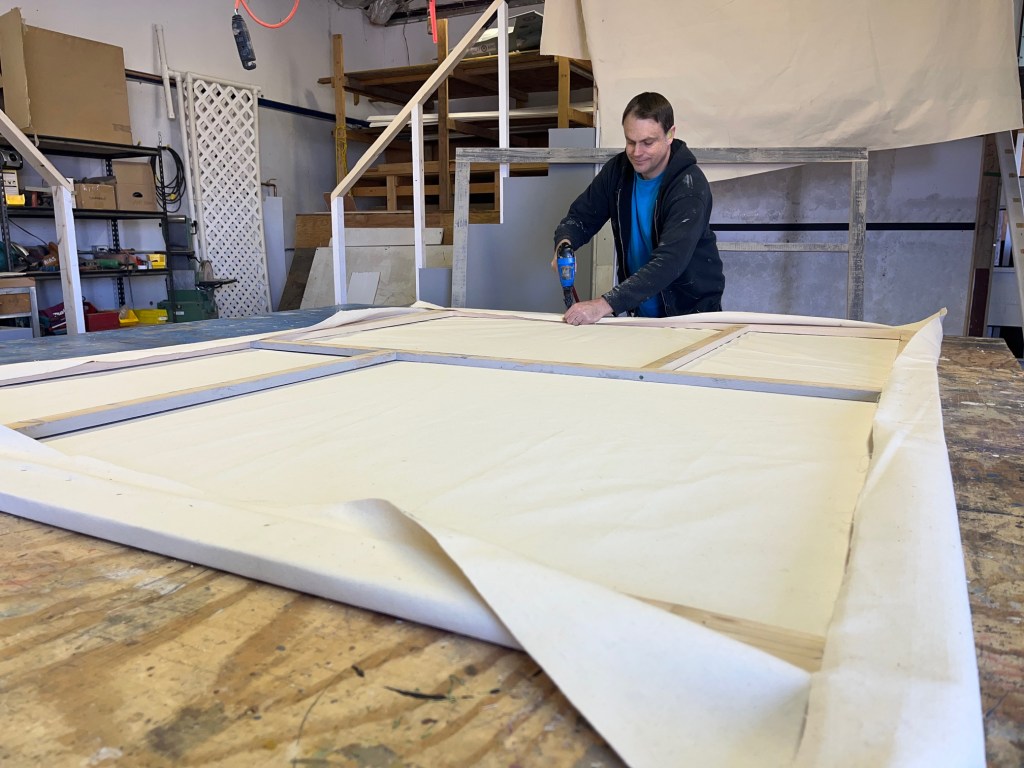
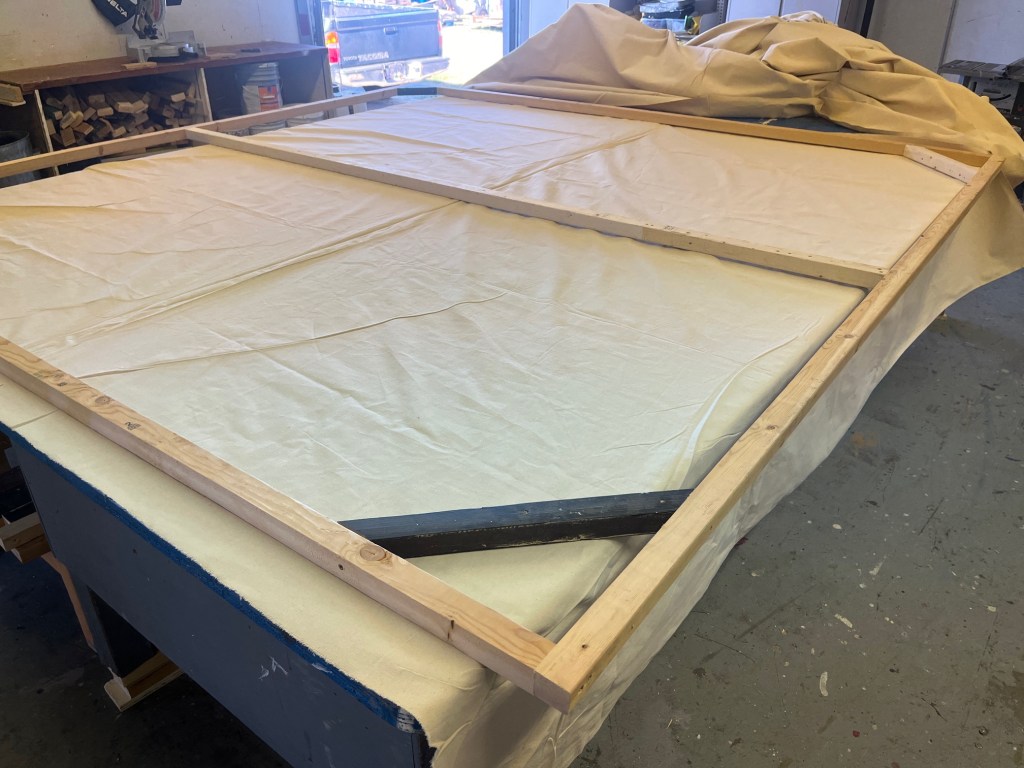
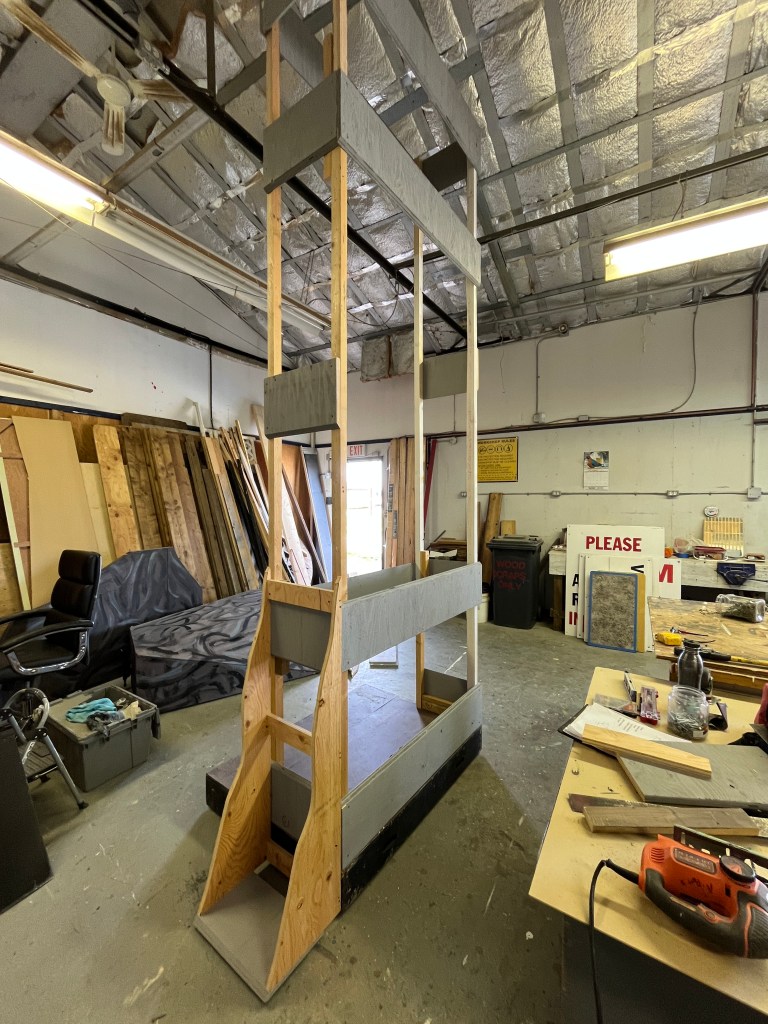
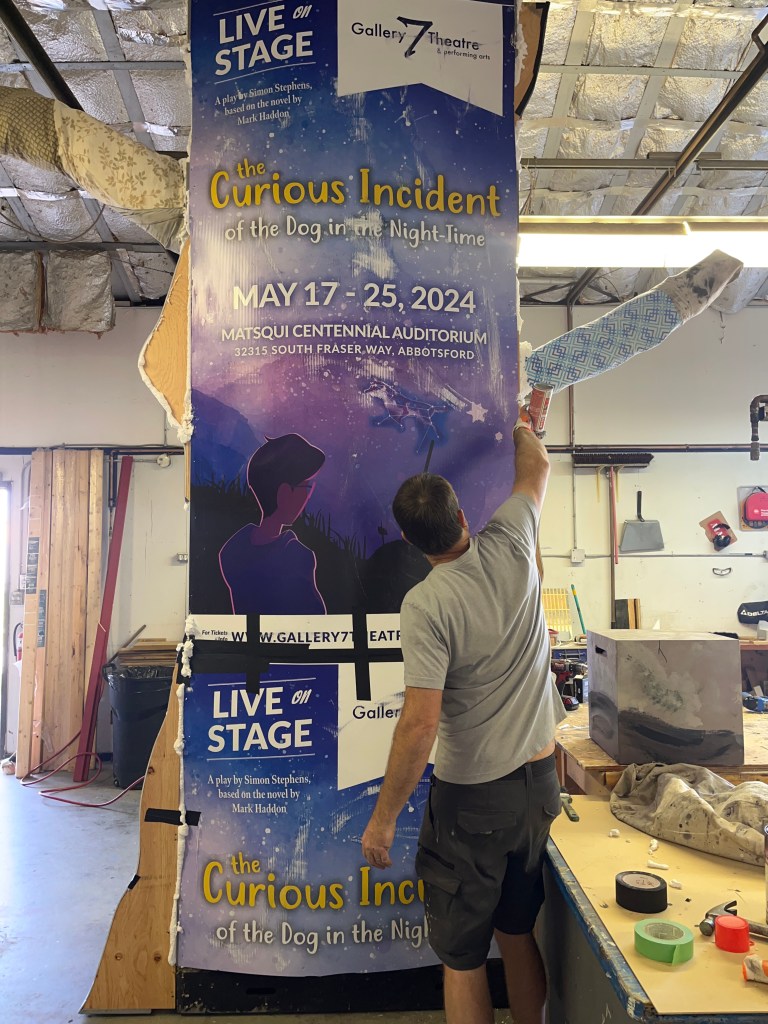
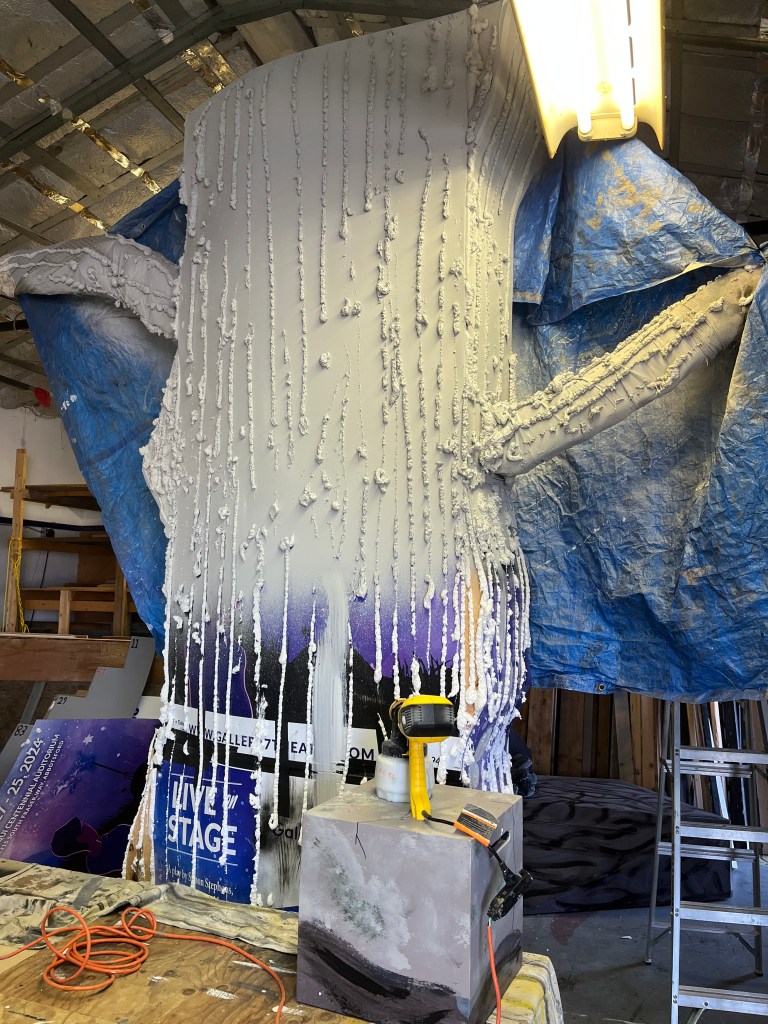
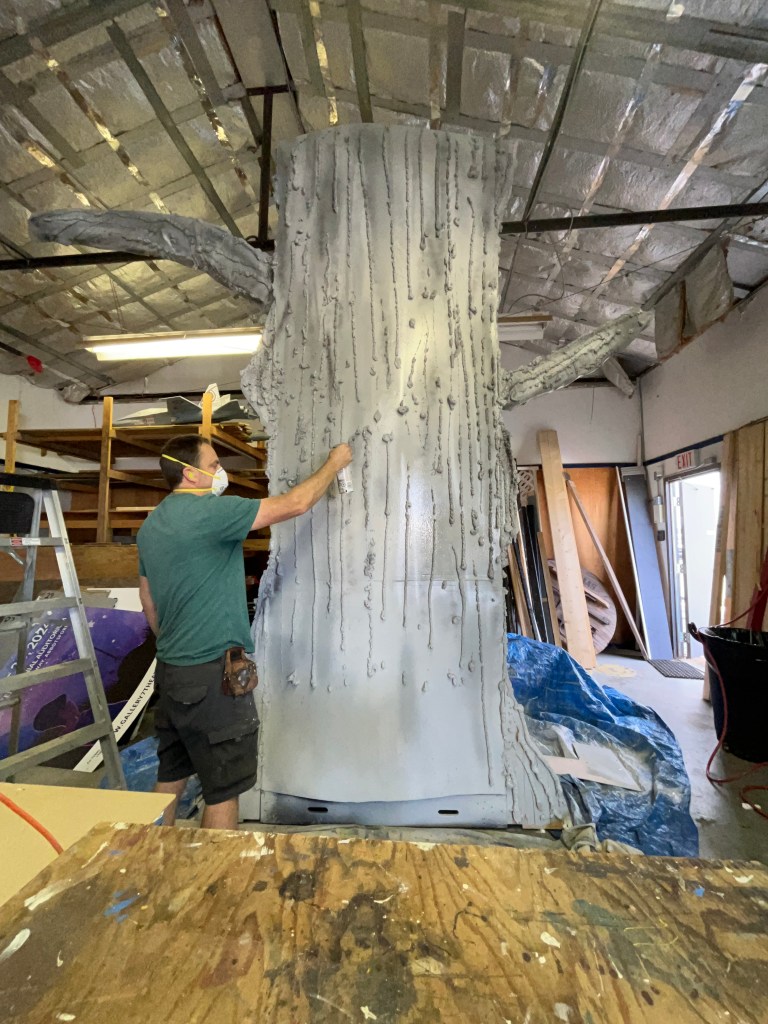
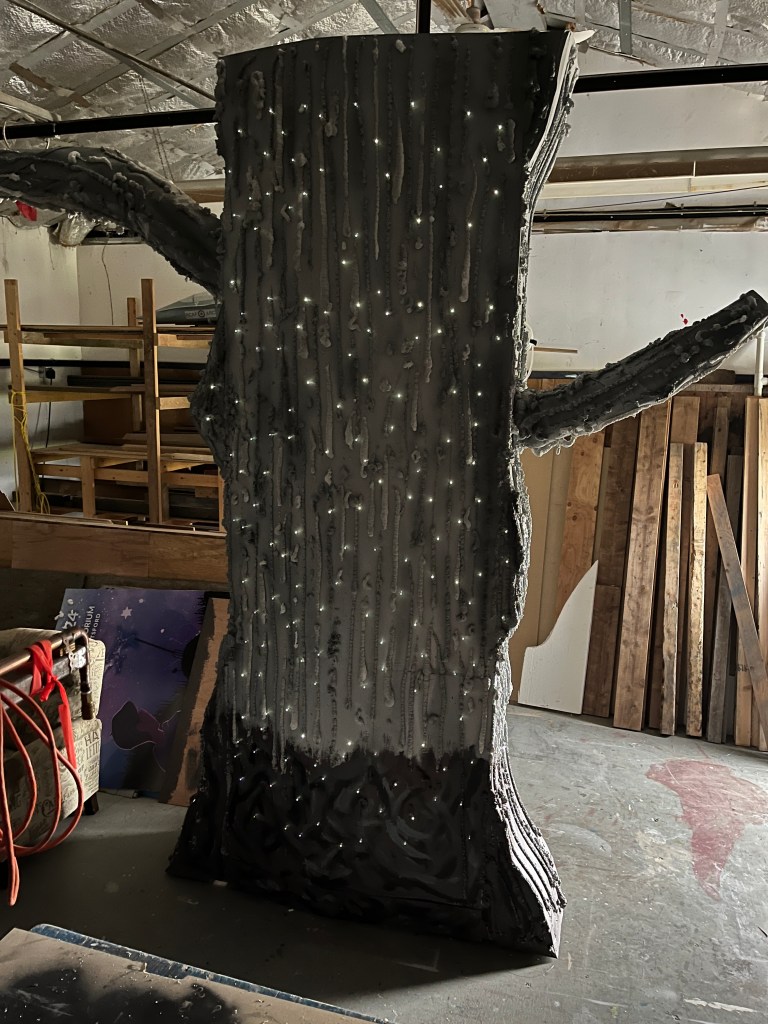
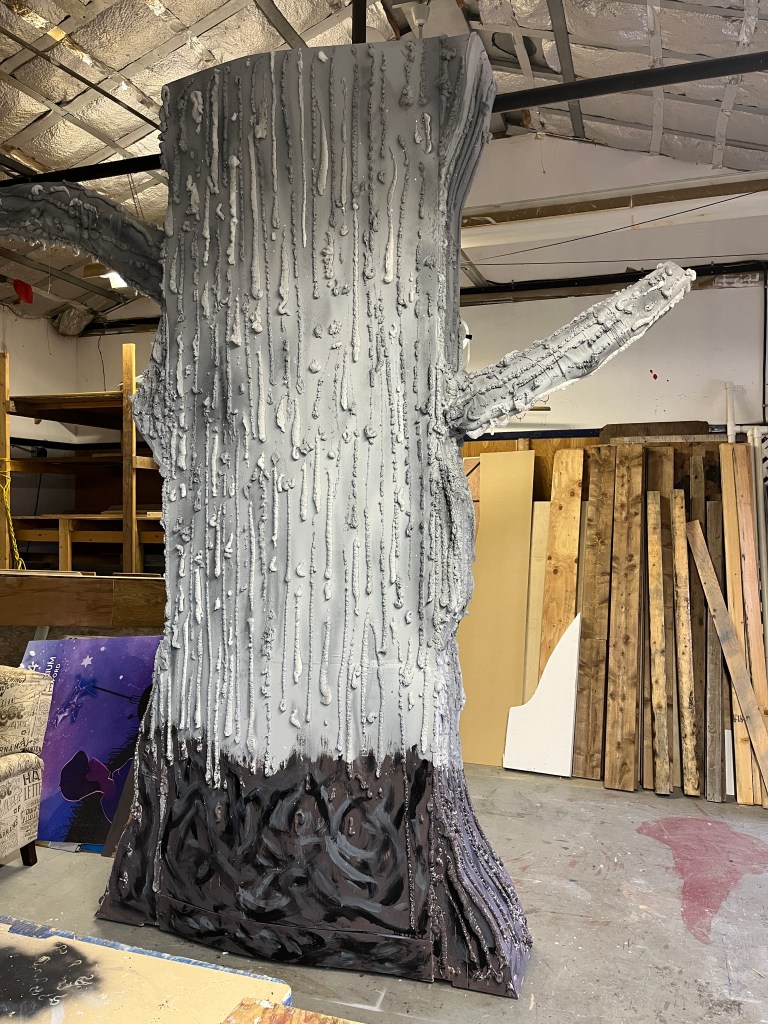
The big tree was a big undertaking. My dad framed it and I covered it with coroplast and spray foam and a few fibreoptic lights.

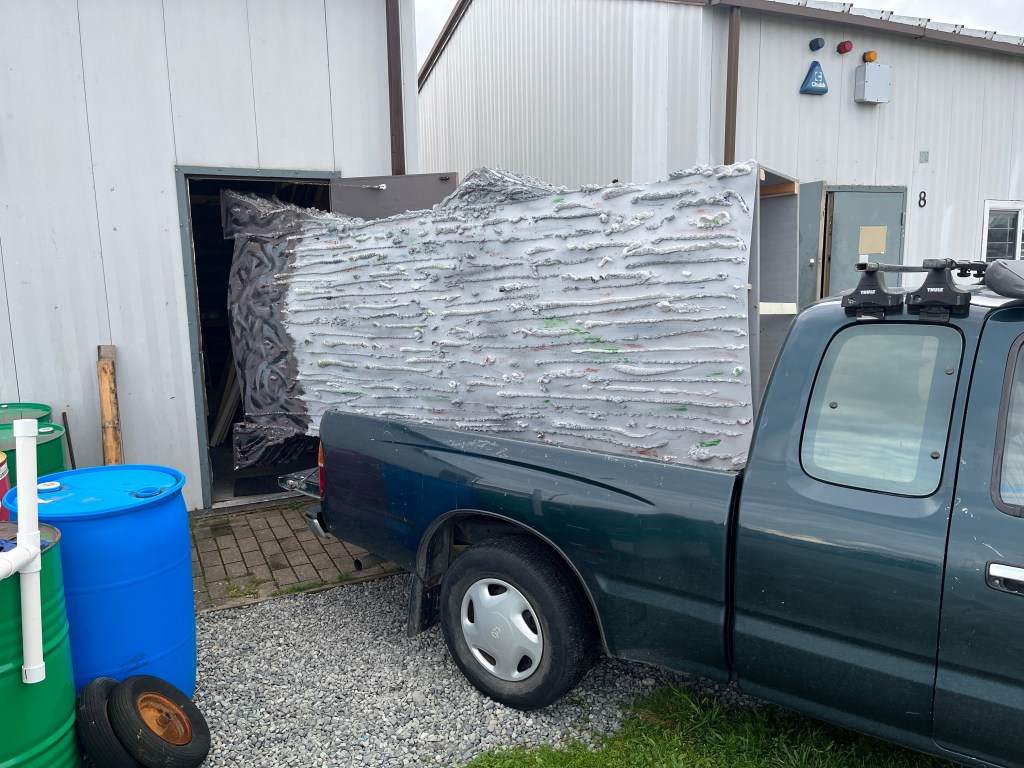
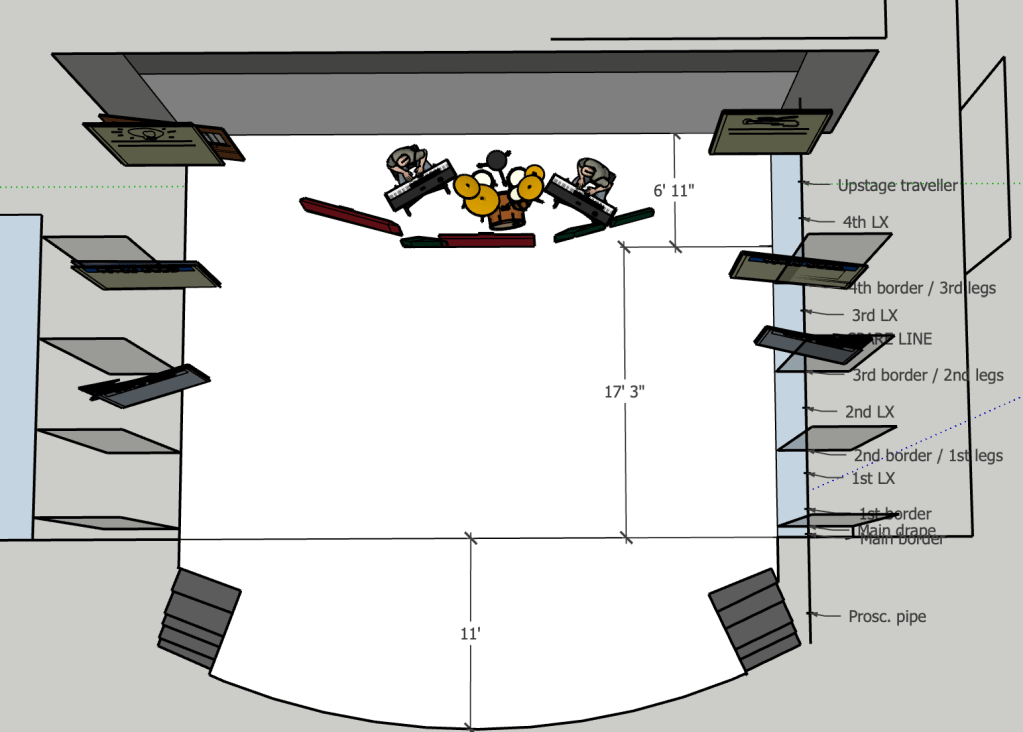
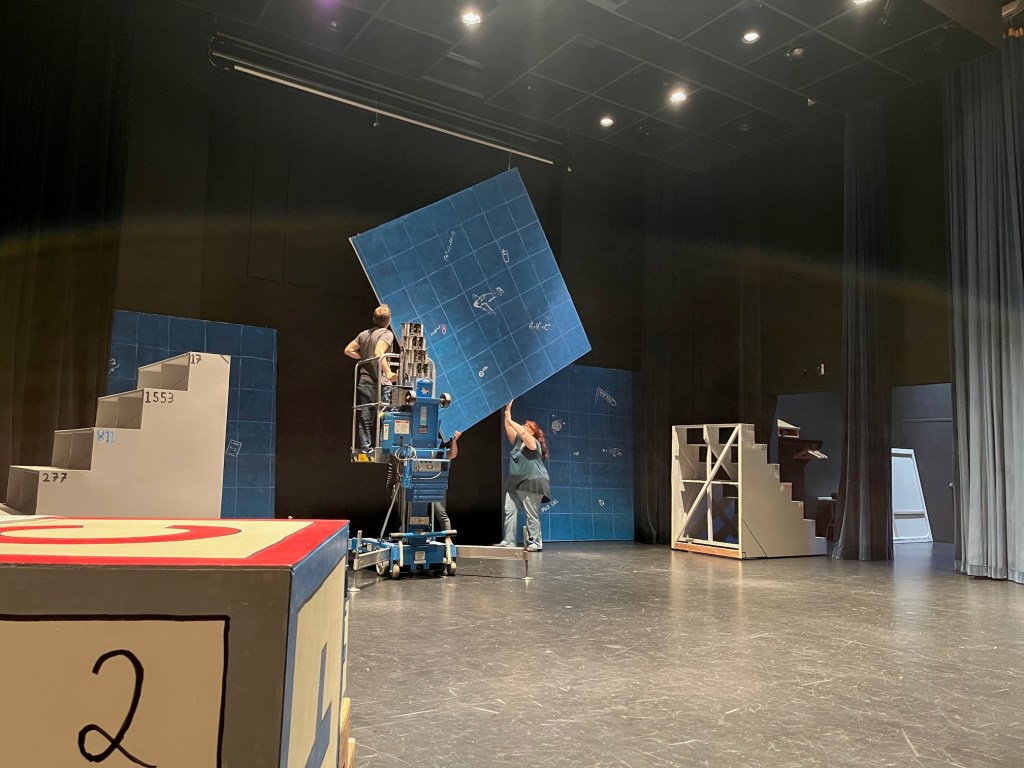
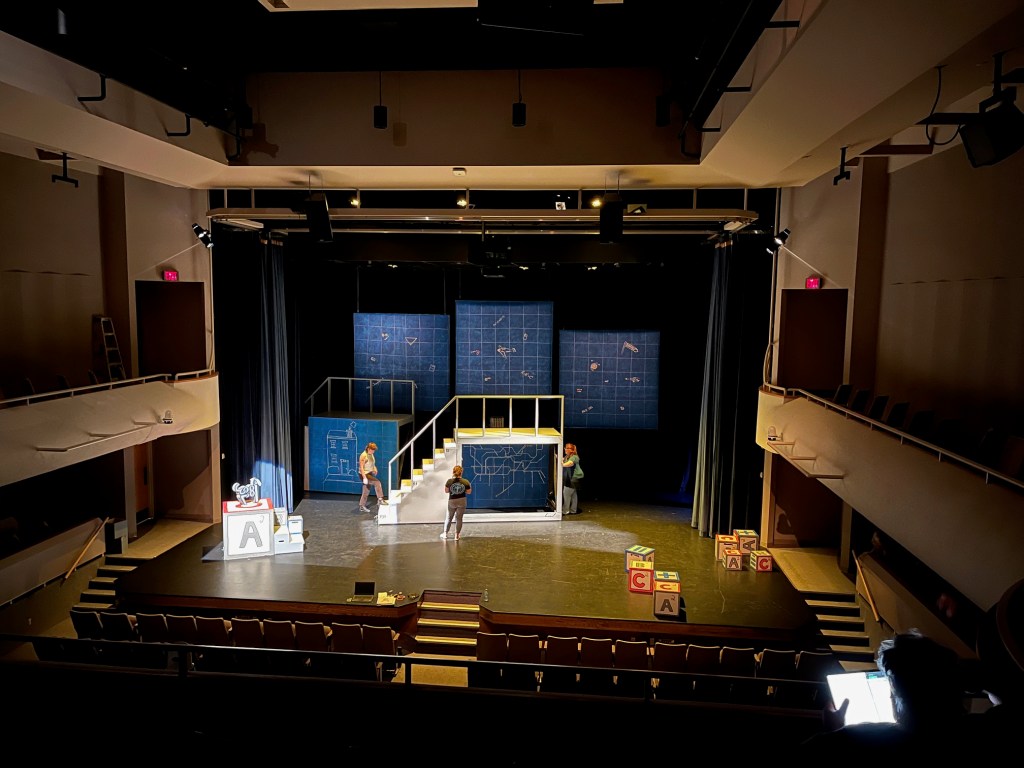
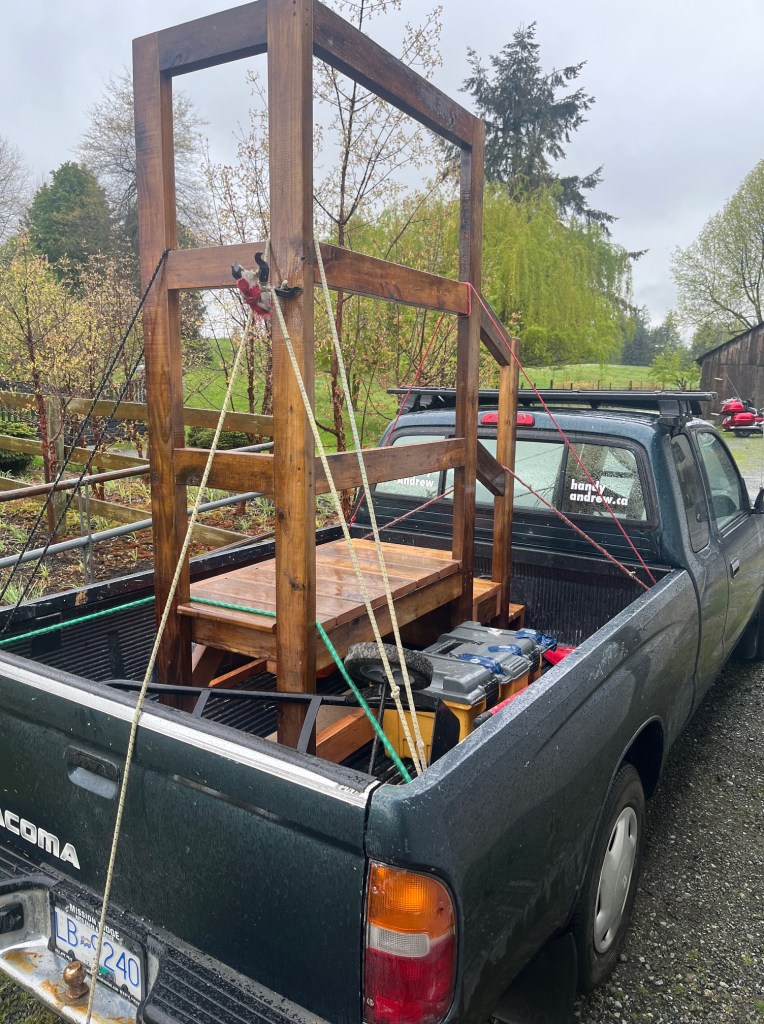
Load in took awhile, mostly to hang everything from the fly system at Abby Arts. The techs were great.
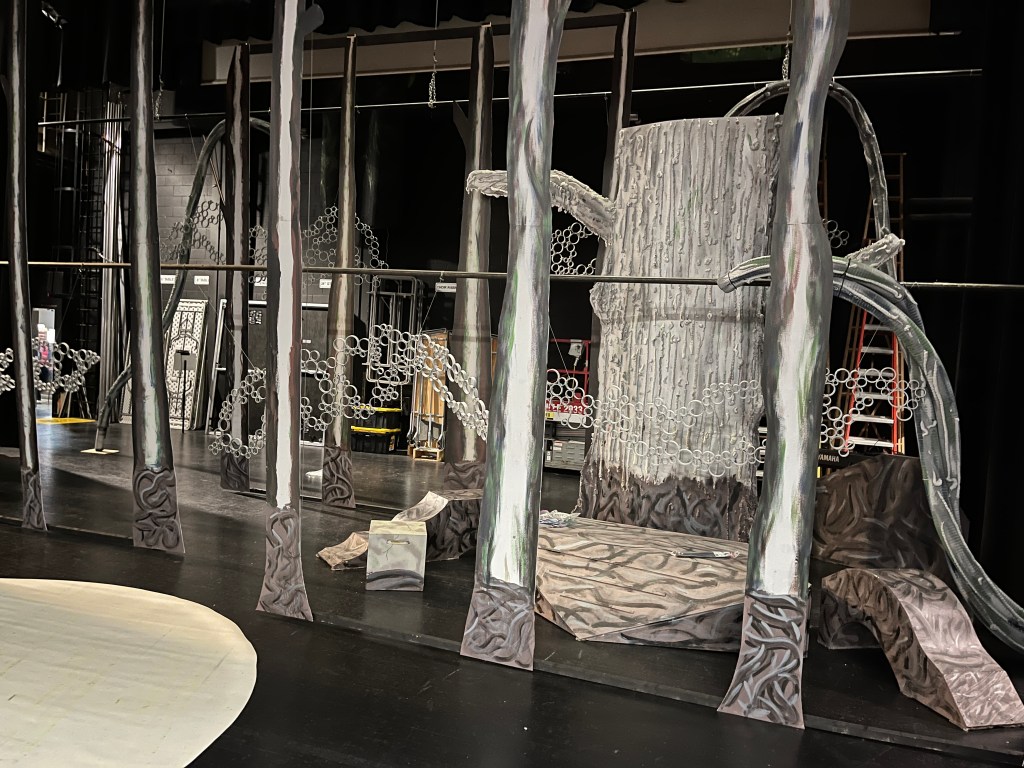

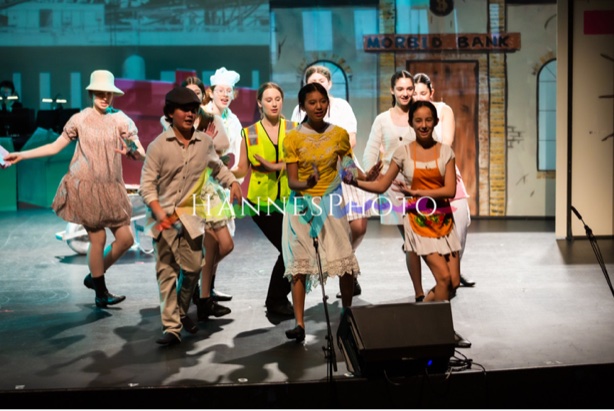
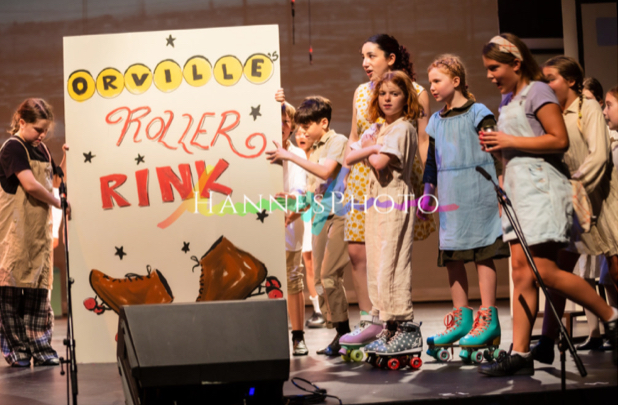
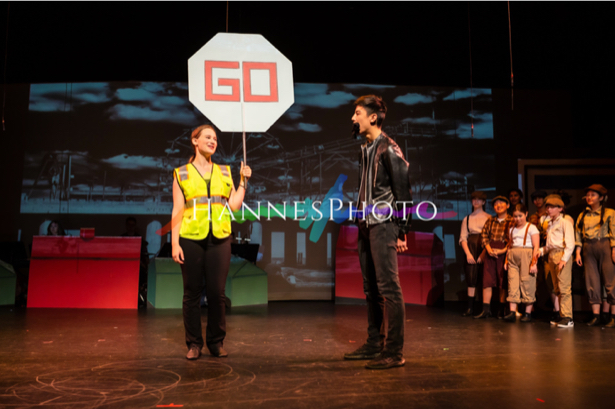
And then the lighting designer got to work his magic!
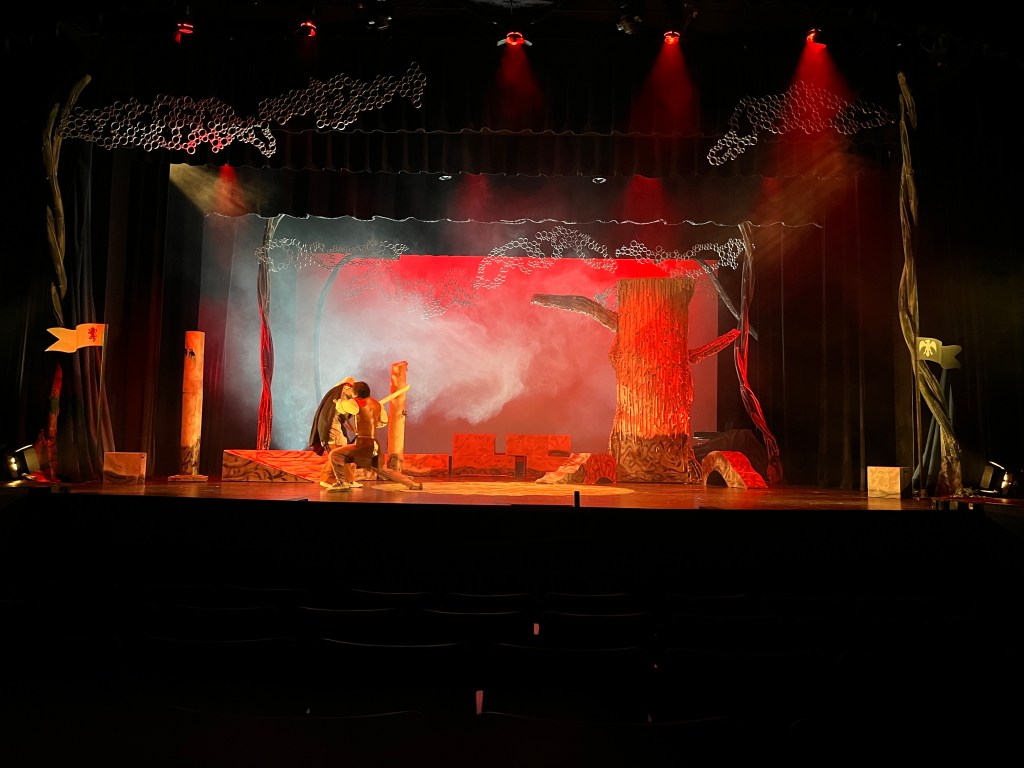
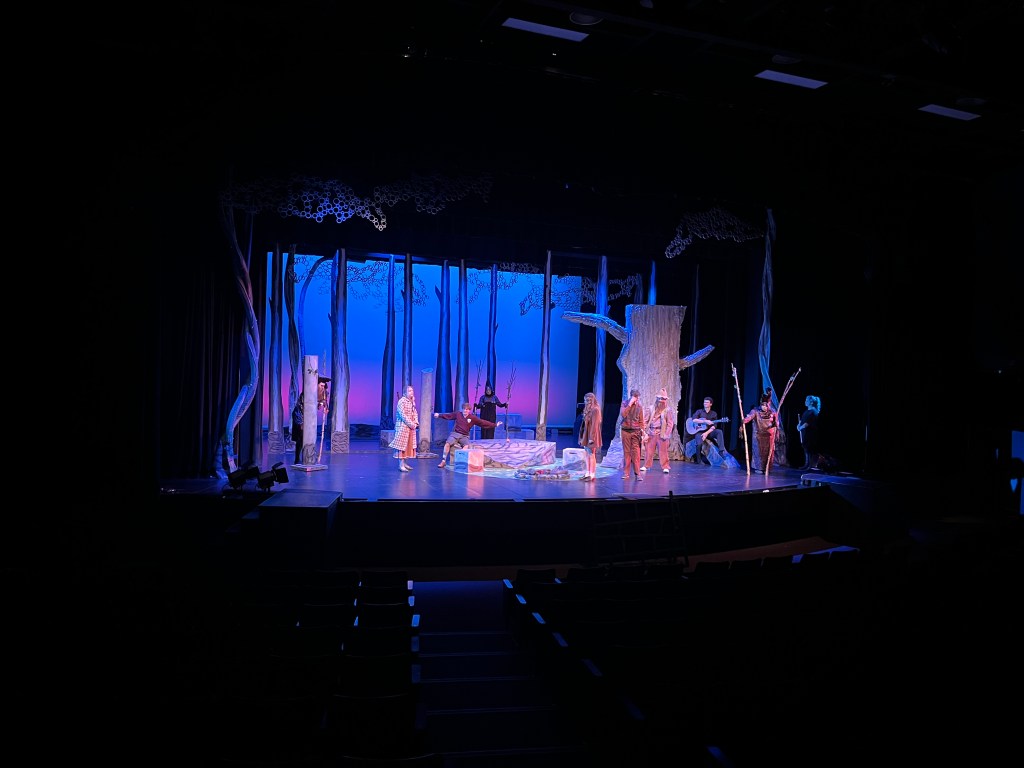


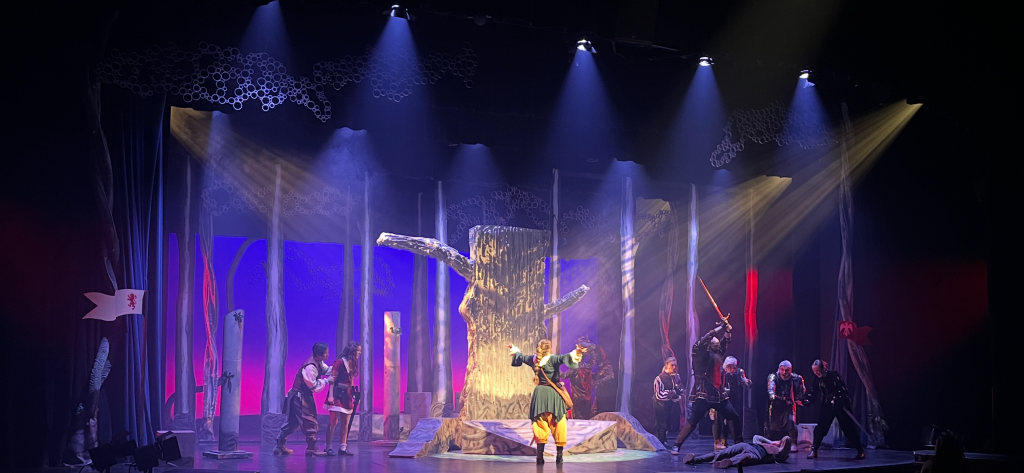
Set by Andrew Potts, Lighting by Ken Hildebrandt, Directed by Gabe Kirkley, Costumes by Kelsey Cleave, Props by Dianna Lewis. For Gallery7Theatre.com.