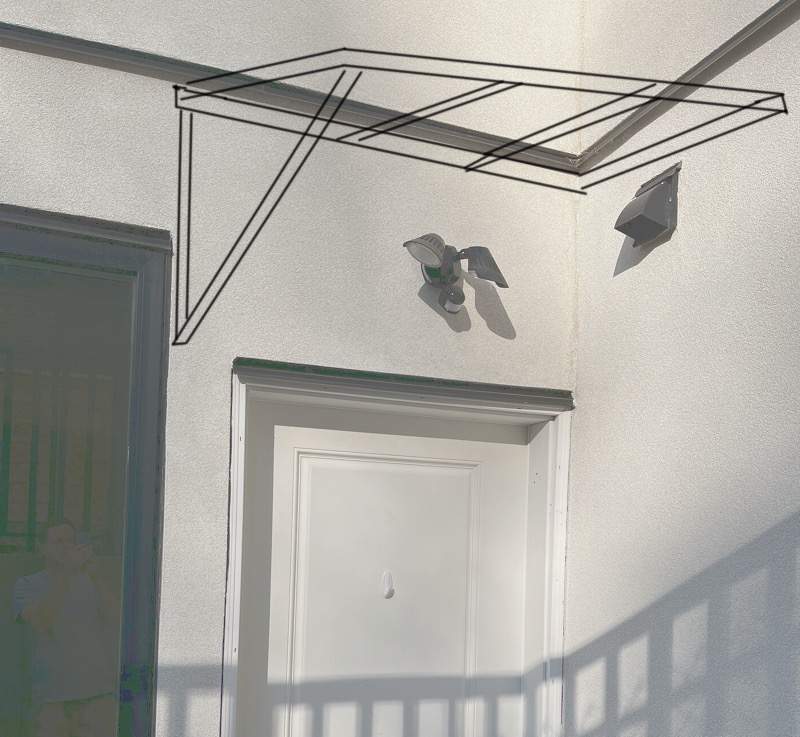
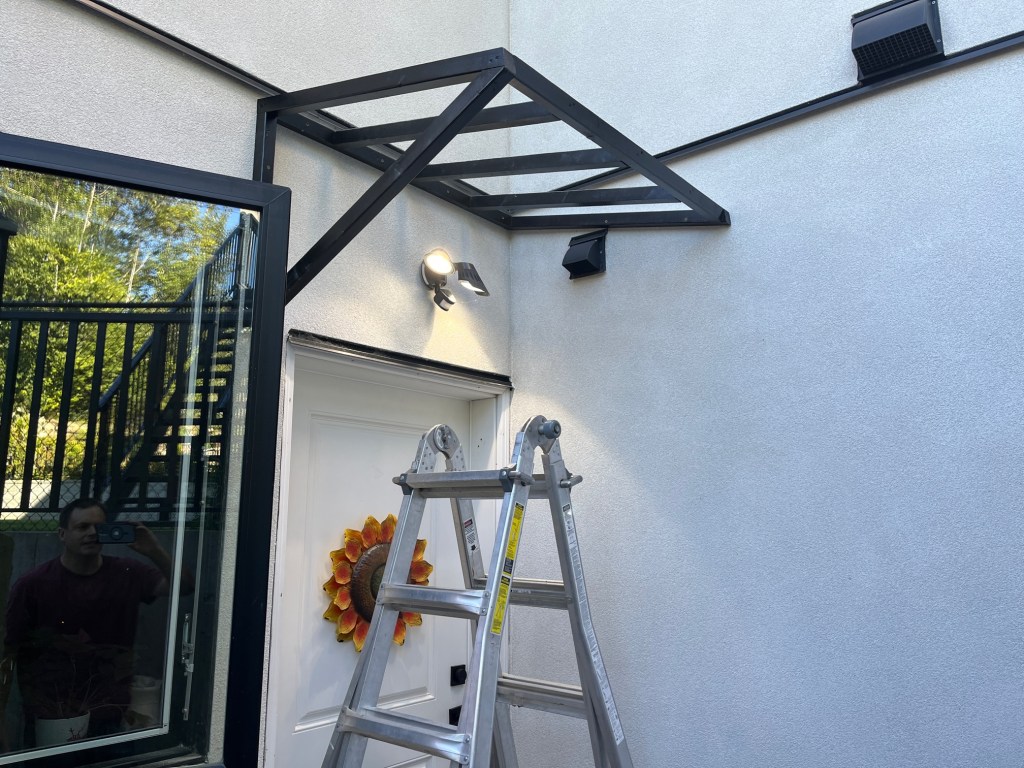
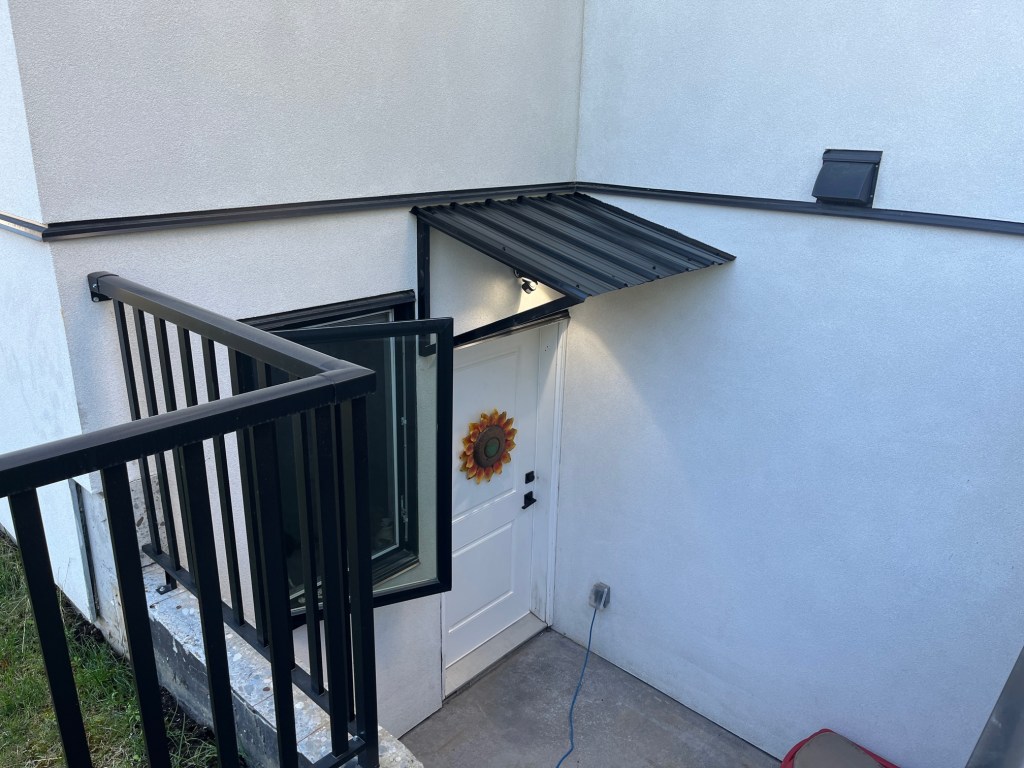
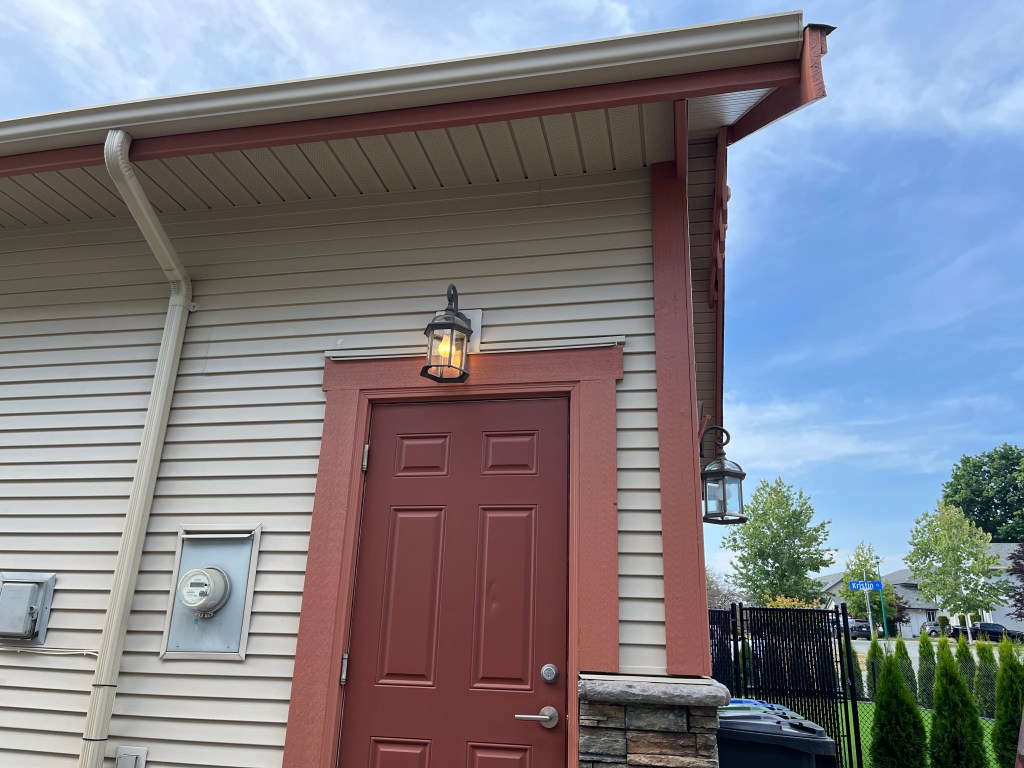
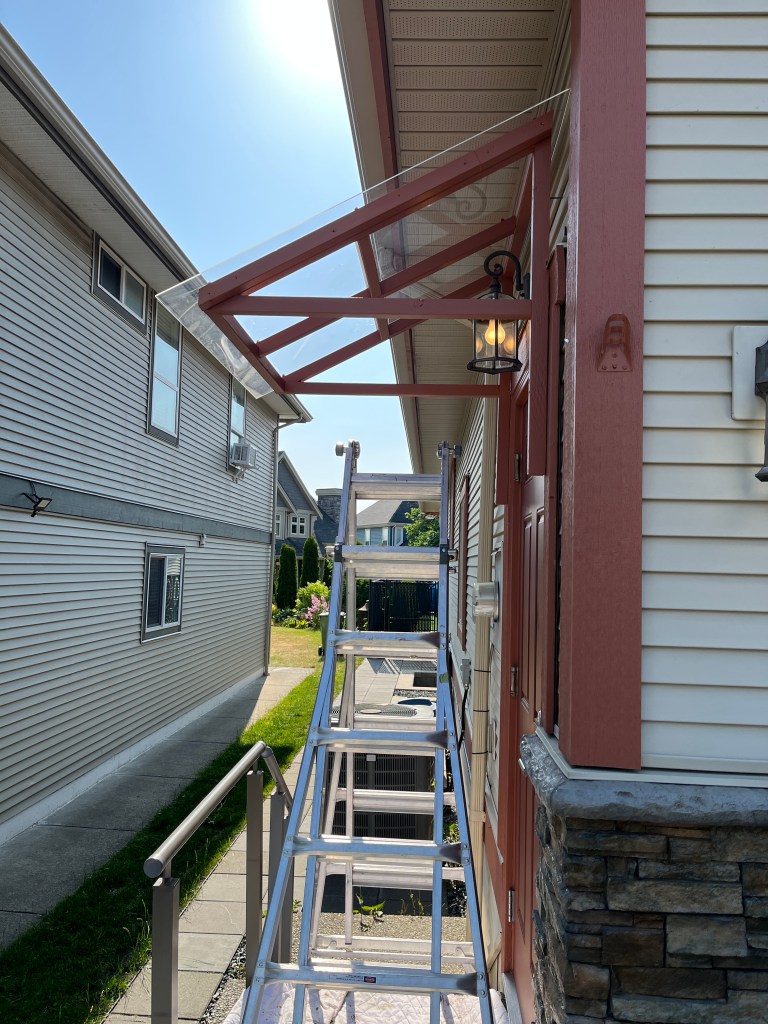
Here’s another tin roof over an exposed basement door… these new $2M houses really need to start adding some sort of overhang on these things… too much water gets in.
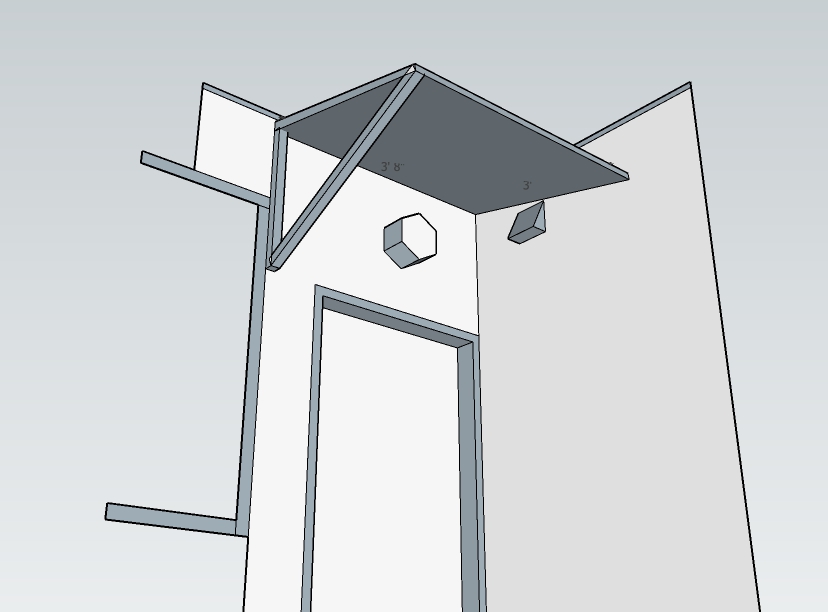
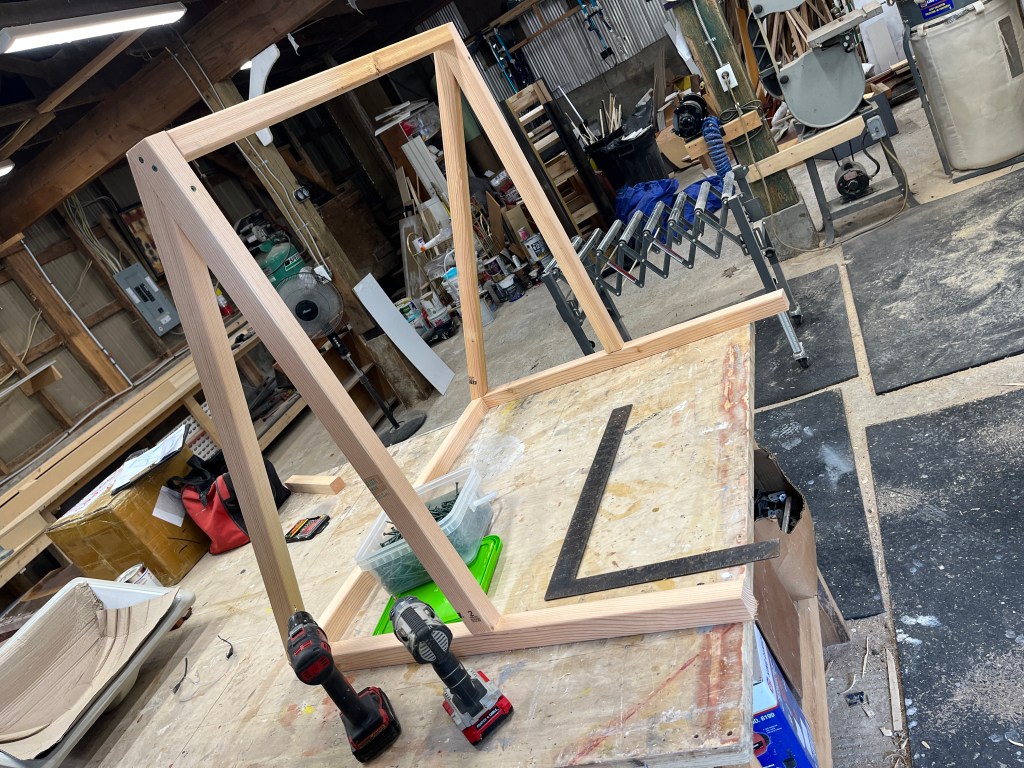
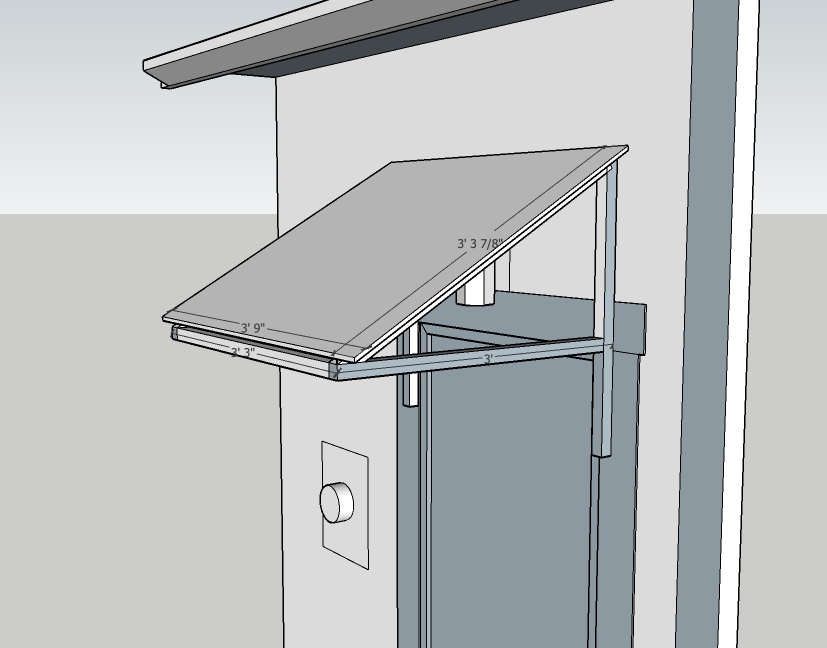
SketchUp model helps determine angle cuts later
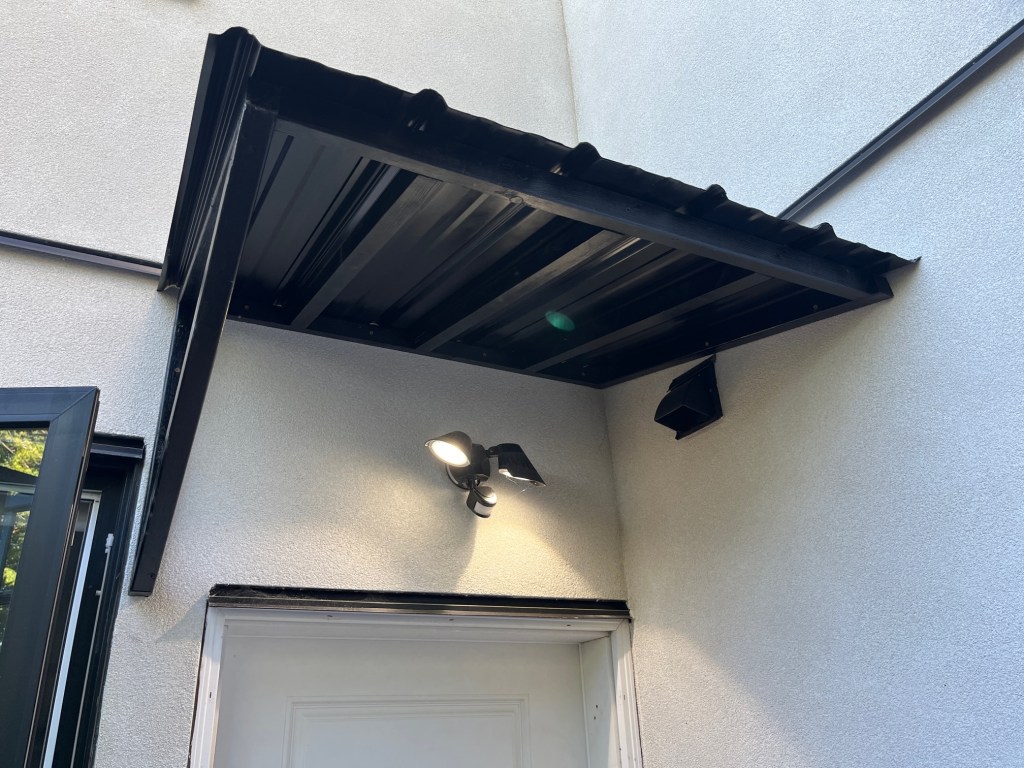
The important part is to avoid the light and the vent and still snug under the flashing.
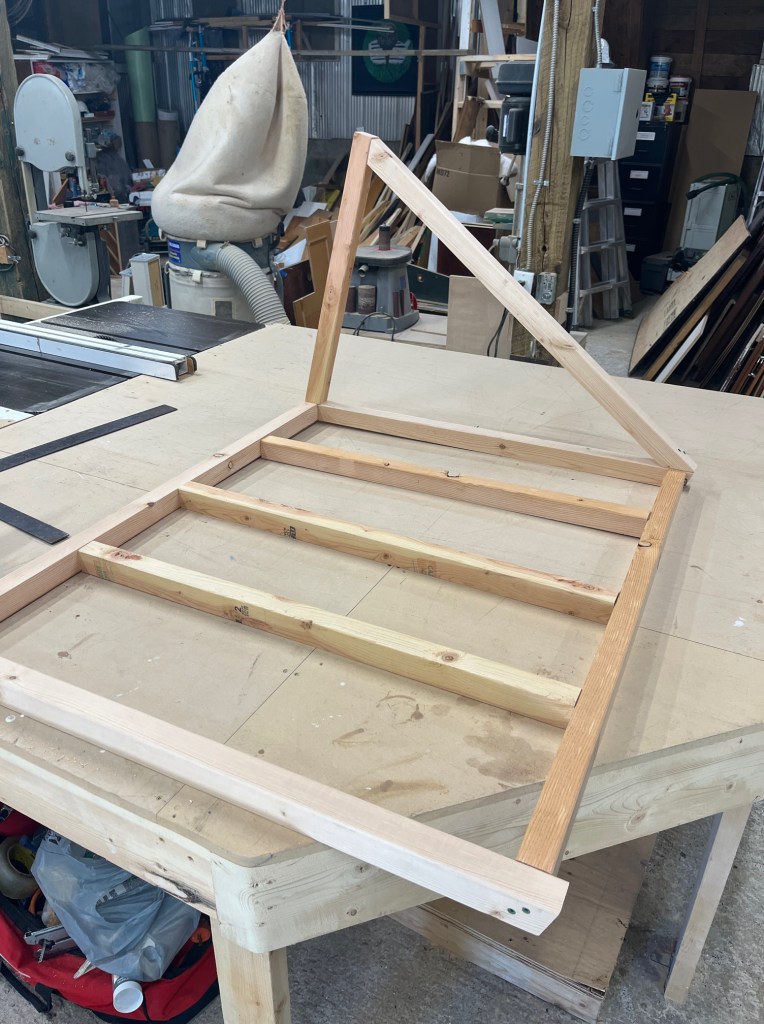
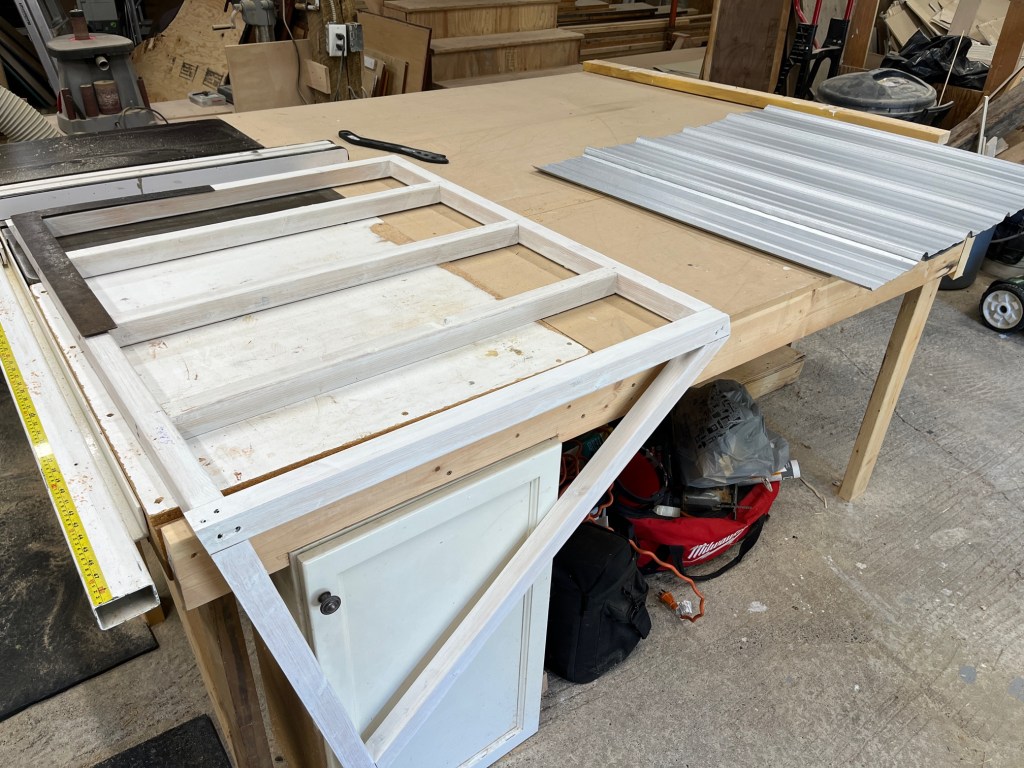
Ingredients: fir 2×2, primer, black spray paint, screws, and galvanized roofing.
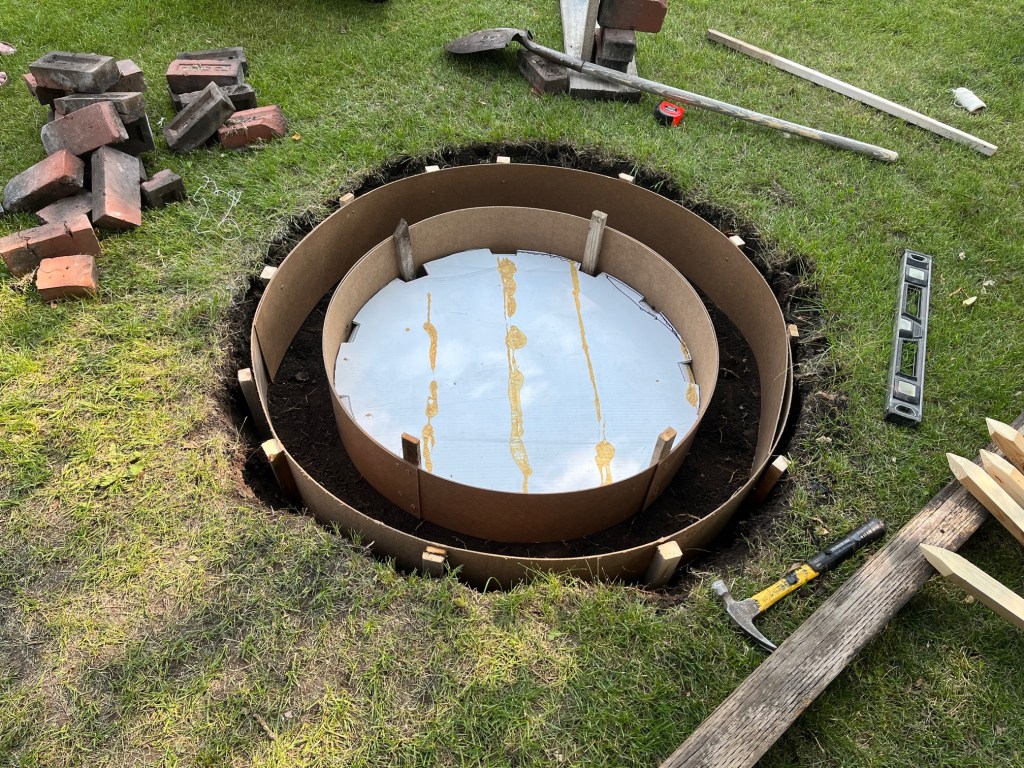
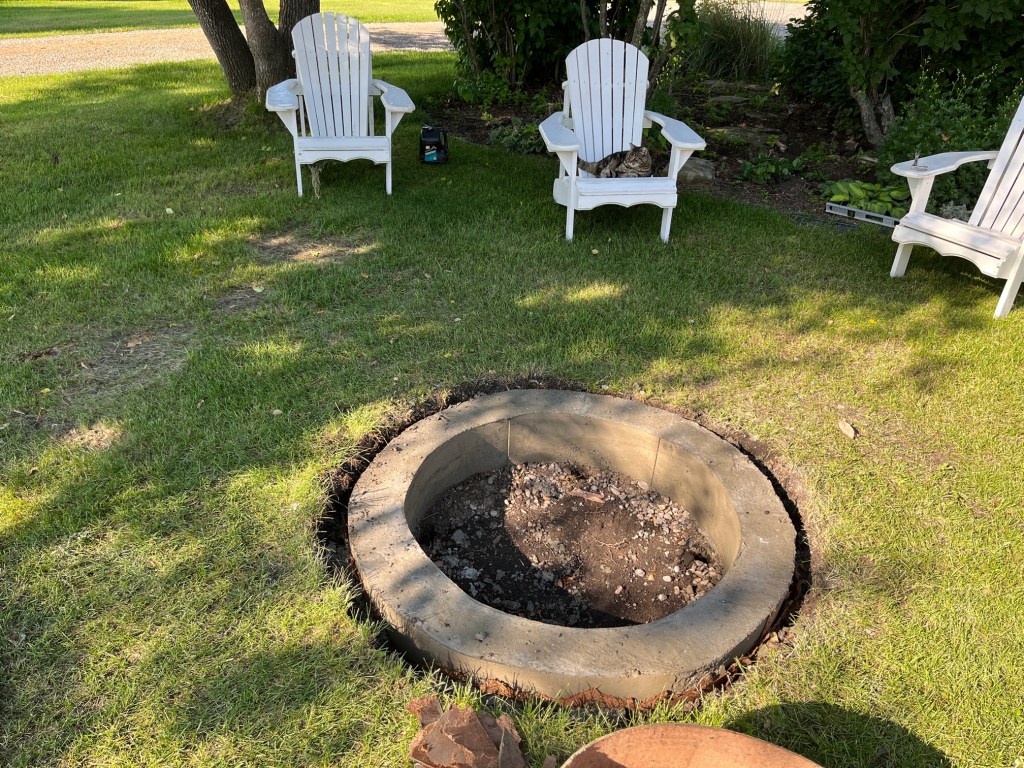
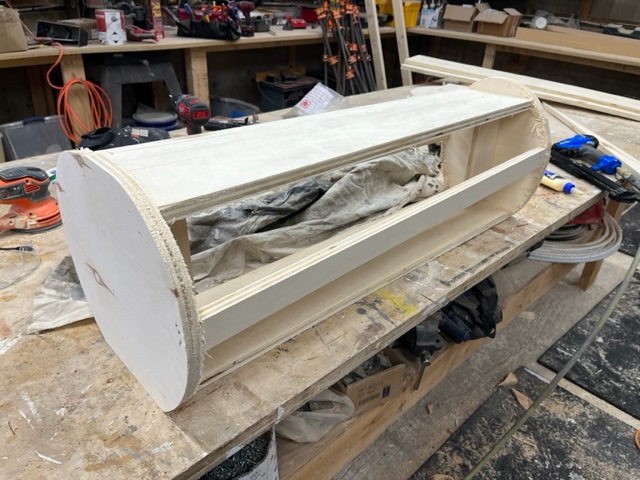
I helped my father-in-law build an outdoor firepit. He found instructions on the Family Handyman site. He had some bricks from an old building or chimney and we re-used them for the outside and top ring.
First we poured a ring base with some 1/8 hardboard and stakes and cement. We left a round piece of coroplast in the middle to help keep the circle shape.
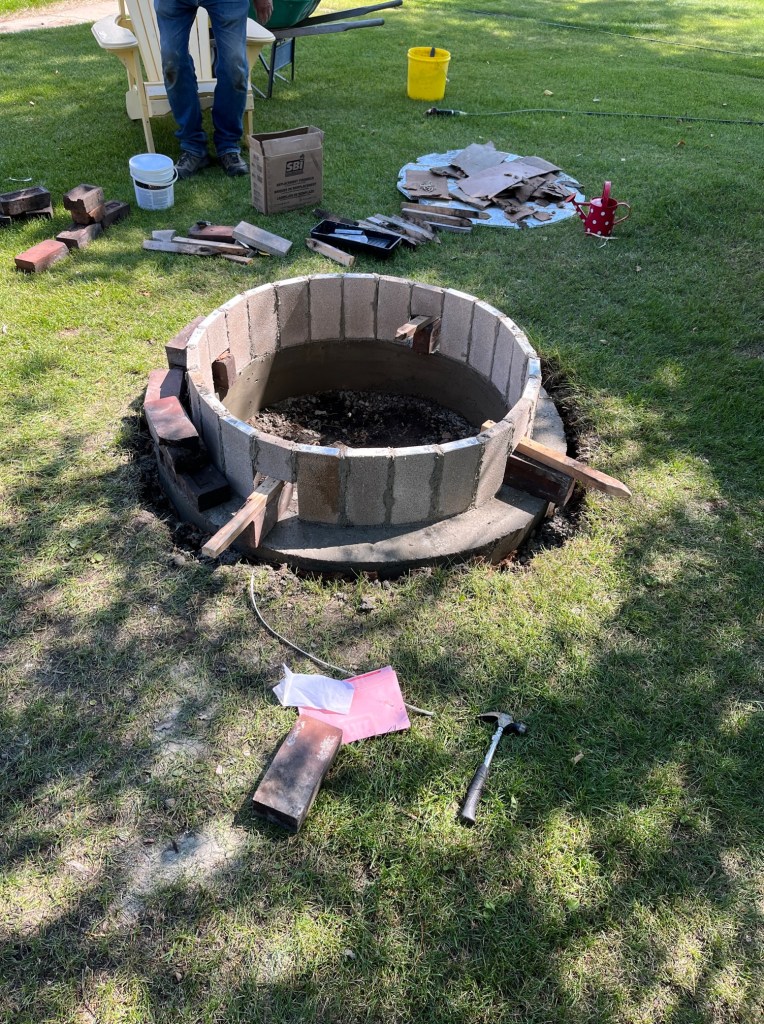
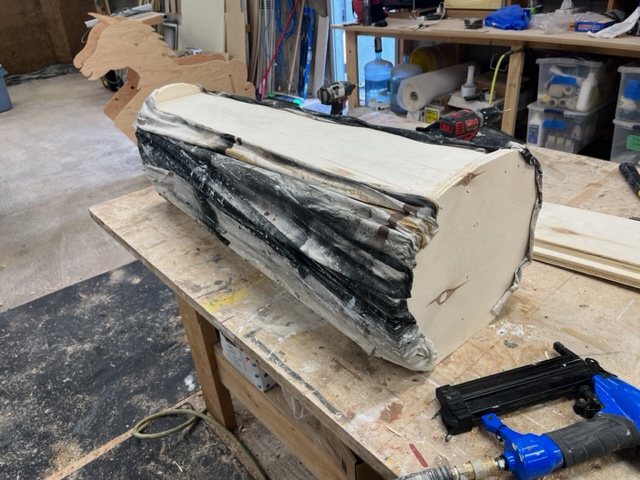
Then we used a special mortar to glue on the firebrick (safer than regular brick near the heat).
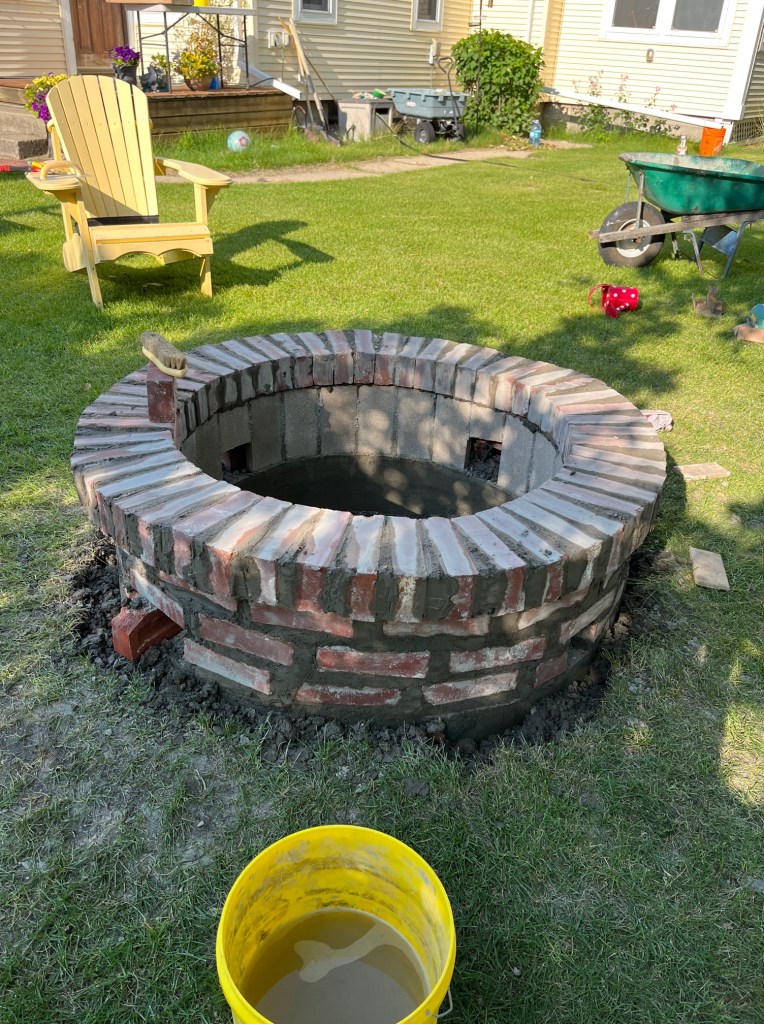
Then we tired our hand at bricks and mortar. It was not easy and I was not super happy with how it turned out, but it does look okay. It was my first and likely my last attempt at bricklaying!
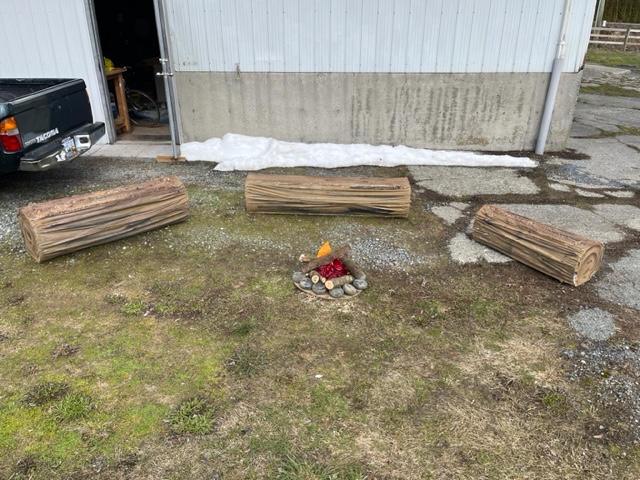
We didn’t get to have a fire while we were there, because the mortar has to cure for a week first…maybe next time!
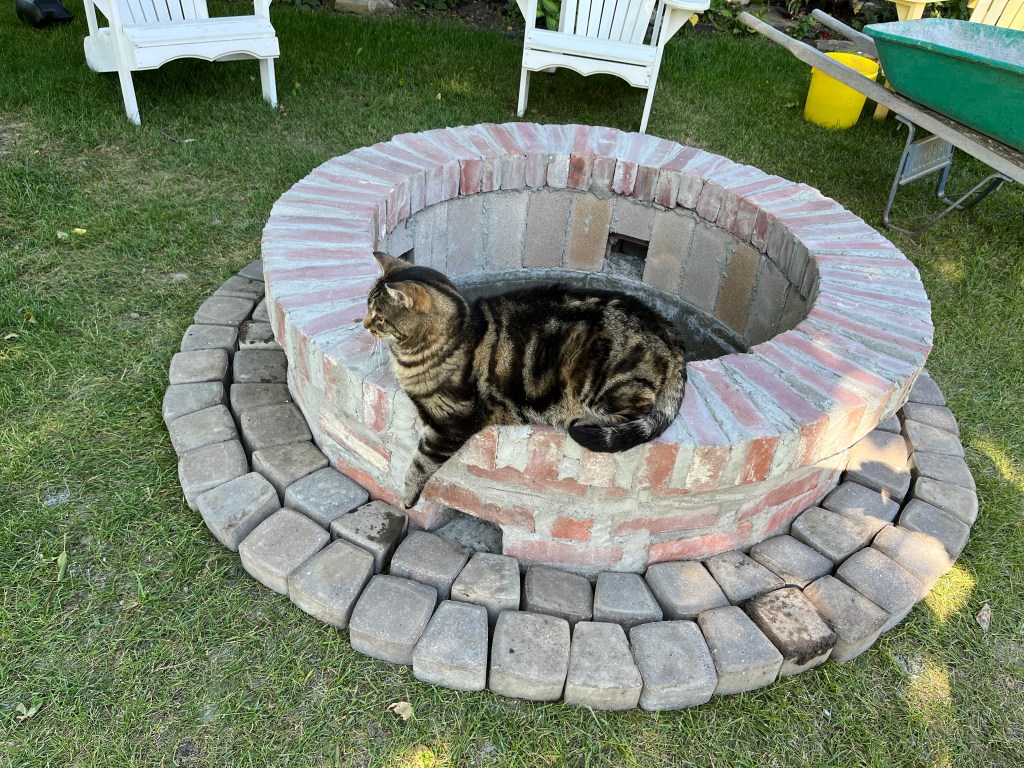
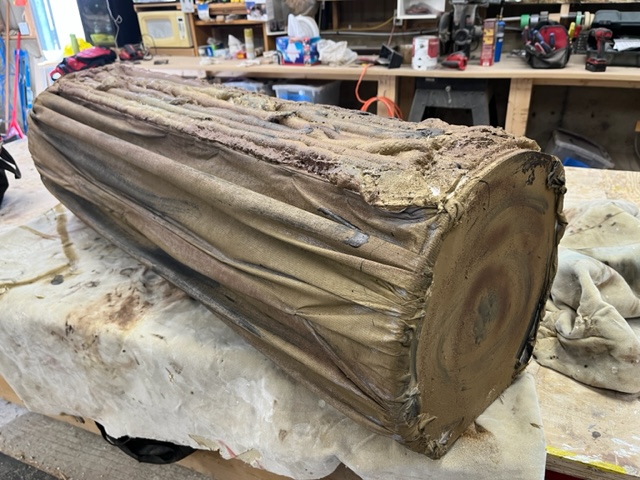
Oh yes – we also added a ring of blocks around the base using a gravel/sand base. The cat was not much help.
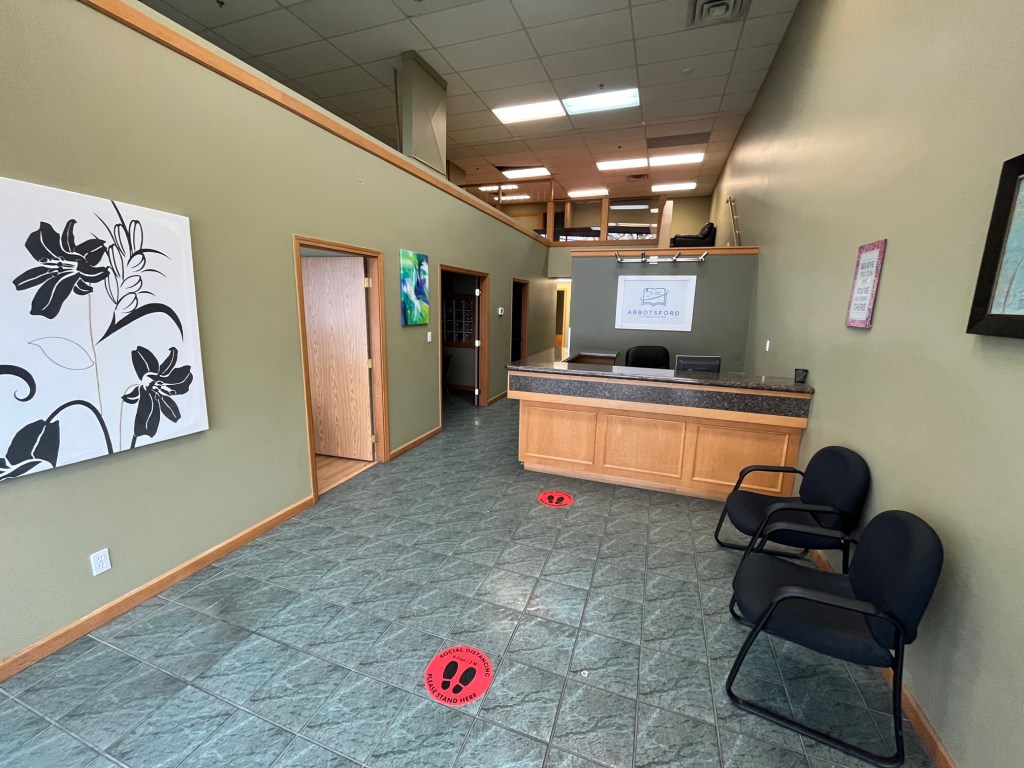
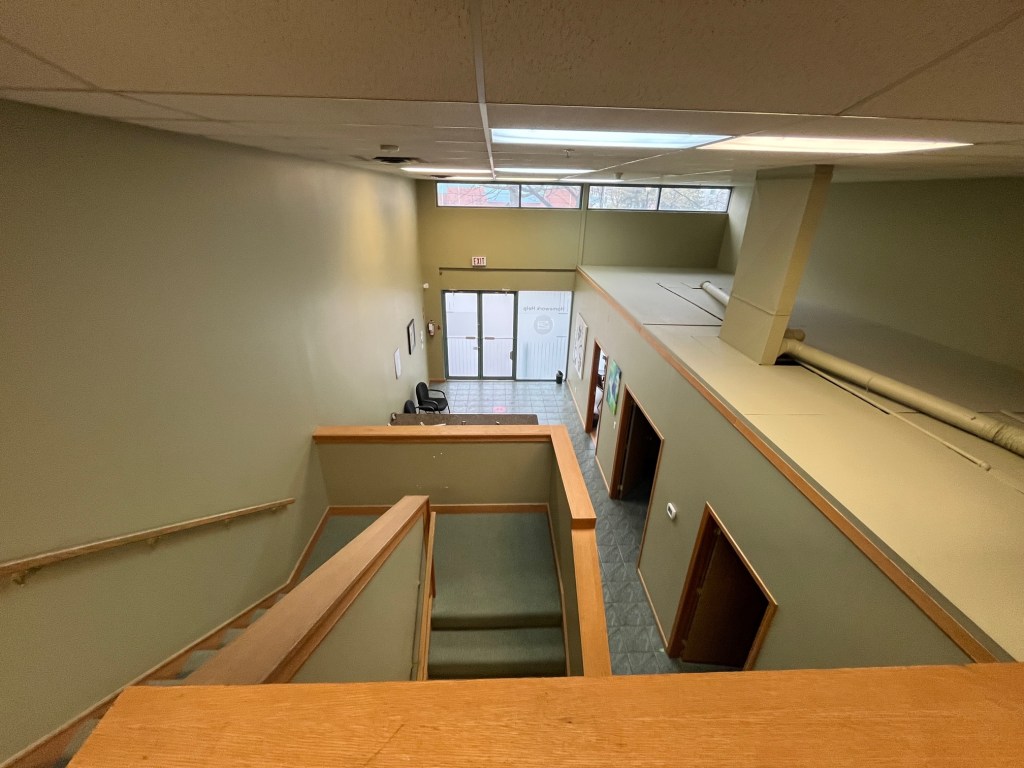
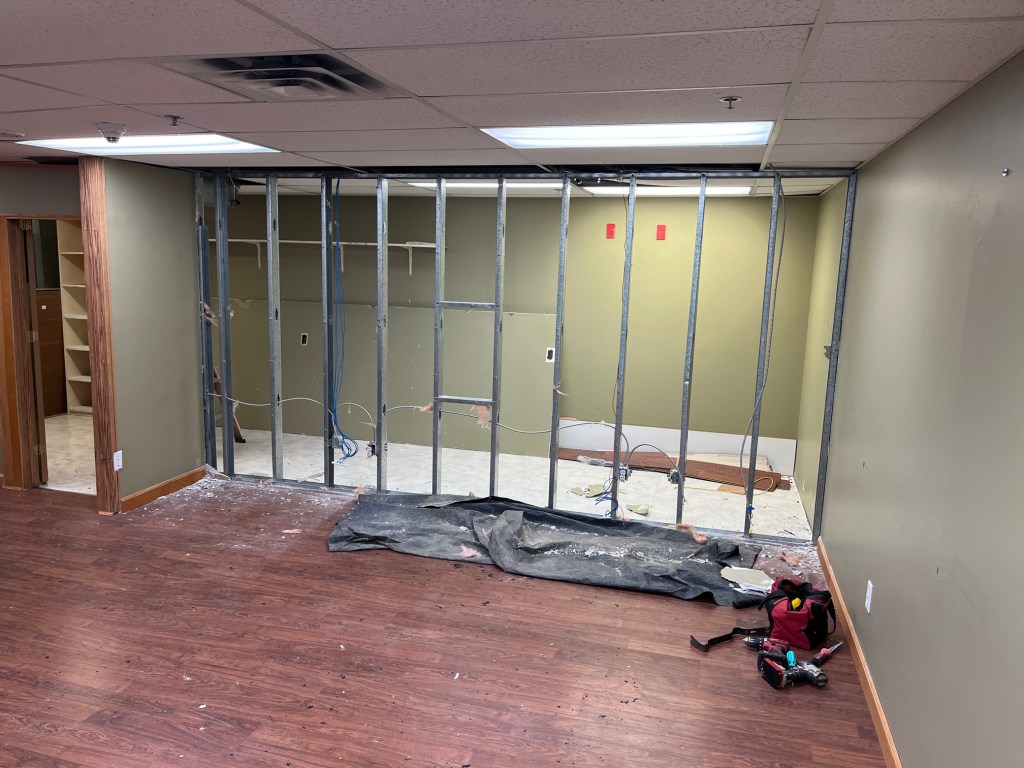
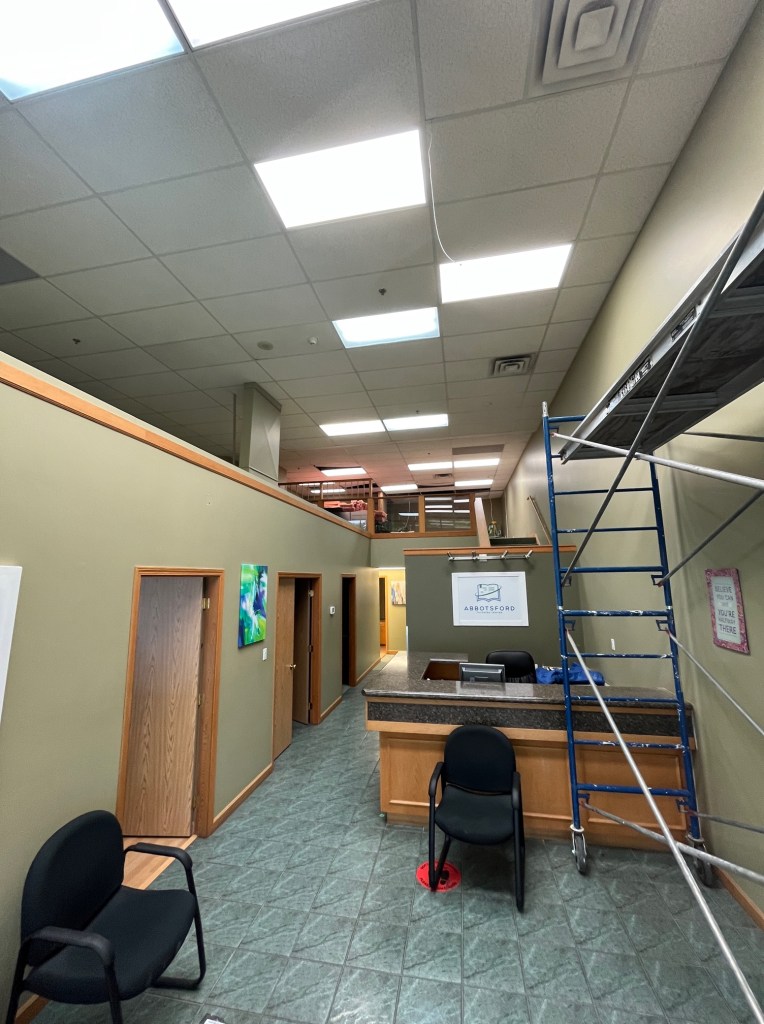
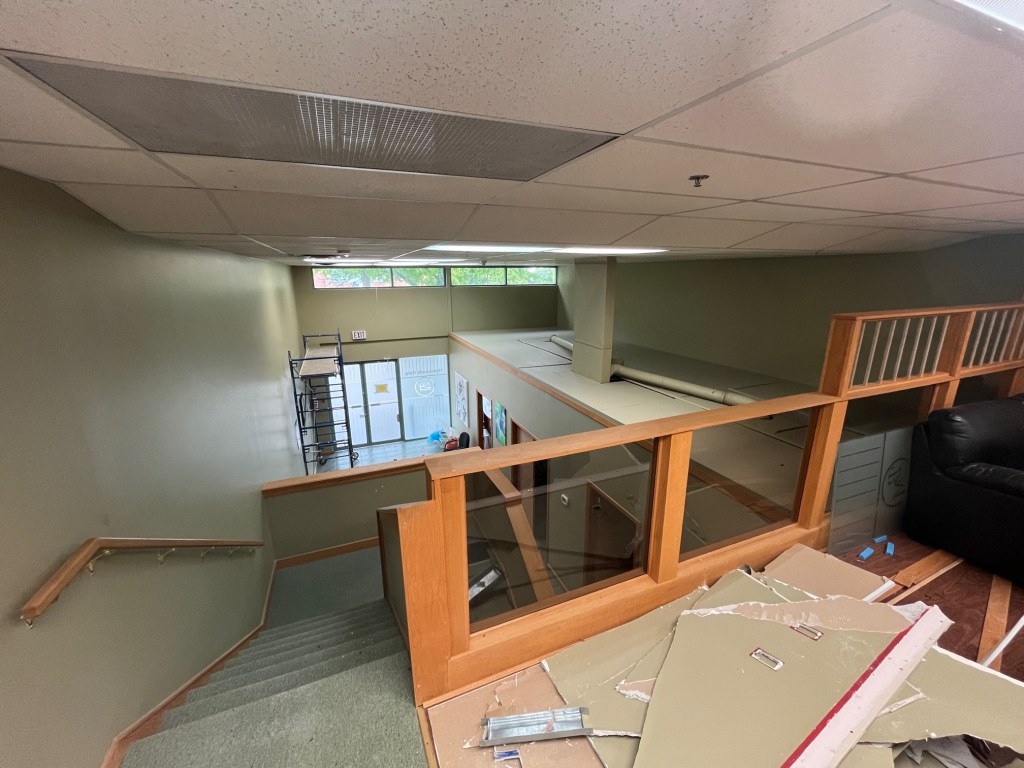
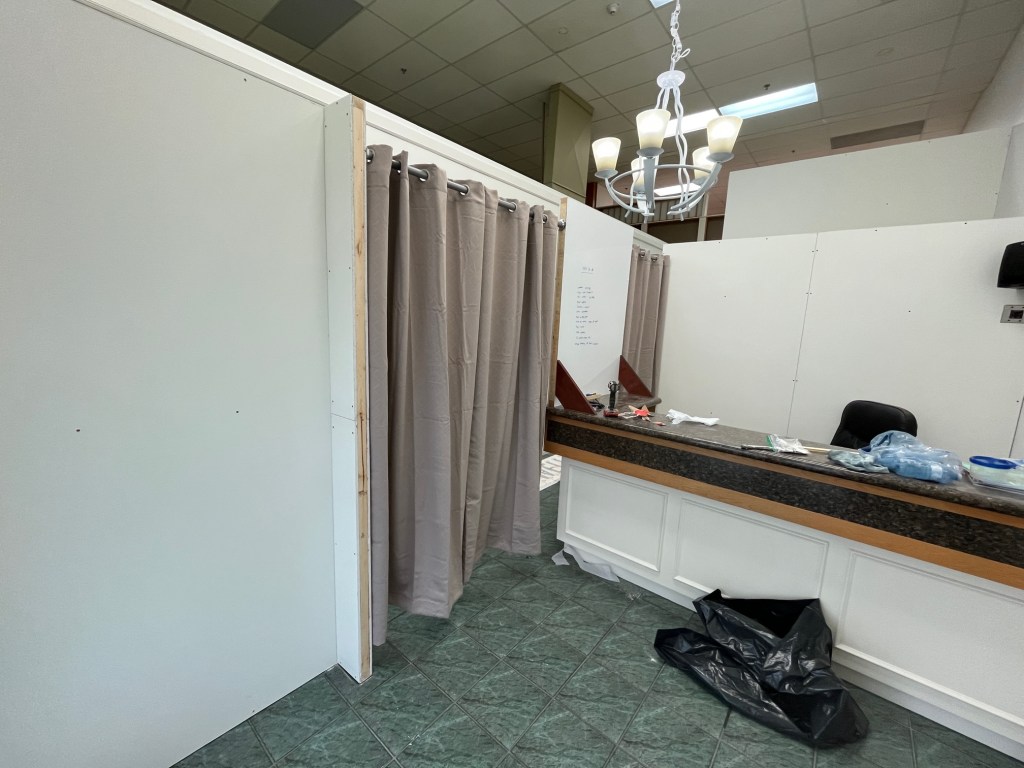
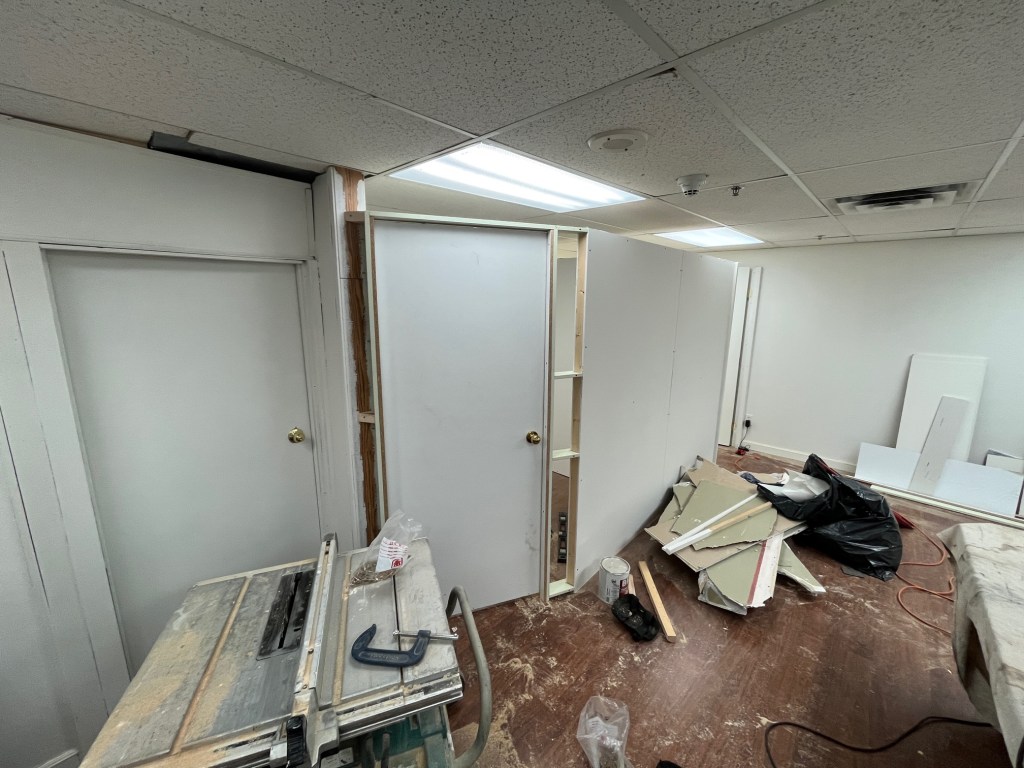
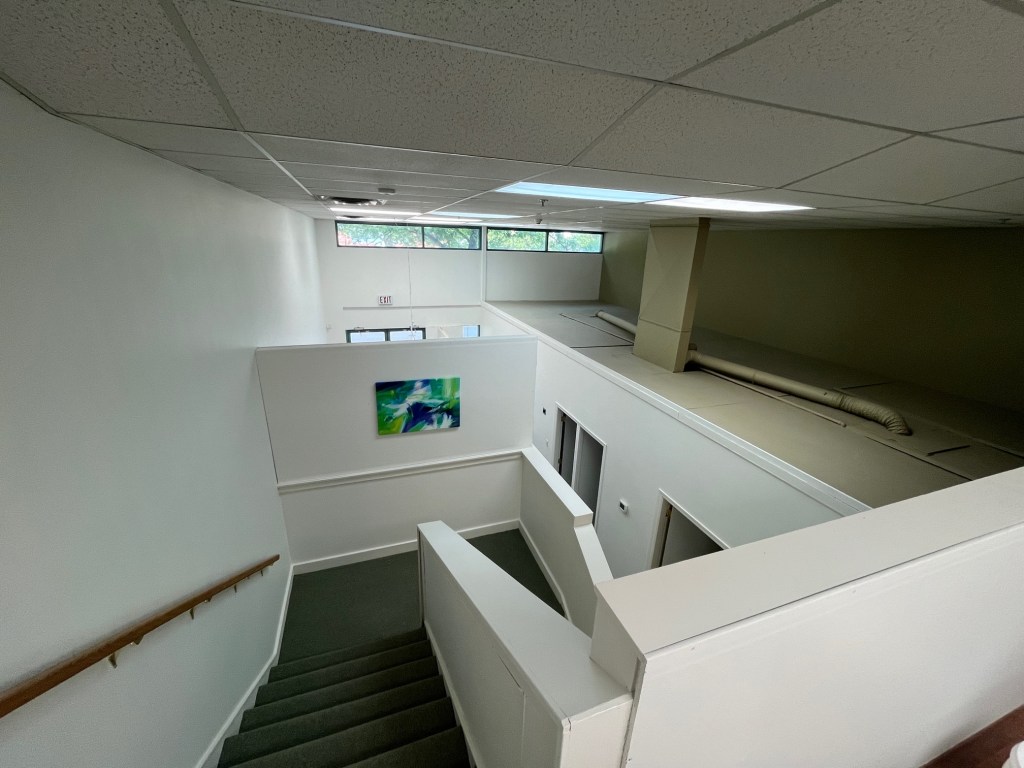
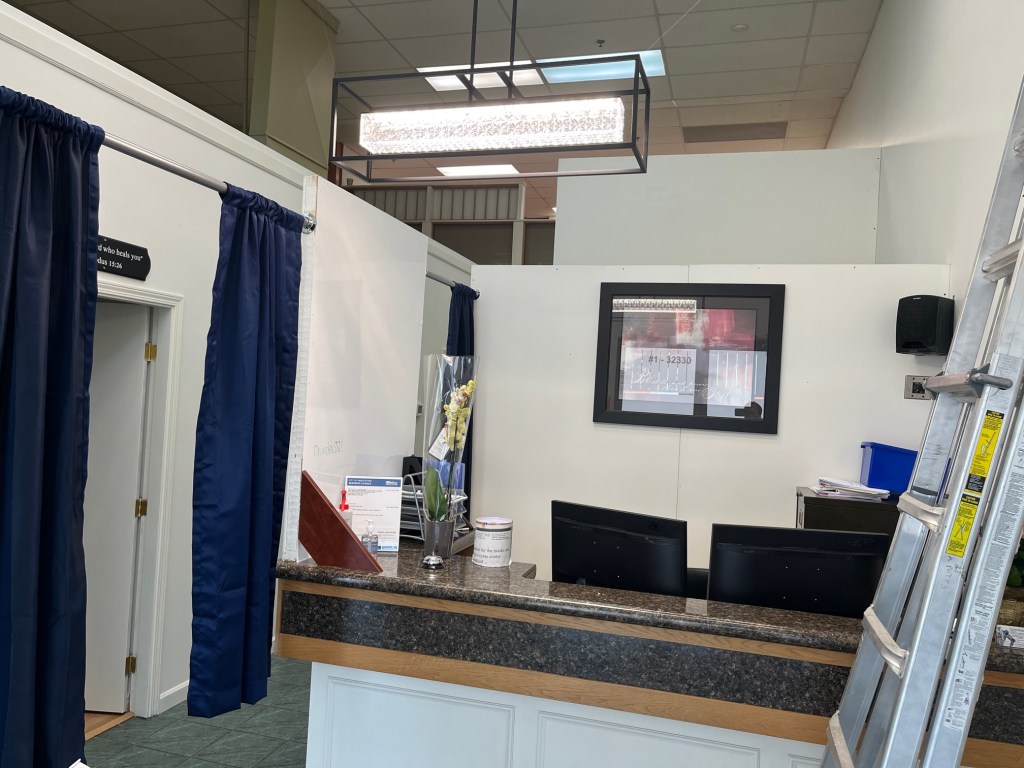
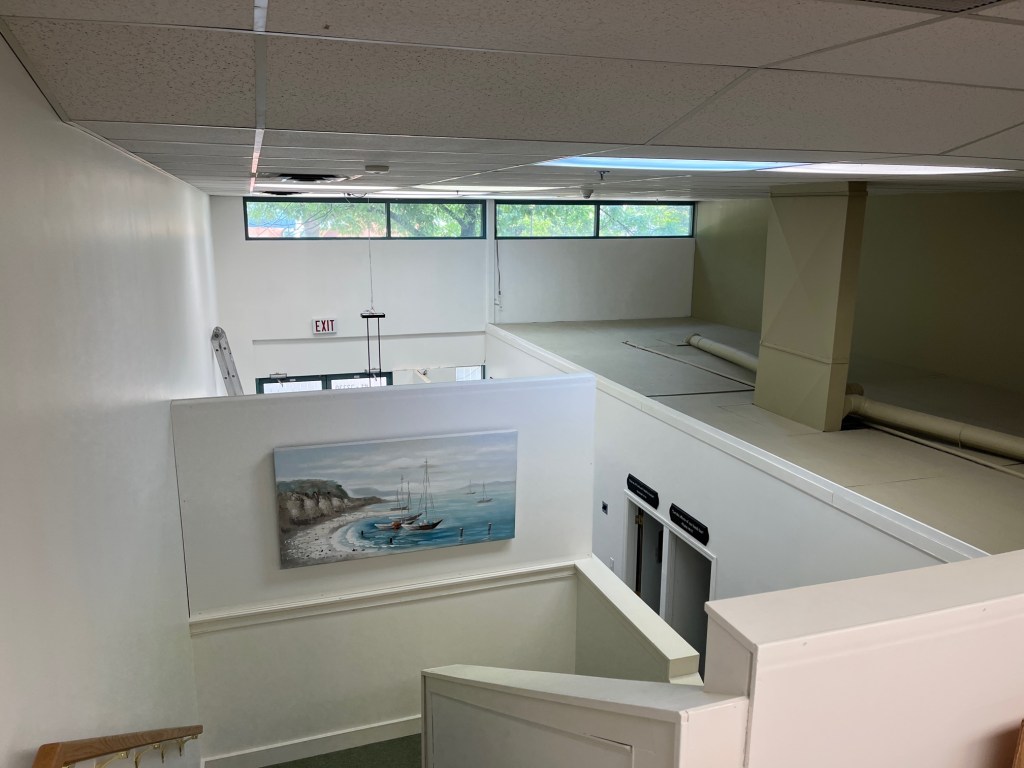
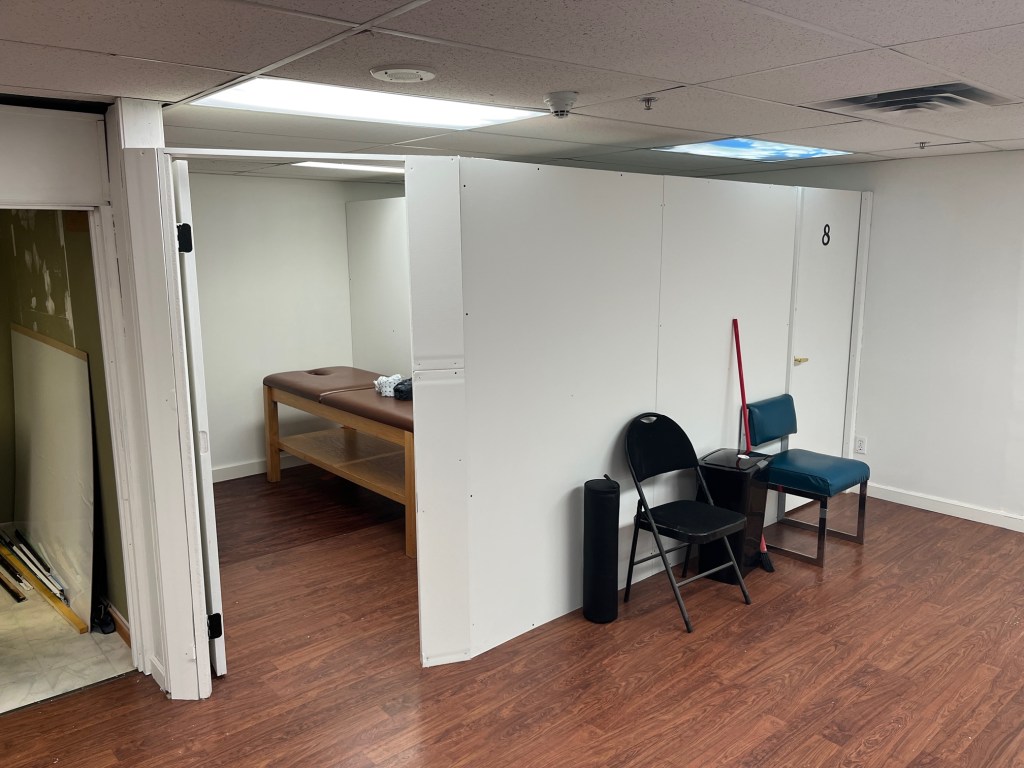
I did some work for Get Well Physiotherapy in May and June. They moved locations and needed some walls moved, partitions added, painting done, and a few other things. I had to bring in some other trades to help.
I built a small roof for Sandee to keep the rain off an exterior door a little bit. She wanted plexiglass so I did buy a piece and stick it up there… haven’t much experience with it so I installed it with roofing screws with rubber washers, and pre-drilled oversized holes. Seemed to turn out ok!
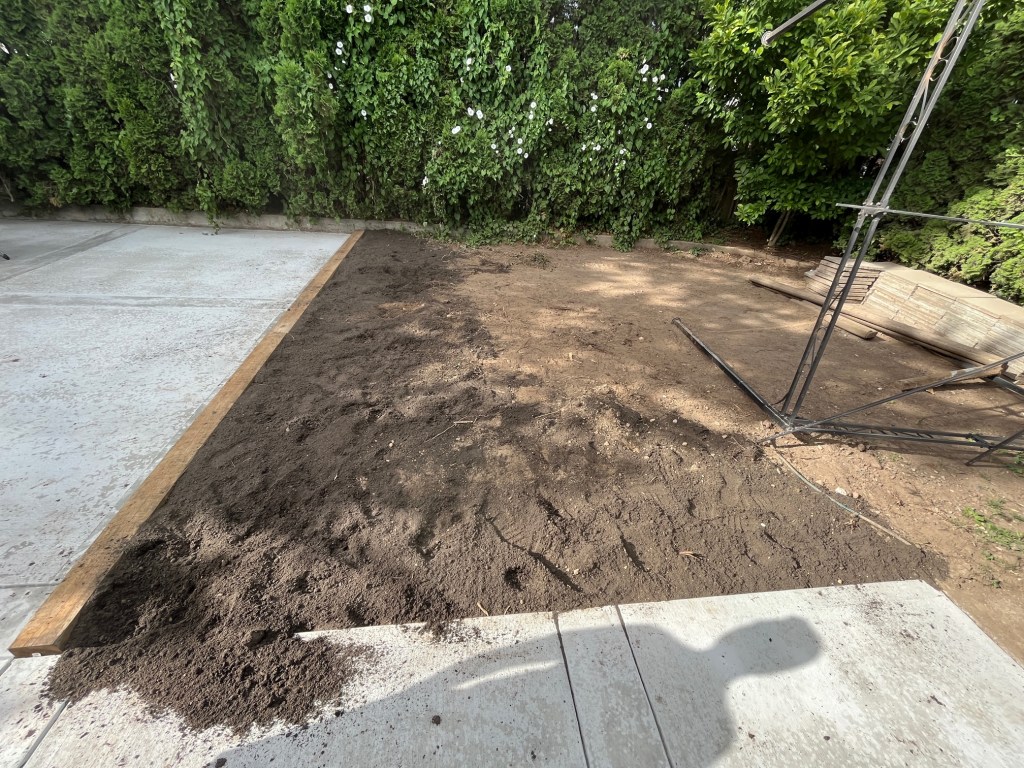
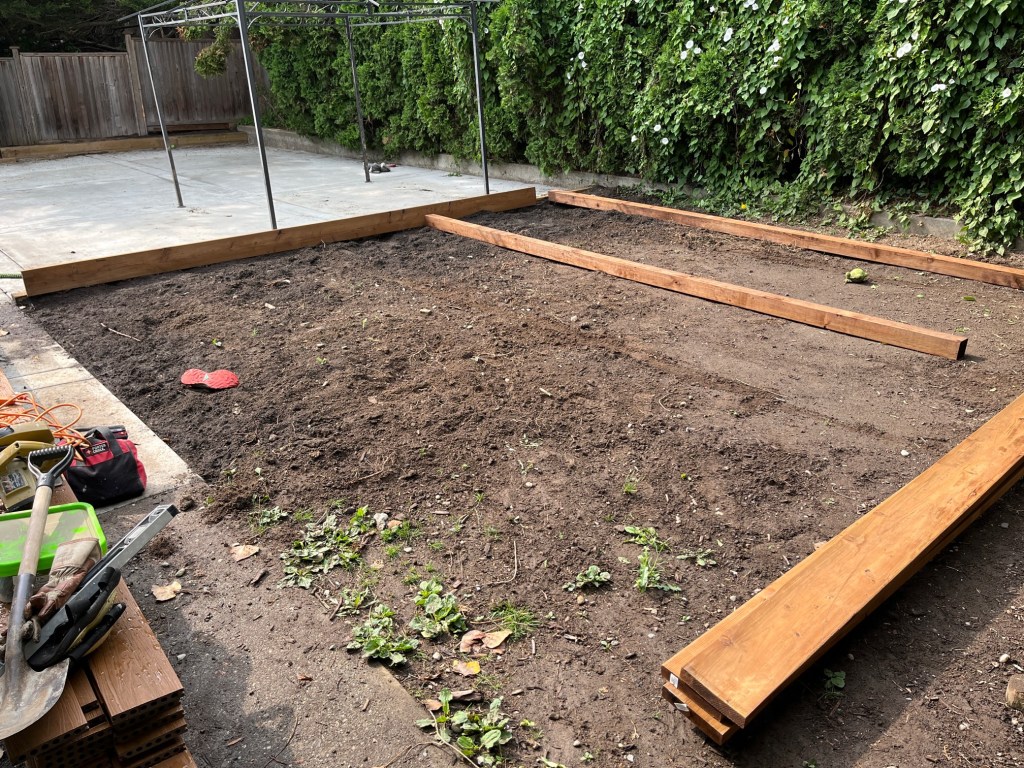
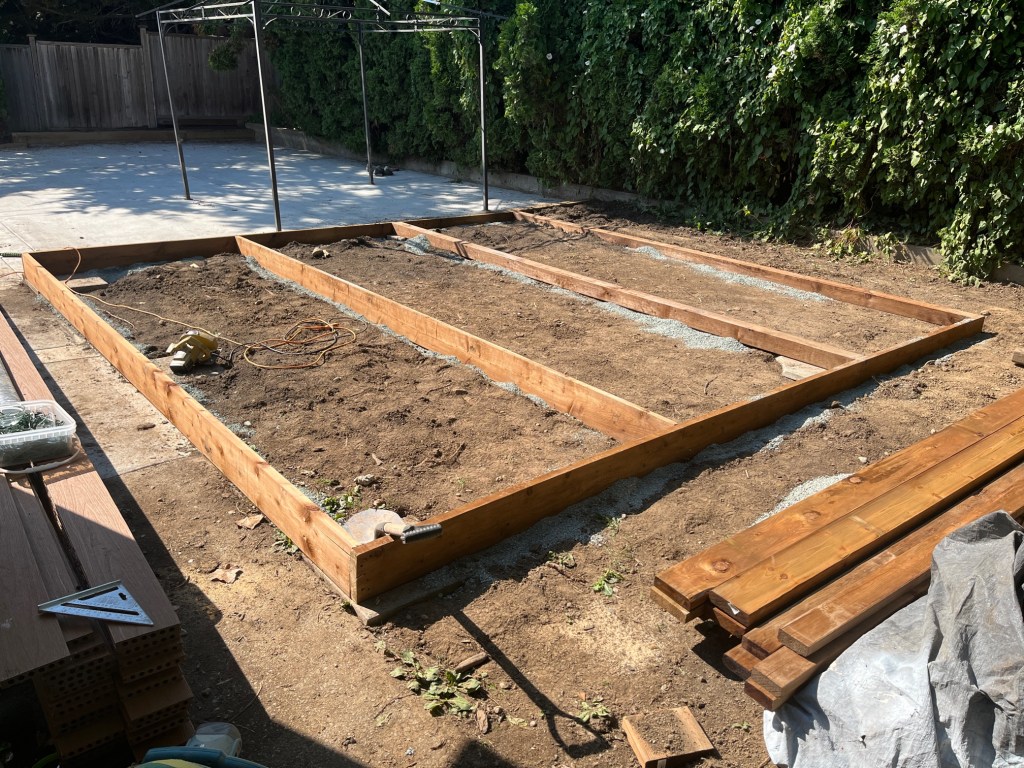
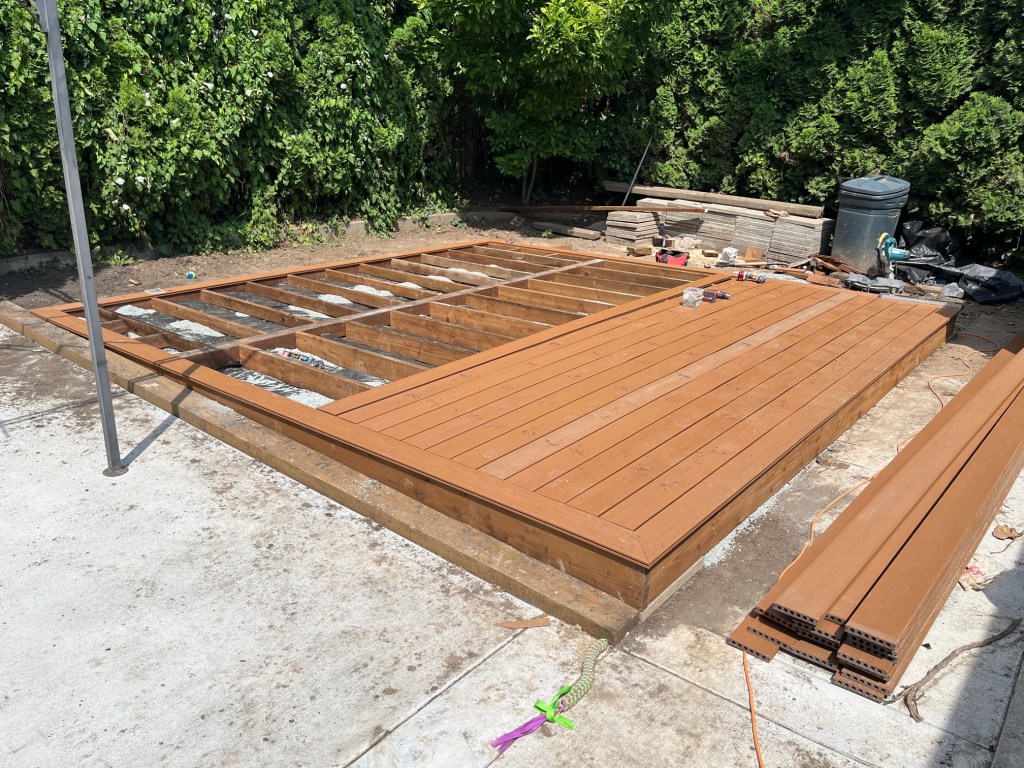
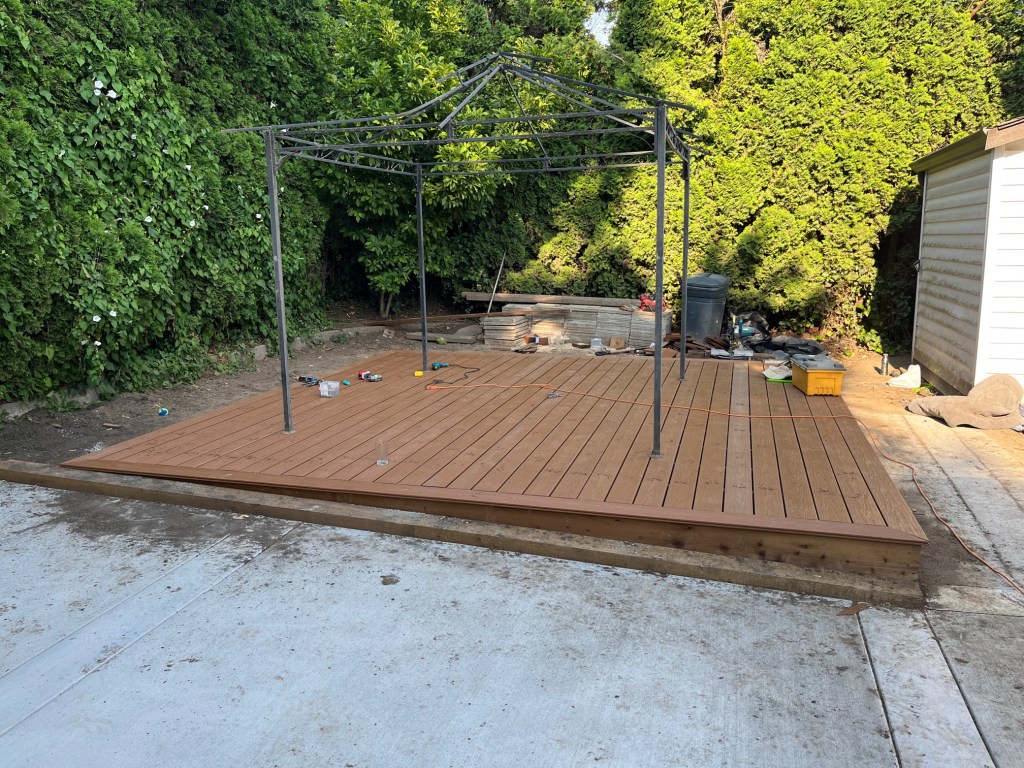
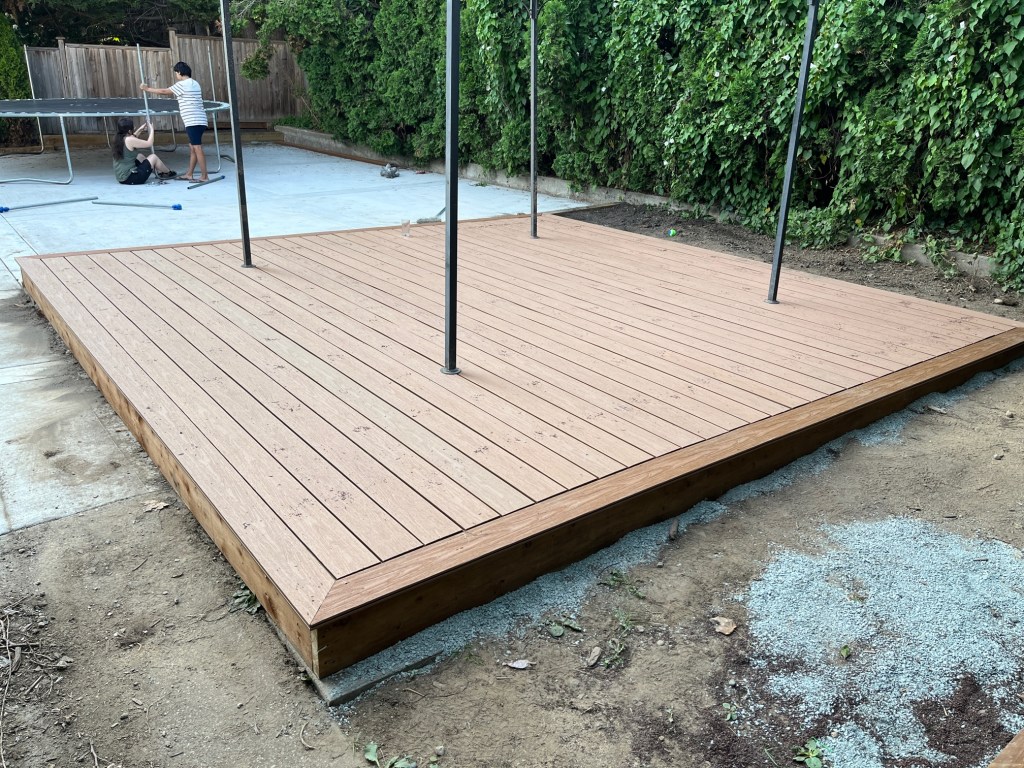
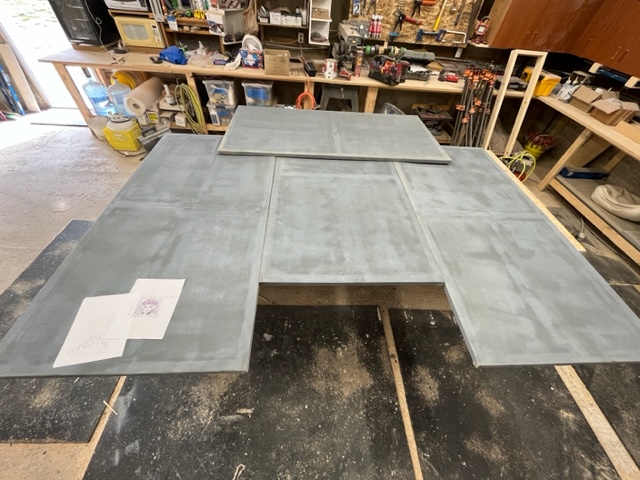
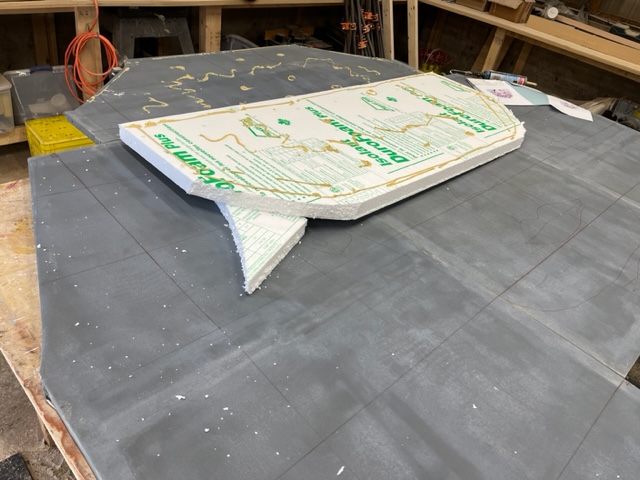
Noel asked for a composite deck in his backyard; just a square slab.
I haven’t worked much with composite before and it’s not the miracle product I thought it was. Turns out it expands and contracts like wood (if not more?). But the part about not staining and refinishing it is certainly attractive.
It took about 16 hours start to finish. Noel bought the decking on Marketplace at a good discount and I bought the pressure treated lumber for the base.
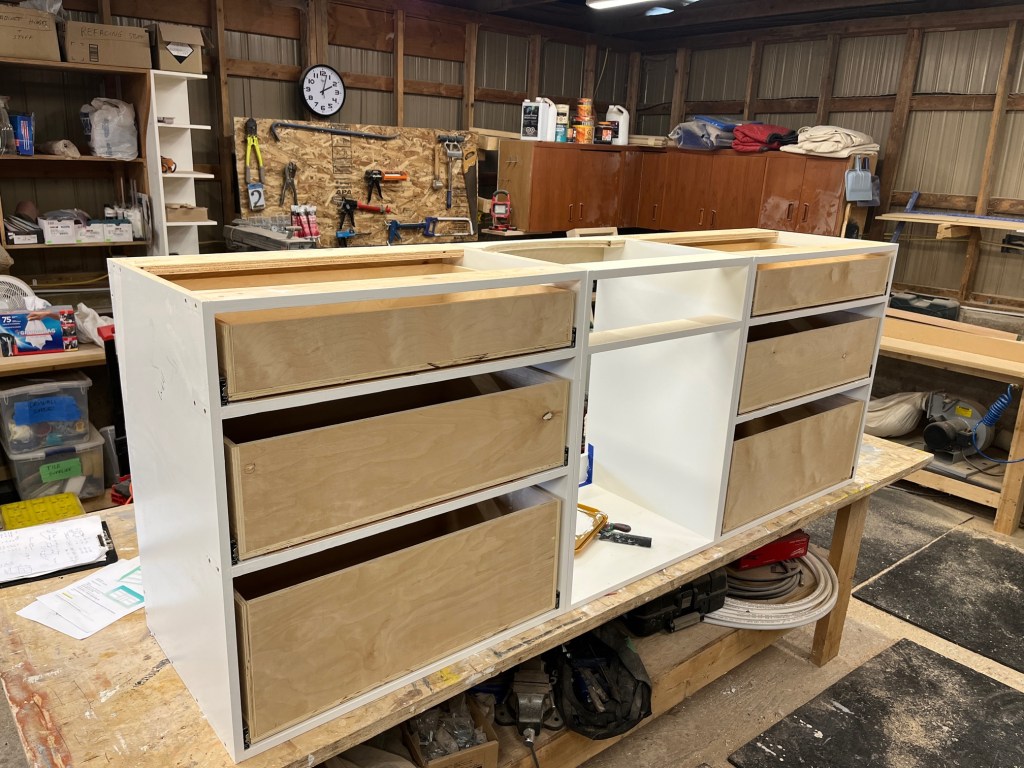
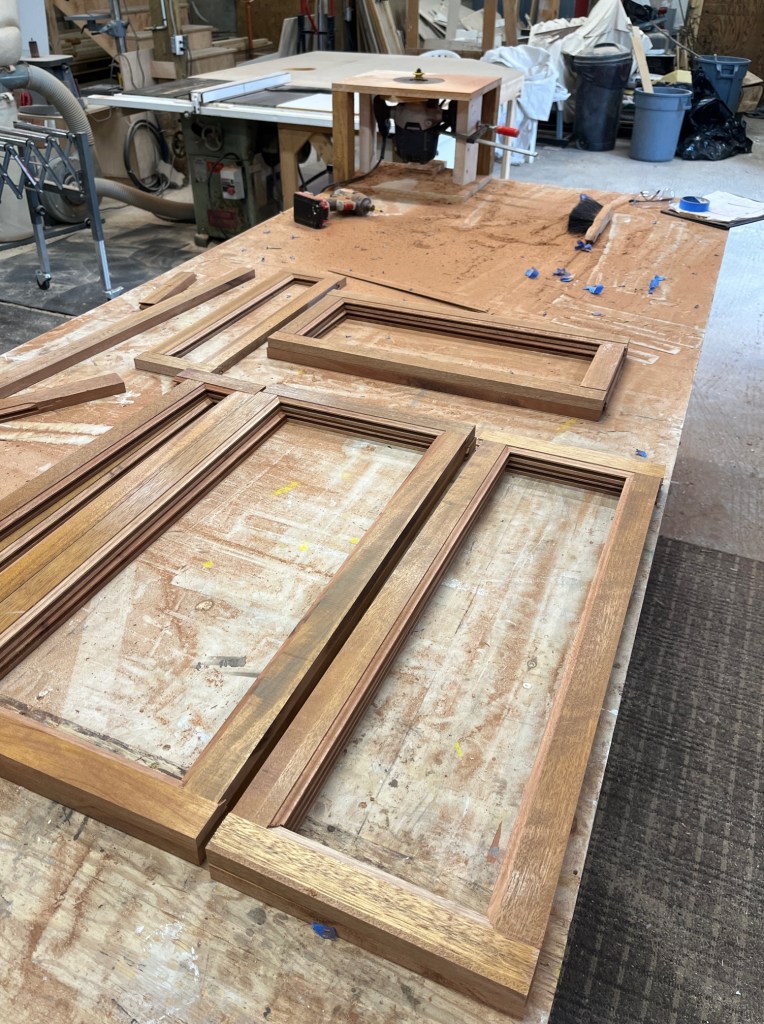
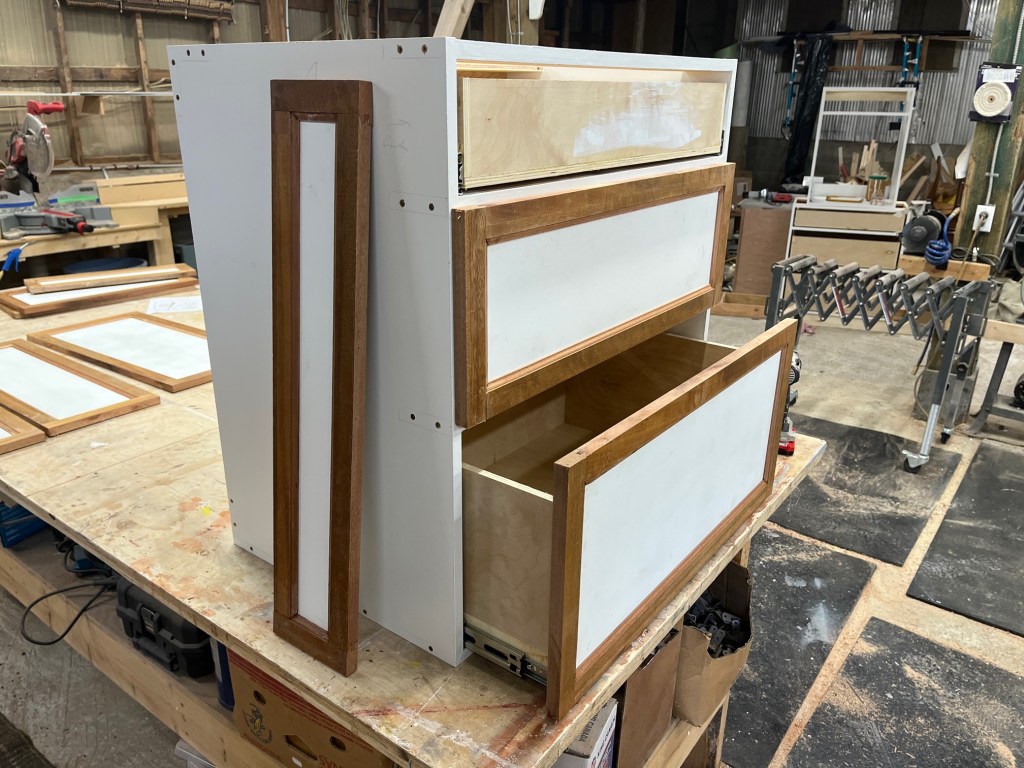
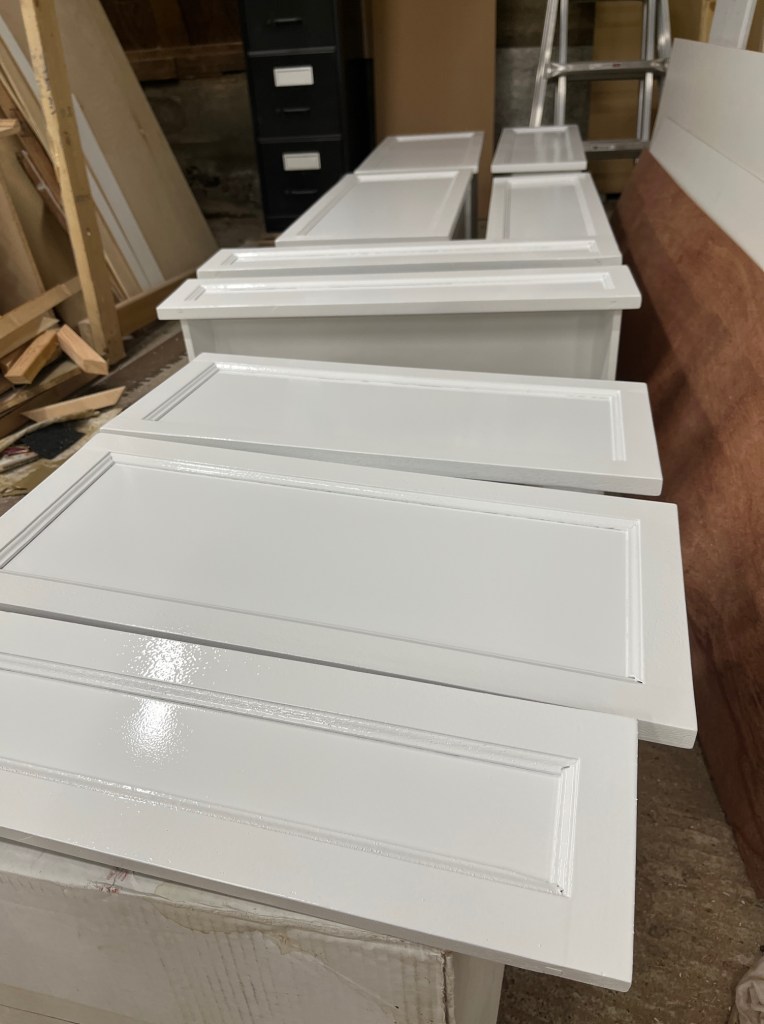
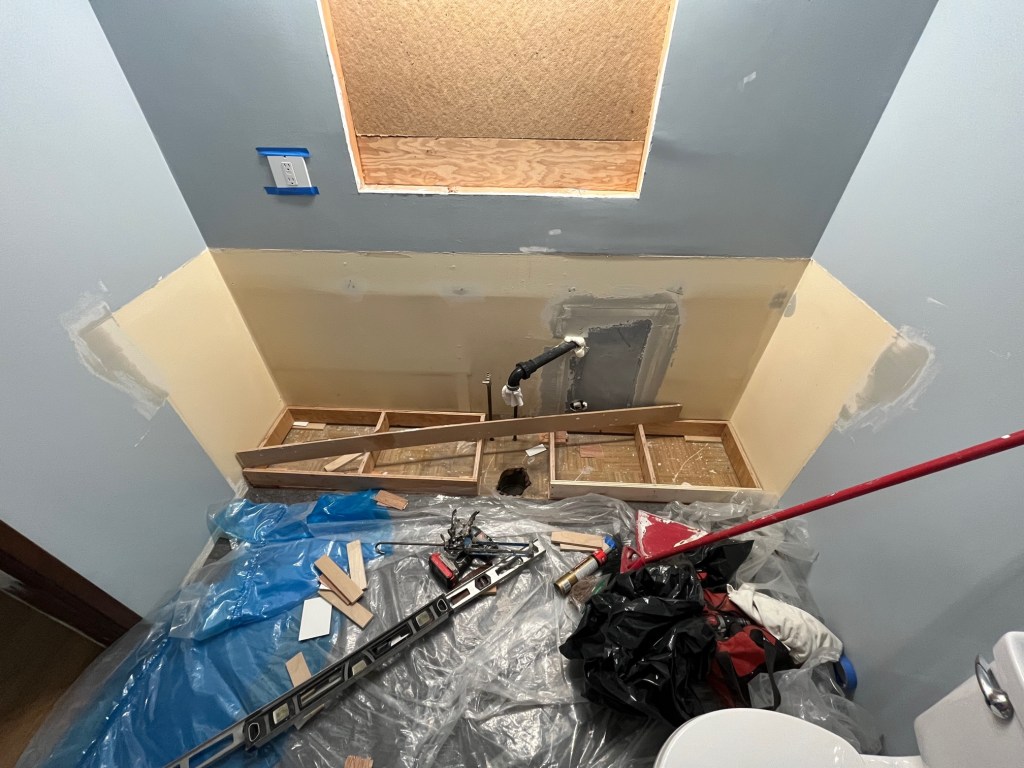
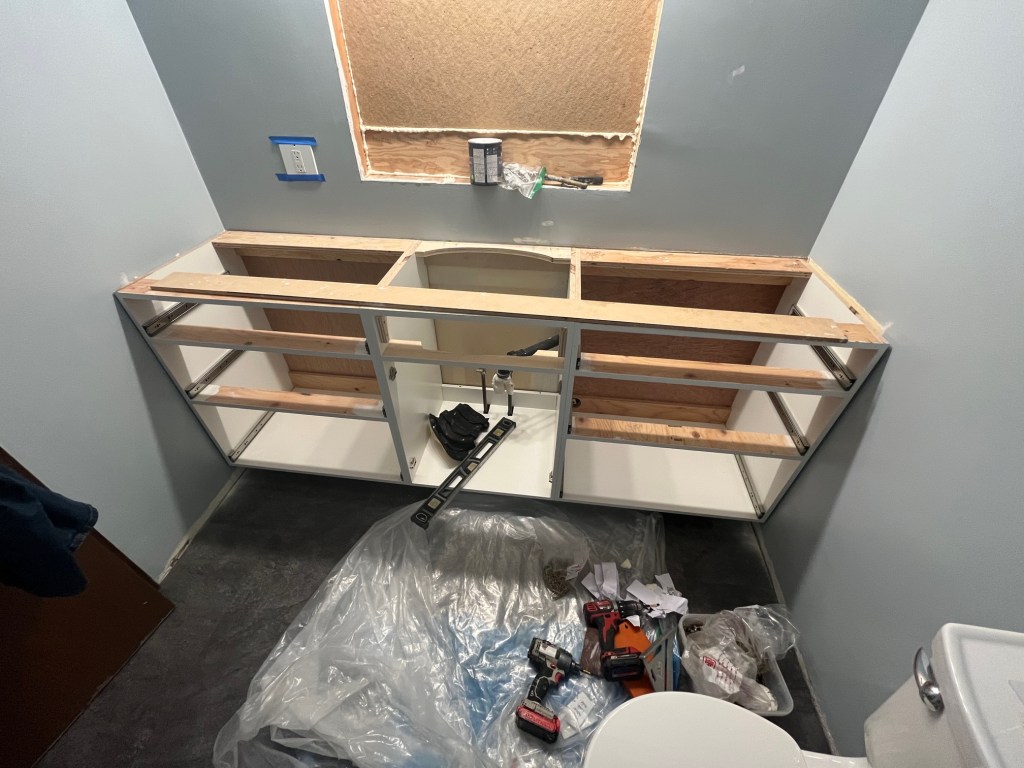
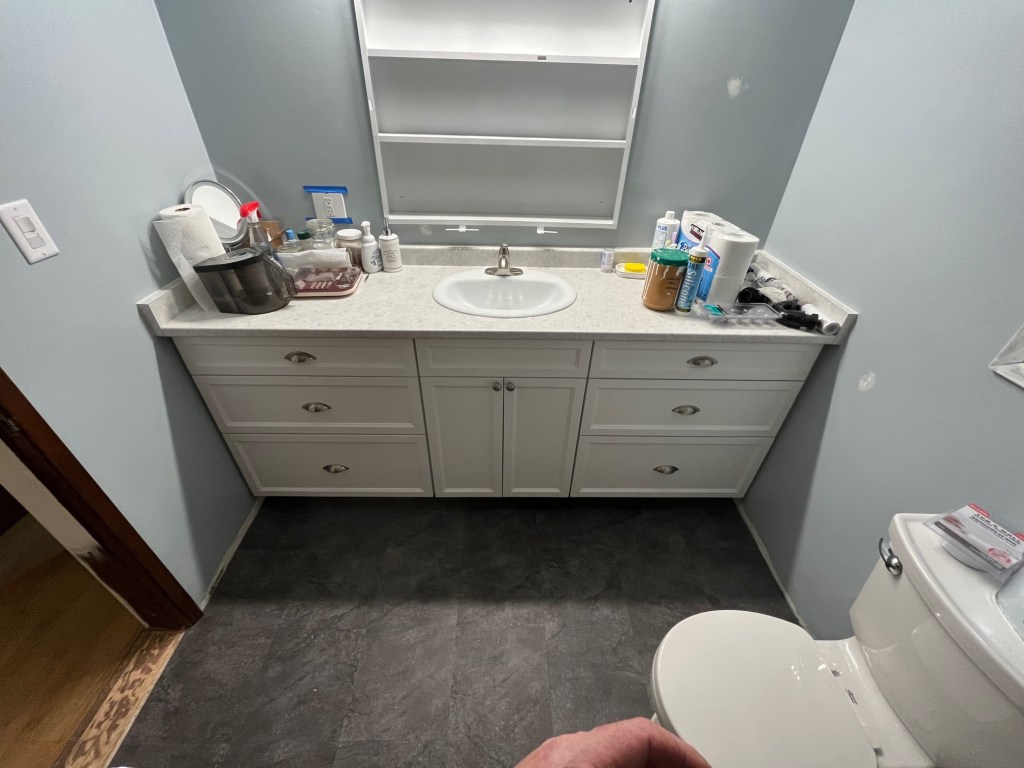
Colleen hired me to replace a bathroom cabinet. I took out the old one, sealed the wall/floor a bit, and built a new one from scratch. The countertop was done by another company.
I used standard soft-close ball bearing drawer slides as I usually do. However, the company I normally get hardware from suddenly went bankrupt so I had to order from the States with a new brand. They seem to be ok but they are a different brand than I’m used to.
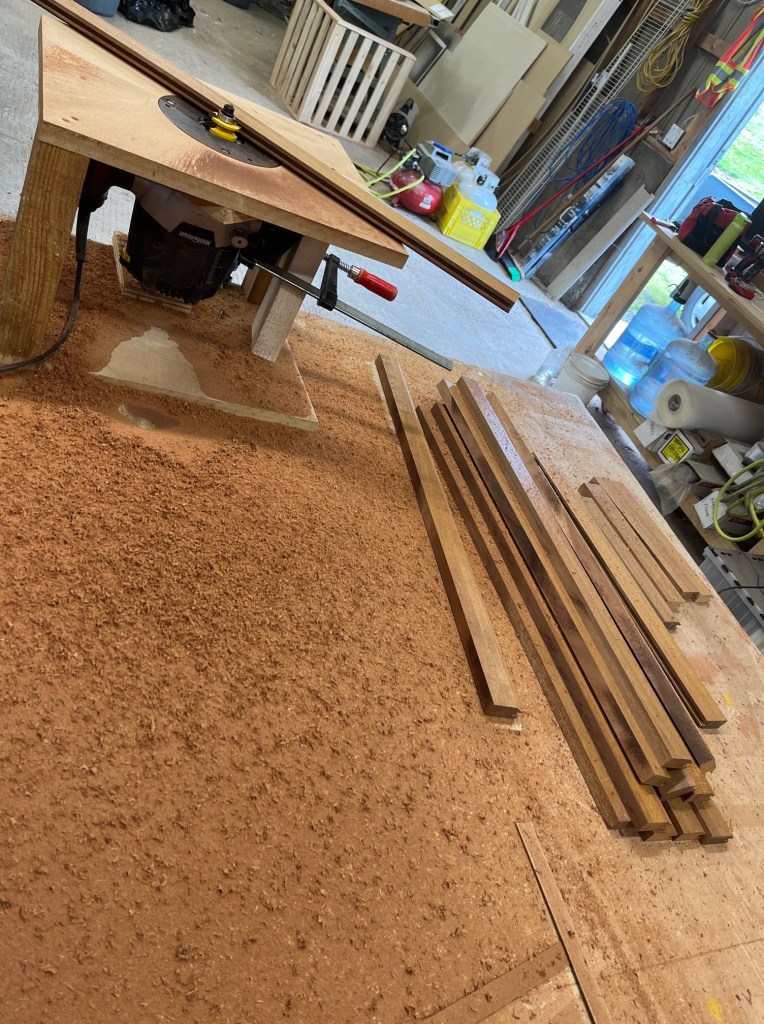
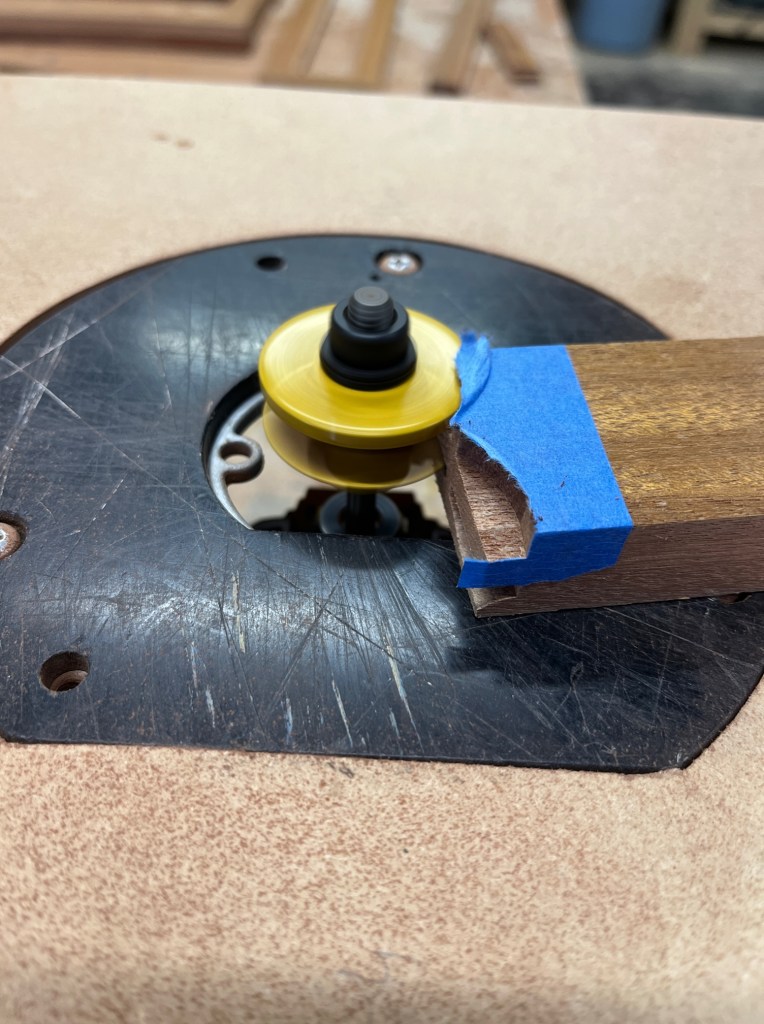
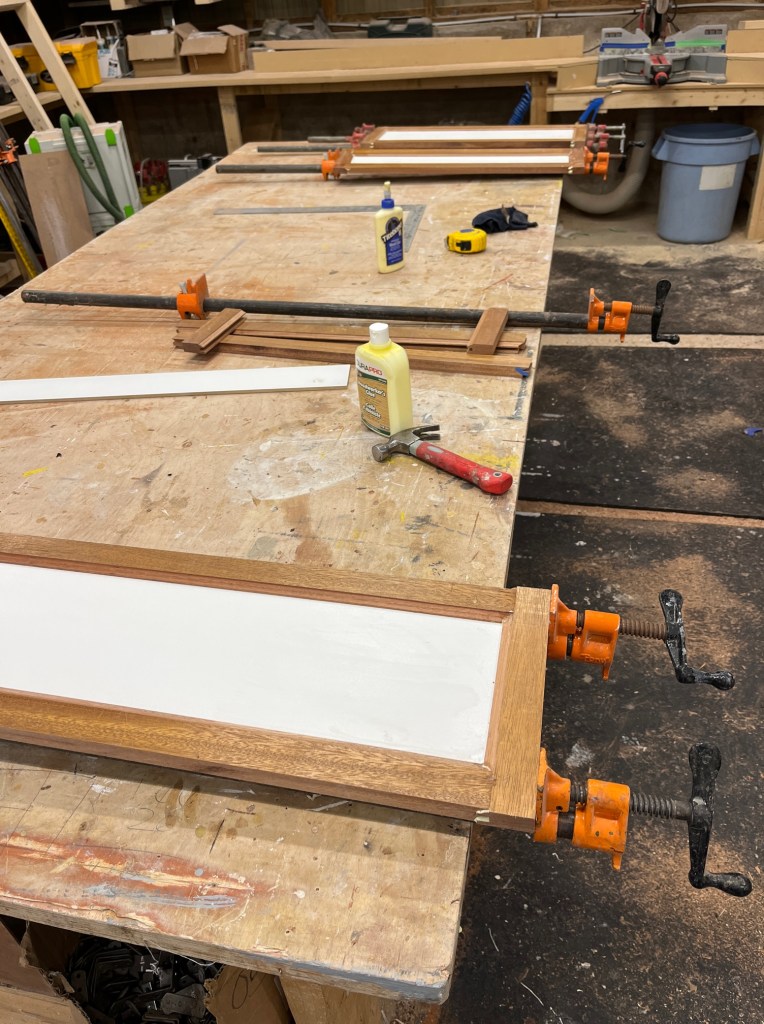
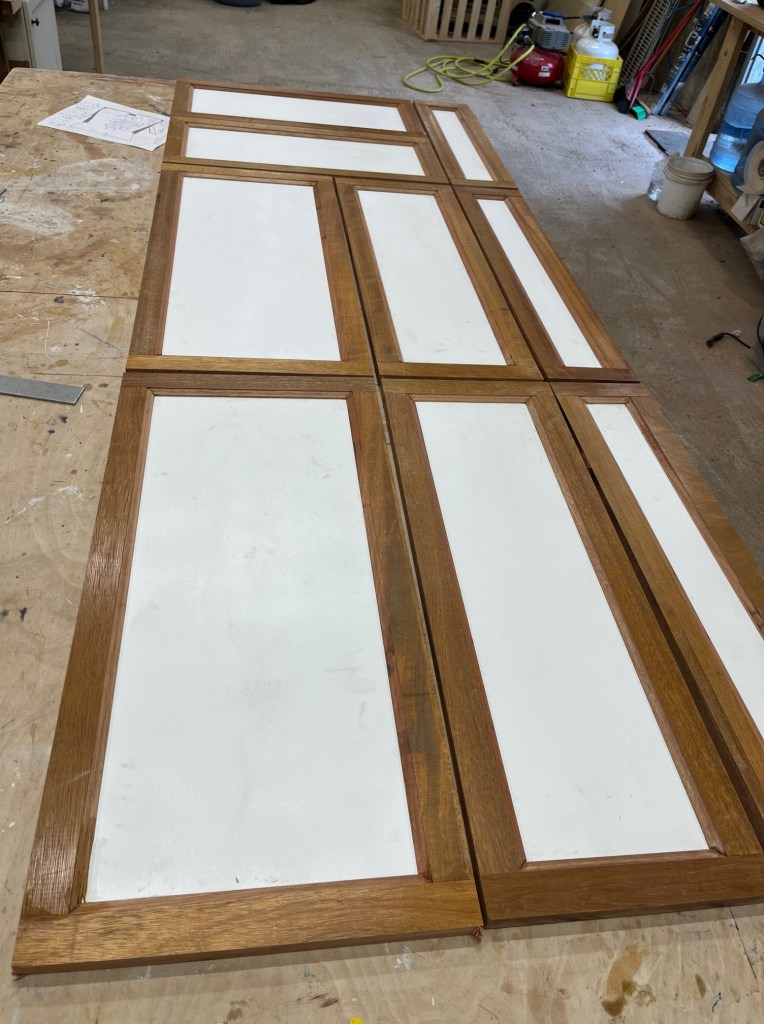
The drawer faces and doors were custom made stile-and-rail, ogee panel. I used 1/4″ white melamine for the panels and mahogany (I think) for the frames. It was time-consuming to get everything square and exact as possible. But also quite satisfying to do some “real” carpentry for a change!
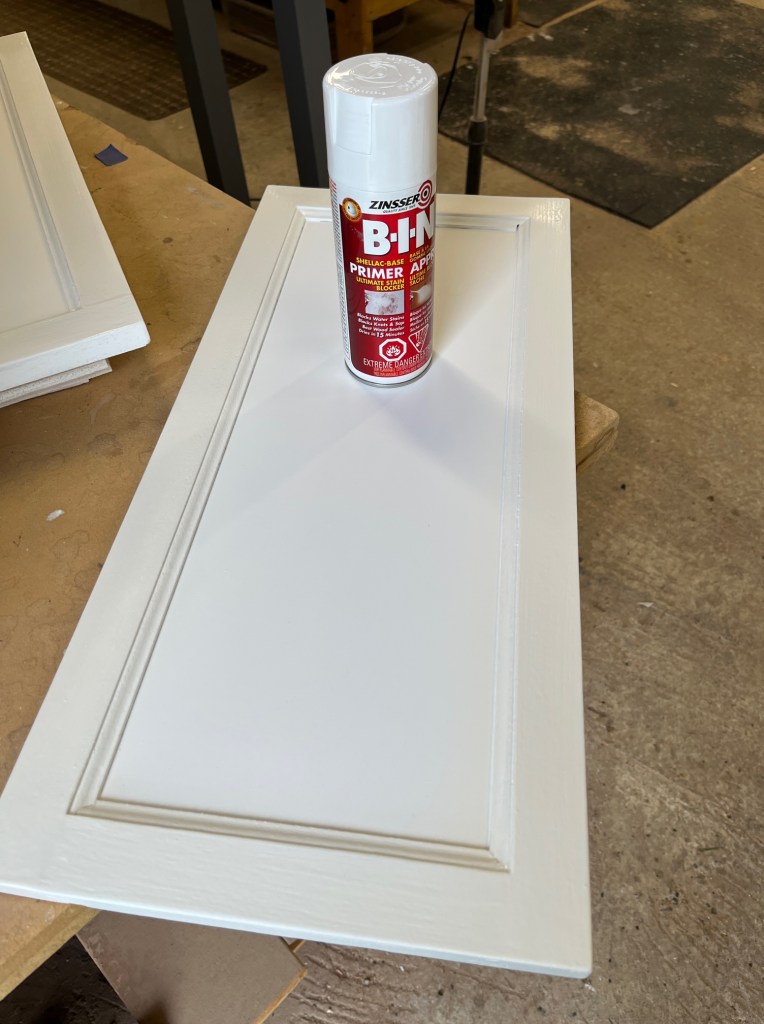
I had some trouble with bleed-through while painting. Even with several layers of different types of primer and several layers of premium cabinet paint, the frames were slightly yellow. Finally I did 2 minutes of google research and found I needed to seal it with shellac first. The Zinsser BIN shellac primer worked wonders and was very quick. I still had to do some more sanding, filling/caulking, and repainting anyway as they weren’t good quality enough for my customer at first, but they turned out very nice.
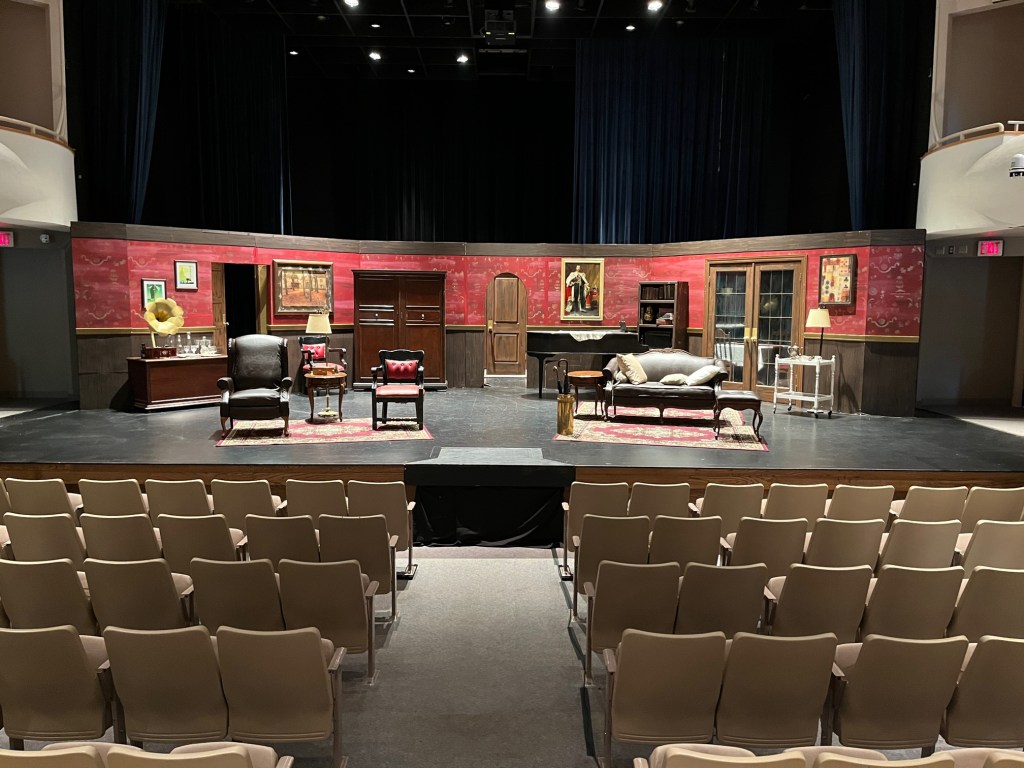
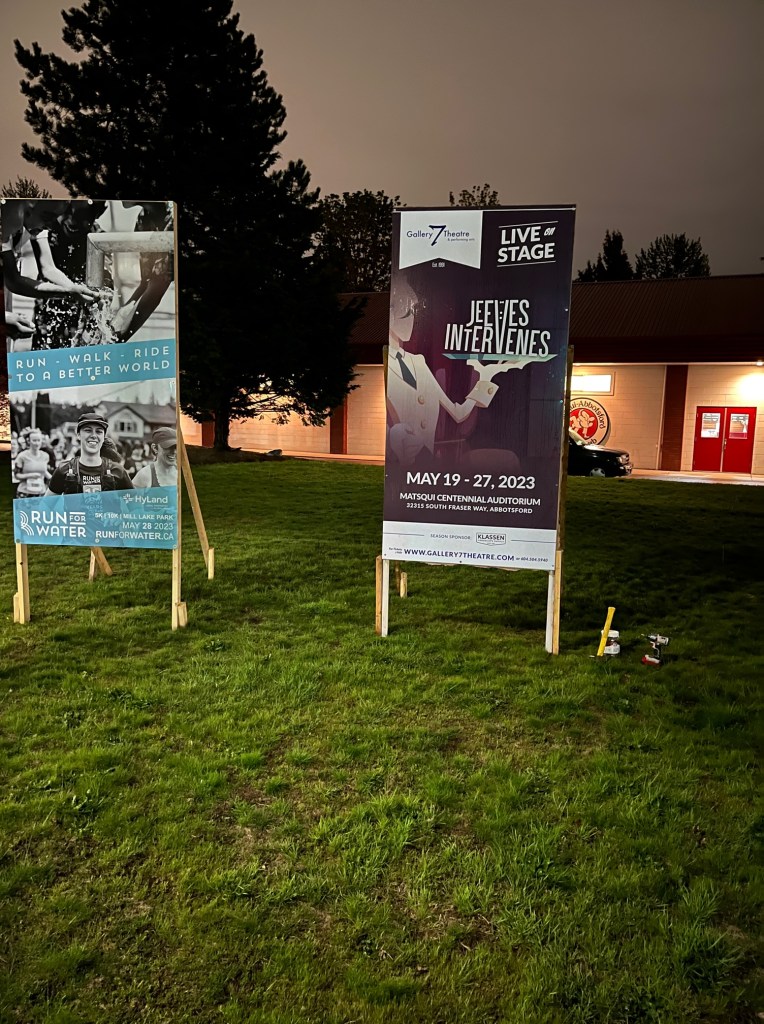
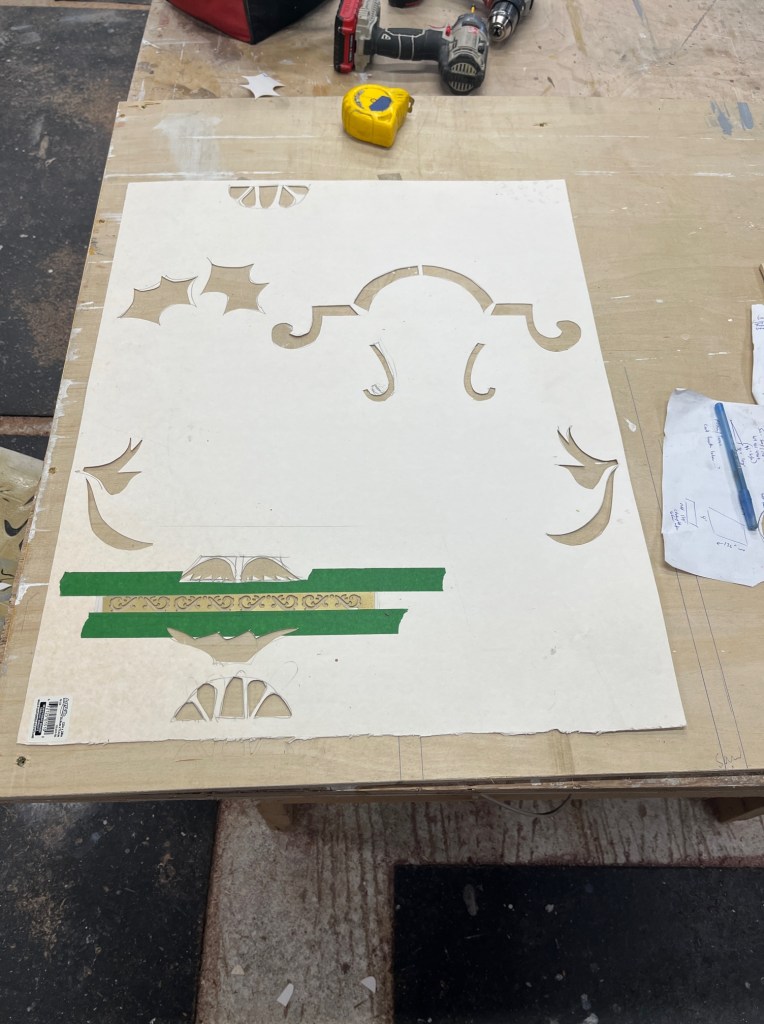
Gallery 7 (www.gallery7theatre.com) is now showing Jeeves Intervenes on the stage at MCA Abbotsford. It’s a delightful farce/comedy. I had the privilege of designing and building the set.
I really enjoyed reading the script. In my research I read some of PG Wodehouse’s other works and watched the TV series “Jeeves and Wooster.” What I enjoyed most was the ridiculous amount of privilege that Bertie Wooster enjoys, and how even though he has problems like everyone else, he can muddle through them with grace given by his manservant and others.
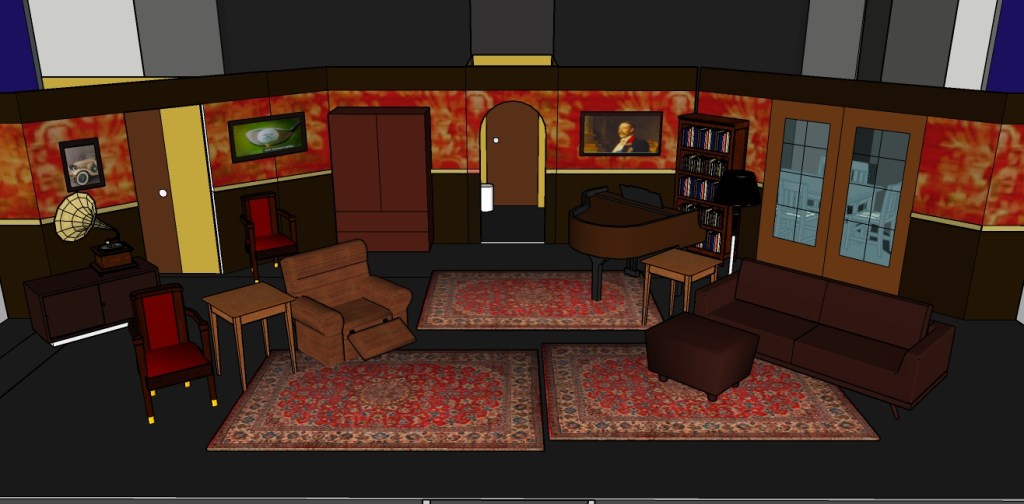
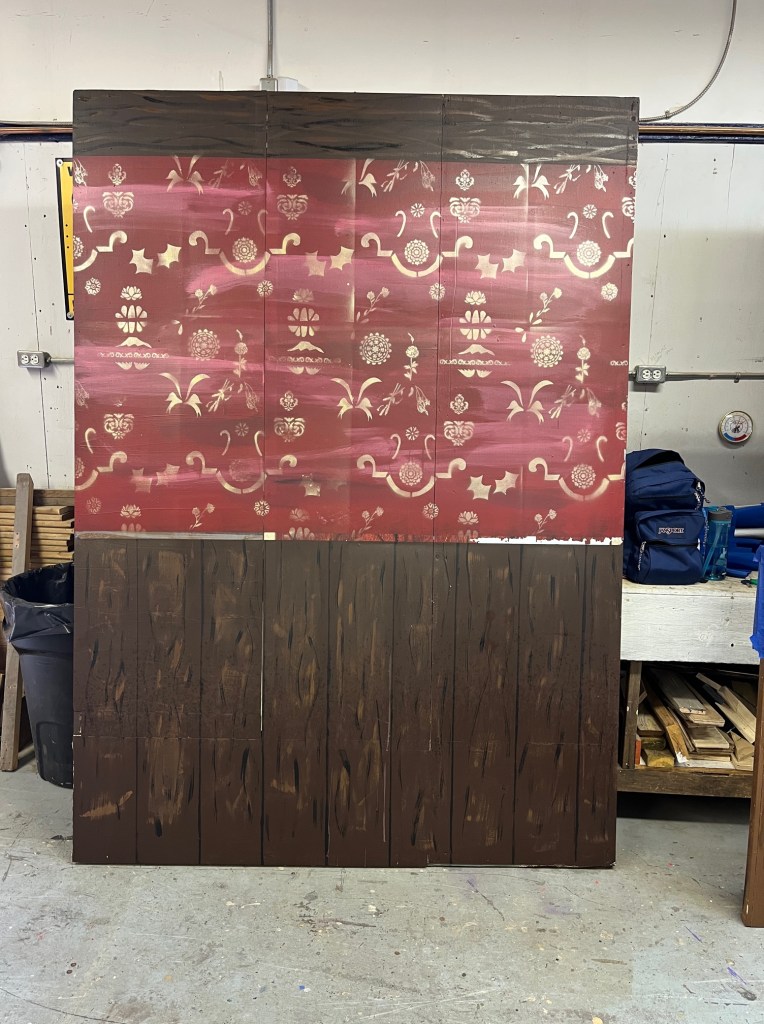
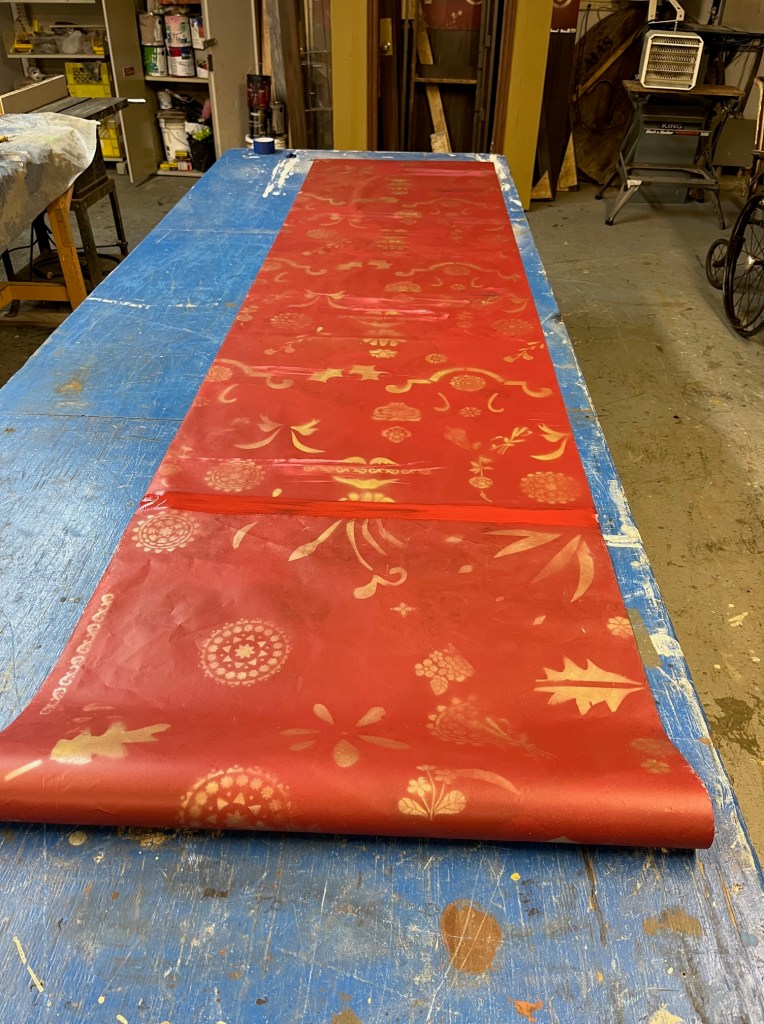
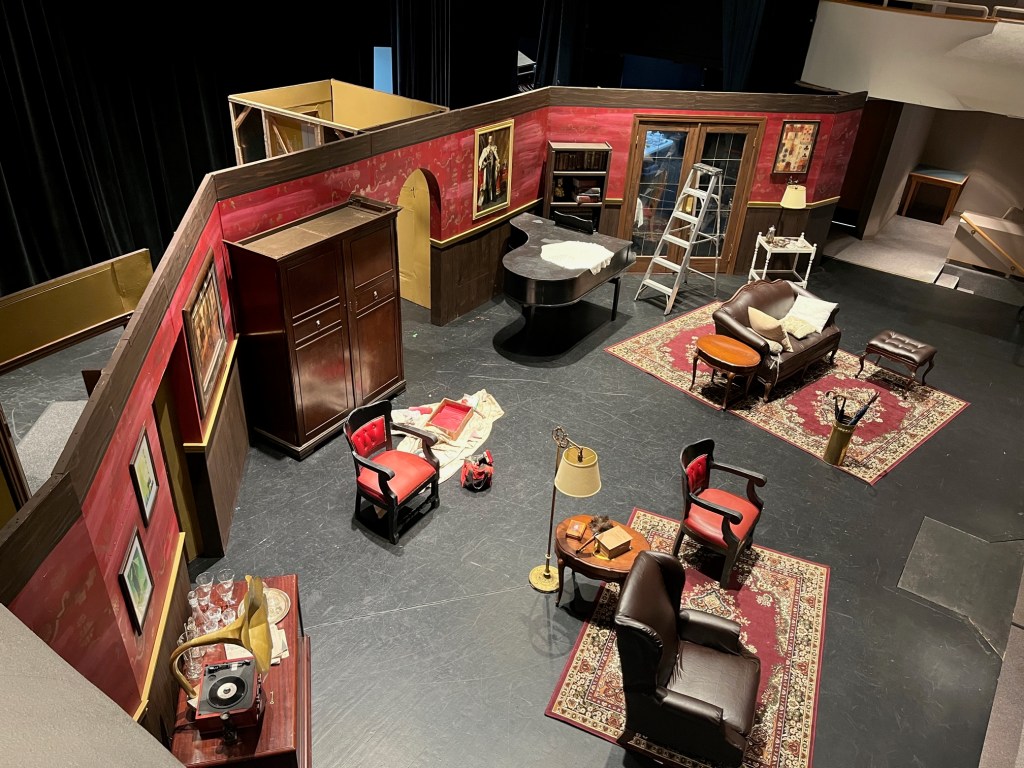
So…how to build a posh London 1920’s flat with a modest budget? I spent a lot of time hunting for “vintage” furniture on Craigslist and Marketplace. It started off with a beat-up turn of the century wardrobe and the collection built from there. Many items were cheap but needed refinishing or reupholstering. I had many volunteers for this show, who were all helpful in making Bertie’s place come to life.
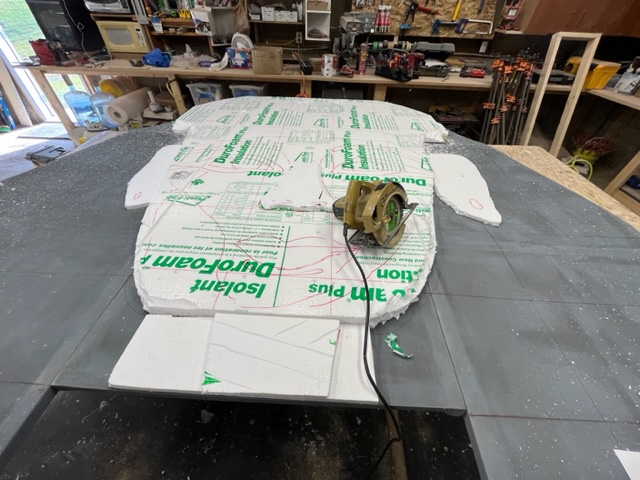
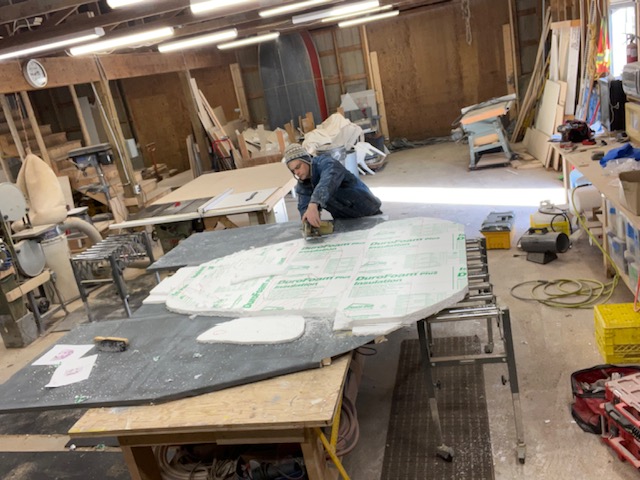
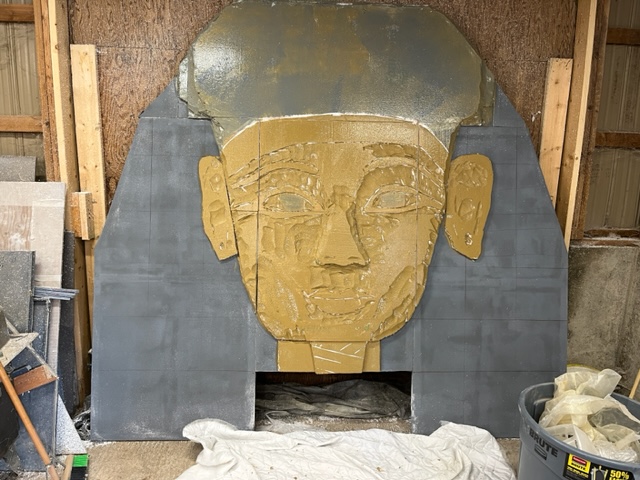
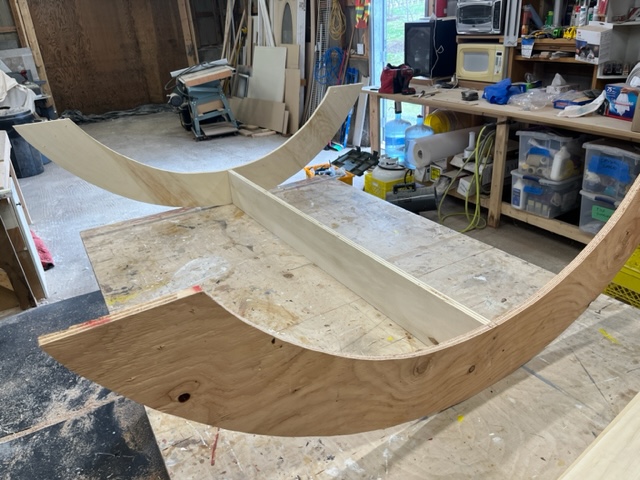
Below are some pictures starting with the concept drawing and then showing a few building pictures.
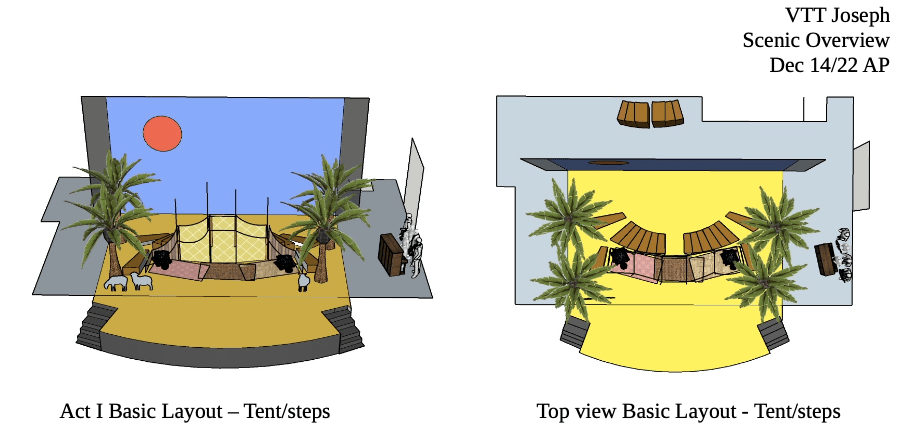
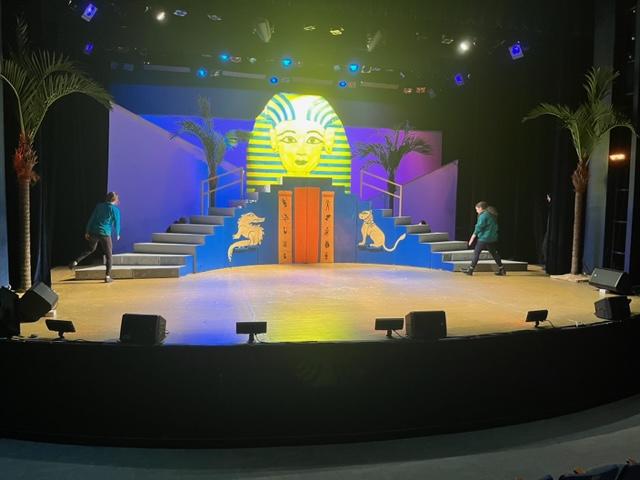
I have built a set previously for Gallery 7 for the musical Joseph and the Amazing Technicolor Dreamcoat. I applied for a set design contract for an elementary school, Vancouver Talmud Torah, for this same show, and also built it. It was slightly more work than I expected, and I expected a lot! But it turned out very well and they had a great run at the Norman Rothstein Theatre in March 2023.
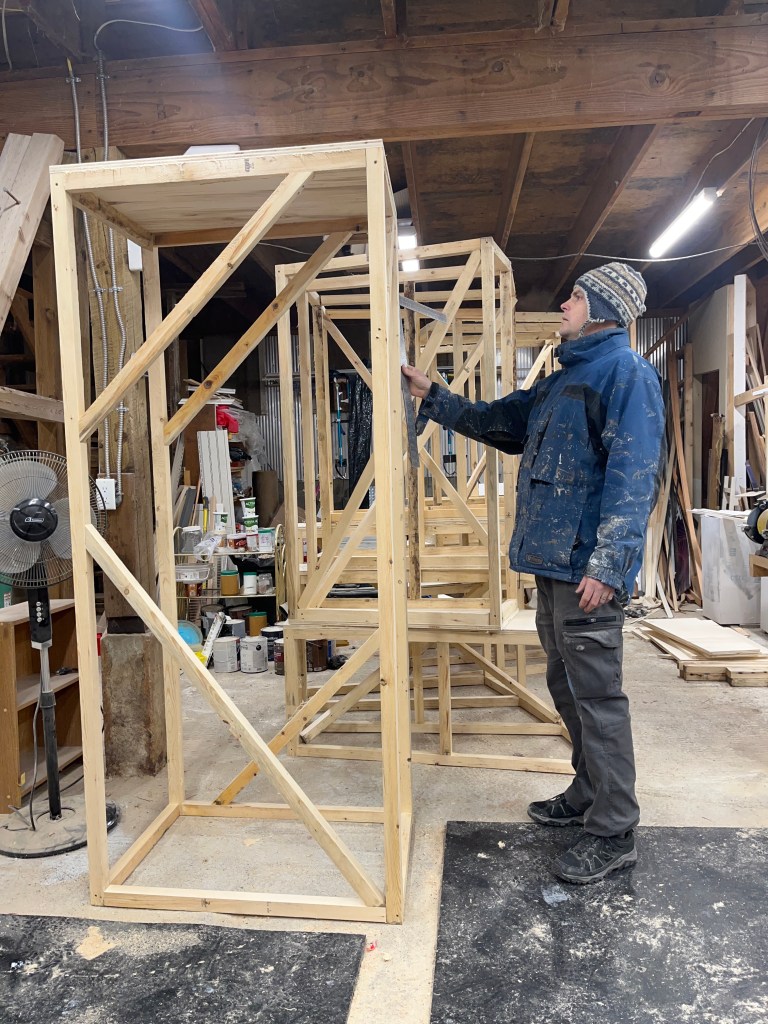
I visited the venue, then worked with the director, Keri Smith, to come up with an original design, and after a few tweaks we had a solid plan in place.
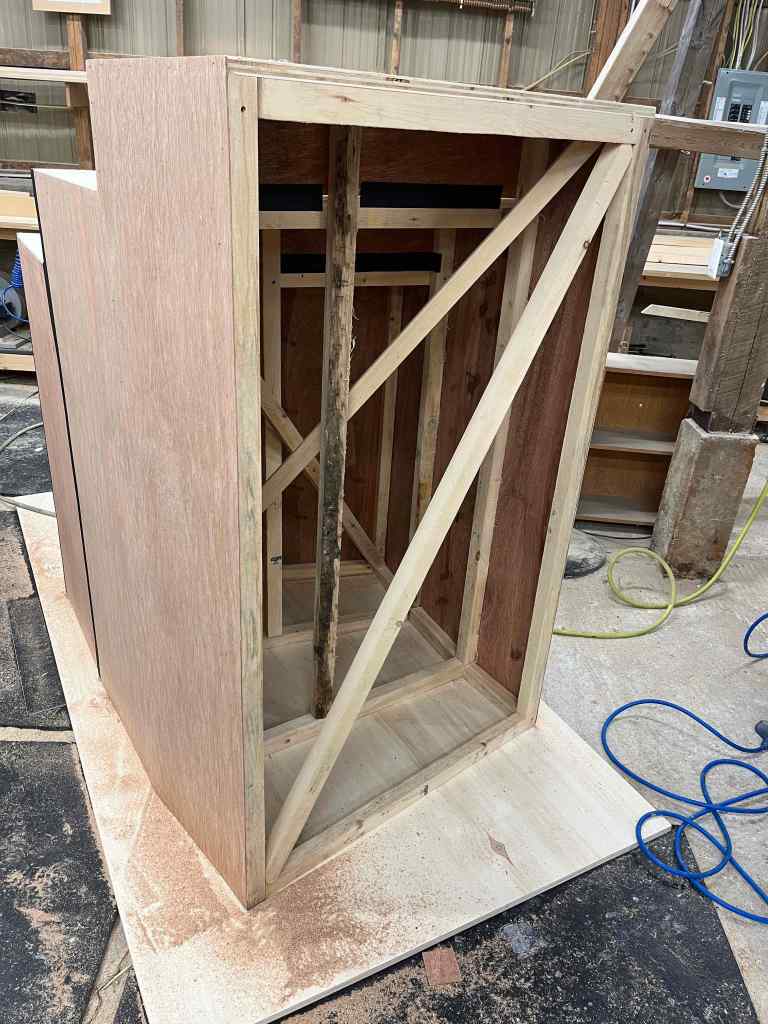
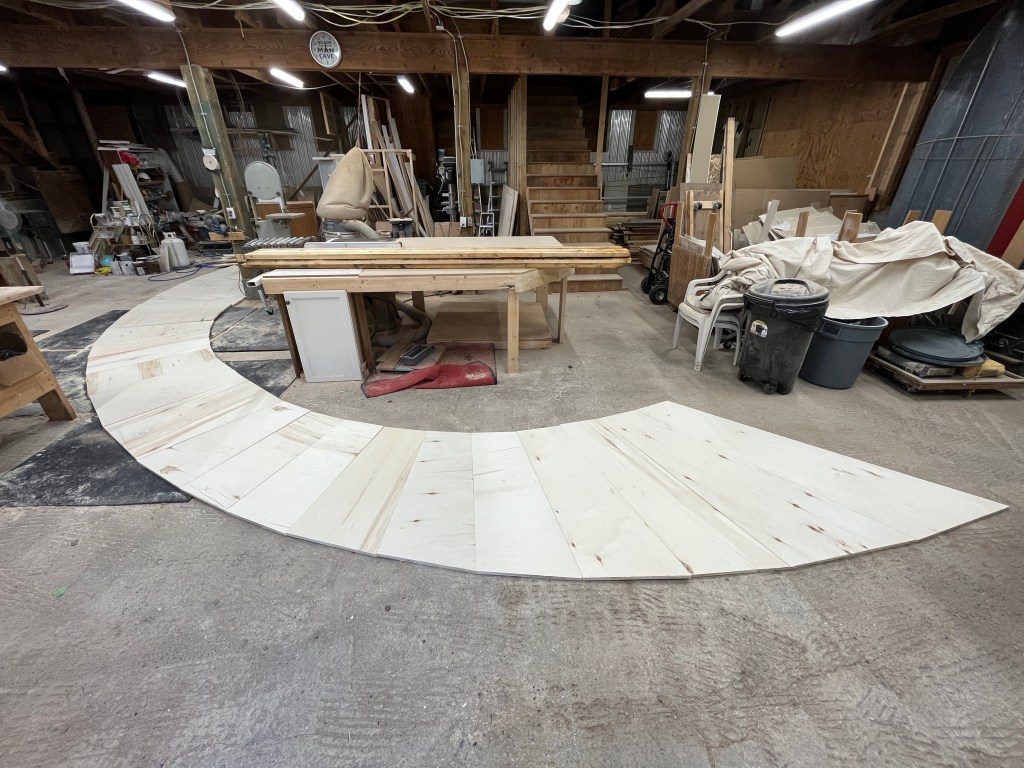
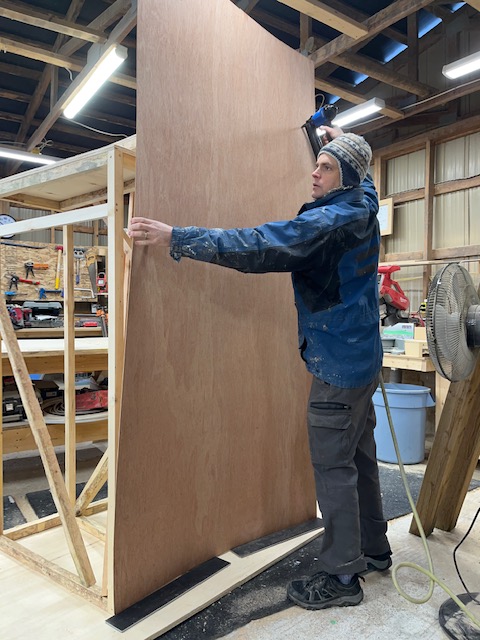
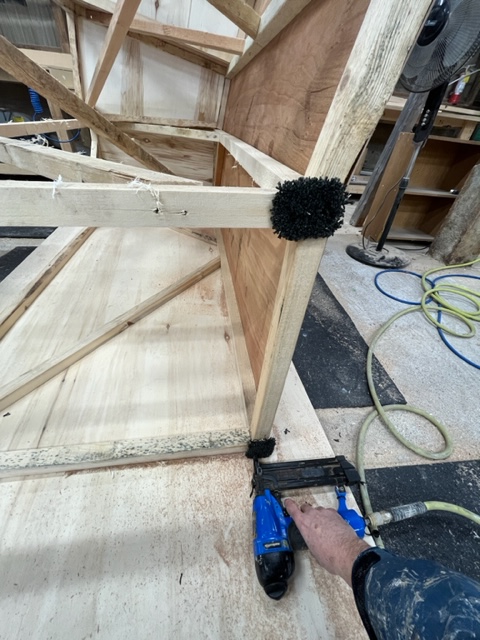
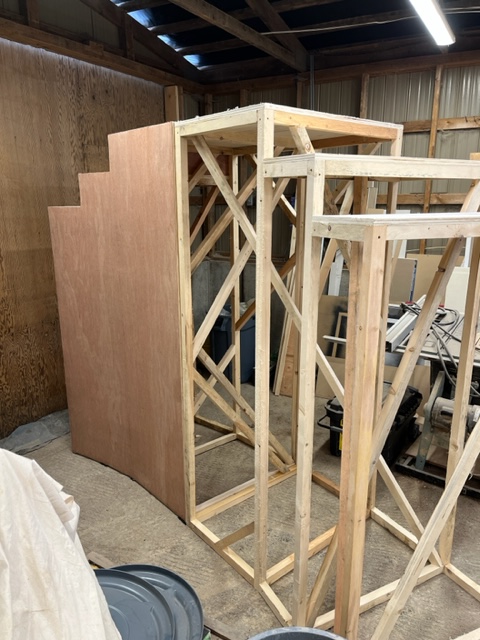
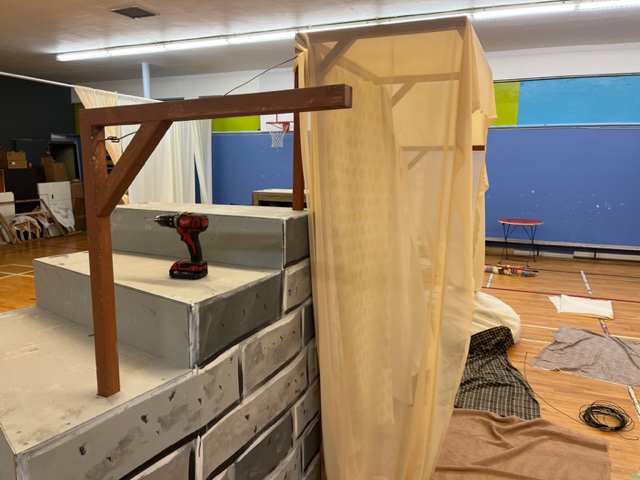
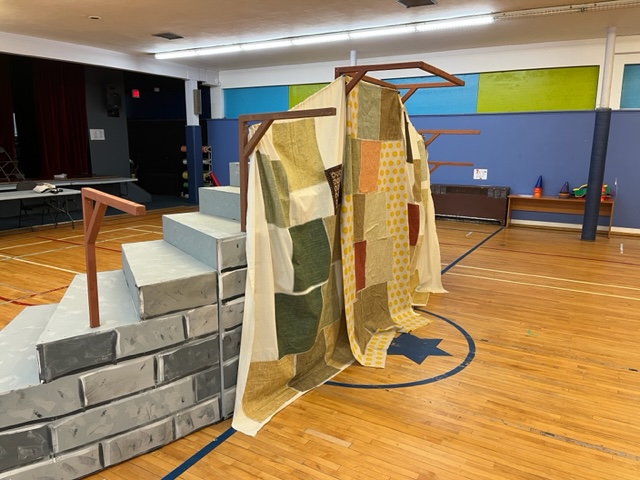
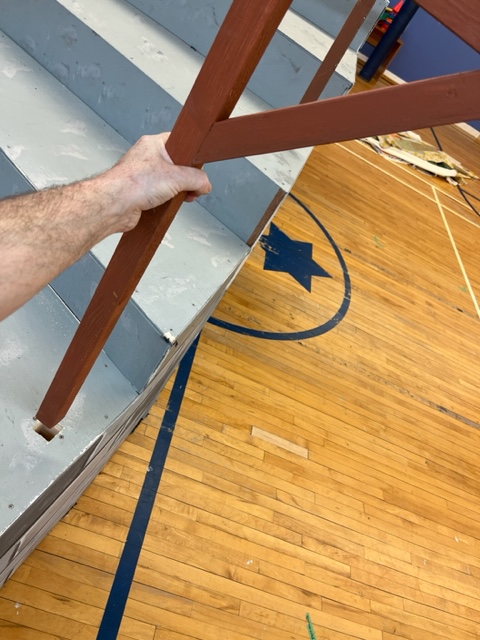
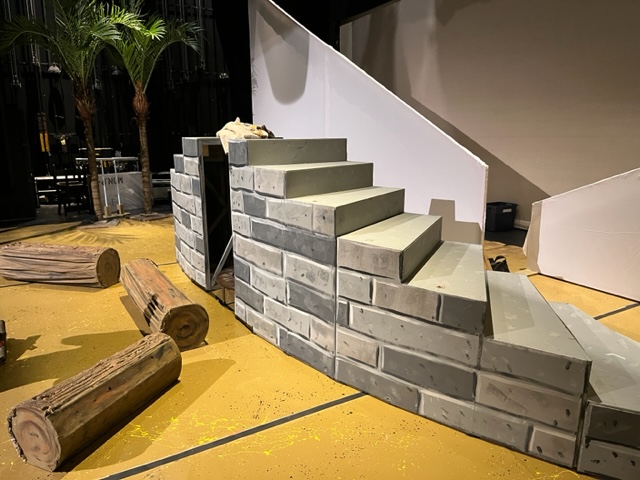
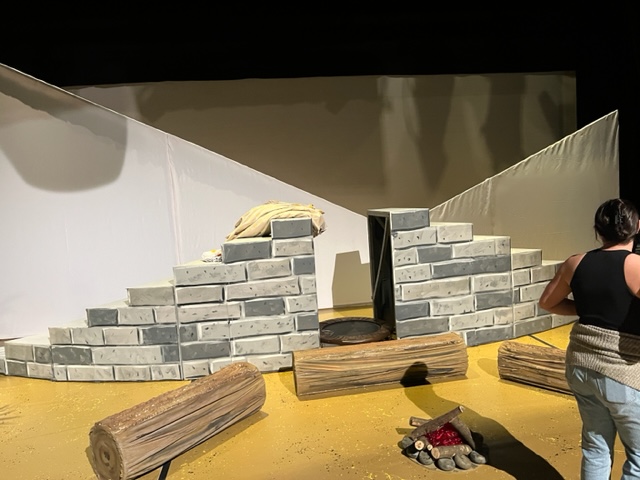
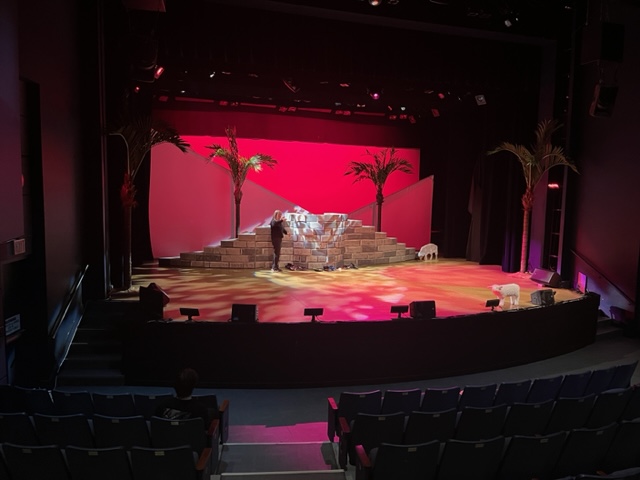
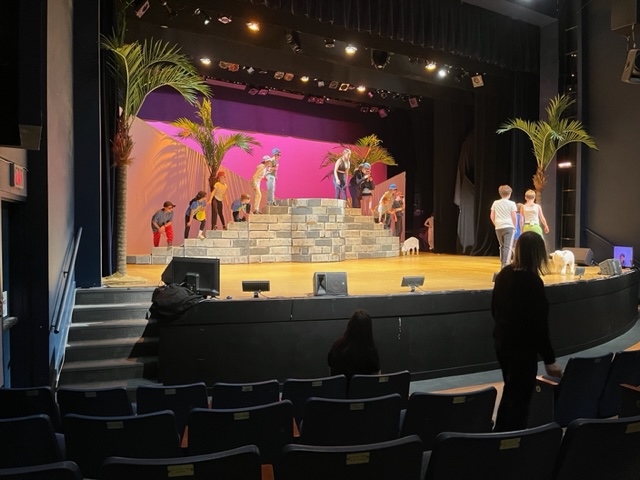
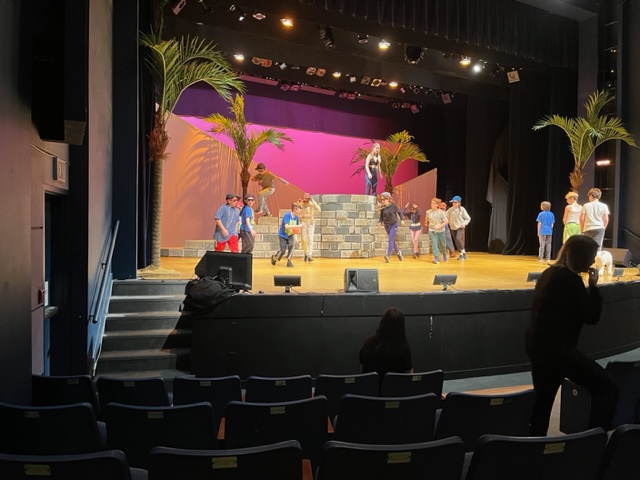
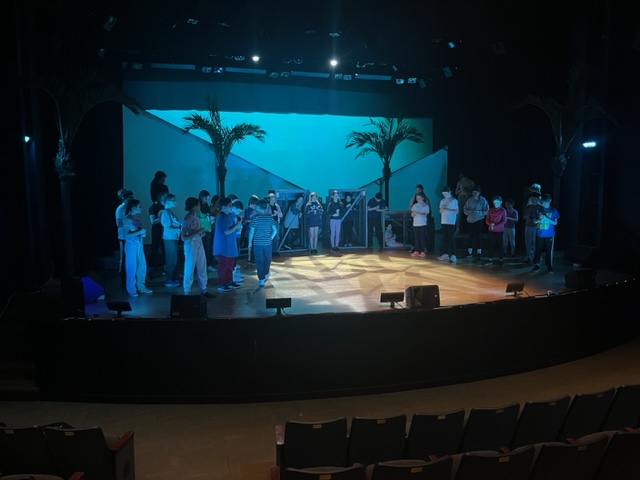
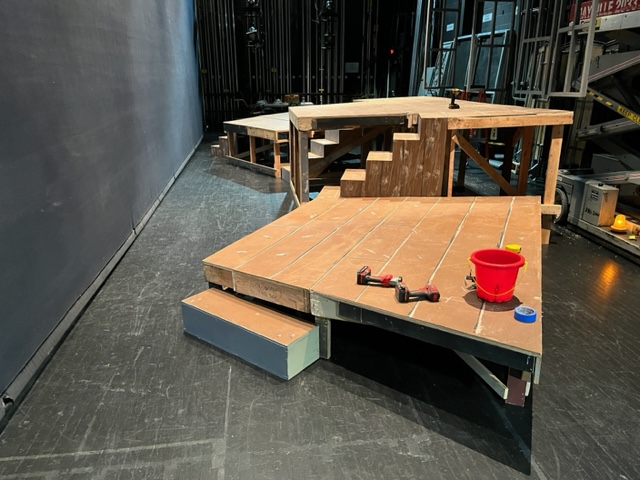
The main plan was a set of moveable stairs that stayed on the stage throughout the show (partly due to space constraints). Scenes were built around these, using their versatility. Following are some set build pictures and a few from the stage as well.
Battery operated lights gave a small flickering effectTried a small fan to blow the flames but it didn’t really work
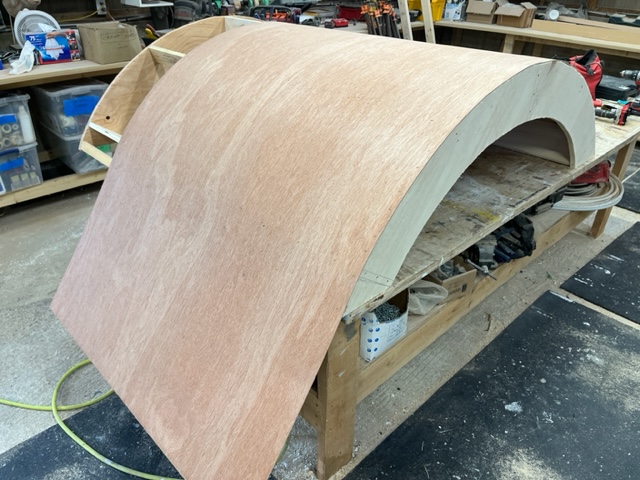
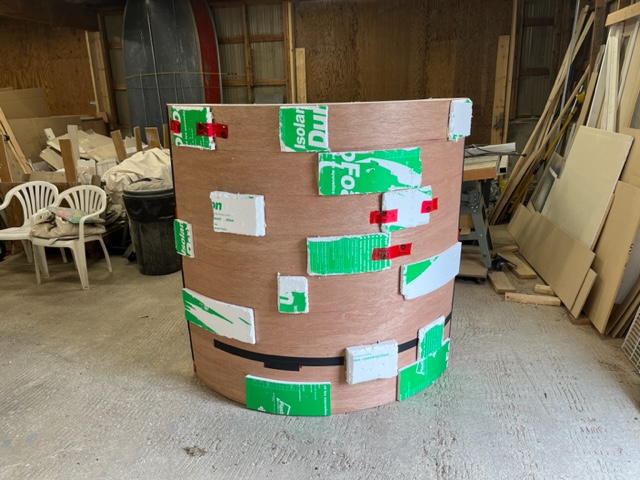
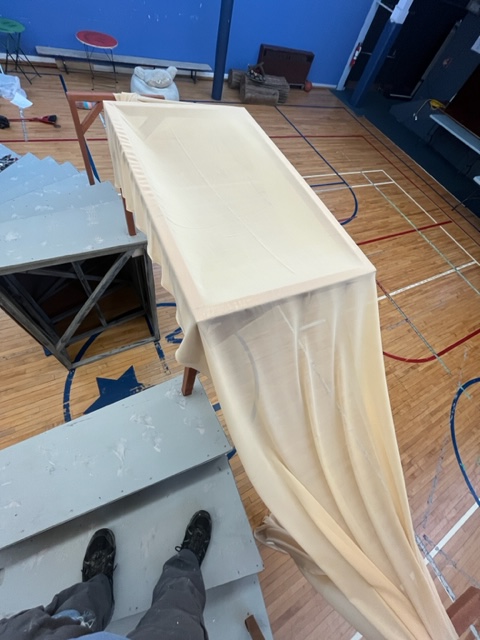
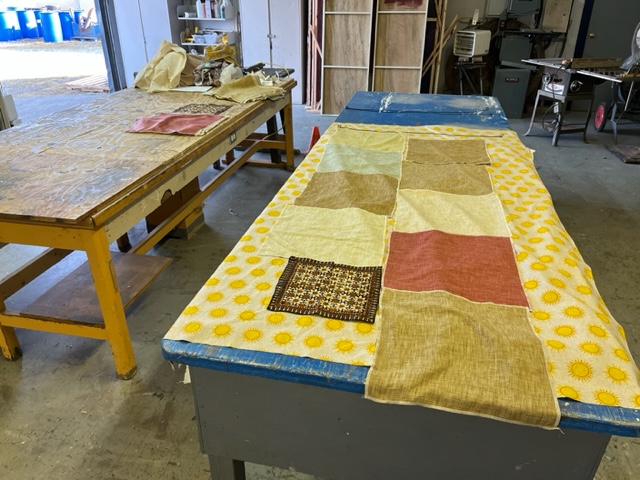
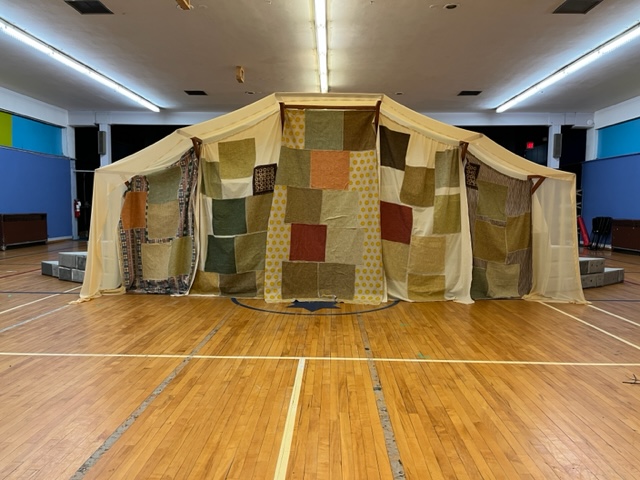
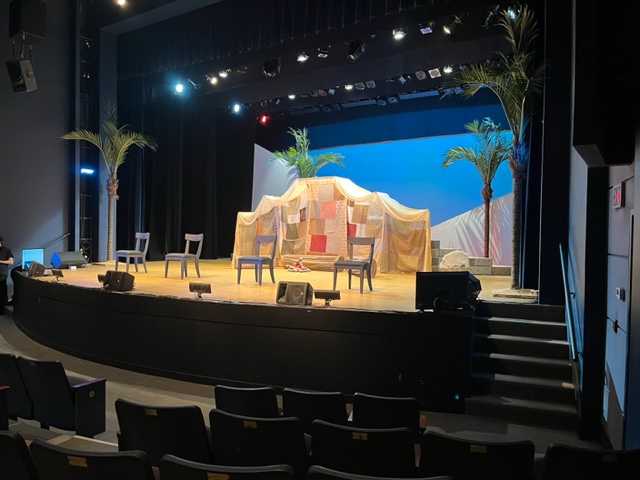
Tent: I saved this til the end because I couldn’t figure out how it would work. With some help from my friend Charlene it got done!
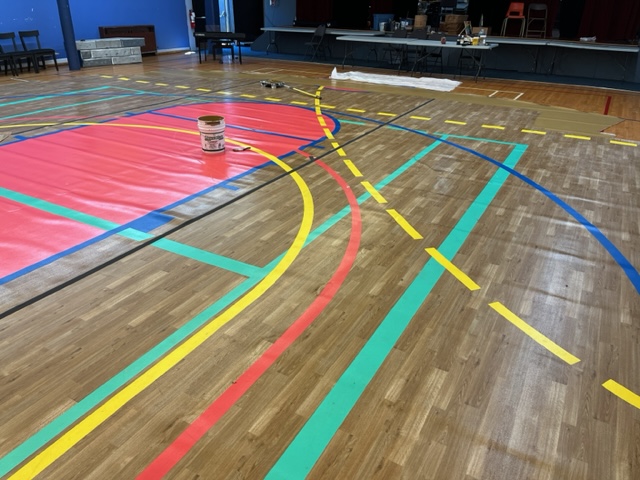
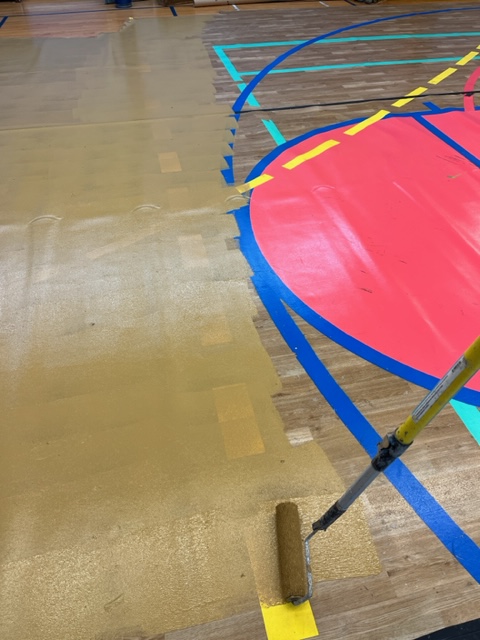
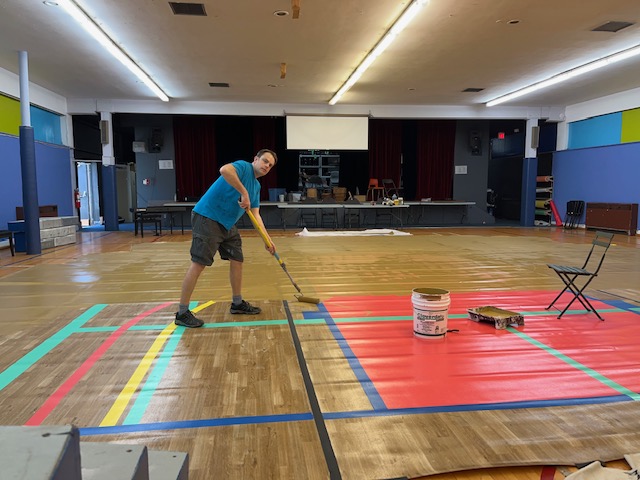
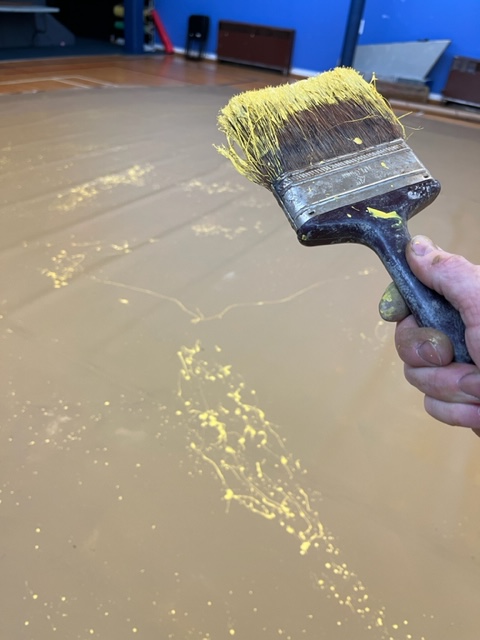
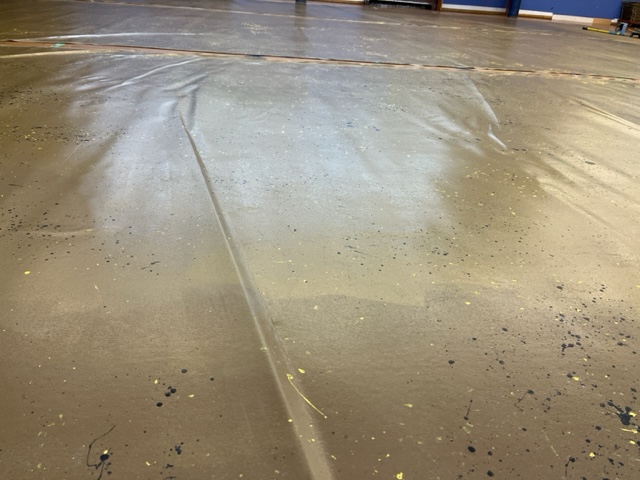
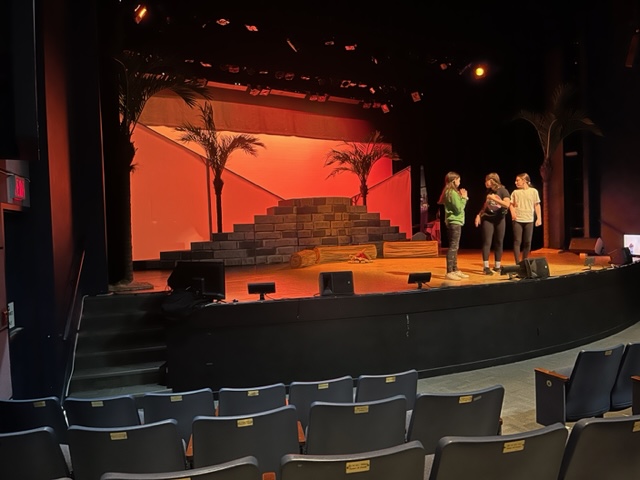
Floor: I painted a rented vinyl floor to look like sand. Then gave it a clear coat of satin varathane so the set could slide on it. It was a lot of work and there were a few hiccups, but it worked out surprisingly well!
There were a few wrinkles to work out with this plan 😉
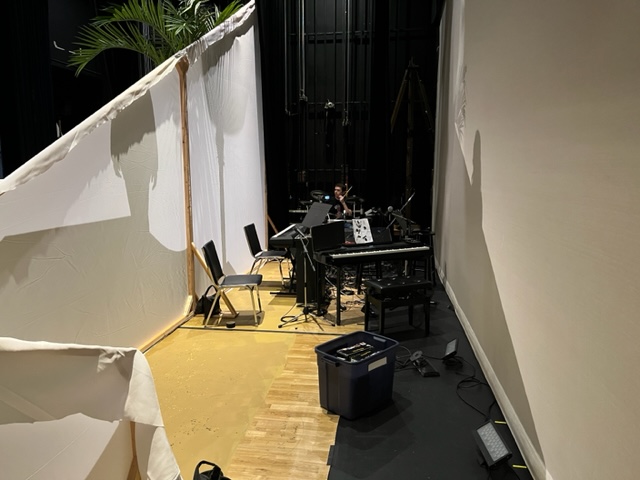
In the theatre: I also made large screens to hide the musicians. Thanks to Lighting Designer Victoria Bell for a great look!
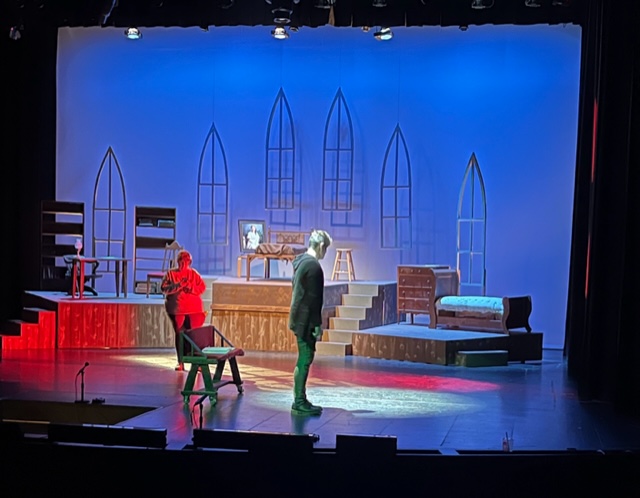
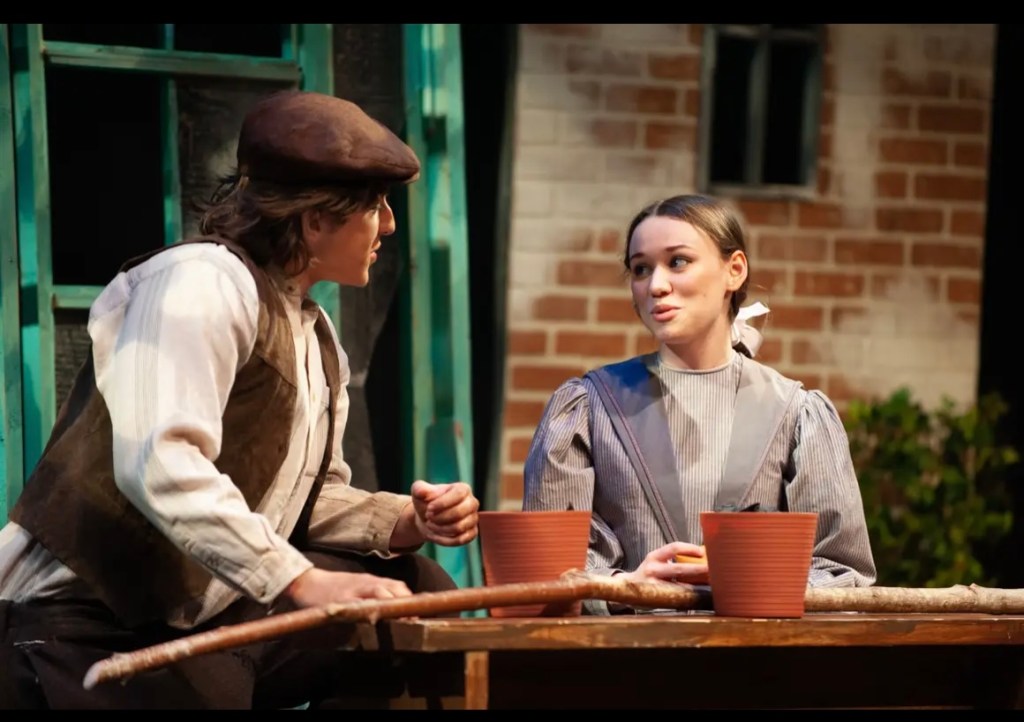
Gallery 7’s production of The Secret Garden (the musical) finally took place 3 years after it was postponed by the advent of Covid-19 in Canada. It played in March 2023 at the Abbotsford Arts Centre.
For those 3 years, I was able to store most of the set in G7’s storage container, plus a bit at their office and a bit in my workshop. It was a matter of re-assembling what we had, checking with the stage management team about any changes, and finishing the paint job.
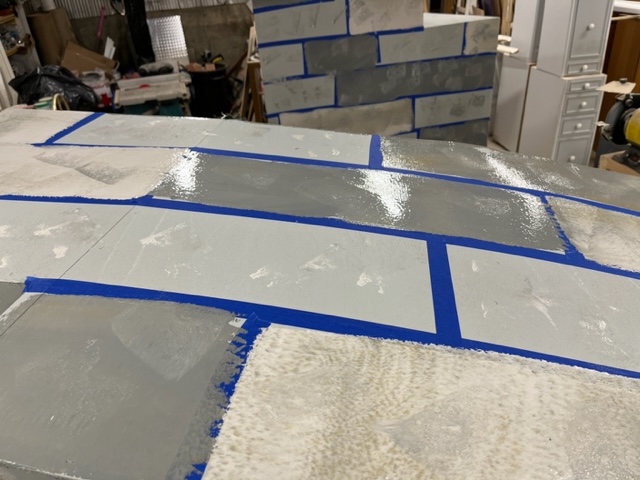
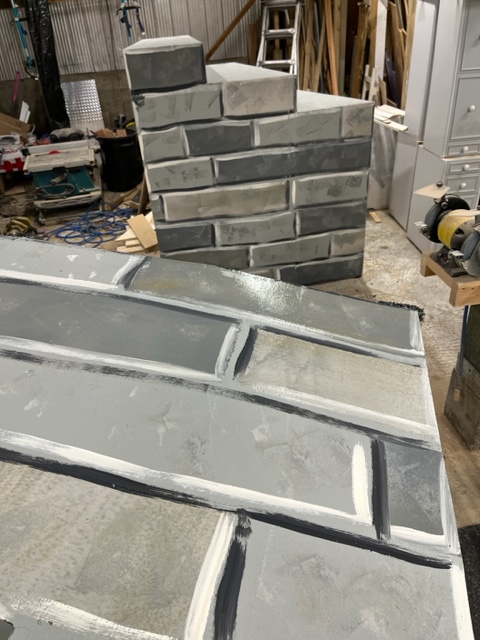
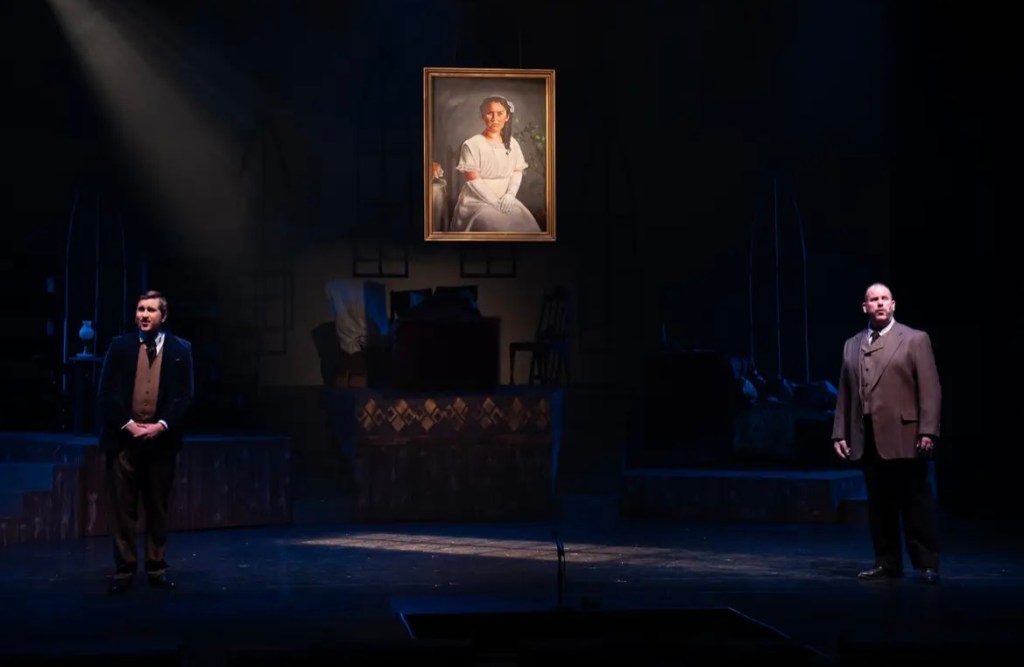
The set is divided into two main parts: the house, and the garden. Flies, scrims, and wheeled set pieces were used.
Set Design is by Matthew Piton. Set Coordination (painting, greenery) is by Andrew Potts and Charlene Crawford. Props and Set Dec by Dianna Lewis. Director: Ken Hildebrandt. Lighting Design: Gabe Kirkley. Costumes by Dani DeJong. Stage Management: Brittany Suderman.
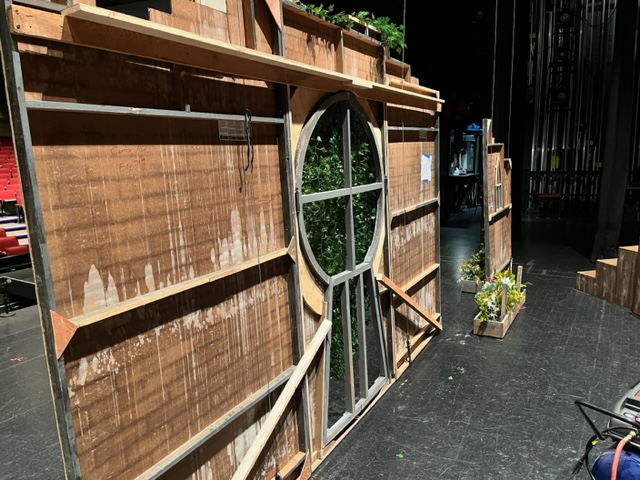
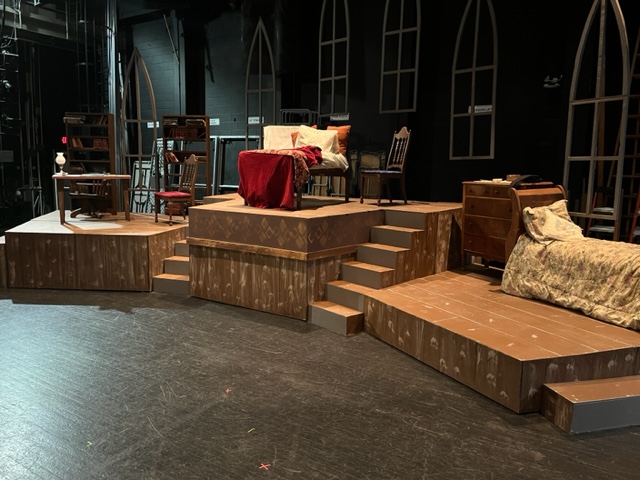
Here are some photos from Load-In:
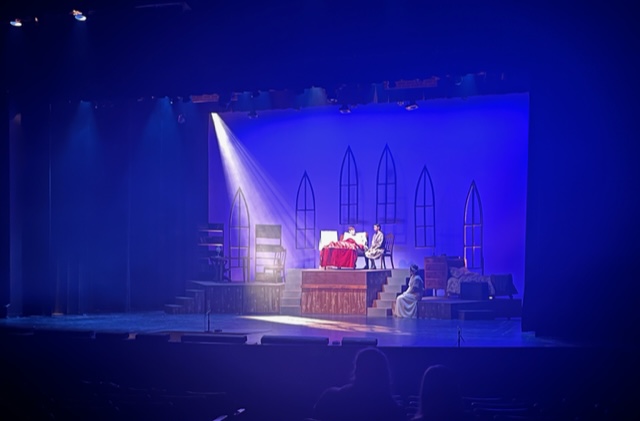
Here are some publicity photos, taken by Dianna Lewis: (click on picture to see entire image)
painting by Rachel Kehler
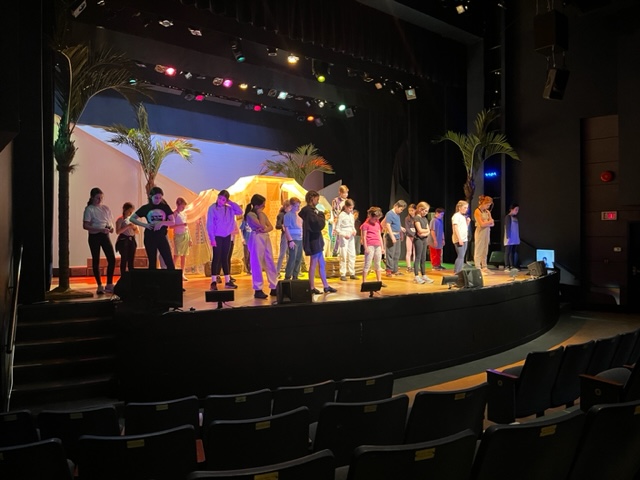
And here is the large cast!
It was a haunting, beautiful, artistic, complicated show with lots of heart and soul. But, all good things come to an end. I have stored some of the set, but a large part of it has been repurposed, given away, or sold. Onto the next one!
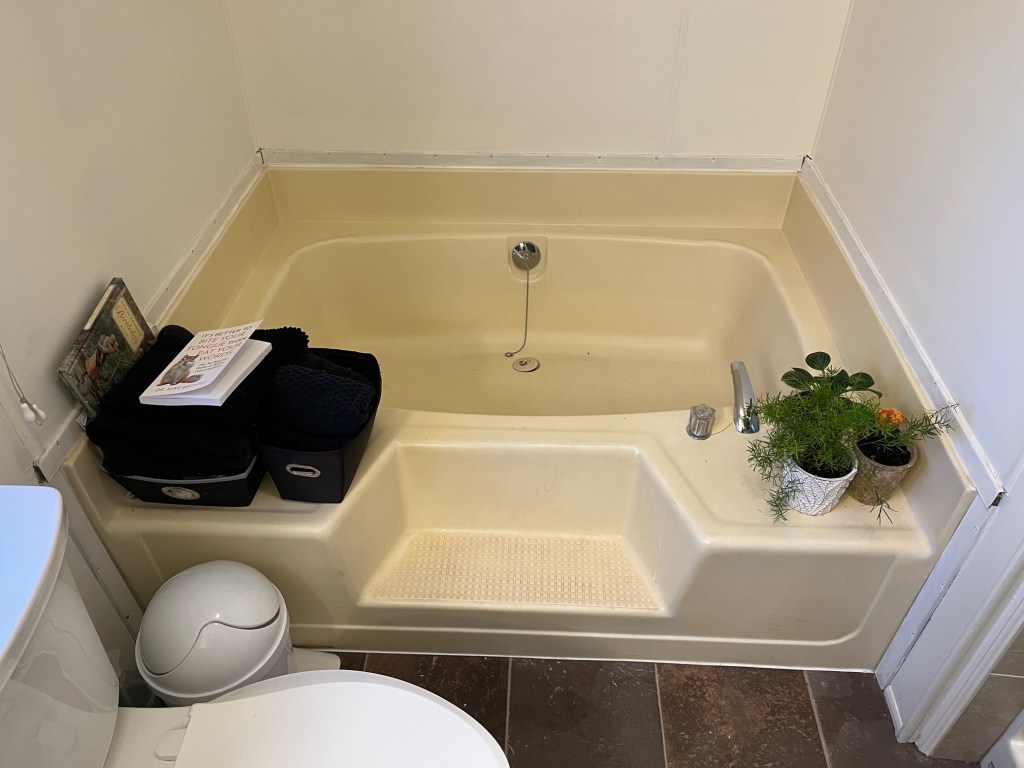
I was recently asked to spruce up some mouldings surrounding a large bathtub in a modular style home.
I did use MDF despite the moisture risk; I was assured the tub was rarely used anyway. However I primed all surfaces and painted the exposed areas with 2 coats of exterior paint.