Kitchen cabinet Paint & Reno

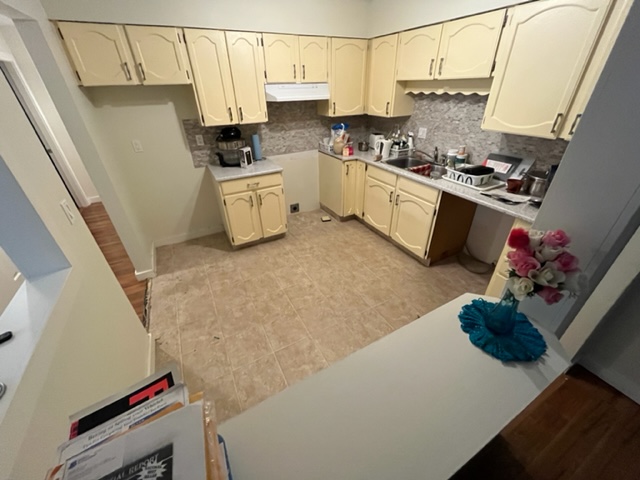
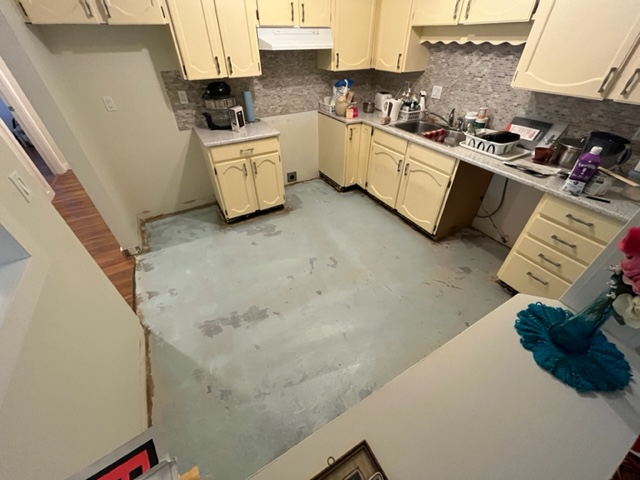
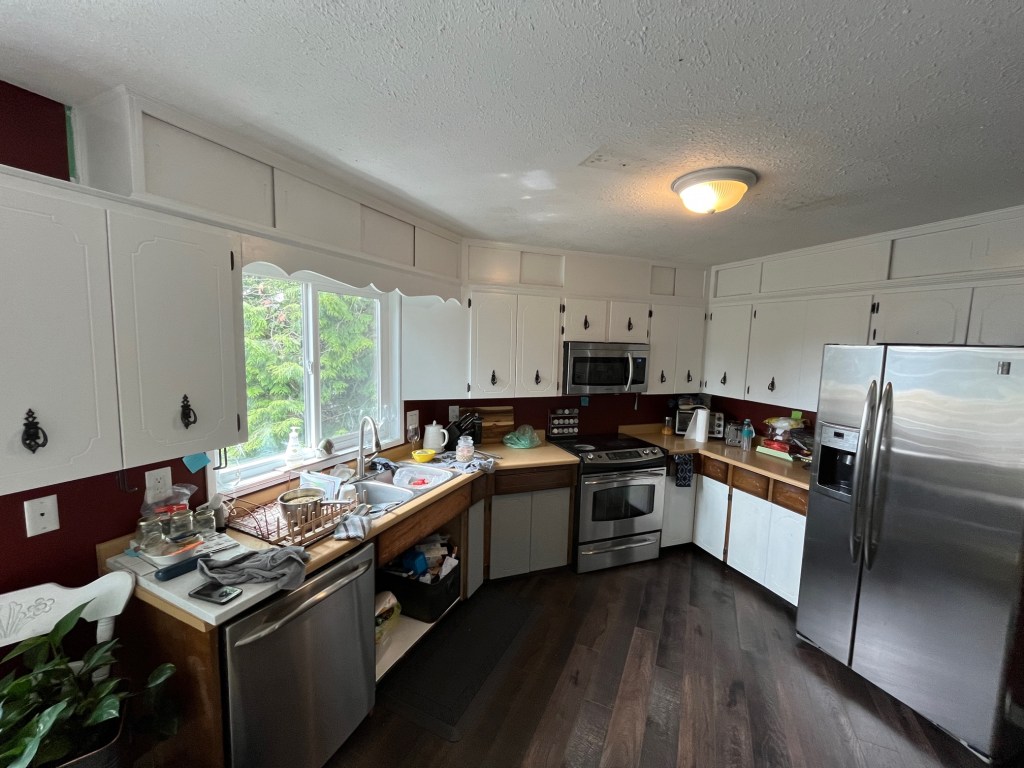
Pomi called me more than a year ago to ask about doing something for her kitchen… finally we were able to sit down and go over some options. She decided to paint her existing cabinets rather than go new, because she likes the old style that are generally roomier and more efficient for space than modern cabinets. Here are some pictures that chronicle the journey over a year in the making:

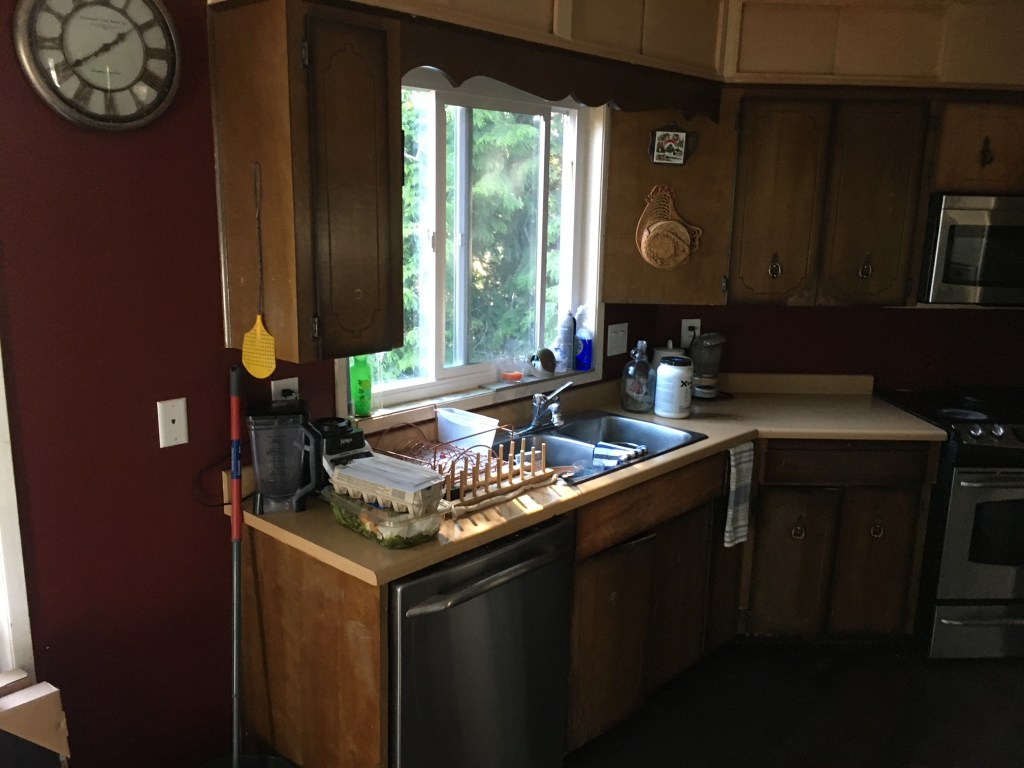
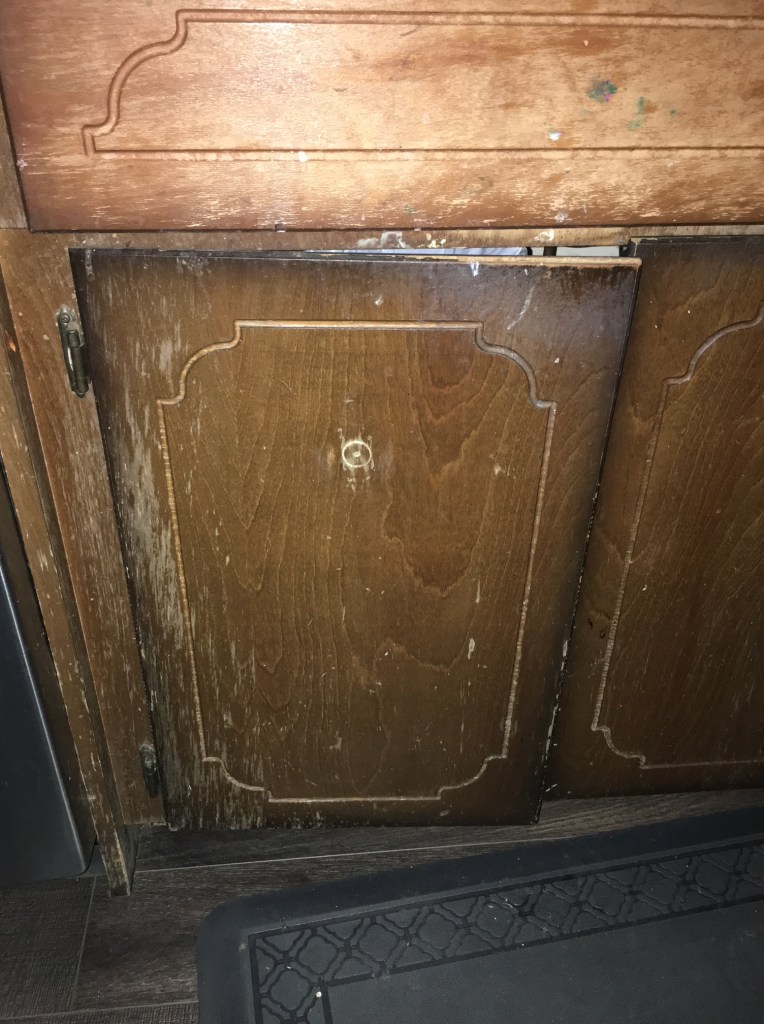
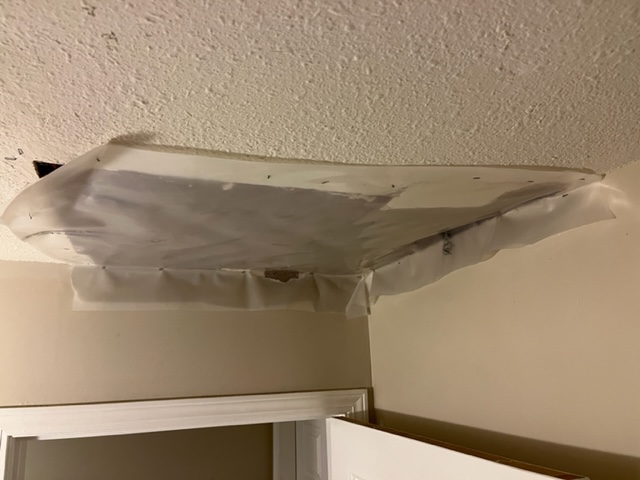
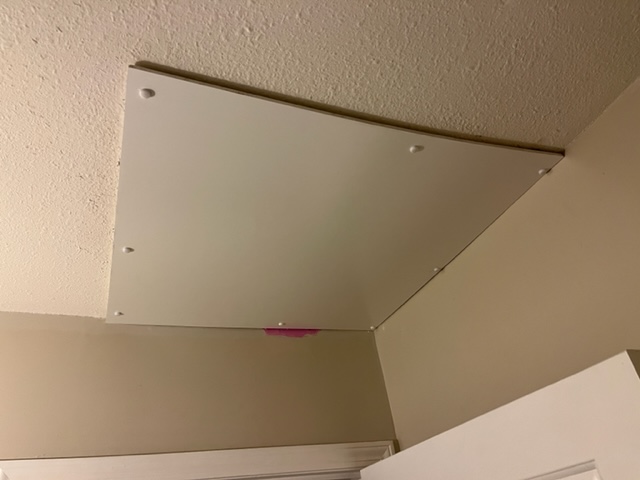
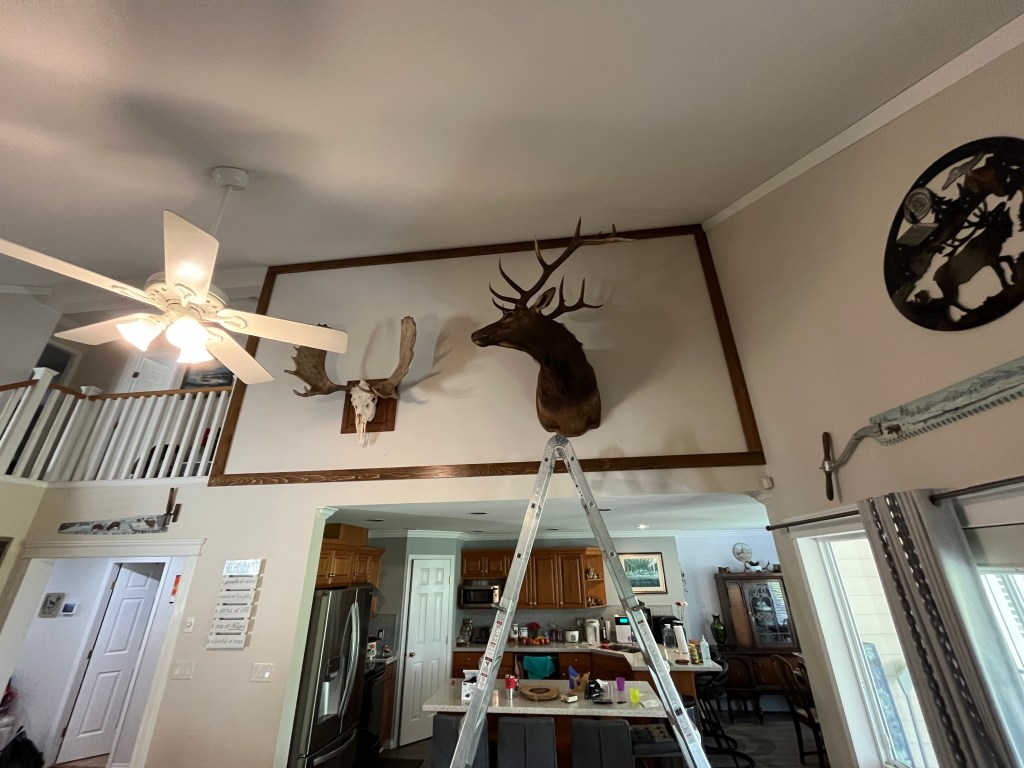
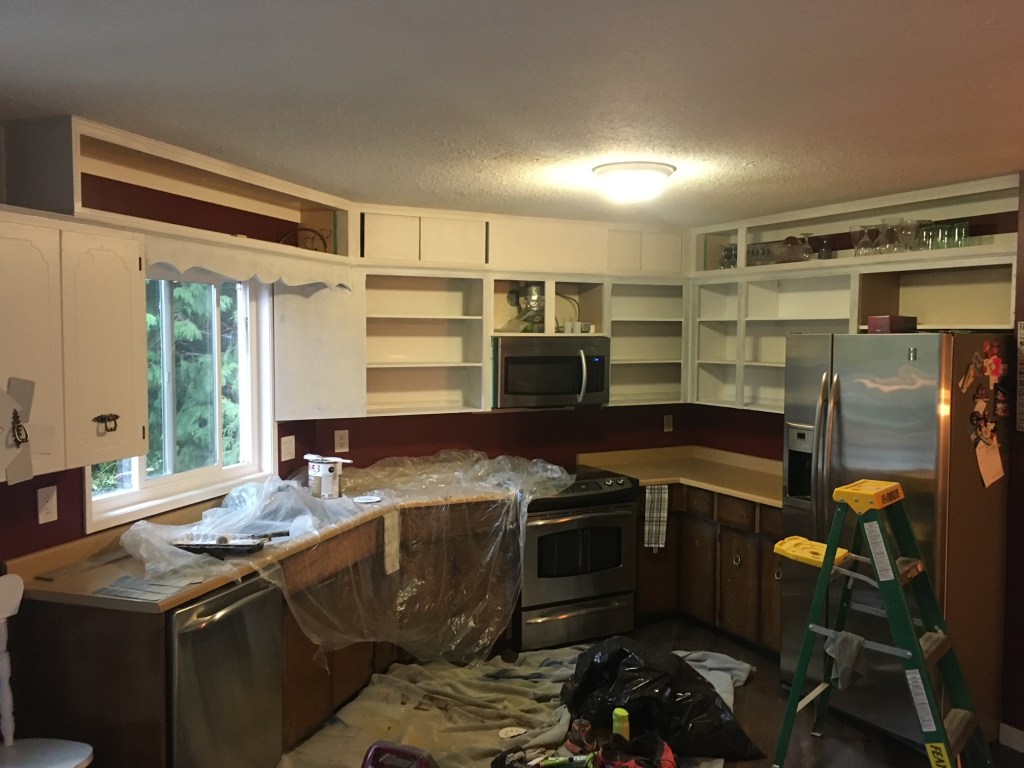
The old cabinets were in decent shape but a few hinges were bent, and the finish had worn over many years. I fixed the missing cabinet over the fridge and ‘added’ to the one beside the sink. Then I took off the upper cabinet doors and painted inside the upper cabinets.

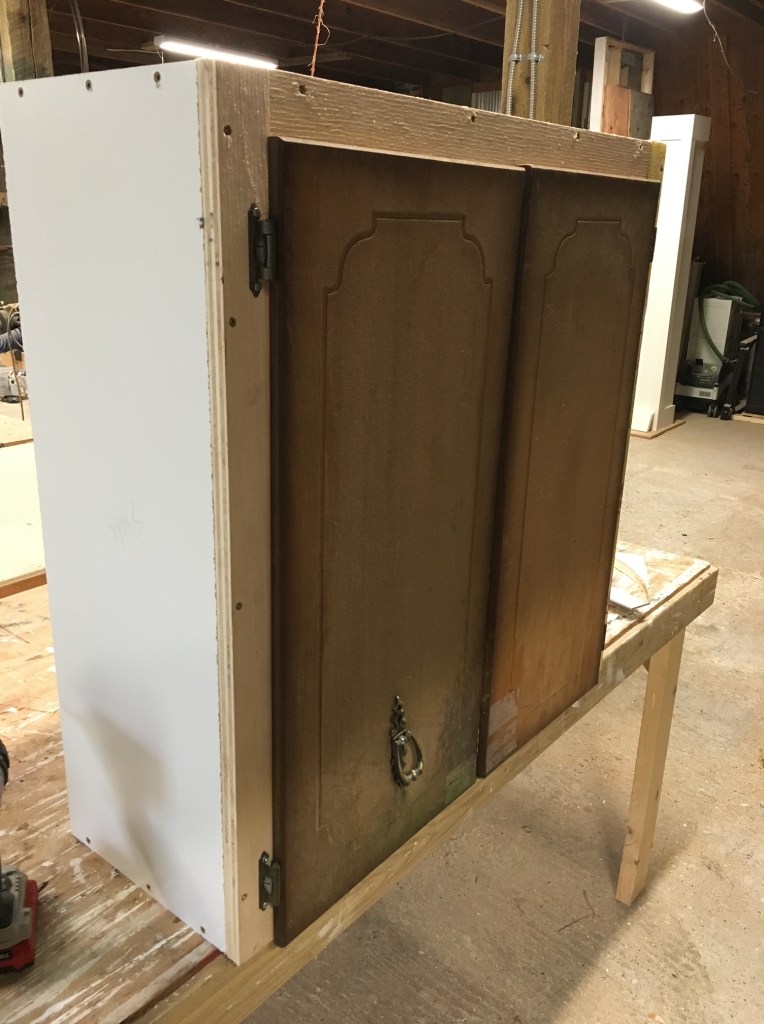
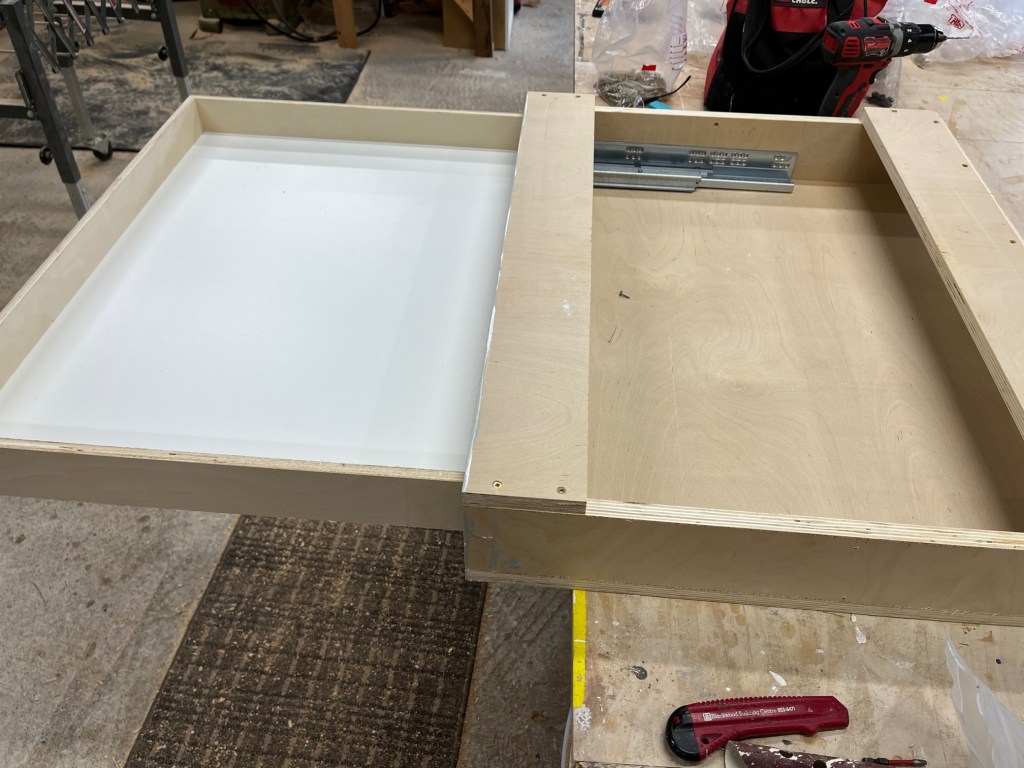
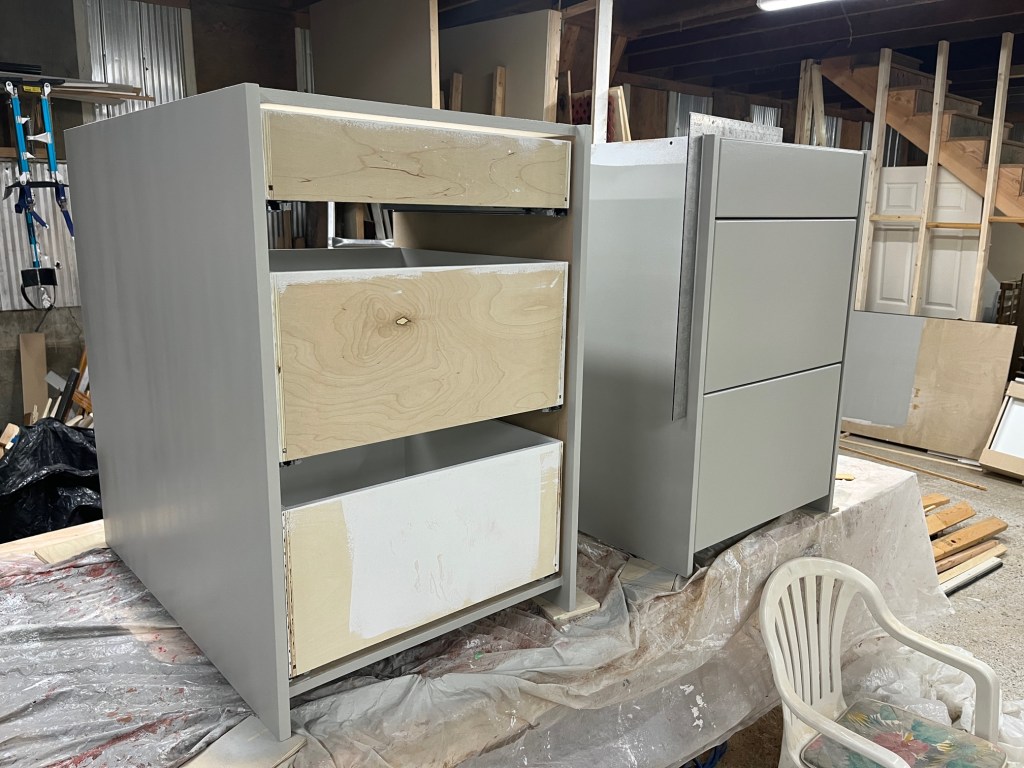
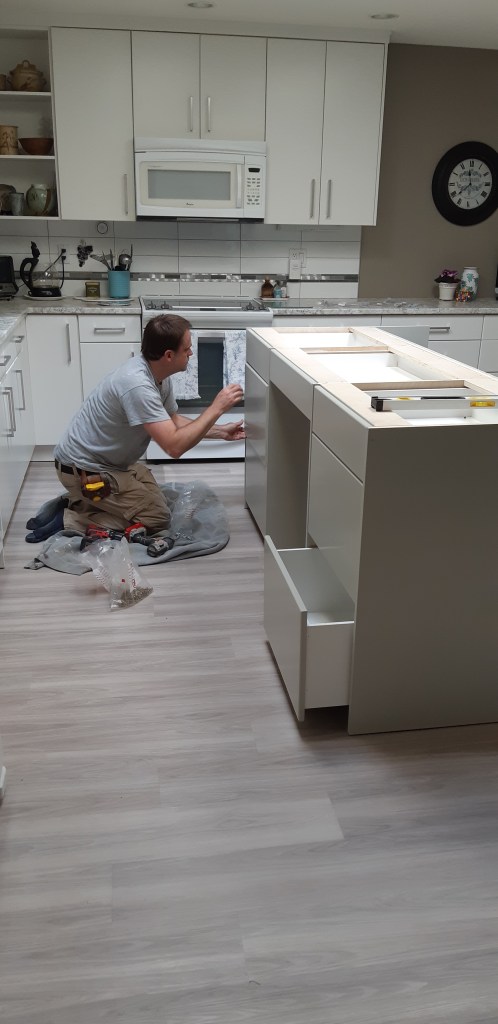
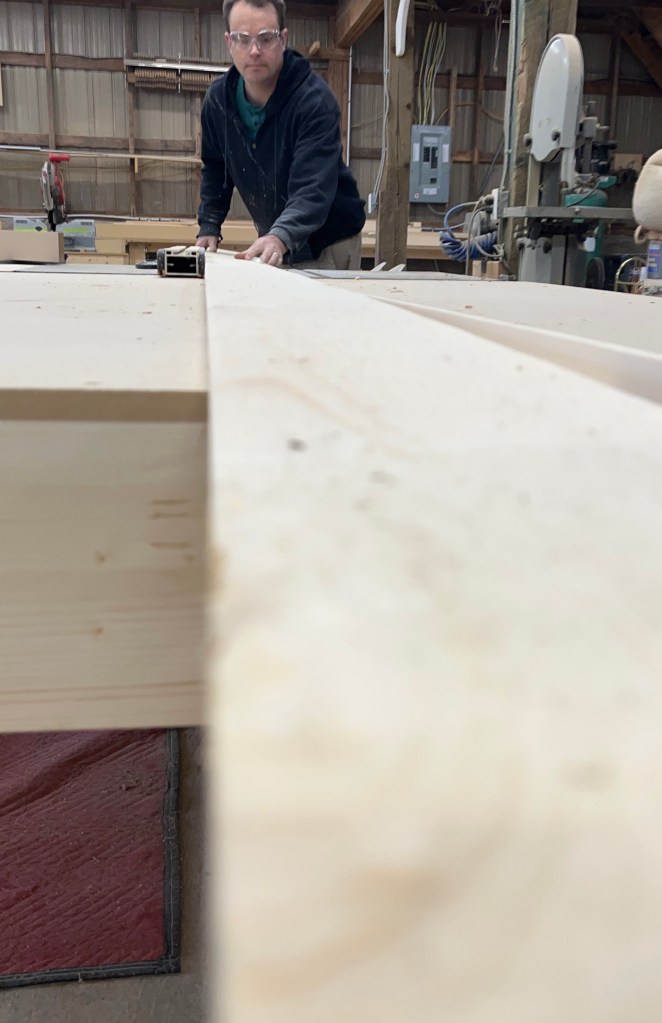
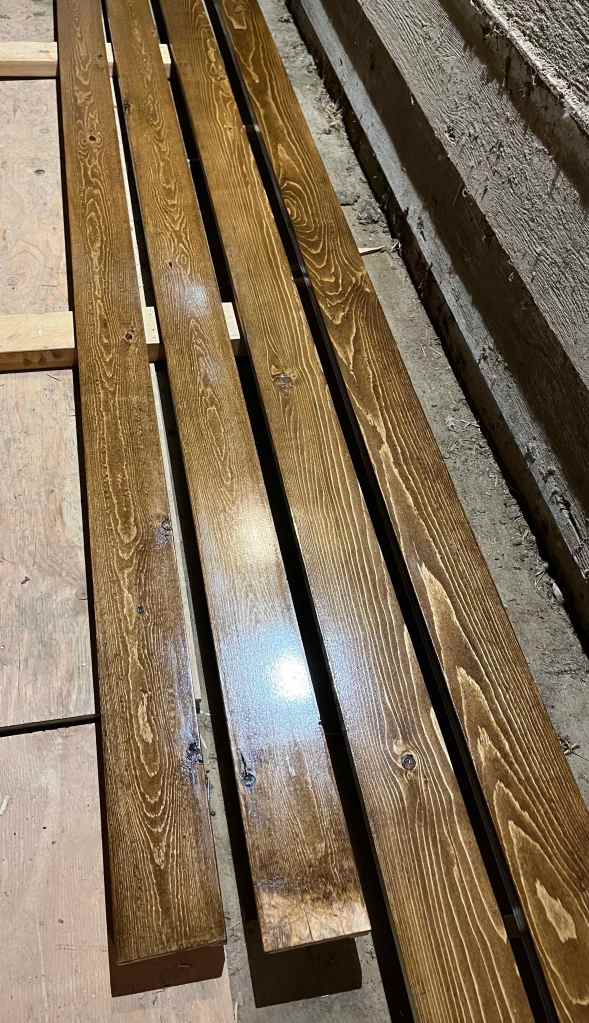
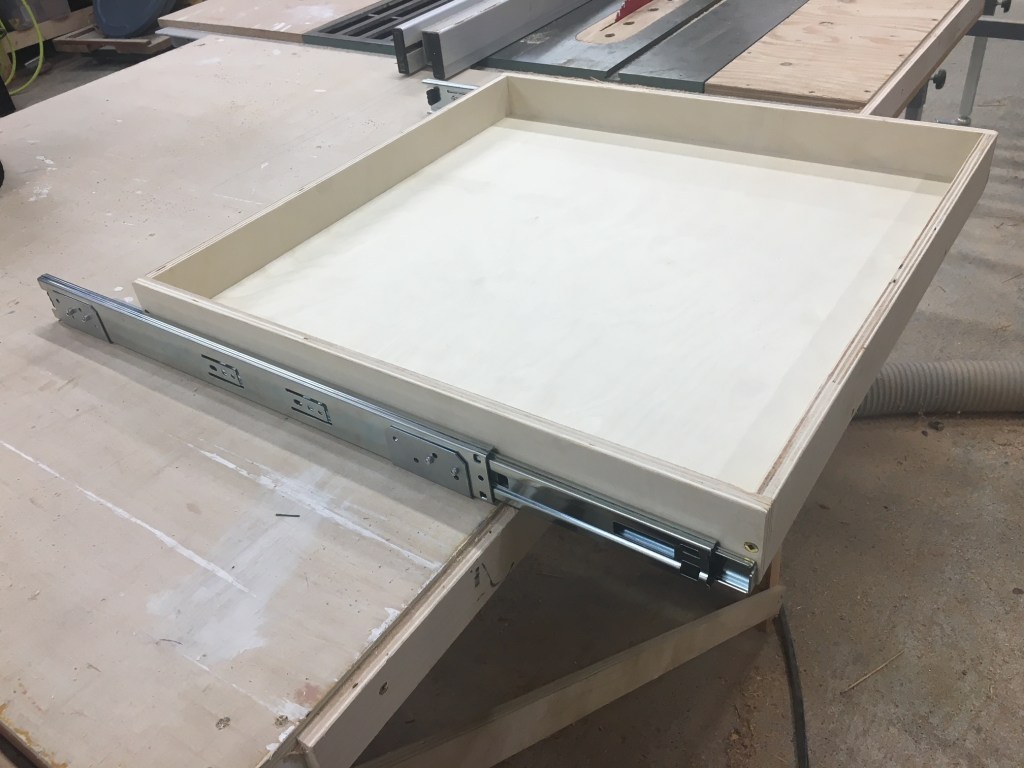
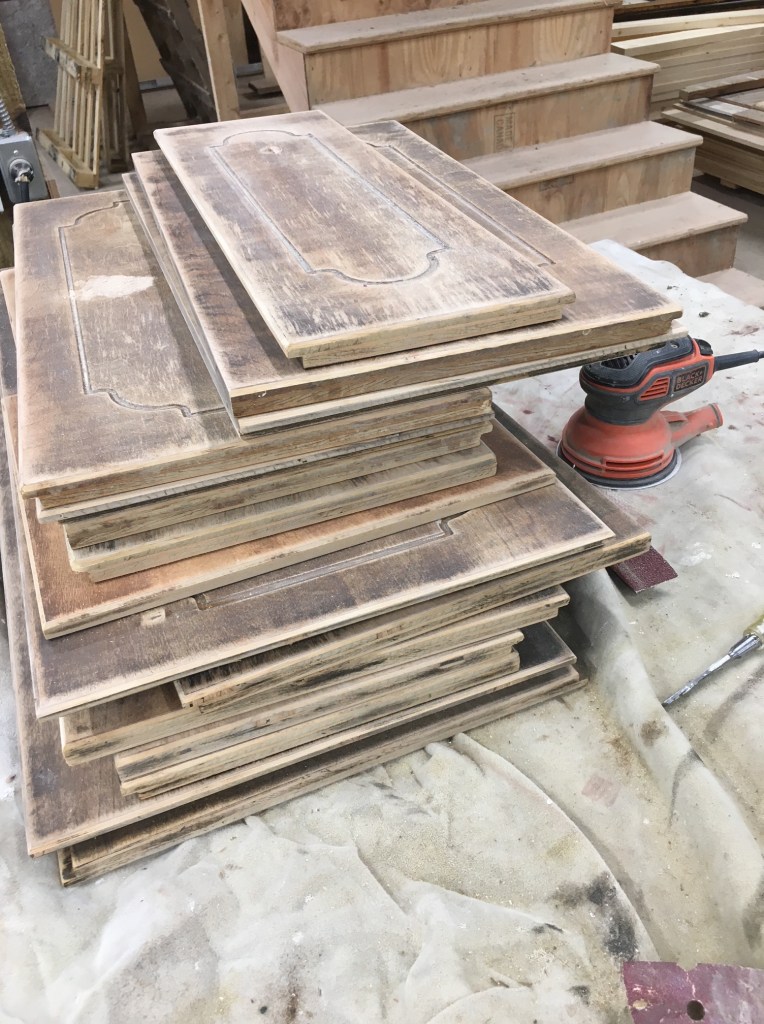
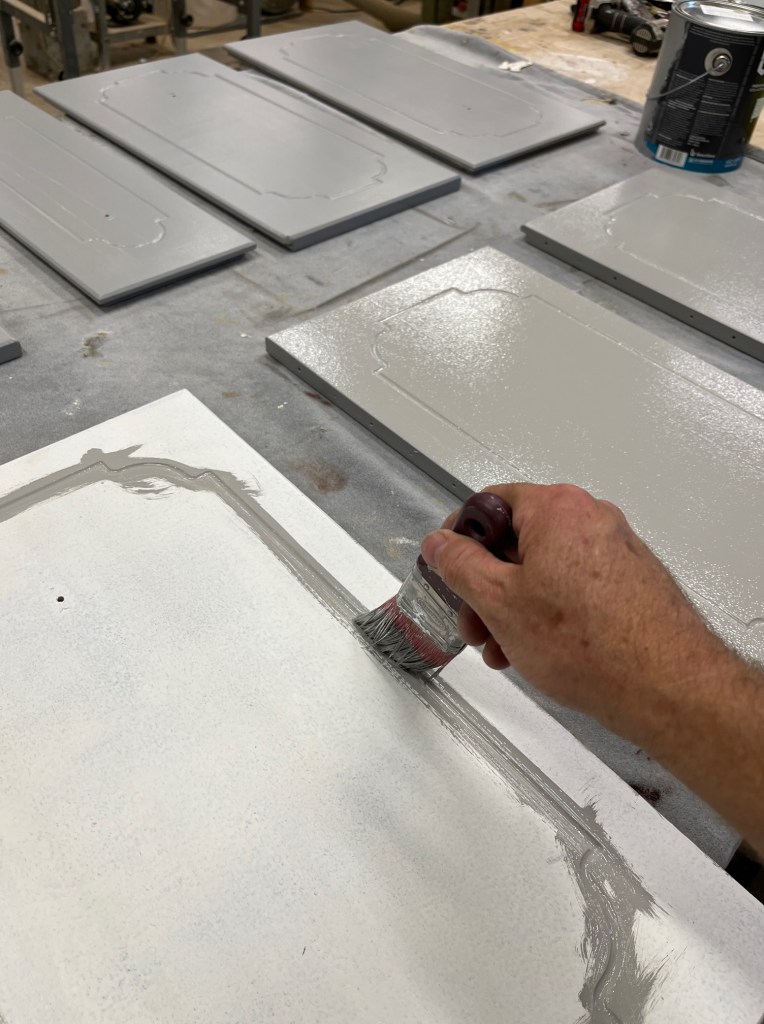
Then I sanded the doors and started painting them. I sprayed them with cabinet paint. I also made some sliding drawers for the lower cabinets.

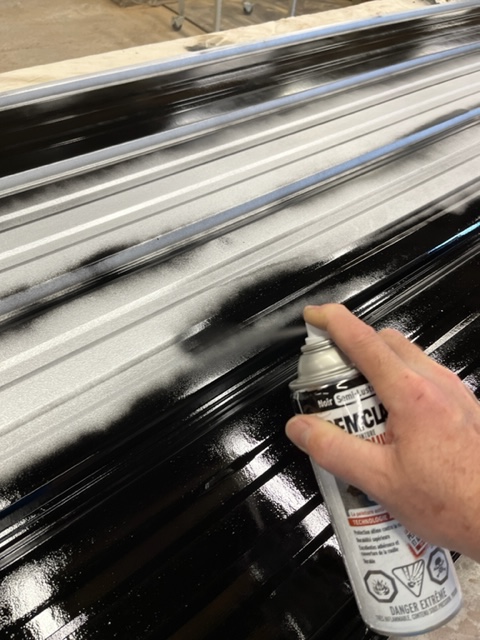
The doors got installed. Pomi spray painted her original hinges and handles and they went back on. (I prefer to use the original hinges because the new ones these days seem to be a lot flimsier.)

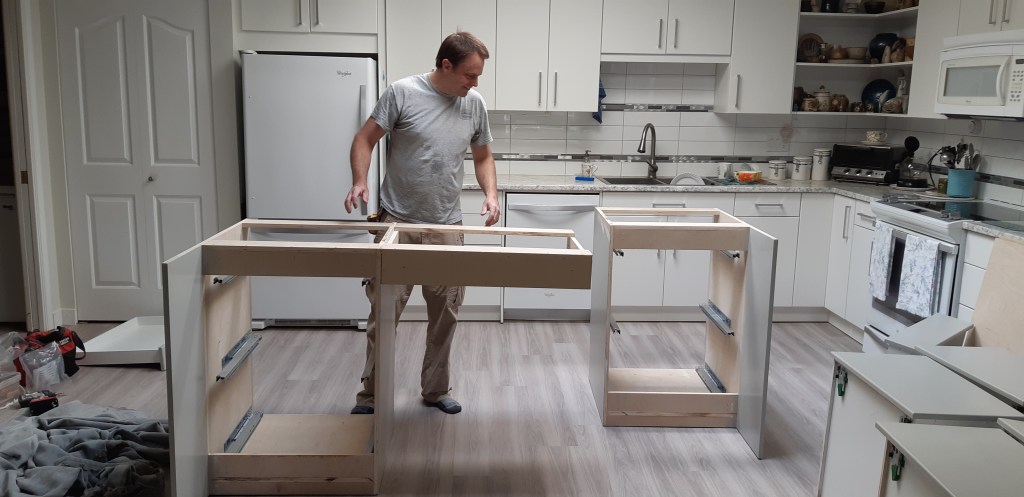
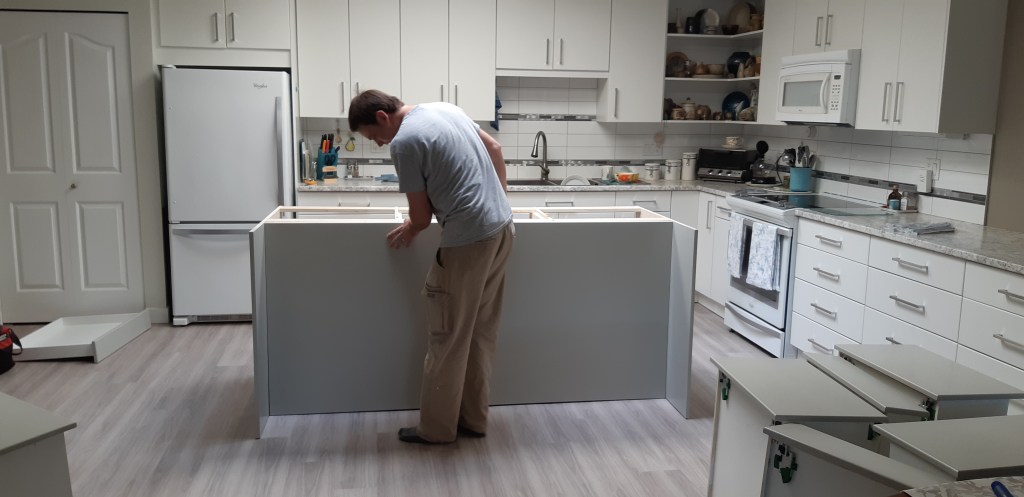
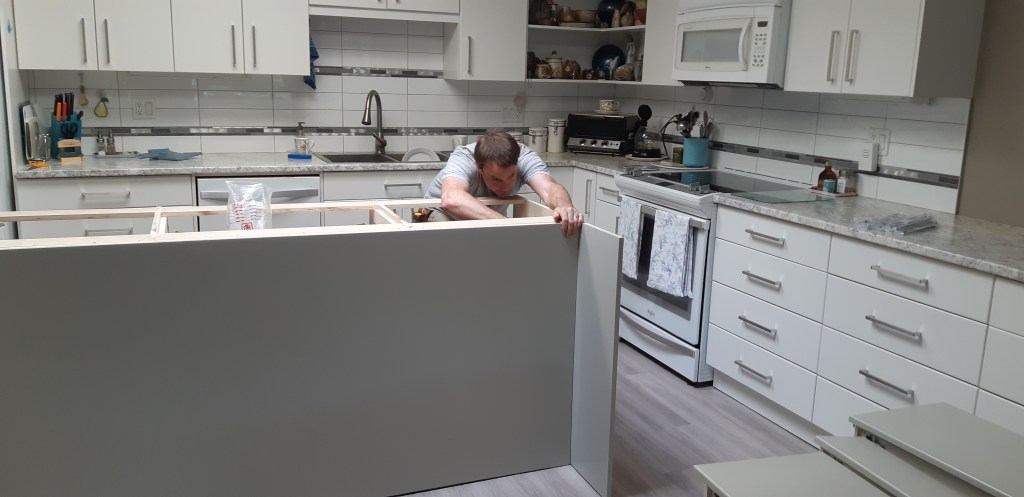
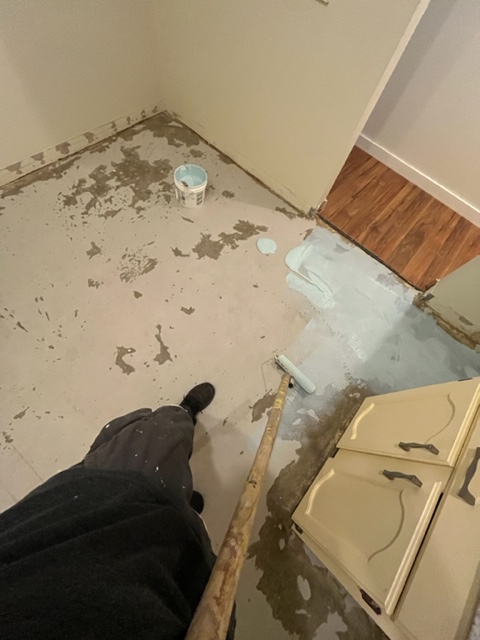
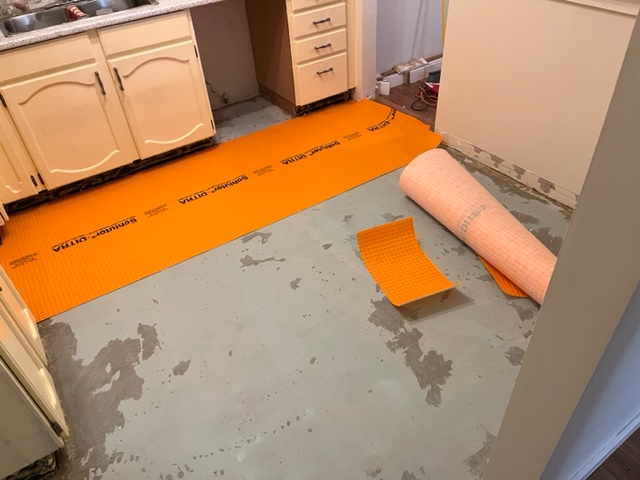
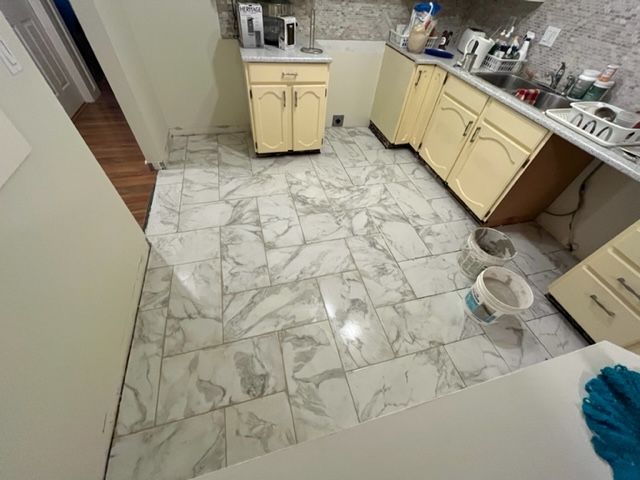
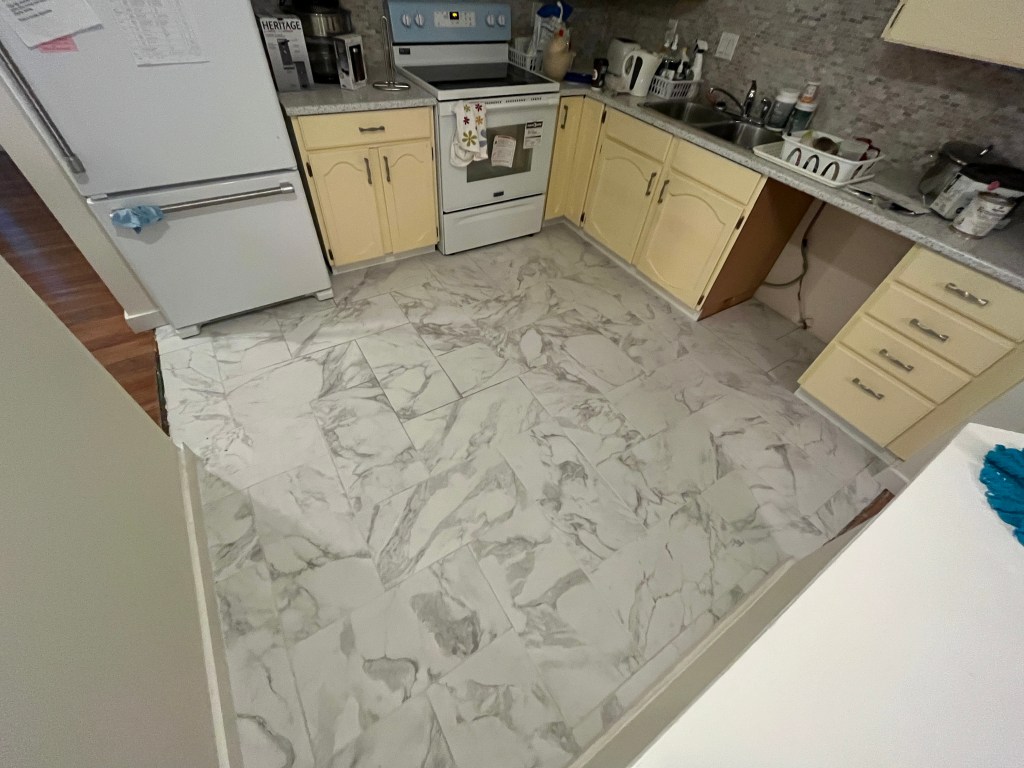
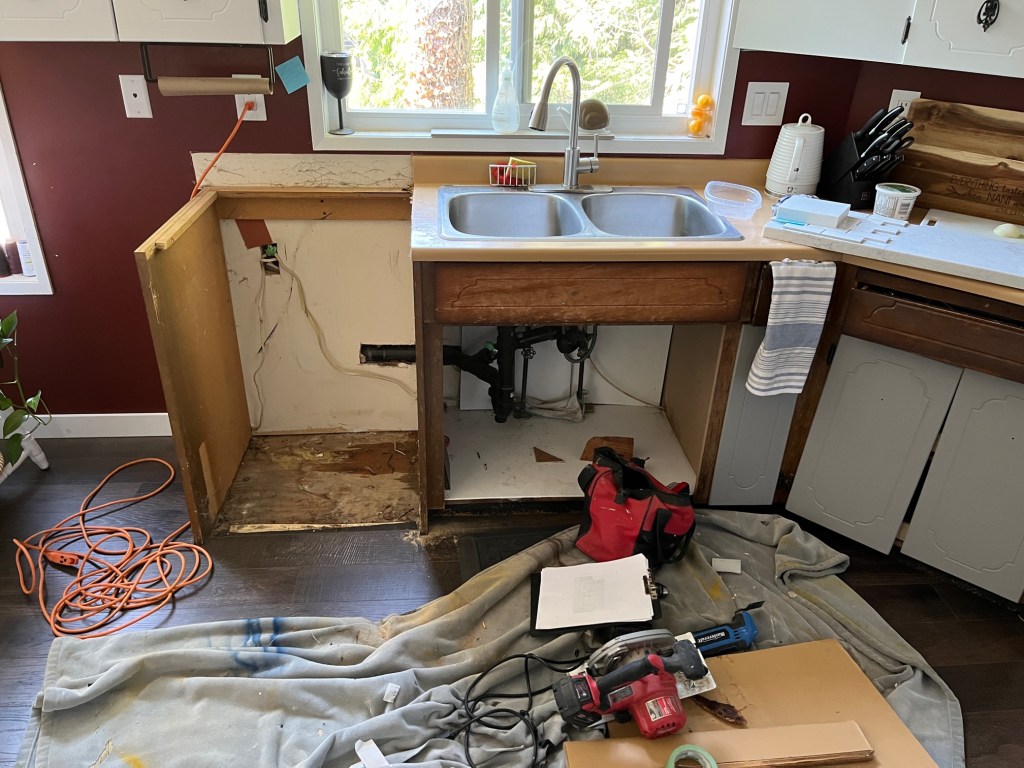
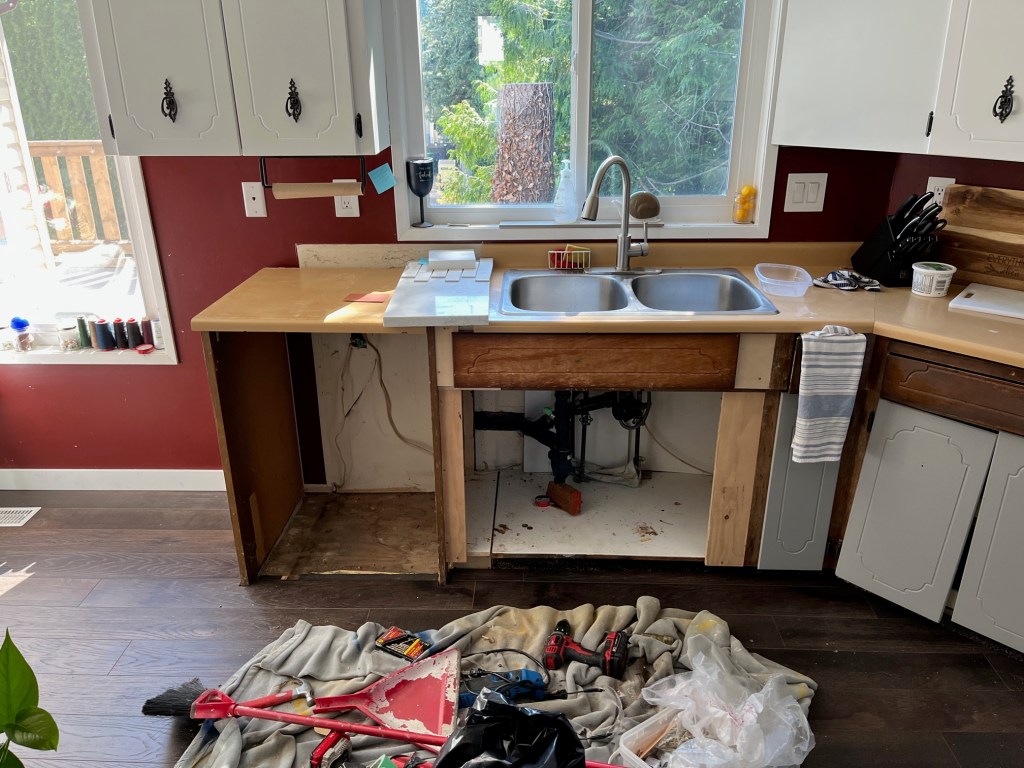
Before we started on the lower cabinets, Pomi had to choose a countertop, and a sink. She wanted to move the sink to center on the window, which meant getting out the cabinet stretcher and adding a few inches to the left of the cabinet.

A little bit more painting…

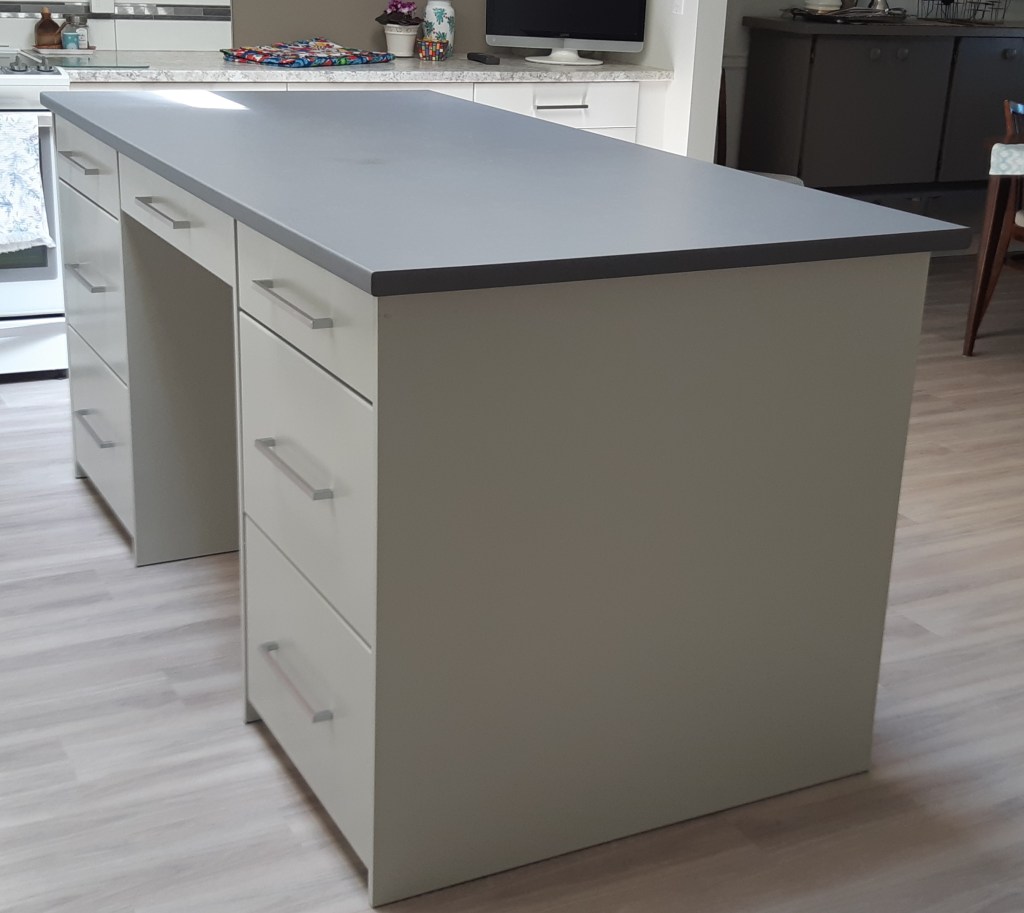
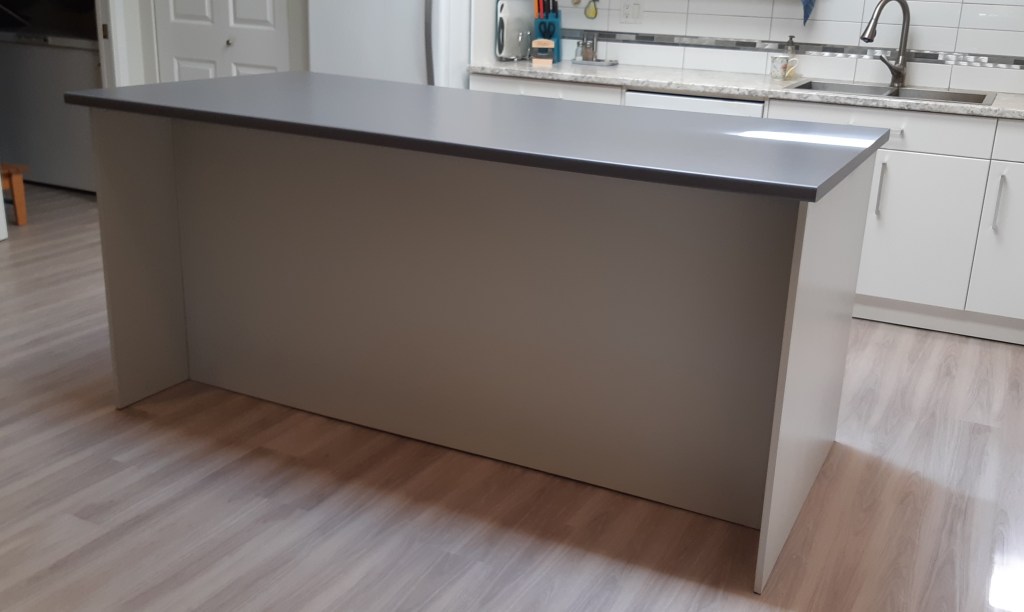
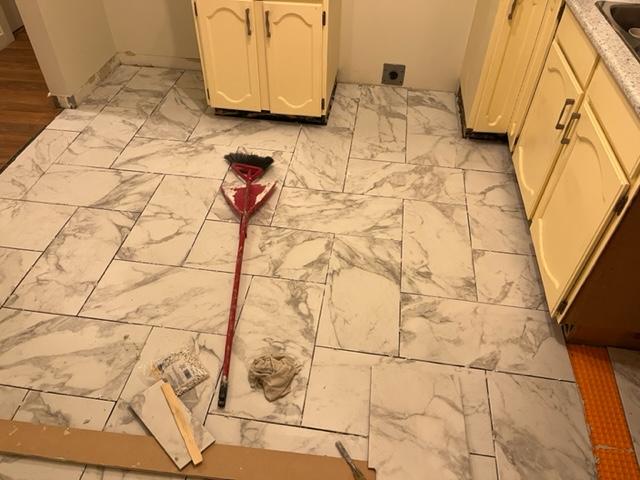
And done! (the countertop is Quartz and was done by Black Pearl)

There is still a new dishwasher to get, backsplash to tile, painting to do, but I think others will do that. There is also another small folding bar cabinet to make, but that will take some design work…

10×20 Gazebo, awning

Debbie asked for a “gazebo” for her upper porch, except with the roof only tilting away from the house. So I built 2 10×10 frames out of 2x4s, joined in the middle with a single post, and put them up on her deck. Then I spray painted galvanized roofing and screwed it on. It provides shade in the summer and keeps off the rain the rest of the year. It is freestanding, but there’s not much room to move it around!

It cost a decent amount but probably a bit less than buying two gazebos.

Then she wanted a similar awning for a different unprotected exterior door on another deck.

I built it in a similar fashion, but used 2×2 fir instead of 2x4s. And attached it to the house a little bit.

Kitchen island cabinet

Carol asked for a quote for a custom island. Here is the drawing we came up with together:

Construction was plywood with MDF drawer fronts. Drawer hardware was Grass Dynapro soft close. I glued carpet on the bottom so the island could be moved easily. Cabinet paint was sprayed to give a smooth finish.

Countertop was installed by Clearbrook Countertops the next day.

Laminating Stairs

Amarjit hired me to laminate some stairs in his rental house. I am not completely clear on the backstory but it seems whoever did the laminate flooring in the house wasn’t able to do the stairs and landings.

There was also some leftover carpet tacks etc. to deal with.

To save money, I used vinyl stair nosings which run for $5 apiece instead of $$$. They still had laminate flooring; I used about 5 boxes.

I used PL Premium to glue the laminate to the stair bases. No underlay here! I left a 1/16″ gap at the wall for expansion. Next I glued on the vertical piece, fairly tight. I used some brad nails to hold them in place–just a few. Then I glued on the vinyl nosing and put a few staples/pins to hold it while the glue dried.

The landings were done normally with underlay and 1/4″ gaps to the walls. Got it all done in a (long) day.

Set design and build: Holy Mo & Spew Boy

The last Gallery 7 show of the 21/22 season was Holy Mo and Spew Boy, which played at MCA. This was the smallest set build I have done, I think. The script called for a wagon. After some collaboration with the Director and PM, and with some help from my assistant carpenter volunteer, I built a wagon that was a cross between a gypsy wagon and a pageant wagon.

During my travels I purchased some wagon wheels from a guy whose father had made wheels for a career. I still had to make one though!

Our PM, Charlene, painted the wagon along with an assistant. She also decorated it with fabric and other things. Once the props were loaded in, it was quite a stunning visual! The following photos show some (not all) of that.

The show was very well done–a successful close to a challenging Covid season.

Pantry Shelves x21

Craig hired me to build and install new pantry shelves. The pantry was fairly large and had wire shelving, which his wife didn’t like because canned food would cause the shelves to bow. Craig removed the shelves, filled the holes, and painted the room. They had found a design on Pinterest that showed a good design, so I based my drawing and quote on that. Two months later I went to work:

I used 5/8 melamine boards, and glued a hefty 1.5″ L-shaped edge on the fronts to give them some rigidity. There were 4 sheets of melamine which worked out to about 120 square feet of shelf space! It didn’t look that big when I looked at the job! But there were 21 shelves total (the L-shaped shelves are in 2 parts).

Sanding and painting the edging was probably the most time-consuming thing.

Installation went well considering the amount of material going in that room. I screwed strips of melamine to the wall on the studs, then placed the shelves on those, joining the L-shapes with a cleat. Lastly I caulked the gaps and capped the screw holes. I also added a post for support.

Tiling a kitchen floor

I don’t do much tiling…but once in awhile I will oblige a customer who doesn’t want to look for a “real” tiler. In this case Sandy wanted her kitchen floor re-done. She had vinyl, which looked OK, but had a couple of rips in it.

So I ripped it up, plus the linoleum (?) underneath, and was left with a level concrete floor with paper stuck to it. I scraped off the paper where it was loose, but gave up on the rest, and primed it with a shower product called Aquadefence.

Then it was time to play with membranes. I used Schluter DITRA. I used too much thinset underneath, so got a couple of wavy spots where I knelt on it…but otherwise it went down well. It provides a surface for the tile to expand/contract just enough to prevent cracking. And it added lots of time and expense to the job so hopefully it’s worth it!

Then I laid out the tile in a herringbone pattern. It was fun but dizzying.

I used a notched trowel to lay down the thinset and back-buttered each 12×24 tile just in case. The tile is porcelain with a matte finish. The next day I grouted, replaced baseboards and appliances. Just have to trim down the flooring transitions yet.

What to do with that hole in the ceiling…

While I have fixed a fair number of ceilings now – usually textured drywall – there are other, cheaper, sometimes better options depending on the size of the hole.

Amarjit’s tenant had a leak from a bathtub drain. He fixed the plumbing but had a 30×30 square hole left over. Fixing the drywall wasn’t ideal because there were some funky curves in the original installation due to the drain being too low. I suggested a simple cover. Much cheaper, much less hassle for the tenants, flexible/looks OK, and easily removable if there is another leak. I used 1/4″ melamine and painted the edges white.

A week later I was fixing a bunch of holes at Patricia and Gary’s house. In this case it made sense to drywall most of them, but one hole needed access to an outside tap shutoff, so it was best to make another cover panel:

pop-off screw caps cover the screws which go directly into the joists above

Here is a picture of one of the repairs that needed textured ceiling, wall, and crown moulding all fixed:

16 foot frame

Josephine had a design idea for her house and asked me to make a wooden frame. I took a photo of her wall and drew in a frame to show her what it would look like:

frame drawn into picture using Sketchbook

I dried out some spruce 1×6 for awhile, then ripped them to 4 inches wide. I then glued a strip below to make them 1″ thick. It took 3 coats of stain to get the right colour to match her living room. Then a thin coat of varnish.

Installing the frame was a little tricky as it was pretty high up. We also moved the trophies a bit to center them better. Looks good!

Photo of actual frame