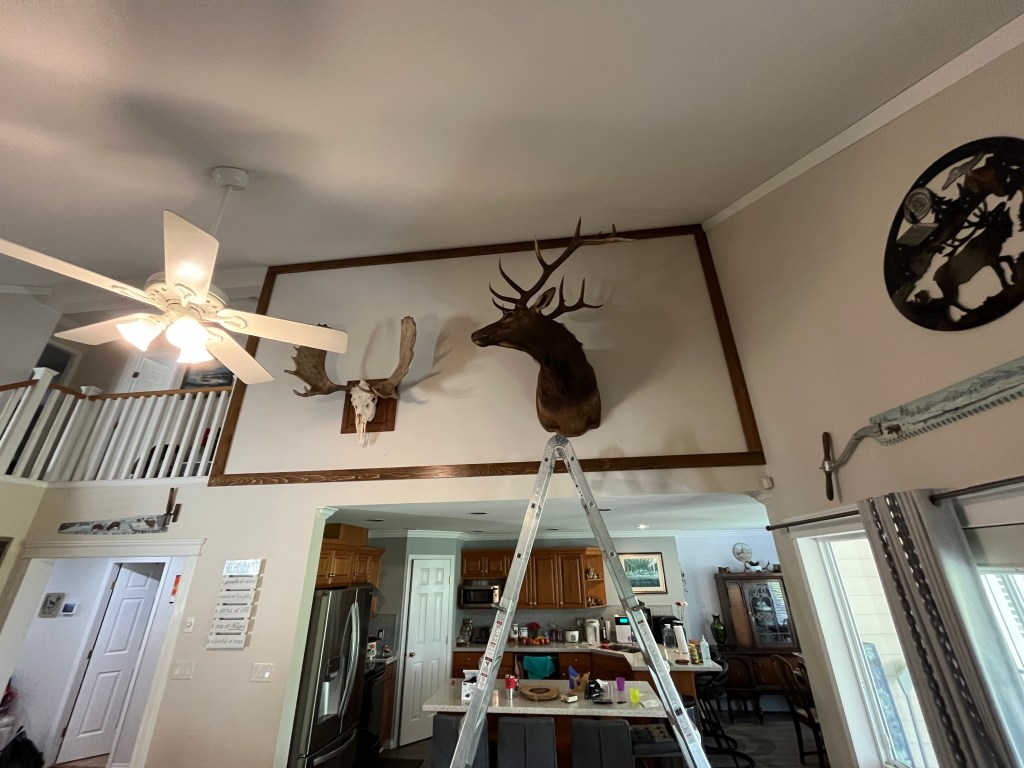
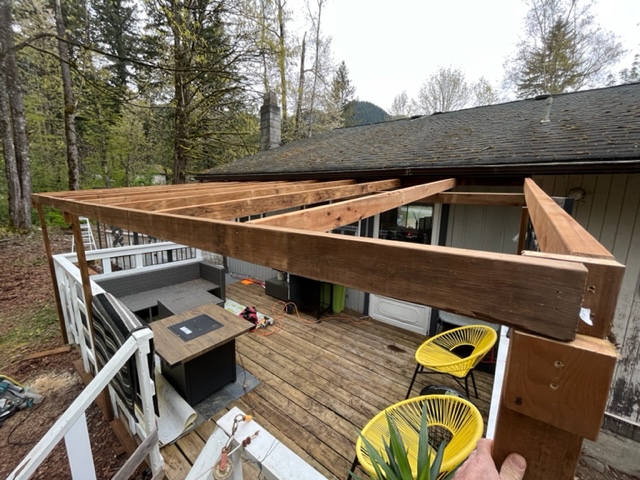
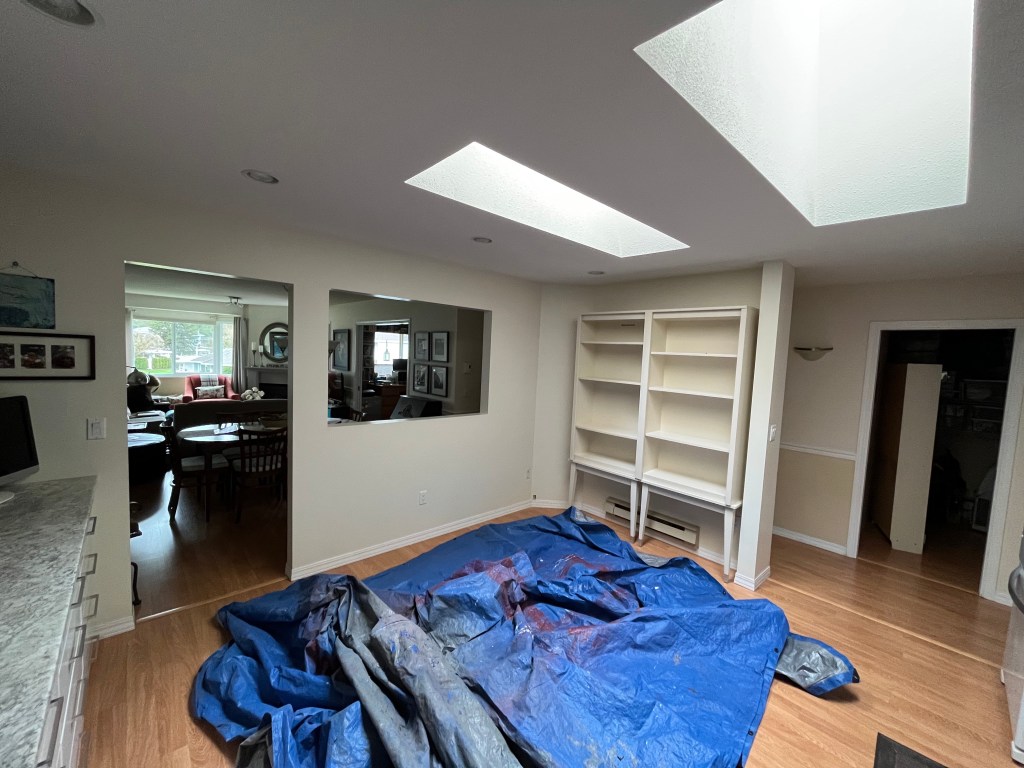
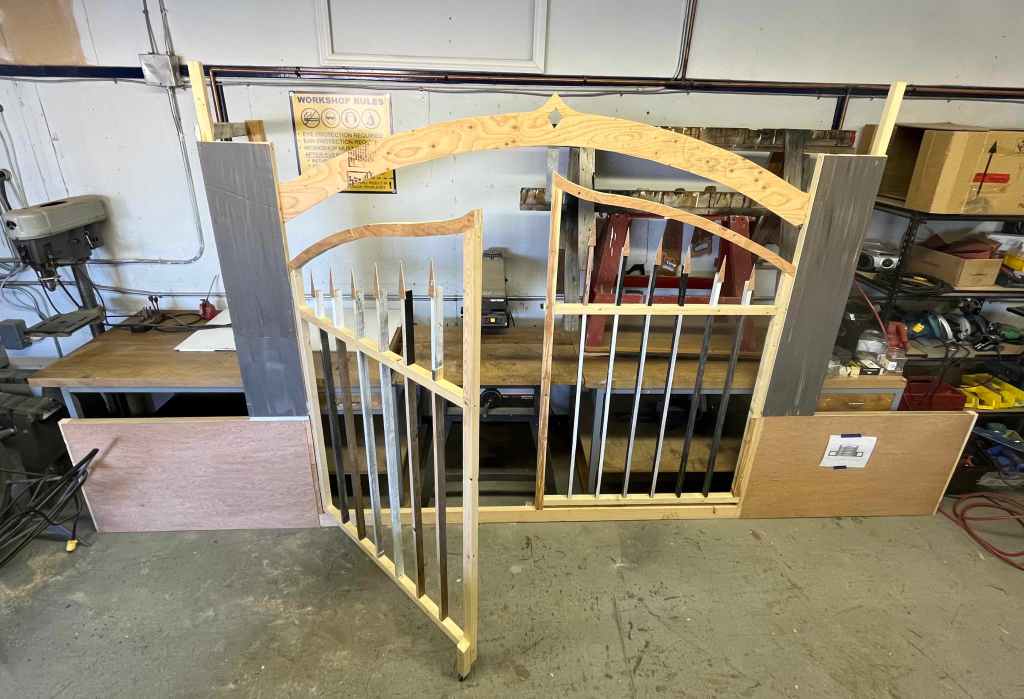
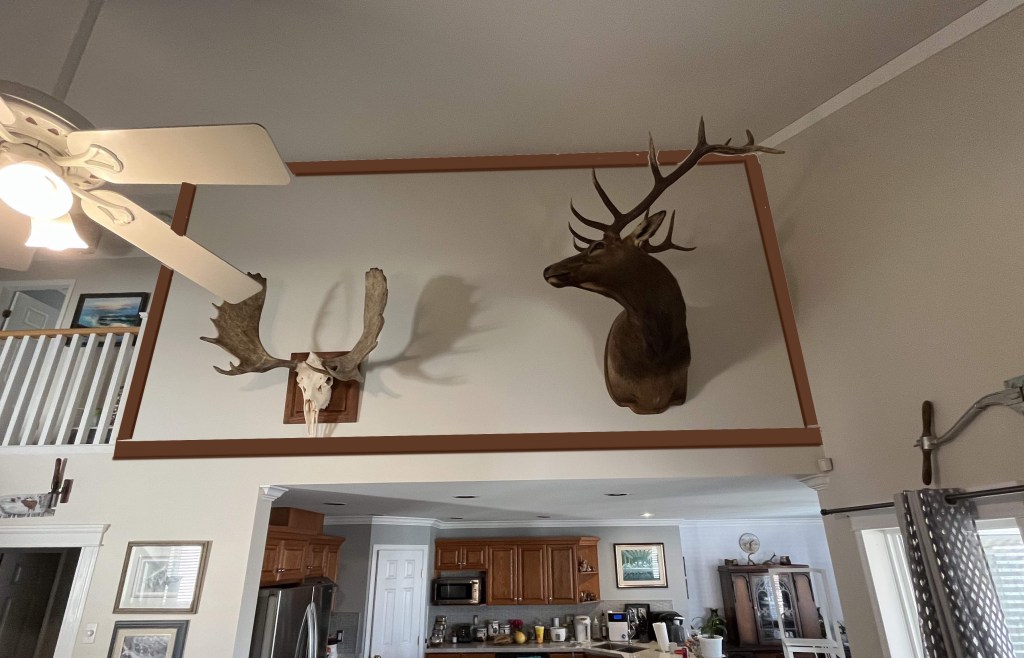
Josephine had a design idea for her house and asked me to make a wooden frame. I took a photo of her wall and drew in a frame to show her what it would look like:
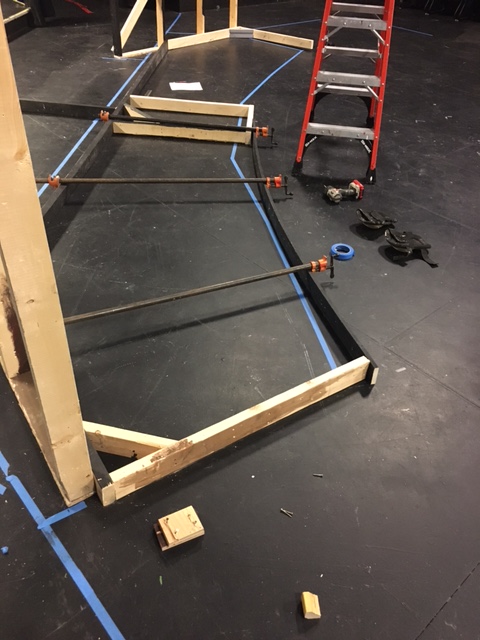
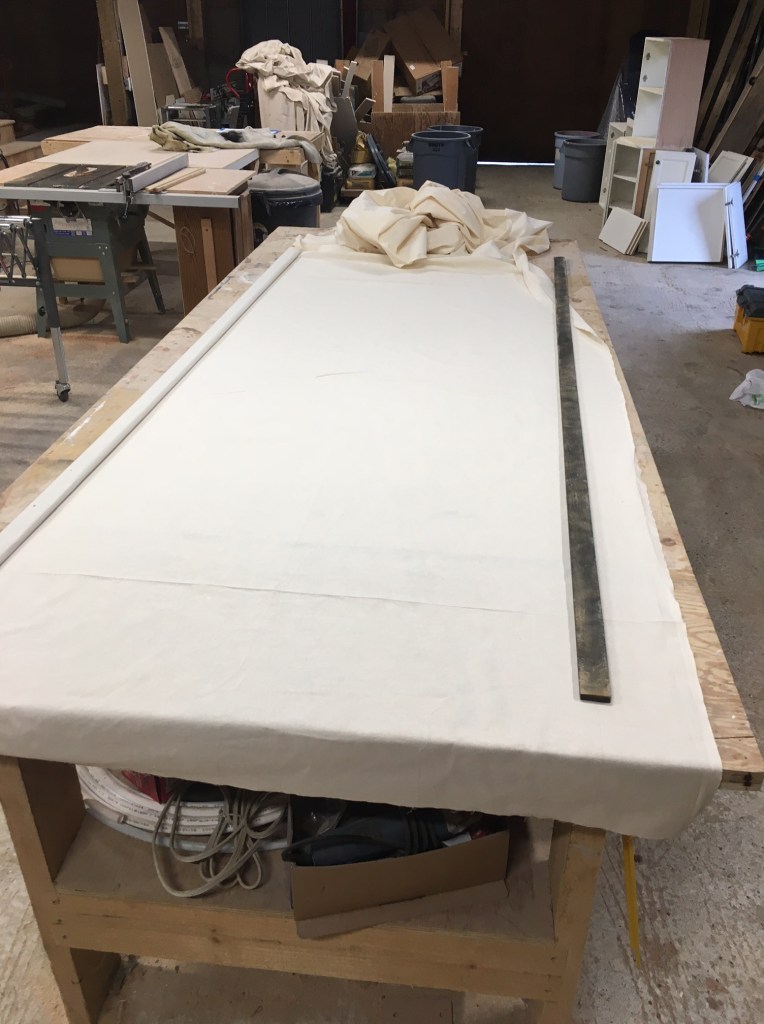
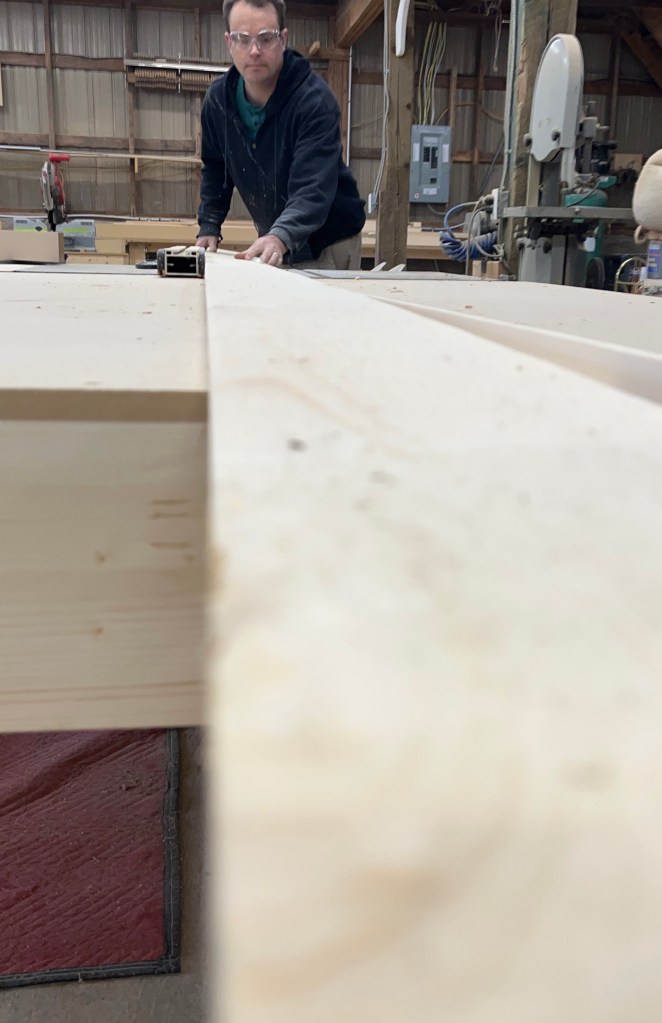
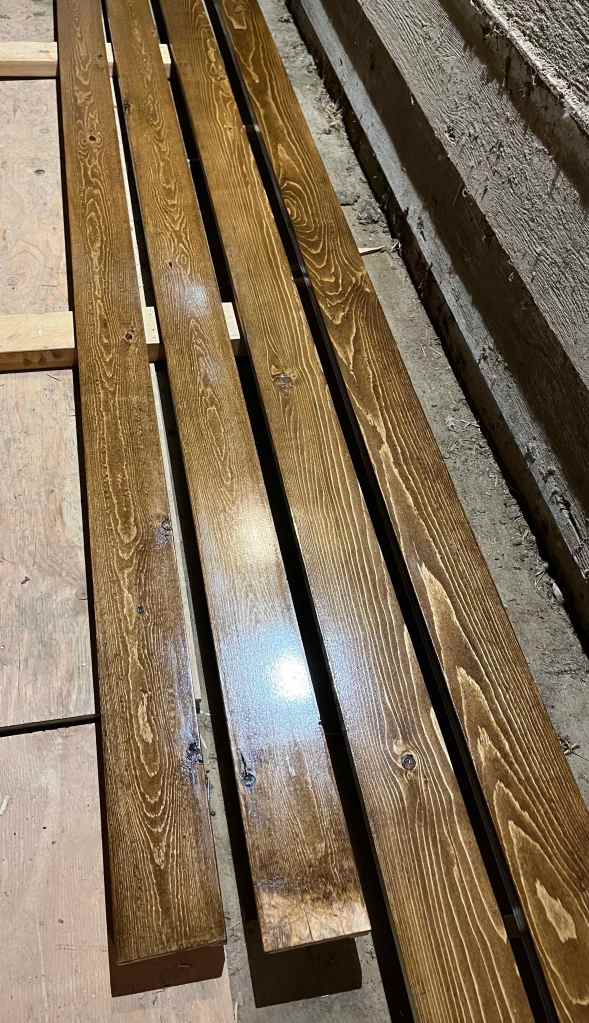
I dried out some spruce 1×6 for awhile, then ripped them to 4 inches wide. I then glued a strip below to make them 1″ thick. It took 3 coats of stain to get the right colour to match her living room. Then a thin coat of varnish.
Installing the frame was a little tricky as it was pretty high up. We also moved the trophies a bit to center them better. Looks good!