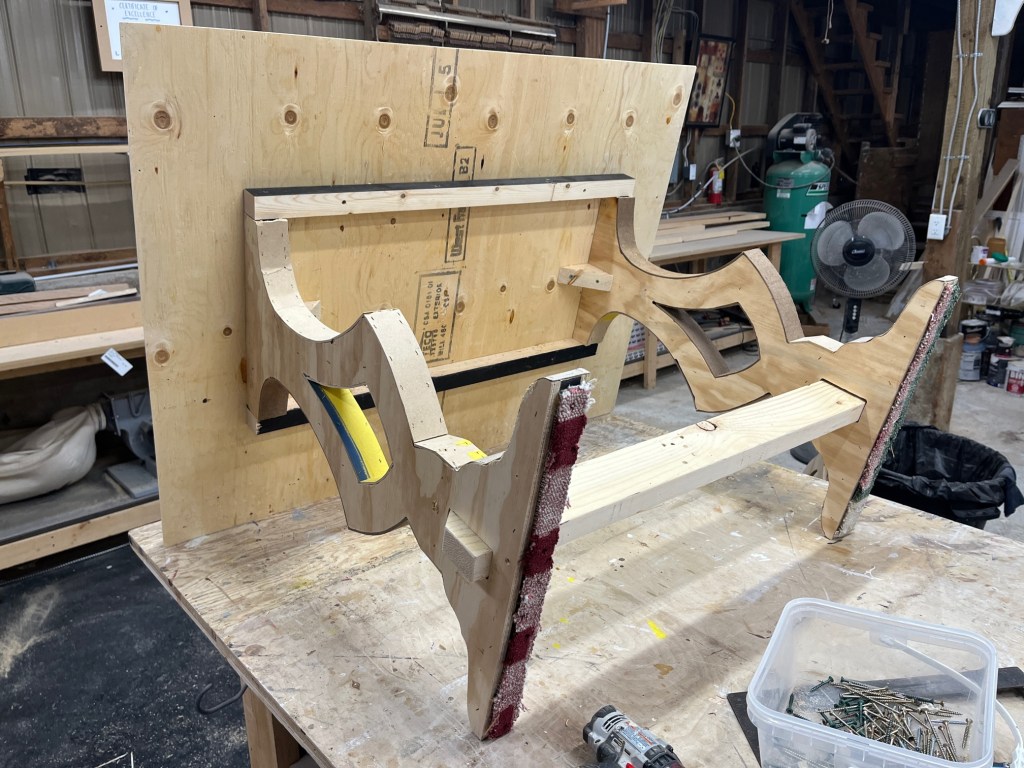
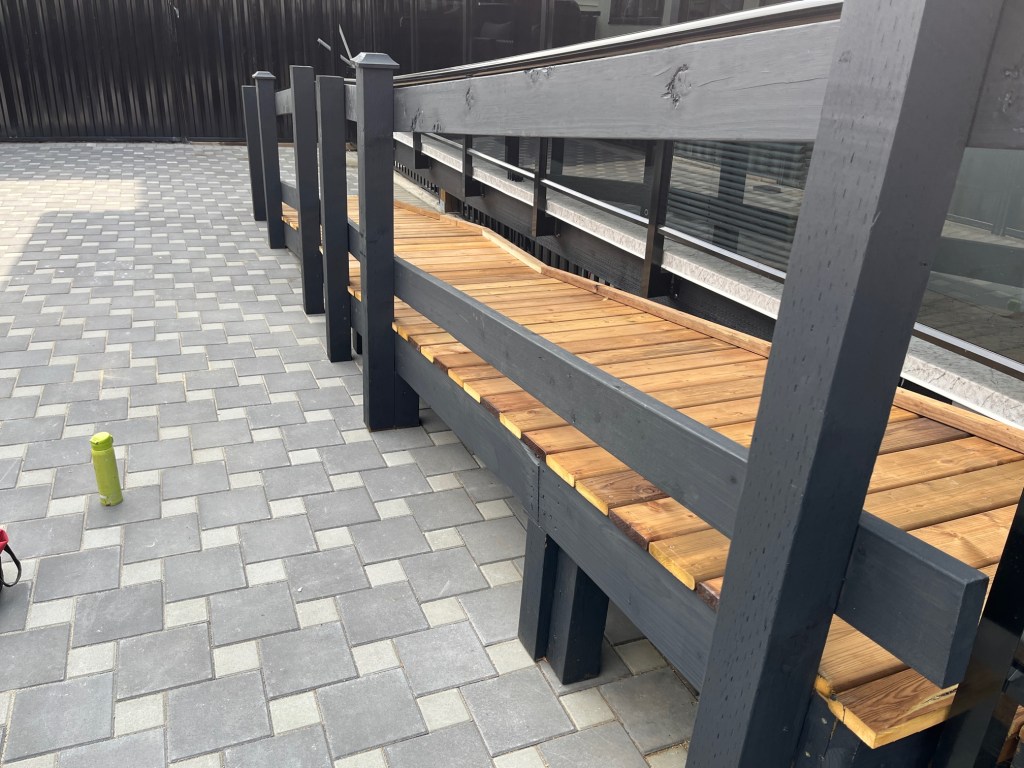
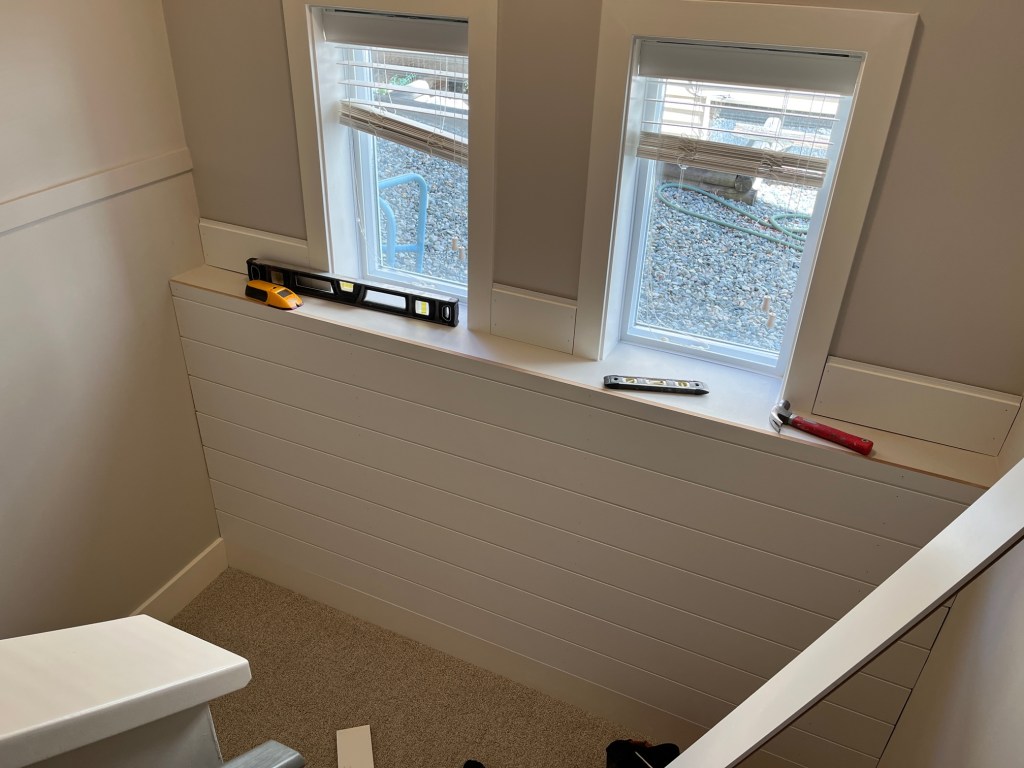
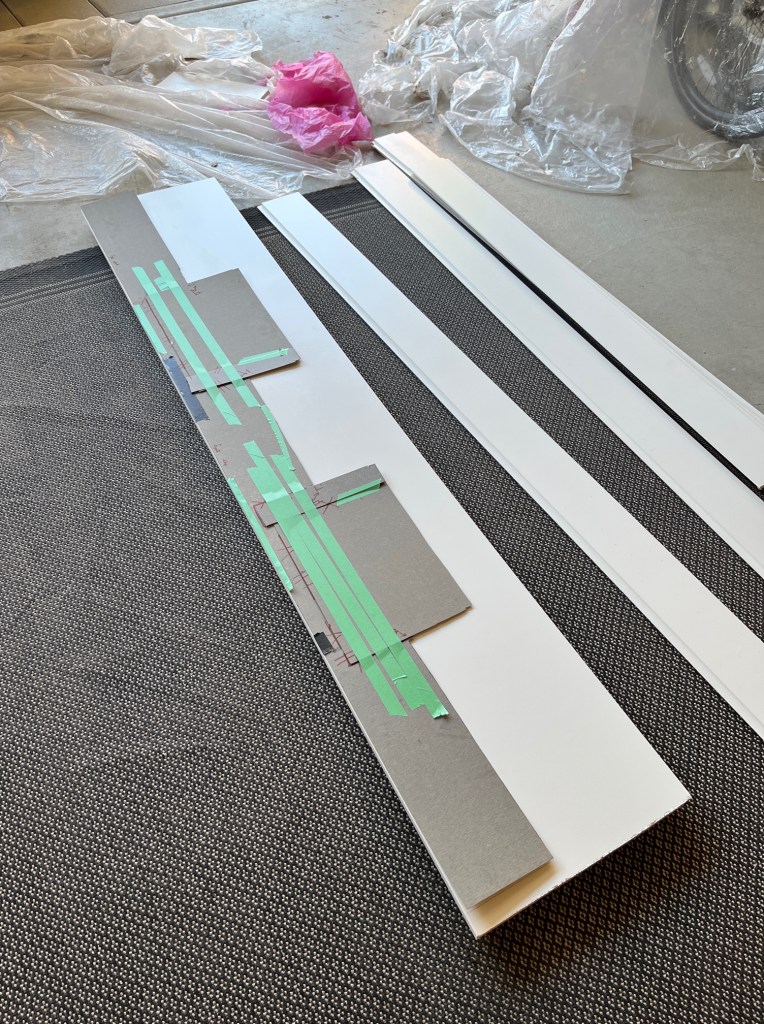
TWU contracted me to build the set for their fall production of Blue Stockings. (Set Design is by Cecilia Vadala.)
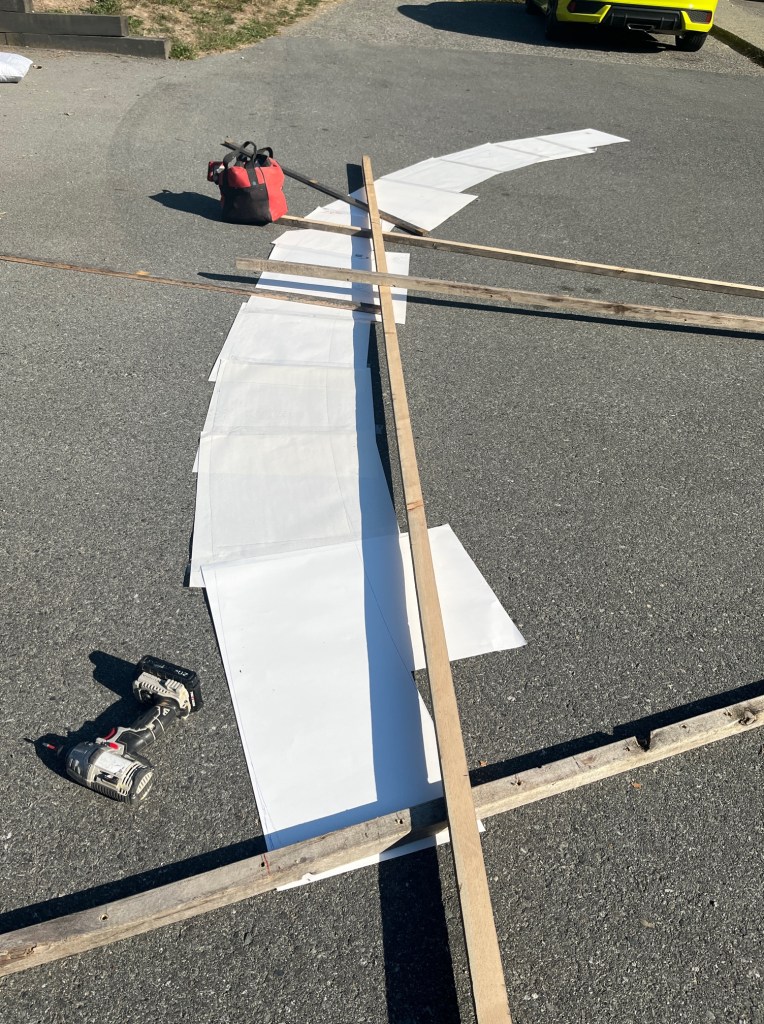
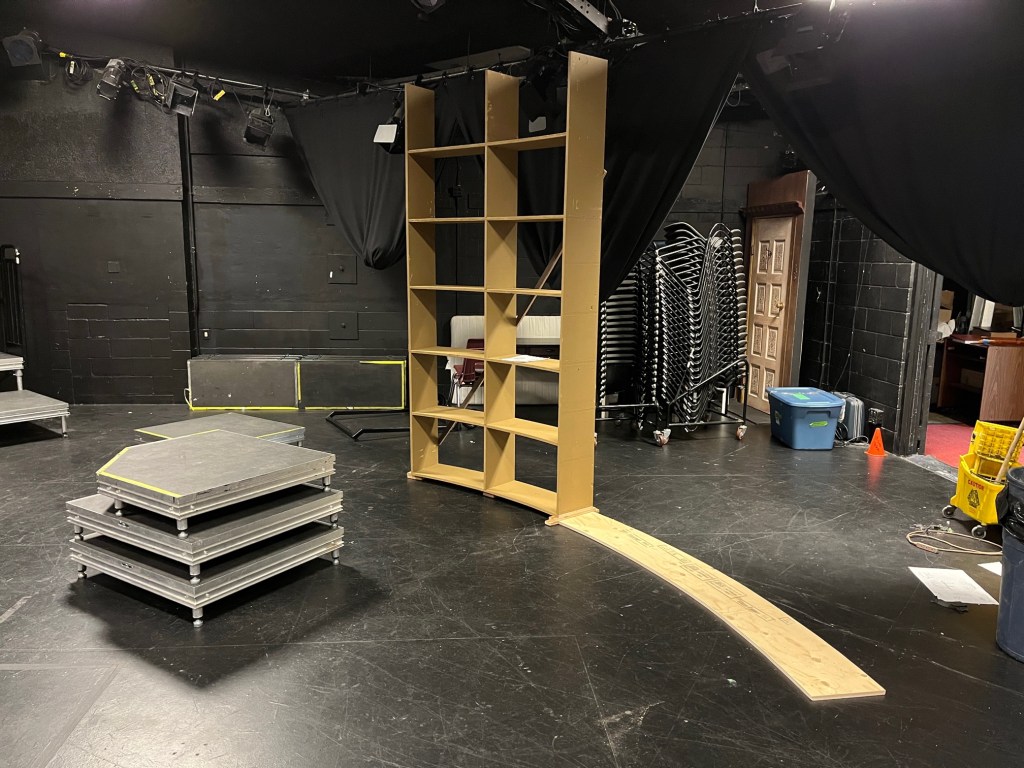
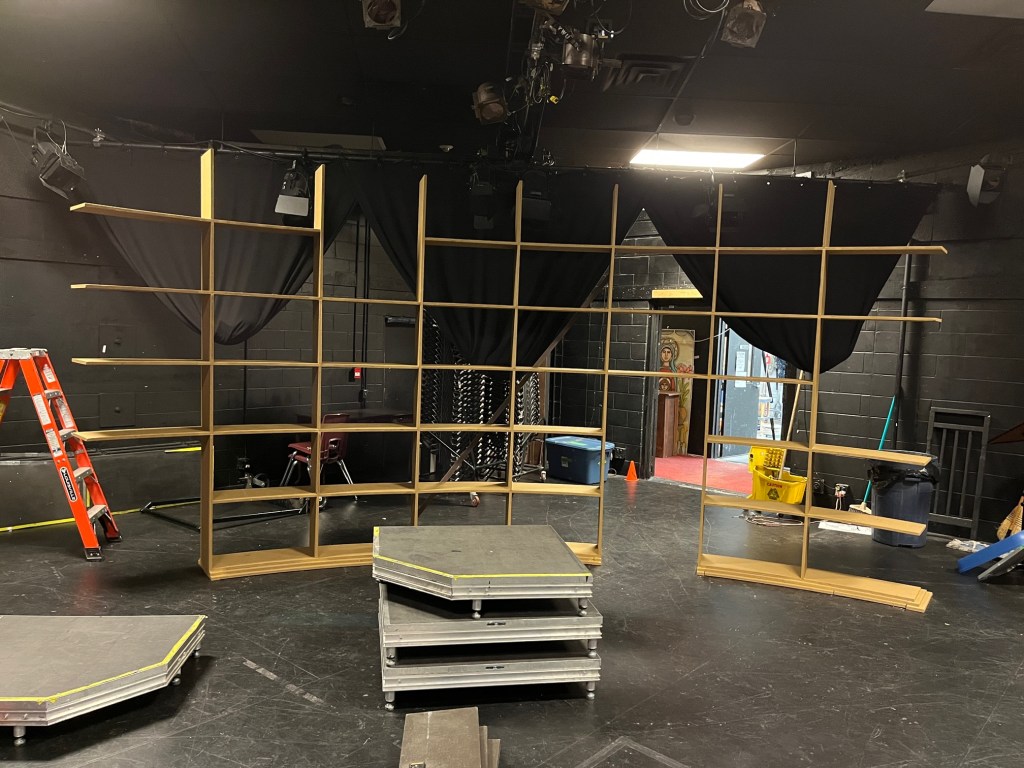
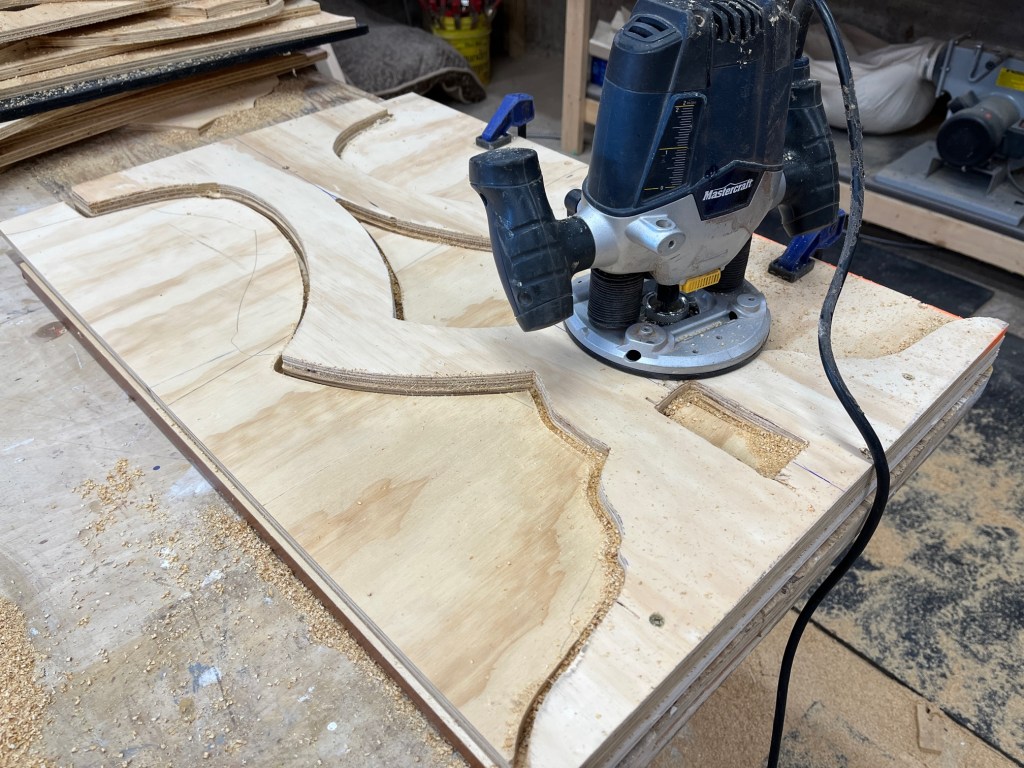
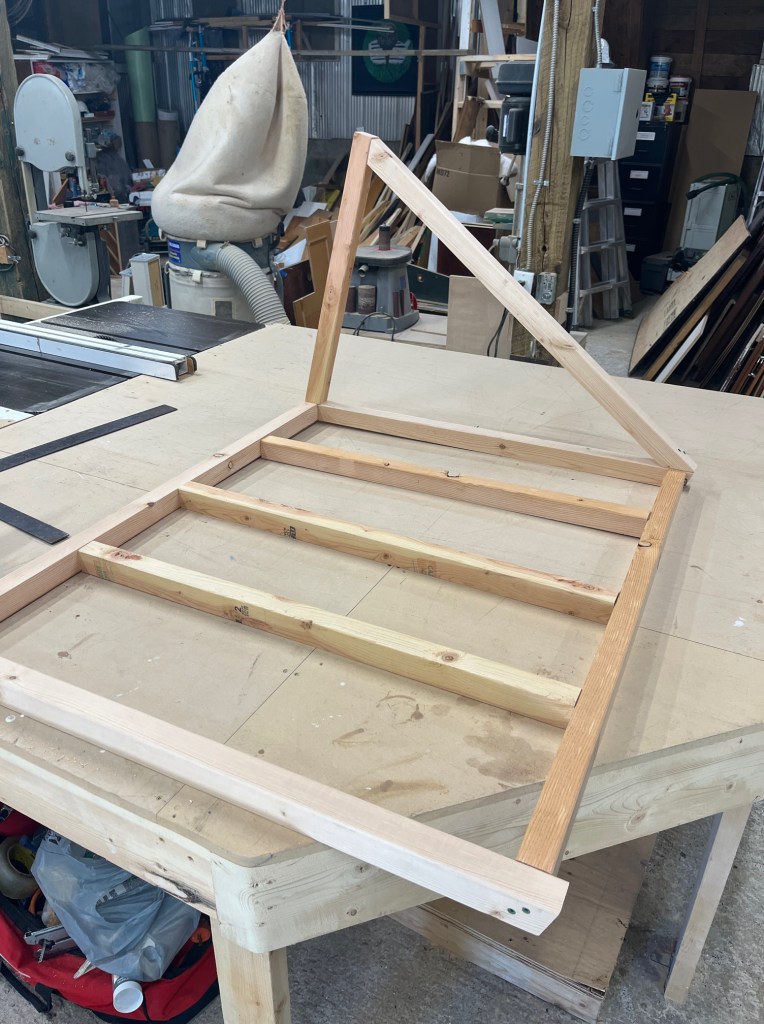
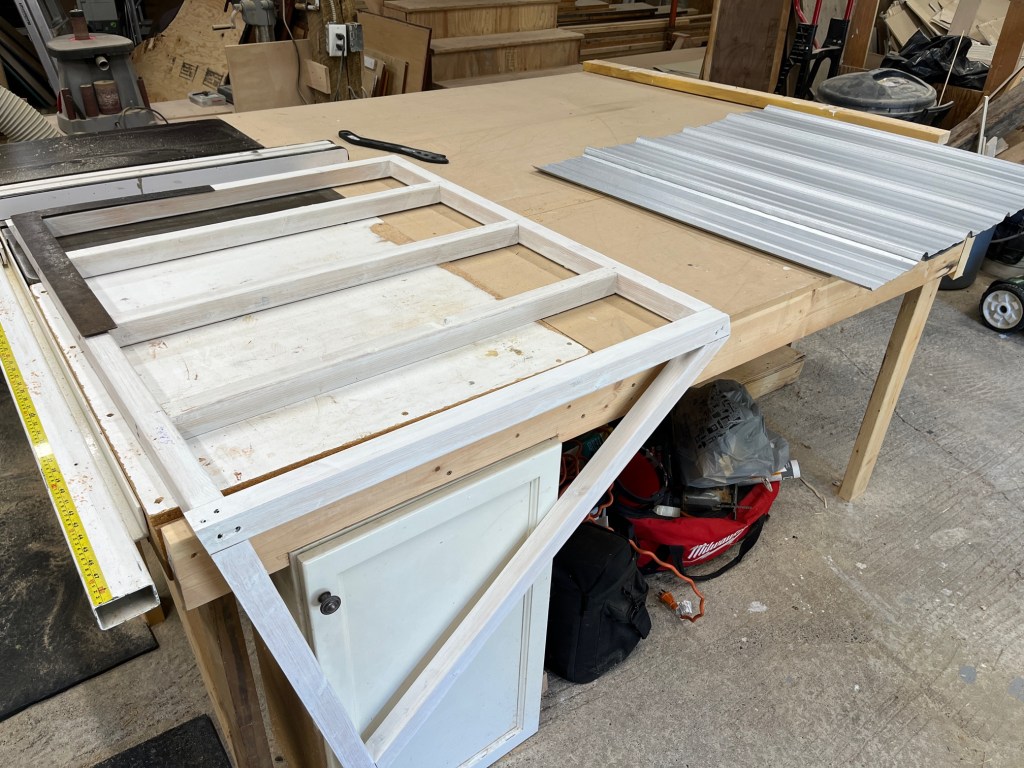
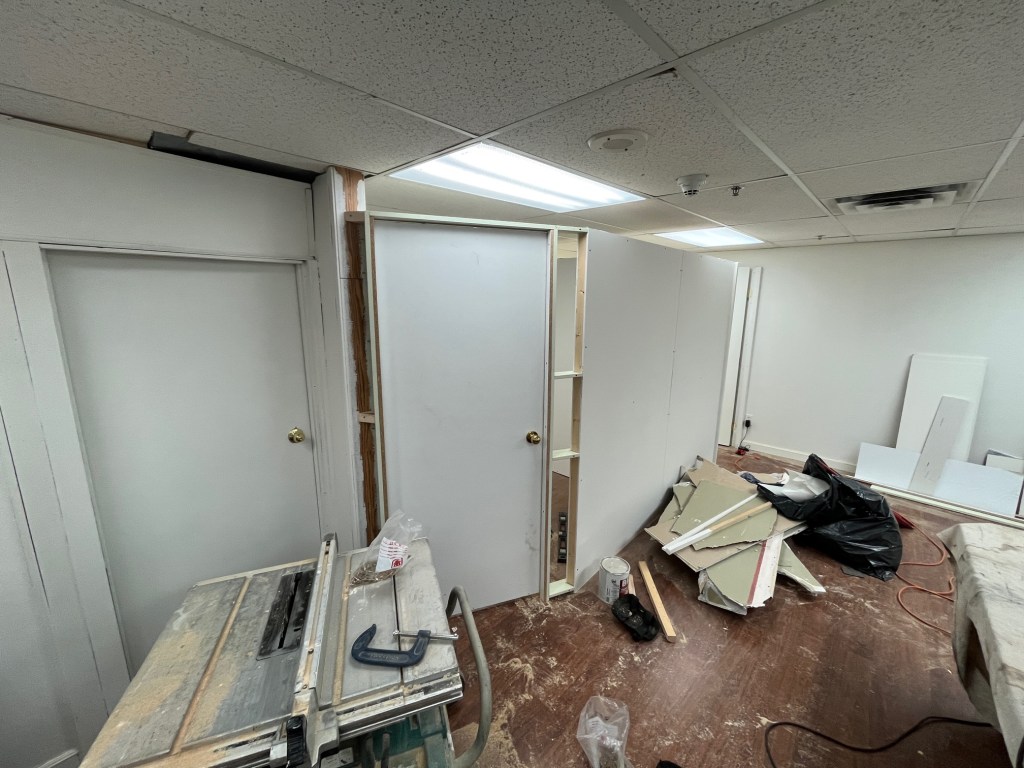
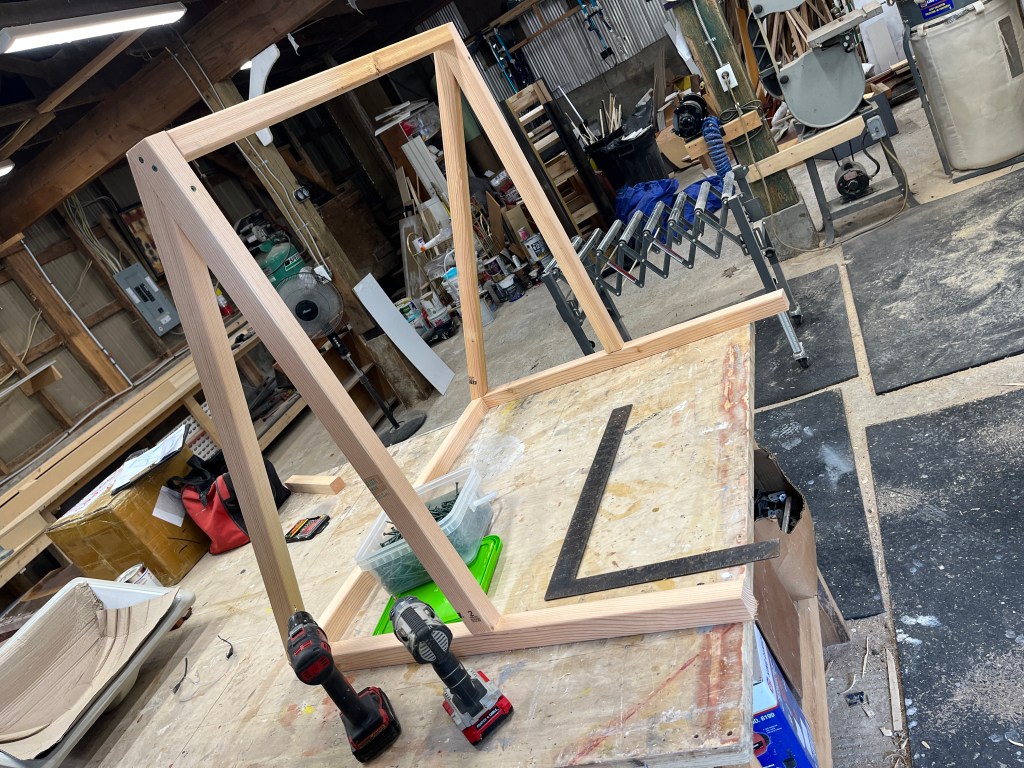
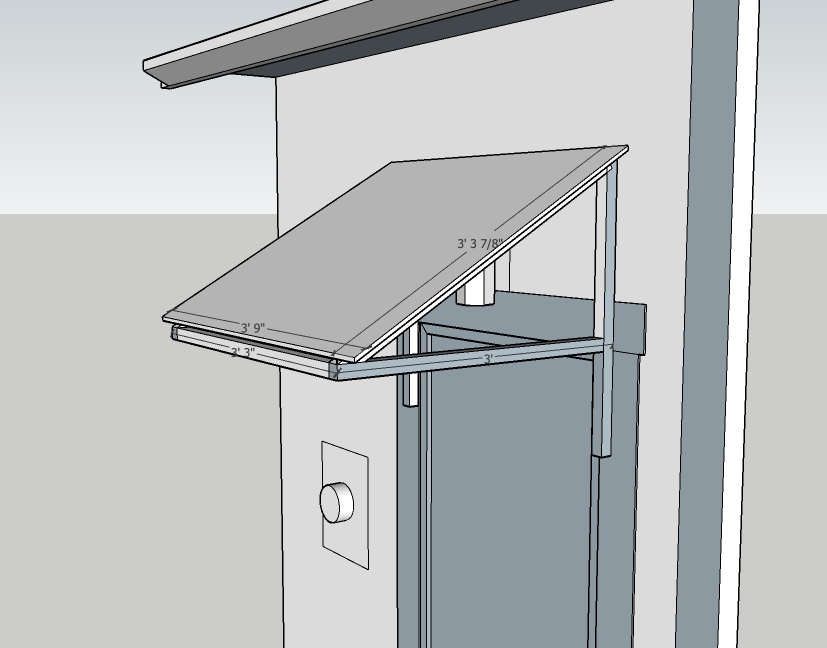
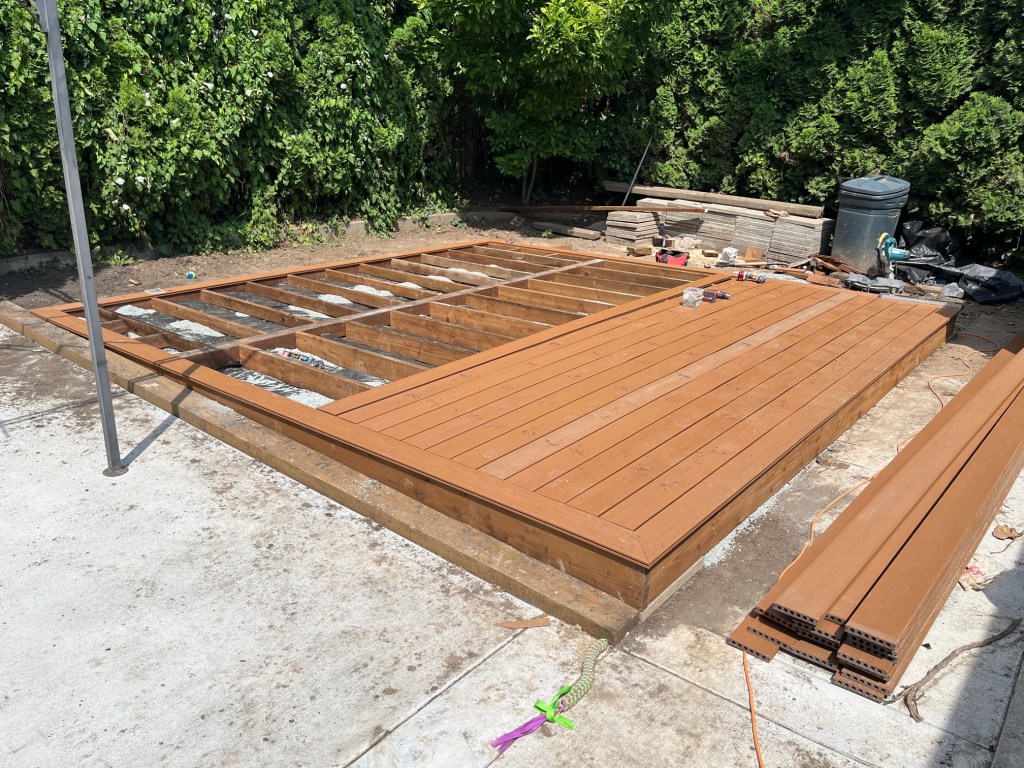
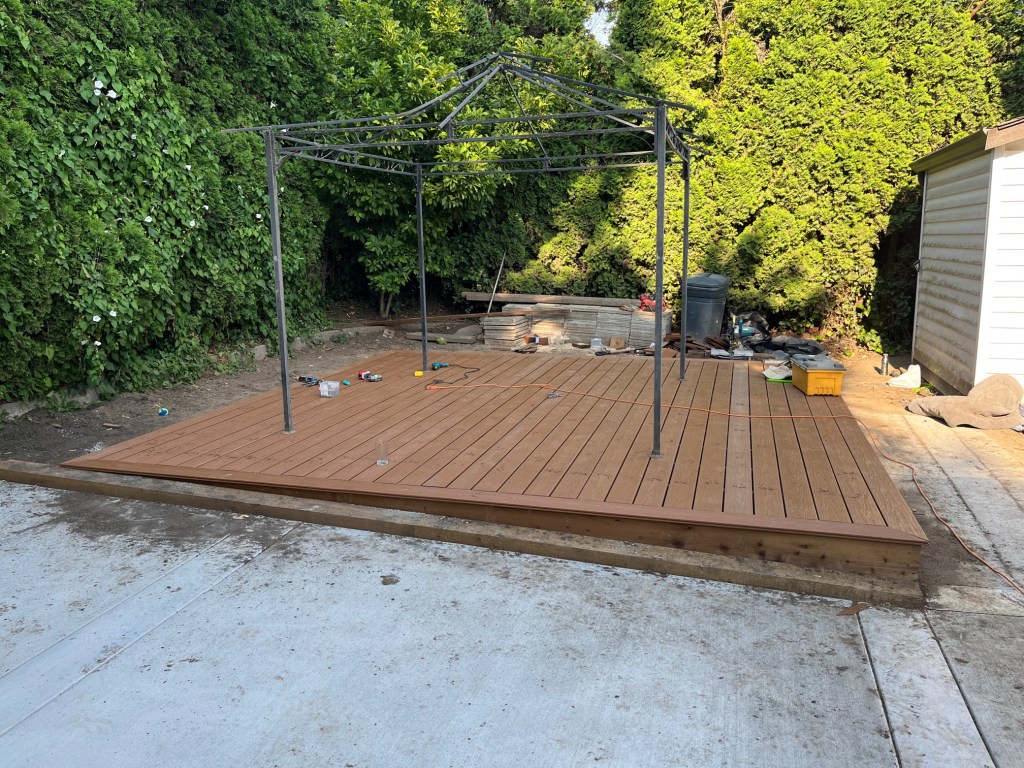
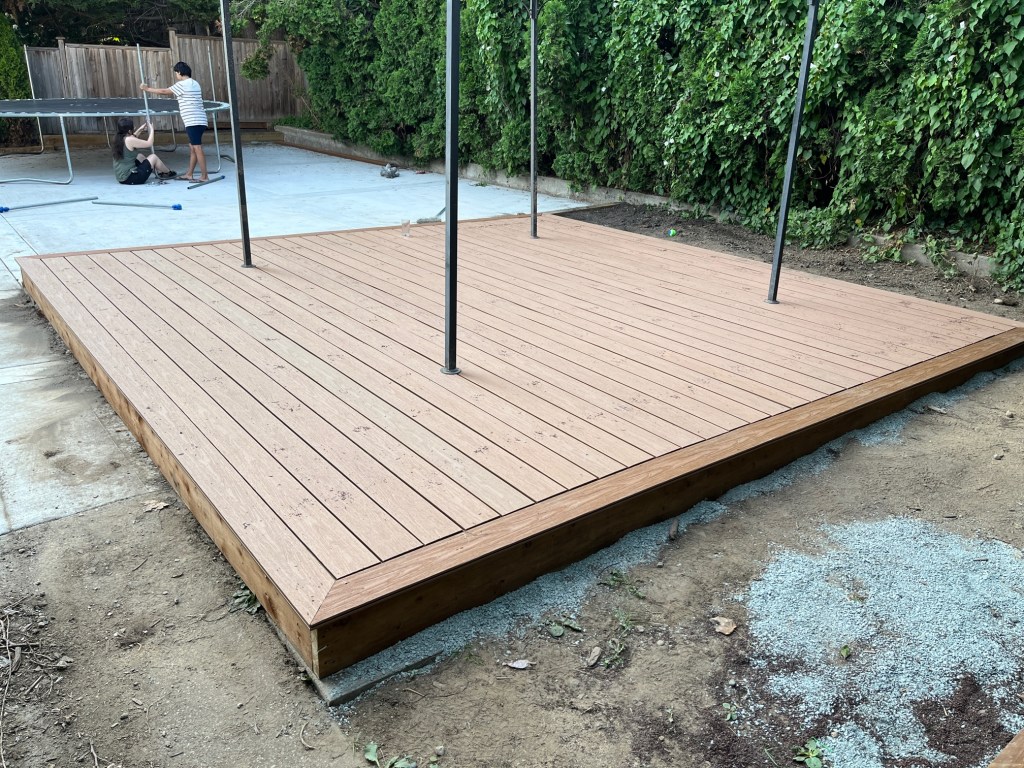
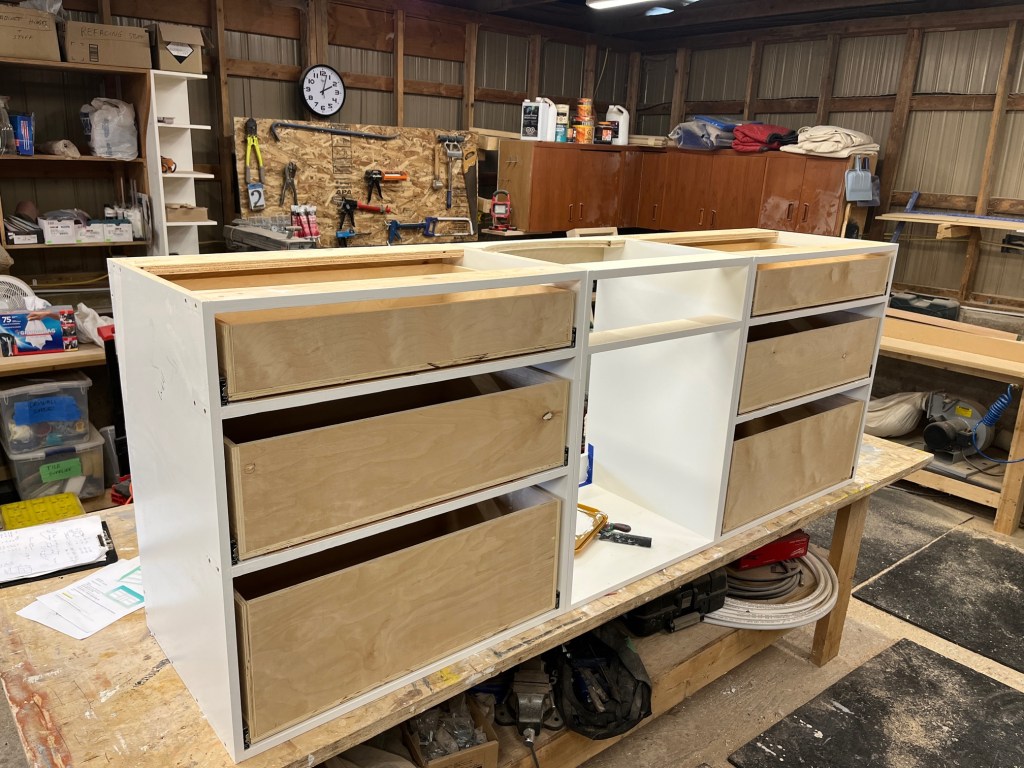
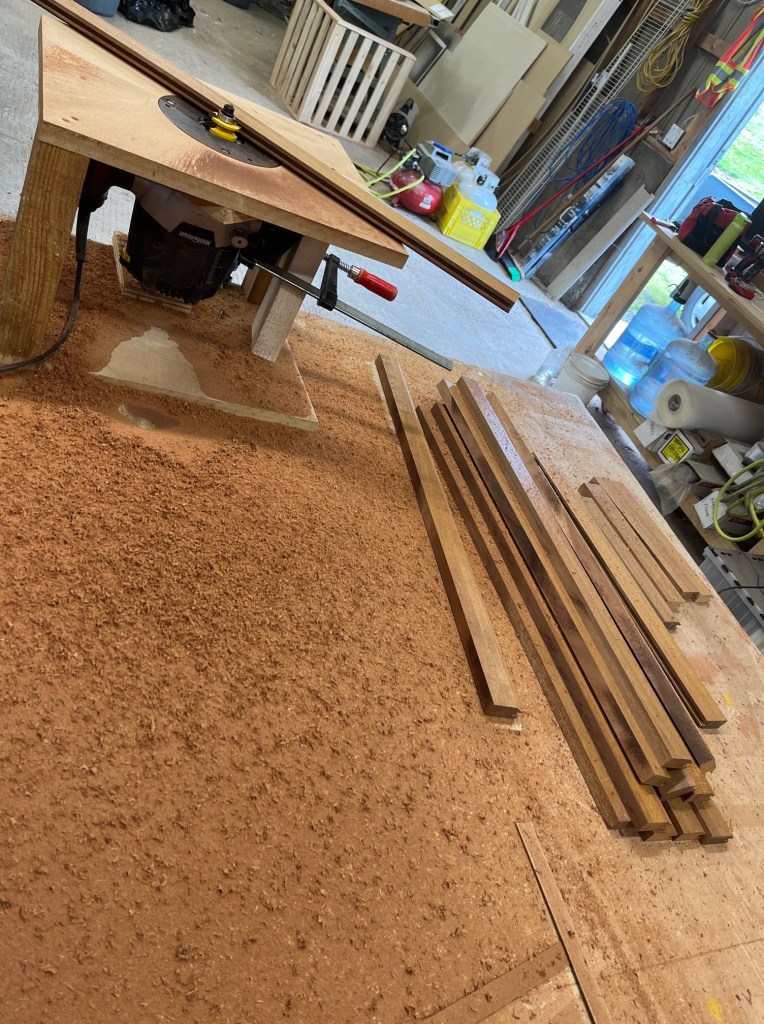
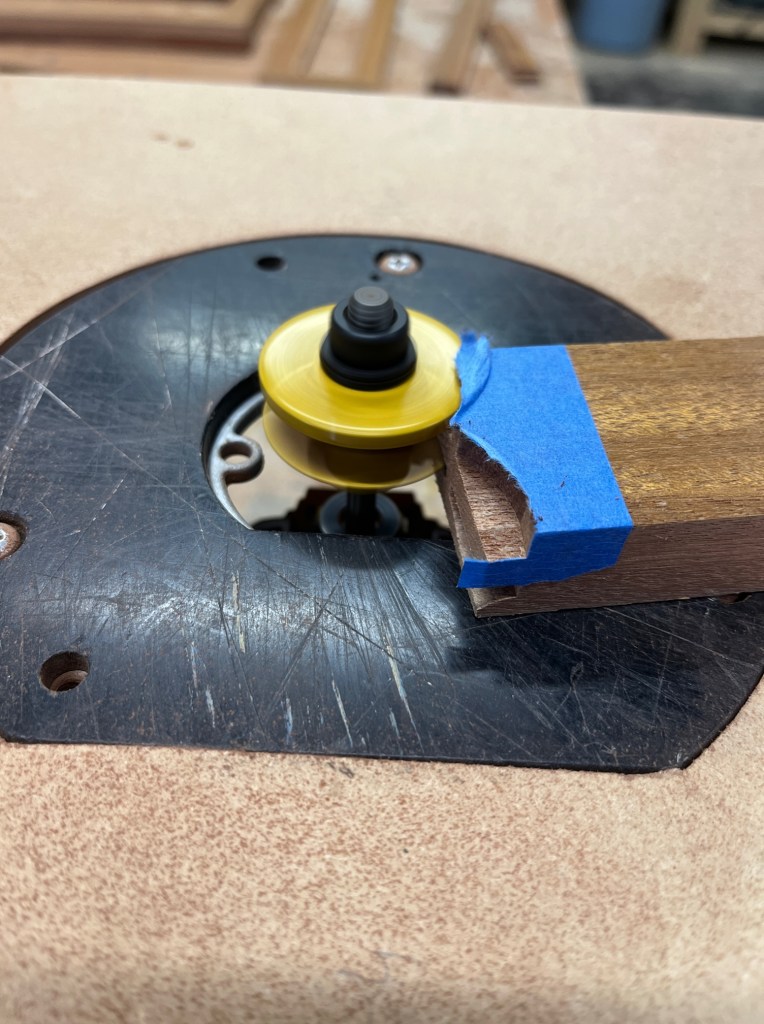
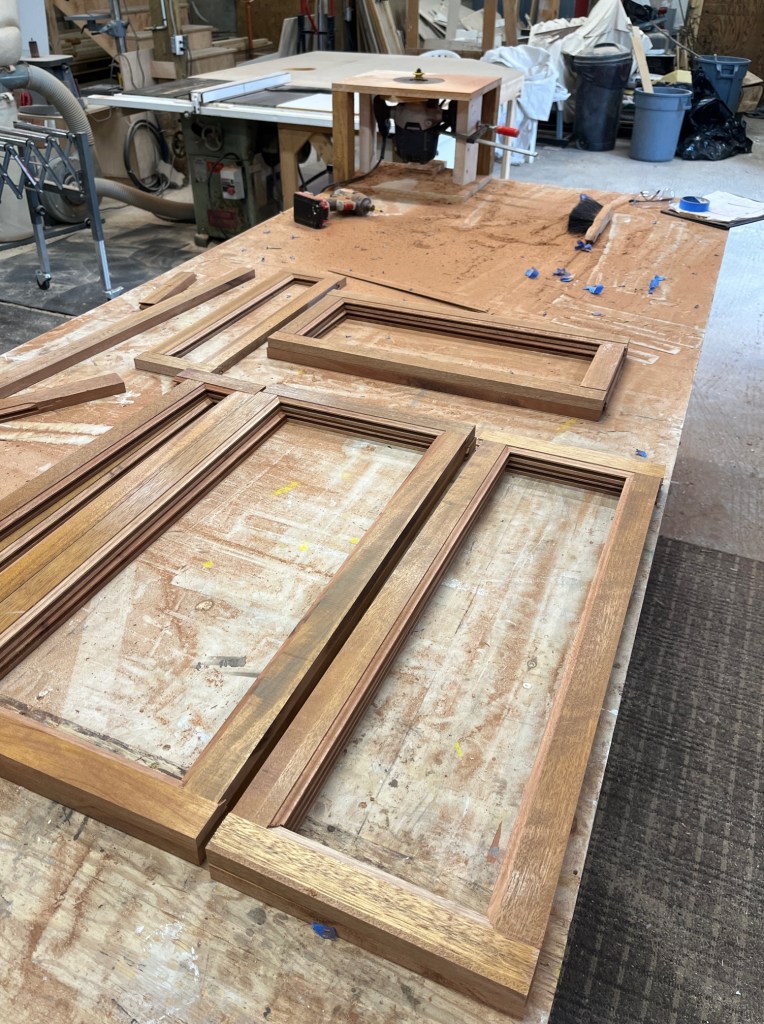
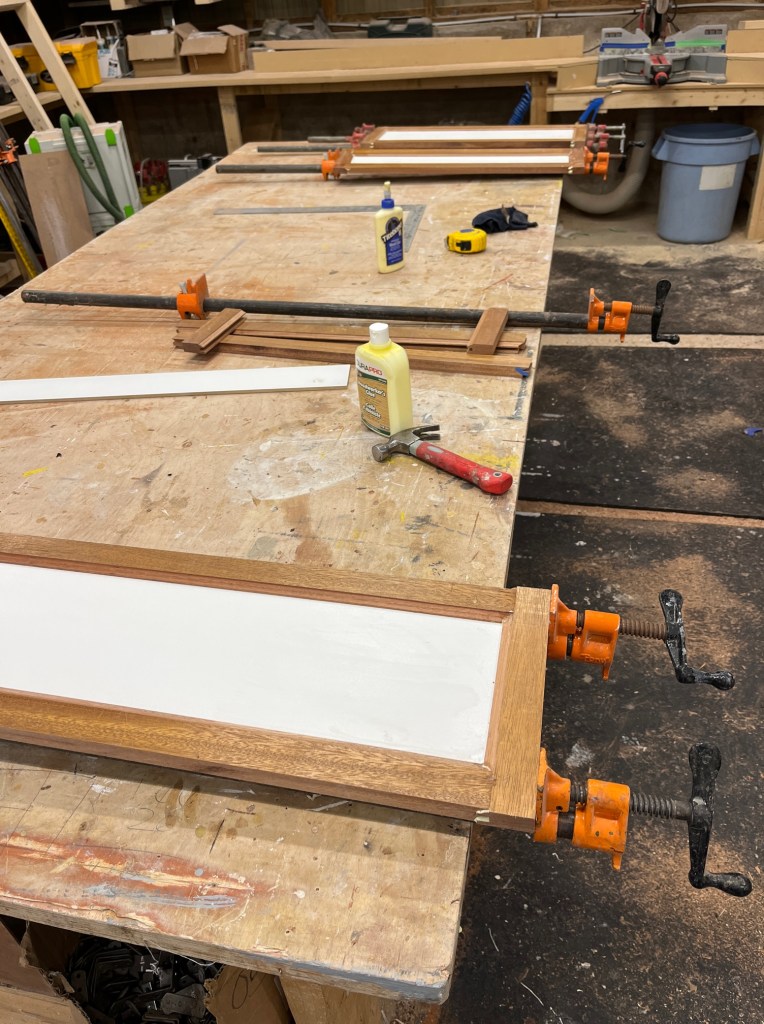
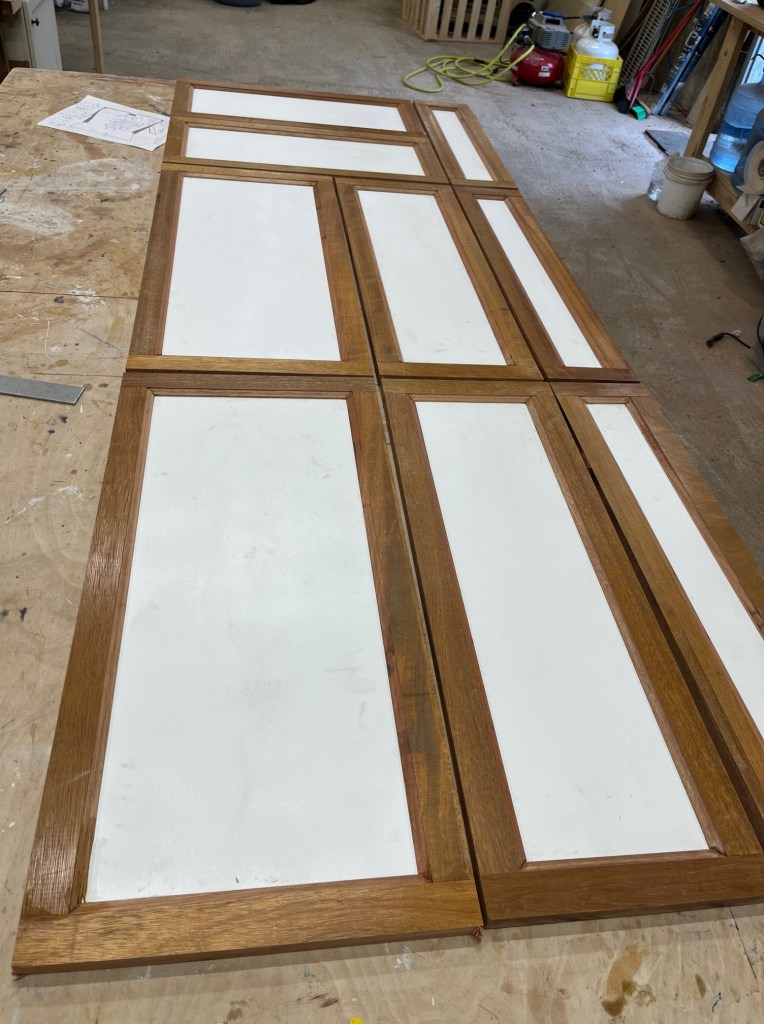
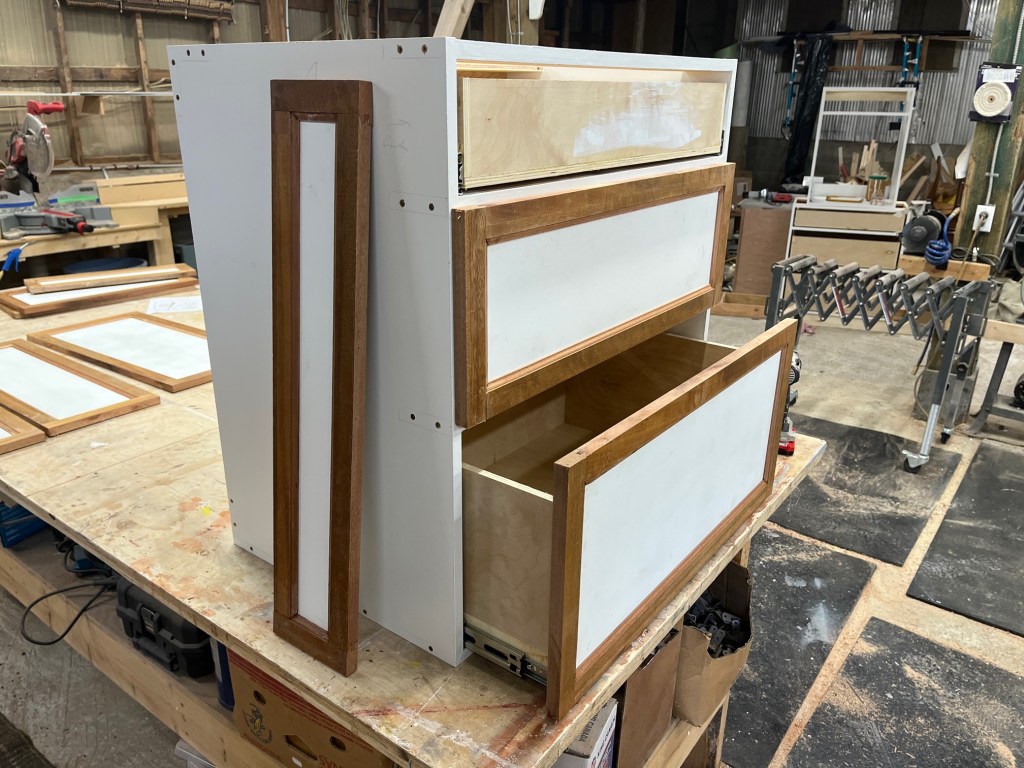
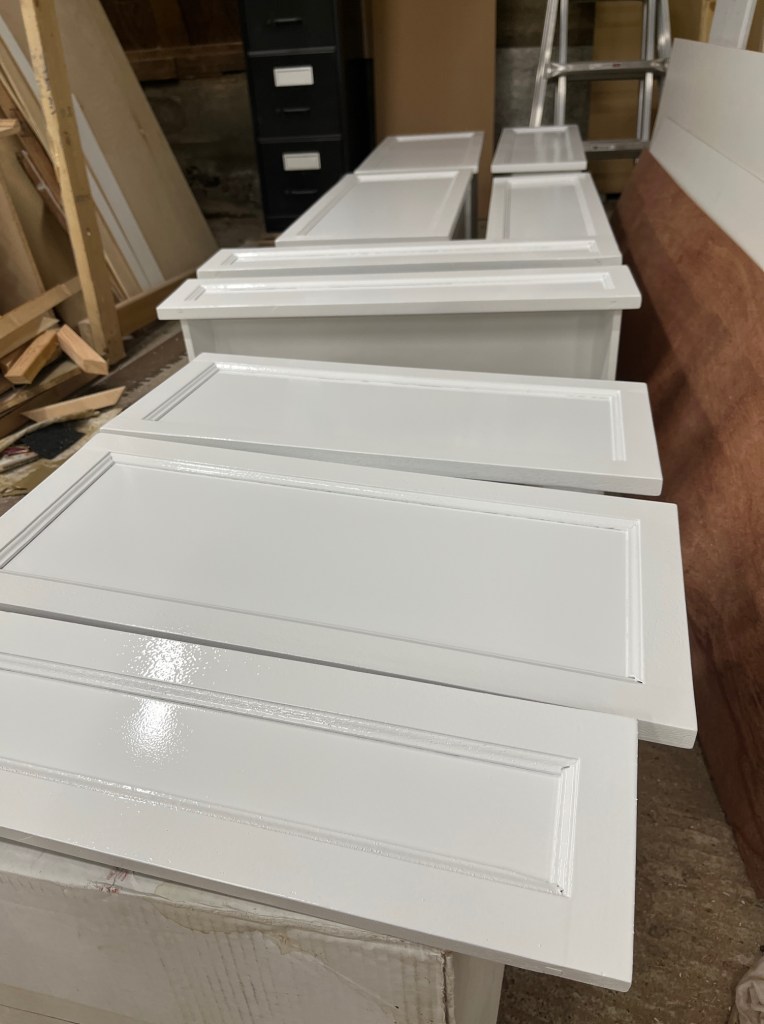
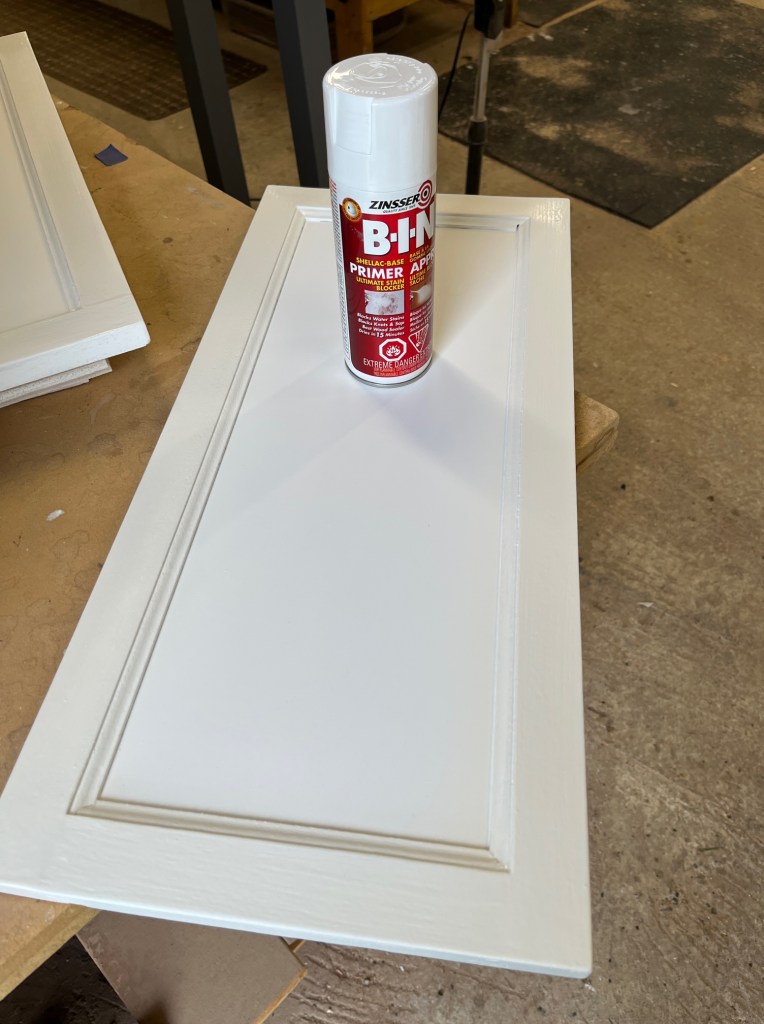
I spent four days building a shelf and some tables. Nice and simple for me!
Tickets available at https://www.twu.ca/life-twu/arts-media-music/samc-theatre/box-office