Theatre Snow Cradle Fly

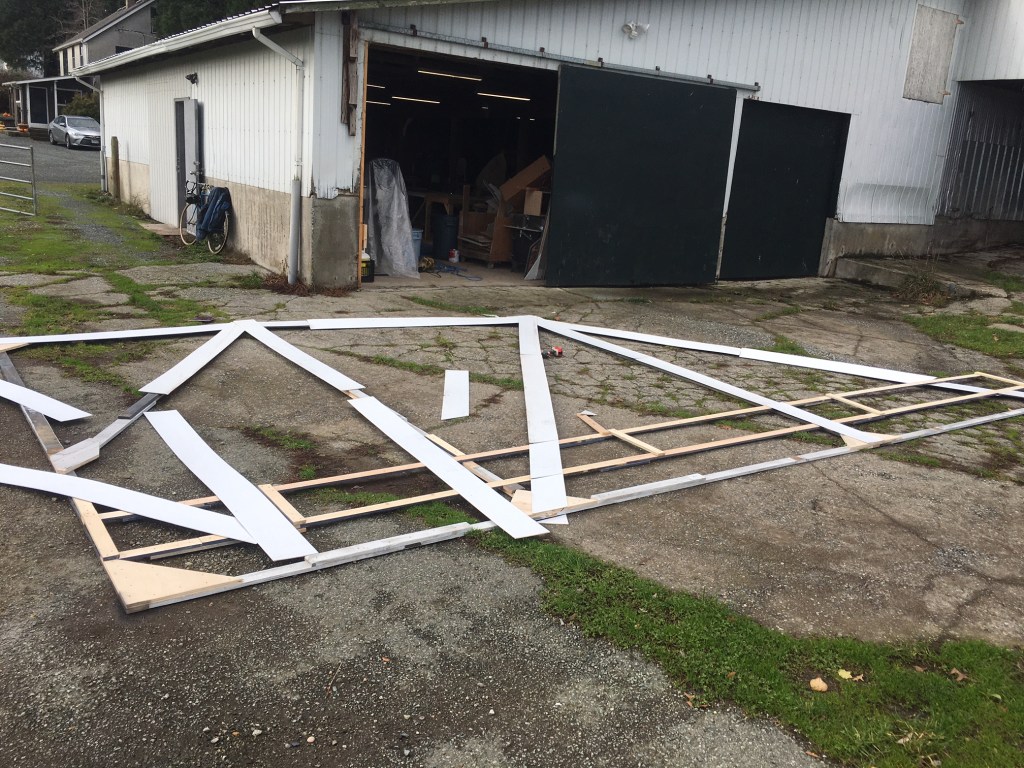
See previous post for more about the 1-man play This Wonderful Life.

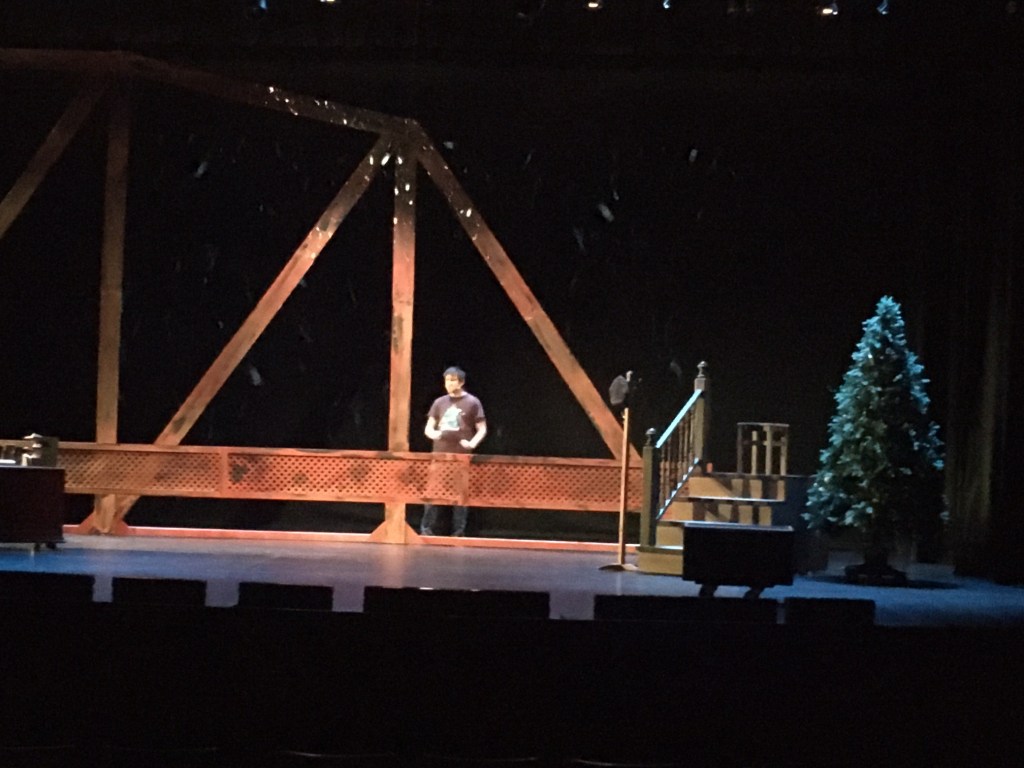
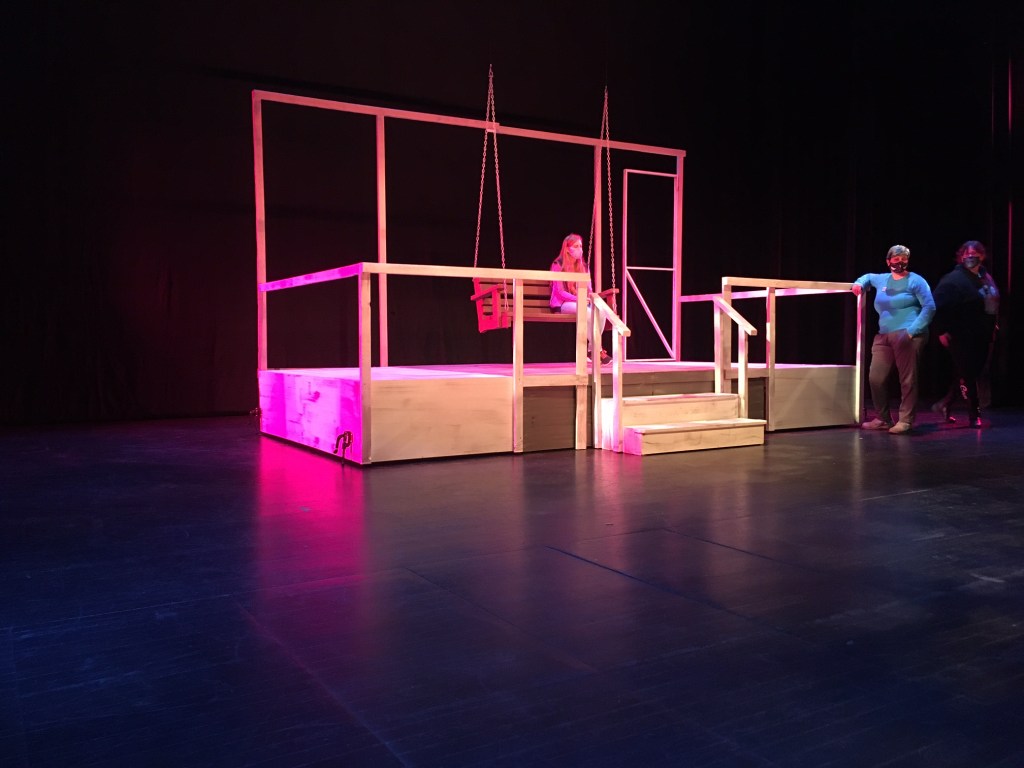
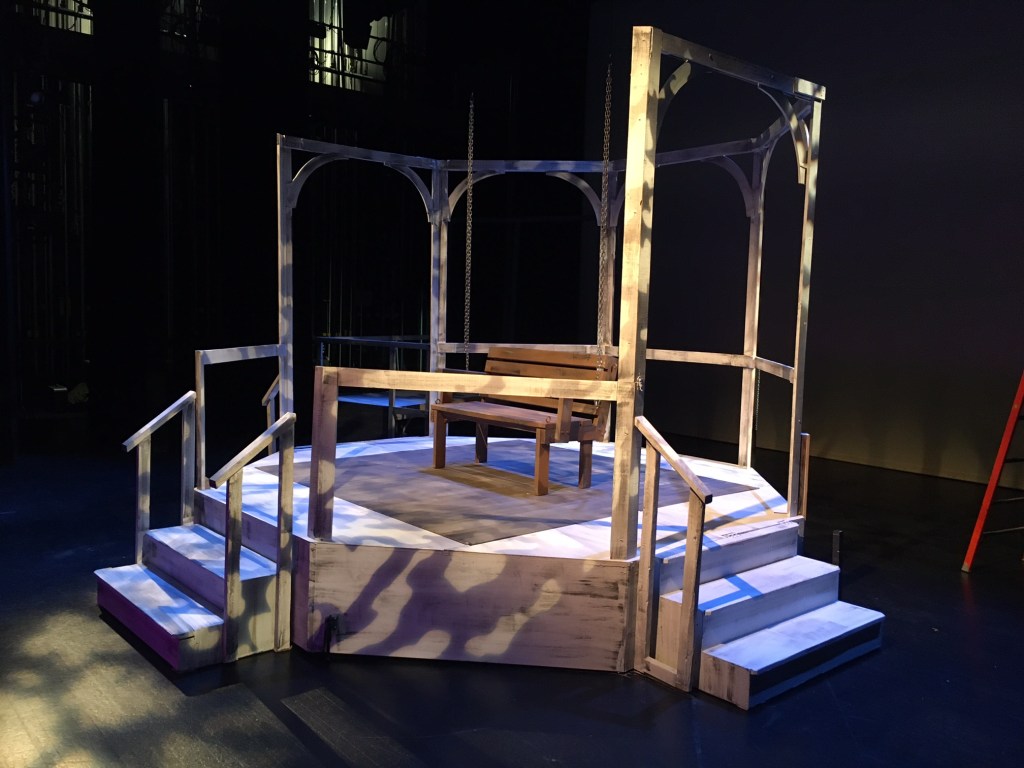
My director asked for a quiet snowfall during the scene where George is on the bridge, ready to live again. The venue (Abby Arts Centre) does have a soap flake snow machine, but it is noisy and wouldn’t work with the quietness of this scene. So I decided to make a snow cradle.

We did have the advantage of a fly system and a fly operator. Flies are basically long pipes on ropes that can be lowered and raised – and in this case, moved up and down to shake fake snow through the holes of a muslin tarp…

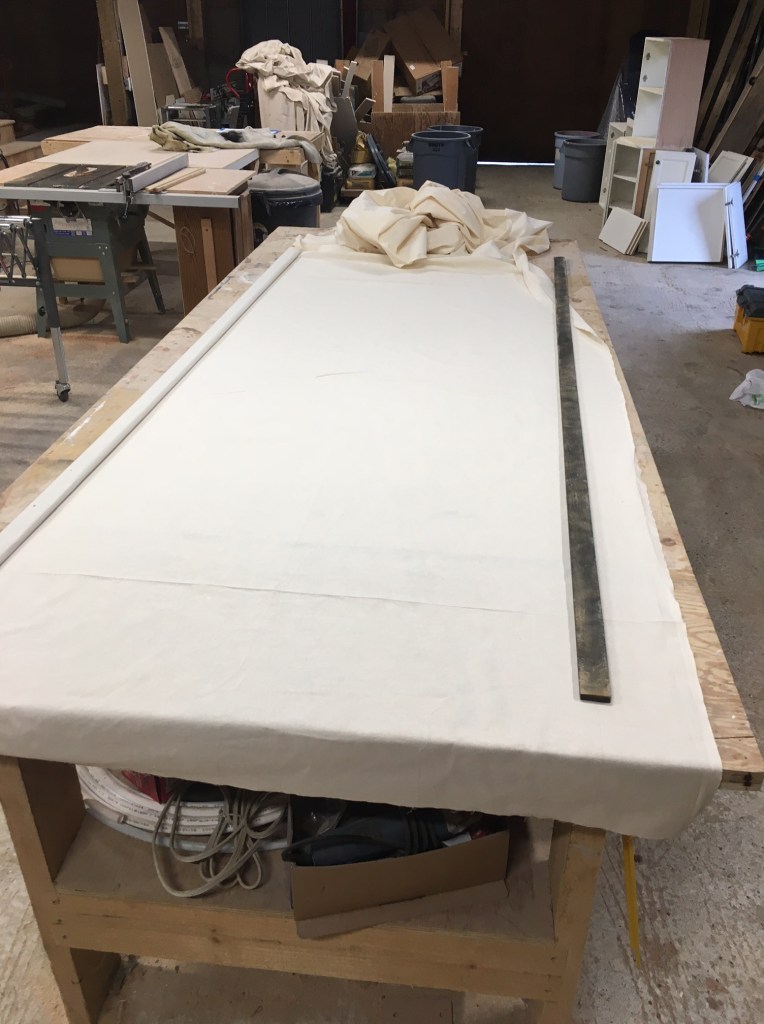
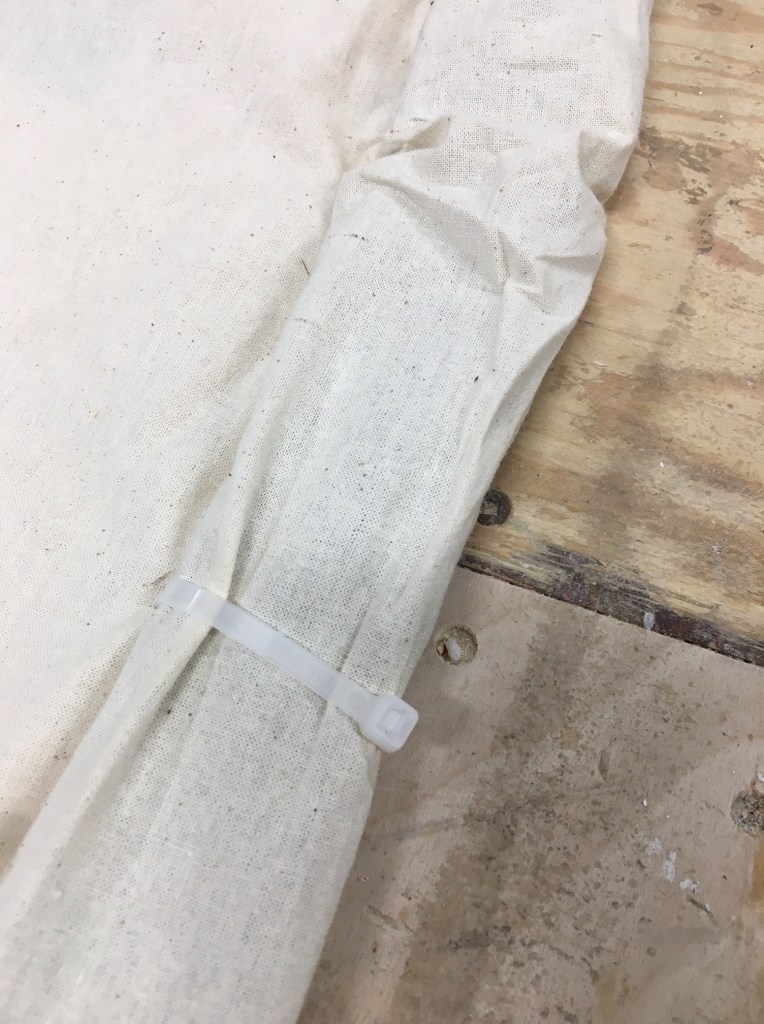
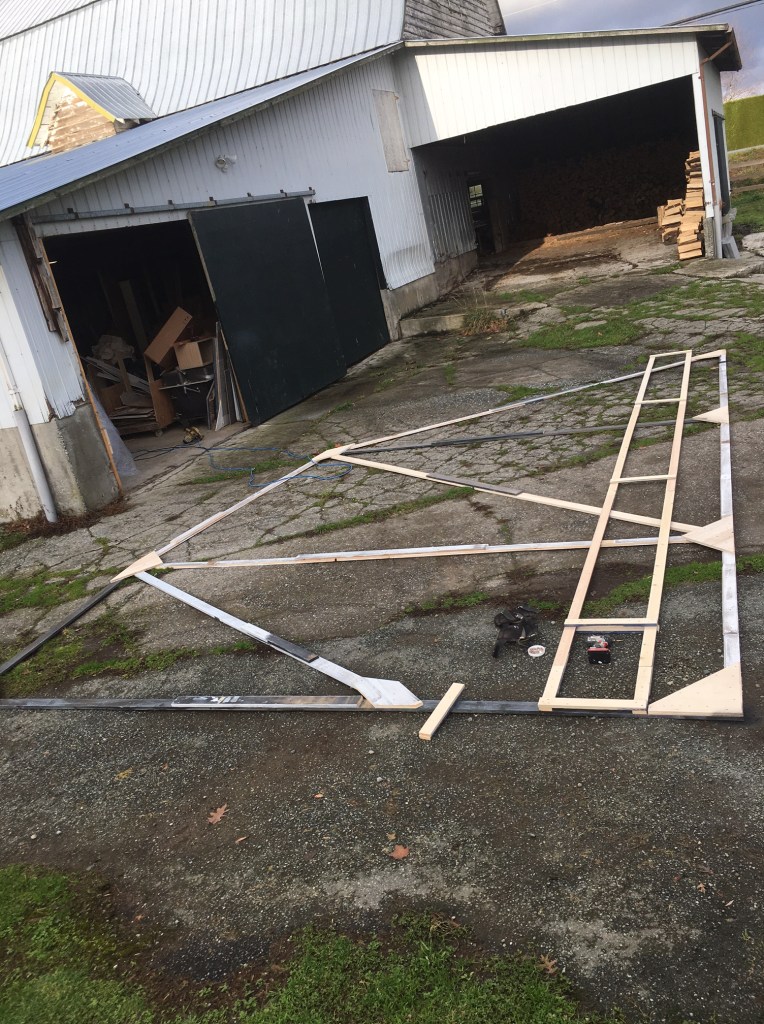
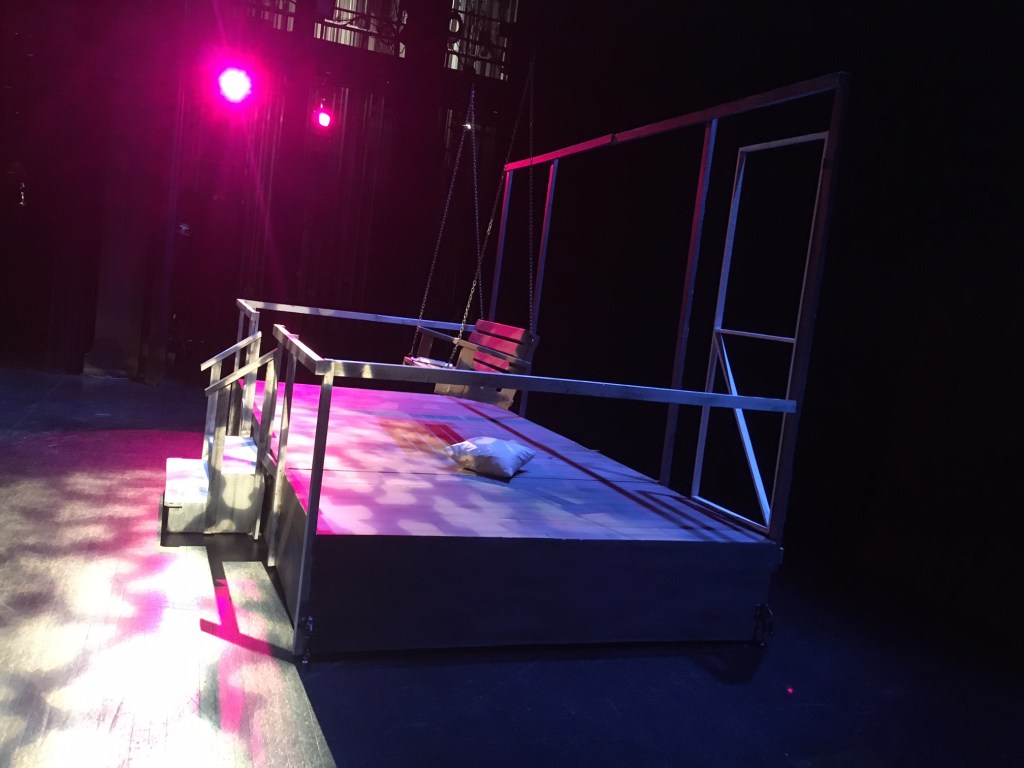
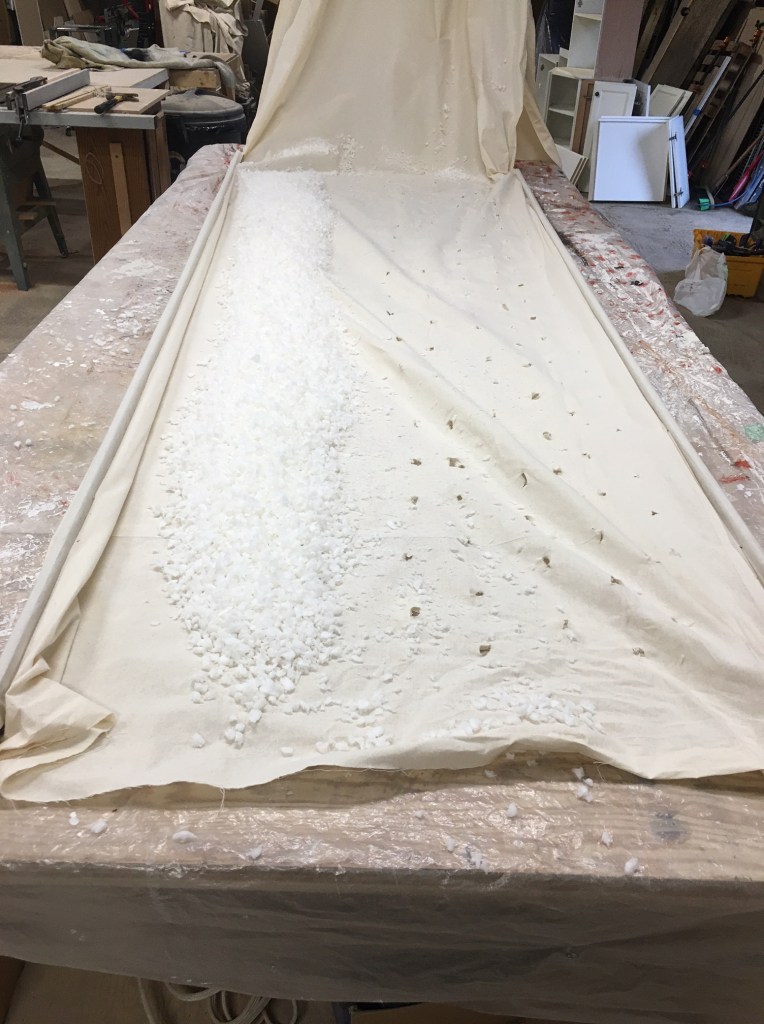
While researching snow cradles online, I found plenty of drawings (they all seemed to have the same source) but no practical photos. So things were a bit experimental. I bought 32 feet of 4-foot wide muslin. I then stapled thin sticks along the edges (sewing would be better but stapling is faster). This gives support for the edges so they don’t sag. Lastly I wrapped the sticks with zap straps every 4 feet so they could be attached to fly pipes easily later.

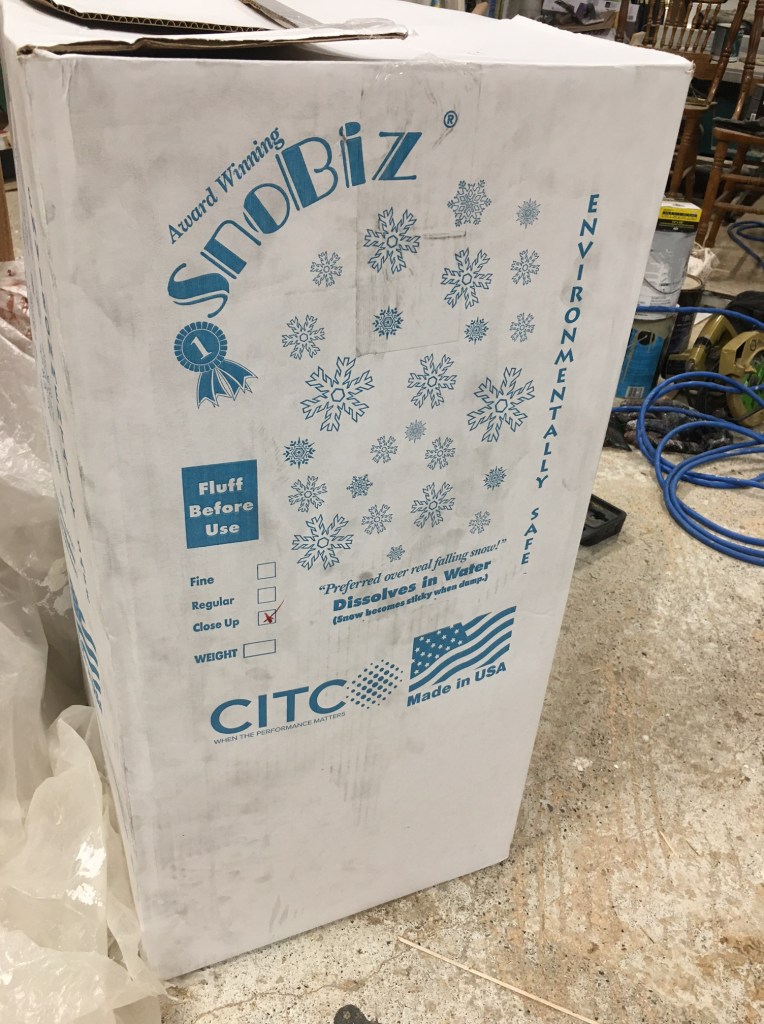
Next I added some fake snow. I bought some at HollyNorth, which is a cool store in Vancouver that caters to film companies. I wanted something light-plastic flakes would have been preferable-but settled on their biodegradable stuff.

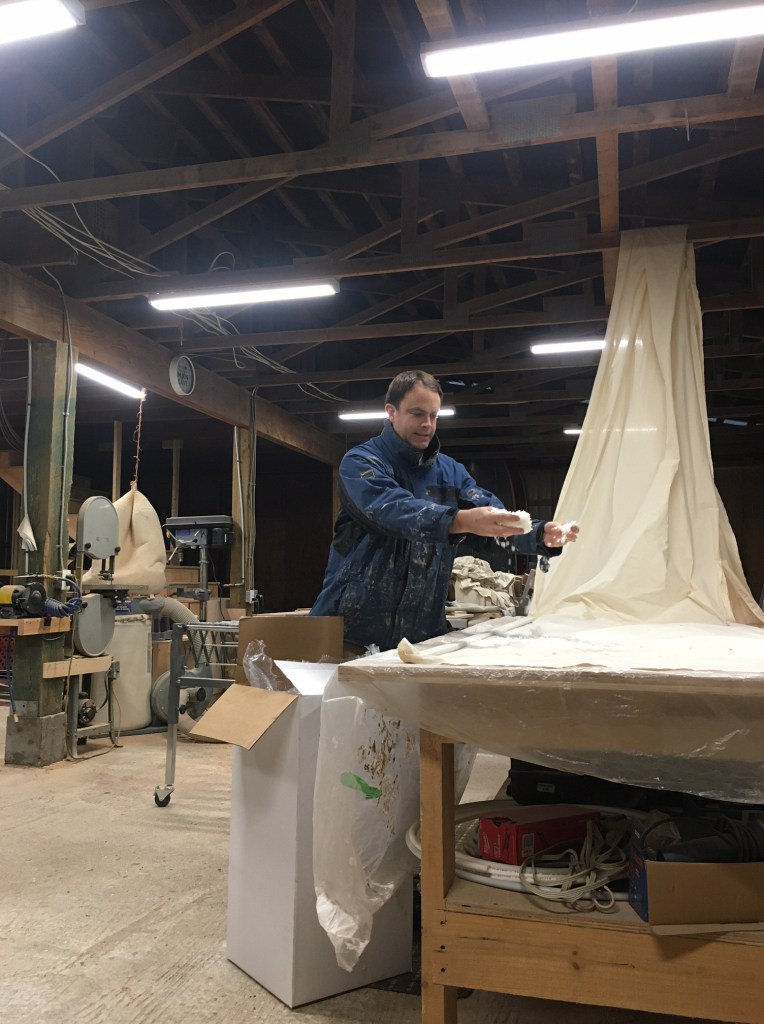
I tested it and realized my holes needed to be bigger. To make holes (only on one side!) I made an X with an exacto knife. It was easy to make the holes bigger by simply sticking my finger in them and pulling a little. Note that when we tried it at the venue, we had to make the holes even bigger!

Here is a link to my test video. It gives you an idea how it works. Note: In the venue, the fly operator doesn’t shake the edges – he moves 2 flies up and down in opposite directions to help the snow settle into the holes.

Set Design/Build: This Wonderful Life

I designed the set for Gallery 7’s theatrical production of This Wonderful Life. It is a play based on the classic movie.

Much of my design was simply black and white background image projections. However to spice things up I added a town made of 2D flats at the back. And in the foreground was some furniture.

For additional spice I added a 16 foot high bridge and a snow cradle.

A scene from the movie that had to be in here is the loose stair post knob…

I had some help painting some of the flats. The theatre class at Abby Senior took the “Building and Loan” flat. And my boss / Production Manager painted the church.

Tech week

It was a great challenge…more work than I expected but satisfying to see everything come together. The actor, Michael, is phenomenal as well.

My following post will explain the snow cradle.

Last Train to Nibroc set

Gallery 7 recently completed their first in-person live theatre show in 18 months. It was called Last Train to Nibroc. Here are some pictures of set-building and load-in..

First, here is a portion of the model made by Set Designer Jeff Kiers. It is to-scale and the large set is based off of it.

Some challenges I had were related to scene changes. There were 3 scenes and no intermission. So set changes had to happen quickly (2 mintues or less). The pieces were large, odd-sized, and complicated. They were on casters, had brakes, flies, stairs, hinges, etc…The ASMs did a great job of working with all of it.

Overall it was a great show!

Wheelchair-Accessible Shower Reno

Gilles hired me to fix up his shower.

The floor had rotted through in a couple of places due to water issues. I estimated 60 hours time plus materials at cost.

Before Pictures:

Fortunately the bathroom is over a decent crawl space. This enabled me to have an idea what I was getting into beforehand, and also to fix up the floor fairly easily. Some of the floor joists had sunk due to rot, which in turn caused the tile floor to sink, which caused more issues and rot over time.

Gilles said the shower was done about 10 years ago. Based on the date on the cement board it could have been up to 15 years. As I had not waterproofed a shower before I had to do quite a bit of research.

Was the original shower waterproofed properly? Most things were done well. But from what I could tell, the waterproof membrane that was laid had a seam that wasn’t sealed. Water easily got underneath and spread all over.

area where membrane overlapped without a sealed seam

After I fixed the structural issues as well as I could, I put down a new floor wherever it needed:

Next I laid a sand mortar bed and let it dry for 3 days before waterproofing it with AquaDefence.

Then it was time to tile!

Finishing touches: New sheet vinyl floor, new toilet, new vinyl baseboards, lots of caulking, new windowsill, stainless steel bump plate, painted aluminum ramp, corner shelves, frosted window tint…

Ramp off curved landing

I sub-contracted another ramp for Abbey Medical at a nearby property. They put in an outdoor stairlift but needed a wheelchair ramp to get down a 7.5″ curved step. To get the proper grade, the step needed to have a straight edge, and a landing needed to be added beside the sidewalk.

I traced the curve on a piece of plywood and then pre-made that piece at my shop.

Next I dug down a few inches into the grass and placed some gravel and patio pavers. Lastly I made a 2×4 frame and screwed on the ramp.

Swingsets with wooden rope swings

Judy requested some swingsets. I had made one before so I used a similar design. However with 3 swings per set, each was 12 feet long, and I used 4 1/8 pressure treated beams for all the frames. I also ordered swing hangers to minimize friction/wear.

I had ordered some commercial, heavy duty plastic seats on chains, but my customer wanted wooden seats. At first I balked because I couldn’t find anything that would last in our rainforest weather. Lots of birch swings looked nice, but even with lots of varnish, I think they will grow mildew in a year or two. So I decided to make my own swings out of pressure treated decking. That stuff has so many chemicals, nothing can grow!

The preferred rope was a hemp style, but again I didn’t think it would last more than a year. So I bought polypropylene ropes that were the same colour as hemp. It is 3/8″, 3 strand. I looped them through the bottom of the swings and made a splice above. I was going to make a splice on the top of the ropes as well, but ended up just tying a bowline knot directly to the swing hangers.

I tested them out…they seemed nice and solid…I think they will last.

2×12 slope stairs

Arnie asked me to build some steps beside his house. He lives on a mountain; and the gravel/mulch slope was about 22 degrees. When it’s slippery it’s dangerous. So I drew up a proposal for his neighbour and his Strata to review:

After approval and scheduling (note difference in colour of grass–1 month plus), I picked up a truckload of 2x12s and got to work:

The finished result looked quite close to my drawing!

The steps, being 6 feet wide, have a little bit of bounce…but most of them touch the ground at some point between the endcaps, so they are supported enough.

Floating, Sliding DVD player shelf

Sandee was having an issue with her entertainment unit: she has a large TV hanging on her wall but no room for an entertainment unit. All she needs is basically a DVD player. But where she has placed it, on a stool below, is too low to be usable:

and also a tad messy.

So with some measuring, a couple of visits and some pondering, I came up with a solution:

The top needed to slide open for access to plugs, etc behind and underneath (and dusting too). I used short cabinet drawer slides (soft close style).

When installed, it hides (most of) the cords nicely, and looks good too.

Floating Walls with doors

Debbie was renovating her house to make a couple of suites workable. She asked for 2 floating walls with doors, to help with organizing the flow.

I built stud walls directly on the floor. I used silicone on the floors so that the floors (floating floor and tile floor) could expand and contract a little bit. I was able to find studs in the wall to join to, even a few joists in the ceiling. I stuck in some doorframes and boarded and taped.

There is a lot of material that can go into building a wall, and of course there are mouldings. Instead of trying to feather and paint where the walls joined, I simply used a moulding…baseboards were simple too. Even the archetype headers weren’t hard to find. However matching the crown was a bit trickier:

I’ve done a little bit of crown moulding, but it’s always been the type that sits in the corner at a 45 degree angle. After I figured out what kind of crown I needed, the challenge was to cove it into place (3 pieces) – all between walls. I had not worked with 38 degree crown before, so it took some getting used to. But it turned out pretty good in the end.

Lattice re-do

Judy had some lattice under her deck that needed fixing. Also the “gate” on the right kept falling out.

I used 4×4 posts along the ground to give some stability. I pounded in some rebar anchors to keep them in place. I bought some vinyl grey lattice and attached it. I put hinges and a latch on the gate.

A nice 3 hour job in the sun.