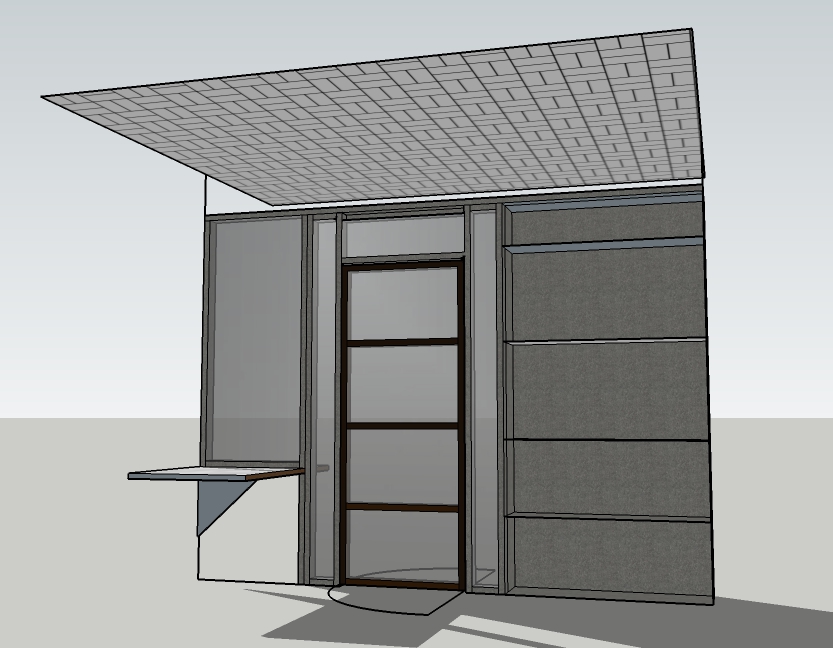
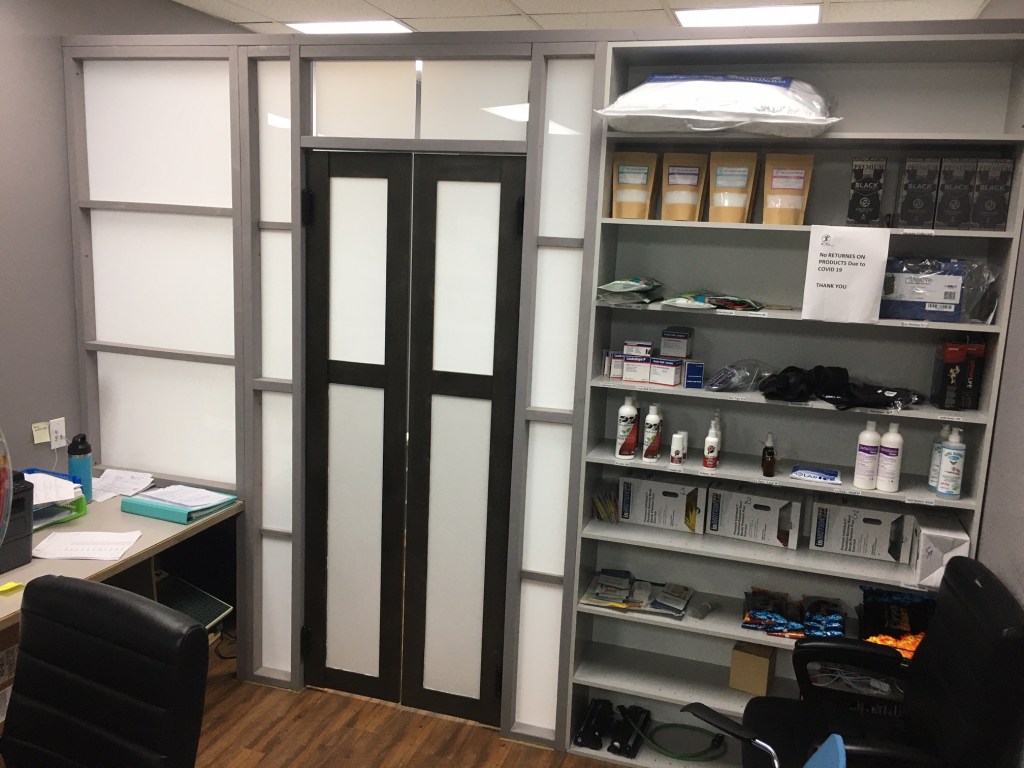
Get Well Physiotherapy hired me to divide the office/reception in half. Basically they wanted a private space behind the reception area. (We experimented with one-way (mirror) window film but it didn’t work too well, so went with frosted film.)
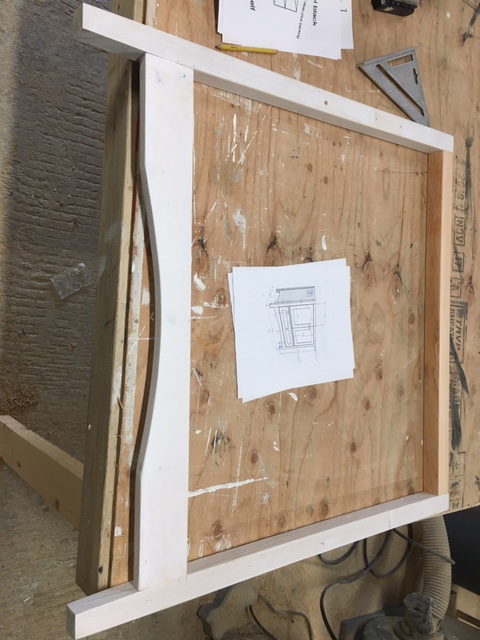
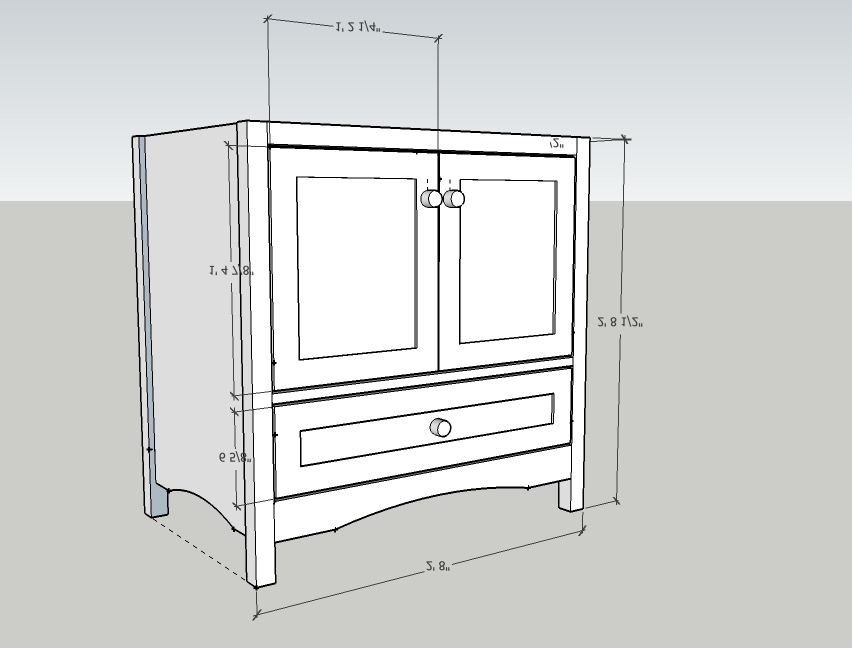
I measured the space and made a drawing:
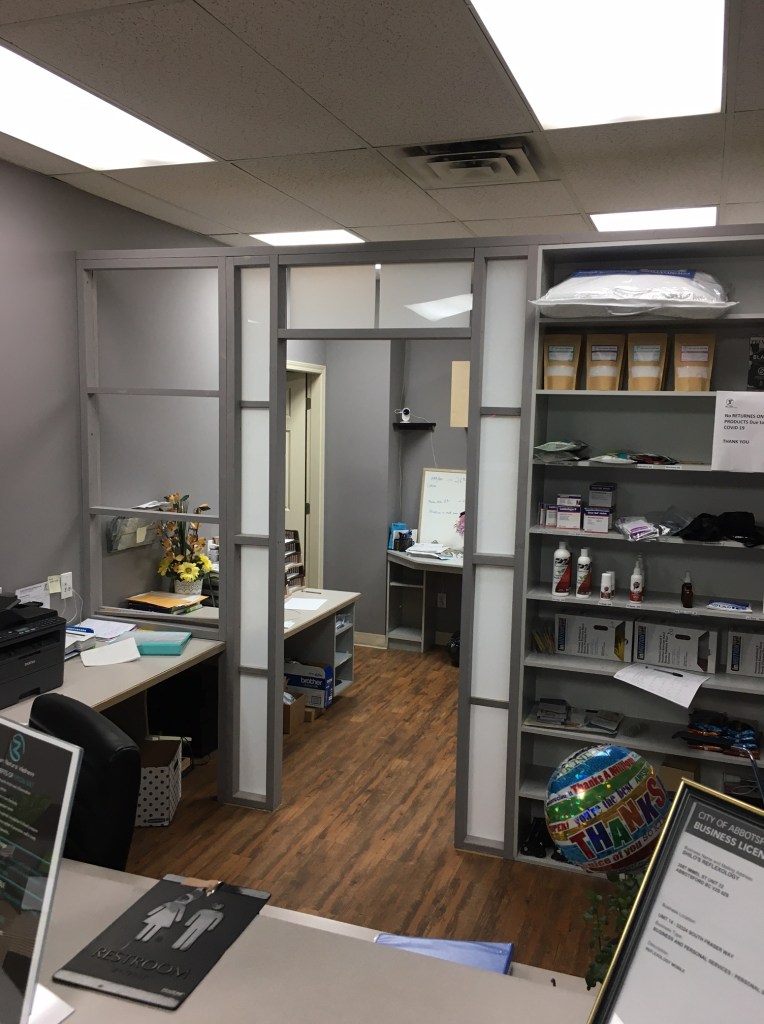
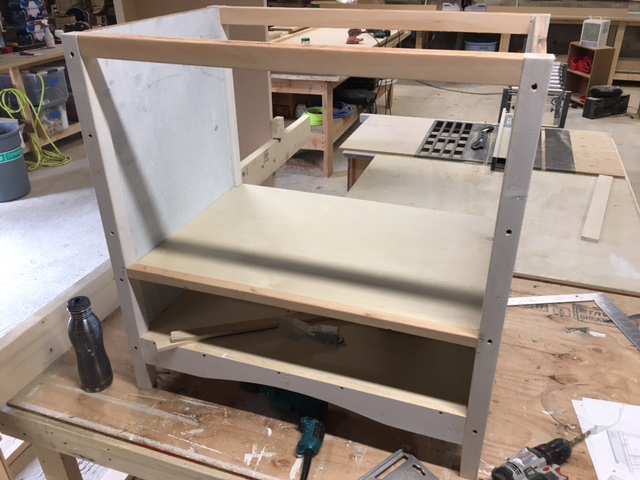
First I built a frame out of 2x4s:
Frame integrates with existing shelf and desk
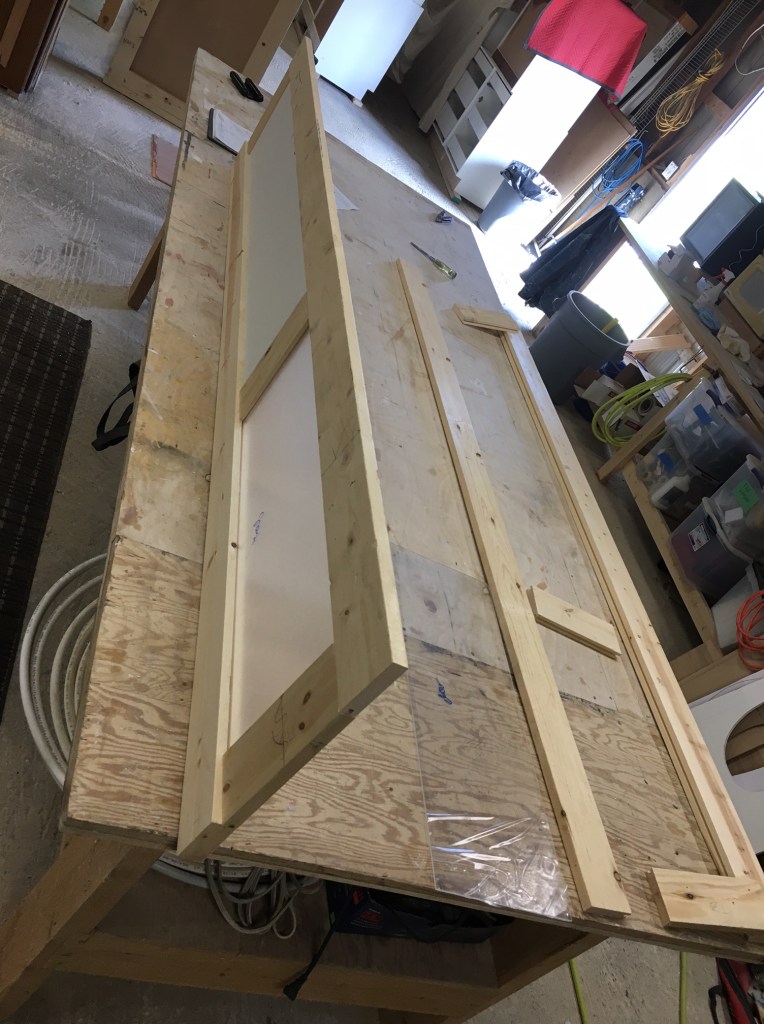
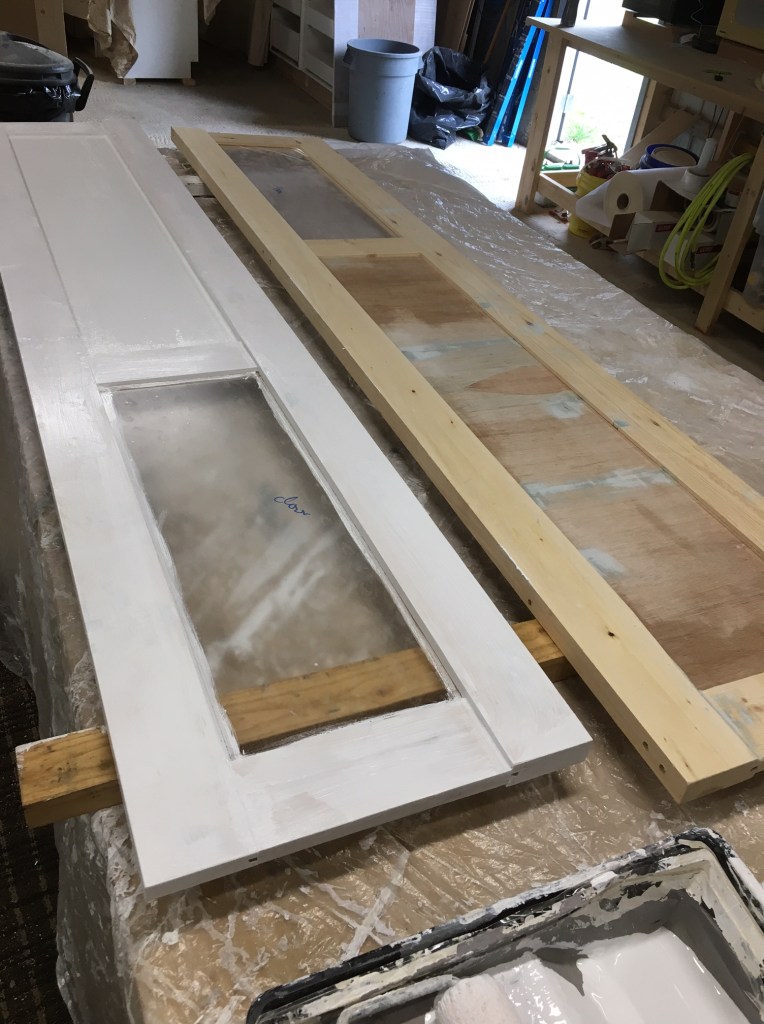
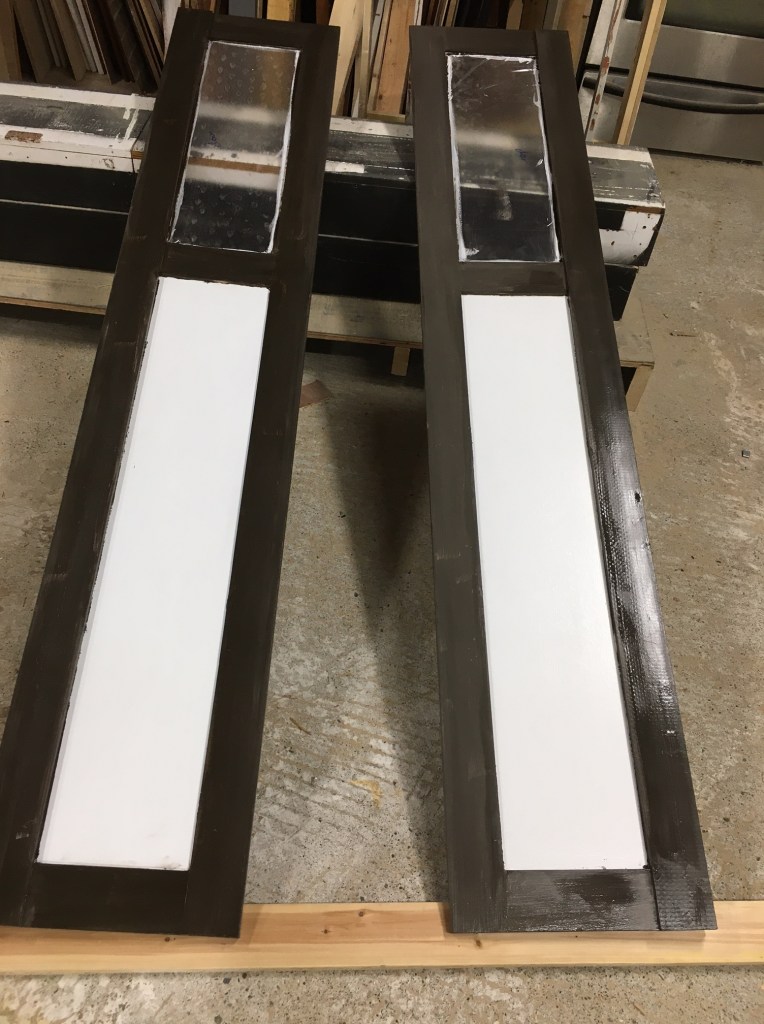
Next I worked on the doors. I made them out of 1x4s and 2x4s.
plexiglass panel on top and plywood panel on bottom for stability
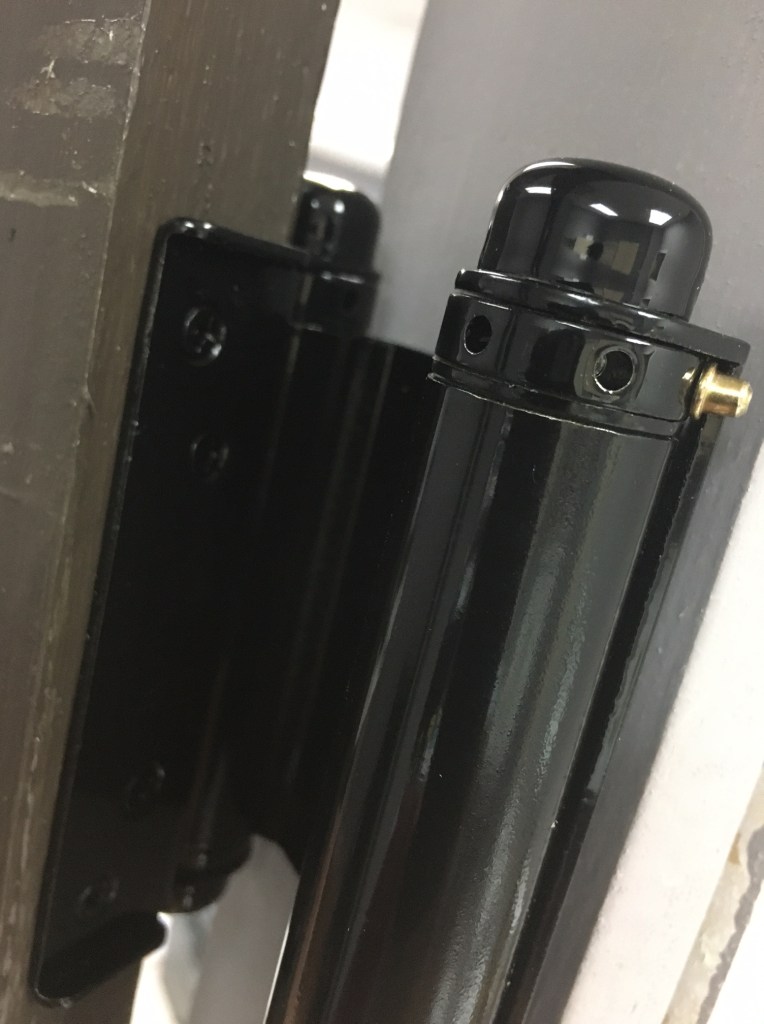
Lastly I installed the doors with double swing hinges.
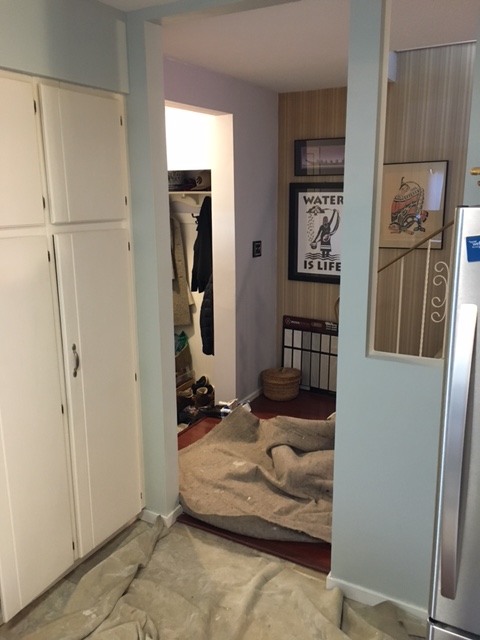
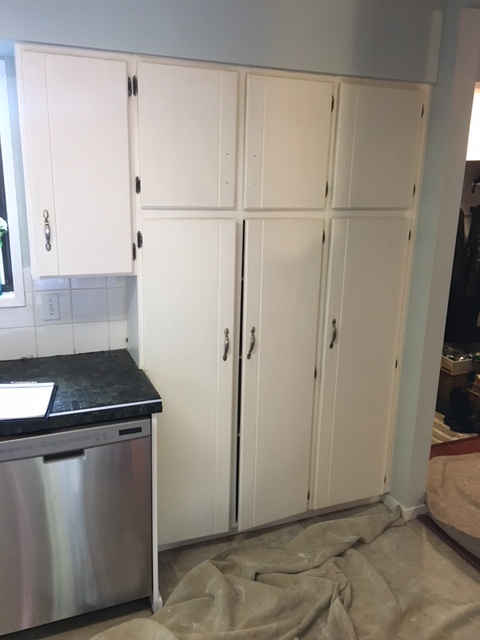
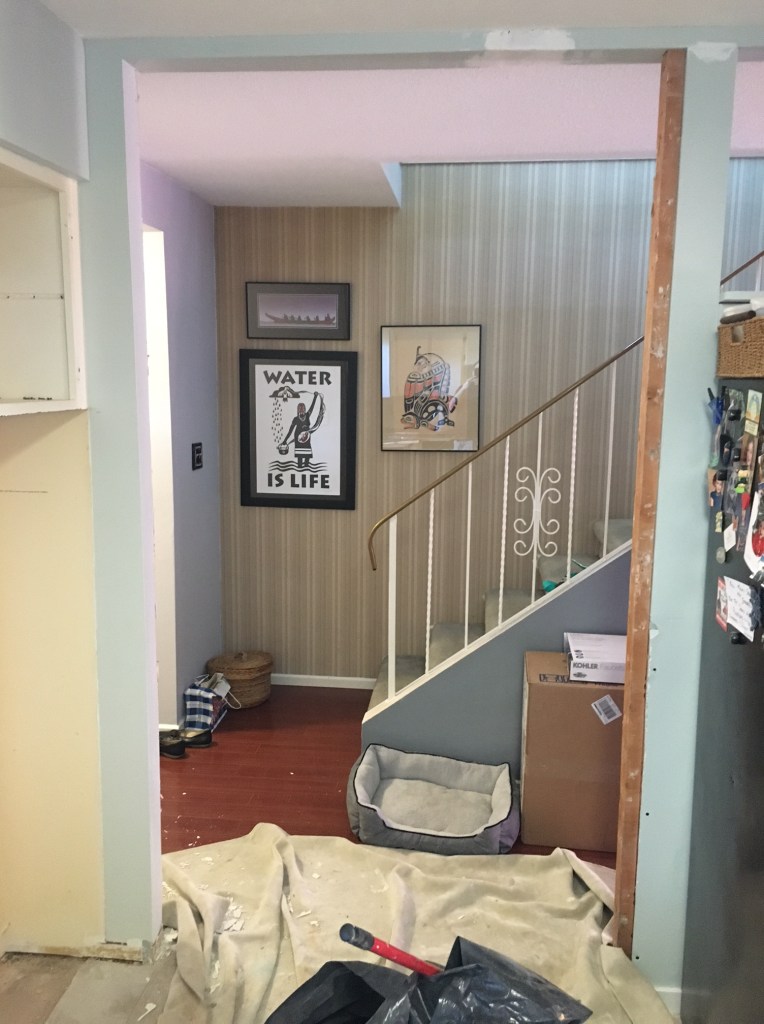
Hilary hired me to re-do part of her kitchen. To save space she wanted to remove a skinny, tall pantry and replace it with cabinets and countertop space. To do so, a wall had to move a little bit. New countertops and tile backsplash would finish it off.
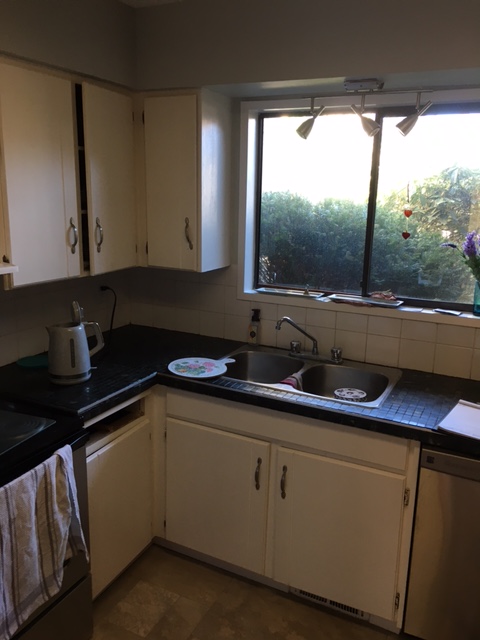
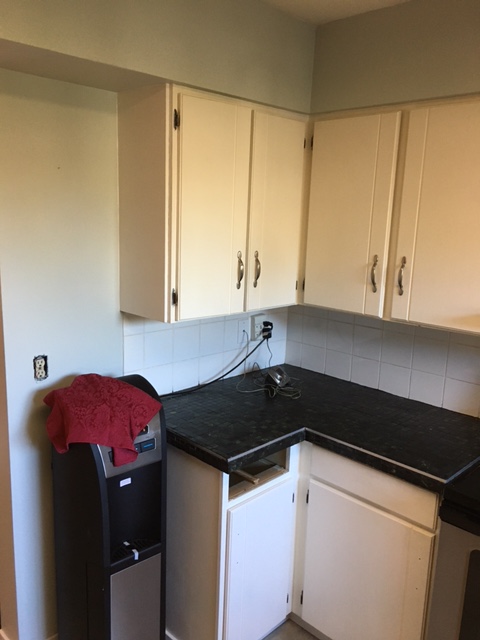
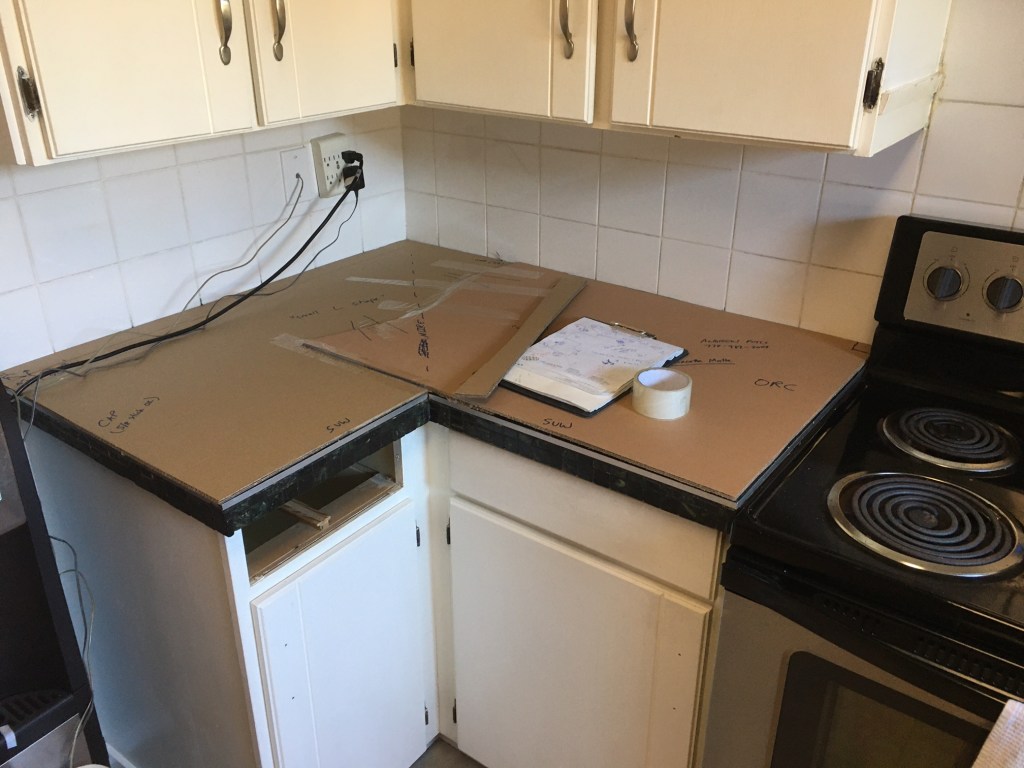
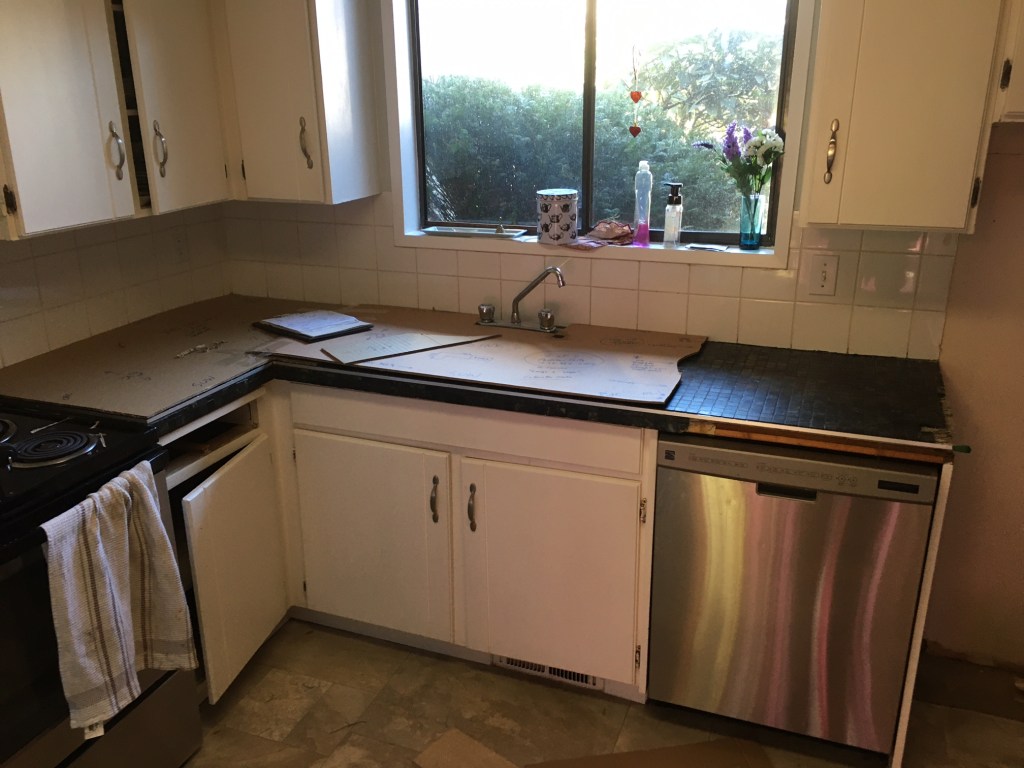
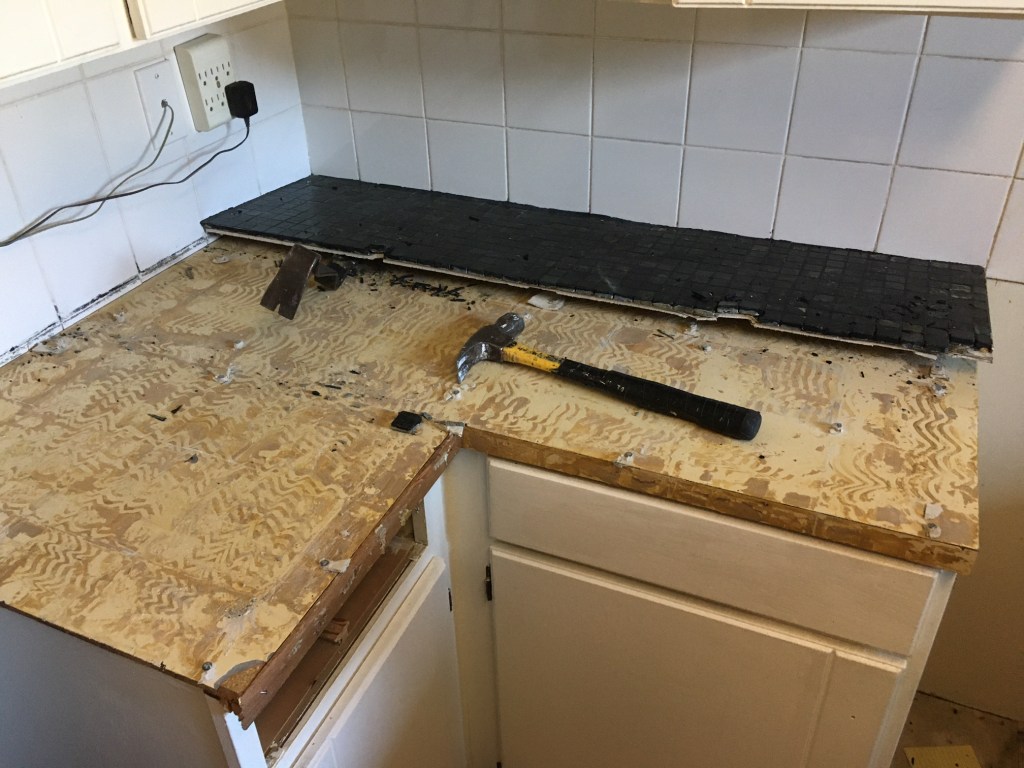
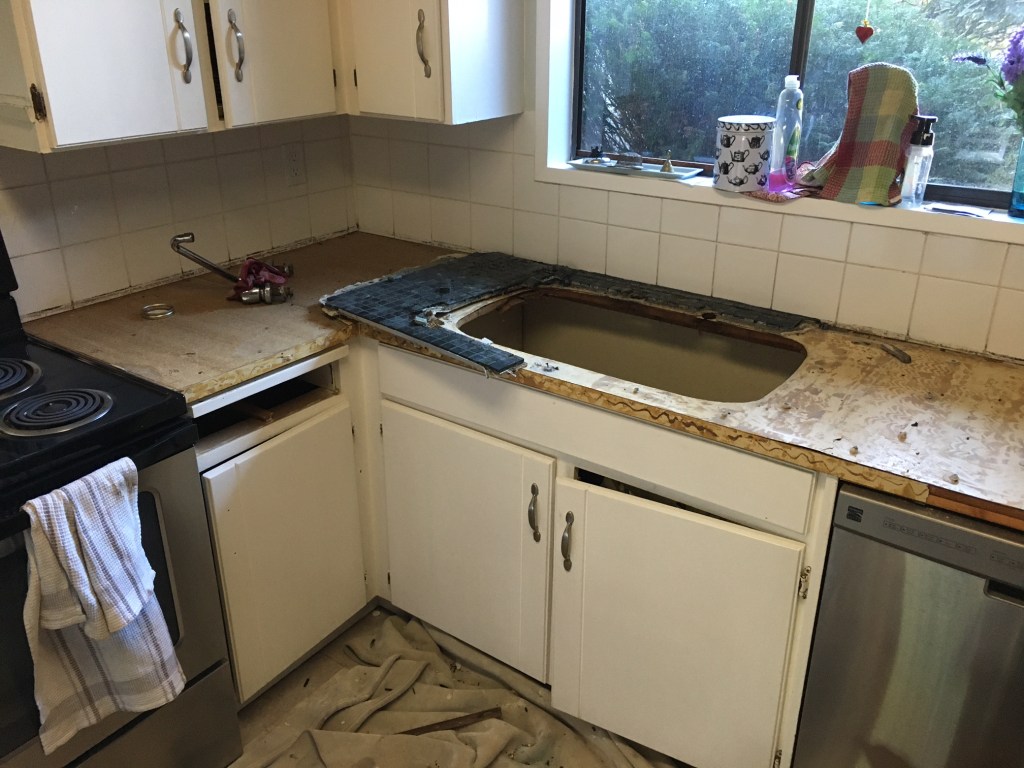
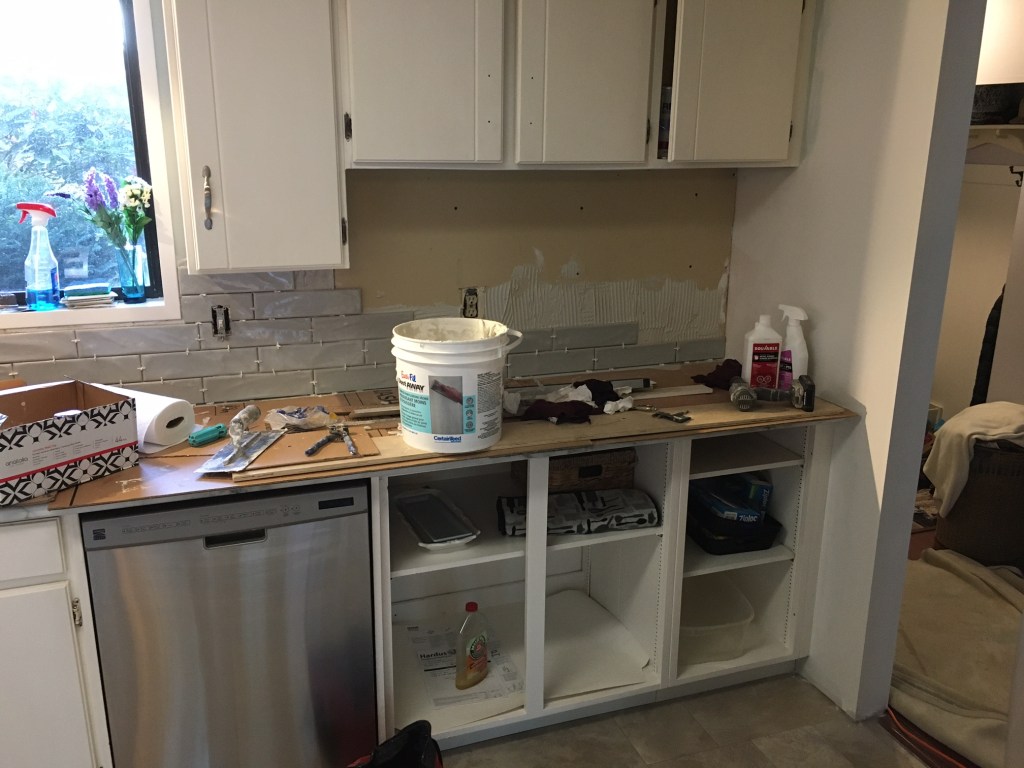
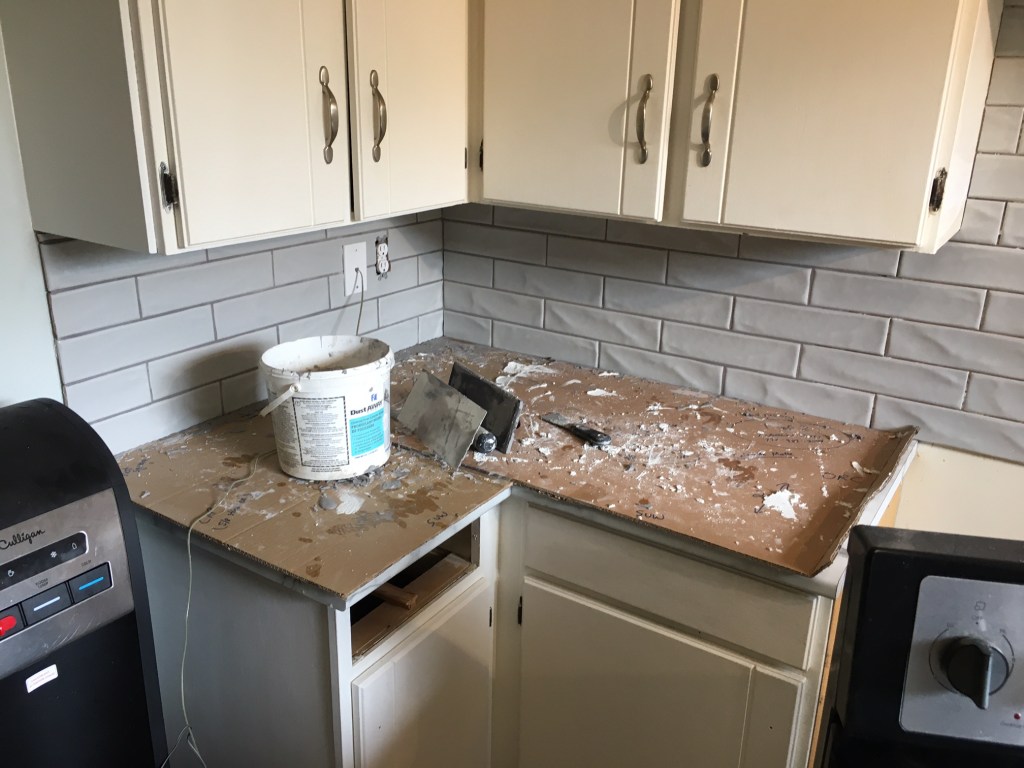
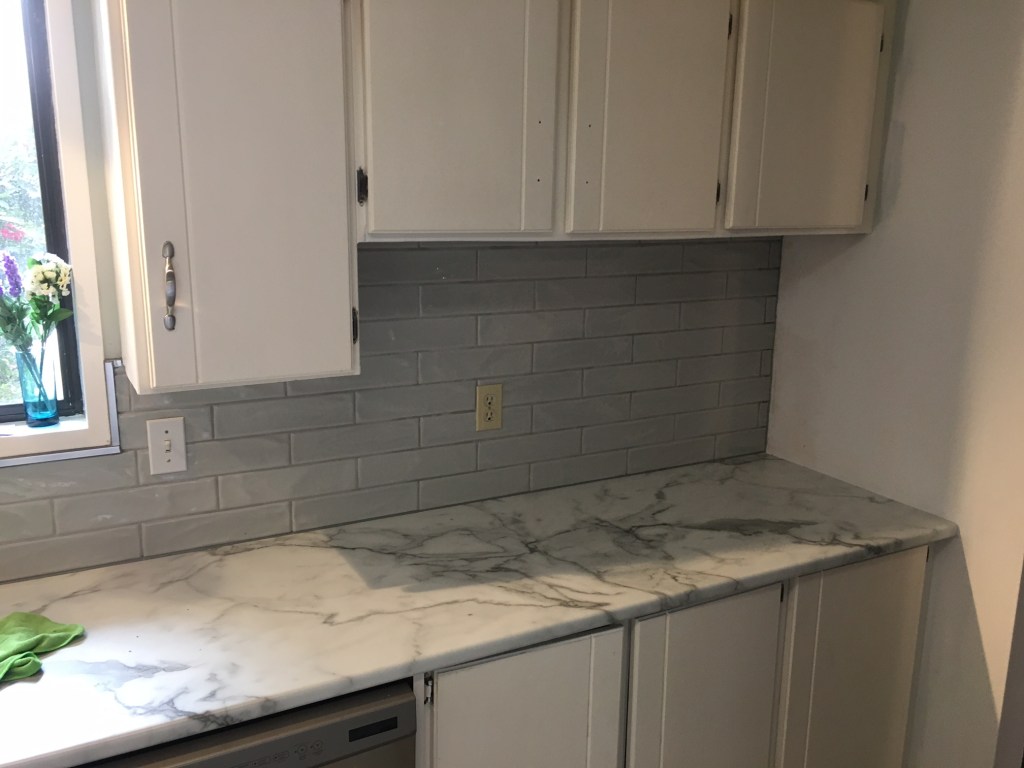
Here are some ‘before’ pictures:
The old countertops were tile, which was overlaid over the original tops, which were “flatlay” (laminate), screwed to the cabinets from above.
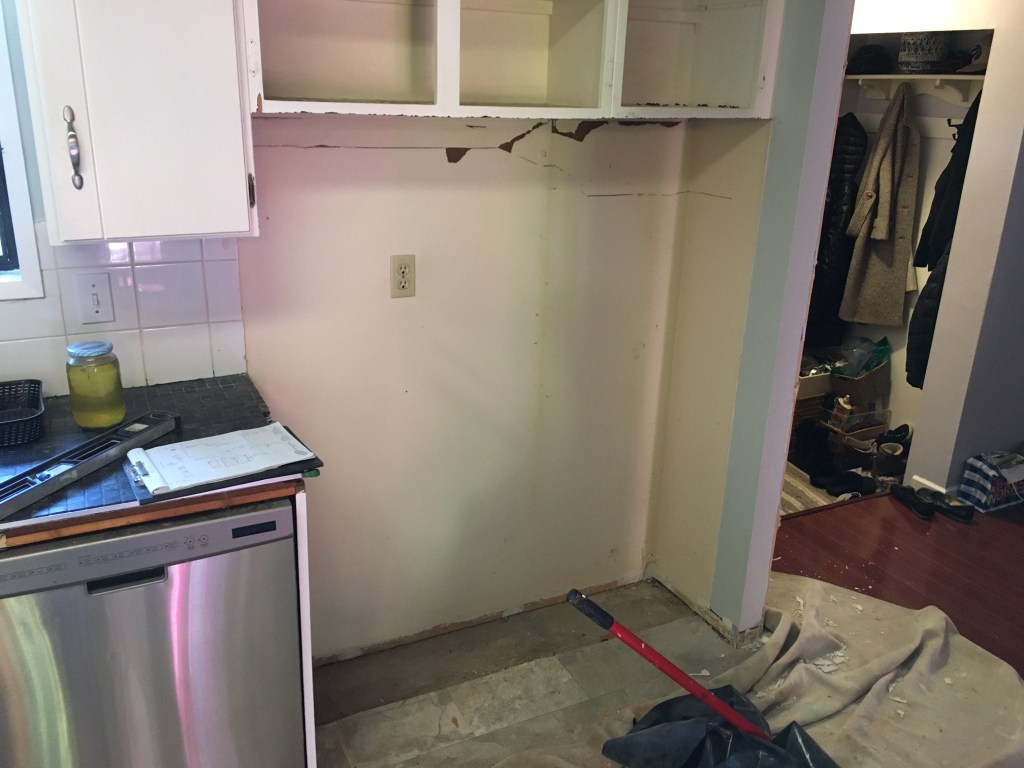
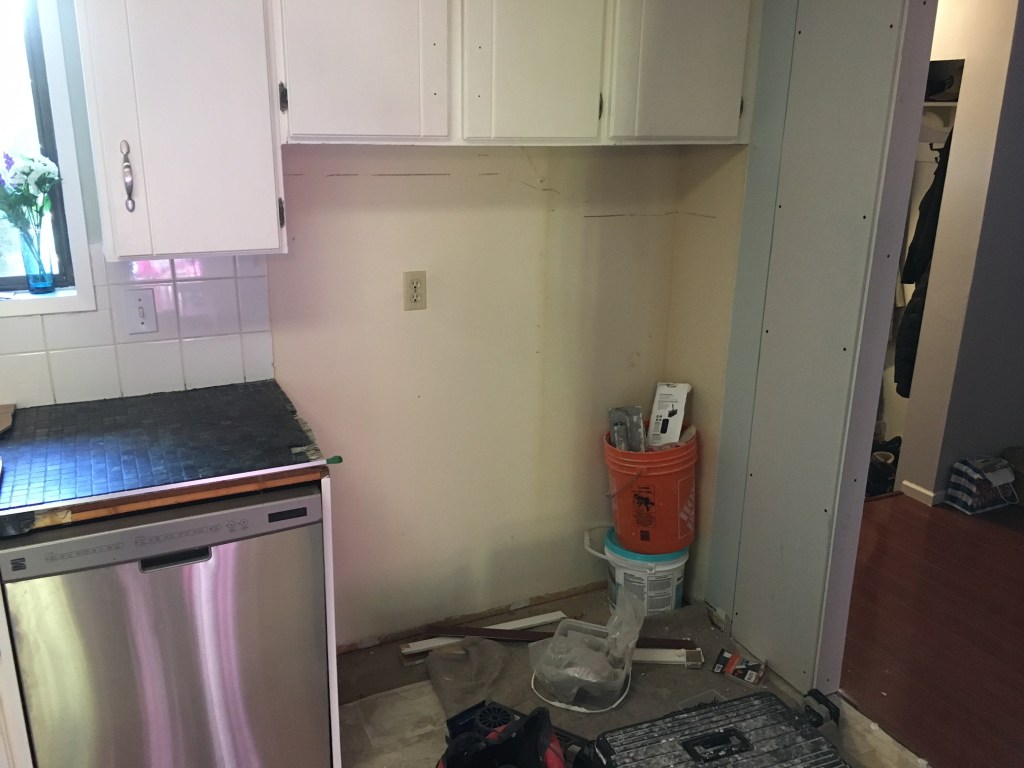
First I moved the wall (kitchen entrance) – it was not a supporting wall so that made things easier. There was some floor patching and baseboard changes as well.
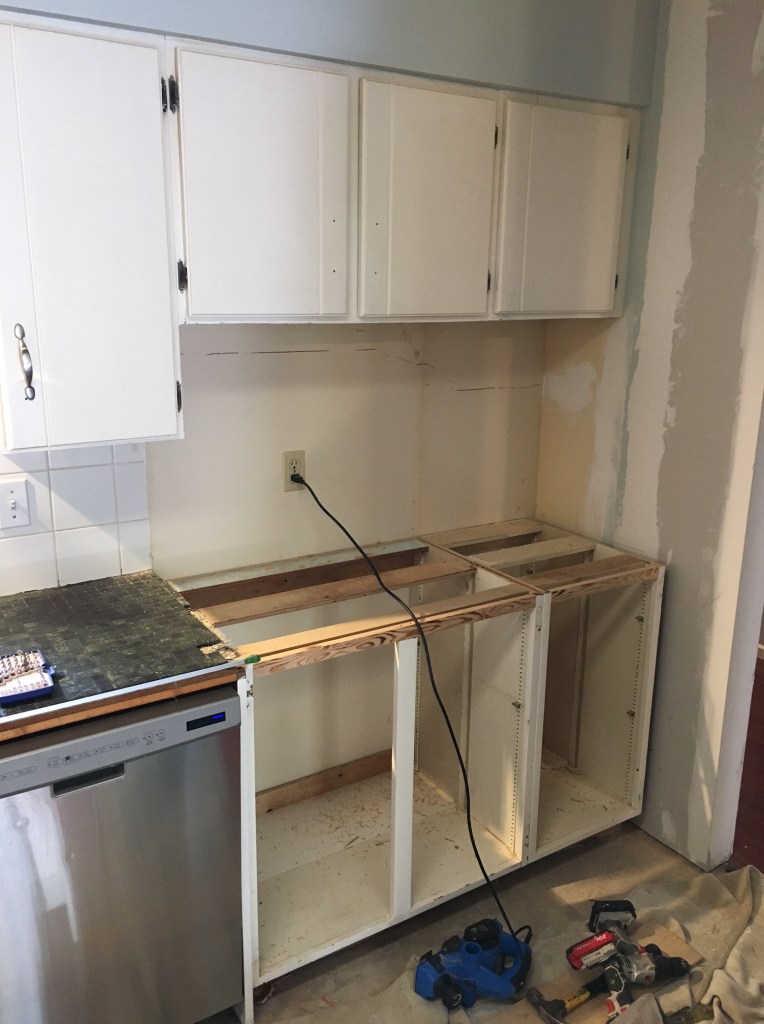
Next I cut the existing pantry in half and removed the bottom half for later.
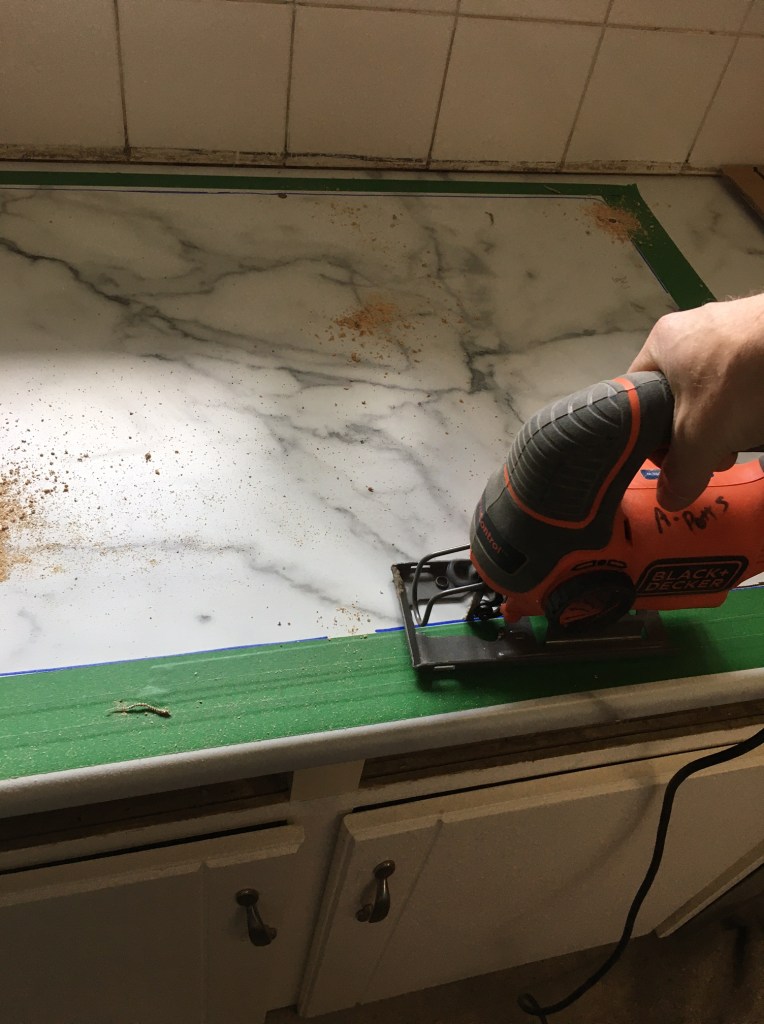
Once I knew where the new wall was, I templated the countertops so that they could be ordered for cutting, and arranged for a plumber. I extended the old pantry cabinets and shortened them to kitchen cabinet height.
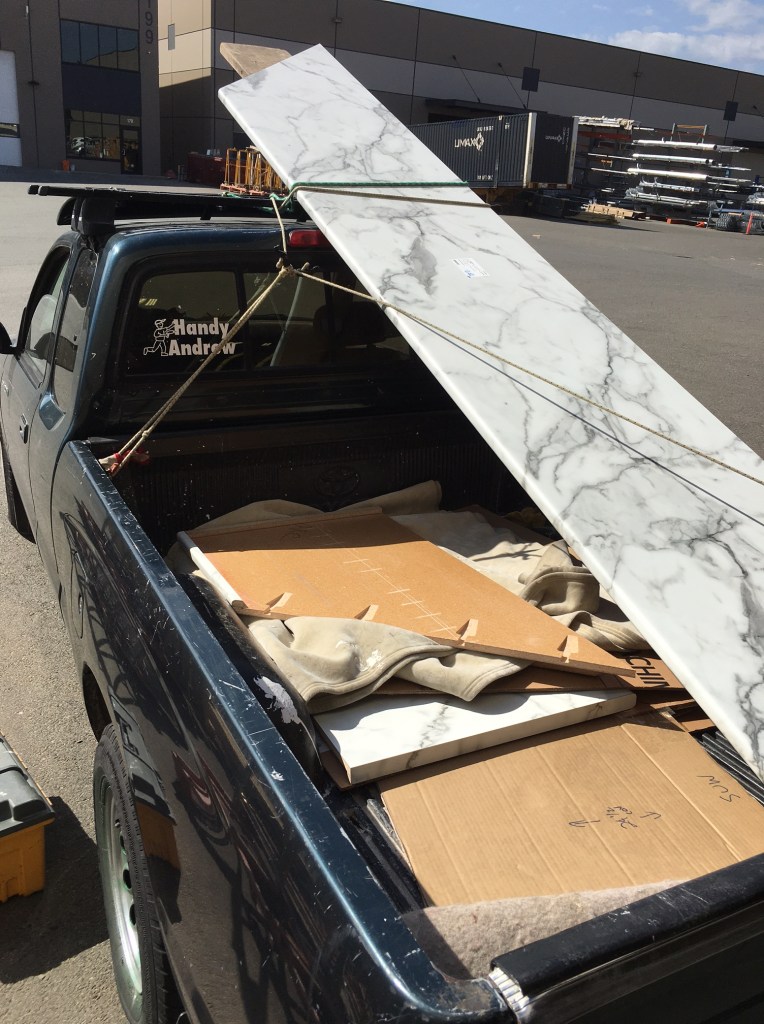
Once I had cabinets installed, I picked up the countertop and installed that as well. The customer was without a kitchen sink overnight.
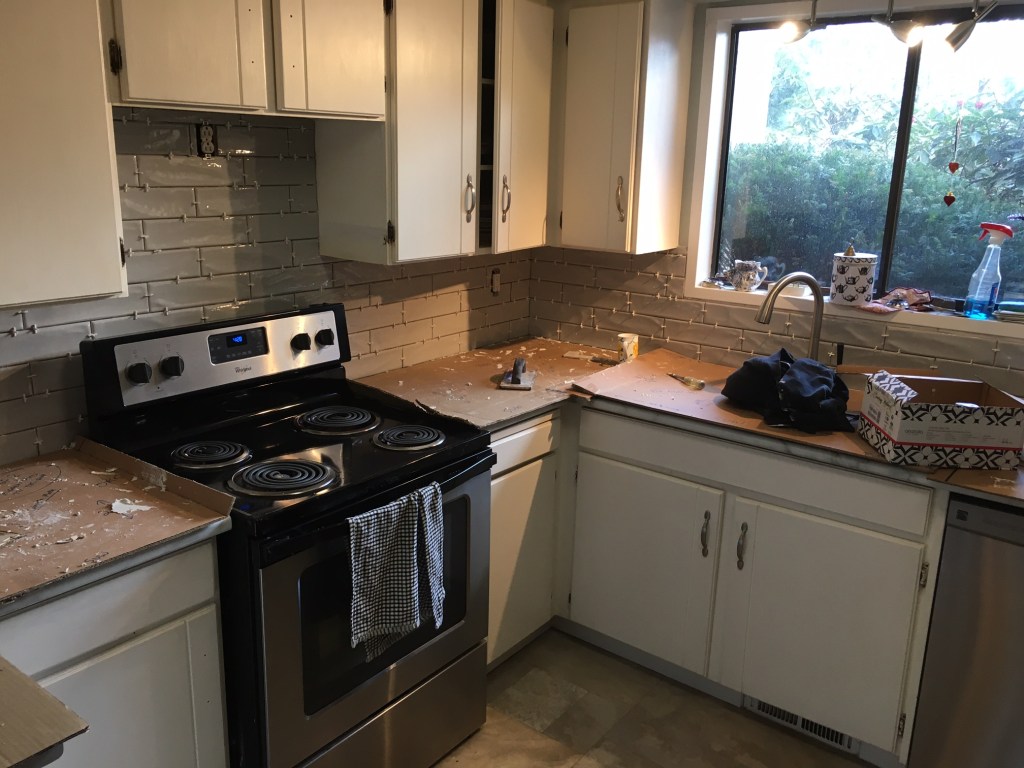
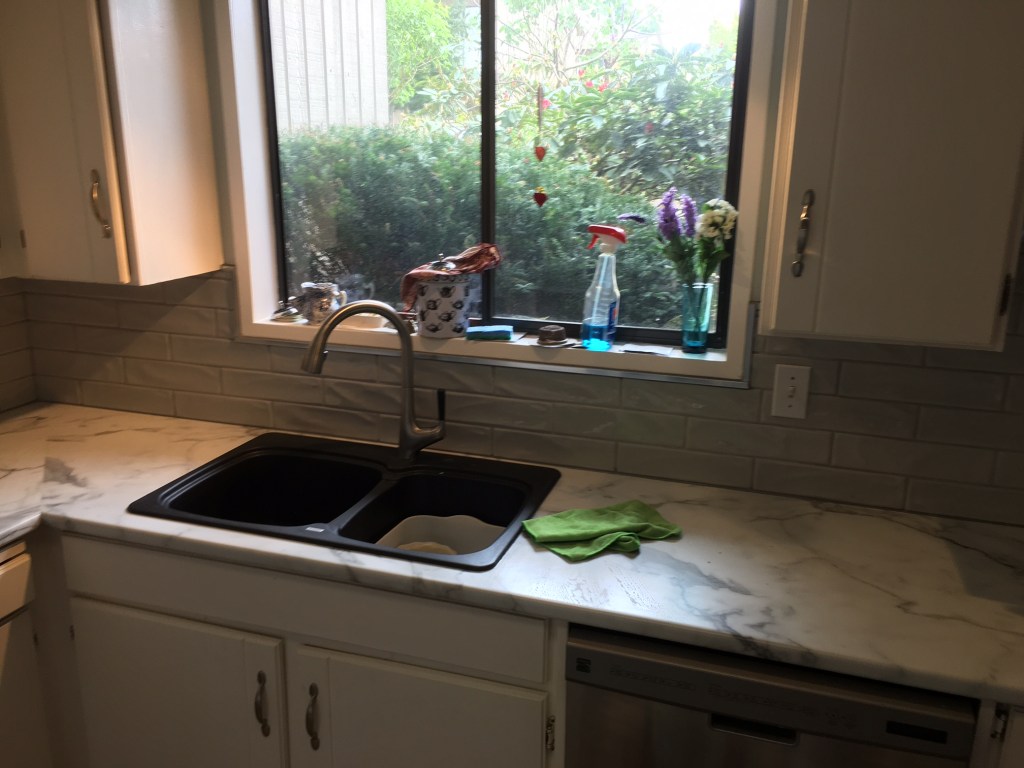
Once the countertop was in, the plumber came and hooked up the new sink and tap. Then it was time to start tiling.
I always ask the customer to choose and purchase the tile and the grout. It usually takes me about 2 days to install and grout a kitchen backsplash. These were ceramic subway tiles with a raised wavy surface.
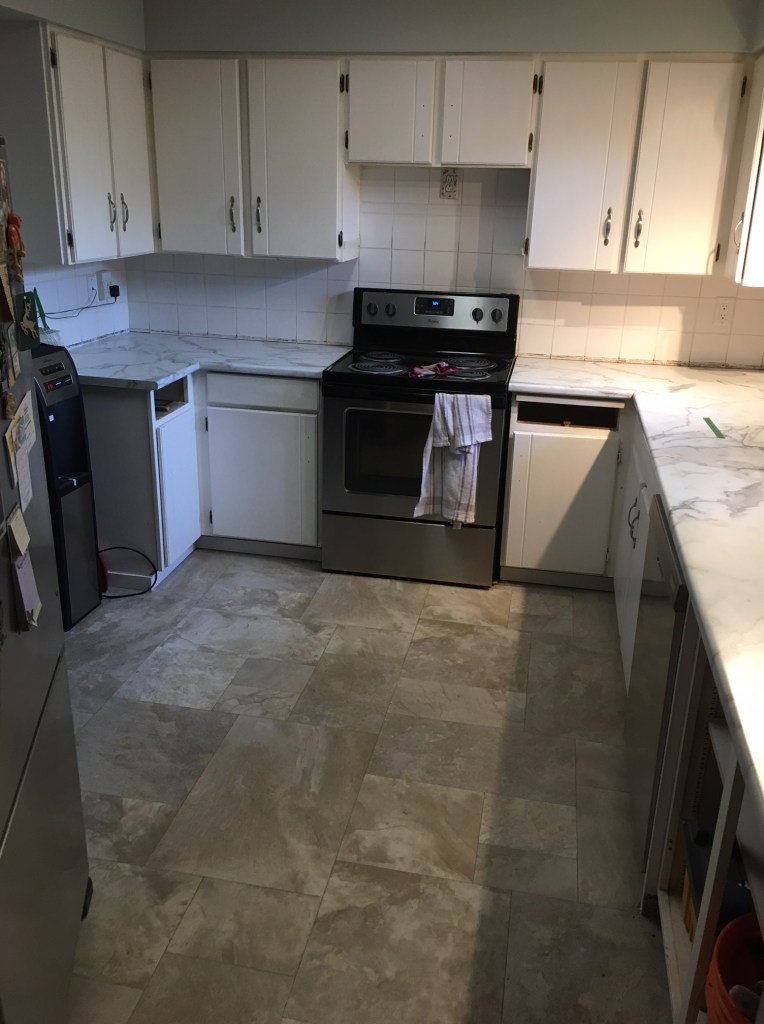
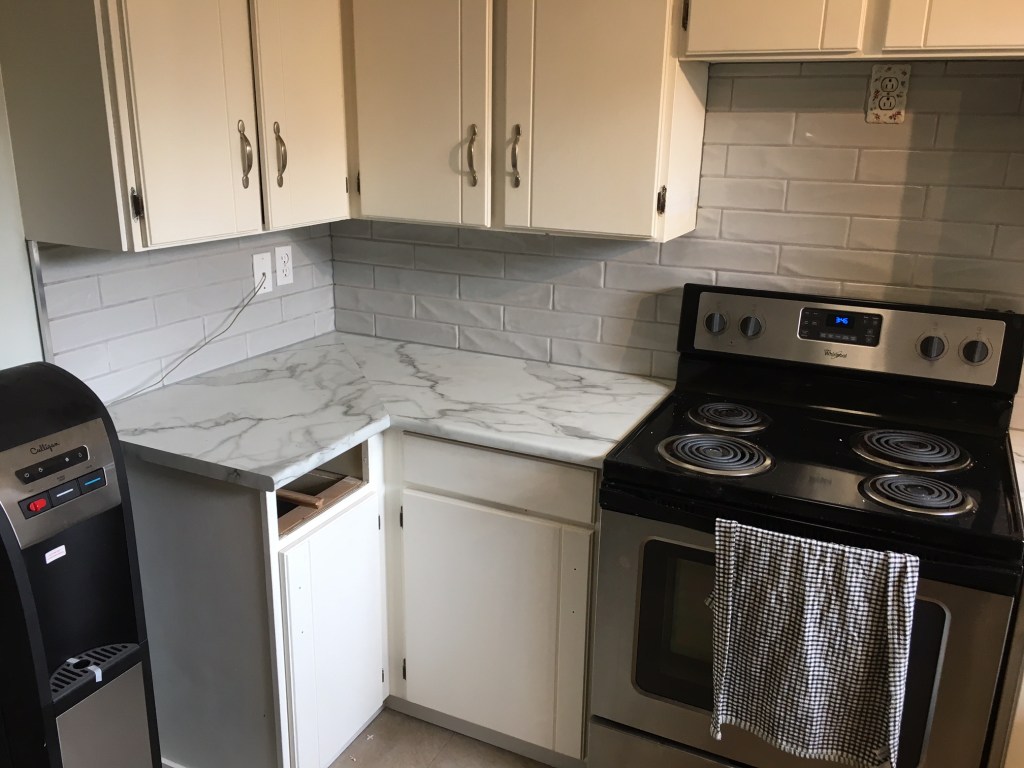
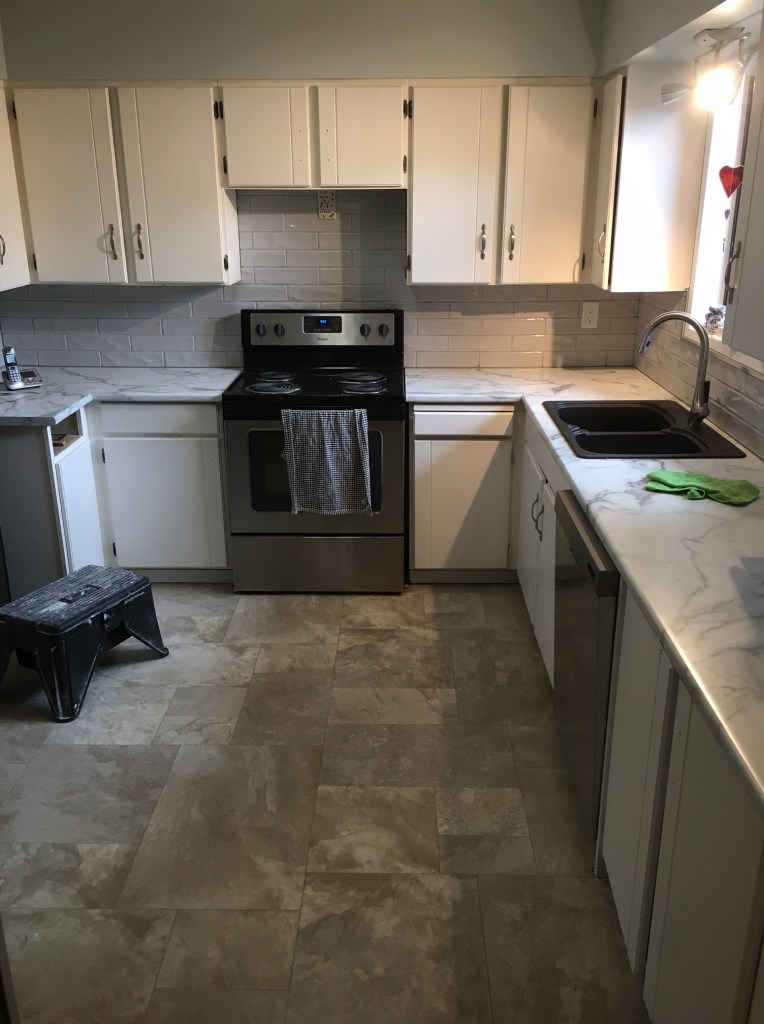
Here are some “after” pictures. The customer is going to do all the painting (yay!). – a bit on the wall, and she is also planning to paint the cabinets.
Overall, everything went pretty well and my customer is happy. It took me about 7 days (not all full days). The kitchen has a lot more useable space now and looks very nice.
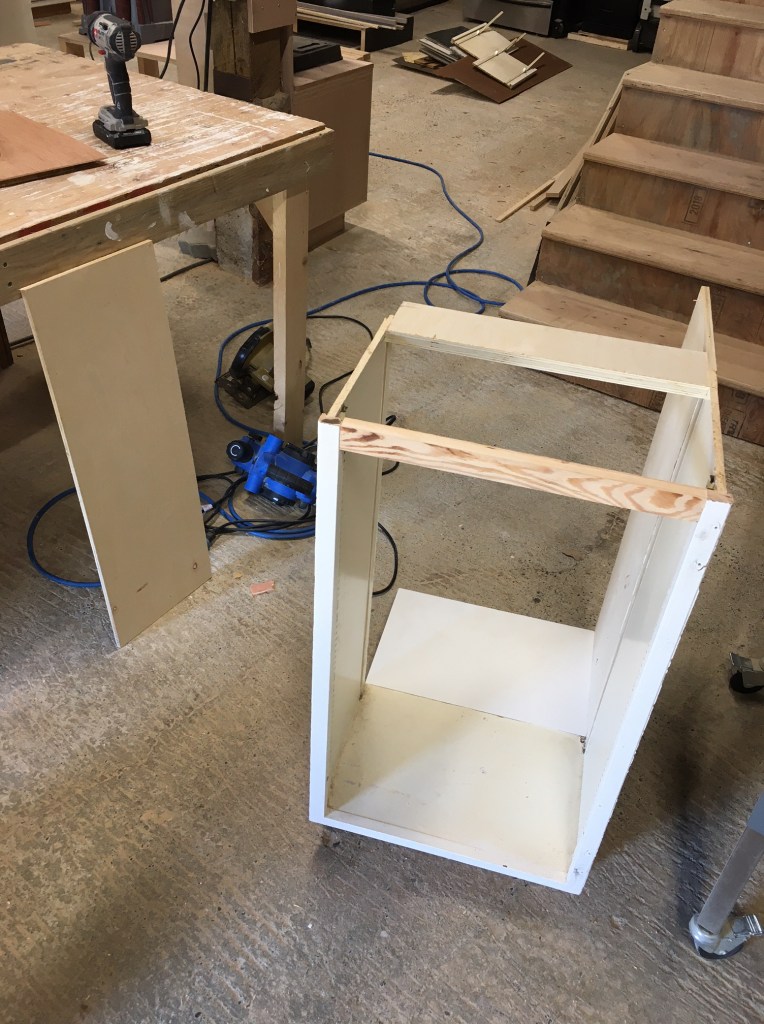
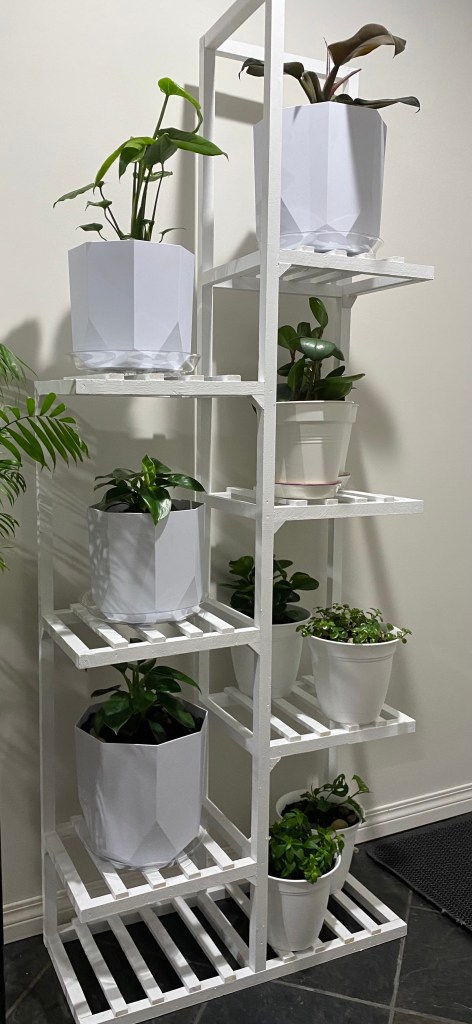
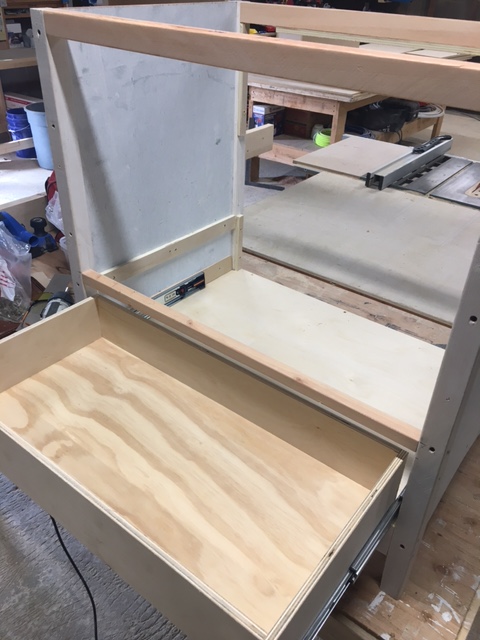
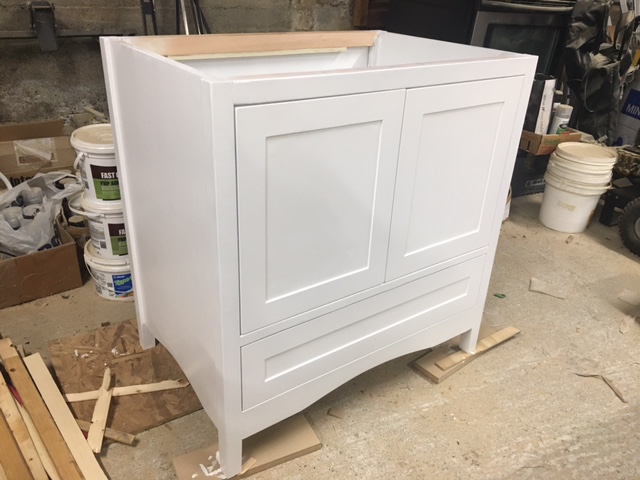
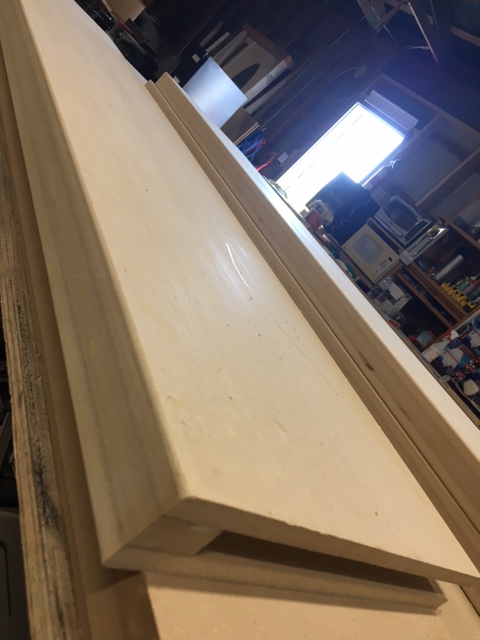
A couple of years ago I made a vanity for Kate and Derik; they are renovating another bathroom in their house now, so asked for another cabinet. This one was smaller but in some ways more complex. The doors and drawer are flush mount to the front frame, and the corner posts are made out of real wood! Here are a few photos of the process.
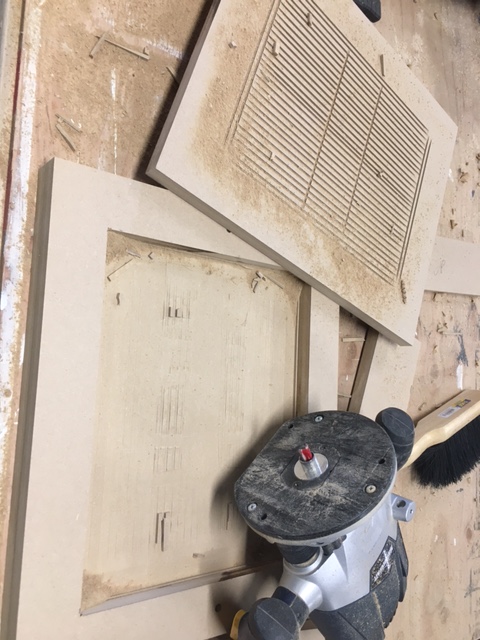
The drawer is soft-close and not very deep to accommodate water lines. The doors are also soft-close. The doors were made out of one-piece routered 3/4 MDF. It took a fair bit of time to spray paint them. It is very difficult to make perfect, as the pearl-finish cabinet paint shows every single sanding mark when sprayed. However, I was pretty happy with the final product.
The final step was delivery. They had bought some handles which I put on when I arrived. The bathroom was not quite ready for the cabinet so it may be awhile before I see a picture of it in its new home!
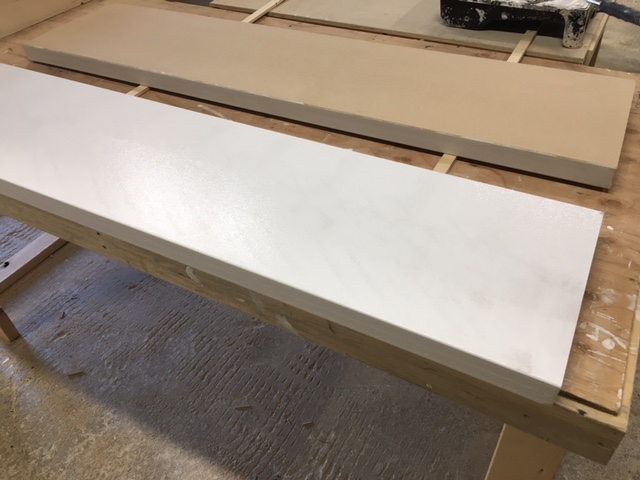
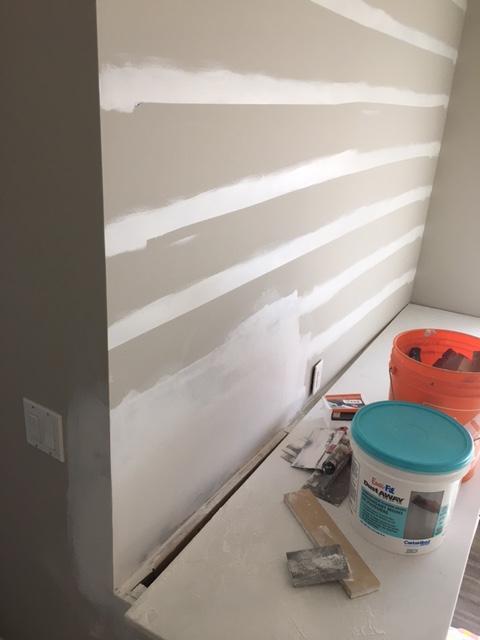
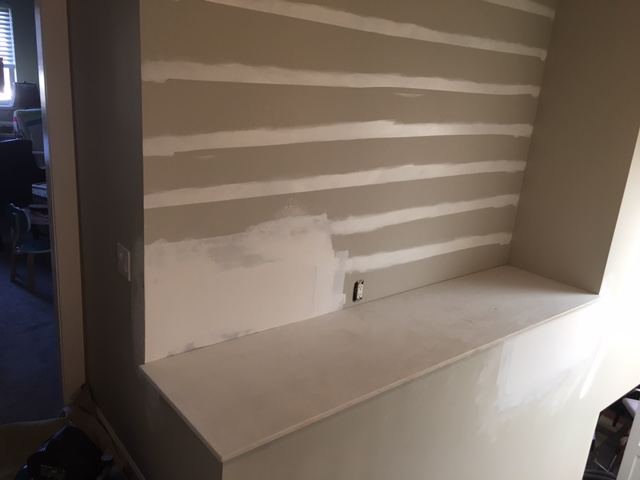
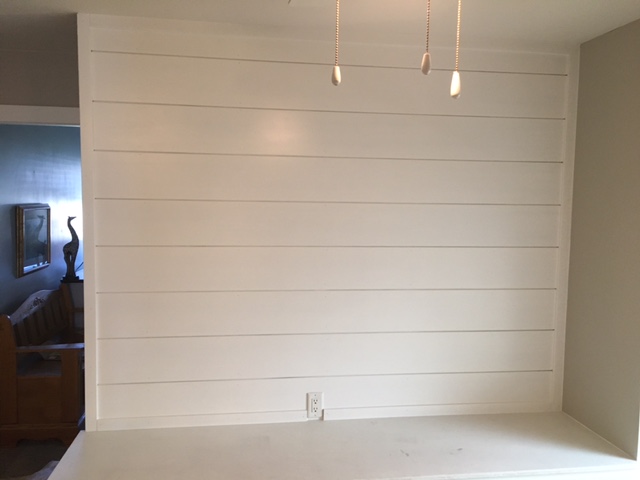
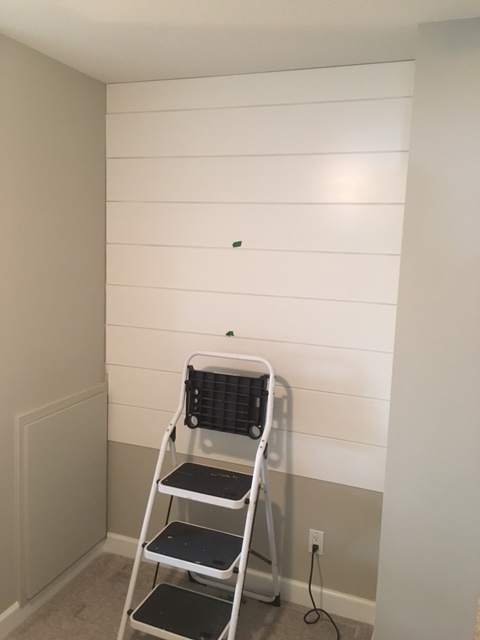
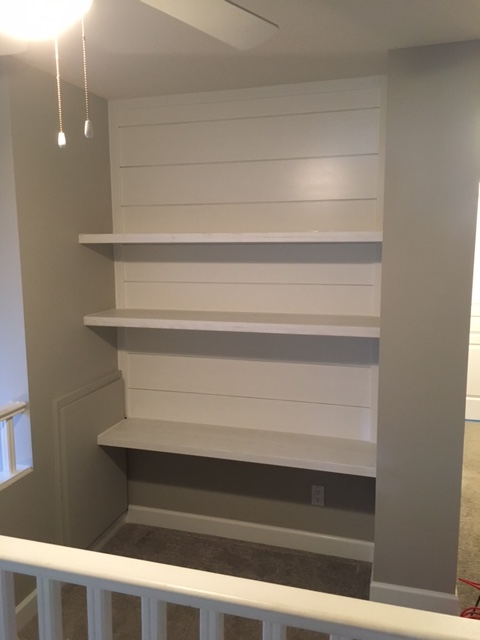
Joan and Tom hired me to change a drywall step that was kind of awkward. I flattened out the step and put a long, flat shelf in. (The wall needed patching in a couple of places.) Then I made “faux” shiplap out of 1/4″ MDF. Tom painted everything and then I tacked it up on 2 walls. There are also some shelves: they are hollow inside so they can slide into the wall alcove without support brackets.
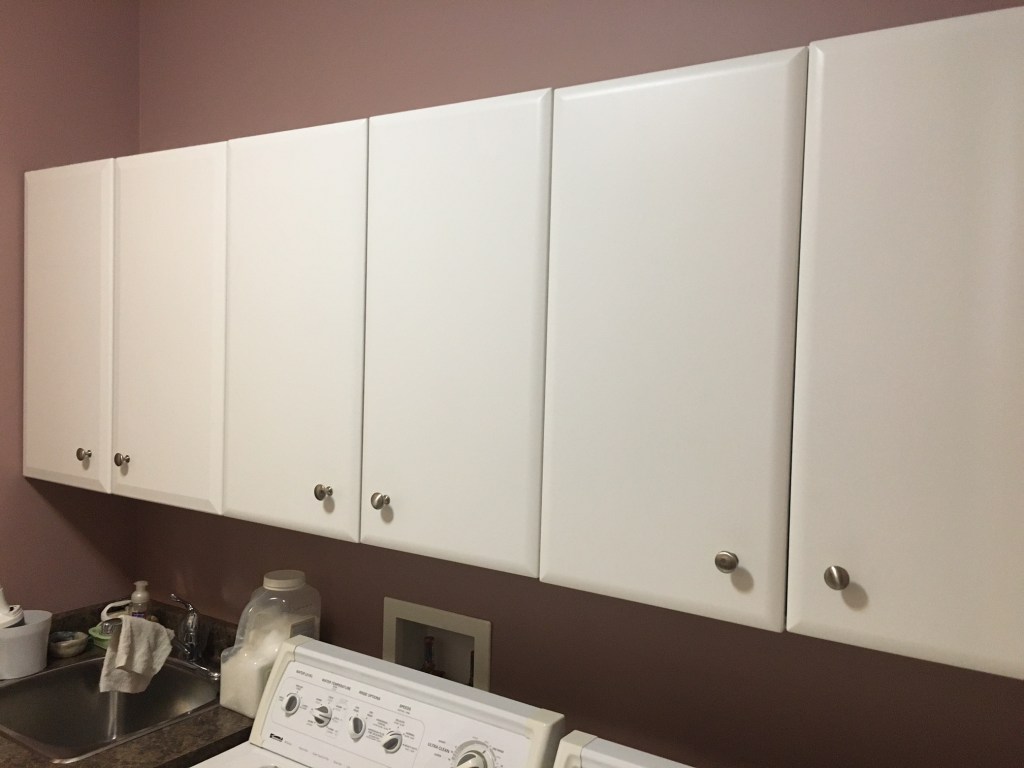
I had added a cabinet some time ago for Sandee–it’s the one on the left. The doors were ordered with thermofoil and almost matched… she wanted some more put above for extra storage.
To save time and money, I asked if I could just make the doors myself and paint them this time – although it wouldn’t be a perfect match, once again. She was fine with that.
So I built the boxes, cut the edges of the doors on the tablesaw, and painted them with a roller like usual.
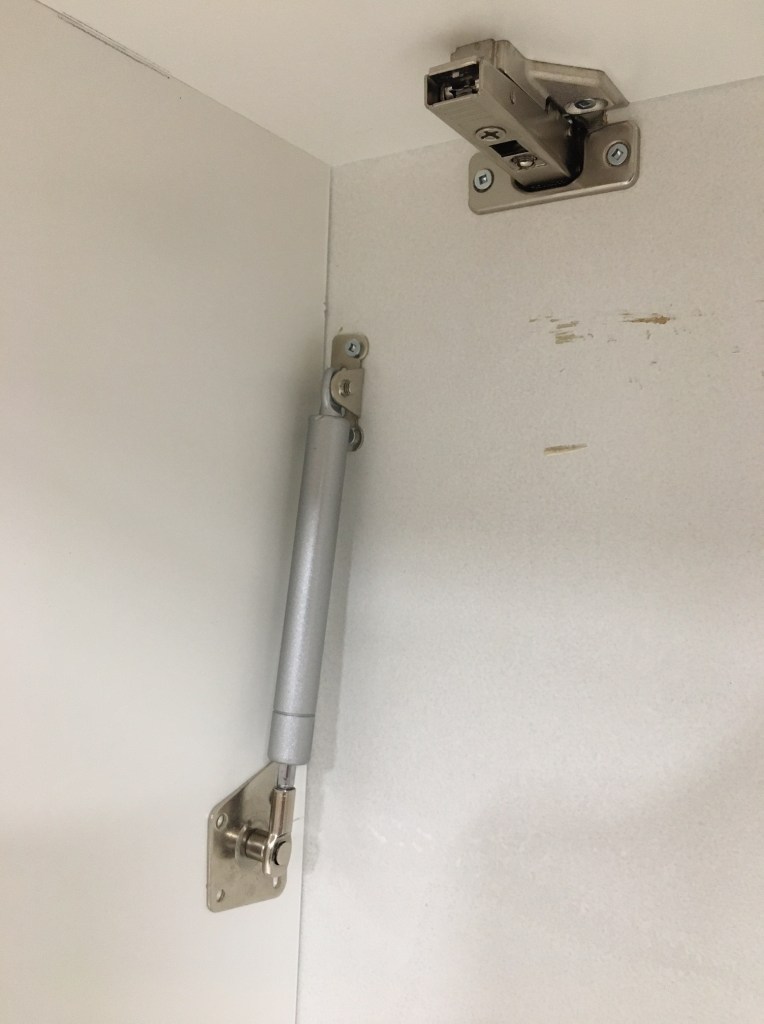
I also added gas struts to these, which was a little tricky to figure out, but it’s great because there is some lift/close assist for the heavy horizontal doors.
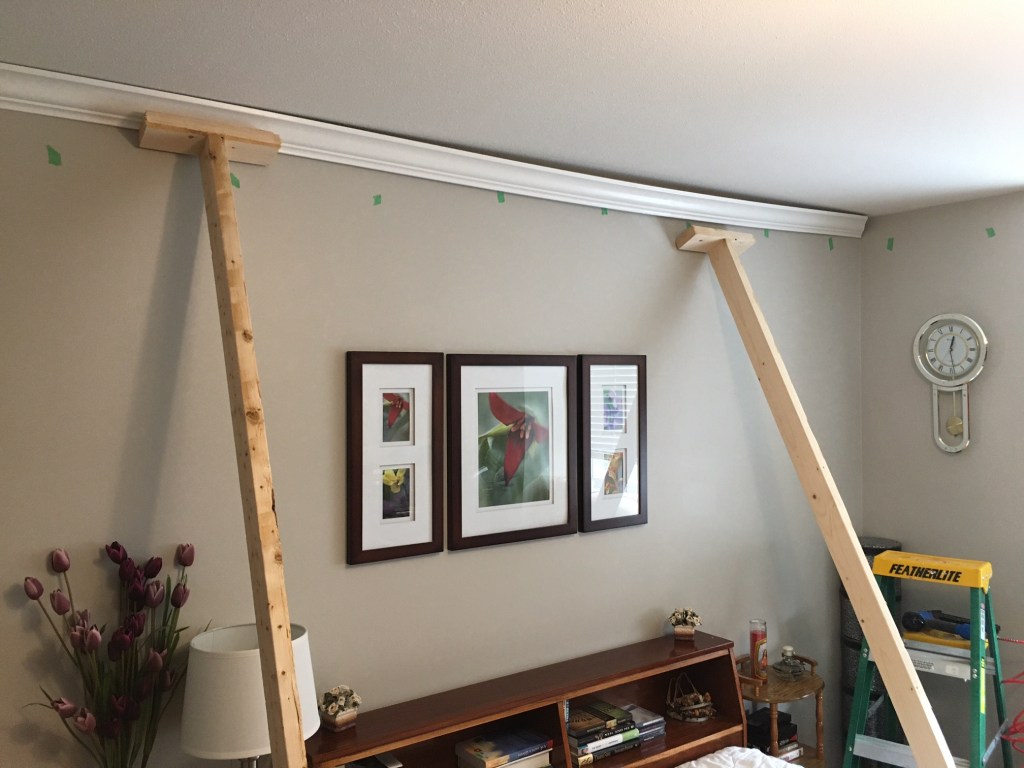
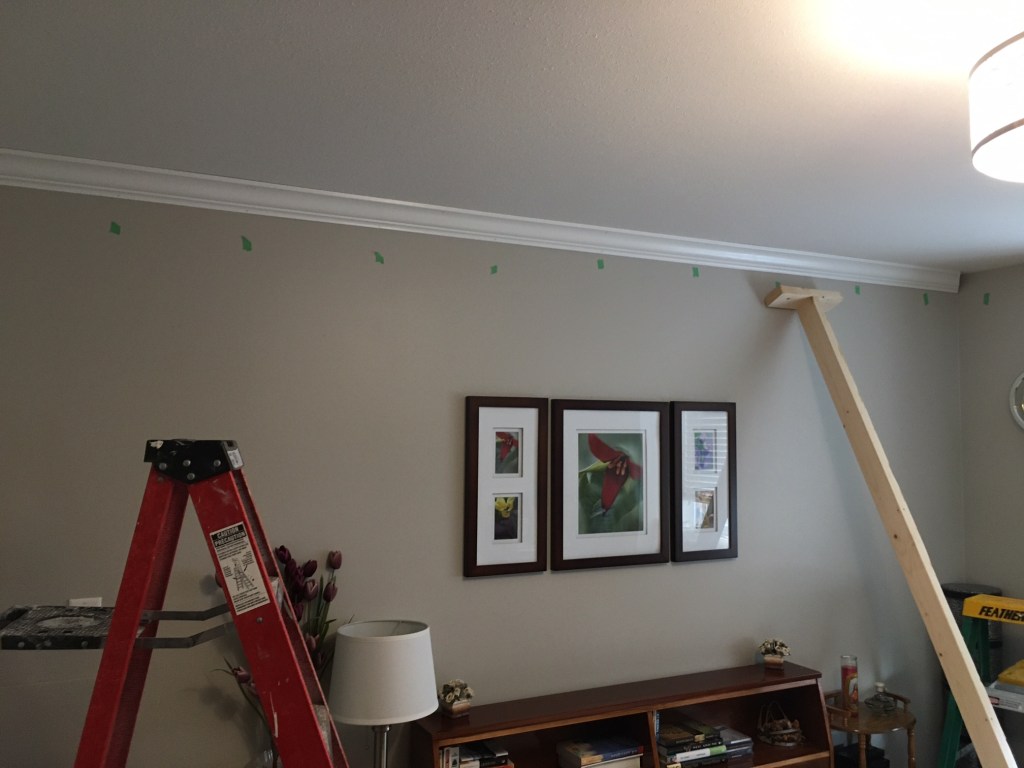
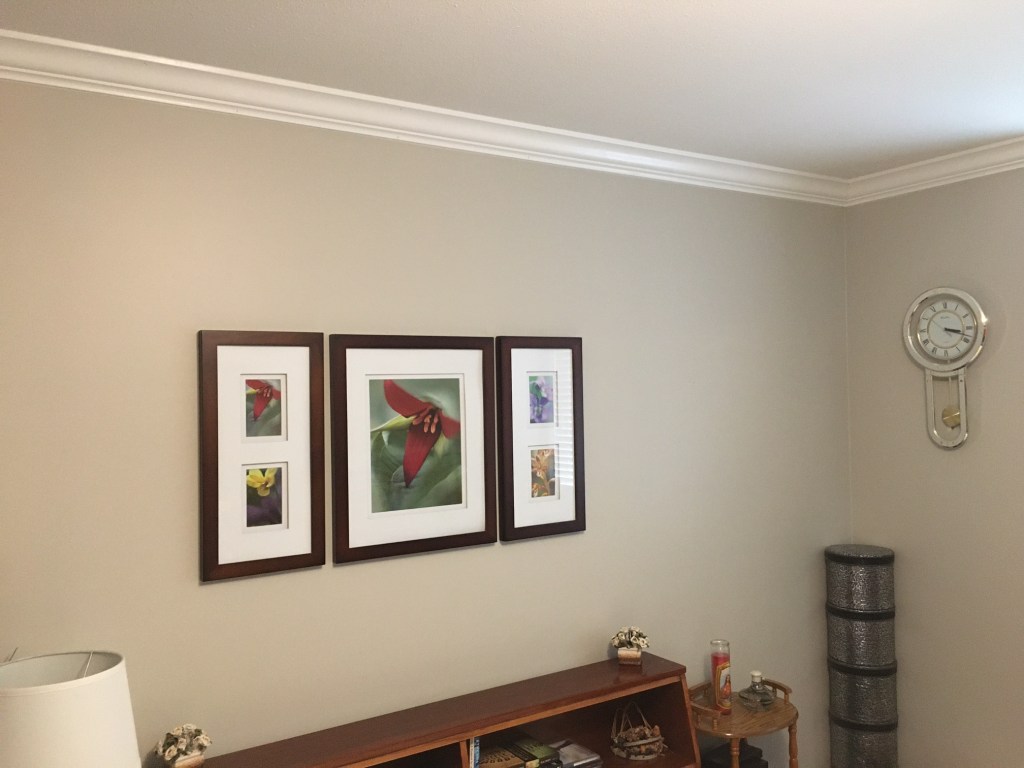
I don’t do a lot of crown moulding, but when I do, there is inevitably a long piece that takes 2 people. Sometimes my customer helps me, and other times I muscle it up there. I had several 14 footers to put up recently so I made some helpers out of 2x4s. They worked quite well!
8 foot 2×4 with a 1 foot piece screwed on top and bottom to hold a long piece of moulding
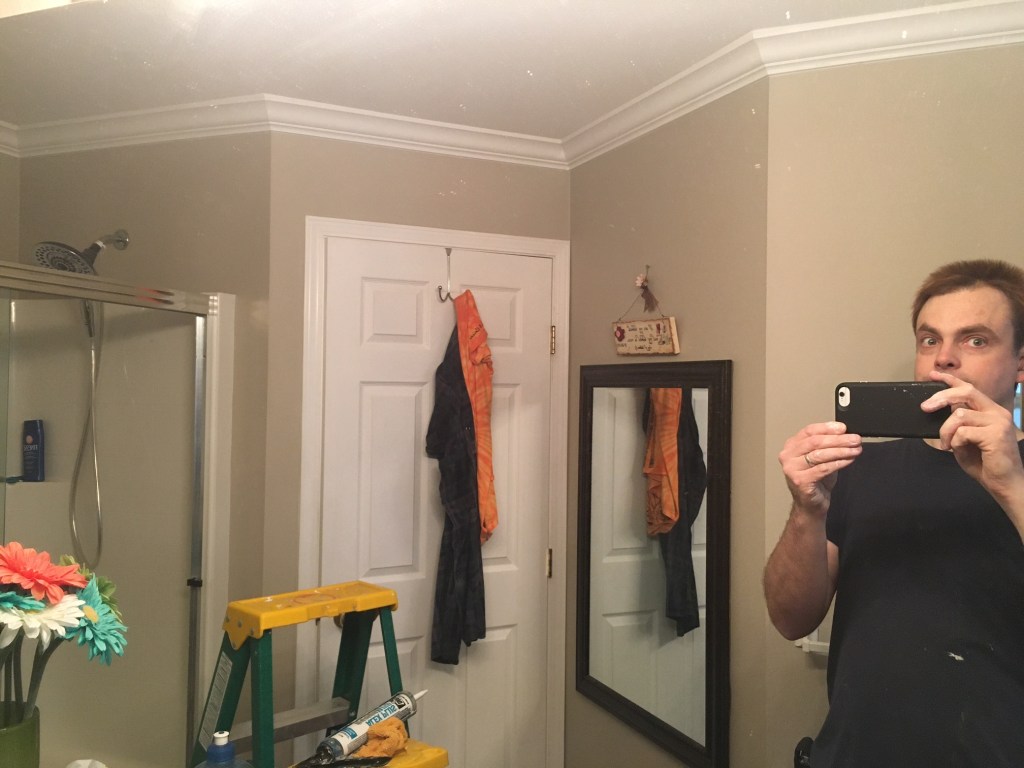
I also put some crown moulding over a shower…again…this time I pre-primed the pieces on the back, including the cuts. Hoping they stay nice and dry and don’t get wet!
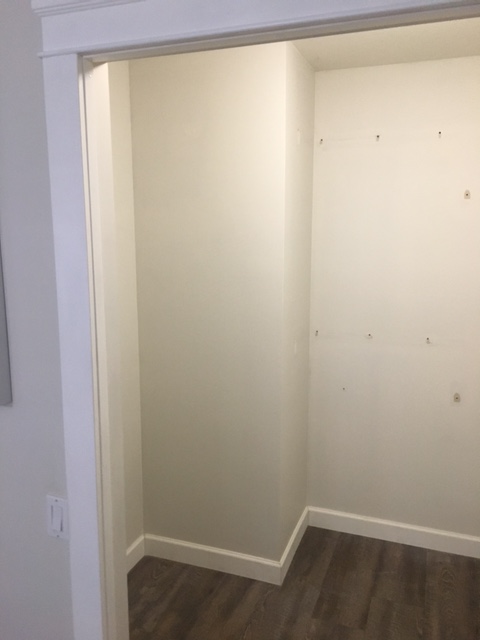
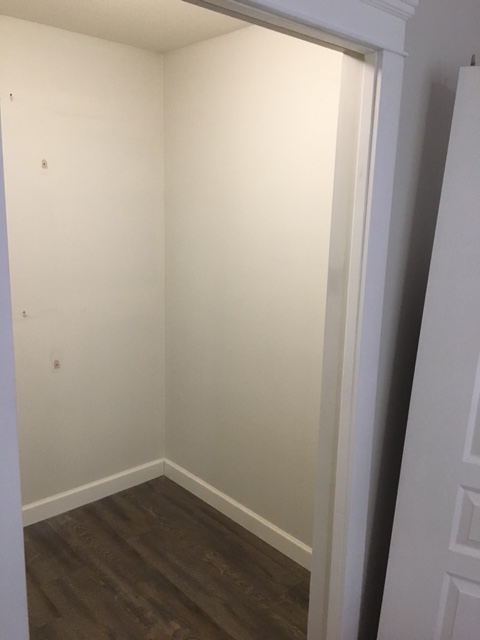
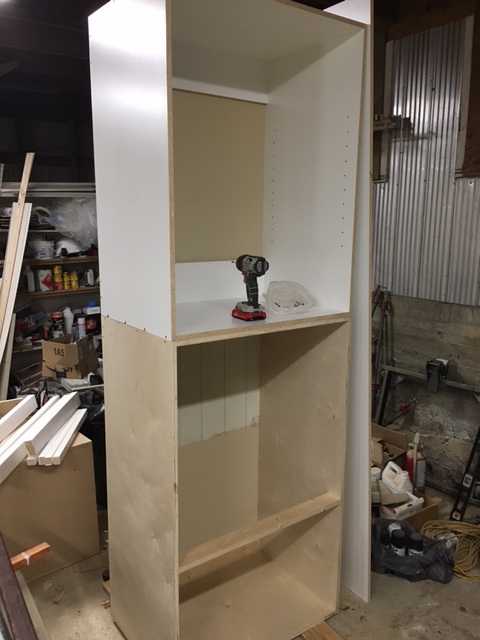
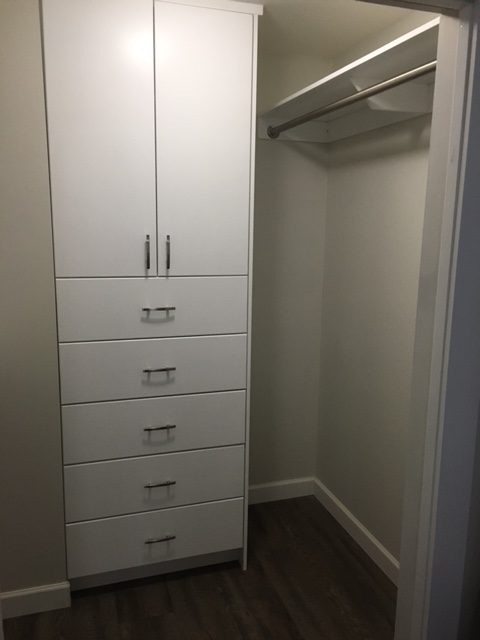
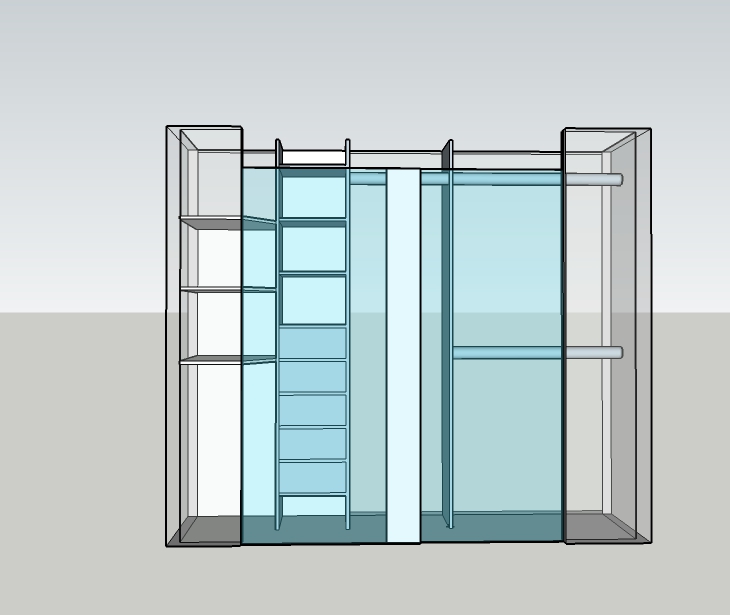
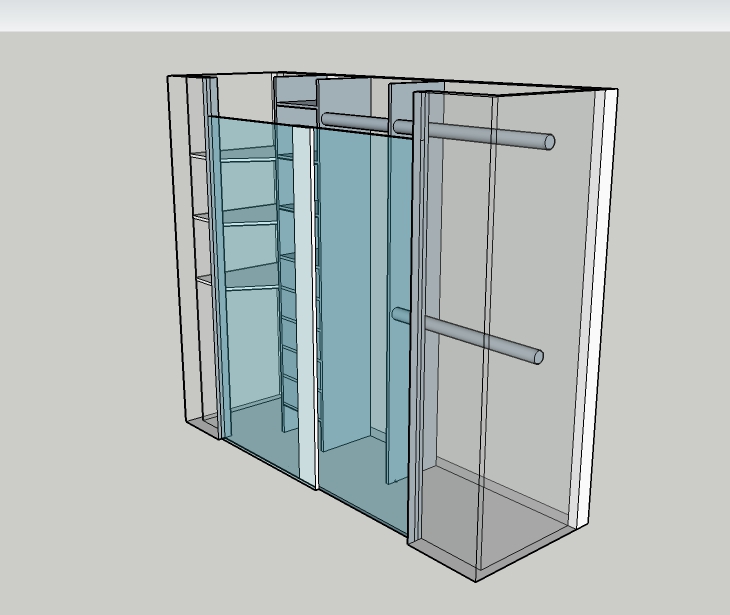
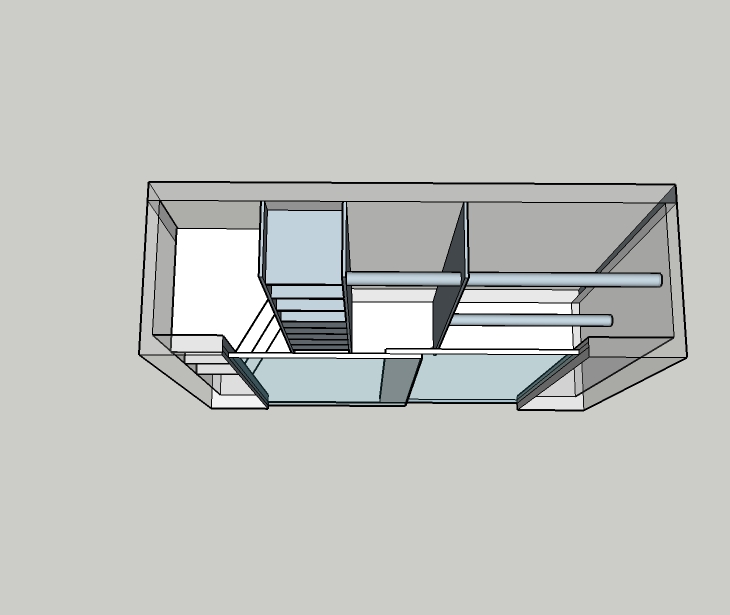
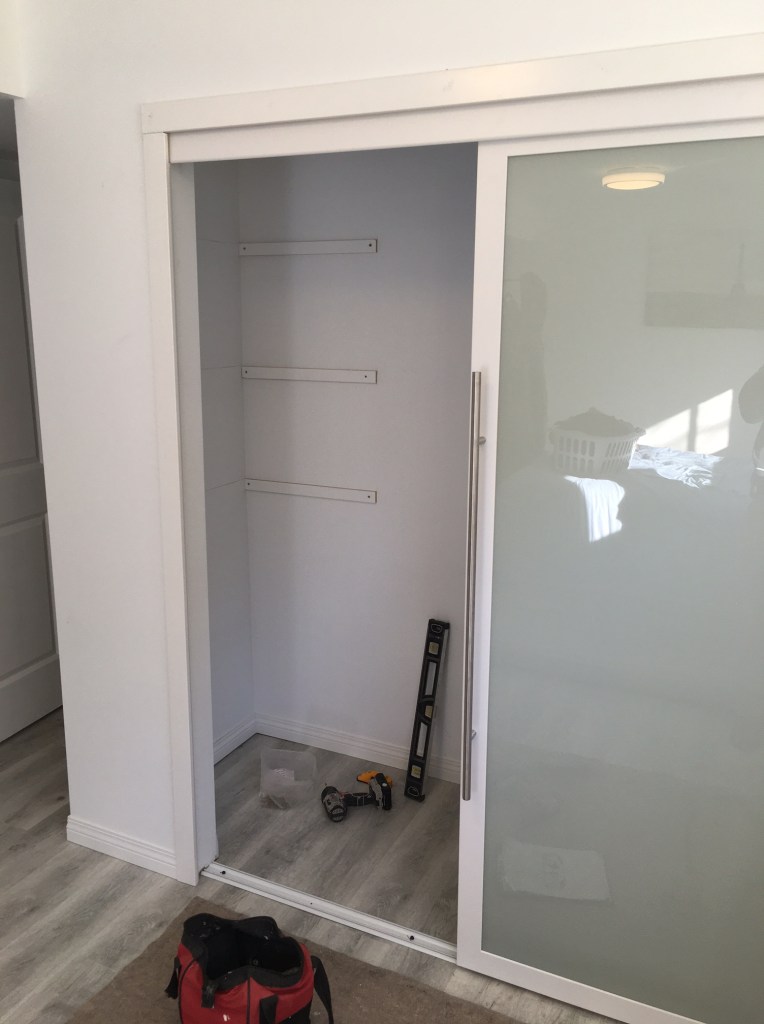
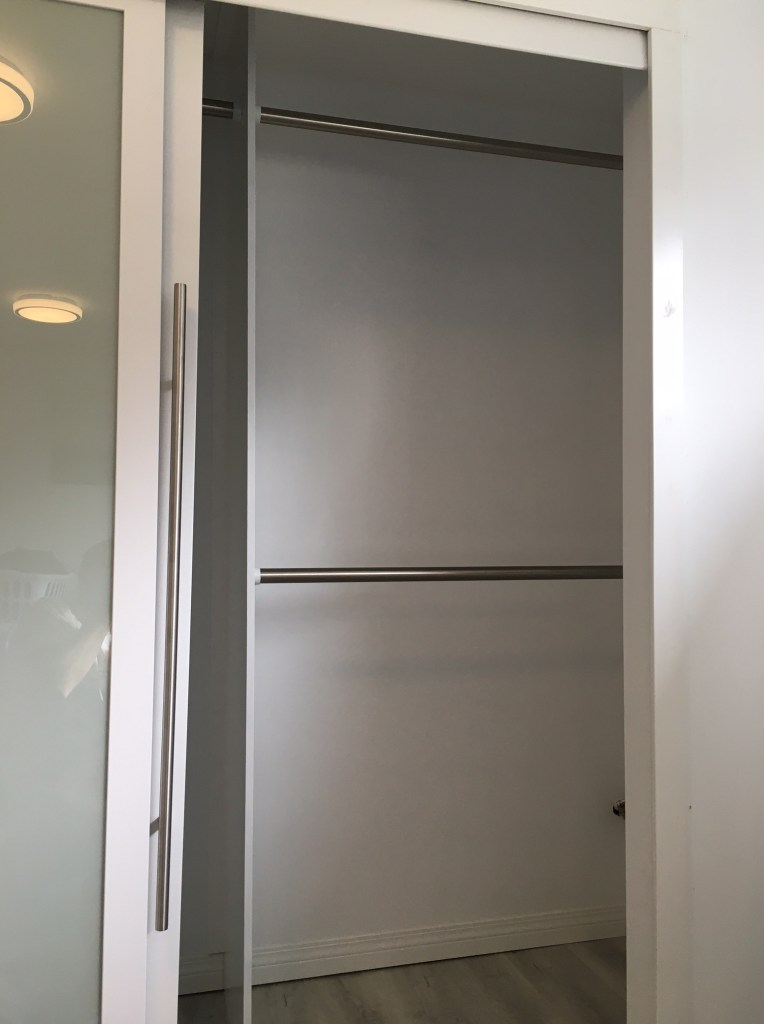
Darlene hired me to design and fill up her new closet space with shelves, cabinets, and rails. (The closet had already been built, but there was nowhere to hang clothes.)
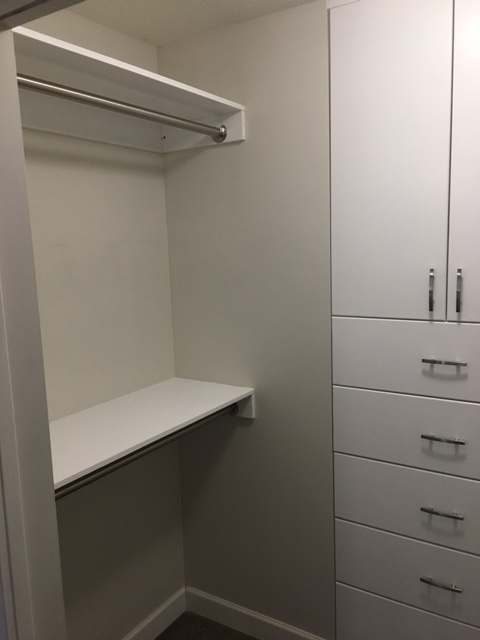
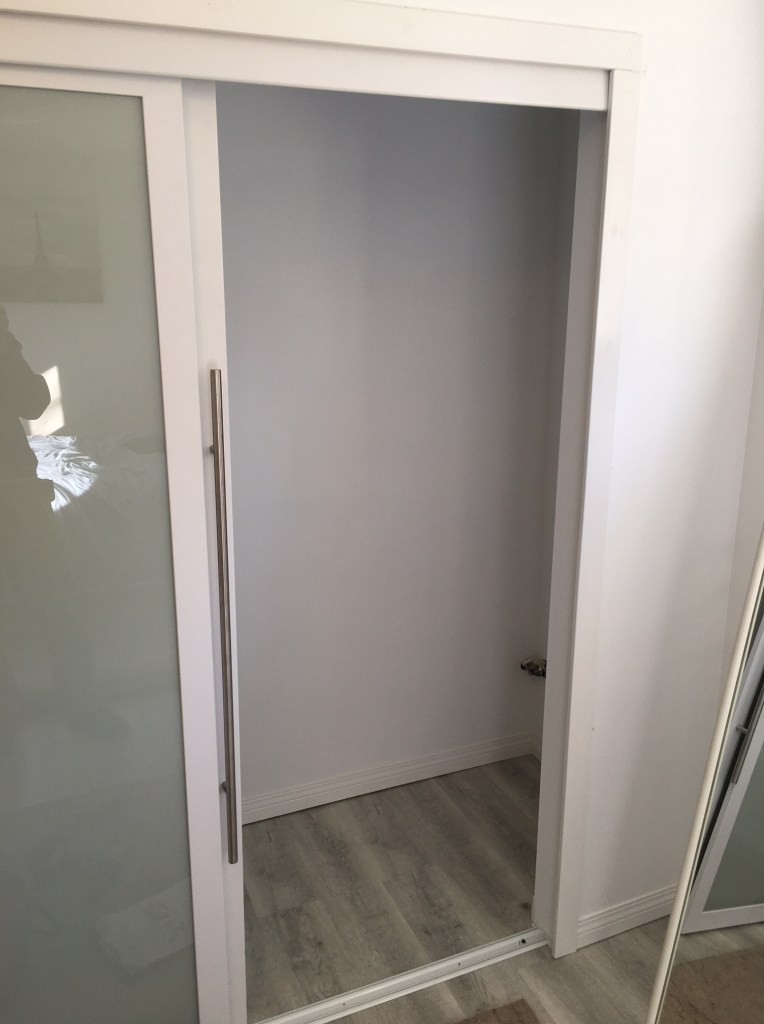
The double sliding doors are very. nice, but they do limit access a little bit. So in my design I put just one tall hanging rail right behind the middle where the doors overlap. That way everything else would be easily accessible from either the left or right side.
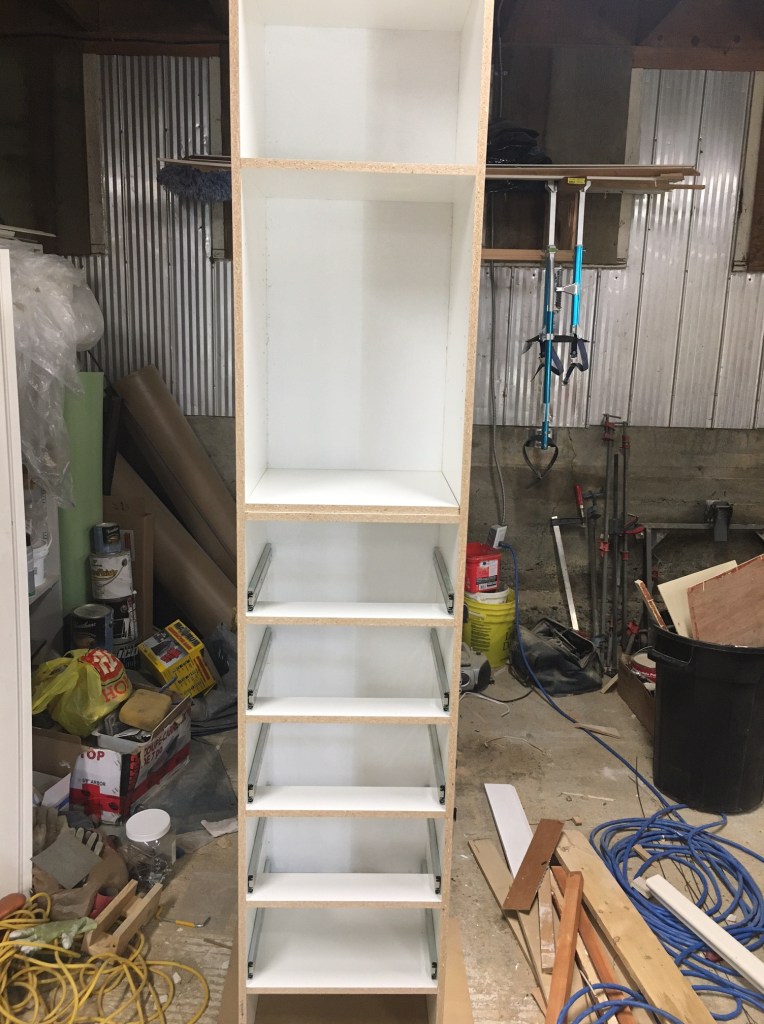
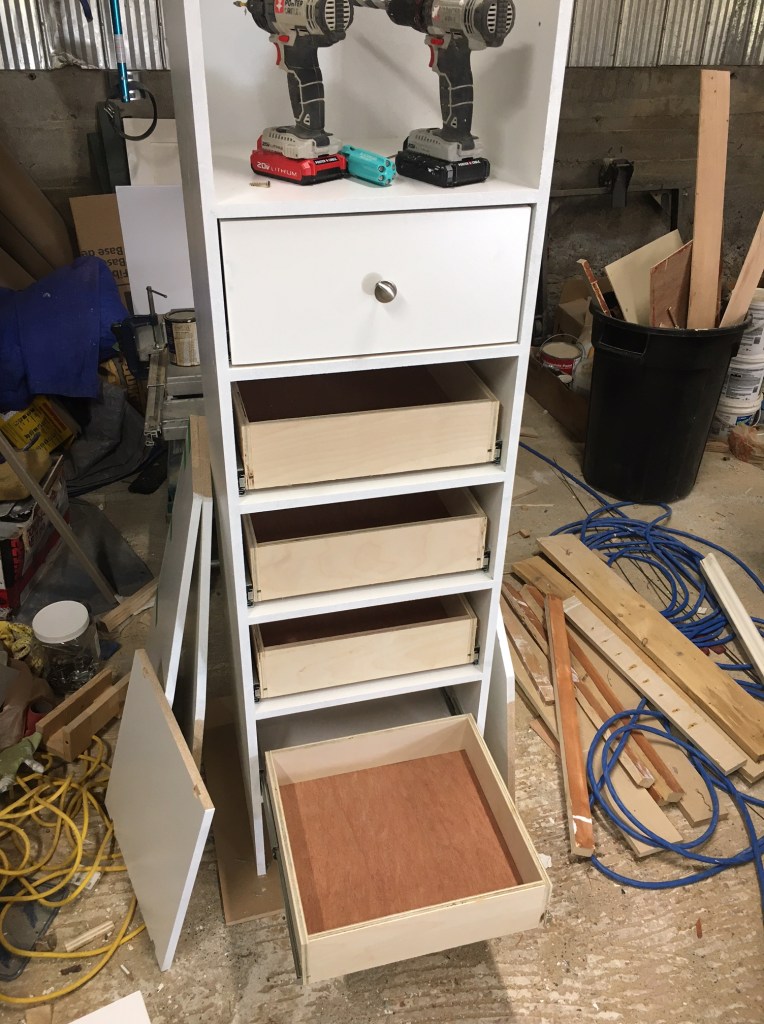
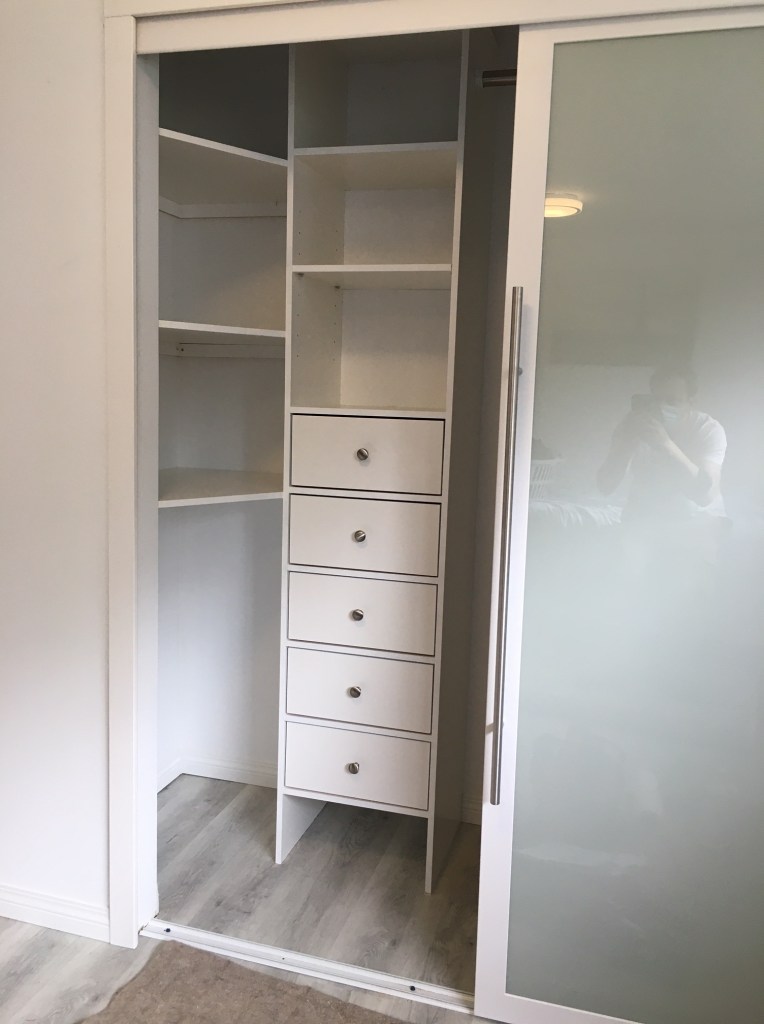
Building the cabinet in the shop…
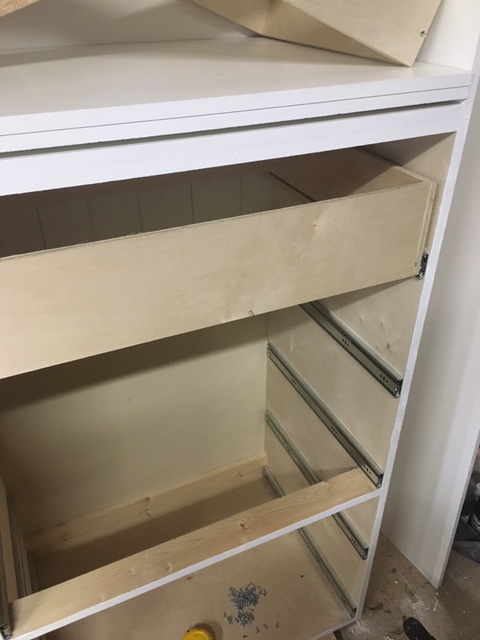
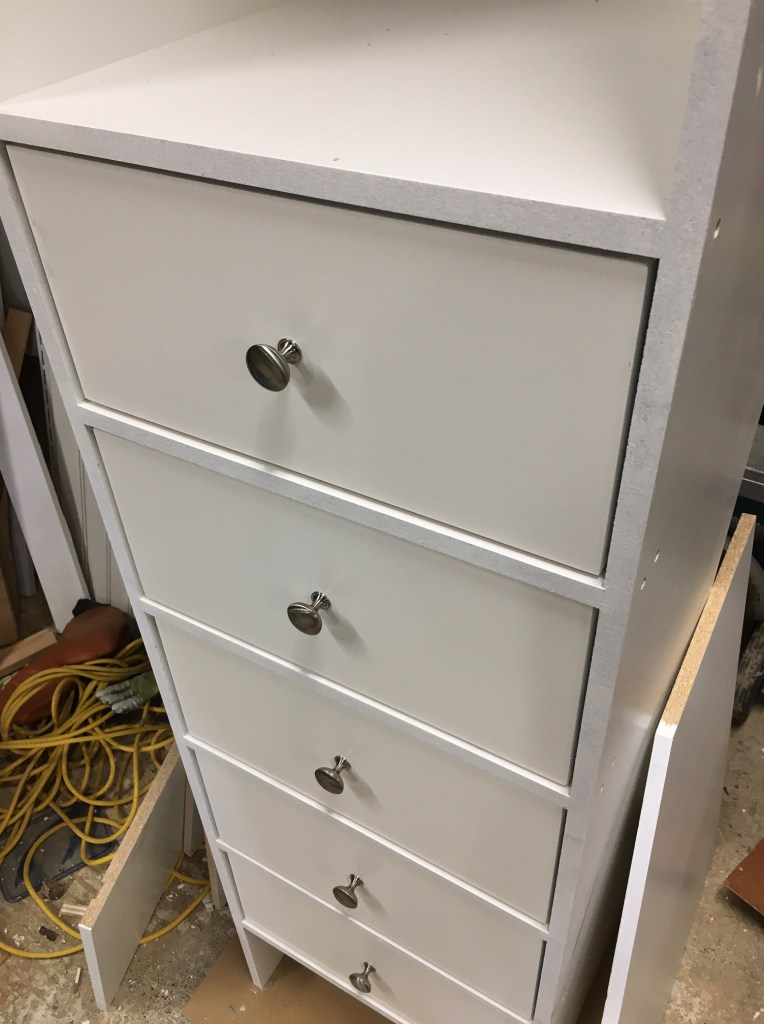
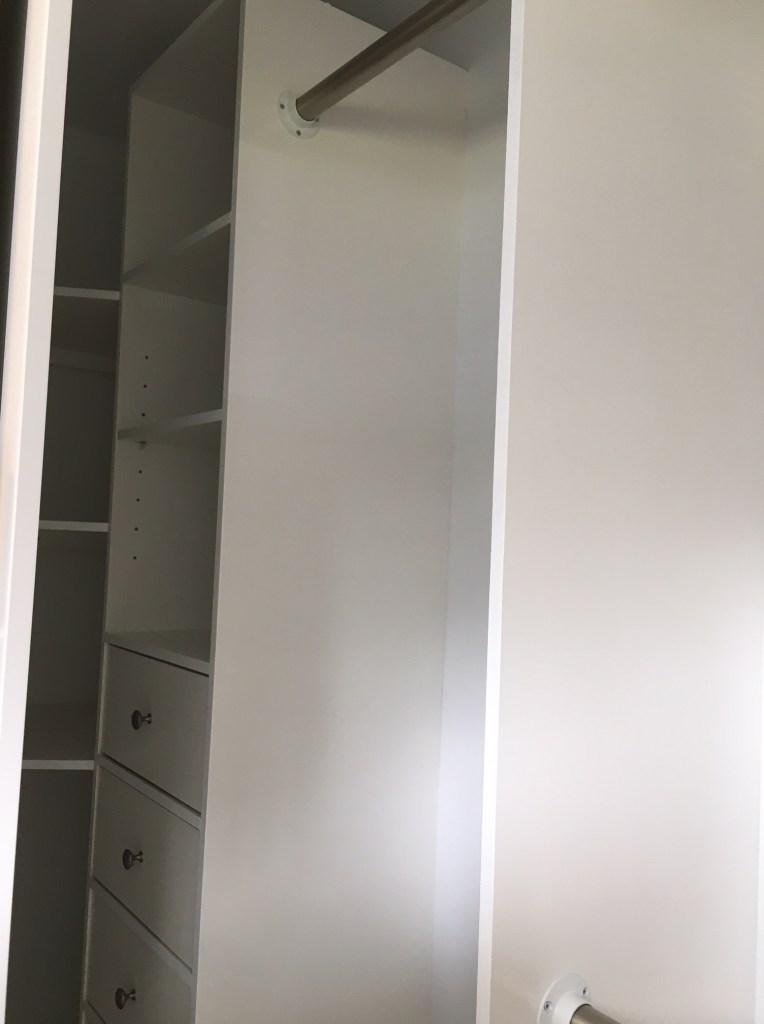
Drawers are always kind of fun to build…though time-consuming.
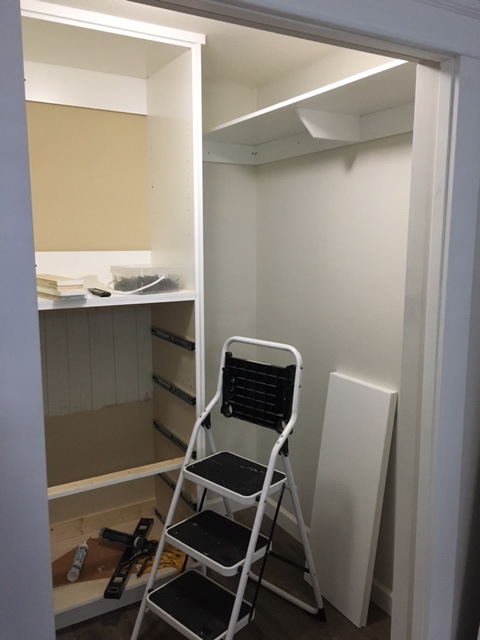
When Install Day came, I worked from left to right: shelves, cabinet, panel.
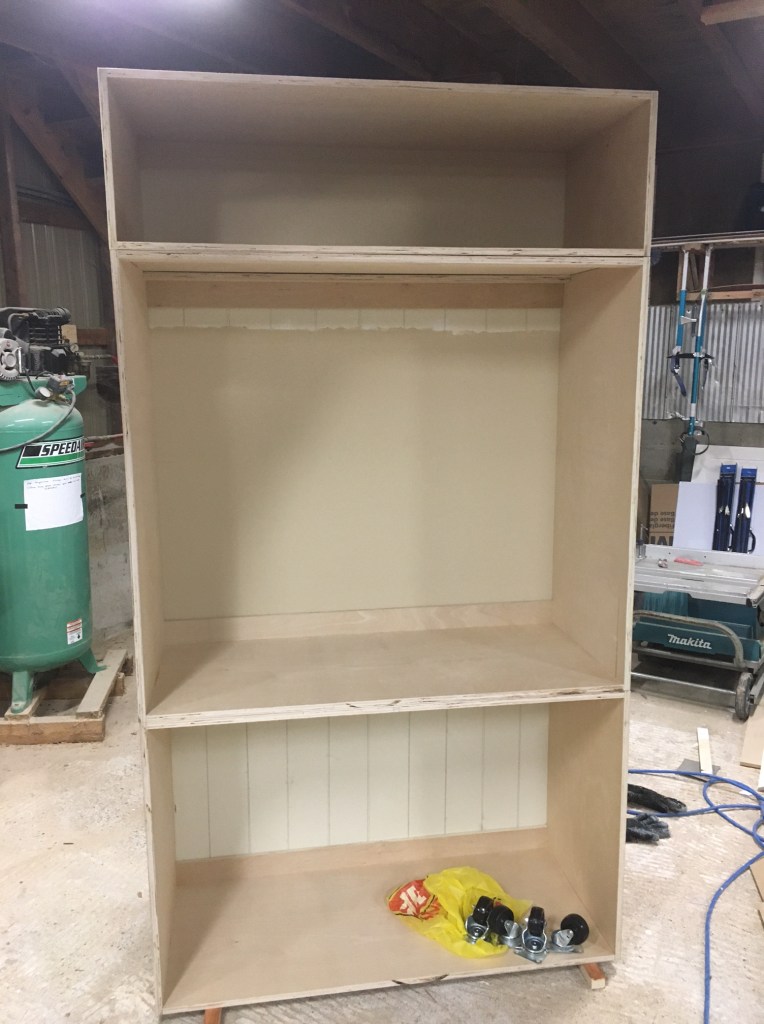
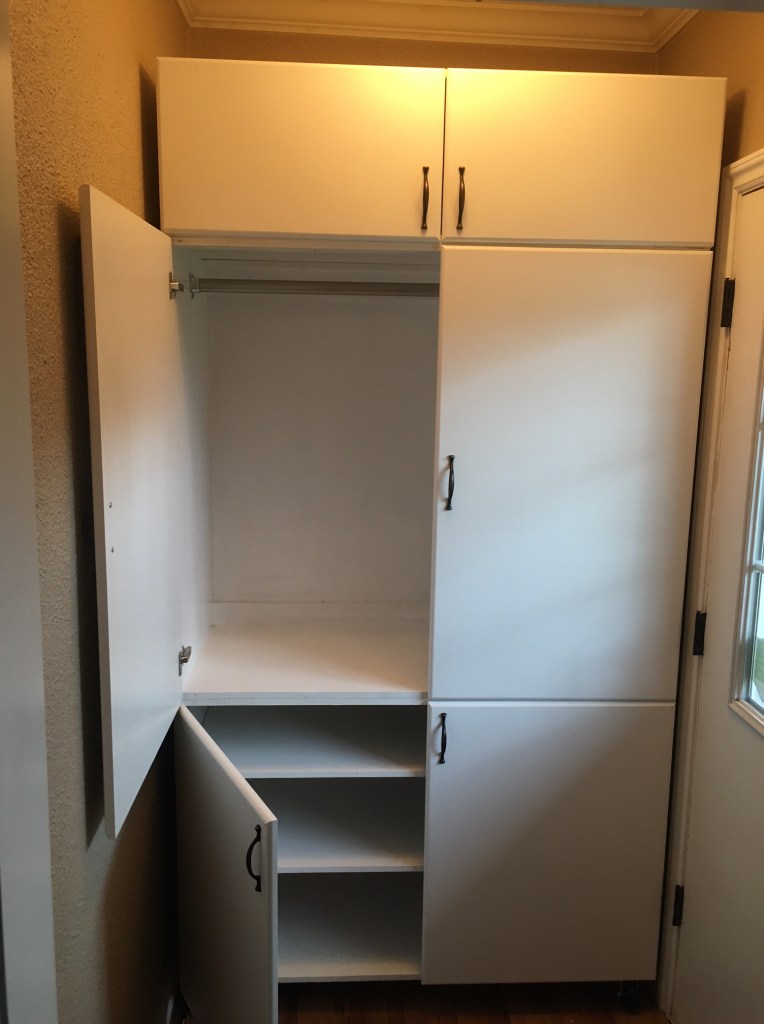
David and Debbie asked for a wardrobe to fit a custom space beside the front entrance. They wanted it on wheels for ease of cleaning behind it. I spent some cold days in my shop building and painting it. I stacked it in 3 levels for ease of installation.
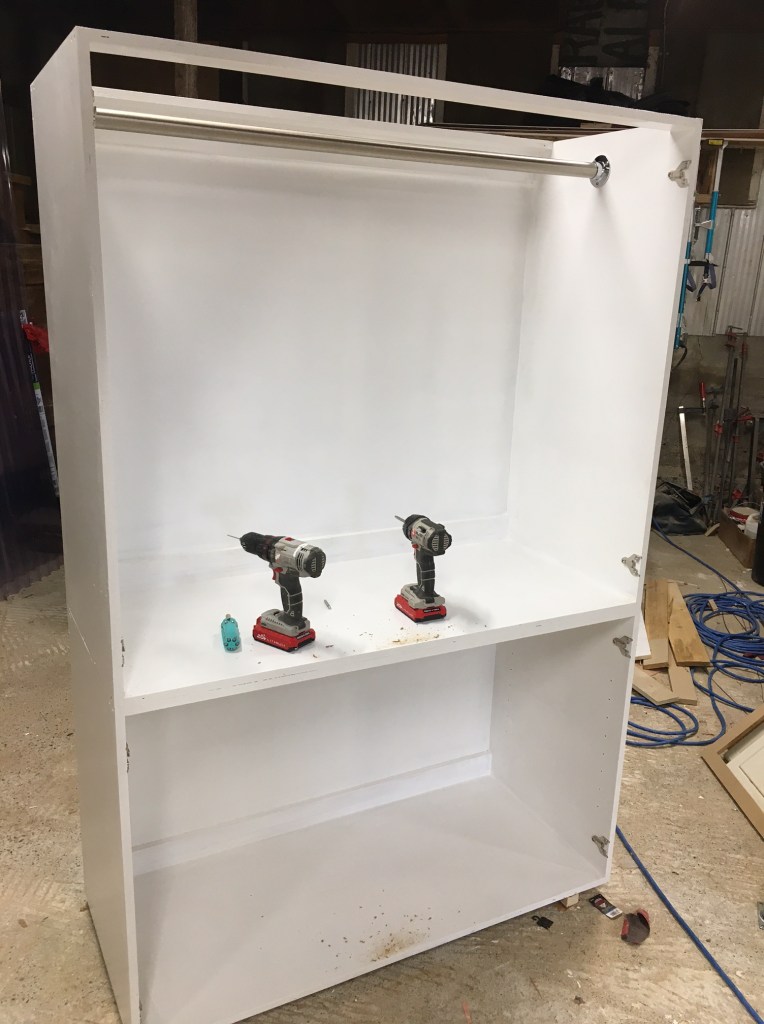
When I went to install it I realized I had misunderstood a very important aspect about the way that it needed to turn in the small space (hence the wheels etc.). As it was a rectangle shape in a small rectangle room, it wasn’t possible. So I took it back to the shop and cut off the back right corner. It took some time to put the sides back on, as well as the angled shelves and closet rail.
Once that was taken care of, it fit nicely and turns easily. It’s a little wobbly…being such a tall unit and not fixed to the wall… but should hold up just fine.