Jobs Blog

Custom Closet (inside part)

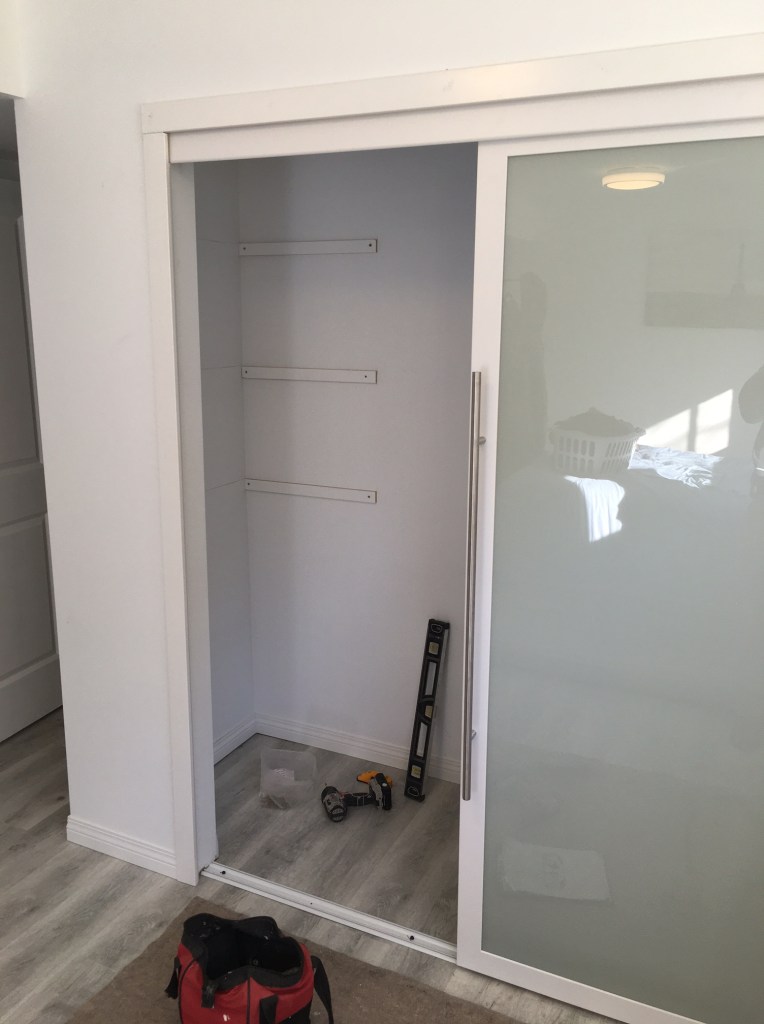
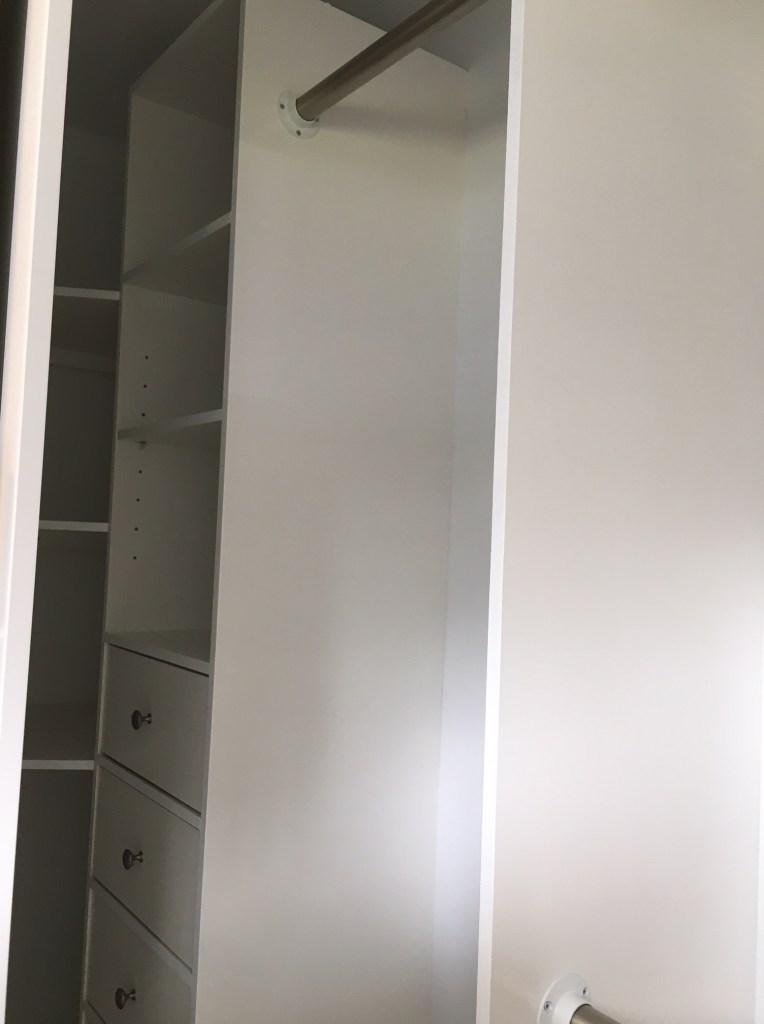
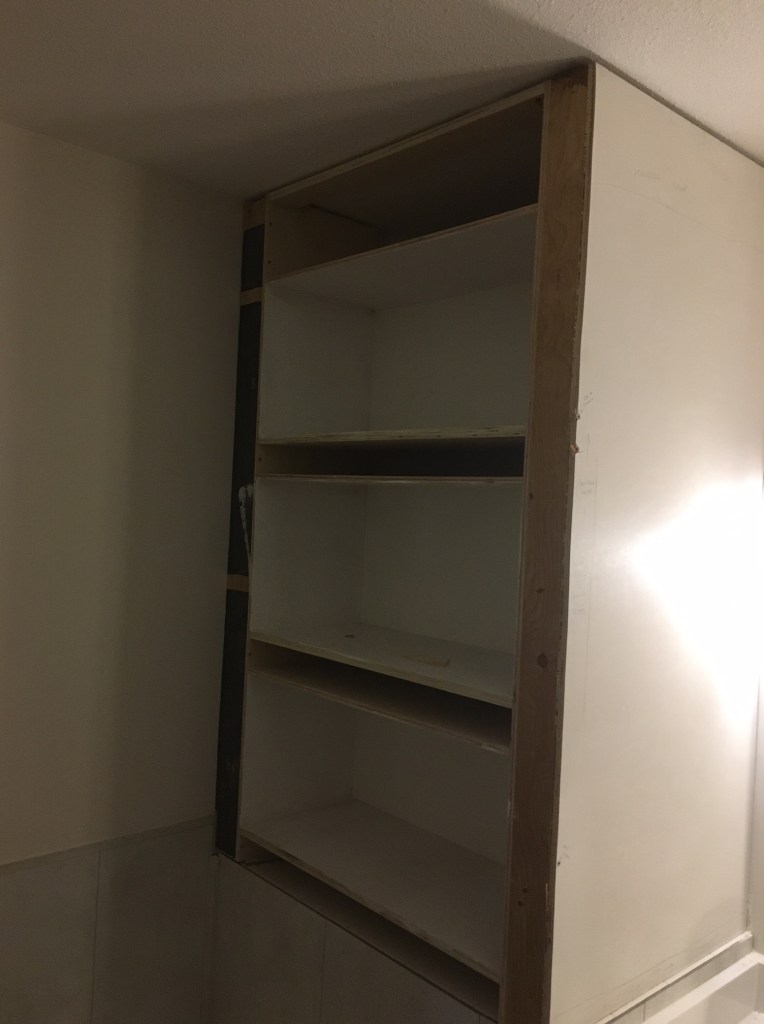
Darlene hired me to design and fill up her new closet space with shelves, cabinets, and rails. (The closet had already been built, but there was nowhere to hang clothes.)

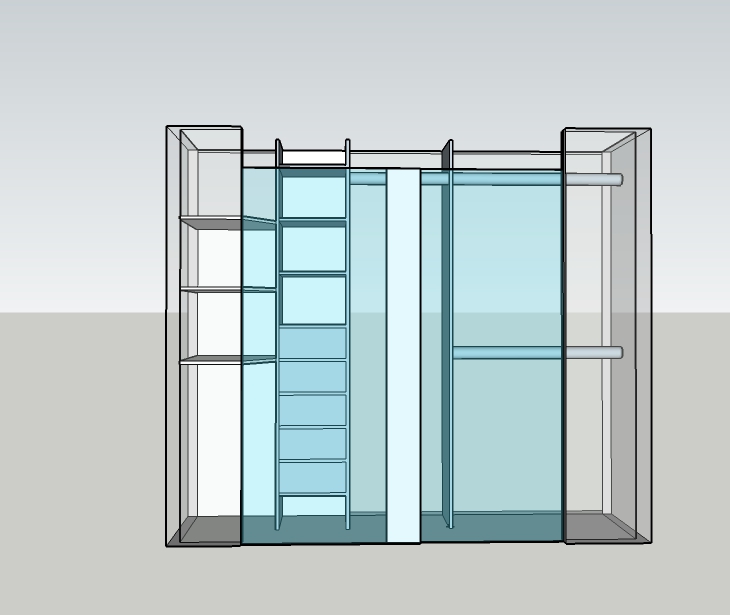
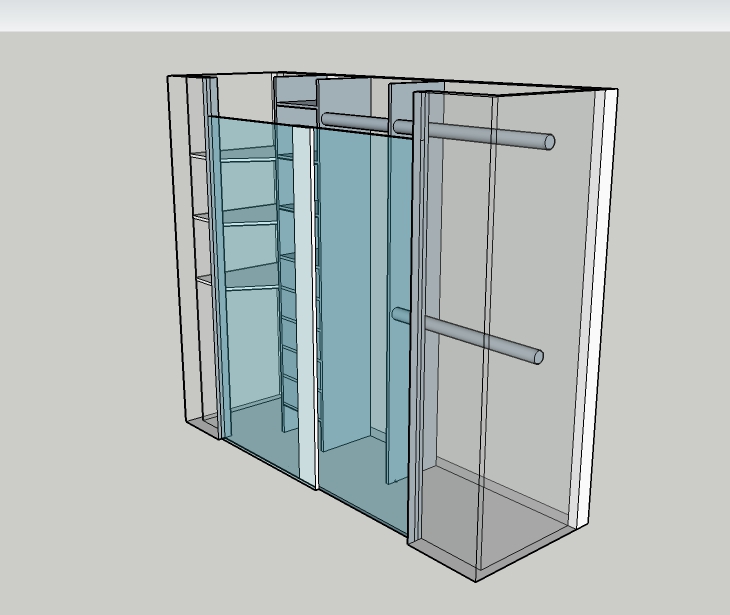
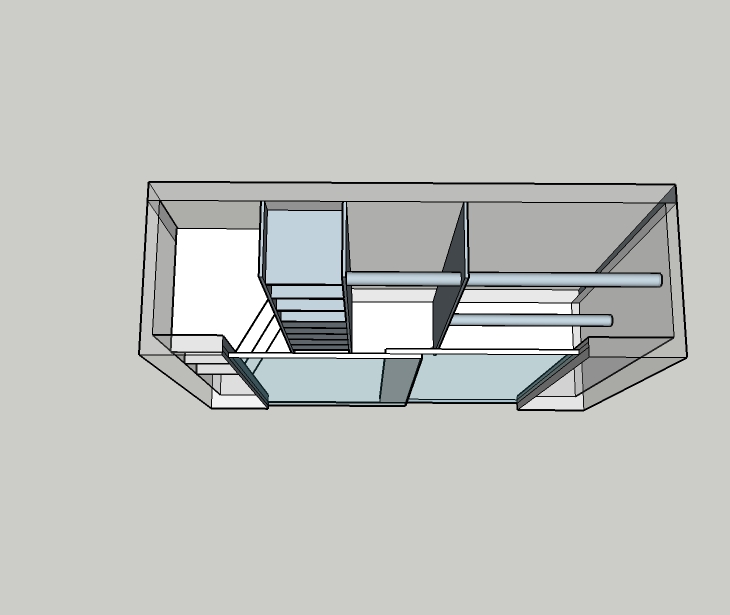
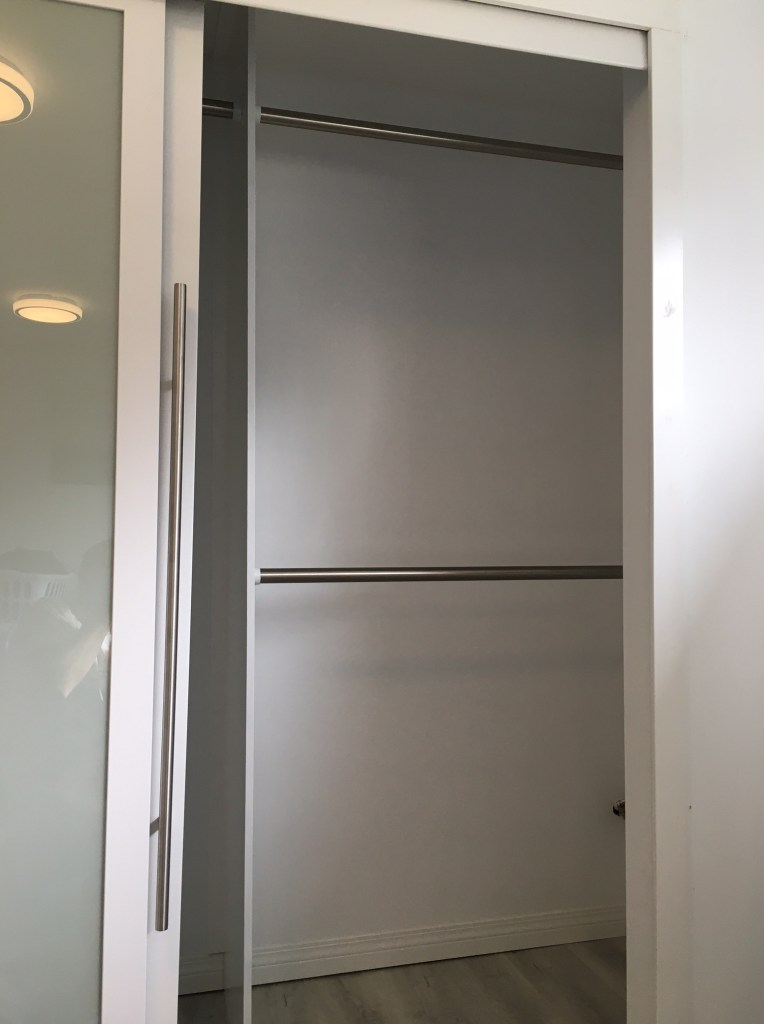
The double sliding doors are very. nice, but they do limit access a little bit. So in my design I put just one tall hanging rail right behind the middle where the doors overlap. That way everything else would be easily accessible from either the left or right side.

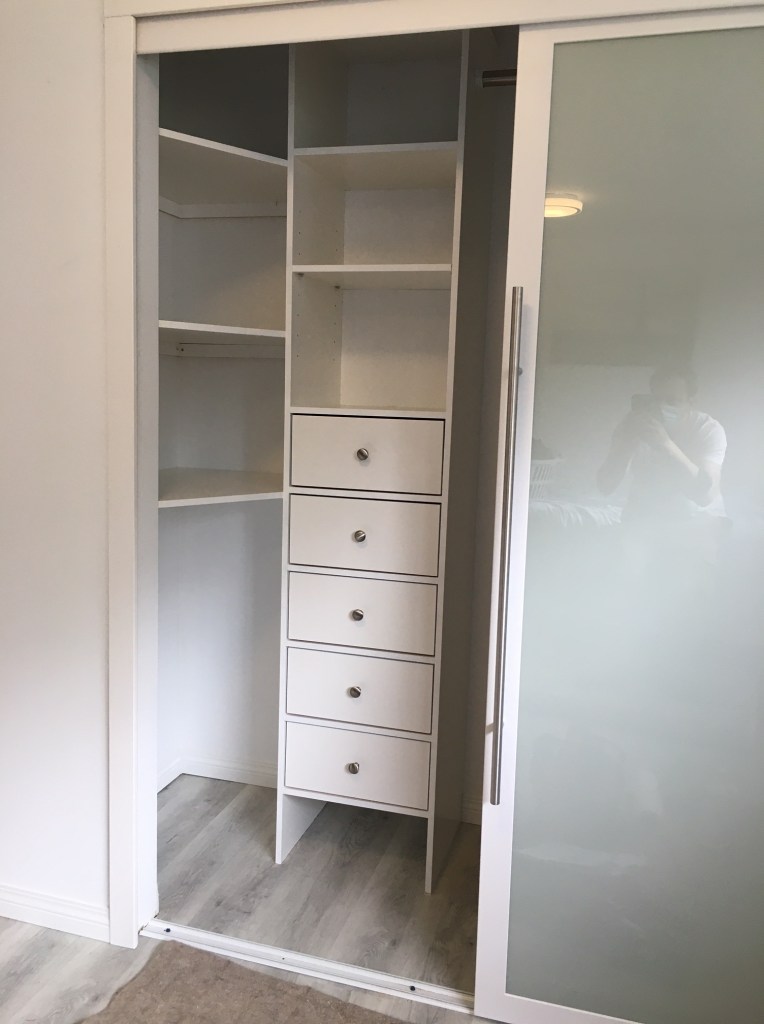
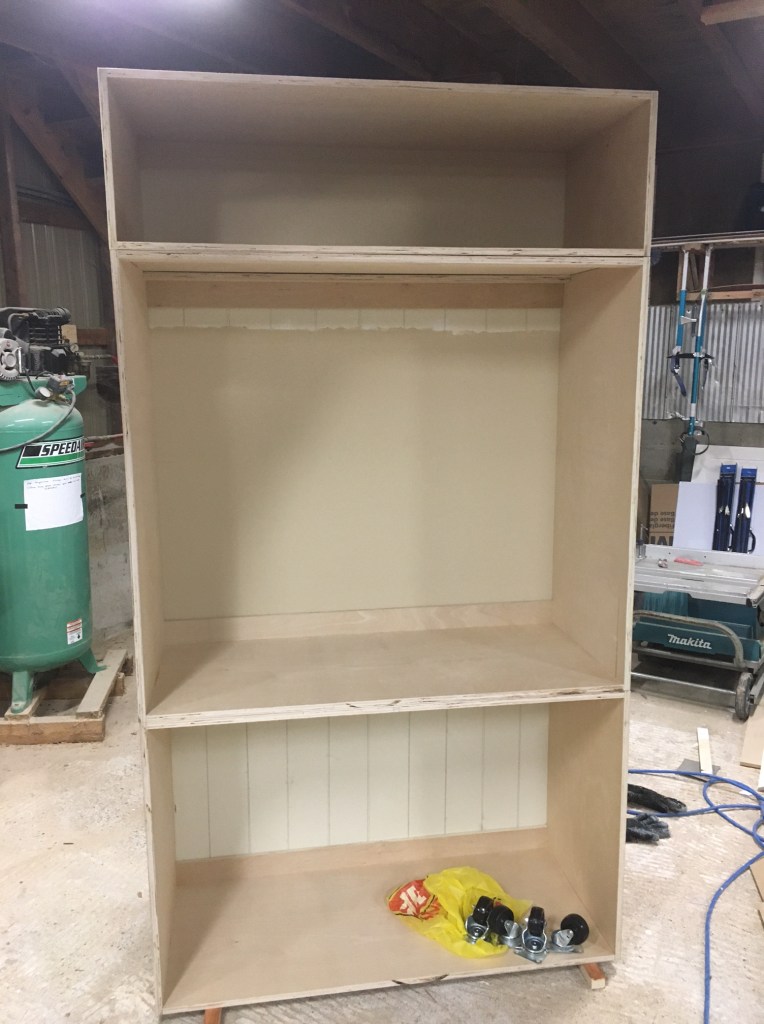
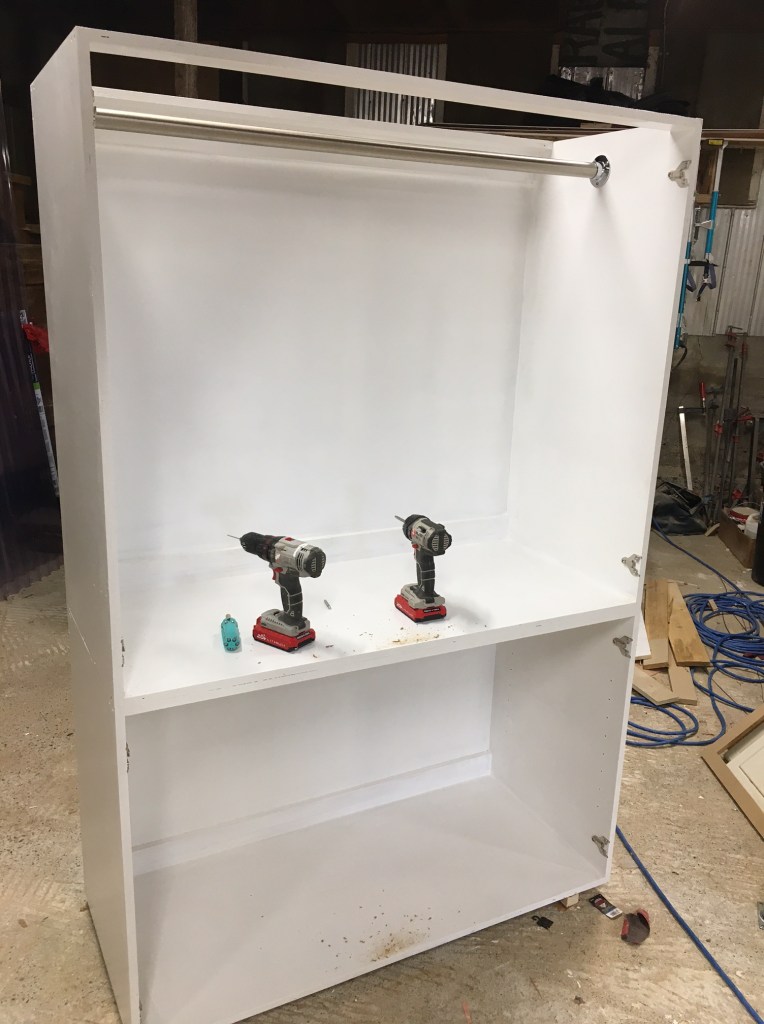
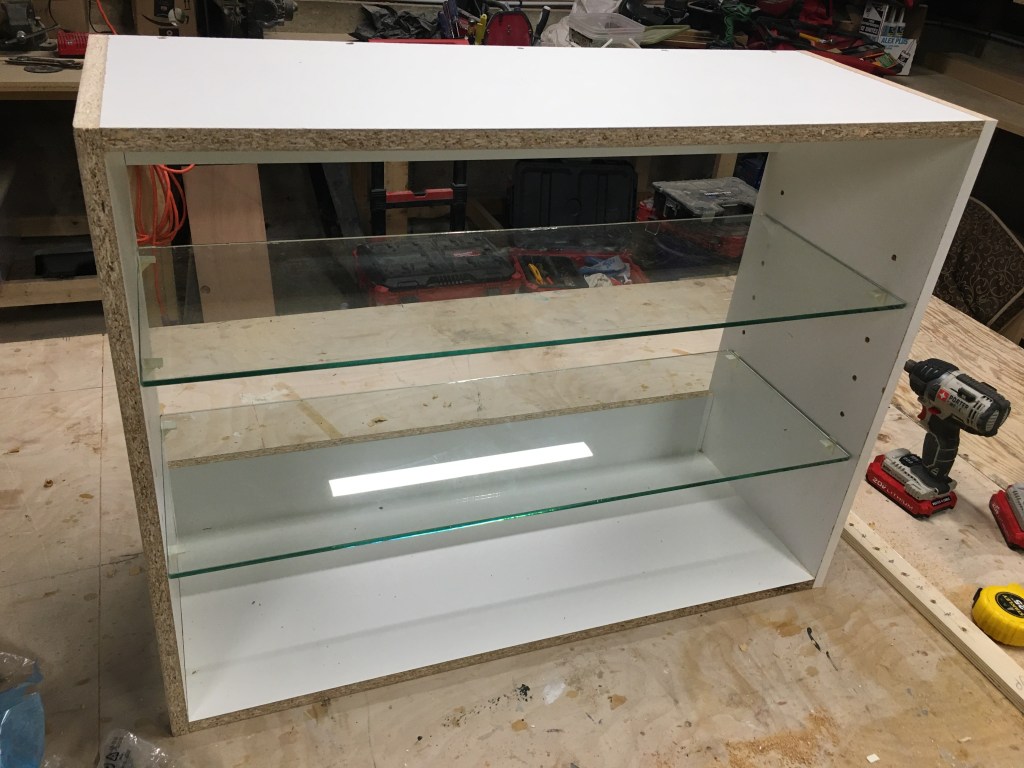
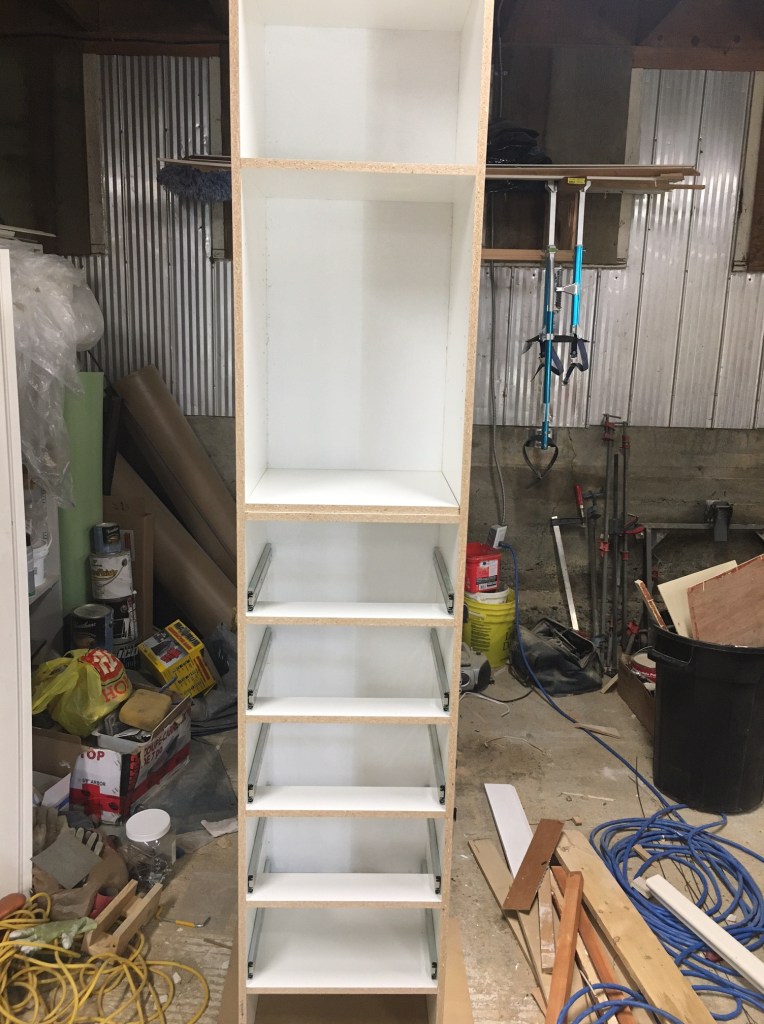
Building the cabinet in the shop…

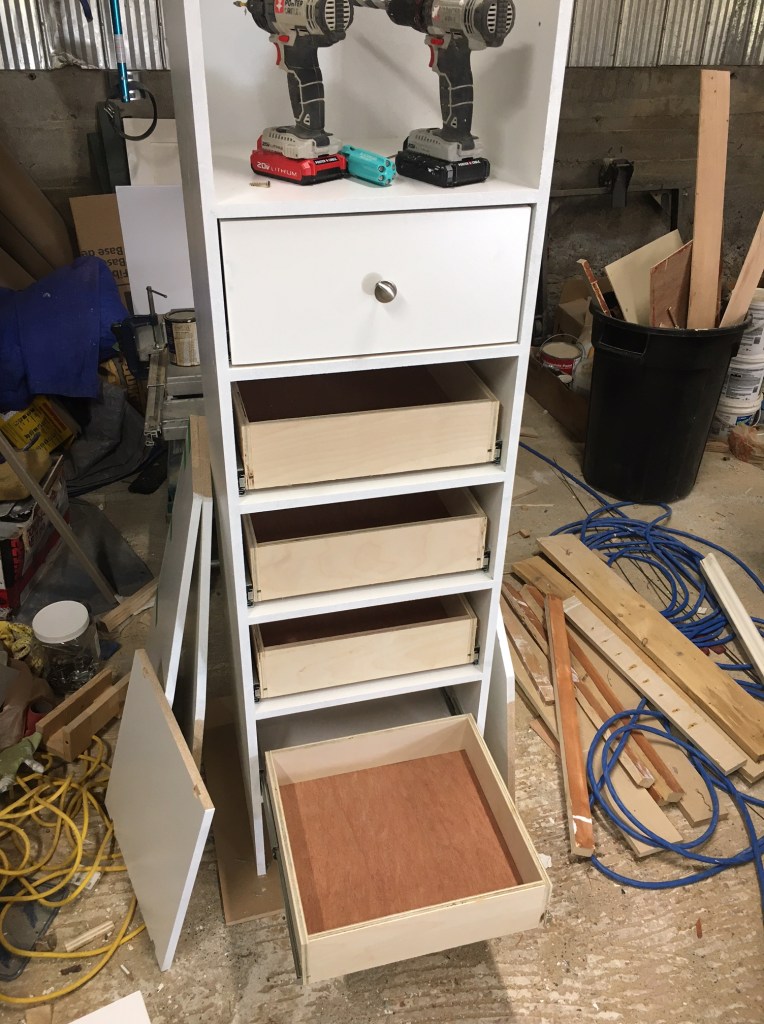
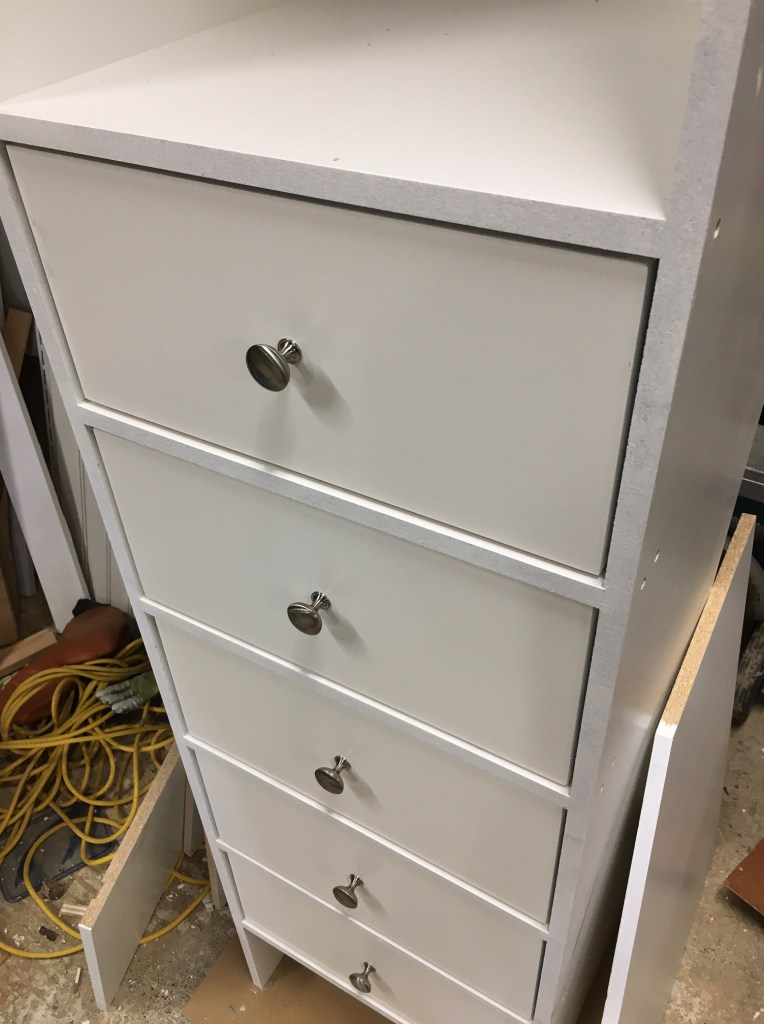
Drawers are always kind of fun to build…though time-consuming.

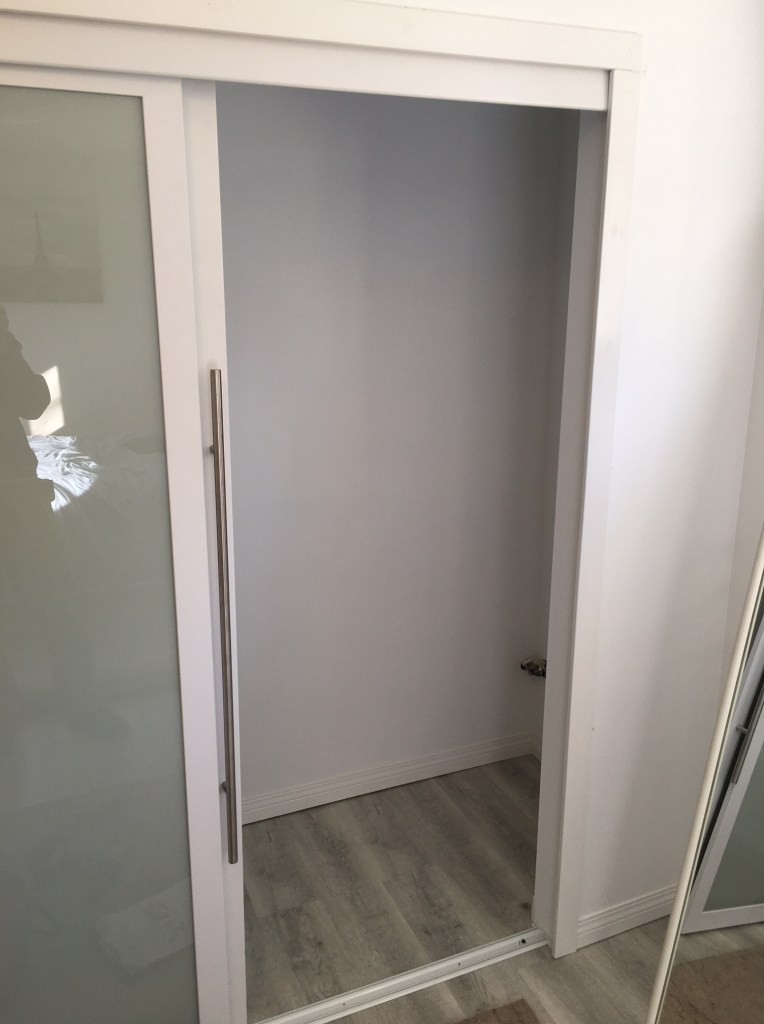
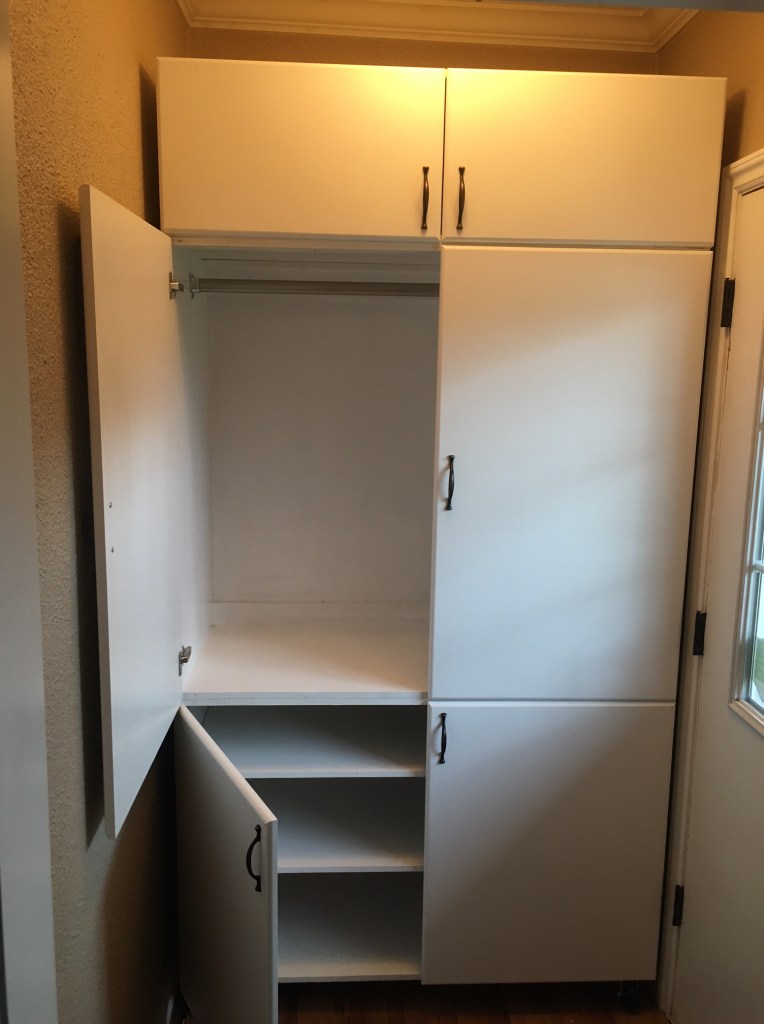
When Install Day came, I worked from left to right: shelves, cabinet, panel.

Wheeled Wardrobe

David and Debbie asked for a wardrobe to fit a custom space beside the front entrance. They wanted it on wheels for ease of cleaning behind it. I spent some cold days in my shop building and painting it. I stacked it in 3 levels for ease of installation.

When I went to install it I realized I had misunderstood a very important aspect about the way that it needed to turn in the small space (hence the wheels etc.). As it was a rectangle shape in a small rectangle room, it wasn’t possible. So I took it back to the shop and cut off the back right corner. It took some time to put the sides back on, as well as the angled shelves and closet rail.

Once that was taken care of, it fit nicely and turns easily. It’s a little wobbly…being such a tall unit and not fixed to the wall… but should hold up just fine.

Custom over-fridge cabinet match

David and Debbie asked for a cabinet over their fridge for extra storage.

So I whipped one up 🙂

After I installed it I realized the paint colour was not quite right (wrong shade of white). So I took the doors back to the shop and painted them, and returned later with a few pieces of crown and painted the sides.

Knobs were added but took awhile to order from Home Depot.

Stair Skirting

Sue had some small gaps between her steps and the walls:

I suggested a small skirt. First I templated it with cardboard and paper and tape:

Next I bought a sheet of 1/2″ MDF and ripped it into 8″ strips. I only needed them to be about 6 feet long. I transferred the template onto the boards and cut them at my workshop with a sliding mitre saw and a jigsaw. I gave the top edge a small round and primed them white. Then I installed them (with a few adjustments), secured to the wall with brad nails, and caulked with white Dap.

Big Bad Bathroom Shelf

Pursuant to my previous post about PVC tiles, comes another update in the corner of the bathroom. There was a curved inside wall that my customer didn’t like; and the tiles needed to be covered up. So we put in a shelf. There is some dead space behind to account for the curve in the wall:

The panel, however, cut out some light so the bath area became darker. An electrician installed some pot lights in the shelf…it does help a bit. Finished off with more mouldings; and Tom will give it the final coat of paint!

Dumawall tiles over existing tile in bath/shower

Joan wanted to update her bathroom, did some research and ordered a type of PVC tile from Dumawall. I installed them according to the instructions. It was such an easy product to work with – for the first project – the bathtub.

The reason they are so easy is because there is no prep other than to clean the existing tiles. They are glued on with Loctite. No grouting is needed as they interlock, similar to flooring. They provide a kit with inside and outside corners as well.

The shower was harder – but only because it had more corners (ie. the bench) and everything had to be levelled so carefully. That is the one issue I can see for DIYers–getting an area like this level. There is not much forgiveness with the 1/16″ gap between tiles–if you are out even an eighth of an inch, it will be very obvious by the time you get to the top of the shower! I put a bead of silicone behind the joints where there would be more water…and made sure to seal all the corners later as well.

Lastly was some crown moulding 🙂 I don’t necessarily recommend putting it above a shower area, but have seen it done before with no issues, and with plenty of paint and caulking…should be just fine.

A little framing and drywall in a basement…and homemade board lifter

I recently did some work in a basement room for Gene and Susanne. They had a mostly unfinished basement storage room that they wanted to convert into an office. The first step was to frame some bulkheads in to cover up the plumbing etc. They also wanted a closet framed in one corner, which will get barn doors eventually. It was only a 200 sf room, but with 8.5′ ceilings and lots of corners and angles. Here are some pictures of the closet/bulkhead area:

They painted it and I am waiting to see what they want for flooring before I come back and install baseboards and casings.

Also while boarding the ceiling, I tried a homemade lifter to hold the boards up. I had recently boarded a garage and struggled to hold the boards in place and screw them in — they are “lightweight” but that is still 40-50 lbs. So I screwed together a couple of stands:

Next I slid the board up on top. It was harder than I anticipated due to the tight fit of the room.

Now I just had to lift it 6″, and if I got tired, I could let it fall. (After I did a couple of these I added some blocks to squeeze the sheet in place to make it even easier.). When I was done I took apart the lifters and used the wood for other projects.

Shrinking Glass Cabinet Doors

Debbie had a nice glass cabinet in her suite and wanted another one. She already had the shelves and the doors; the problem was that the doors were too big for the space where the new cabinet would go.

existing cabinet

So I took the doors to my workshop and carefully cut them shorter. I cut the frame on the tablesaw, being careful not to nick the glass; then I scored the glass with a small cutting wheel and snapped it off.

Then I glued the top part of the frame back on. There is a small line where the joint shows, but it’s not too bad with a bit of touch up paint.

Then I build the rest of the cabinet and installed it.

Tile countertop re&re

Debbie bought a cool washer/dryer combo for her suite; it washes AND dries the clothes in one little place. She needed to remove part of her tile countertop so that the plumber could access the wall behind and move some pipes around. There was also a cabinet to remove.

I took out the cabinet, then the front stick of the countertop off, then cut the plywood build-up from below. The grout was hard to remove; I think it was cement as opposed to regular tile grout. I ground it out with a couple of grinders.

After the plumbing was done, I came back and stuck it all back together. The hardest part was the backsplash–it took the wall with it.

The smallest laundry setup I’ve seen.

Drywall – garage and tub surround

Noel asked me to drywall his garage. It was partially done but I had to add about 14 sheets.

There were a few challenges, such as the 10 foot ceiling, working around the garage doors and other items, but it turned out pretty good I think.

Then Gareth had me drywall around his new tub surround. The challenge here was to keep the wall even although the shower surround was out from the wall. I ended up using shims and bondo and then mudded and taped over it.

I’m happy to let my customers do the painting!